Merry Christmas, crafty friends. Today's project puts the spotlight on products from Buttons Galore and More, as well as papers and ink available at Scrapbook.com. I thought these DIY Wreath Clips would be a fun addition for planners, gift bags and gift card decor. I decided to make some gift card envelopes to showcase them. Scroll down for close up photos and creative details.
(FTC Disclosure: as an affiliate for various companies in the craft industry, I will receive a small commission for purchases made through my convenient affiliate links. This does not affect your purchase price.)
I am a huge fan of Buttons Galore and have so many of their products in my stash. When I had the idea to do these wreath clips, I sought out a few basic supplies which include the wooden clips and Christmas Pine stems, both of which I found after a quick run to Hobby Lobby. The stems were 50% off in the Christmas Craft section so I only spent $1.50 for the pack of 20! Go and grab those up! One stem yielded 3 pine strips which I snipped with a plier and shaped into the wreaths. A touch of hot glue seals the overlapped ends together. Also, I found the wood clips in the party supply section of HL. They were a 6 pk for I think, $1.99.
I created my 3 x 3 1/2 inch envelopes using my We R Memory Keepers 123 punch. This dandy tool has been used over and over and has been one of the best investments I ever made! The paper is a 6x6 in paper pad exclusive to Scrapbookcom and Photo Play Paper, called "Best of Christmas". As you can see, I tried to coordinate my wreath colors, with my paper.
Here's a close up of the wreath, using the Buttons Galore Sprinkletz in Very Cherry. It has cute little peppermint candies ( or maybe they're cherry?), tiny stars and other decorative pieces.
My best tip for applying these is to grab a toothpick and grab the hot glue with your toothpick. Apply the glue from your toothpick onto your surface (in this case, the wreath), then quickly add your embellishment. Press gently with the opposite end of your toothpick or other sharp tool for a few seconds to let it set.
(Sorry for the stray glue pieces I failed to pick off!)
Next up, I went with a silver and gold theme for this one. This wreath features the Starry Night Embellishment Kit from the 28 Lilac Lane brand by Buttons Galore.
You're going to want to work fast on this one because the base, under those stars, are a circle of seed beeds included in the kit. Here's how to quickly get this done and get amazing results!
1) Pour your seed beeds into a lid slightly larger than the wreath. I used the cap of a large embossing powder that I had on hand. Or a small bowl such as a ramekin will work.
2) Quickly drizzle a circle of hot glue around the center of your wreath.
3) Quickly dip your wreath, glue side down, into your bowl or lid filled with seed beeds, pressing gently, then remove.
Voila! It may not be totally symmetrical but mine looked pretty good. You may have a few stray pieces to fall off but that's ok. I love the colors of the seed beads which are white, gold and a metallic silver... and maybe some clear ones too.
Next, apply your silver stars from the kit, using the toothpick/glue technique, then do the same, adding tiny, shiny sequins on top of the stars. I think this one is my favorite!
Let me also mention my little stamped quote. The stamp set is exclusive to Scrapbookcom and is called, Christmas Fun Card Sentiments. I stamped the sentiments with a masking technique, using hybrid inks. You'll find all the product links at the end of this post. Some of the sequin sets are available directly through Buttons Galore and I've linked those throughout this post.
My final wreath clip features the Peppermint Stix Sparkletz and those tiny snowflakes from the
Fun Flurries Sparkletz. I also glued on some of the clear tiny seed beeds. All of my wreaths have little tiny bows that I fashioned from ribbon in my stash, as well.
I hope you enjoyed this fun project and will give this a try. May you all have a wonderful holiday season. Stay crafty, friends! Terri
Affiliate product links are listed throughout this post. Click on the link to go directly to the product. I do receive a small commission at no extra cost to you, if you make a purchase.
 Scrapbook Adhesives by 3L EZ Grand Runner Shop at: Scrapbook.com |
 Scrapbook Adhesives by 3L EZ Grand Ultra Refill - Clear Shop at: Scrapbook.com |
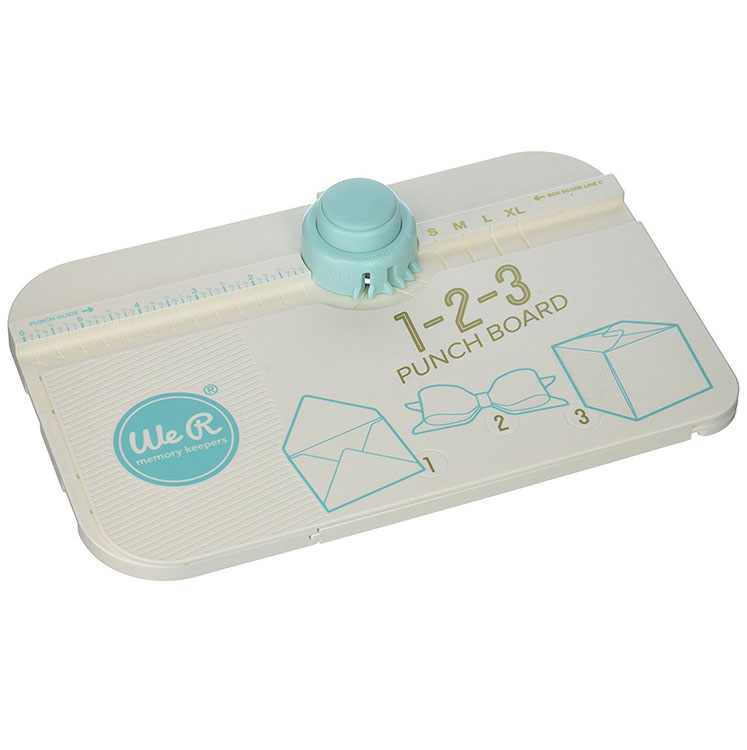 We R Memory Keepers 123 Punch Board Shop at: Scrapbook.com |
 Waffle Flower Crafts Water Media Mat Shop at: Scrapbook.com |
 Simon Hurley Ink - Over The Moon Shop at: Scrapbook.com |
 Fiskars 12" Premium Cut Line Portable Trimmer Shop at: Scrapbook.com |
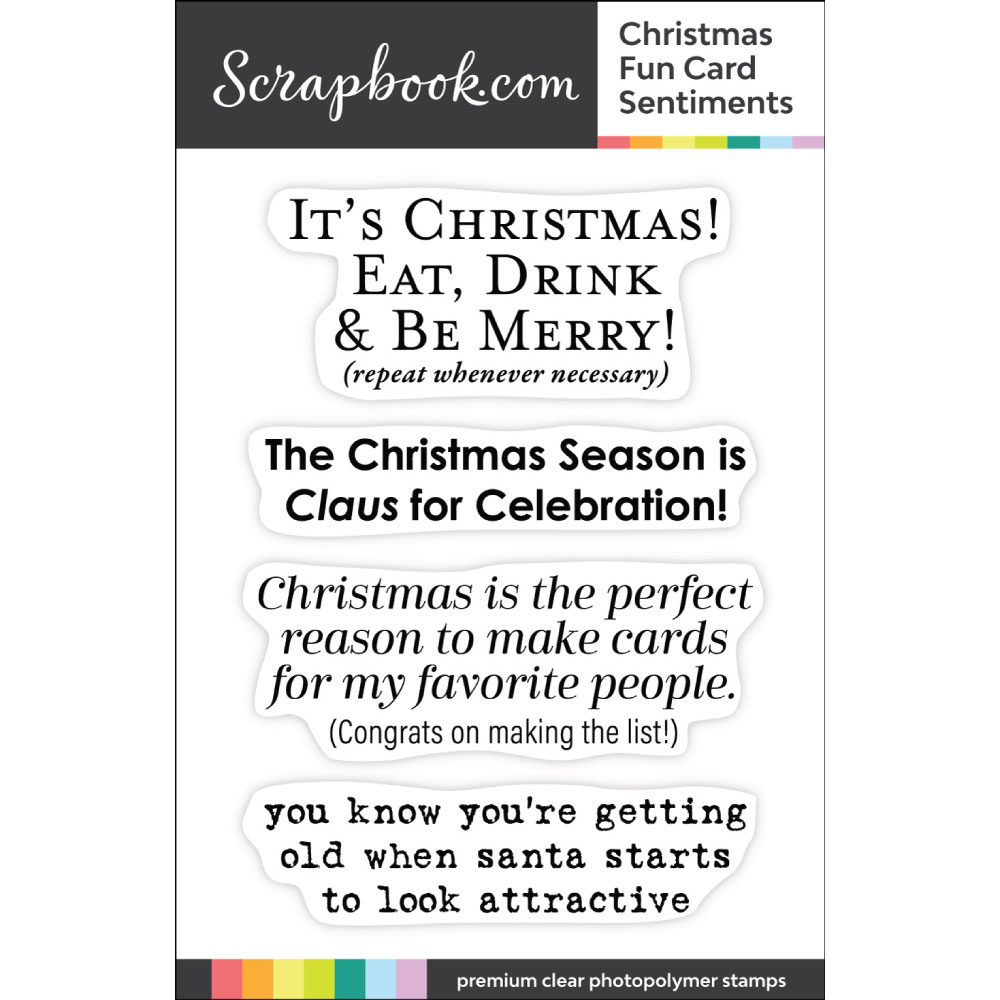 Scrapbook.com Christmas Fun Sentiment Stamp Set Shop at: Scrapbook.com |
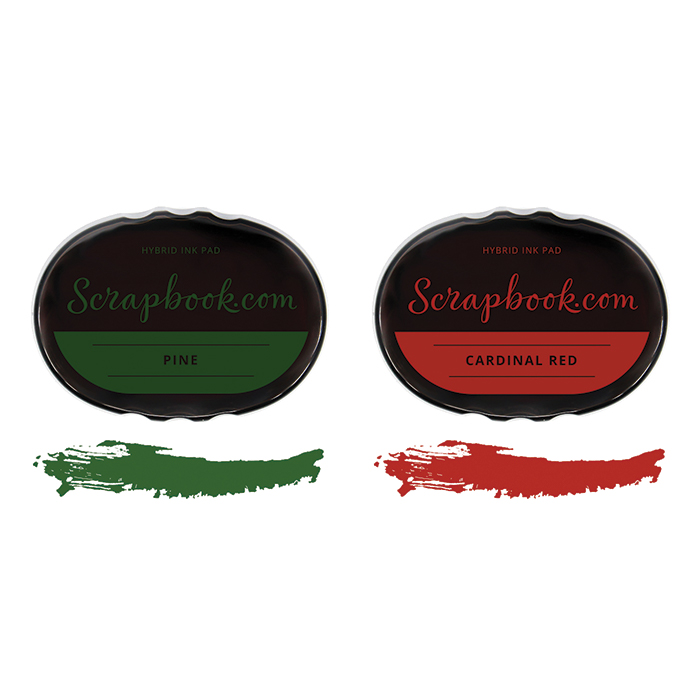 Scrapbook.com Holiday Hybrid Ink Set Shop at: Scrapbook.com |
 Neenah Flat Card Front Shop at: Scrapbook.com |
 28 Lilac Lane YuleTide Greetings Embellishments Shop at: Scrapbook.com |
 Photo Play Paper Best of Christmas 6x6 in paper pad Shop at: Scrapbook.com |
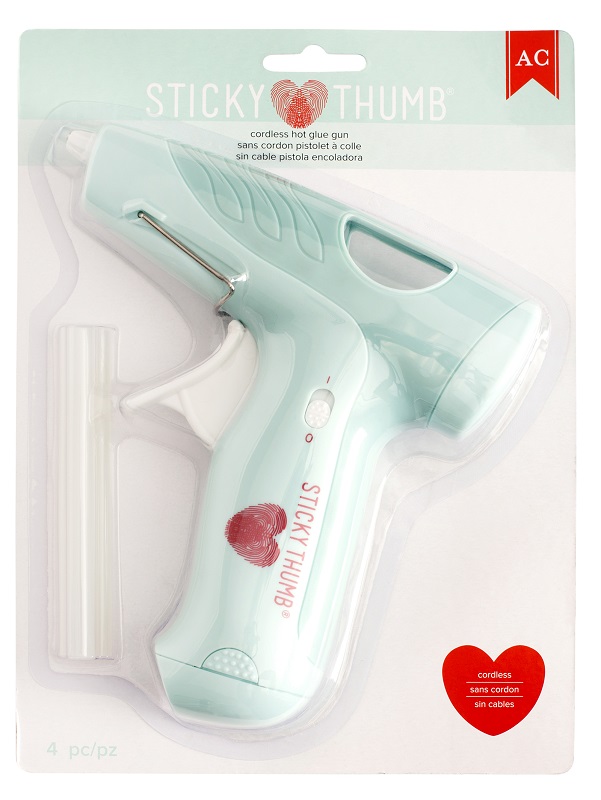 AC Sticky Thumb Cordless Hot Glue Gun Shop at: Scrapbook.com |
#wavingmywand #scrapbookcom #buttonsgalore #buttonsgaloreandmore #photoplaypaper #sparkletz #sprinkletz #bestofchristmas #funflurries #snowflakes #candycanes #DIY #christmaswreath #plannerclips #partyclips #christmascrafts #scrapbookadhesivesby3L #28lilaclane #neenah #hybridinks #terriburson #hotglue #wermemorykeepers #wrmk #123punchboard #envelopepunchboard #mixedmedia


