Disclosure for Affiliate Links

Saturday, September 28, 2024

Elegant Foiled Cards plus Hop Celebration

Hello friends. I'm joining some designer friends today to help my friend Deborah Hellman celebrate her Instagram follower milestone with an Instagram Hop. We are making celebration/congratulation cards for this event. You can visit my Instagram page here, look for the hop graphic. Tap @hellmad in my IG post to start at the beginning of the hop. There's lots of prizes up for grabs so follow the instructions to have a chance at winning some crafty goodies!


(FTC Disclosure: as an affiliate for various companies in the craft industry, I will receive a small commission for purchases made through my convenient affiliate links, at no additional cost to you.)


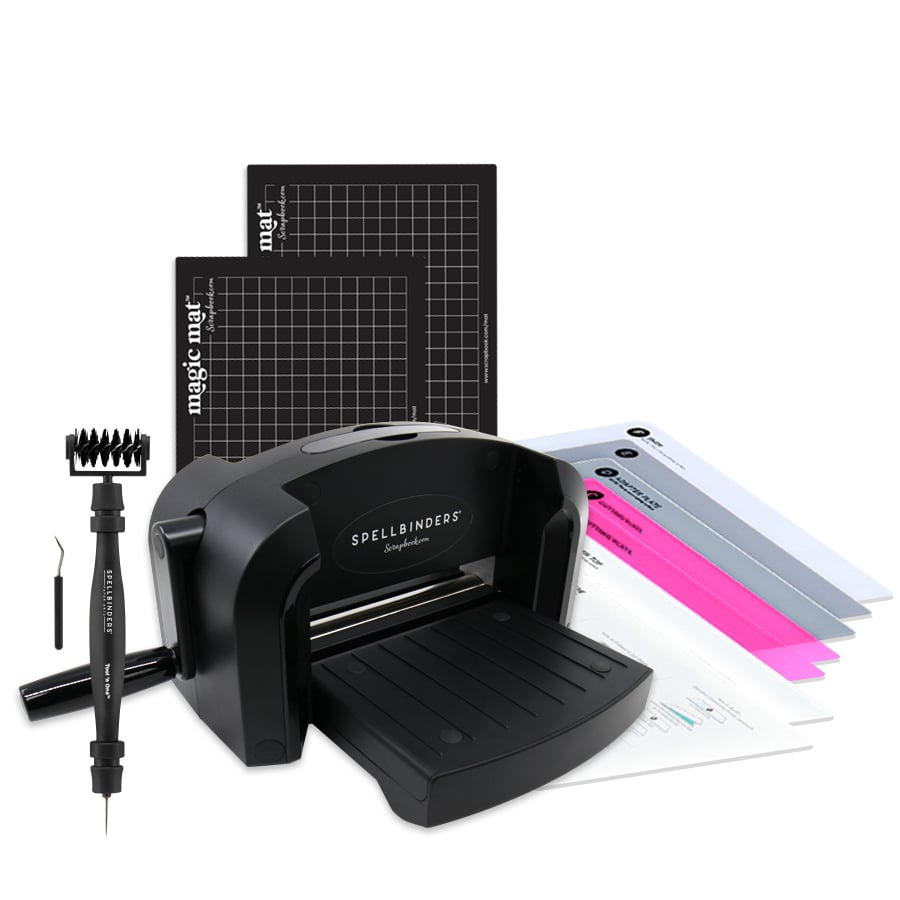
My cards were created with the Pinkfresh Studio Peony Print hot foil plate. I used my Spellbinders Espresso Bean hot foil and my Glimmer hot foil system with my Platinum 6 die cut system.

My card duo actually incorporates 3 different foiled white A2 card panels.

The first foiled panel resulted in an all white card panel with the foiled outline of the print.


The second card panel was foiled using the negative peeling of foil left from my first foiling. You need a solid hot foil plate to achieve this. You simply heat your solid foil plate, place the negative foiling, shiny side down, place your cardstock on top, then your Glimmer plates and heat.

This technique results in a negative foiling, with the foil more prominent than the image.

The third card panel was created again with the use of my solid hot foil plate, a trimmed piece of espresso bean foil and cardstock to create a panel that is completely hot foiled with no image. I used this for the backdrop of my first card above.

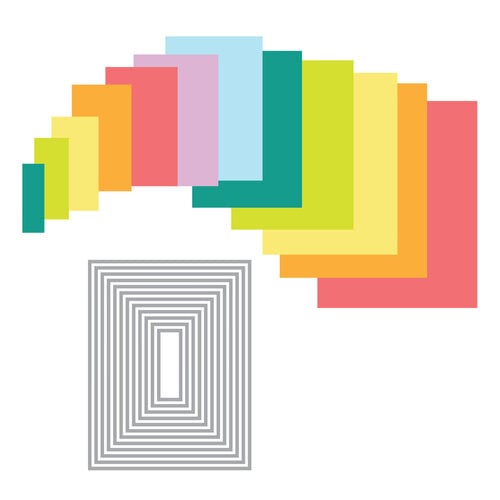
I love to piece together foiled and negative foiled panels, so I used my nested rectangle dies to cut a center rectangle from the white foiled card (first photo). I also cut a frame for use on my second card.

For my second, negative foiled card panel, I again die cut a rectangle in the center. However, I adhered the remainder of my "brown" card panel to an A2 vertical card, then popped up my center with adhesive foam strips. I then adhered the white frame from the first card.


Look closely and you'll see that all my negative foiling (as pictured above) perfectly lines up and matches the white foiled frame from the first card. This results in positive and negative foiling all on one card. It's a lot of fun, you should try it!

My sentiments were hot foiled using the Spellbinders Slimline Essential Glimmer Sentiments and also popped up on adhesive foam strips.

If you'd like to browse or shop for any of the products I used today, simply click any of the highlighted text throughout this post. These are affiliate links provided to you at no additional cost, and direct you to shop at Scrapbook.com.

If shopping, use coupon code SMILE at checkout, for an additional 9% off your order, or 11% off orders over $100. This code expires Sunday night!

Have a great day!


Terri


#wavingmywand #foiledcards #negativefoiledcards #pinkfreshstudio #scrapbookcom #spellbinders #glimmerhotfoilsystem #espressobean #congratulations #celebration #cardmaking #handmadecards #elegantcards #diycards

Fall Coloring With Deb And OLO Marker

Hello friends. I've been thoroughly enjoying coloring with my new OLO markers for about two months now. My sweet crafty friend Debra Davison also has some OLO markers, and she thought it would be fun for us to collab and each create a Fall card with our new markers. I totally agree! Scroll down for creative details, a little chit chat and information on the products that I used!


(FTC Disclosure: as an affiliate for various companies in the craft industry, I will receive a small commission for purchases made through my convenient affiliate links, at no additional cost to you.)


I also made a fancy graphic because, who knows, maybe me and Deb will do this again sometime.


So, let's get started. I took a photo of the markers that I used on today's card, below. I curated a lovely selection of Fall colors, don't you think?  Fall is my absolute favorite time of the year and I tried to translate my love for this season with a burst of complimentary colors.


One of the things that I love about OLO markers is the vibrancy of many of their colors. Even layering some of the colors together can create new colors!

Now, I don't generally use the chisel end of any of my artist markers. I love that you have the option of purchasing and connecting half size brush markers! A connector ring is included for every 2 half markers that you purchase and one half marker has more ink than any full size artist marker on the market!

You can read all about the technology, ink flow, and more on these amazing markers, here. Check out the FAQ section too.


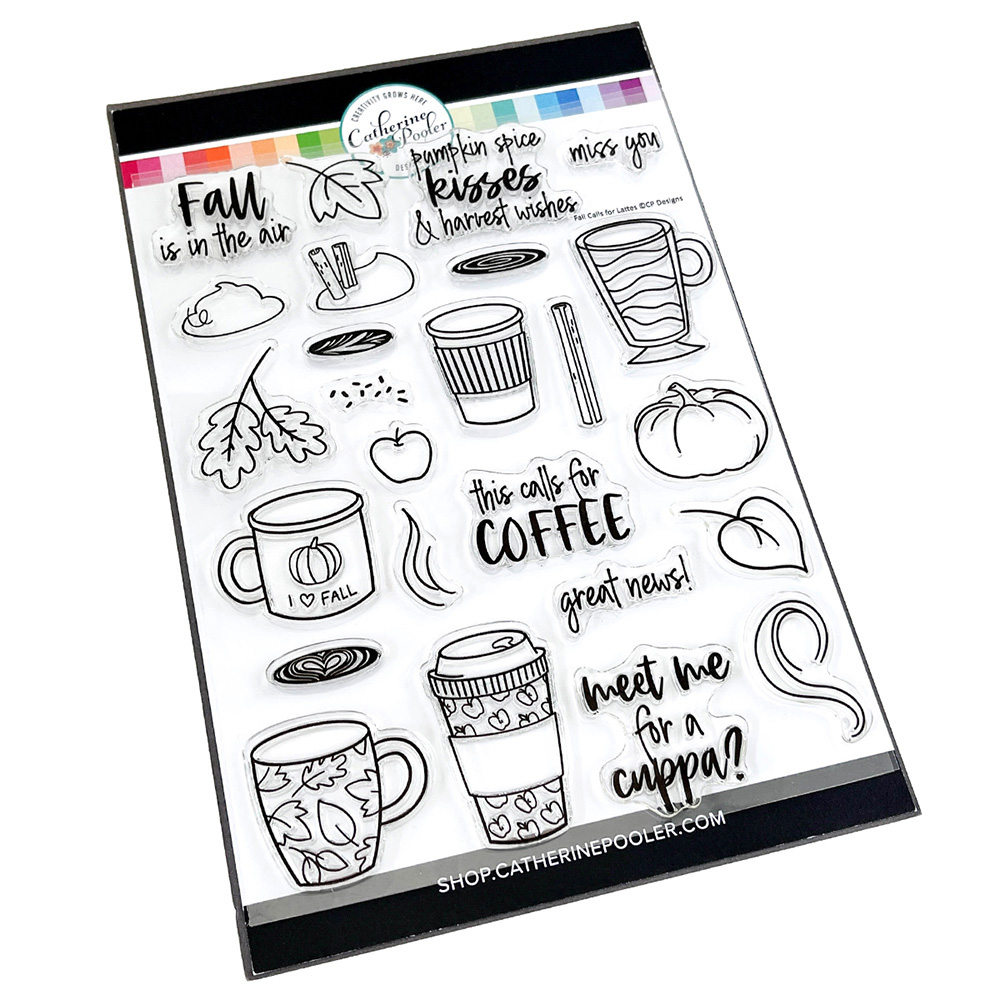
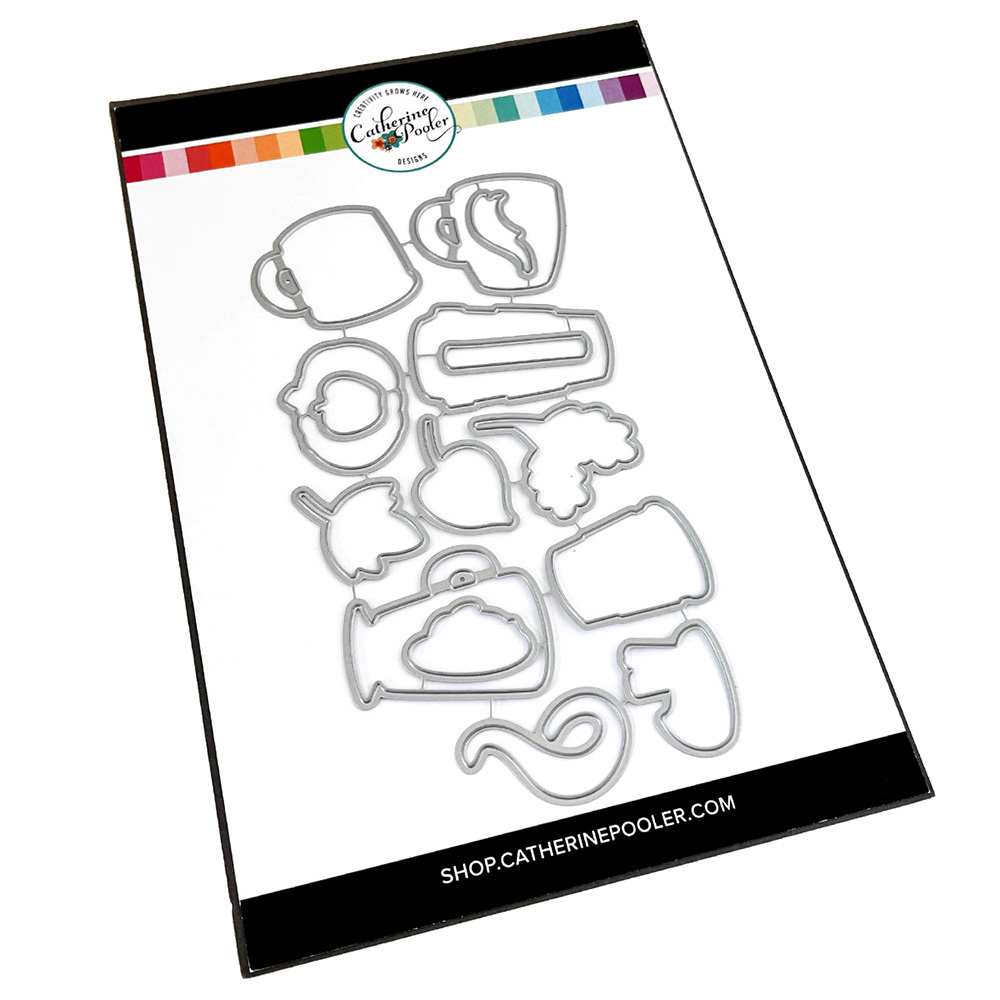
Now for some creative details. I have this fabulous stamp set from Catherine Pooler in my stash called, "Fall Calls For Lattes".  Currently, there's a limited number of these sets available at Scrapbook.com but you can also purchase it here directly from Catherine Pooler, as well as the coordinating die set.

Even if your not into lattes and other fall themed beverages, you can still make a gorgeous background (as pictured above) and add any sentiment of your choosing. 


I stamped the images randomly on my A2 sized card panel with black hybrid ink, which works wonderfully with alcohol markers, to avoid bleeding.

Next, I began coloring my images. For my leaves, I colored in patches with different colors, rather than coloring the entire leaf with one color. For my pumpkins, I went in with lighter colors, then blended in darker colors for more dimension.

The lightest marker that I used, OR1.0, was used on the foam topping for my latte, with a little bit of  OR4.4 around the edges and along the bottom of my cinnamon sticks, for more depth.


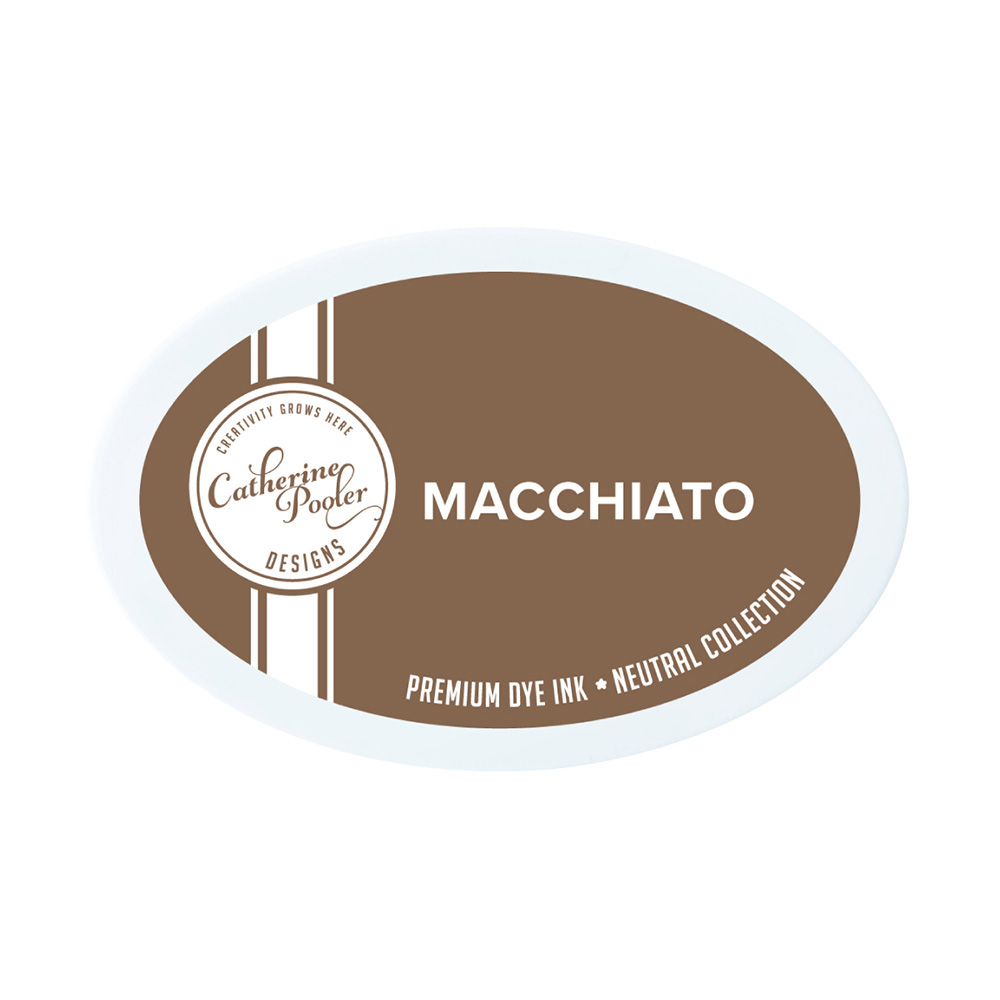
My sentiment from the same stamp set was created using Catherine Pooler ink pads in Orange Twist and Macchiato. I used my stamp positioner and inked the upper half of my stamp with the orange, and the bottom half with the brown, repeating this 2-3 times in between stamping, until I got the deep inking that I desired.

I trimmed my sentiment and and backed it with some trimmed dark brown cardstock. My background paper is a gorgeous plaid but, for the life of me, I can't remember the brand. I think it came from an older Echo Park paper fall collection. I'm not sure and I've gone through all my paper pads, so it must have been the last sheet. Regardless, any plaid will make a lovely background. Or perhaps, a solid orange, yellow or dark brown!

For a little contrast, I added some liquid embellishment using my Chocolate Kiss Pops of Color. To get them flattened, just apply to your card, then slap, yes, slap your card on a table. I usually slap one half of my card on the table, then turn my card and slap the other end. If your dot doesn't flatten, it could be that you didn't apply enough. Also, temperature or thickness of your liquid could be a factor. You may wish to test this technique on scrap cardstock before committing to your card.


Be sure and check out the Resources section at OLO Marker. There are printable images you can color, as well as color wheels and color charts available to print and swatch!

Now, hop on over to Deb's blog and check out the card she made using OLO Markers, here. Leave a little love while you're there! If you have any questions for me, leave me a comment and I'll do my best to answer them. I have affiliate links for the the other products that I used below, provided at no additional cost to you. Have a fabulous day and thanks for stopping by!


Terri

***********************************


Neenah A2  Solar White Card/Env. 25 pc set
Neenah A2 Solar White Card/Env. 25 pc set
Shop at:
Scrapbookcom
Neenah Card Front Solar White 5.5 x 4.25 inch 25 pk
Shop at:
Scrapbookcom
Catherine Pooler Ink Pad - Macchiato
Shop at:
Scrapbookcom
Refillable Permanent Adhesive Runner - 49 feet
Shop at:
Scrapbookcom
Exclusive Black Platinum 6 Die Cut System
Shop at:
Scrapbookcom
Scrapbook.com Hybrid Ink - Black
Shop at:
Scrapbookcom
Exclusive Neenah White A2 Vertical Cards 25 ct
Shop at:
Scrapbookcom
Pops of Color - Chocolate Kiss
Shop at:
Scrapbookcom
Exlusive Pink Mini Misti Stamp Positioner
Shop at:
Scrapbookcom
Nested A2 Rectangle Dies - 12 pc
Shop at:
Scrapbookcom
Catherine Pooler Fall Calls For Lattes Stamp Set
Shop at:
Scrapbookcom
Tonic Studios Tim Holtz Comfort Trimmer 8.5 Inch
Shop at:
Scrapbookcom
3 mm Adhesive Strips - 160 strips
Shop at:
Scrapbookcom
Catherine Pooler Ink Pad - Orange Twist
Shop at:
Scrapbookcom
Pink Stamp Cleaning Shammy
Shop at:
Scrapbookcom
Sky Blue Stamp Cleaning Shammy
Shop at:
Scrapbookcom
Exclusive Magnet Mat
Shop at:
Scrapbookcom
Falls Calls For Lattes Die Set
Shop at:
Scrapbookcom


#wavingmywand #olomarker #coloring #fall #autumn #coffee #lattes #fallleaves #autumnleaves #seasonal #coffeelovers #coffeelovingcardmakers #coffeelovingpapercrafters #scrapbookcom #catherinepooler #artistmarkers #stamping #plaid

Monday, September 23, 2024

Inspiration Scripture Card for Erin Lee Creative

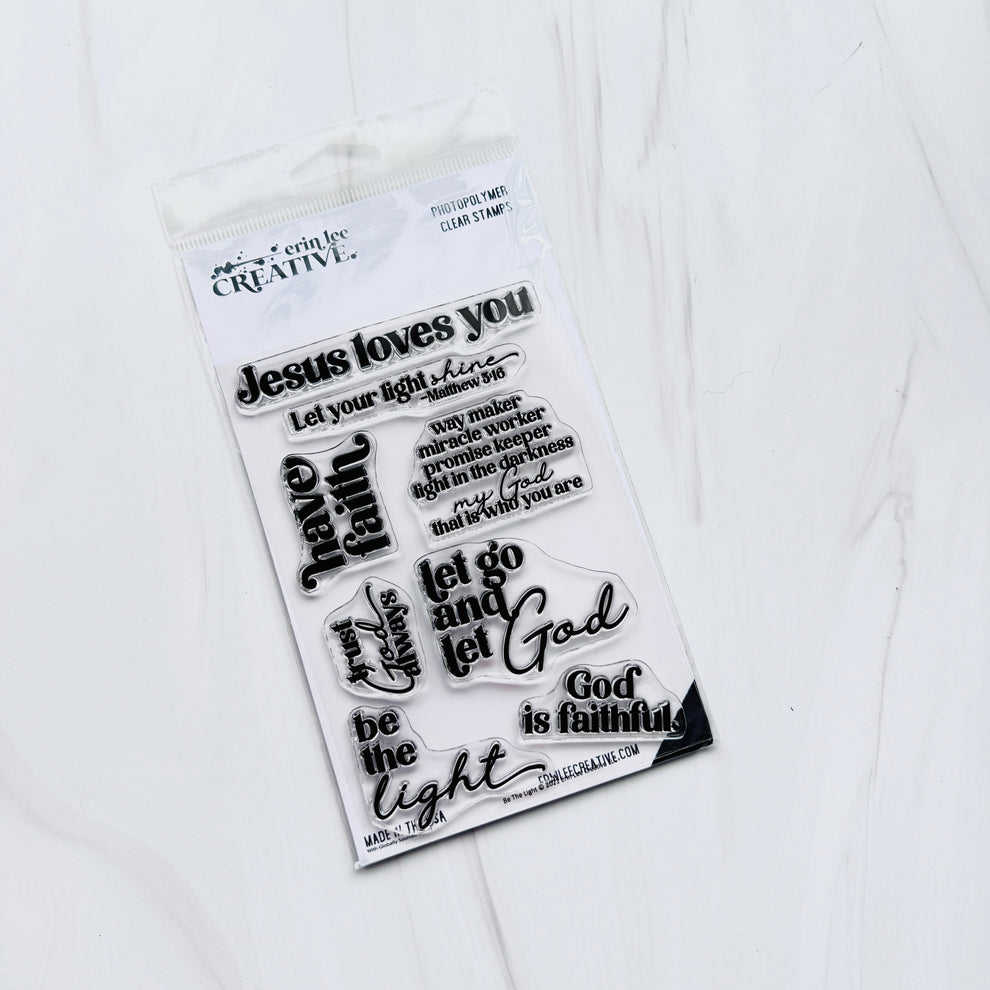
I have never loved a stencil set as much as this one. I've made several cards over the past few months with the Sunset Beach layering stencil from Erin Lee Creative. Erin has a huge sale going on right now with 60% off on the markdown category when you use code SEPTEMBER at checkout. While the layering stencil set is not included in the markdown sale (it is on sale though), the stamp set that I used, "Be The Light", is. I just purchased this stamp set specifically to pair it with my stencil set because I had an idea I wanted to try. With the coupon code, the stamp set is only $6.00! 

I know everyone is sliding into Fall cardmaking, I mean, I am too! However, the ocean, sky and sand were created by God Almighty and has no limitations to the four seasons. Unless of course, you count hurricane season! As I said, this is an inspiration card and my hope is that you are inspired!


(FTC Disclosure: as an affiliate for various companies in the craft industry, I will receive a small commission for purchases made through my convenient affiliate links, at no additional cost to you.)


Let me start by saying, there is no rhyme or reason behind my color choices. I simply start sifting through my inks and just start picking. I will say, I did have in mind for more of an early evening sky transitioning into a night sky theme. 

My inks for the sky are all Catherine Pooler:

Cove Blue, Frosted, Pebble and Slate

My sea also uses CP inks - Cove Blue and Sea Glass

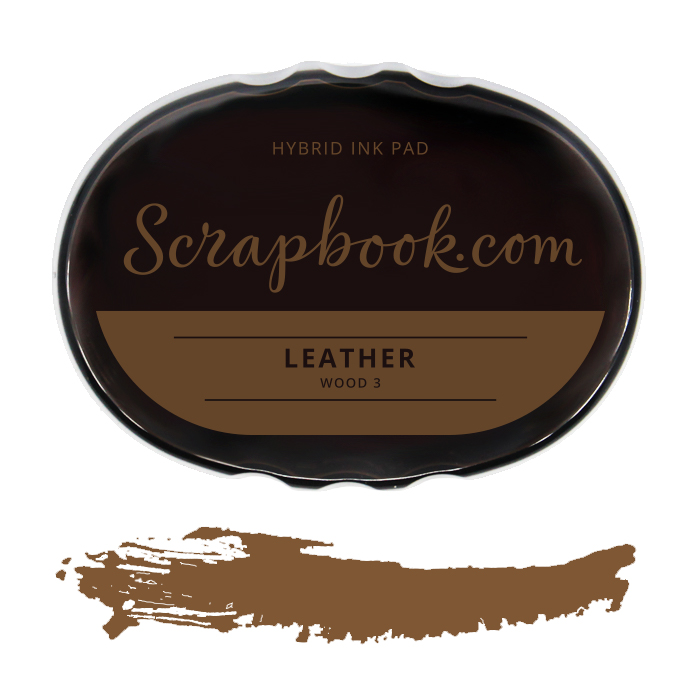
My beach is Scrapbook.com hybrid ink in Leather 


Because this is an inspirational card, I wanted to also create some beams of light shining down from the Heavens. I used my mint tape to create a masked area (beam) so I could ink blend with white pigment ink.

If you try this, make sure you prep your tape if the ink on your cardstock is fresh and not completely dry. I generally lay the tape across my arm to pick up oils from my skin and help prevent the tape from sticking to my surface. Even so, you still need to carefully peel when removing the tape. It's best to have a dry surface but if you're too impatient like myself, these tricks help to avoid pulling up some of your inked surface and you don't want that to happen after all the gorgeous work you put in!

I also added paint splatters to my sky and a bit on the ocean. I see now that one splatter landed squarely on my sentiment, the word "Let". How the heck did that even happen? I laid a trimmed piece of cardstock across my stamped sentiment before splattering, haha.

I also added some glitter glue across the tops of some of my clouds, and also on the ocean. Because, why not? Never hurts to add a little sparkle, if you have some on hand and I have plenty!


All of my elements are adhered flat and my sentiment was stamped directly onto my inked card panel using my stamp positioner. I also chose a dark blue paper as the backdrop to my inked panel.

Let me know if you have any questions. I can't recommend the Be The Light stamp set enough. I'll be using it over and over. It has so many great, encouraging words of faith, lyrics to one of my favorite songs, and the scripture verse that I used above.

As always, I appreciate you using my affiliate links when you browse or shop. It allows Erin to see how customer traffic arrives to her site, and if you decide to make a purchase, I do receive a small commission, a few cents per dollar. Every little bit helps though! There is no additional cost to you, for using my links so thank you for doing so!

I hope you have a fabulous rest of the week! Let me know if you have any questions in the comment section. Or, you can leave a kind word if you wish! Hugs!

Terri

*****************************


Neenah Solar White Cardstock 8.5x11 inch
Shop at:
Scrapbookcom
Neenah Solar White 25 pk Card/Envelope Set A2
Shop at:
Scrapbookcom
Scrapbook.com Hybrid Ink - Black
Shop at:
Scrapbookcom
Catherine Pooler Ink Pad - Sea Glass
Shop at:
Scrapbookcom
Wendy Vecchi Makeart Non-stick Craft Sheet
Shop at:
Scrapbookcom
Exclusive Hybrid Ink Pad - Leather
Shop at:
Scrapbookcom
Refillable Permanent Adhesive Runner - 49 feet
Shop at:
Scrapbookcom
Dylusions Paint Brush Set
Shop at:
Scrapbookcom
Artis Glue
Artis Glue
Shop at:
Scrapbookcom
Exclusive Blending Brushes - Small - 3 pc
Shop at:
Scrapbookcom
Rose Quartz Misti Stamp Positioner
Shop at:
Scrapbookcom
White Pigment Ink
White Pigment Ink
Shop at:
Scrapbookcom
Catherine Pooler Ink Pad - Pebble
Shop at:
Scrapbookcom
Catherine Pooler Ink Pad - Slate
Shop at:
Scrapbookcom
Sunset Beach Layering Stencil Set - 8 pc.
Shop at:
Erin Lee Creative
Spellbinders Splatter White
Shop at:
Scrapbookcom
Neenah Solar White A2 Vertical Cards - 25 pk
Shop at:
Scrapbookcom
Catherine Pooler Ink Pad - Frosted
Shop at:
Scrapbookcom
Catherine Pooler Ink Pad - Cove Blue
Shop at:
Scrapbookcom
Mint Tape - 1 inch roll - 11 yards
Shop at:
Scrapbookcom
Be The Light Stamp Set
Shop at:
Erin Lee Creative
Pops of Color Glitter Glue - Snowflake
Shop at:
Scrapbookcom
Jewels A2 Paper Pad
Jewels A2 Paper Pad
Shop at:
Scrapbookcom


#wavingmywand #erinleecreative #bethelight #sunsetbeach #scripturecards #inspirational #cards #encouragement #bibleverse #inkblending #cardmaking #layeredstencils