I hope you're not bored with all the thank you cards that I've been creating, because the graduation gifts continue to roll in for my Senior! Today's project pairs a couple different digital stamp sets from Polka Dot Orchard; Happiness in a Cup and the sentiment from Spring Blessings. Scroll down for a few creative details.
(FTC Disclosure: as an affiliate for various companies in the craft industry, I will receive a small commission for purchases made through my convenient affiliate links. This does not affect your purchase price.)
Digital images have really gained momentum in recent years and show no sign of slowing down. Many stamp companies are now offering digital images in additional to traditional clear or rubber stamps. Within the last year, numerous graphic designers have branched out with their own line of digital products. Low overhead costs allow for savings passed on to hungry consumers that are always looking for something new to spark their creative outlets. Card makers love the ease of printing and coloring, making multiples faster and the ability to customize the graphic to fit their needs, yours truly, included!
If you've never tried working with digital images, you really don't know what you're missing. I've been working with digital products for years and I've discovered a few things along the way. Let me share a couple of those with you today.
As you can see in the product photo above, the Happiness in a Cup floral image is simple enough for anyone on any level of artistry to color. Even your kids can color it without any difficulty. Depending on your skill level, you can go simplistic, or create a masterpiece! Knowledge is power in the digital world so here's a few tips.
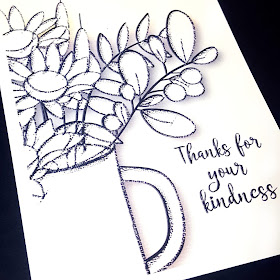
I don't use anything fancy like Photoshop or fancy die cut machines that print and cut. I use Microsoft Word. That's right, plain and simple Microsoft Word. When you purchase your graphic images, you are able to download them to your computer. You then can upload them into a blank Word document and insert as a picture. Just go find the folder you saved your image in and select and add to your document. I decided to offset my image, off the cardstock, using a border, when printing.
As you can see in the photo above, I chose to augment my image with a more grunge look. It's easy peasy and here's how. Once you've added your image to your Word document and sized it as you wish, tap on the picture with your mouse and a format section will pop up on your toolbar. Next, choose artistic effect. There's an entire selection of images that will change your outlined image. Just tap whichever image you like. It won't save the changes until you save your document so you can tap on all the images if you want, and see which one you like the best. Or don't change anything at all! These are just options available to you. Also on the format toolbar is a picture effect button. Here, you can add shadows, glows or reflections of image and so much more. Just play around with it.
I did end up placing a shadow behind my image and it's hard to see in the first photo but you can see it better in the photo above. I tried the new #100 lb cardstock from Simon Hurley to test watercoloring and painting and it worked beautifully.I tried not to oversaturate the paper and didn't have any problems with buckling or warping. Also, for my sentiment, I needed to stagger it, so I simply inserted, then copied it three times, using the crop feature by right clicking with my mouse and cropping some of the words. To move them around the page, sometimes you need to right click your mouse and select to wrap text in front. I find that it's always easier to move images around the page when I use the wrap text feature.
I used my Altenew pan watercolor paints to color and embellished with acrylic paint in white and brown for my flower centers, tapping in the paint with the tip of a paintbrush, dotting it for the effects you see. Brown paint splatters adorn the card in some of the white space, as well. I also mixed a bit of white paint with some of my other colors for various light effects.
For my cup, I placed some washi tape along the sides of the cup and did some ink blending with Catherine Pooler Daydream Ink. It is a water reactive ink and as you can see, I added some water splashes to my cup. To finish my card, I trimmed along the border edge and used black cardstock as a backdrop and adhered to my 5x7 card.
I hope I haven't overwhelmed you with too much information but like I said, knowledge is power, right? Thanks so much for hanging in there with me and if you have any questions, please feel free to ask in the comment section. Or leave a little love as well. I love reading your comments! See you next time...... Terri
Affiliate product links are listed throughout this post. Click on the link to go directly to the product. I do receive a small commission at no extra cost to you, if you make a purchase.
 Prima Finnabair 7 pc brush set Shop at: Scrapbook.com |
 Ranger Ink Inkssentials 2 oz mister spray bottle Shop at: Scrapbook.com |
 Scrapbook Adhesives by 3L EZ Grand Ultra Refill - Clear Shop at: Scrapbook.com |
 Lawn Fawn Black Licorice 8.5x11 in 100 lb cardstock Shop at: Scrapbook.com |
 Scrapbook Adhesives by 3L E-Z Grand Runner Shop at: Simon Says Stamp |
 Waffle Flower Crafts Water Media Mat Shop at: Scrapbook.com |
 Picket Fence Studios Life Changing Blender Brushes Shop at: Simon Says Stamp |
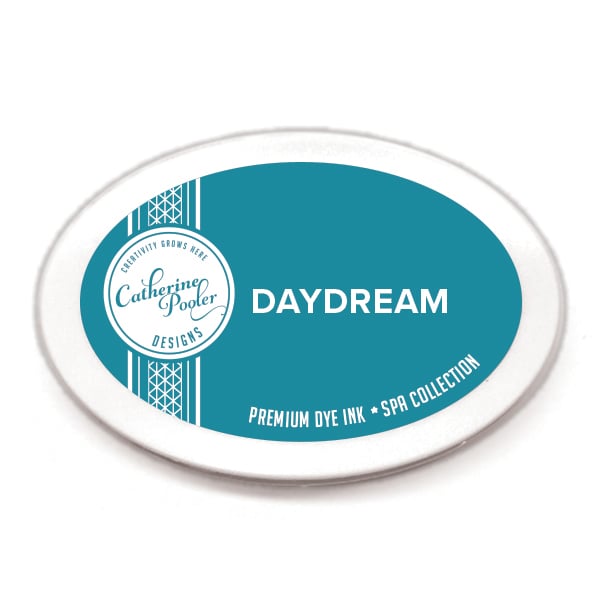 Catherine Pooler Ink Daydream Shop at: Scrapbook.com |
 Picket Fence Studios Life Changing Blender Brushes Shop at: Scrapbook.com |
 Nuvo Crystal Drops Morning Dew Shop at: Scrapbook.com |
 Scrapbook.com Round Tip Water Brush Set 3 pk Shop at: Scrapbook.com |
 Tonic Studios Craft Perfect 5x7 Card/Envelope 10 pc set Shop at: Scrapbook.com |
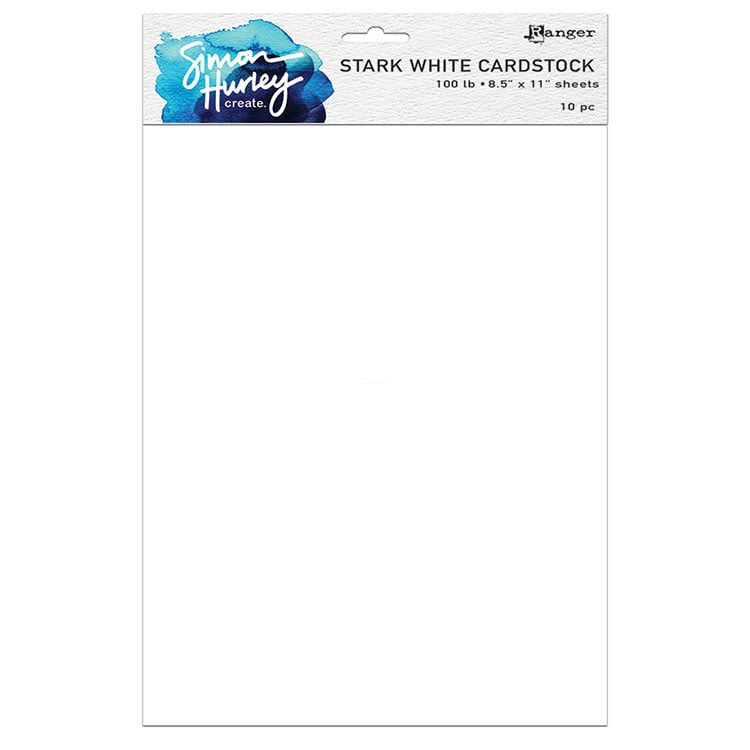 Ranger Ink Simon Hurley Stark White Cardstock 100 lb Shop at: Scrapbook.com |
 Altenew 6 pan Watercolor Set Shop at: Scrapbook.com |
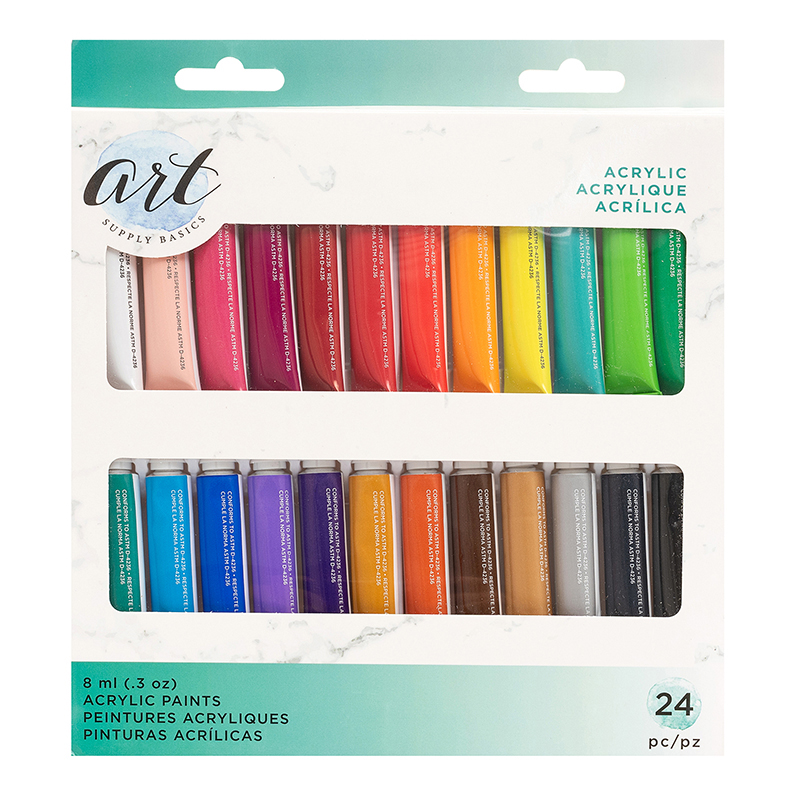 American Crafts Professional Acrylic Paint Set Shop at: Scrapbook.com |
#wavingmywand #polkadotorchard #happinessinacup #digitalimages #digitalstamps #sunflowers #floral #flowers #rangerink #altenew #catherinepoolerink #simonhurley #tonicstudios #picketfence #blenderbrushes #waffleflowercrafts #watermediamat #lawnfawn #scrapbookcom #papercrafts #cards #thankyou #gratitude #DIY #watercolor #paint #americancrafts #acrylicpaint #scrapbookadhesivesby3L


Excellent tips, thanks for sharing. Your card is gorgeous.
ReplyDeleteThank you so much.
DeleteWhat a gorgeous card Terri! I love how you altered the edges in your computer to create a beautifully grungy look! So clever!
ReplyDeleteThanks girl. That was a lot of information I threw at you guys, lol!
ReplyDelete