Disclosure for Affiliate Links

Thursday, October 10, 2024

Fall Inspiration Instagram Hop

I'm excited to join a special Instagram hop today, organized by my super talented friend Bobbie Sue McConathy. All the designers on this hop have created Fall inspired cards and if you haven't heard me say this before, Fall is my favorite season of the year! Today's card features products from Spellbinders, Catherine Pooler, Sizzix, Echo Park Paper, Scrapbookcom, Ranger Ink and Picket Fence Studios. You also have a chance to win a prize on this hop. Scroll down for creative details, I have lots! 

(Craft alert!! Confession time below, you won't believe what I did!)


(FTC Disclosure: as an affiliate for various companies in the craft industry, I will receive a small commission for purchases made through my convenient affiliate links, at no additional cost to you.)


I used a lot of techniques for my card: dry embossing, stamping, ink smooshing and die cutting. The stamp set is from Catherine Pooler's Inside Out Gratitude Sentiments

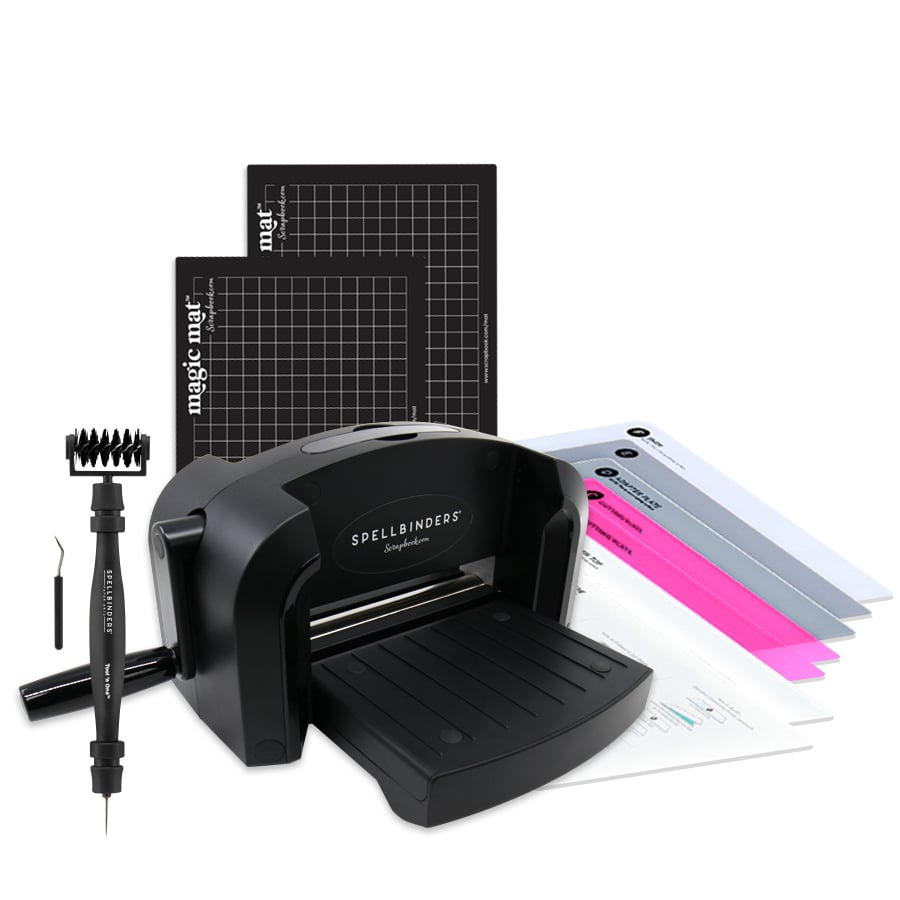
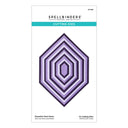
In addition, I used my Spellbinders Hexi-Gem dies with my Platinum 6 die cut machine, to create a layered frame for my stamped sentiment. 

I chose lots of neutral colors to pair with my black gingham paper, pulled from one of my Echo Park Paper scrapbook collections called Little Ladybug.


I thought it might be fun to pull the plaid into my sentiment as well, and had the idea to trim a piece of my gingham paper, then trim off two corners and offset them at the top and bottom of my hexagon shape.  It really helped to create a lovely boundary for my sentiment. I can see myself creating lots of these framed designs as focal pieces for my cards in the future. I love the look!

For my leaves, I did some ink smooshing with Ranger Ink using these colors:

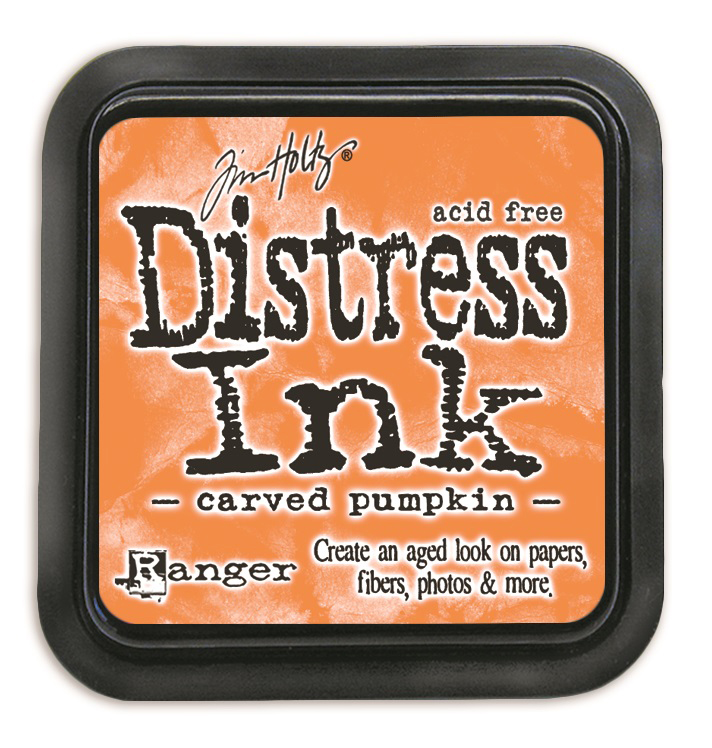
Distress Carved Pumpkin
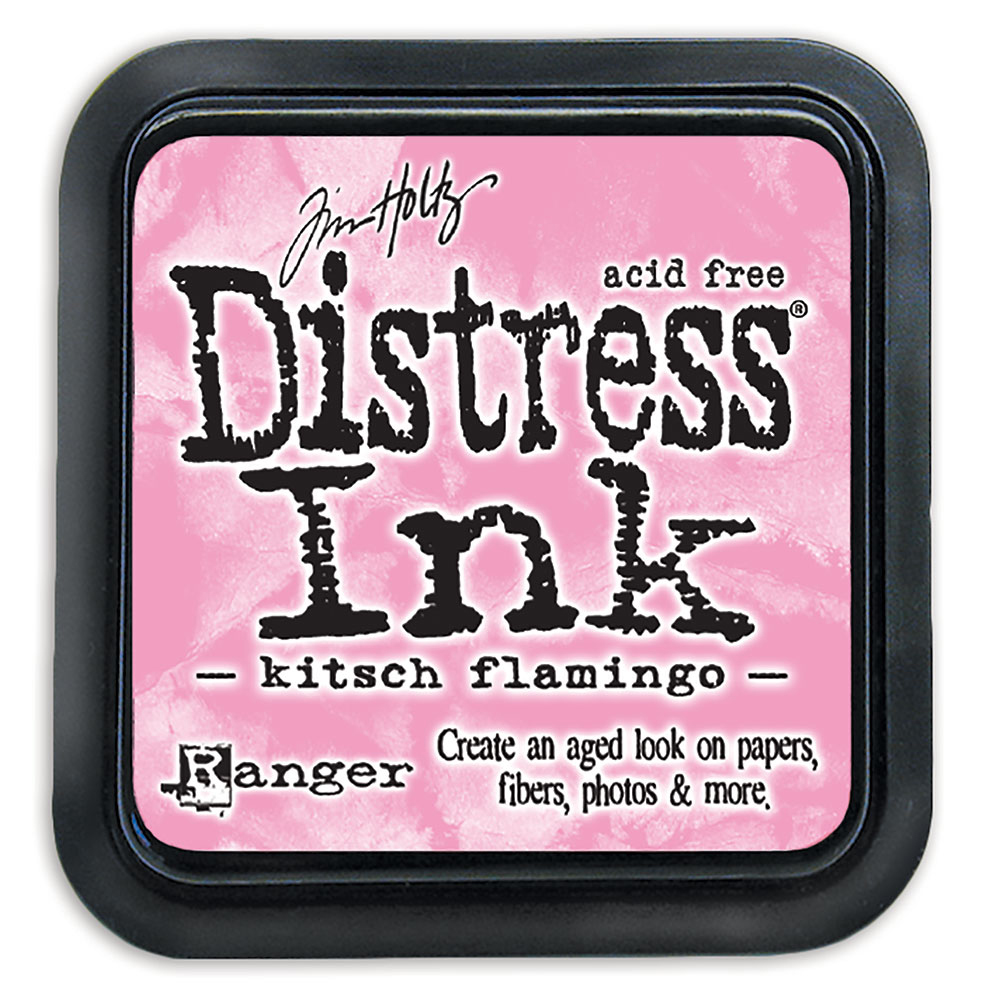
Distress Kitsch Flamingo
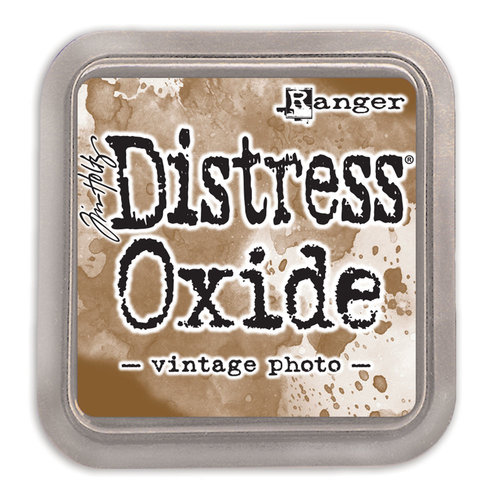
Distress Oxide Vintage Photo
Distress Oxide Wild Honey
 + Jack O'Lantern Distress Mica Stain (splattered)

If you've never tried ink smooshing, it's a lot of fun! You need a craft mat, a water spritzer, ink and a craft heat tool. Just press your ink pads onto the craft mat (one color at a time), spritz with a little water, then dab your white cardstock randomly into the mix. Only ink smoosh one color at a time, then heat set, then the next color and so on.

Once I was done ink smooshing and drying my other colors, I unscrewed my Ranger Mica Stain and tapped the tube feeder to sprinkle droplets all around my inked cardstock. It leaves a dark orange reddish hue that has lots of shimmer and shine.

OK, CONFESSION TIME!!! You know, sometimes as crafters/cardmakers, we have to make lemons out of lemonade, right? Well I went to visit my dad on a Saturday, took some of my supplies to make these leaves while I was there because I knew he'd take a nap and then I would be bored, haha.

So, I start ink smooshing and lo and behold I left my heat tool at home. What's a girl to do? Hmmmm.....I wonder if I could dry these in the microwave. I guess you can see where this is going. I did however, use a heavyweight mixed media cardstock for my leaves, so I don't know if this would work as well for lightweight cardstock. I wouldn't want you to set the microwave on fire. I placed my inky cardstock in the microwave and did 5 second increments. After a total of 10 seconds, it was mostly dry. There were a few tiny spots that I just blotted with a paper towel and then I proceeded on to ink smoosh the next color and repeat the microwaving.

I can't believe I microwaved my inky card panel, but there you have it folks. Lemons out of lemonade!


Next, I used a leaf die from one of my Sizzix/49 and Market stamp/die sets to cut the leaves from my ink smooshed card panel. I also cut some leaves on black cardstock and used it as staggered backing for a shadow effect. They're popped up an adhesive foam strips as well. My backdrop is a tan colored paper from one of my Scrapbookcom Christmas paper pads, embossed with my Spellbinders Circle Illusion 3D embossing folder for more visual appeal. 

Lastly, I glued some embellishments from a Picket Fence Studio Halloween Sequin Mix. This is an A2 sized vertical card, so some of my papers were trimmed to fit and layer within those dimensions.

Thanks so much for hanging with me today! Make sure you stop by the Instagram hop and follow the requirements to be entered to win a prize! The hop begins today, Oct. 10th at 10 am EST.

(Clickable shopping links below)

Terri

*******************************


Neenah A2  Solar White Card/Env. 25 pc set
Neenah A2 Solar White Card/Env. 25 pc set
Shop at:
Scrapbookcom
Neenah Card Front Solar White 5.5 x 4.25 inch 25 pk
Shop at:
Scrapbookcom
Ranger Ink Distress Ink Vintage Photo
Shop at:
Scrapbookcom
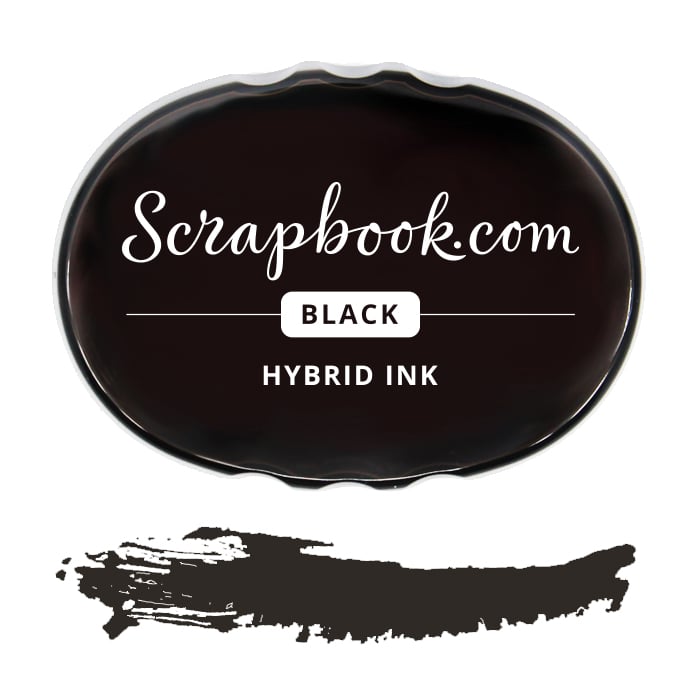
Scrapbook.com Hybrid Ink - Black
Shop at:
Scrapbookcom
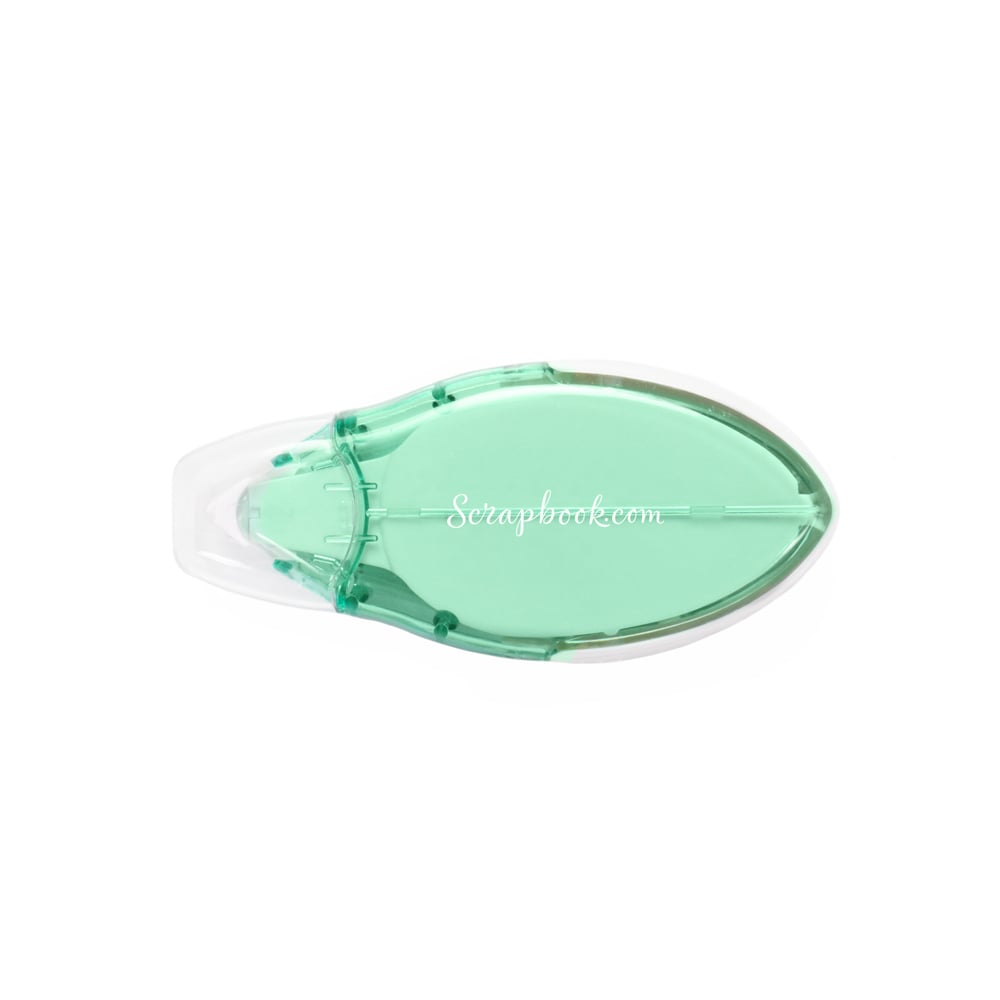
Refillable Permanent Adhesive Runner - 49 feet
Shop at:
Scrapbookcom
Exclusive Black Platinum 6 Die Cut System
Shop at:
Scrapbookcom
3D Circle Illusion Embossing Folder
Shop at:
Scrapbookcom | Spellbinders
Essential Hexi-Gems Etched Dies
Shop at:
Scrapbookcom | Spellbinders
Exclusive Neenah White A2 Vertical Cards 25 ct
Shop at:
Scrapbookcom
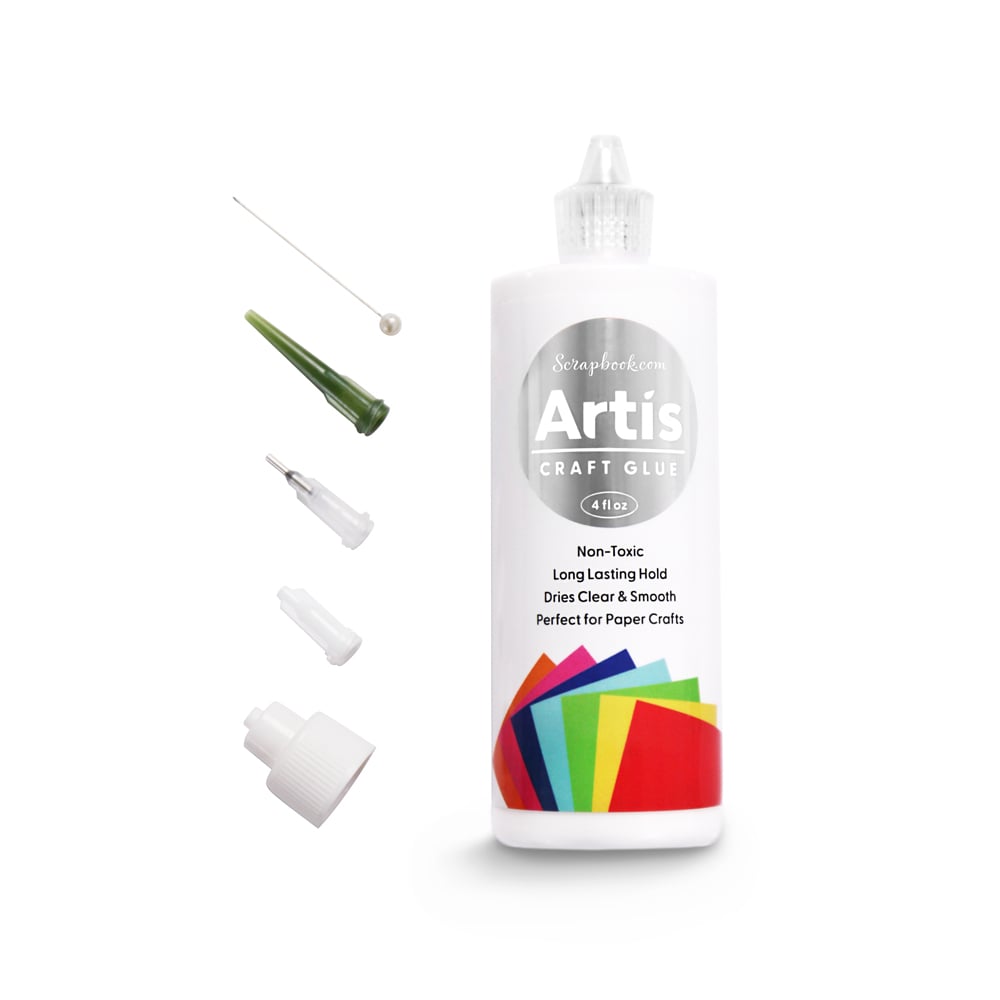
Artis Craft Glue - Only at Scrapbookcom
Shop at:
Scrapbookcom
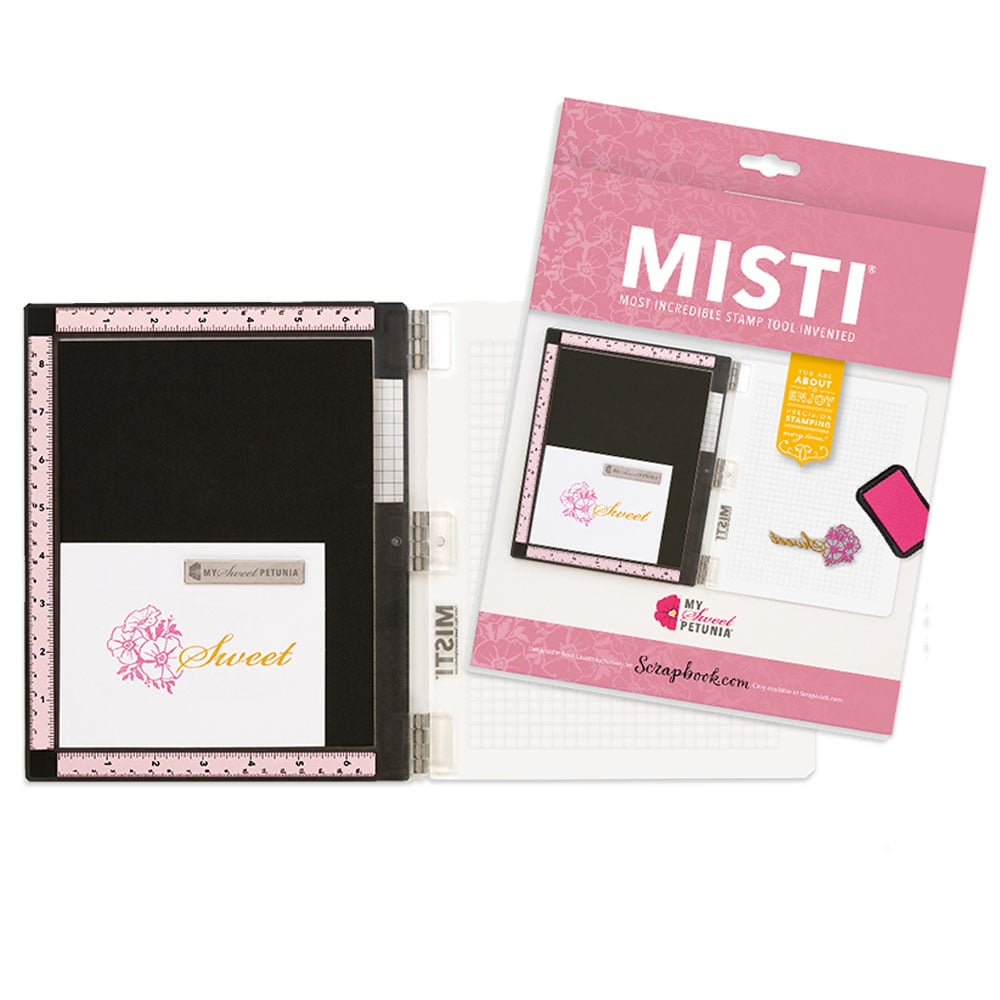
Exlusive Pink Mini Misti Stamp Positioner
Shop at:
Scrapbookcom
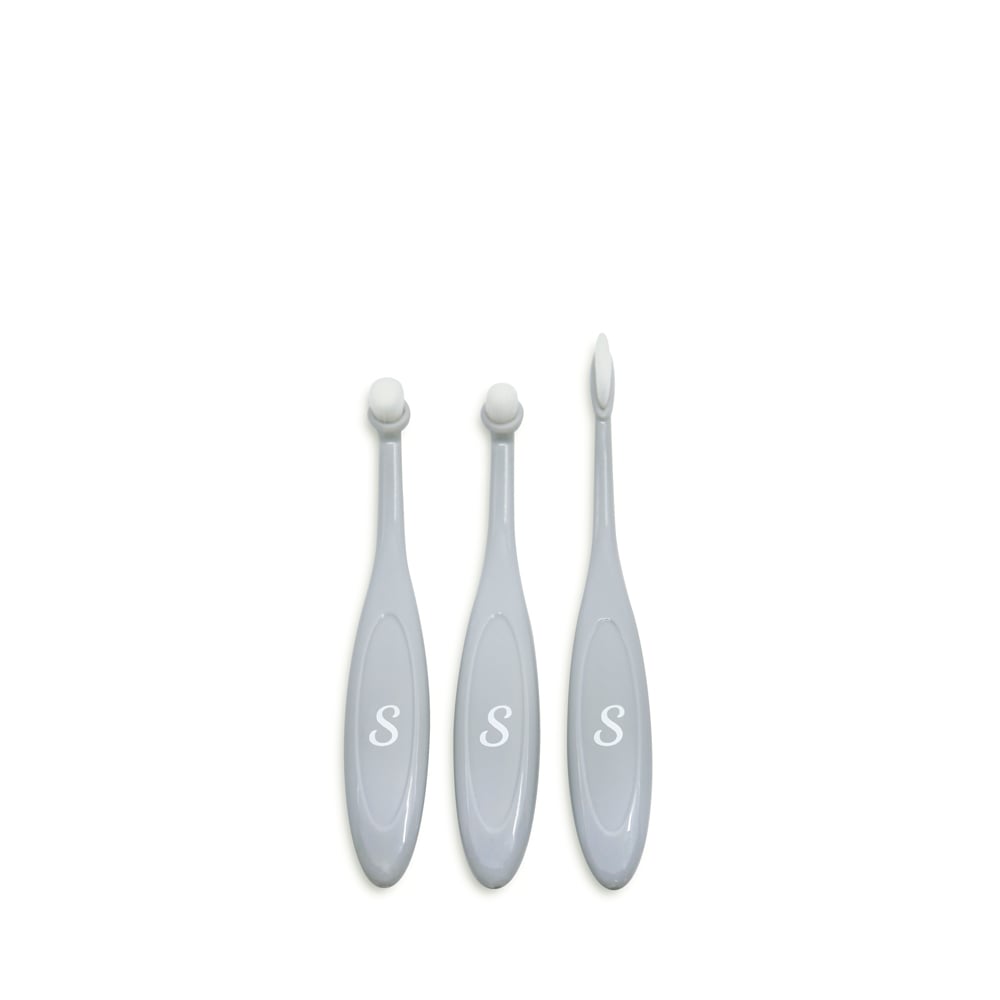
Exclusive Tiny Details Blending Brushes - 3 pk
Shop at:
Scrapbookcom
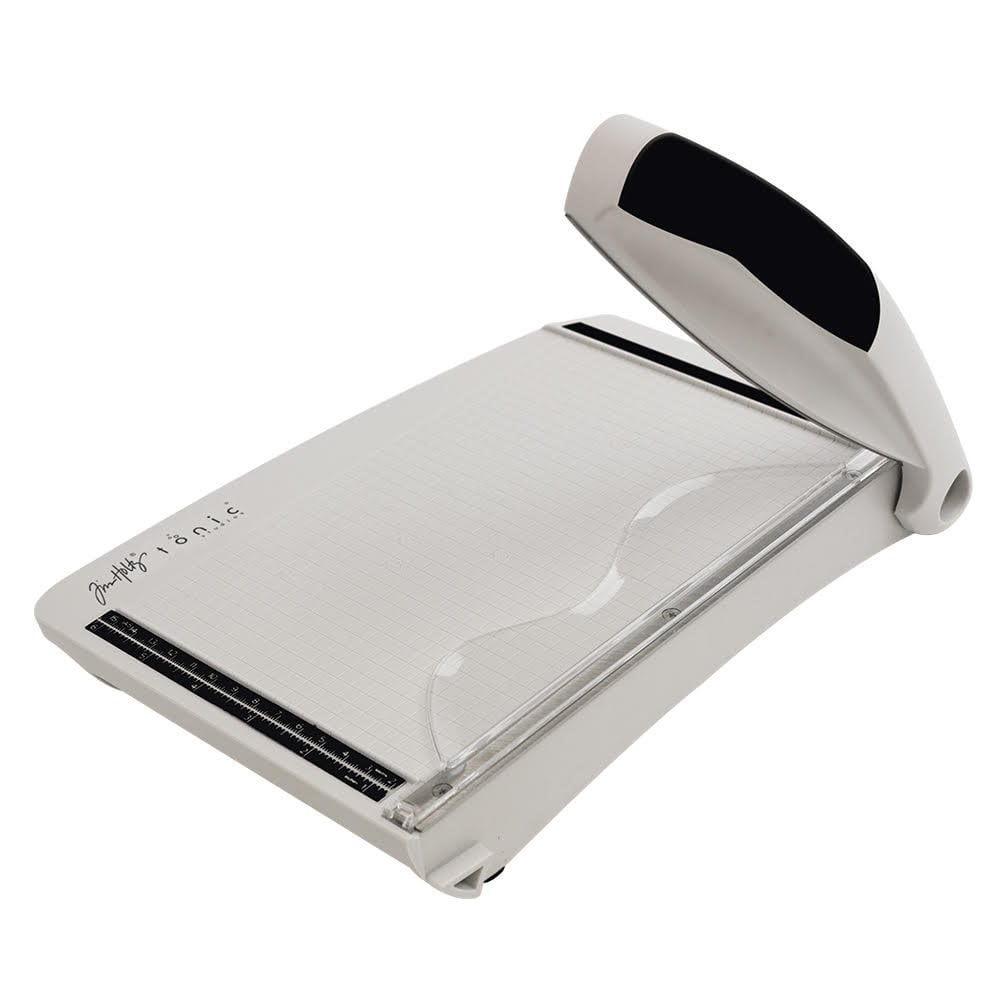
Tonic Studios Tim Holtz Comfort Trimmer 8.5 Inch
Shop at:
Scrapbookcom
Project Grip Mat Large - White - 24x18 inch
Shop at:
Scrapbookcom
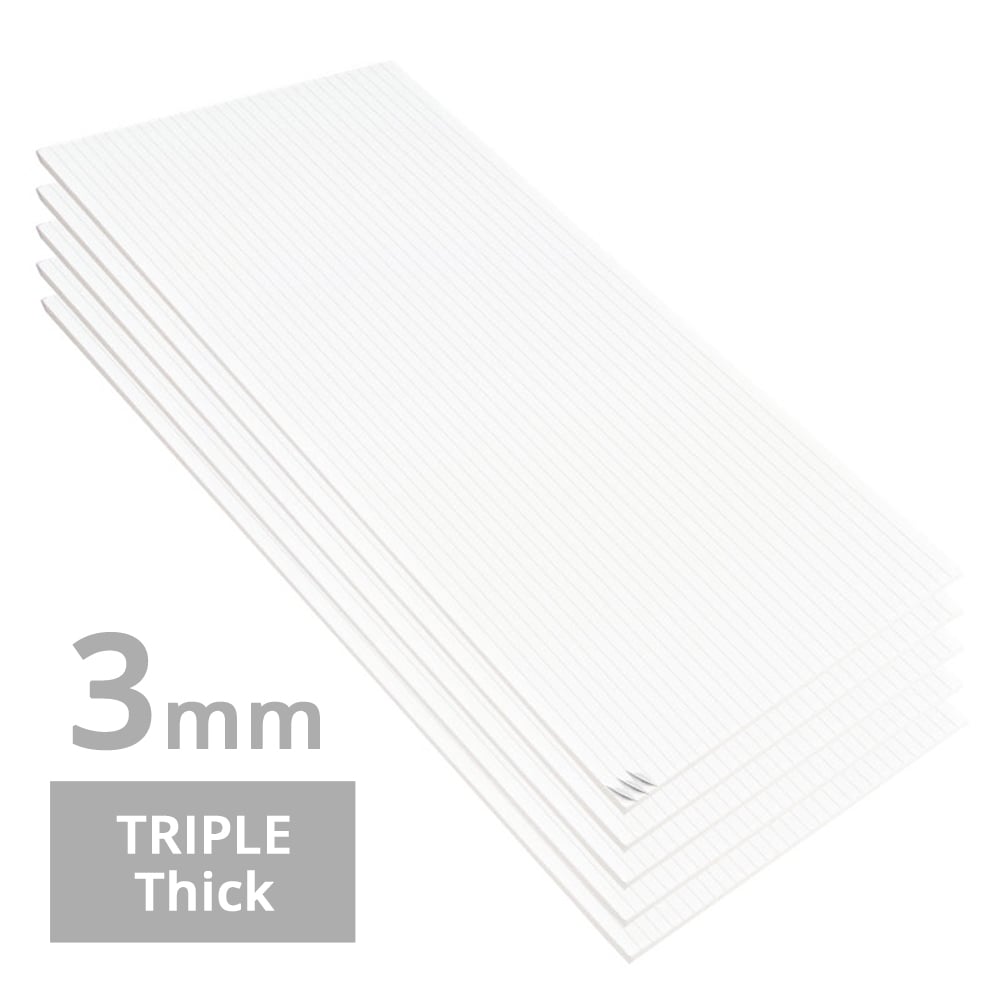
3 mm Adhesive Strips - 160 strips
Shop at:
Scrapbookcom
Noel Patterned  Paper Pad - 6x8 inch
Noel Patterned Paper Pad - 6x8 inch
Shop at:
Scrapbookcom
Ranger Distress Ink Pad - Carved Pumpkin
Shop at:
Scrapbookcom
Pink Stamp Cleaning Shammy
Shop at:
Scrapbookcom
Sky Blue Stamp Cleaning Shammy
Shop at:
Scrapbookcom
Sizzix/49 and Market Pencil Line Harvest Stamps/Framelits Dies
Shop at:
Scrapbookcom
Exclusive Magnet Mat
Shop at:
Scrapbookcom
Catherine Pooler Inside Out Gratitude Sentiments
Shop at:
Scrapbookcom | Catherine Pooler
Echo Park Paper Black Gingham Sheet Double/Sided
Shop at:
Scrapbookcom
Ranger Ink Distress Mica Stain - Jack O'Lantern
Shop at:
Scrapbookcom
Ranger Wild Honey Distress Oxide Ink Pad
Shop at:
Scrapbookcom
Ranger Kitsch Flamingo Distress Oxide Ink Pad
Shop at:
Scrapbookcom
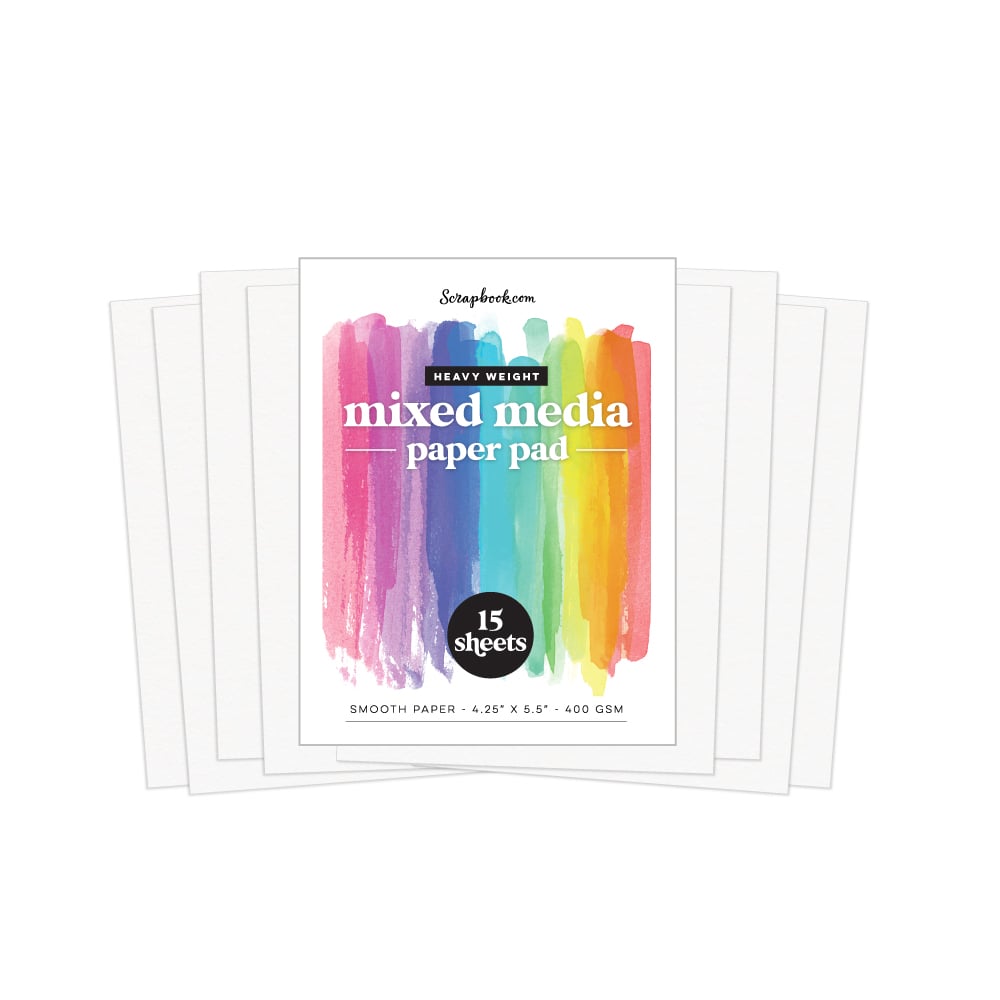
White Mixed Media Heavyweight Cardstock - A2
Shop at:
Scrapbookcom
Picket Fence Studios Halloween Mix - October 31st
Shop at:
Scrapbookcom


#wavingmywand #instagramhop #Fall #Autumn #fallcards #cardinspiration #autumnleaves #fallleaves #scrapbookcom #spellbinders #cattherinepooler #sizzix #49andmarket #cardtechniques #stamping #embossing #inksmooshing #echoparkpaper #gingham #scrapbookpaper #littleladybug #confettimix #sequinmix #shakermix #gratitude #picketfencestudios #halloween #rangerink


4 comments:

  1. Beautiful card Terri. Good for you and your improvising. I once had to use a toaster for heat embossing, I would not recommend it though.

    ReplyDelete
  2. Yes, we had a good visit, Thanks Vanessa!

    ReplyDelete
  3. I love the fall colors against the gingham-so striking!

    ReplyDelete

(Ignore the robot caption feature and just click submit for your comments. It's a blogger glitch) I appreciate each and every comment. Thank you so much!