Monday, December 12, 2022

Layered Windmill Shaped Card for Spellbinders

I'm featuring a shaped card today, created with products from the Spellbinders new release "Home Sweet Quilt". If you love detailing, then this project is for you. I'll share an option for a little less detailing as well, so no worries if patience is not your thing, haha. Scroll down for a few creative details!


(FTC Disclosure: as an affiliate for various companies in the craft industry, I will receive a small commission for purchases made through my convenient affiliate links, at no additional cost to you.)


First, you'll need to fold an 8.5x11 inch piece of white cardstock in half and burnish the fold with a scoring tool. Place the outline frame just above the fold and run through your Platinum 6 die cut machine or other manual die cut machine.


Trim white cardstock for a coordinating card panel and apply an adhesive sheet to the top. After running through your die cut machine, peel off the top layer of your adhesive sheet.

Next, place your insert dies inside the frame and cut on your desired colors of cardstock or paper, depending on how many colors you want to use. I chose white, kraft, dark green and navy ( Jewel Paper Pad from Scrapbookcom).


It's best to work with one color at a time. I lightly adhered my entire white cardstock cuts to my card panel, then cut one color at a time, using the sharp point of my Tool N One to remove the white pieces that I wanted to swap with other colors. The adhesive sheet is tacky but not too tacky, so removing the pieces and replacing with other colors was a breeze.


Here's your bonus tip: If you prefer not to inlay the pieces to save time, you can simply pop out the bits and pieces and back your frame outline with colored cardstock.


Make sure you keep up with all those itty bitty pieces while you're working as they can easily get lost. I'll admit, this took a good bit of time but it was well worth it!


I created my sentiment using pieces from the Glimmering Just For You set, part of the Floral Reflections collection. I used black hot foil with my Glimmer Hot Foil system and Specialty Glimmer cardstock


The center "flower" was created by hand trimming a circle from a section of adhesive foam. Once I peeled off  the top, I applied DMC variegated floss to the top in a circular pattern, working my way from the outside in to the center. I topped it with a Buttons Galore half pearl, adhering with my hot glue gun.

The leaf stems are from the Sealed Wildflowers die set, cut on green cardstock and tucked under my adhesive foam center, after peeling the bottom layer off.


I hope this inspires you to take a little time for yourself, relax and get some detailing done. The recipient of your work will love that you put so much effort into your creation! Check out the Home Sweet Quilt collection here. You can click on any of the highlighted text to go directly to the products through my affiliate links. Thanks so much for stopping by!

Terri


#wavingmywand #spellbinders #teamspellbinders #homesweetquilt #neverstopmaking #glimmerhotfoilsystem #hotfoiling #foiling #windmill #layeredwindmill #floralreflections #glimmeringjustforyou #papercrafts #cardmaking #diycards #paperpiecing #platinum6 #scrapbookcom #cards #encouragementcards #friendshipcards #gratitudecards #thankyoucards #sealedwildflowers #buttonsgalore

Tuesday, December 6, 2022

Stained Glass Angel Ornaments for Spellbinders

Hello cardmakers. The Home Sweet Quilt Collection by Becca Feeken is live at Spellinders and I've taken some liberties with today's project, creating some angel ornaments. I love when you can find other ways to use products, don't you? I've got some tips for putting these together below. 


(FTC Disclosure: as an affiliate for various companies in the craft industry, I will receive a small commission for purchases made through my convenient affiliate links, at no additional cost to you.)


I'm creating with the Quilted Stained Glass Window die set today. To begin, I cut several outline die cuts on black cardstock, making extras to back my finished piece and hide the burlap string. I adhered adhesive sheets before cutting my outline die cuts as well.


Next, I peeled the top off my adhesive liner and applied the black stain glass die cut to my sticky outline. Make sure you pop out all the black pieces and save them for another project if you wish.

I cut 4 different colors of paper using the stain glass die and filled in my empty spaces. I found it easier to use my Spellbinder Tool N One to carefully pop out only one row of colors that I planned to use at a time, while still intact with my die after cutting.


I also used kraft paper and partially ran my stain glass die through my Platinum 6 machine to get those circle faces. 

There's a stitched piece included with the Quilted Stained Glass Window die set just below the stitched banner in the photo below, a stitched flower stem. I die cut two of those and foiled one with my Spellbinders gold foil, simply by running adhesive over it and applying the foil directly. I trimmed pieces to make my angel halos and also trimmed some unfoiled pieces to make the angel "hands" which appear to be holding the banner. Total McGuyver stuff, haha. If you've never seen the old McGuyver tv series, then I'm really showing my age!


I also die cut several of the stitched banners and stamped a sentiment from the Hand Made Holidays clear stamp set. It was a stacked sentiment, so to make it work, I cut my sentiment with scissors and curved it on my Misti stamp positioner to make it fit my banner. It will still stamp properly, the next time I use this sentiment, no worries!

My angel wings were created using the stitched flower insert and outline and I cut these in two different colors. Aren't they the cutest wings? I adhered the burlap string to the back of my angel and made a double loop to hang.


I love how these sweet angels turned out and I hope you'll give this project a try. If you have any other questions, please leave them in the comment section so I can respond, or find this project on my other social media sites and leave your questions.

You'll find affiliate product links scattered throughout this post. If you wish to do any shopping, I appreciate you using these links. There's no additional cost for you to do so. Thanks so much for stopping by!


#wavingmywand #spellbinders #neverstopmaking #foiling #homesweetquilt #quiltedstainedglasswindow #angelornaments #christmasornaments #angels #paperangels #stainedglass #diecutting #stamping #DIYcards #scrapbookcom #platinum6 #cardmakersofinstagram #cardmakersoftiktok #beccafeeken

Friday, November 11, 2022

Water Colored Winter Bird with Dry Emboss for Spellbinders

What is your favorite coloring technique? Without a doubt, mine is water coloring, although it seems I don't spend as much time as I'd like with this medium. The thing that I love about it is layering and building color and depth. I've really been into creating cards with warm tones lately, and this trend continues with today's card.

For this project, I paired products from the Spellbinders/Simon Hurley Joyful Christmas collection and Floral Reflection collection, featuring the Tile Reflection 3D Embossing Folder. Scroll down for creative details!


(FTC Disclosure: as an affiliate for various companies in the craft industry, I will receive a small commission for purchases made through my convenient affiliate links, at no additional cost to you.)


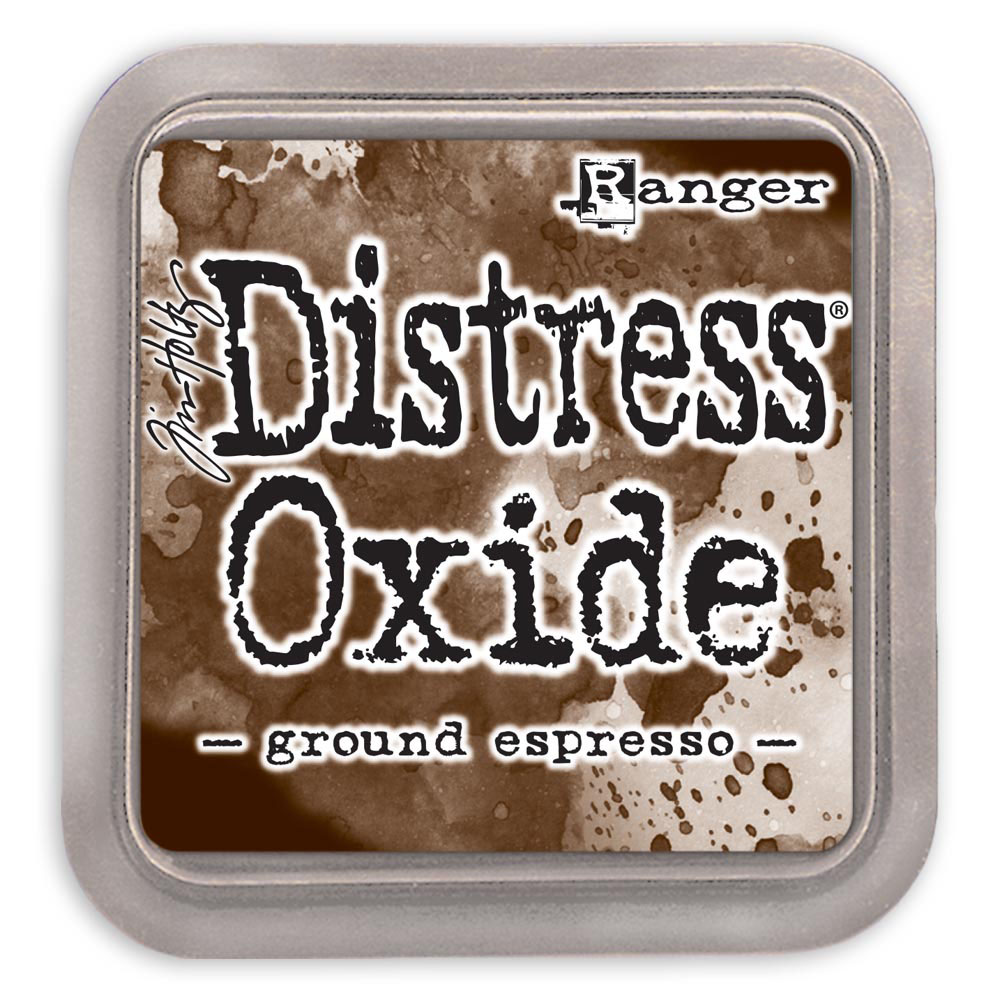
I started by tearing edges off an A2 sized piece of Strathmore watercolor paper, because I wanted a distressed look. I ended up with a 3 1/4 by 5 inch watercolor panel. I used the smooshing technique for this panel which involves pressing an ink pad (preferably water based) onto a craft mat, then spritzing with a little water. Just randomly press your card or paper into the mixture, then heat dry. The ink that I used was Ranger Distress Ground Expresso and Oxide Ink.


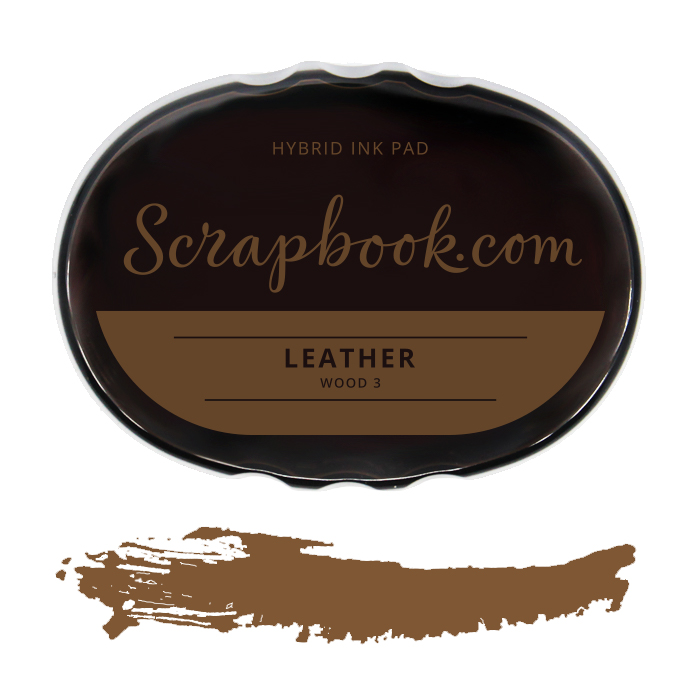
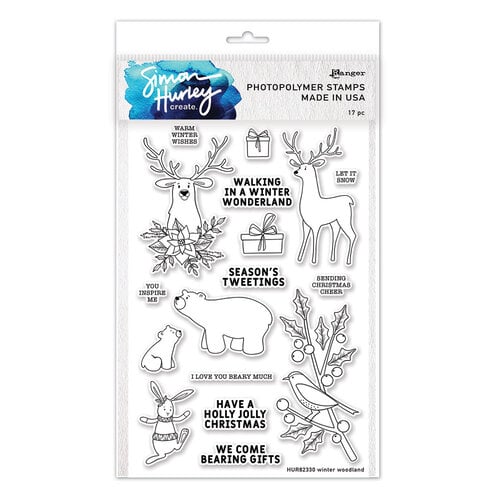
Next, I stamped my image from Winter Woodland using my hybrid ink pad from Scrapbookcom called Leather. Hybrid inks are good for water coloring or coloring with alcohol inks. Stamping with this color ink gives more of a no-line coloring effect and realism.

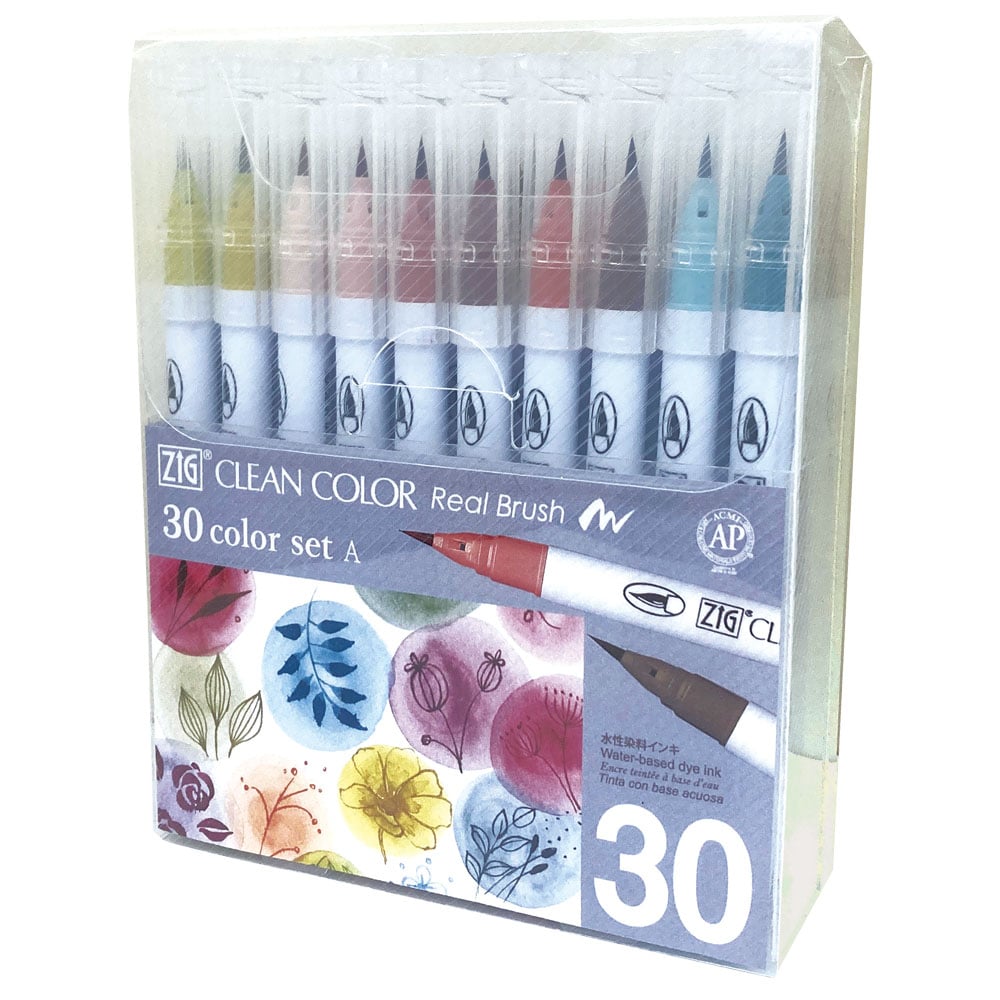
I used my Kuretake Zig brush markers from the Smoky collection for the coloring of my image. Just swipe on a craft mat and grab the color with a wet detailed paintbrush.

You can see a reel that I posted on Instagram using these colors here.

To give my berries a "frosted" look, I used a white gel pen. I also dotted some on my bird.


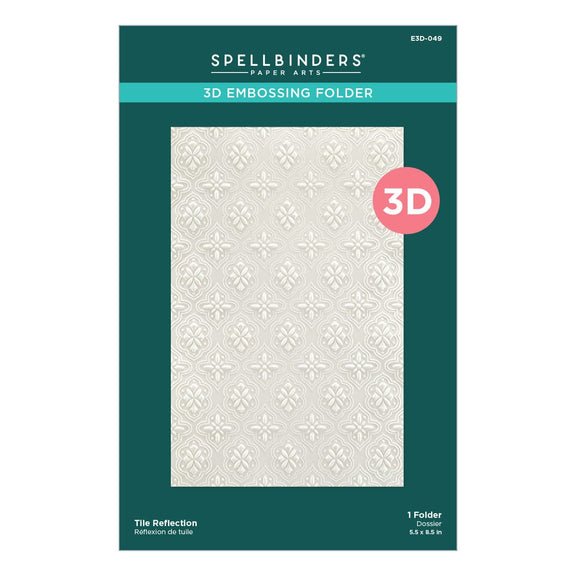
My background panel was embossed using the new Tile Reflections embossing folder and I also embossed my watercolor panel around the edges. To make it pop a little more, I used my finger to grab white pigment ink from my ink pad and rub directly onto the embossed images.

It adds so much more interest, don't you think?


Lastly, I mounted my watercolor panel with adhesive foam, then added a fussy cut, stamped sentiment, also mounted on foam. The total dimensions of my card were 4 1/4 x 6 inches.

Thanks so much for stopping by. I've scattered affiliate product links throughout this post and you can just click on them to go directly to the product for more details or to do a little shopping for yourself! I also have many of the products linked below that were used for this project.

See you next time..... Terri

************************************************

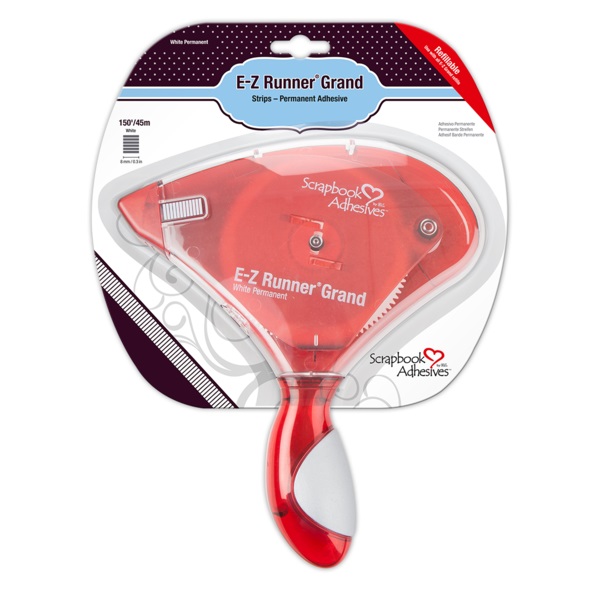
Scrapbook Adhesives by 3L EZ Grand Runner
Shop at:
Scrapbookcom
Neenah Solar White Cardstock 8.5x11 inch
Shop at:
Scrapbookcom
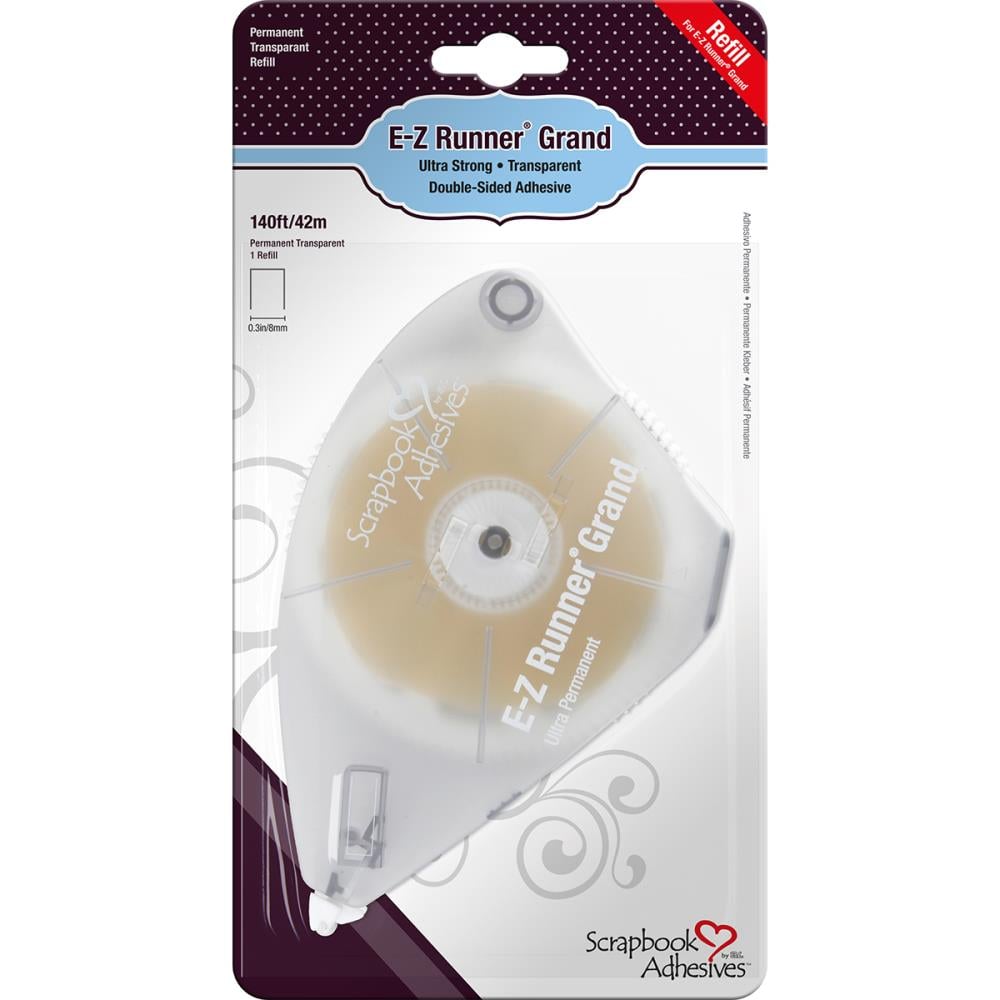
Scrapbook Adhesives by 3L EZ Runner Grand Refill
Shop at:
Scrapbookcom
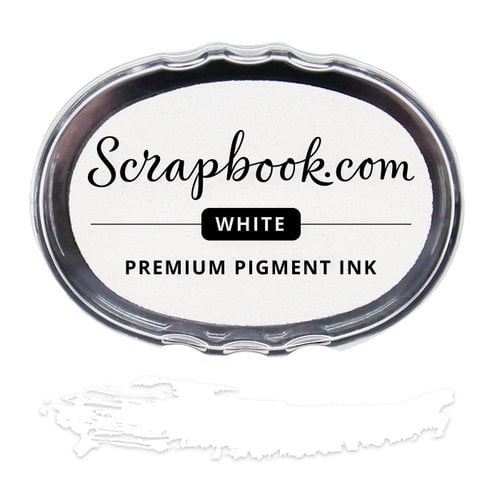
Premium Pigment Ink- Pure White
Shop at:
Scrapbookcom
Scrapbook.com Hybrid Ink - Black
Shop at:
Scrapbookcom
Wendy Vecchi Make Art Stay-tion
Shop at:
Scrapbookcom
Ranger Ink Tim Holtz Water Brush - Detailer
Shop at:
Scrapbookcom | Ranger Ink
Wendy Vecchi Makeart Non-stick Craft Sheet
Shop at:
Scrapbookcom | Ranger Ink
Exclusive Hybrid Ink Pad - Leather
Shop at:
Scrapbookcom
Ranger Heat It Craft Tool
Shop at:
Scrapbookcom | Ranger Ink
Spellbinders Platinum 6 Die Cut/Emboss Machine
Shop at:
Scrapbookcom | Spellbinders
Kuretake Zig Clean Color Brushes - Set A 30 colors
Shop at:
Scrapbookcom
Double Sided Adhesive Foam Tape - 32 feet
Shop at:
Scrapbookcom
Bazill Basics Dark Kraft Cardstock
Shop at:
Scrapbookcom
Gelly Roll Pen - White
Shop at:
Scrapbookcom
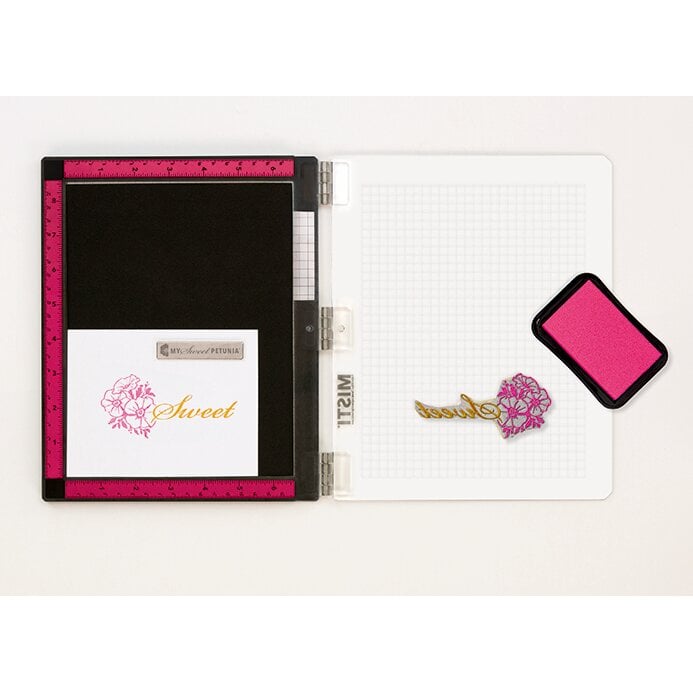
New Misti (metal hinges) 8x10 inch
Shop at:
Scrapbookcom
Simon Hurley Winter Woodland Stamp Set
Shop at:
Scrapbookcom | Spellbinders
Ranger Ink Distress Oxide Ink Pad - Ground Espresso
Shop at:
Scrapbookcom | Ranger Ink | Spellbinders
Ranger Ink Distress Ink Pad - Ground Espresso
Shop at:
Ranger Ink
Spellbinders Tile Reflection 3D Embossing Folder
Shop at:
Spellbinders


#wavingmywand #spellbinders #teamspellbinders #neverstopmaking #floralreflections  #kraft #slimlinecards #cardmaking #diycards #papercrafts #cards #embossing #tilereflections #winter #christmascards #birds #rangerink #groundespresso #kuretakezig #brandambassador #hollyberries #winterwoodland #stamping #watercoloring #embossing #dryembossing #scrapbookcom #distressink

Tuesday, November 8, 2022

Spellbinders Floral Reflection Release - Negative Foiling

The new Floral Reflections collection is live at Spellbinders! When I saw the products for this collection I immediately envisioned black on kraft cards. I try and listen to my instincts and I'm so happy with the results. I also loved creating a negative foiled focal point for one of my cards. Scroll down for a few creative details!


(FTC Disclosure: as an affiliate for various companies in the craft industry, I will receive a small commission for purchases made through my convenient affiliate links, at no additional cost to you.)


For my mini-slimline card, I began by foiling the top and bottom of my kraft cardstock with the Glimmering Just For You hot foil plate, angled just a bit. It took me a couple tries to figure out exactly where I needed to line up my plate for each foiling. I used the black hot foil and my Glimmer Hot Foil 
System.


Once my foiling was complete, I die cut black flowers and leafy stems using the new Sealed Wildflowers from the Floral Reflections collection, piecing them into my floral scene.

I have a reel explaining how this was done, here.


I also embellished my die cut blooms with glitter glue, then popped up my sentiment on adhesive foam. A little bit of black acrylic paint was dotted onto my card for a finishing touch.


For my second card, I embossed my kraft cardstock with the new Tile Reflections embossing folder. I love this design and when offered the opportunity to take it for a test run, it was a no-brainer!


I wanted my centerpiece to be this stacked layer of kraft and black cardstock, cut with the Floral Reflections etched dies and my Platinum Six die cut machine.


For the topper, I saved my negative foiling that I used on the previous card from the Glimmering Just For You hot foil plate.

This is soooo easy to do! This is where the new Solid Glimmer Floral Reflection hot foil plate comes in.

After your solid plate is hot enough on your Glimmer machine, lay down your negative foil, shiny side down, then cardstock, etc. (follow the standard hot foiling process).


You end up with a beautifully foiled negative image! 

I made a fun, super short reel spotlighting that topper, here.


Thanks so much for stopping by. If you have any questions, be sure and leave them in the comment section. I appreciate you! I've got scattered affiliate links throughout this blog post, so just click on any of the product links for more information, or to do a little shopping for yourself.  See you next time....


Terri


#wavingmywand #spellbinders #teamspellbinders #glimmerhotfoilsystem #neverstopmaking #floralreflections #hotfoiling #foiling #kraft #slimlinecards #cardmaking #diycards #floral #flowers #papercrafts #cards #embossing #tilereflections #glimmeringjustforyou #withlove #friendshipcards #techniques #negativefoiling


Thursday, November 3, 2022

Monochrome Christmas Card for Spellbinders

Hello friends, I'm back with another card featuring products from the Spellbinders/Simon Hurley release, Joyful Christmas. There are a lot of fun techniques on this card and I created a fence using the Candy Stripes die, as well. Stay with me for a few creative details below!


(FTC Disclosure: as an affiliate for various companies in the craft industry, I will receive a small commission for purchases made through my convenient affiliate links, at no additional cost to you.)


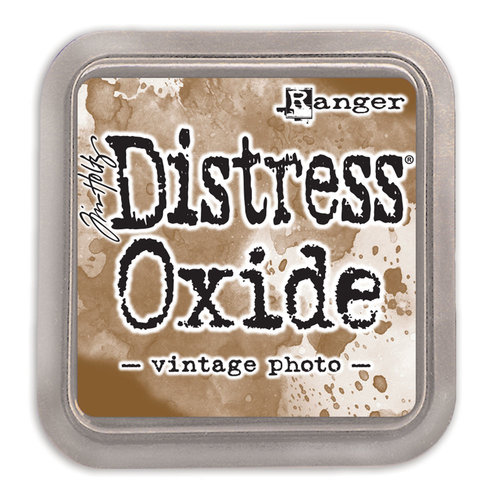
I decided to create a winter monochromatic theme with sepia overtones. To begin, I created a wintry sky with my Ranger Distress Oxide ink in Vintage Photo on a white card panel for this A2 size card. Just tear some thin computer paper or tablet paper and ink blend above the edges. Vary the torn strips and drop down about 1 1/2 to 2 inches between each "cloud". 

I made a quick 1 minute YouTube video a few years ago to show how this is done. You can view that here: Torn Paper Clouds Video on Youtube


I stamped and die cut the deer from the Winter Woodland Stamp/Die Bundle, then colored with Copic Markers.  My sentiment was inked with Distress Ink Vintage Photo and I embellished the wording with a white gel pen.

I hand cut my snowy slope and ink blended a "path", also using Vintage Photo ink. Next, I splattered white acrylic paint all over my scene and deer.

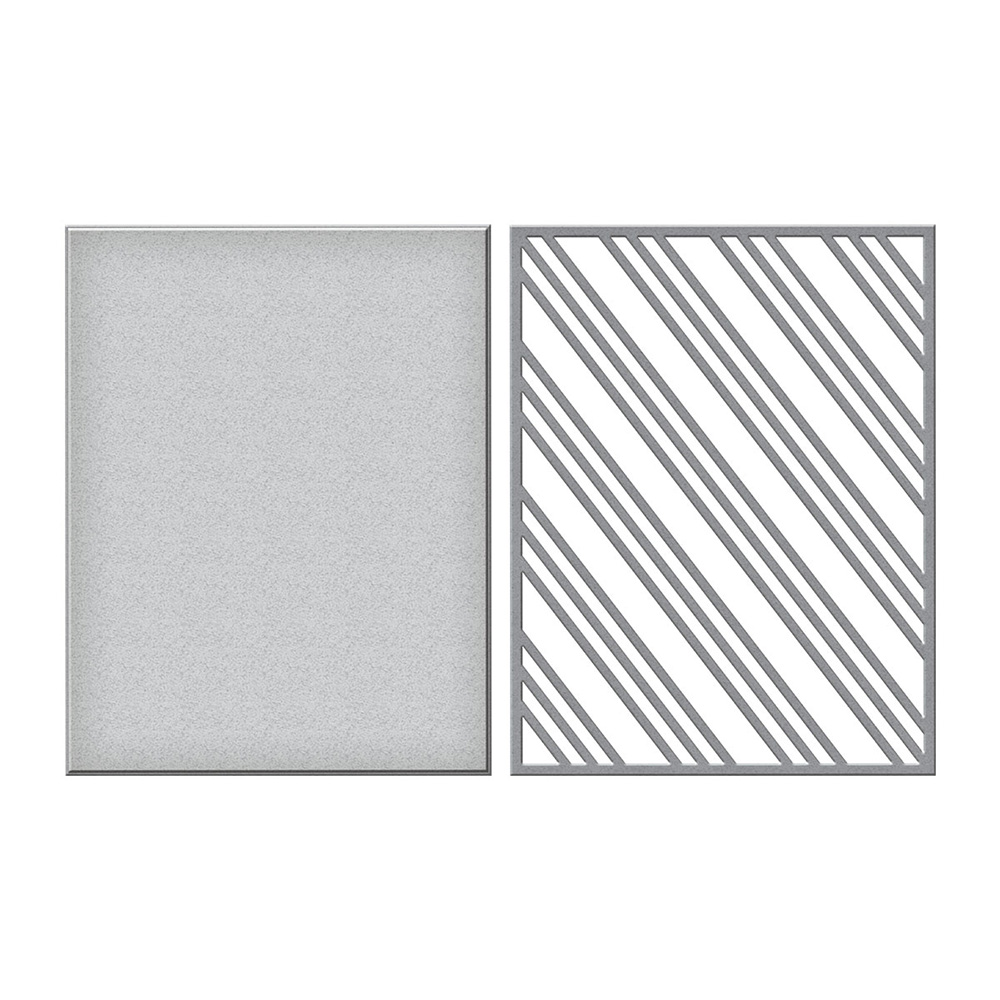
My fence was created using the Candy Stripes die cut on kraft paper with my Spellbinders Platinum 6. It was folded in half, glued, then trimmed to fit the dimensions of my card. I saved some of the larger negative pieces and tore the top edges to make posts for my fence. I also used a black marker and white gel pen to make "nails". 

I have a short reel on Instagram, talking about the fence, that you can view here.


I love extending the use of my dies and finding other ways to use them. I'll definitely be making more fences in the future! I'm so glad that you stopped by. If you'd like to do some shopping, I've provided convenient affiliate links below. There is no additional cost to use these links and I appreciate it so much when you do. See you next time!  Terri


*************************************************

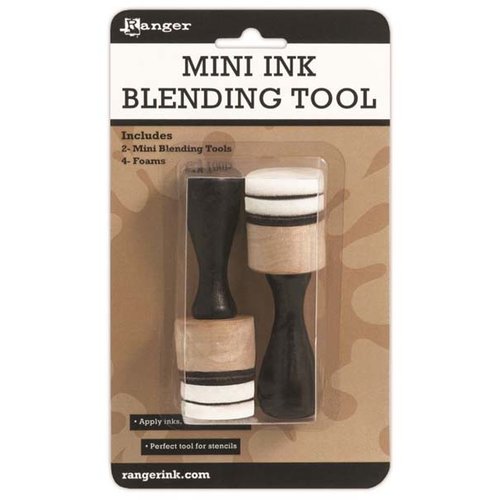
Ranger Mini Ink Blending Tool
Shop at:
Scrapbookcom | Ranger Ink
Scrapbook Adhesives by 3L EZ Grand Runner
Shop at:
Scrapbookcom
Scrapbook Adhesives by 3L Foam Circles Mix, White
Shop at:
Scrapbookcom
Scrapbook Adhesives by 3L EZ Runner Grand Refill
Shop at:
Scrapbookcom
Ranger Ink Distress Ink Vintage Photo
Shop at:
Scrapbookcom
Scrapbook.com Hybrid Ink - Black
Shop at:
Scrapbookcom
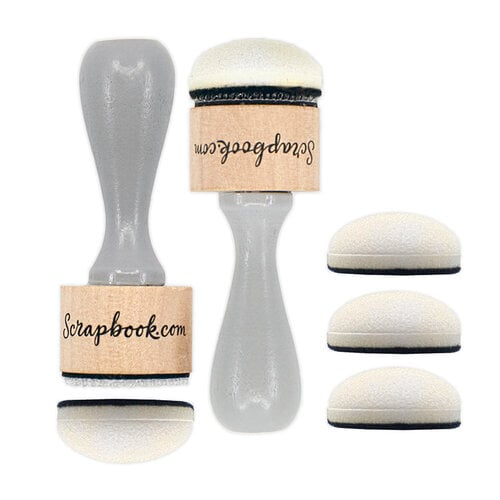
Scrapbook.com Domed Ink Blender Tools
Shop at:
Scrapbookcom
Wendy Vecchi Make Art Stay-tion
Shop at:
Scrapbookcom
Wendy Vecchi Perfect Card Adhesive
Shop at:
Ranger Ink
Copic Sketch Marker - E37 Sepia Brown
Shop at:
ScrapbookPal
Copic Sketch Marker - E33 Sand Beige
Shop at:
ScrapbookPal
Wendy Vecchi Makeart Non-stick Craft Sheet
Shop at:
Scrapbookcom | Ranger Ink
Spellbinders Platinum 6 Die Cut/Emboss Machine
Shop at:
Scrapbookcom | Spellbinders
Neenah A2 Vertical Card/Envelope Set 25 pk
Shop at:
Scrapbookcom
Neenah A2 Card Front Panel 25 pk
Shop at:
Scrapbookcom
Bazill Basics Dark Kraft Cardstock
Shop at:
Scrapbookcom
Gelly Roll Pen - White
Shop at:
Scrapbookcom
New Misti (metal hinges) 8x10 inch
Shop at:
Scrapbookcom
Simon Hurley Winter Woodland Stamp/Die Bundle
Shop at:
Spellbinders
Simon Hurley Candy Stripes Die Set
Shop at:
Scrapbookcom | Spellbinders
Dina Wakley Heavy Acrylic Paint - White
Shop at:
Scrapbookcom


#wavingmywand #spellbinders #teamspellbinders #neverstopmaking  #simonhurley #rangerink #distressoxides #vintagephoto #joyfulchristmas #winterwoodland #candystripes #cardmaking #diycards #christmascards #birds #housefinch #papercrafts #misti #inklipse #cards #scrapbookcom #holiday #merrychristmas #seasonsgreetings #sale #newrelease #copicmarkers #techniques #monochrome #sepia #deer #buck #fence #winterscene #walkinginawinterwonderland