Monday, September 21, 2026

National Chai Day Tea and Card

Happy National Chai Day! If you know me or follow me on social media, you know I'm an avid tea lover. I love nothing more than pairing my love of tea and cardmaking for special occasions. Of course, National Chai Day absolutely qualifies as a special occasion! I've tried so many teas over the years and have a number of types that I love, but Chai continues to be my absolute favorite.


 (FTC Disclosure: as an affiliate for various companies in the craft industry, I will receive a small commission for purchases made through my convenient affiliate links, at no additional cost to you.) 


I did a little research and National Chai Day is observed every year on September 21st. However, it's a really new "holiday", having only been established since 2018.

My absolute favorite Chai is from Vahdam and that's what's in my cup today. I've tried a number of brands over the years, but this continues to still be tops in my book. I generally drink loose leaf tea so I can control the strength of the tea. Vahdam tea bags are also available, if that's your preference.


Now, let's get to the card details! First, I have the Pajama Crafter Stamps "You're My Cup of Tea" Flashcards in my stash and wanted to use them again. These are A2 size card panels that can also be used with toner reactive foil. It's a 24 pk set with 8 designs (3 of each).

However, I decided to actually hand trim the tea cups and best-tea sentiment and make a dimensional card, keeping the floating hearts section intact.


I'm using OLO Markers for my coloring with 3 different colors:

YG8.5, OR7.4 and OR1.6. 

If you like your Chai with milk or cream, OR7.4 is perfect! For the word "Chai", I used the Brooklyn lower solid alphabet/number stamp set from Scrapbookcom paired with Catherine Pooler ink "Icing On The Cake" with my stamp positioner. No die set involved, I simply hand trimmed the entire word. Although placing some of the lettering crooked was intentional. 


Do you have a Chai bestie? I absolutely do! In fact, we have sent each other things over the years, as she lives in another state. We first met many, many years ago at a Scrapbook Expo and have been friends ever since! In fact, she is the one who got me hooked on adding mint to my chai. She first sent me some her home grown mint July 2025, after I had a mastectomy and now, I love it so much, I'm growing my own! (pictured above)

So thank you Deena! She has her own side gig at mama-grizzly.com growing and selling plants and microgreens as a pop-up vendor. You can find her on Instagram @mamagrizzlyplants.


Lastly, I would be remiss if I didn't mention my mug and custom teaspoon. I'm a big fan of the custom spoons at Wander Tulips, an online Christian gift shop, and even sent one to my friend Deena awhile back. The couple who own this gift shop are the sweetest people and truly on mission for God. I hope you'll check them out.

Thanks so much for my National Chai Day ramble. I hope you find time for some chai today. Have an awesome week!

Terri


#nationalchaiday #chaitea #vahdam #india #tealover #tealovers #teamug #customspoon #pajamacrafterstamps #olomarker #scrapbookcom #teacard #teacups #diycards

Sunday, September 20, 2026

Frosty's Family Greeting Card for Catherine Pooler Designs

Hey friends, I'm back with another card featuring the new Frosty & Festive collection from Catherine Pooler Designs. I got really playful with this mini-slimline card. The Snow family just had their photos made for their 2026 Christmas cards, I'm pretty sure Rudolph and Santa can expect a card this year, haha!
Scroll down for some brief, creative details. You can also click any of the highlighted links throughout this post to browse for more product information or to shop.


 (FTC Disclosure: as an affiliate for various companies in the craft industry, I will receive a small commission for purchases made through my convenient affiliate links, at no additional cost to you.) 


The stamp set I'm creating with today is called Frosty Friends and has quickly become a favorite. I love these adorable snowmen!


To begin, all my images are watercolored with Catherine Pooler inks. I used quite a few colors by pressing the ink on my craft mat, spritzing with water and coloring with a water brush.

I even watercolored the space around the images.


The ink colors that I used are:

Midnight, Garden Party, Cummerbund, Martini, Rockin' Red, Cotton Candy, Hoodie, Mandarin Spice, Icing On The Cake, Deck The Halls

Check out all the luscious CPD ink colors here!


I wanted really clean lines for my stamped images so the coloring would stay within the confines of the stitched design. I adhered my low-tack mint tape around the edges prior to my partial stamping.

I always use a stamp positioner to get the depth of color I need.


I had die cut 4 stitched squares on one piece of cardstock, so I could apply mint tape to the backside and keep everything stable for my coloring. The stitched square that I used is from the Flip-a-Color Combo Dies and measures 1 1/2" inches in diameter.

I also trimmed out some mint tape to cover my colored snowman and splatter on some of the new Sparkle Gold Shimmer.


For the backing of my stitched die cuts, I used the Martini cardstock from the Party Mix cardstock collection. The brown card stock is called Over Coffee and I also did some ink blending to darken it, using Icing On The Cake with a blender brush. I also added a thin strip of Rouge cardstock from the Spa cardstock collection, behind my popped up snowmen, plus a white gel pen as an accent.

Lastly, I added enamel dots, sequins from the Stars Hollow sequin mix and white paint splatters. This was so much fun to make! I love my CPD products! Thanks so much for stopping by. 

You can view the entire Frosty & Festive collection here.


Terri


#wavingmywand #catherinepoolerdesigns #catherinepoolerinks #frostyandfestive #snowman #frostythesnowman #cardmaking #handmadecards #diycards #christmascards #holidaycards #wintercards #snowflakes #frostyfriends


Wednesday, September 16, 2026

Frosty and Friends from Catherine Pooler Designs

Hey friends, the new Frosty & Festive collection is live from Catherine Pooler Designs! I've got several photos to share, including the Holiday Sparkle cover plate die cuts that feature 3 different layers for color and dimension. Scroll down for details. If you'd like more product information or to shop, just tap any of the highlighted affiliate links throughout this post.


 (FTC Disclosure: as an affiliate for various companies in the craft industry, I will receive a small commission for purchases made through my convenient affiliate links, at no additional cost to you.) 


Want the entire release? Tap here!


To begin, I die cut 3 different cuts with the cover plate die. Two with white cardstock, and one with Martini cardstock from the Party Mix Colored Cardstock pack.


For my first die cut, I applied my low tack mint tape at an angle and swiped Garden Party ink on one half and Cummerbund ink on the other. Then I spritzed with water, blotted with a paper towel and dried with my heat craft tool. It gave a slightly lighter appearance by doing this.

The other inks used for this project include Midnight, Martini and Orange Squeeze. Tap here to peruse all the CPD inks, they're so luscious and are my favorites!


Next, I adhered my white cover plate die to the multi-colored inky die cut, then layered those on top of my Martini cardstock die cut.


I also pulled out the Nested Arch dies from my stash to create a folded arched focal point for my cover plate panel.

This was achieved by using a bone folder to fold white cardstock and run the bone folder across the fold. I then placed my arch die slightly over the left edge and ran it through my die cut machine. It was a bit thick so you might have to adjust your plates for your die cut system to accommodate the thickness. I was able to stagger my plates though and get it to go through.


I also cut more of the Martini cardstock with the arch die to offset behind my arch focal point.

Below is a close-up of the front of my arch die cut. My stamped and die cut snowman and sentiment is from the Frosty Friends Stamp & Die Set. All my stamped images were watercolored with my CPD ink.

I also added some enamel dots from the new Party Green-Blues and glued some white sequins that I harvested from my jar of Stars Hollow sequin mix.


The stamped snowflakes above are from the Jolly Jingle stamp & die set, which also includes the sentiment inside my arched panel below.


My second snowman featured on the inside of my arch was partially stamped at an angle on the bottom right and watercolored.

I added a second sentiment that was stamped using the mask technique and die cut a second piece with the Martini cardstock as an offset backing.


I hope you like this card, what's your favorite part? I'm kind of partial to all those layers for the cover plate. It was such fun creating this card. I hope you have a fantastic week and find something fun in this collection to inspire your holiday cardmaking. Have a great week!

Tap here to see everything in the Frosty & Festive collection.

Terri


#wavingmywand #catherinepoolerdesigns #catherinepoolerinks #frostyandfestive #snowman #frostythesnowman #cardmaking #handmadecards #diycards #christmascards #holidaycards #wintercards #snowflakes


Monday, September 7, 2026

SBCfest Wildflower Card for Scrapbookcom

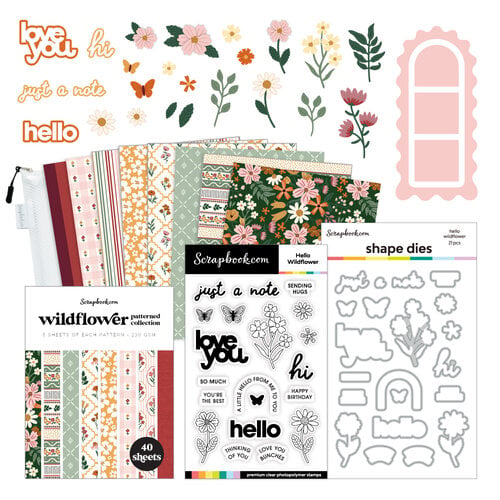
 Hello cardmakers. If you haven't heard, SBCfest begins this Friday, September 11th at Scrapbook.com. It's a free crafty online event with some of your favorite industry instructors. SBC was kind enough to send me some of the bundles that will be featured at SBCfest and today, I'm creating with Laura Graff's Instructor Bundle. Scroll down for details, and be sure and sign up for SBCfest at the link above!!


 (FTC Disclosure: as an affiliate for various companies in the craft industry, I will receive a small commission for purchases made through my convenient affiliate links, at no additional cost to you.) 


Now, most of the products in the instructor bundles are currently only available as a bundle. However, after SBCfest, you should be able to purchase individual products from the bundles. 


So let's get started! I began with the Wavy Arched Window Frame dies from the bundle, die cutting on white cardstock.

I used a strip of my low-tack mint tape to tape all my die cuts together on the backside, then used the tape to mask the bottom of the squares for ink blending.

It doesn't matter that I'm getting ink on the outline die cut, because I plan on discarding it and replacing it with die cut paper from the Wildflower paper pad.


The ink I'm using is Catherine Pooler Designs Succulent ink pad with blender brushes. When finished, I then used mint tape again to mask my squares for stamping with my stamp positioner.

The stamp set from the bundle is called Hello Wildflower, and I stamped my images with my Scrapbookcom black hybrid ink, which is really great for coloring with alcohol markers. Once I finished stamping, I colored my images with two markers from the OLO Marker Botanical marker set, I used markers YO2.3 and YG8.5. I also used a white gel pen to embellish my ink blending, to appear as white paint splatter.


When finished, I pulled off the outline die cut (remember, they're all taped together on the back) and replaced it with the same orange speckled paper that I used for the card panel. All the papers you see, including the die cut butterflies from the Wildflower shaped die set, are from the Wildflower paper pad.


Here's a cool tip - The yellow wildflower paper has the spleckled orange on the flip side. So, when I die cut the yellow wildflower paper with the Wavy arched window frame, all I had to do was flip the paper to the orange side and my yellow flower die cut frame fit perfectly inside. 

It's a great way to get two different uses out of one piece of paper when using that wavy frame die.


Lastly, my sentiment was stamped using my stamp positioner so I could use 2 ink colors which were Catherine Pooler Mandarin Spice and Succulent ink pads. There's a little bleed where I didn't completely wipe one color before adding the next, but I'm ok with it. Then, I used the Hello Wildflower die set to die cut my sentiment.

I also applied Pops of Color liquid embellishment in Sunflower on my finished card, and used another one of my tricks to make it look like enamel dots. Before the dots dry, slap your card on a flat surface like your craft desk or counter, and they will flatten out. Just remember, the larger the dot, the bigger the spread.

That's it for today, let me know if you've signed up for SBCfest! It's going to be a great time! 

Terri

************************

Scrapbook.com Hybrid Ink - Black
Shop at:
Scrapbookcom
Catherine Pooler Ink Pad - Mandarin Spice
Shop at:
Scrapbookcom
Catherine Pooler Blending Brushes - 4 pk.
Shop at:
Scrapbookcom
Refillable Permanent Adhesive Runner - 49 feet
Shop at:
Scrapbookcom
Pops of Color - Sunflower
Shop at:
Scrapbookcom
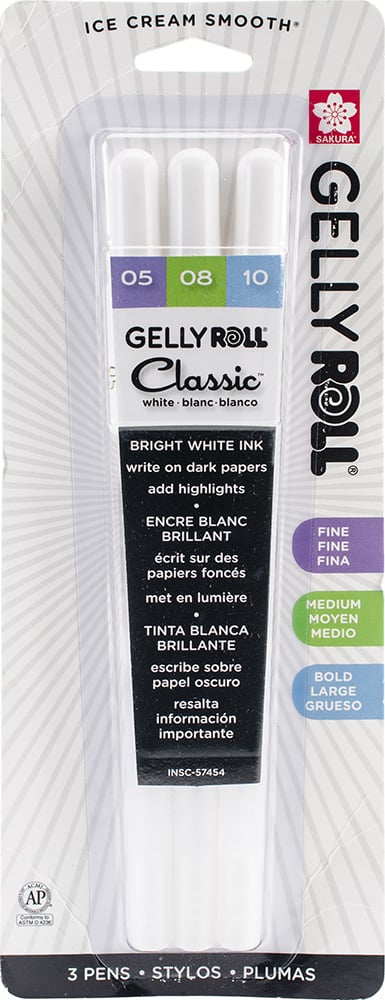
Sakura Gelly Roll Pens - White - 3 pk
Shop at:
Scrapbookcom
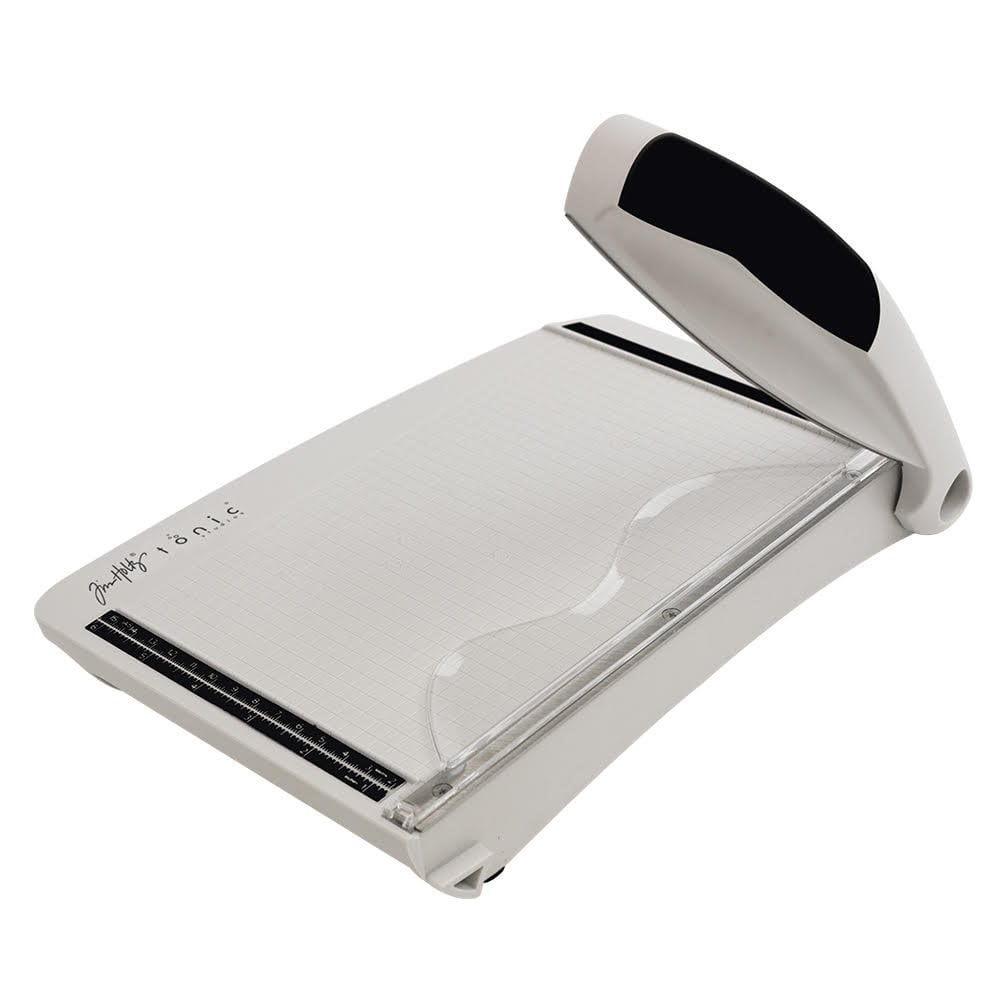
Tonic Studios Tim Holtz Comfort Trimmer 8.5 Inch
Shop at:
Scrapbookcom
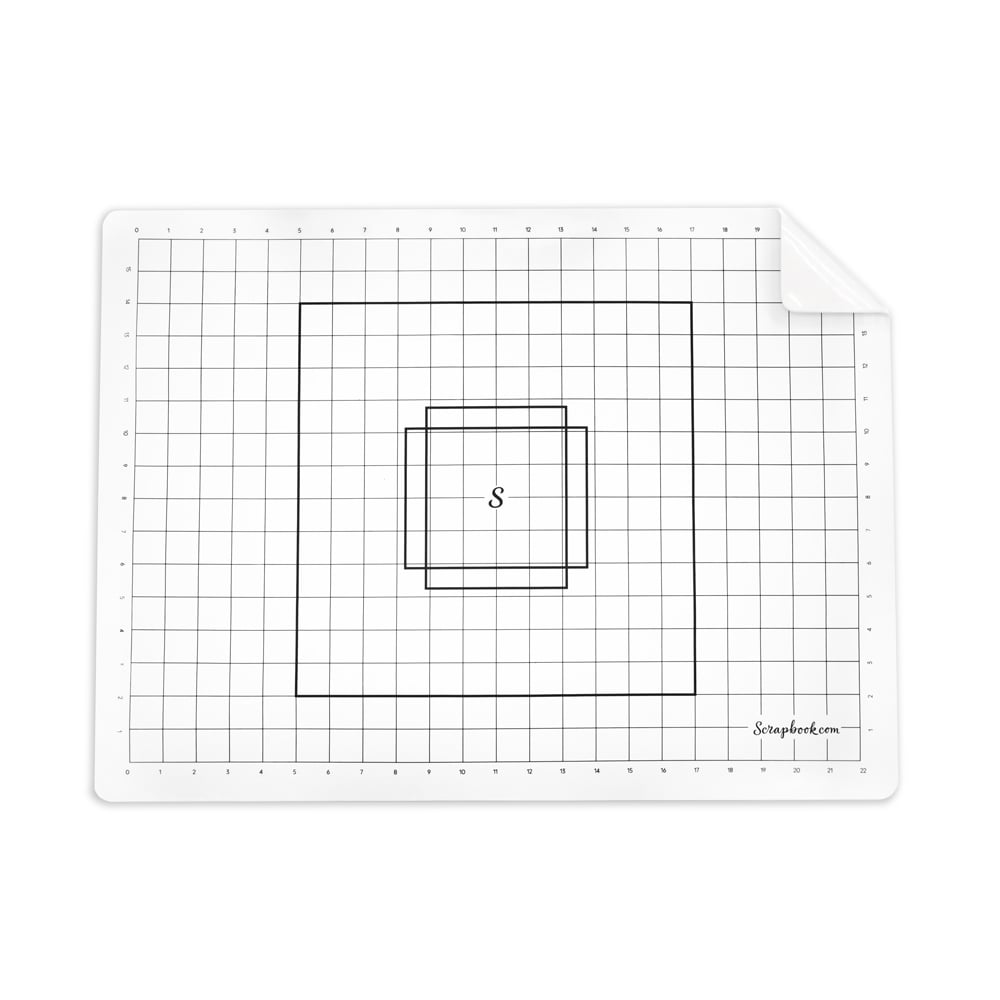
Project Grip Mat Large - White - 24x18 inch
Shop at:
Scrapbookcom
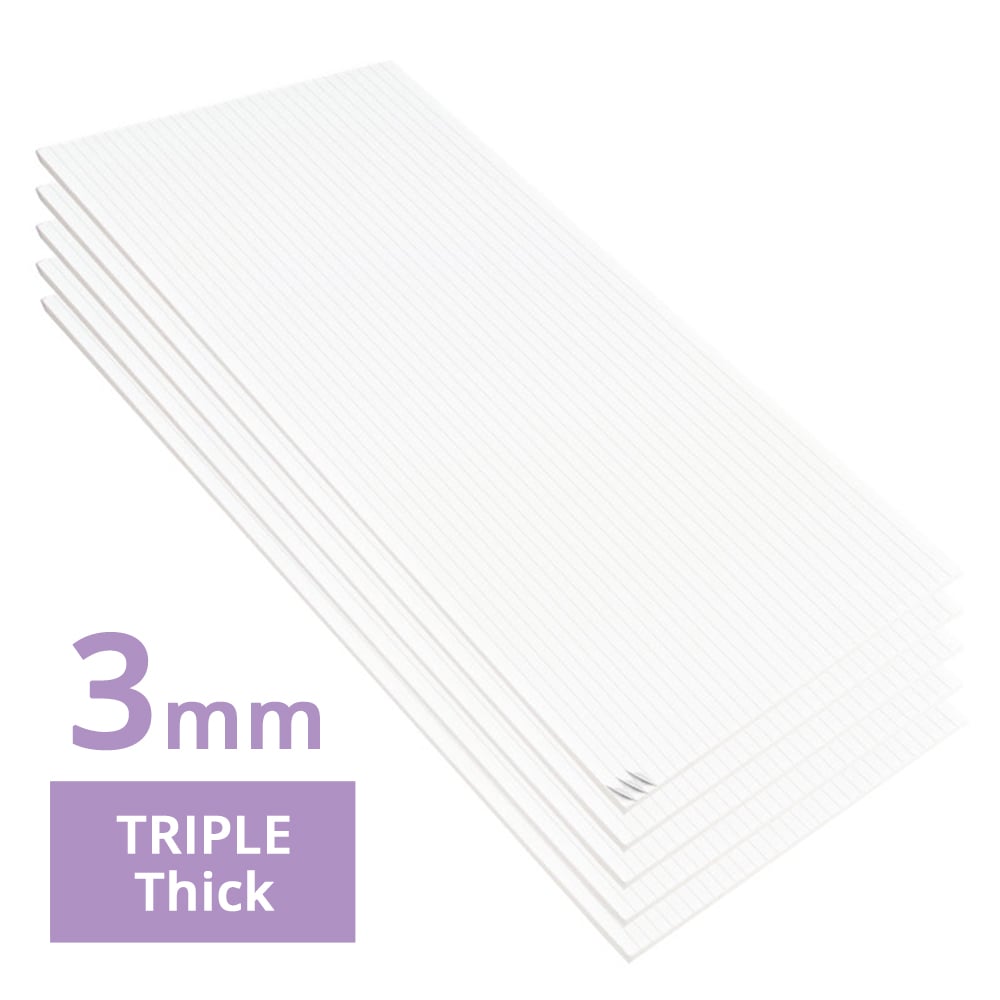
3 mm Adhesive Strips - 160 strips
Shop at:
Scrapbookcom
Pink Stamp Cleaning Shammy
Shop at:
Scrapbookcom

Mint Tape 1" roll - 11 yards
Shop at:
Scrapbookcom
Gina K Designs Multi-Purpose Scoring Board Tool
Shop at:
Scrapbookcom
Catherine Pooler Succulent Ink Pad
Shop at:
Scrapbookcom
Exclusive Gripmate
Exclusive Gripmate
Shop at:
Scrapbookcom
Mini Misti Stamp Positioner
Shop at:
Scrapbookcom
Sage Green Platinum 6 Bundle
Shop at:
Scrapbookcom
Pink Platinum 6 Die Cut System
Shop at:
Scrapbookcom
Dual Speed Heat Tool by Wow
Shop at:
Catherine Pooler
Craft Pick Pro 4 in 1 Tool
Shop at:
Scrapbookcom
Scrapbook.com Studio White Cardstock
Shop at:
Scrapbookcom
SBCfest 2026 Complete Instructor Bundles - 6 set
Shop at:
Scrapbookcom
SBCfest 2026 Instructor Bundle - Laura Graff
Shop at:
Scrapbookcom


#wavingmywand #scrapbookcom #lauragraff #sbcfest2026 #cardmaking #freeevent #craftyevent #wildflowers #diycards #handmadecards #stamping #coloring #inkblending #olomarker #catherinepoolerdesigns