I'm participating in a special event for Scrapbook.com, the Hi Fall Parade over on Instagram. You'll find so many amazing cards that feature the Hi Fall stamp set over on the Hi Fall Gallery Page at Scrapbookcom. I'm using REAL leaves on my card today, created with the exclusive Autumn Leaves die set! Scroll down for details. You'll also find product links at the end of this post.
(FTC Disclosure: as an affiliate for various companies in the craft industry, I will receive a small commission for purchases made through my convenient affiliate links, at no additional cost to you.)
The Hi Fall stamp isn't just for Fall. You'll find so many cards using sentiments from this set that fit many occasions over on the Gallery Page. I had an idea in mind for this Mini-slimline card and it totally turned into something else. You know how that goes, right?
Have you seen my reel over on Instagram where I plucked real leaves out of my back yard, then turned them into 3D embellishments? The Scrapbookcom adhesive foam sheets and Autumn Leaves shaped die set made it happen and it was quick and so easy to do.
Check out the short reel here, and I'd love if you'd give a "heart".
Just spread out your leaves on a sheet of adhesive foam making sure to peel off the top liner before applying the leaves. Once your leaves are in place, top with the Autumn Leaves dies and run through your die cut machine. I did let them air dry overnight, then topped with clear gloss to "seal" and protect them.
I also wanted to use up some of my patterned paper so I grabbed this plaid paper from my Echo Park Paper pack and made a mounted panel. I also trimmed up some white squares with white cardstock and ink blended the edges with Vintage Photo distress oxide ink. Next, I splattered on some Dina Wakley gloss in Sage and and Ranger distress stain.
My sentiments from the Hi Fall stamp set were stamped and mounted with woodgrain paper from the same EPP paper pack. There are larger sentiments in the set as well, but I just wanted to use the small words to offset my leaves. It kind of reminds me of a gallery showing, haha, with pictures mounted on the walls!
I love how it turned this card turned out, even if it wasn't initially what I had in mind. Plus, taking an idea to turn real leaves into embellishments worked out beautifully! Just make sure they aren't too "juicy". I ran a few through my die cut machine that were a little too fresh, if you know what I mean and expressed some juices on my acrylic plates. It cleaned up easy enough but the drier leaves worked much better and gave a better appearance on the adhesive foam.
Hop over and say hi on my Instagram page! The Hi Fall Parade begins around 11 am central time over on Instagram.
Thanks so much for popping in! Enabler shopping links below!!
*********************************************
 Wendy Vecchi Makeart Non-stick Craft Sheet Shop at: Scrapbookcom | Ranger Ink |
 Spellbinders Platinum 6 Die Cut/Emboss Machine Shop at: Scrapbookcom | Spellbinders |
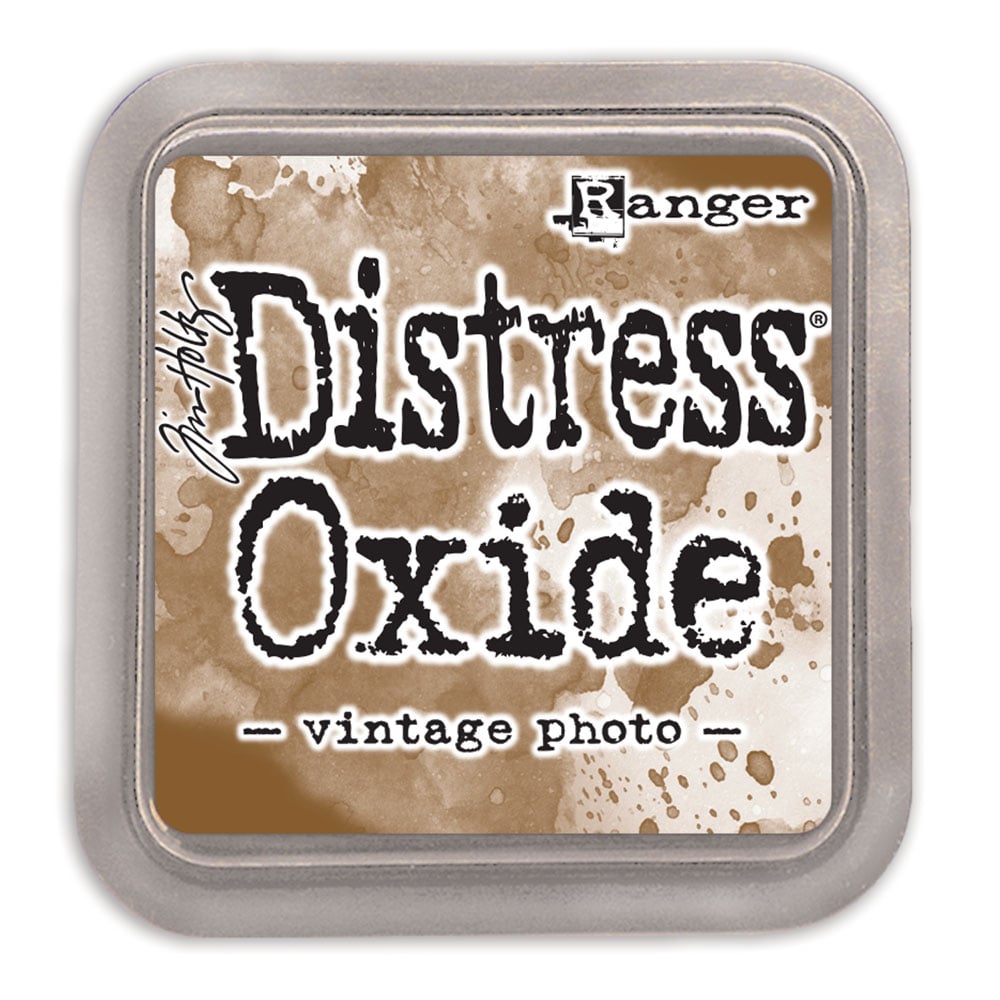 Ranger Distress Oxide Ink Pad - Vintage Photo Shop at: Scrapbookcom |
 Slimline Cards, Panels & Envelopes - 30 pcs Shop at: Scrapbookcom |
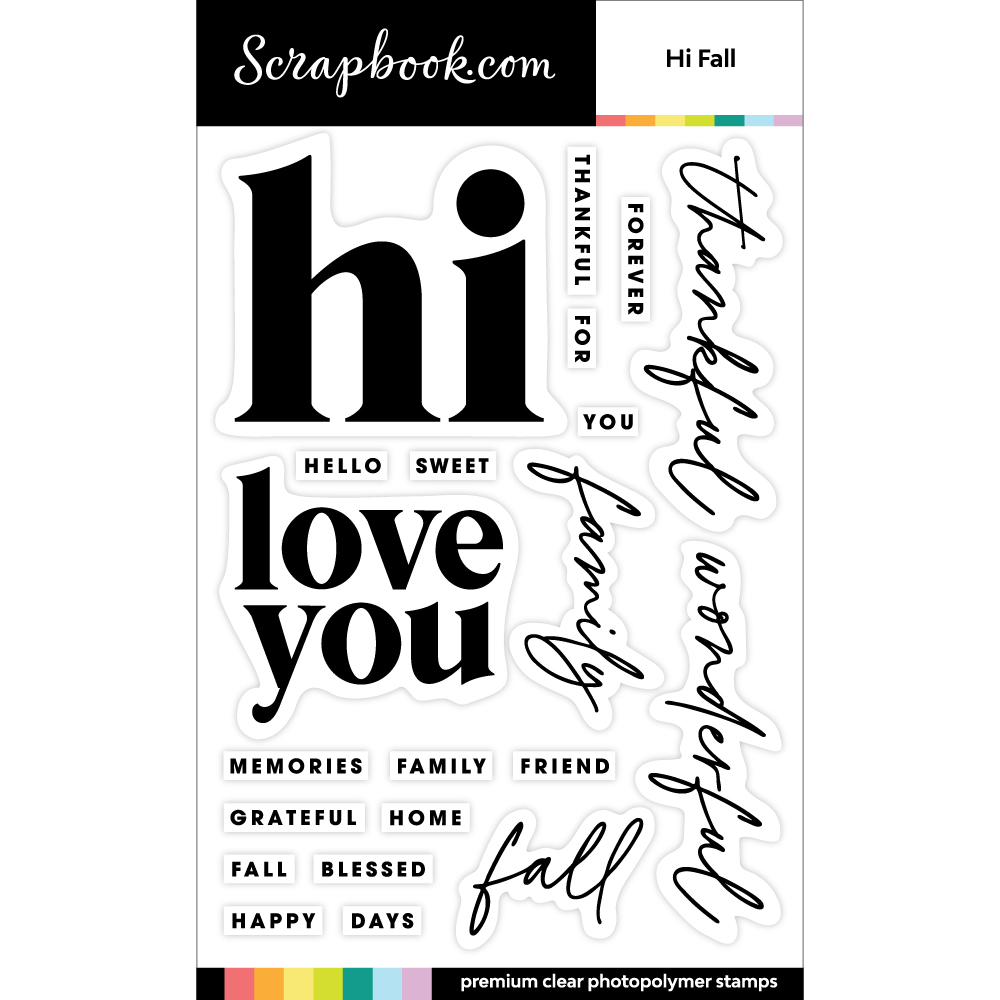 Hi Fall Stamp Set Shop at: Scrapbookcom |
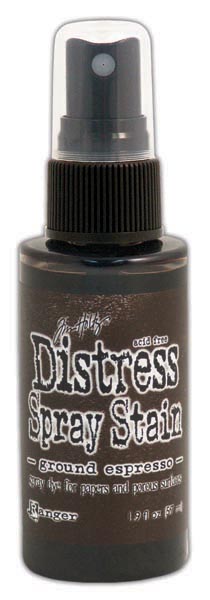 Ranger Ink Ground Espresso Distress Spray Stain Shop at: Scrapbookcom |
 Double Sided Adhesive Foam Tape - 32 feet Shop at: Scrapbookcom |
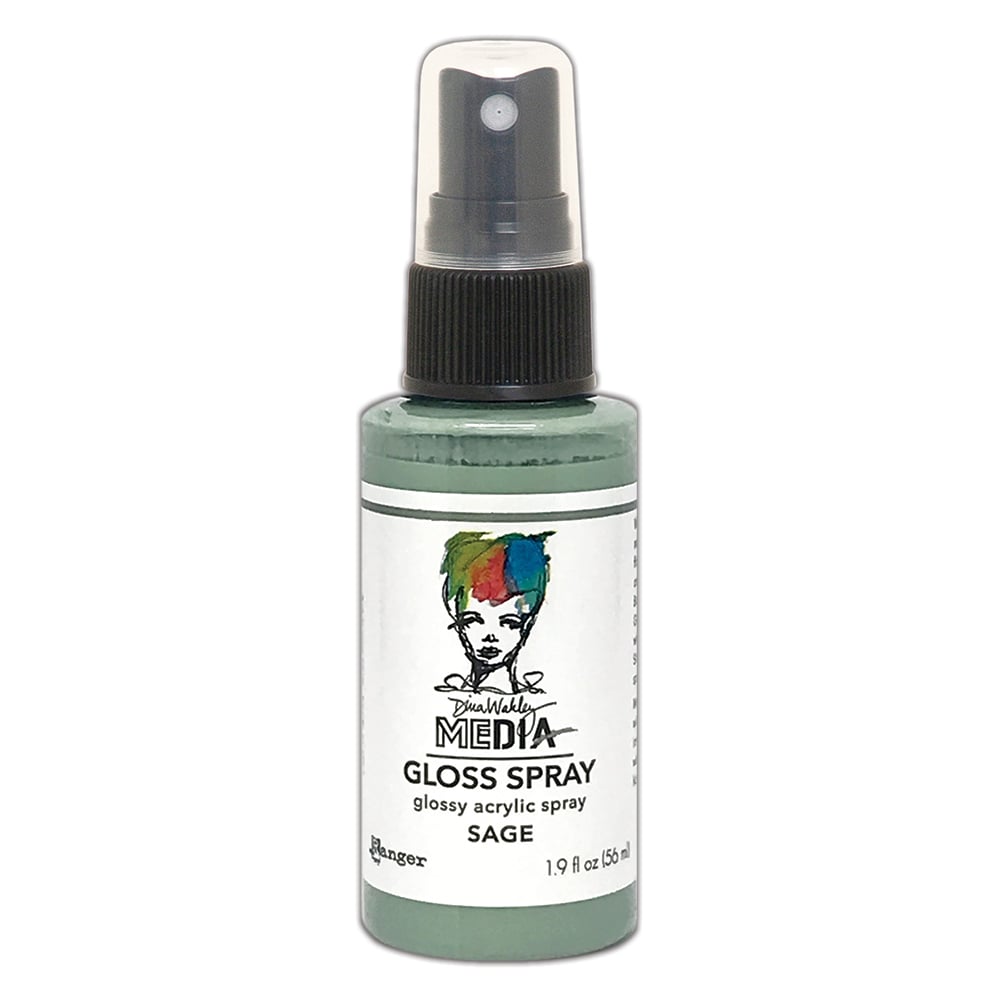 Dina Wakley Gloss Spray - Sage Shop at: Scrapbookcom |
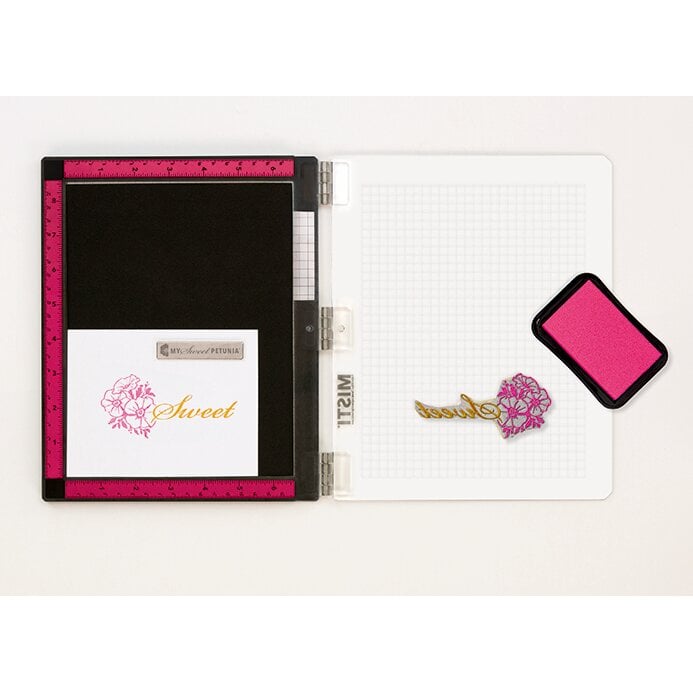 New Misti (metal hinges) 8x10 inch Shop at: Scrapbookcom |
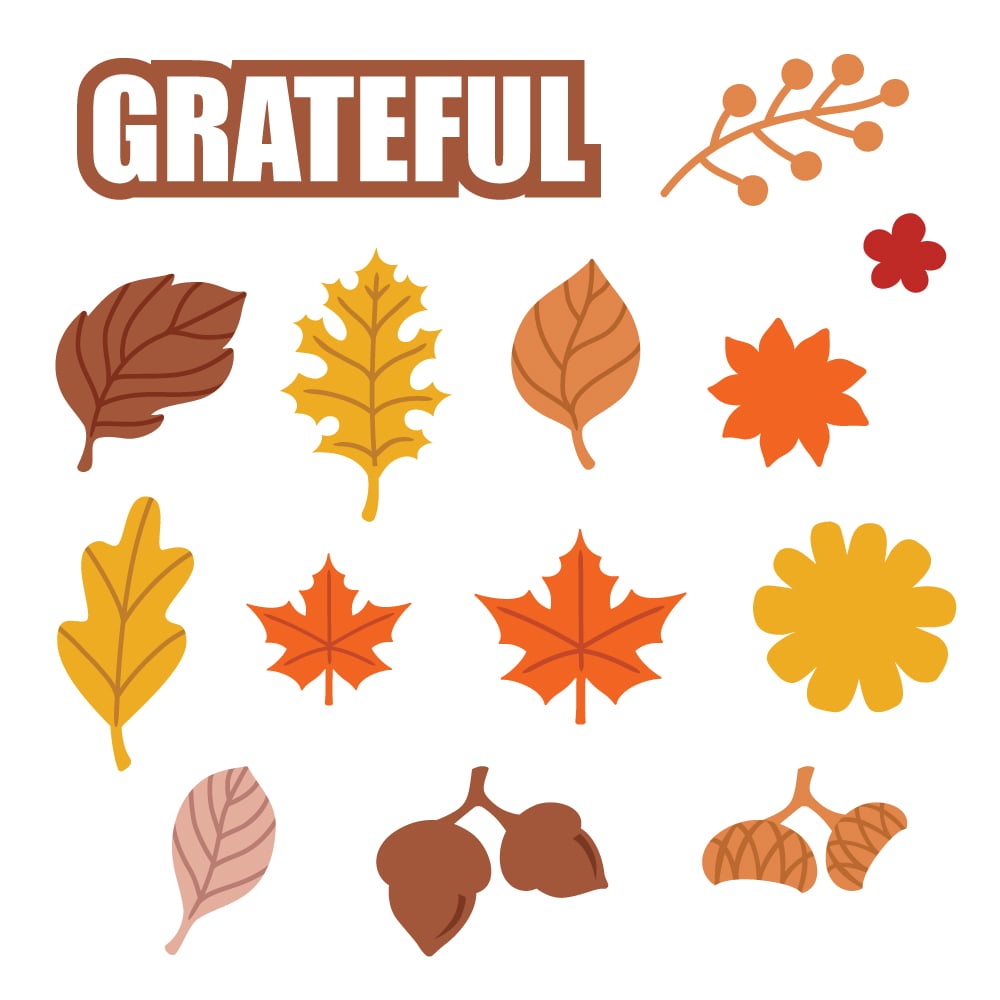 Exclusive Decorative/Emboss Die Set - Autumn Leaves Shop at: Scrapbookcom |
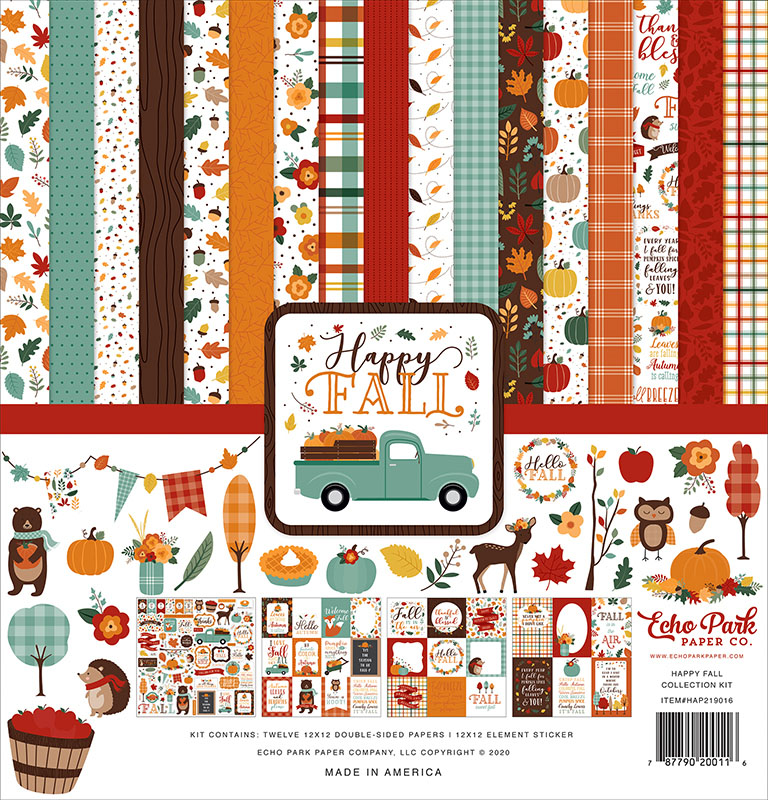 Echo Park Paper Happy Fall 12x12 Collection Kit Shop at: Scrapbookcom |
 Double Sided Adhesive Foam Sheets Shop at: Scrapbookcom |
#wavingmywand #scrapbookcom #hifallparade #hifall #autumnleaves #fallleaves #realleaves #leafembellishments #fallcards #cardmaking #diycards #stamping #Misti #echoparkpaper #rangerink #vintagephoto #glossspray


 :)
:)
 :(
:(
 :))
:))
 :((
:((
 =))
=))
 =D>
=D>
 :D
:D
 :P
:P
 :-O
:-O
 :-?
:-?
 :-SS
:-SS
 :-f
:-f
 d(
d(
 :-*
:-*
 b-(
b-(
 h-(
h-(
 g-)
g-)
 5-p
5-p
 y-)
y-)
 c-)
c-)
 s-)
s-)
 d-)
d-)
 w-)
w-)
 :-h
:-h
 :X
:X
Loved this and shared on Papercraft Medley FB❣️
ReplyDelete