Hey crafty friends, I'm back with another project for Scrapbook.com, featuring products from the latest Sizzix + Stacey Park release. I wanted to try my hand at creating a geometric card. I don't think I've ever made one before, but the Sizzix Framelits Katy Deco Diamond dies inspired me to give it a try. It was relatively easy! Scroll down and I'll tell you how I turned my stenciled A2 card into an almost perfectly square card. I'll have a clickable supply list at the end of this post, as well.
(FTC Disclosure: as an affiliate for various companies in the craft industry, I will receive a small commission for purchases made through my convenient affiliate links, at no additional cost to you.)
Did you notice I said almost a perfectly square card? Haha, caught that did you? One thing you should know about me is that I eyeball pretty much everything when I'm creating. The one thing I'm absolutely precise on is trimming exact measurements for card panels and scored cards, mainly A2 and A7 sizes.
So, the first thing I did was stencil my A2 card panel using the new Sizzix/Stacey Parks stencil called Cosmopolitan Uptown Adornment with my SBC blender brushes and a variety of Catherine Pooler Inks. Also, shout out for my Scrapbookcom 14x14 inch white project mat. Clean up is a breeze!
I didn't get a photo of this next step, but I used a couple smaller diamond dies to create my solid stenciled diamond and the center frame around it, as pictured above, then set them aside.
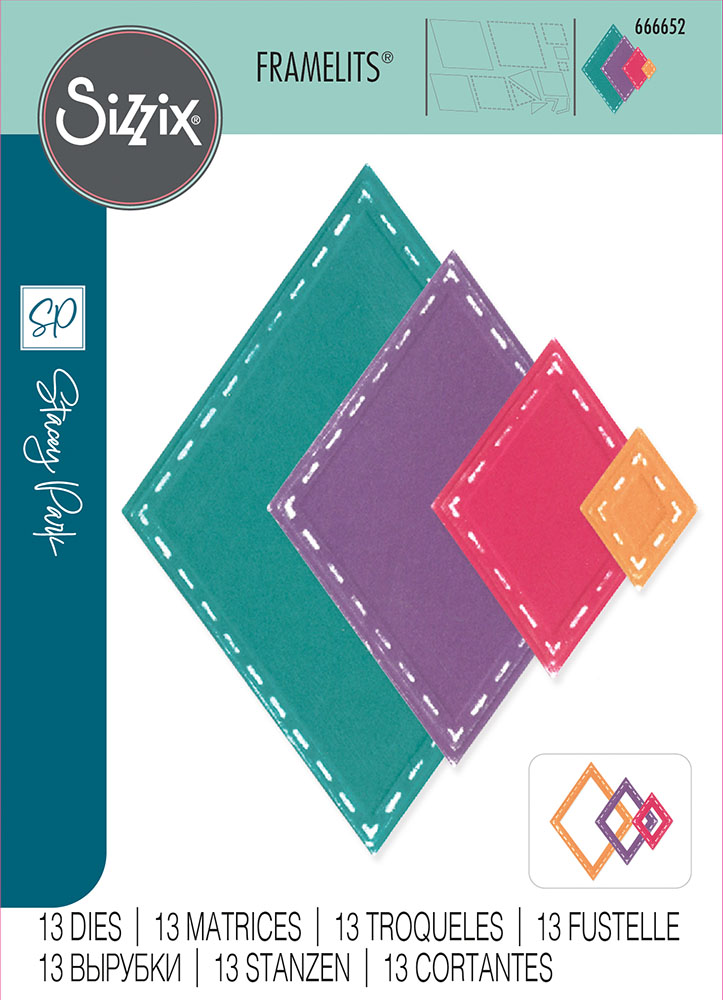
Next, I used the largest diamond die in the Katy Deco set and placed it in the center of my A2 card panel, then ran it through my die cut system.
The top and bottom point of the diamond actually go over the edge of my card panel, but that's ok. It's going to split my card panel. Wait though, you'll see.
In the photo above, I took my 2 large split pieces of cardstock and adhered SBC adhesive strips. All of my stenciled images are popped up on these strips.
Once I determined how to space out all my stenciled die cut pieces so they looked evenly spaced, I trimmed a piece of black paper (from my SBC Playful paper pad) as the base for my geometric design.
And, as it turns out, the perfect measurement that was needed for my black card base and white trimmed and scored card, was 5 x 5 1/2 inches. And that's why I mentioned earlier that it was almost a perfectly square card!
I kept this card minimal with embellishments but I did add some of my SBC Pops of Color liquid gloss in black, right in the center of each tiny stenciled diamond, just to coordinate a bit with my black panel.
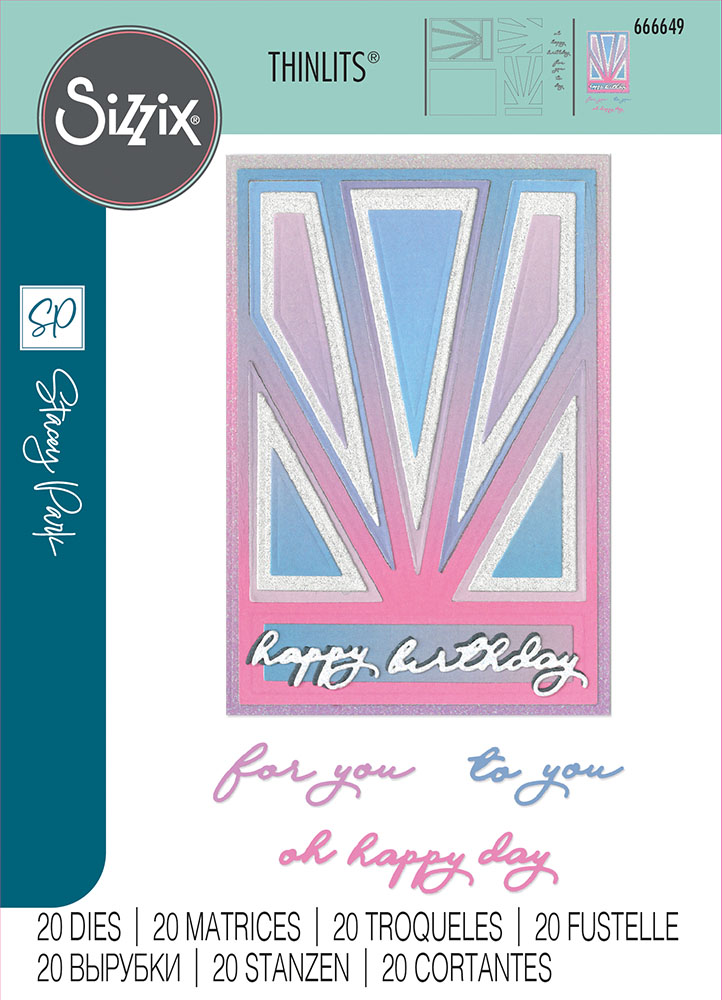
I also created a die cut sentiment using the Happy Birthday sentiment die included in the new Cosmopolitan Refined Rays Framelit die set. I actually cut 2 layers for each sentiment and glued them together with my SBC Artis glue.
While trying to decide on placement for the sentiment, I opted to create a black outline. I glued my die cut words to a strip of black paper then simply cut an outline around my words with scissors. This allows me to pop the sentiments up on adhesive strips and place them in the gaps of empty space.
It worked out perfectly as the outline actually blends in visually with the black card panel. By the way, the black card panel is adhered flat to my card. Having all these popped up elements really gives this card a little drama! The sentiments almost appear to be floating, if you could see the card in person.
I think this geometric card would work really nicely for a masculine card, as well. There are 7 different word dies included in the Refined Rays set, so you can mix it up a little with your sentiments. Bonus!
This was somewhat of an experiment for me, not having created a geometric die cut card like this before, but I'll definitely do it again!
If you'd like more information on any of the products that I used today, or would like to shop, just click the affiliate product links below. Thanks for popping in!
Terri
******************************
 Catherine Pooler Ink Pad - Catching Rays Shop at: Scrapbookcom | Catherine Pooler |
 Catherine Pooler Ink - Drive In Shop at: Scrapbookcom |
 Refillable Permanent Adhesive Runner - 49 feet Shop at: Scrapbookcom |
 Neenah Solar White Cardstock 80 lb, 25 pk Shop at: Scrapbookcom |
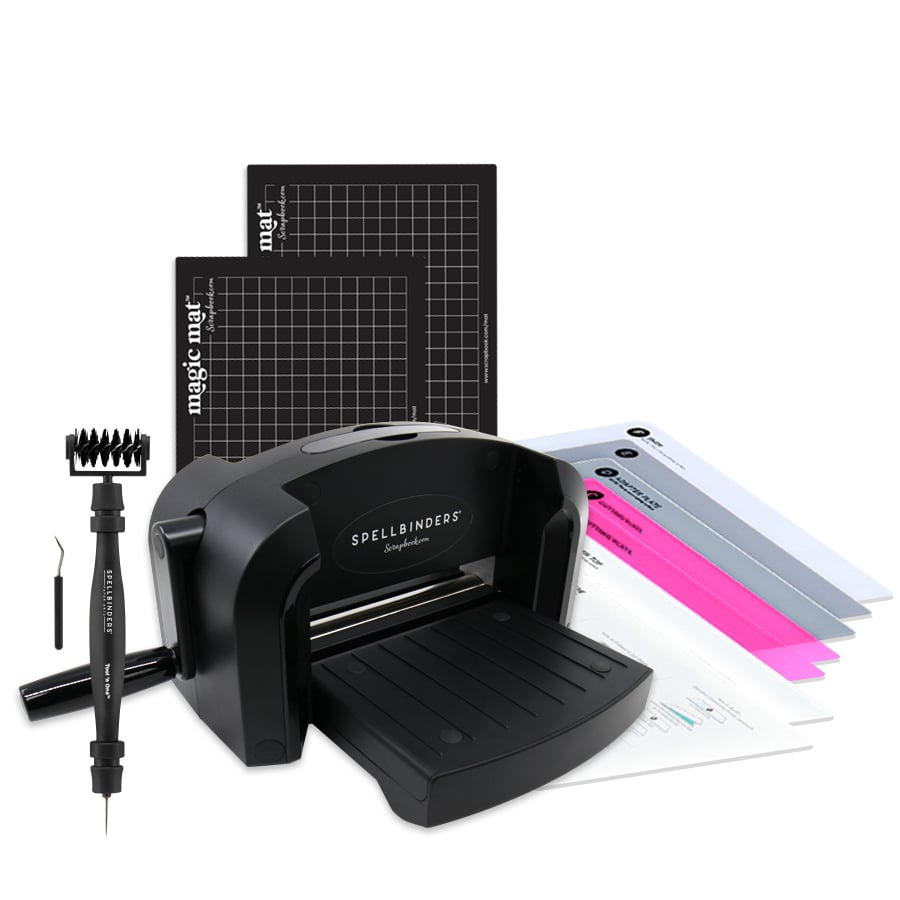 Exclusive Black Platinum 6 Die Cut System Shop at: Scrapbookcom |
 Artis Craft Glue - Only at Scrapbookcom Shop at: Scrapbookcom |
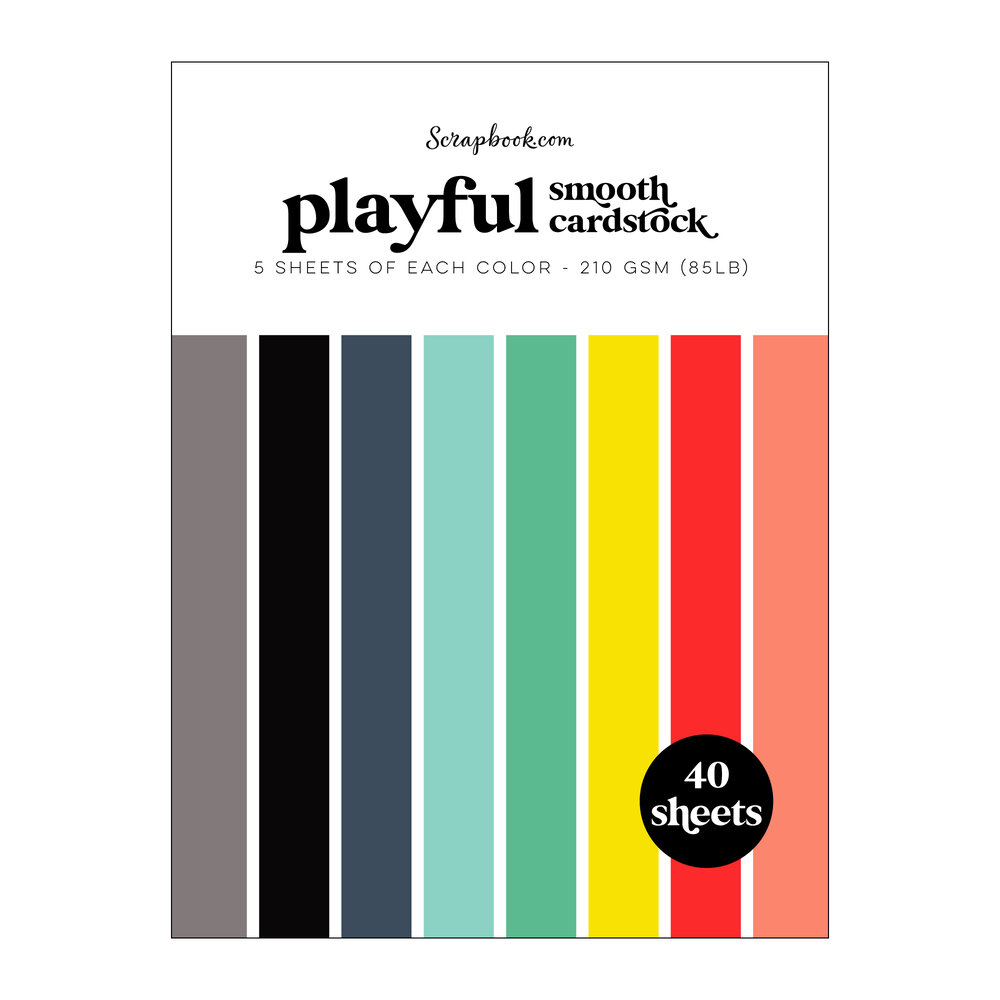 Exclusive Playful Paper Pad 6x8 inch - 40 sheets Shop at: Scrapbookcom |
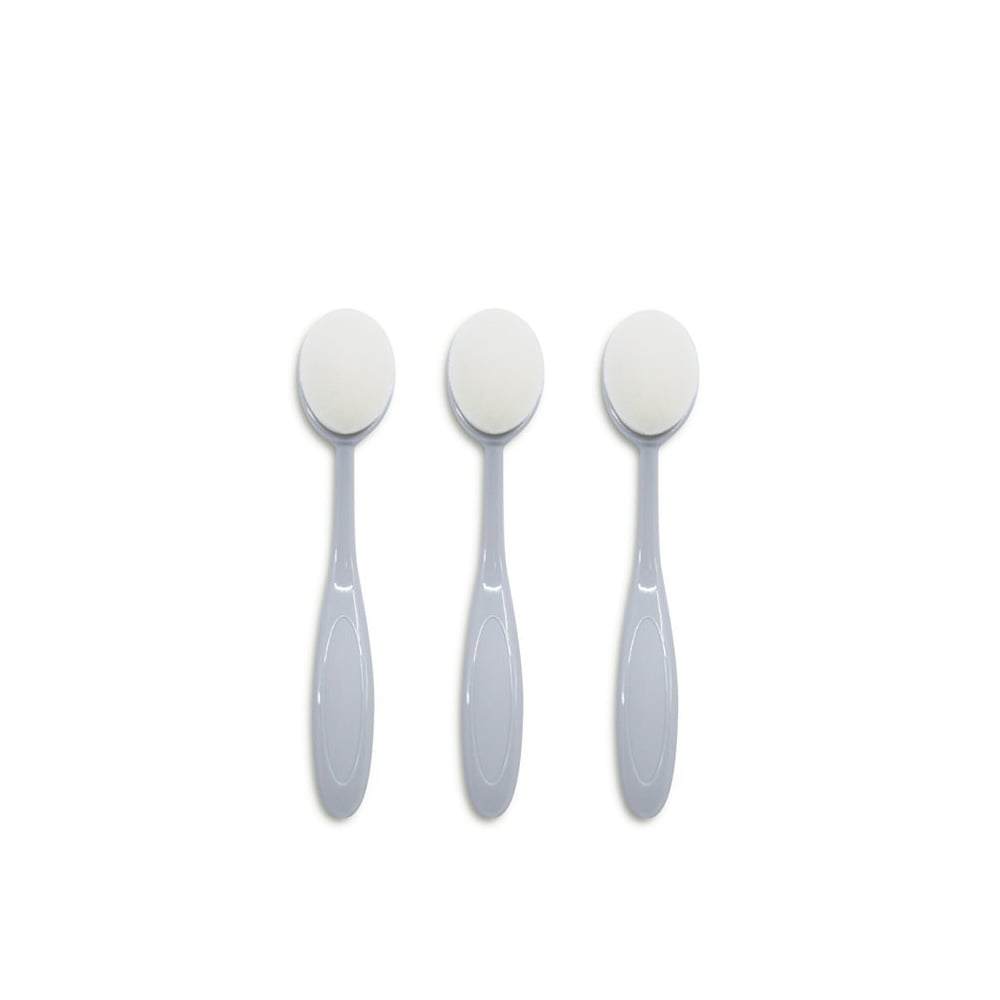 Scrapbookcom Small Blending Brushes - 3 pk Shop at: Scrapbookcom |
 CPD Ink Pad - On The Lake Shop at: Scrapbookcom |
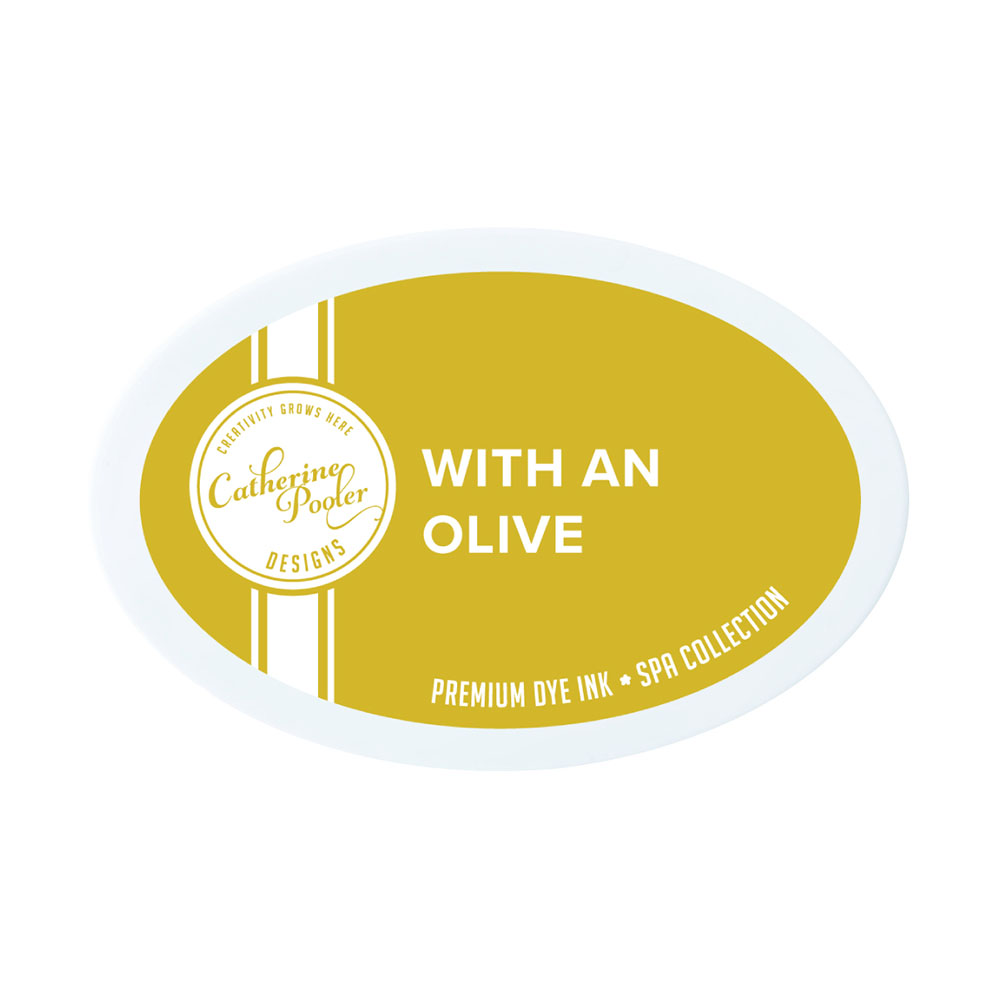 CPD Ink Pad - With An Olive Shop at: Scrapbookcom | Catherine Pooler |
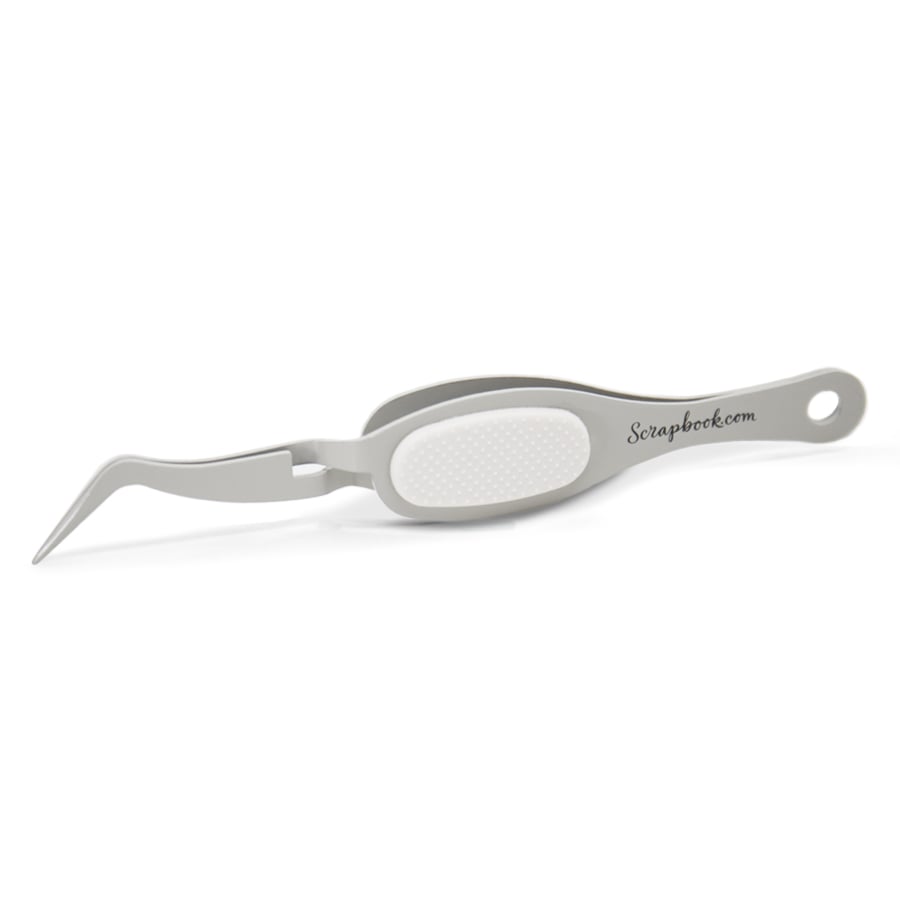 Exclusive Ergonomic Reverse Tip Tweezers Shop at: Scrapbookcom |
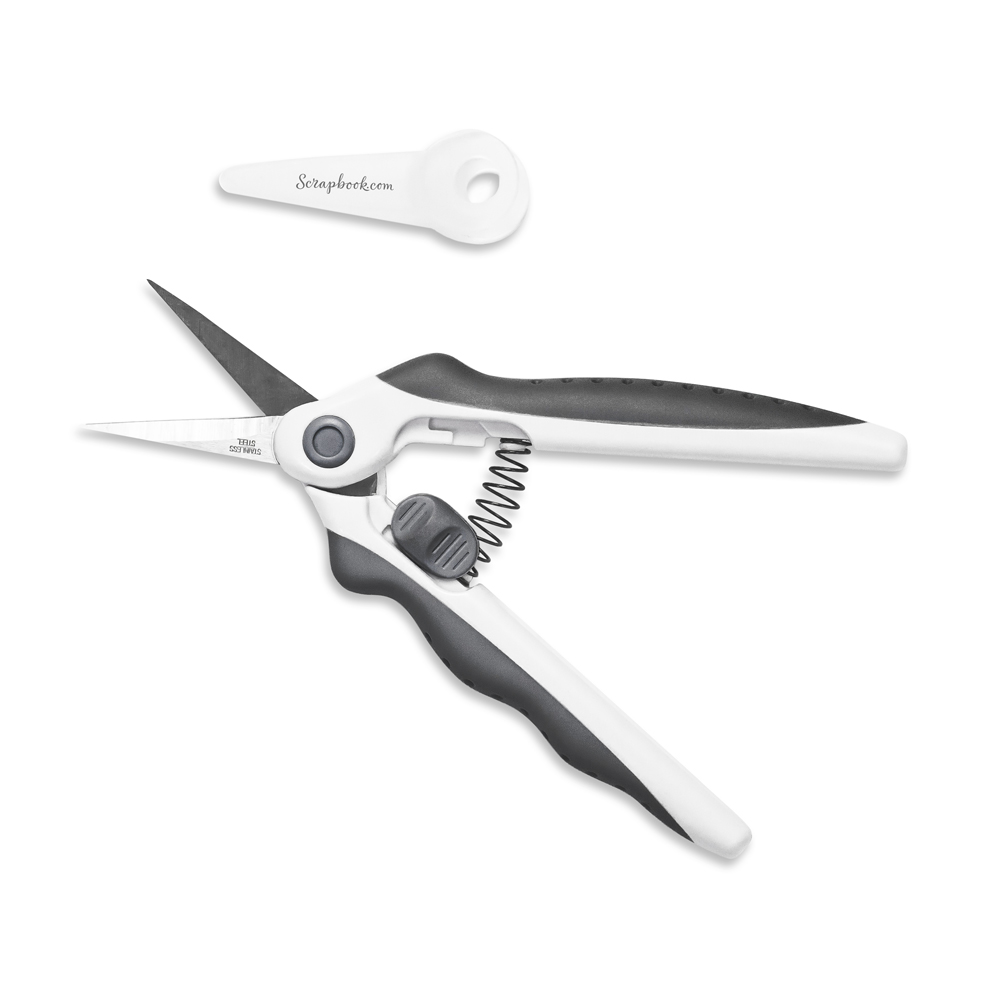 Exclusive EasyGrip Ergonomic Scissors Shop at: Scrapbookcom |
Adhesive Foam Roll - 3 mm - 1/4" x 32 feet Shop at: Scrapbookcom |
Project Grip Mat Large - White - 24x18 inch Shop at: Scrapbookcom |
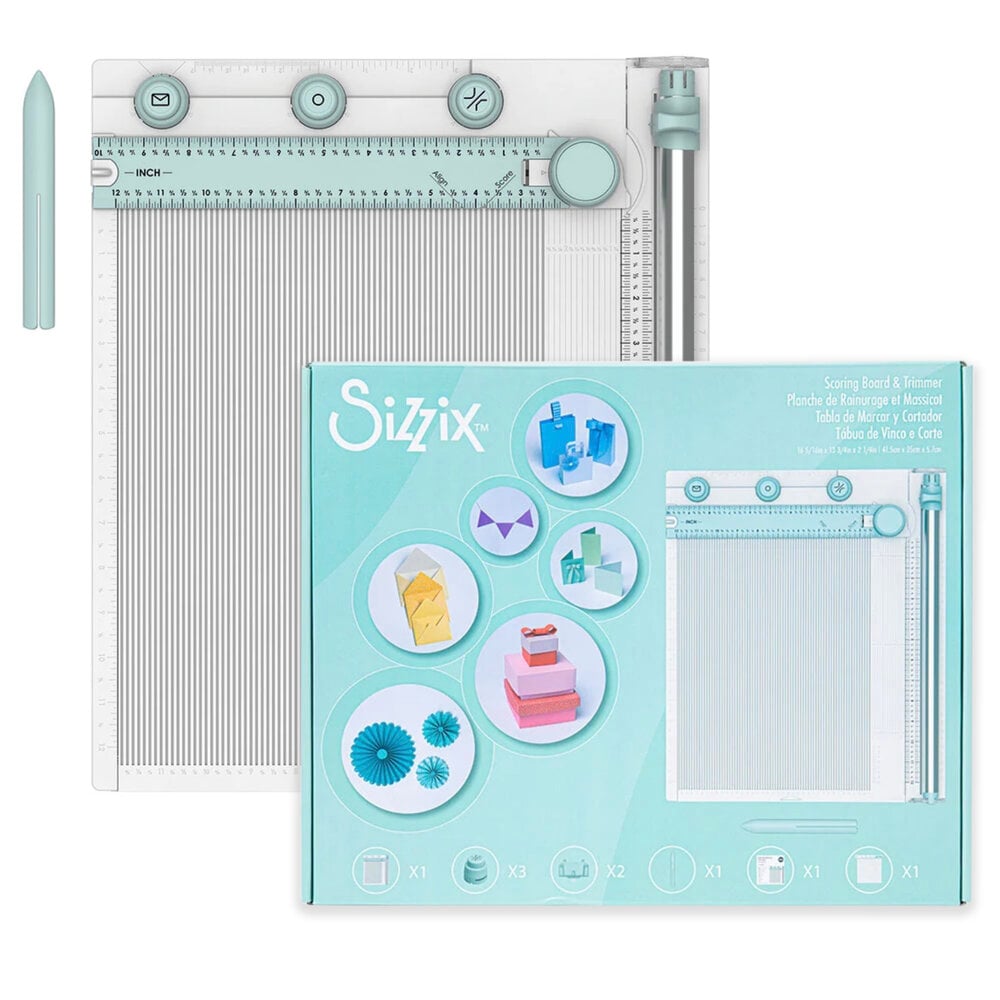 Sizzix Scoring Board & Trimmer Tool Shop at: Scrapbookcom |
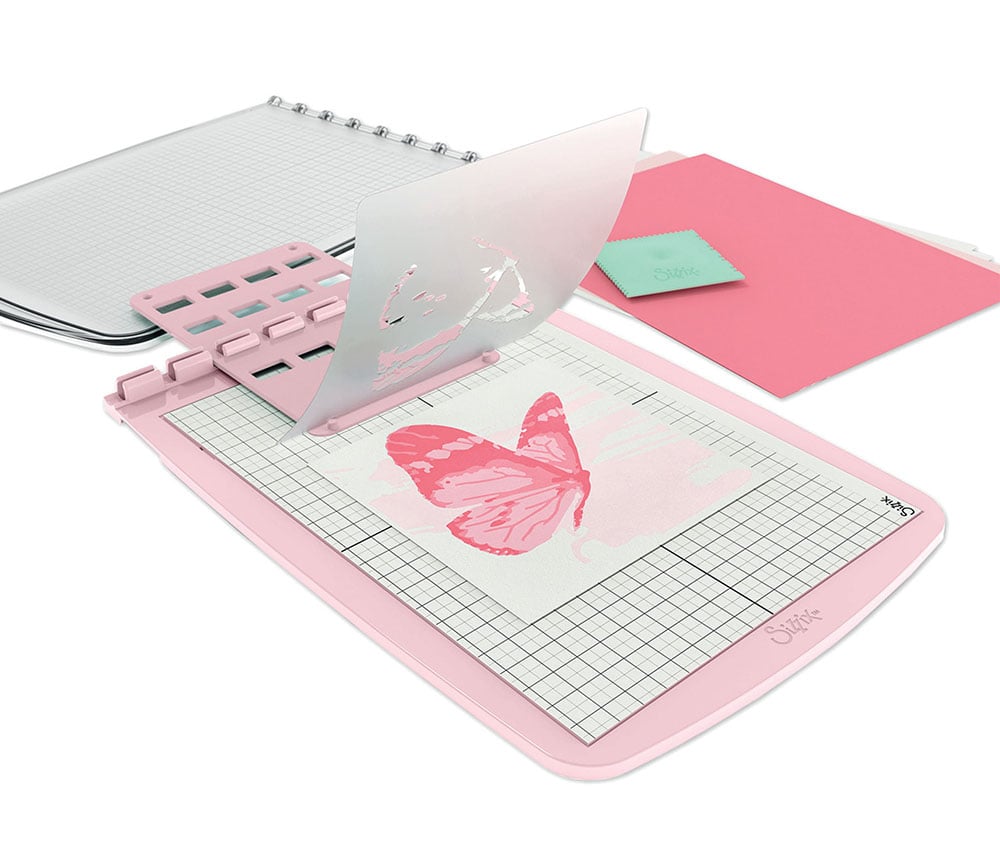 Sizzix Stencil & Stamp Tool Shop at: Scrapbookcom |
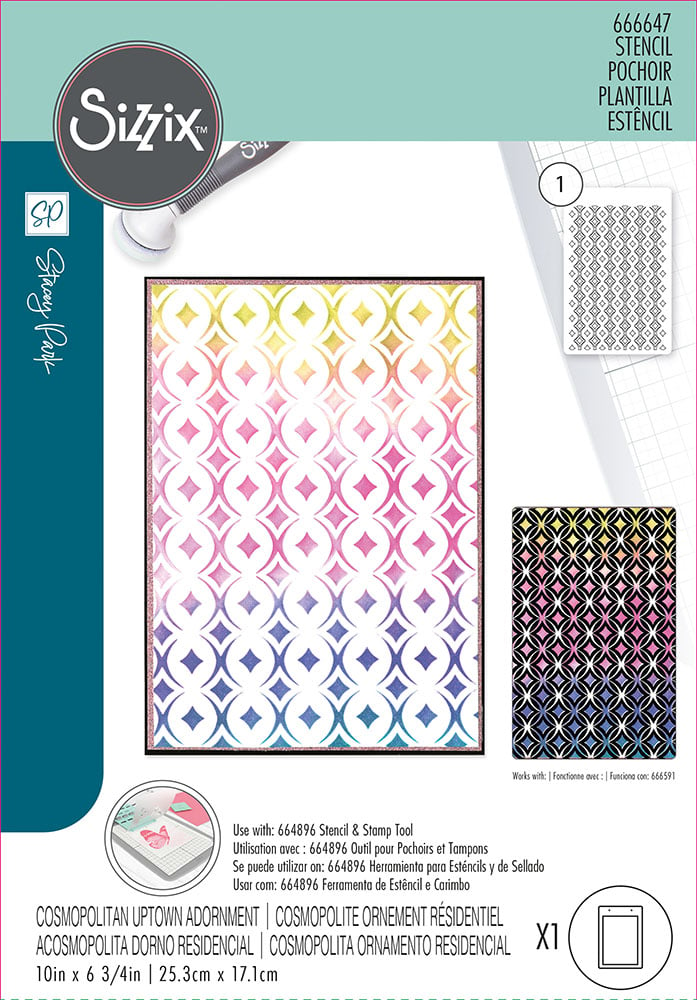 Sizzix/Stacey Park Uptown Adornment Stencil Shop at: Scrapbookcom |
 Sizzix/Stacey Park Cosmopolitan Refined Rays Thinlits Die Set Shop at: Scrapbookcom |
 Sizzix/Stacey Park Fanciful Framelit Katy Deco Diamonds Die Set Shop at: Scrapbookcom |
#wavingmywand #scrapbookcom #sizzix #staceypark #cosmopolitanrefinedrays #framelits #thinlits #katydecodiamonds #cosmopolitanuptownadornment #projectmat #popsofcolor #catherinepoolerink #geometric #cards #cardmaking #diycards #stenciling #birthdaycards #masculinecards


 :)
:)
 :(
:(
 :))
:))
 :((
:((
 =))
=))
 =D>
=D>
 :D
:D
 :P
:P
 :-O
:-O
 :-?
:-?
 :-SS
:-SS
 :-f
:-f
 d(
d(
 :-*
:-*
 b-(
b-(
 h-(
h-(
 g-)
g-)
 5-p
5-p
 y-)
y-)
 c-)
c-)
 s-)
s-)
 d-)
d-)
 w-)
w-)
 :-h
:-h
 :X
:X
No comments:
Post a Comment
(Ignore the robot caption feature and just click submit for your comments. It's a blogger glitch) I appreciate each and every comment. Thank you so much!