Friday, April 4, 2025

Carrot Card featuring OLO Marker

Yes, indeed, today is International Carrot Day. In fact, it was a post on the Bolthouse Fresh Instagram page where I first heard about this notorious event, which inspired me to get a little creative. While carrots are one of my top 3 favorite veggies, I'm simply taking advantage of this day to do a little sketching and coloring as I occasionally like to celebrate unusual holidays. It's been awhile since I penciled up, and I had so much fun creating this colorful carrot that features OLO Markers. They're my favorite artist markers and I've been using them exclusively for awhile. If you decide you'd like to purchase some for yourself, I have clickable affiliate links scattered throughout this post.


 (FTC Disclosure: as an affiliate for various companies in the craft industry, I will receive a small commission for purchases made through my convenient affiliate links, at no additional cost to you.)


Now, if you'd like to learn more about how the carrot earned it's own celebratory day, check out this link: https://www.daysoftheyear.com/days/carrot-day/


I also made a 36 second process speed video showing my drawing and coloring, over on Tiktok and Instagram, if you'd to check it out.


Pictured above, are the OLO Markers that I used on my carrot, plus a white gel pen for accents. For the center sections of my carrot, I drew in a touch of white gel pen, then quickly swiped sideways with my finger. This helps give a little highlight and accent the curve.

My coloring was done on 100 lb weight cardstock, by the way.


I felt like I needed to add more to my card panel, so I used a little tape to cover my carrot, then splattered on some Dylusions Black Marble Shimmer Spray. Rather than spraying, I unscrewed the top, then simply tapped the tube feeder to get little droplets.

The green patterned cardstock in the background is from one of my paper pads from Scrapbookcom, called Cotton Tail.

For my sentiment, I googled "carrot puns" and found that cutesy pun, "Sorry, I got a little carrot away". I typed it in Microsoft Word and printed it off my computer on white cardstock. A couple years ago, I downloaded a bunch of free fonts and this one came from Dafont.com and is called CJ Handwriting.


I really enjoyed creating this fun carrot card. I also tried to think of some appropriate occasions for giving someone this card. 

- Give one to your mail person or delivery driver after delivering an excessively larger order

- Give one to your spouse, after he/she walks in and see's that excessively larger order (haha)

- Hand one to your favorite barista for the outrageous customized specialty drink you ordered

Basically, it's a fun way to apologize!


You can also change the sentiment, there's lots of carrot puns out there. Thanks so much for stopping by today! 

Terri


#wavingmywand #carrots #carrotcard #carrotpuns #olomarker #bolthousefresh #internationalcarrotday
#drawing #sketching #coloring #handdrawn #scrapbookcom #olomarkers


Monday, March 31, 2025

Card Trio Featuring Tim Holtz Sizzix Vault Release

Hello friends. I'm back with a trio of cards for Scrapbook.com, featuring today's new Vault release of embossing folders from Tim Holtz and Sizzix! Thanks so much to Scrapbookcom for sending me these amazing products that are now seeing new light for today's crafters. I'll have creative details below, with my supply/shopping list at the end of this post. 

*Please note, as of this posting today, there is a slight delay in the embossing folder product arrival to the Scrapbookcom shop. They should be arriving within the next day or two and available at that time for purchase so be sure and check back!


 (FTC Disclosure: as an affiliate for various companies in the craft industry, I will receive a small commission for purchases made through my convenient affiliate links, at no additional cost to you.)


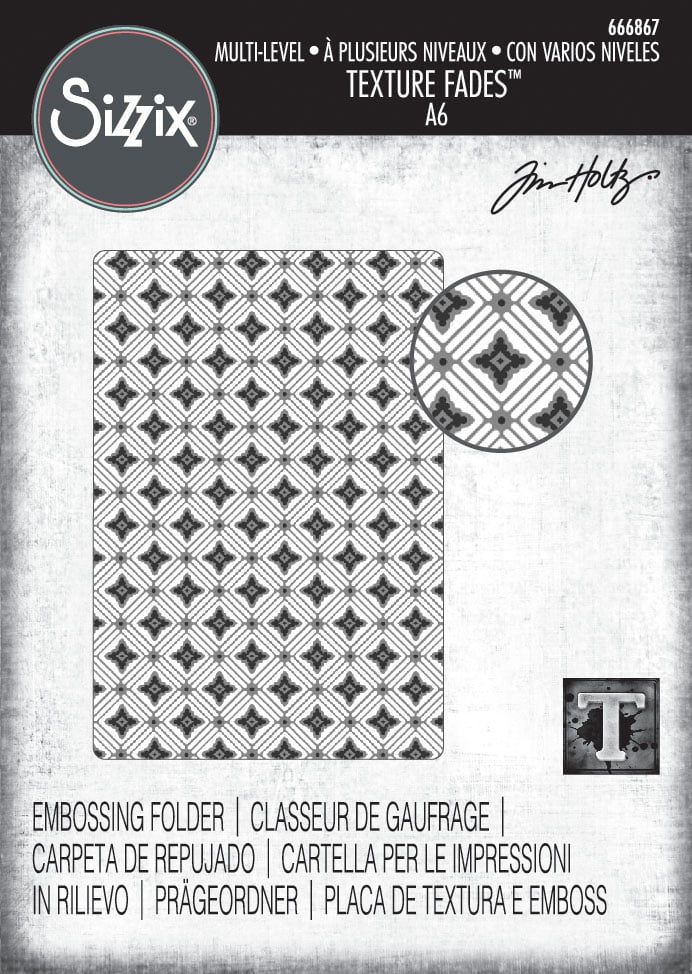
My first card features the Vault Diamonds Multi-Level Embossing Folder. This is a mini-slimline card and I kept my dry embossed background simple with some ink blending.

Next, I selected 5 different Ranger Inks with a goal of using at least 3-4 for each project:

* Carved Pumpkin Distress Ink
* Rusty Hinge Distress Ink
*Speckled Egg Distress Oxide Ink
*Vintage Photo Distress Oxide Ink
*Ground Espresso Distress Oxide Ink


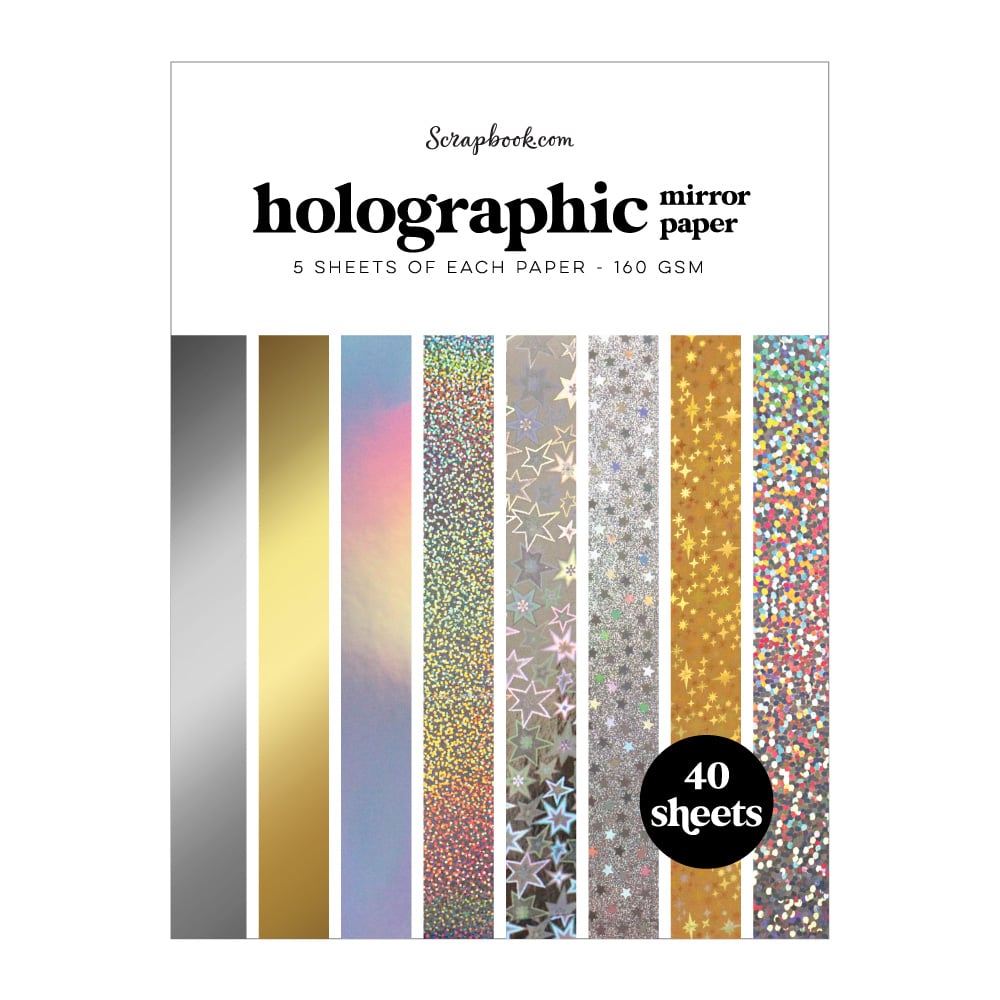
All five inks were used for the various elements on this first card. I also brought out the Tim Holtz/Sizzix Vault Industrial Thinlits, recently released, to die cut some of those fabulous light bulbs again, plus some of the gears. I also created an inked, embossed backdrop for my bulbs for added focal emphasis. Like my last project featuring these bulbs, I again used my Scrapbookcom Holographic paper to "light" things up!


 Lastly, all my elements were splattered with Dylusions Black Marble shimmer spray. Rather than actually spray, I unscrewed the tube feeder and simply tapped droplets all around. Also, some of my die cuts were adhered directly to my embossed backdrop, while others were popped up on Scrapbookcom 3mm adhesive foam strips for dimension.


Oh, and my sentiment above was a rub-on from the Scrapbook.com Joyful Flowers Rub-on sheets. I rubbed it onto some orange cardstock, tearing the paper around the edges and ink blending those edges with Gound Espresso.

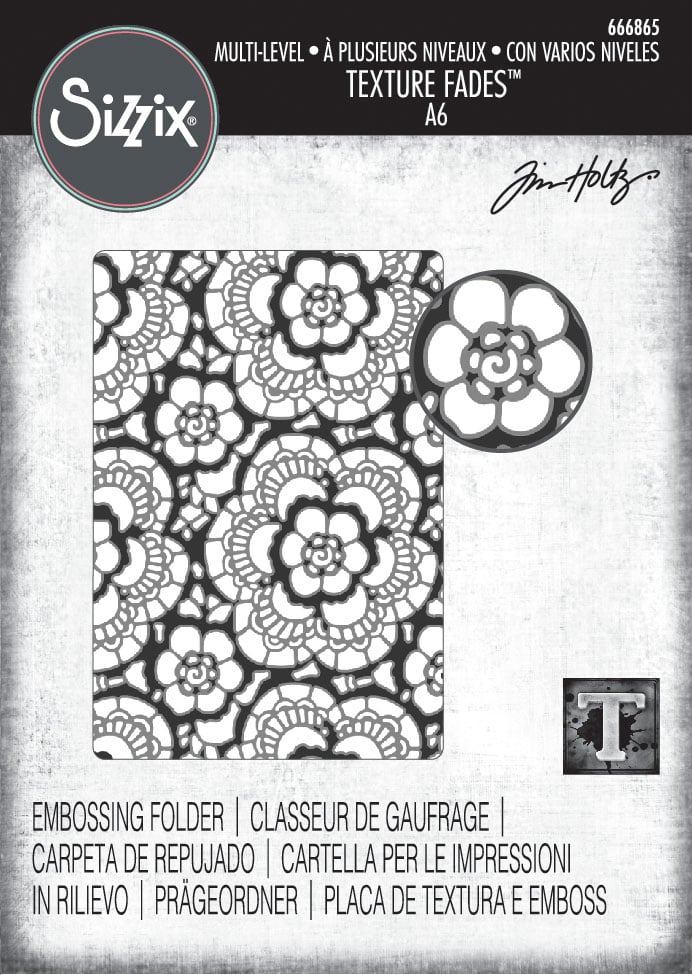
My next card below features the Tim Holtz/Sizzix Lace Multi-Level Embossing Folder. I adore watercoloring and thought this would really be a fun one to paint. I love the lace design and just had some relaxing, peaceful moments spending time painting and choosing my placement of colors.


When watercoloring, I typically press my ink pad onto a craft mat or silicone mat, spritzing with water, then paint with a water brush or wet paintbrush. However, here's a little tip. You can also use a large acrylic block or even plastic packaging that your dies or stamps come in as the platform for your ink and spritzing. The watercolor wipes off easily with a paper towel or shammy!


Before painting though, I took the Rusty Hinge distress ink pad and swiped it across my entire embossed card panel. Then, I started painting the larger blooms first, going in with Carved Pumpkin and Speckled Egg. I left some of the embossed images white, and went in with some of the background debossed spaces using Ground Espresso. Because the colors are diluted with a little water, they will be a little lighter but if you choose, you can add more layers of color.

I also added white paint splatters using Ranger Acrylic White Paint and more Black Marble shimmer spray.


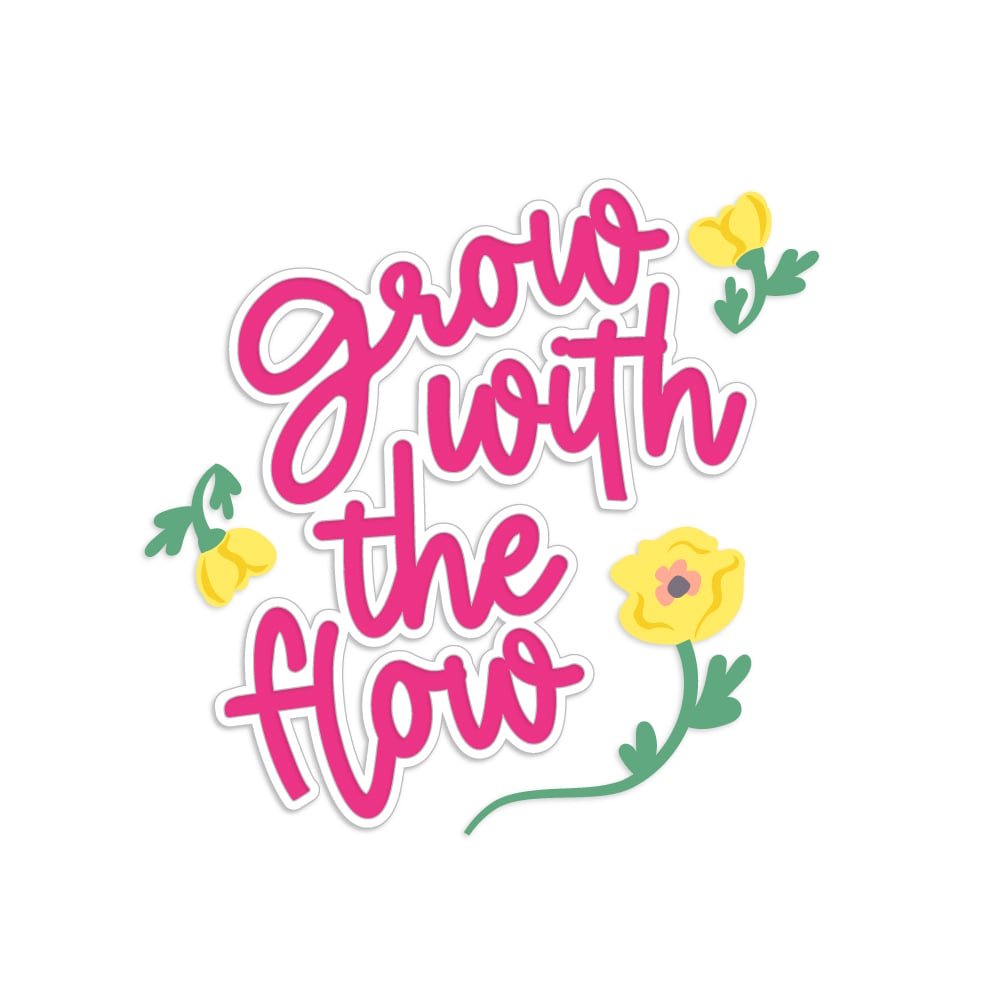
I love, love, love my sentiment too. It's a large Scrapbookcom word die called Grow With The Flow. I did some ink blending on a white A2 card panel, then made my die cuts using that panel. The word die is actually designed so all the words are connected when die cut. However, I didn't want it to fully cover all the embossing and painting, so I used my scissors to get creative, making just a couple trims to separate the wording into two separate elements.

Below, is a stock photo from Scrapbookcom, showing the dies included in packaging. Where you see the black arrows, is where I made my trims, fussy cutting along the curve where the "g" and "t" meet, and also where the "h" and "w" meet. I did this after I adhered my ink blended word die cut to my coordinating black background word die cut. 


For my butterfly embellishment, I used another rub-on from the Scrapbook.com Cardmaker Sentiments rub-on sheets and pulled off the neatest trick!

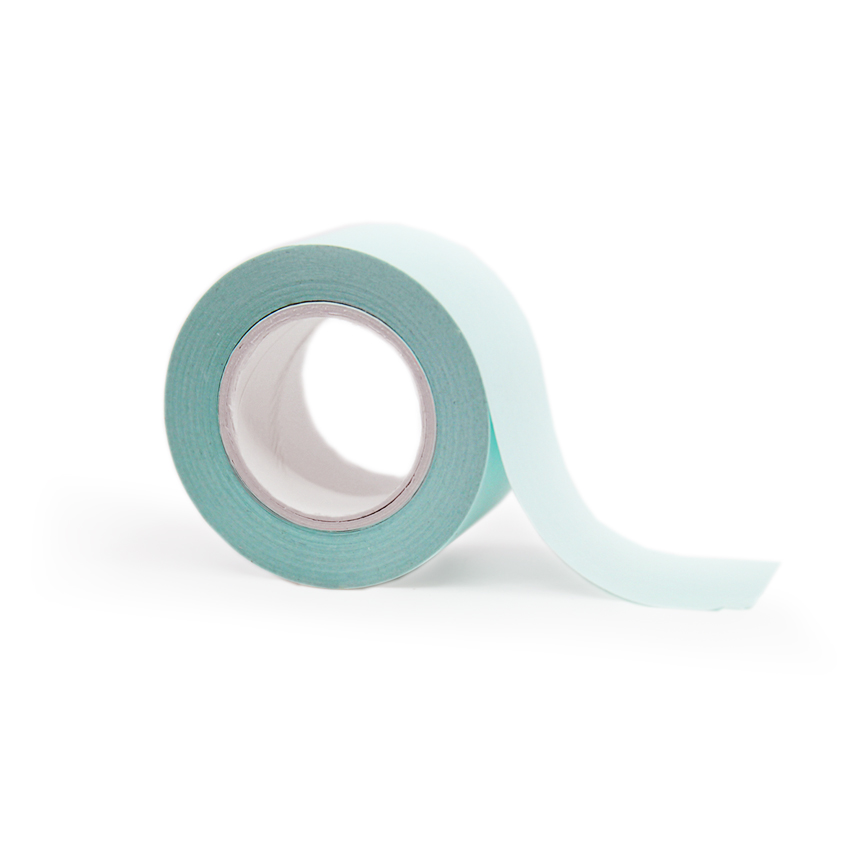
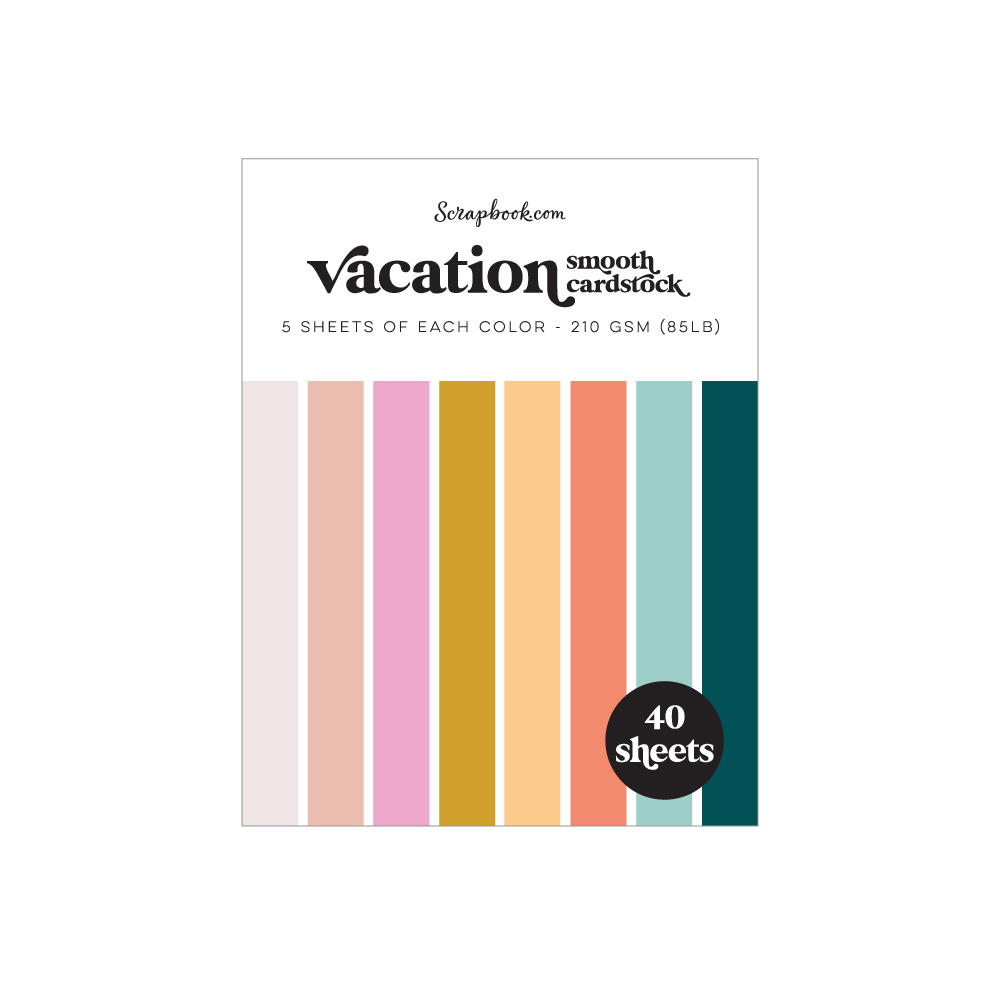
I selected two solid colors from my SBC Vacation paper pad that complemented my inks. Then, I took a strip of mint tape, butting the edges of my papers together, taping them on one side. 

Next, I flipped my papers over and adhered my rub-on dead center where the edges meet and fussy cut my butterfly. Make sure you leave that tape intact, there's no need to  remove it. I used some adhesive foam strips on the back to further support my paper "spliced" butterfly! 

This was so easy and I want to do this with all the things now! No ink blending or stamping required for this pretty little butterfly. And, the papers perfectly match my ink blending and painting! Plus, I was able to use all 5 ink colors on this card too!

The full dimensions of this card measures 3.75 x 5.25 inches.

(You can't see in these photos, but the black cardstock was also embossed!)


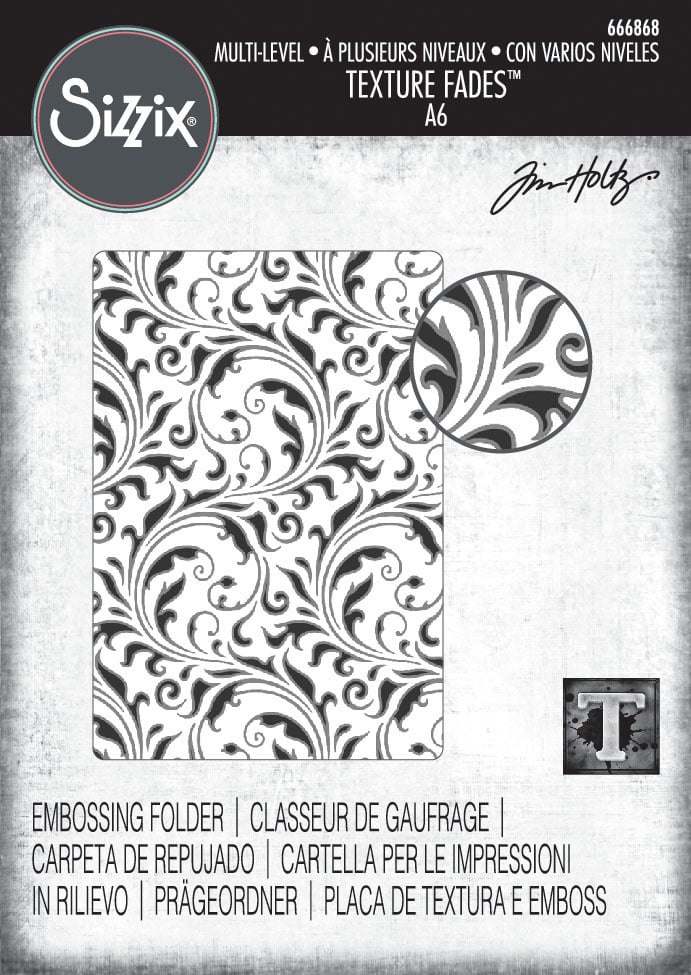
My last card is more simplistic, for the sake of variety and because I know many of you like to see various ways a product can be used, including a more simplistic approach. I chose to let the embossing be the star here, with very minimal embellishments. Even so, I was able to use 4 of the 5 colors I chose to create with today. This card features the Tim Holtz/Sizzix Vault Flourish Multi-Level Embossing Folder.


This is a smaller card with the top panel measuring in at almost 3 3/4 x 4 1/8 inches and the full card dimensions at 4 1/8 x 4 1/2 inches. Yes, I tend to create first and measure later, haha!


I used the swipe technique again, but first, I split my white card panel in half diagonally with my trimmer. Then swiped one piece with the Vintage Photo Ink and the other with Speckled Egg ink.

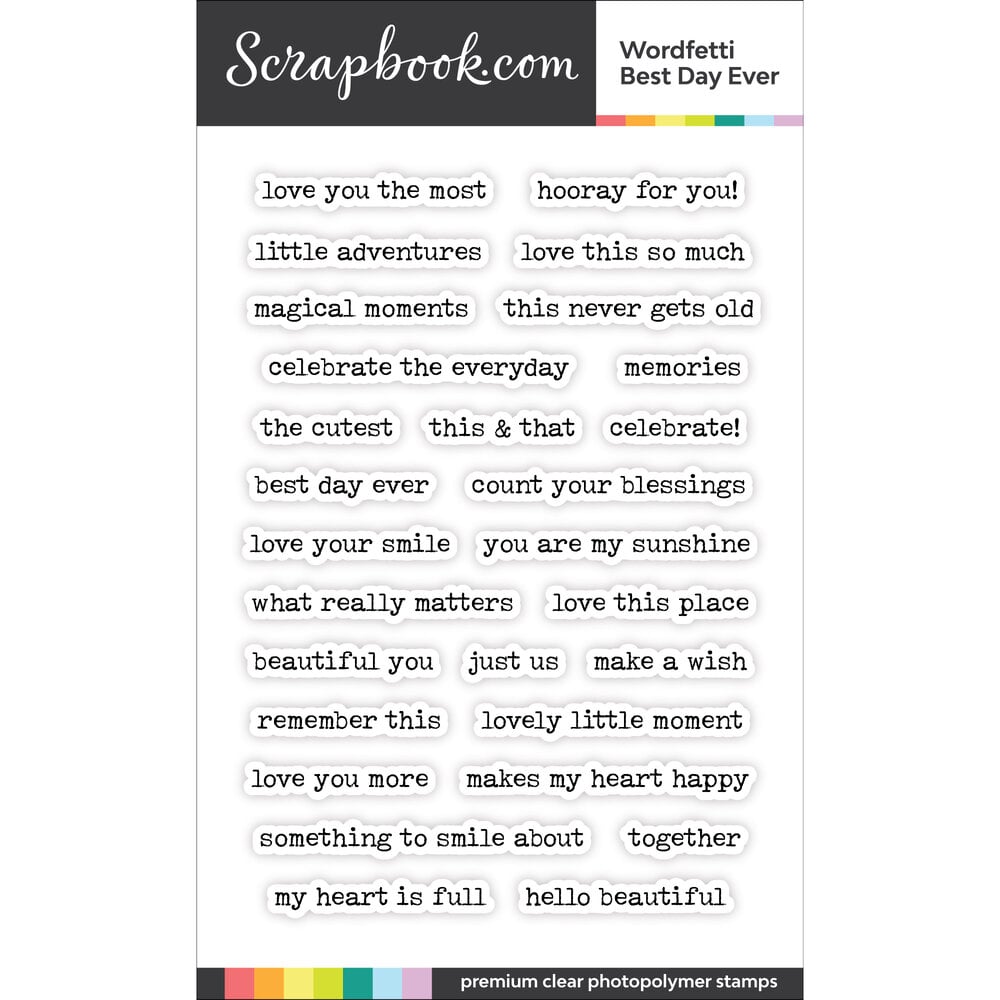
I pulled out my SBC Wordfetti Best Day Ever stamp set for my sentiment, stamping with Ground Espresso distress ink, also rubbing the edges with ink directly with the ink pad. I also did some light ink blending on top of my sentiment with leftover Rusty Hinge ink that was on my blender brush.

I had some leftover white re-inforcer die cuts from my project a couple weeks ago using the Vault Industrial Thinlits, so I picked one and ink blended with my SBC detailer brush. I adhered it in the center of my card with adhesive foam strips, hot glued a string embellishment in the center and topped with some Pops of Color in Black Gloss. 


I finished off my card by adhering my elements to some black trimmed cardstock, then mounted on my card base. A very quick card, for those of you who might want to create multiple cards!

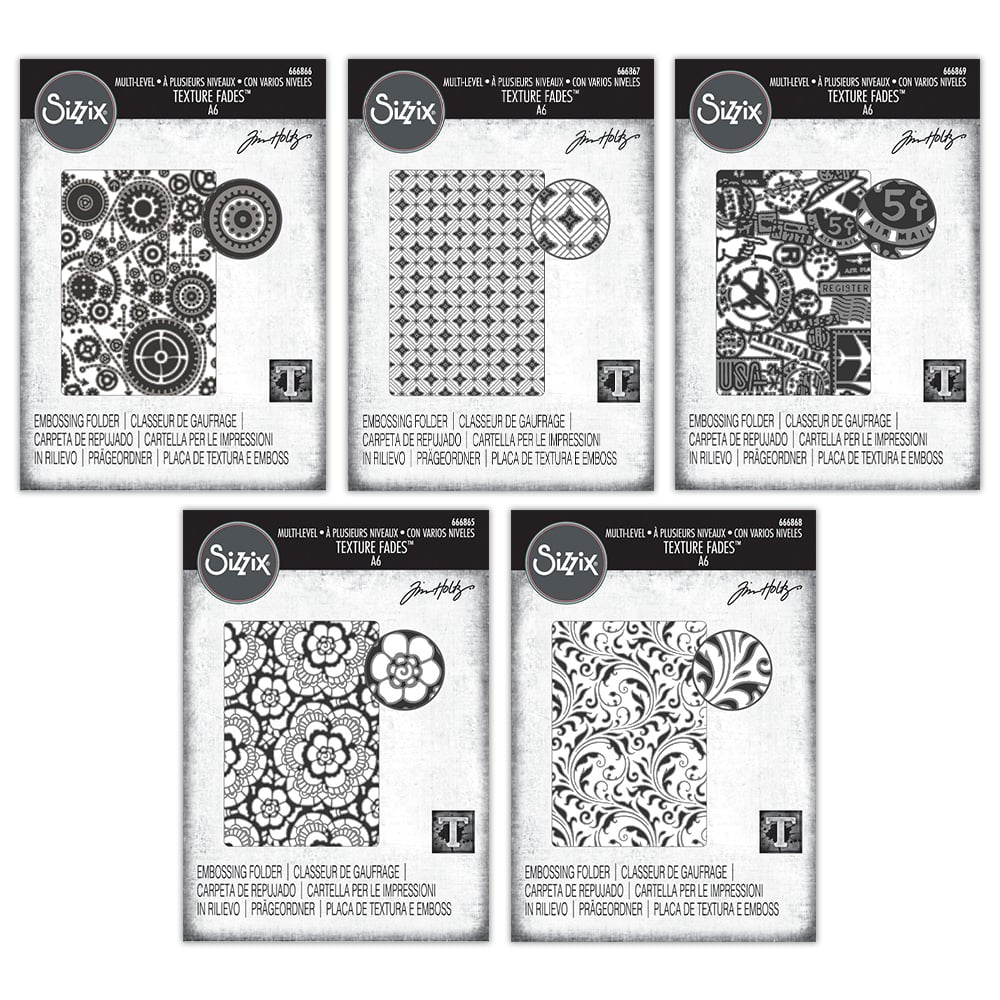
View the entire embossing collection from the Tim Holtz/Sizzix release, here!

If you're shopping today, or would just like to browse, I have clickable affiliate links below. There's no added cost to you for shopping through these links and I'm compensated a few cents per dollar from the companies that I'm affiliated with, when you make a purchase. So, once in awhile, I'm able to buy a gourmet coffee and do a little happy dance when I do!

I hope you're enjoying Spring time where you live and have a great week! Let me remind you to stop by the coupon section at Scrapbookcom, as they sometimes have coupon codes and freebies available with your purchase.

See you next time......Terri

**********************


Neenah Solar White Cardstock 8.5x11 inch
Shop at:
Scrapbookcom
Lawn Fawn Black Licorice cardstock
Shop at:
Scrapbookcom
Ranger Distress Oxide Ink Pad - Vintage Photo
Shop at:
Scrapbookcom
Refillable Permanent Adhesive Runner - 49 feet
Shop at:
Scrapbookcom
Dina Wakley Heavy Acrylic Paint - White
Shop at:
Scrapbookcom
Ranger Ink Distress Oxide Ink Pad - Ground Espresso
Shop at:
Scrapbookcom
Ranger Ink Distress Oxide Ink Pad - Speckled Egg
Shop at:
Scrapbookcom
Mint Tape 1 inch roll
Shop at:
Scrapbookcom
Ranger Artist Brushes - 7 pc
Shop at:
Scrapbookcom
Artis Craft Glue - Only at Scrapbookcom
Shop at:
Scrapbookcom
Exlusive Pink Misti Stamp Positioner
Shop at:
Scrapbookcom
Exclusive Tiny Details Blending Brushes - 3 pk
Shop at:
Scrapbookcom
Scrapbookcom Small Blending Brushes - 3 pk
Shop at:
Scrapbookcom
Exclusive Ergonomic Reverse Tip Tweezers
Shop at:
Scrapbookcom
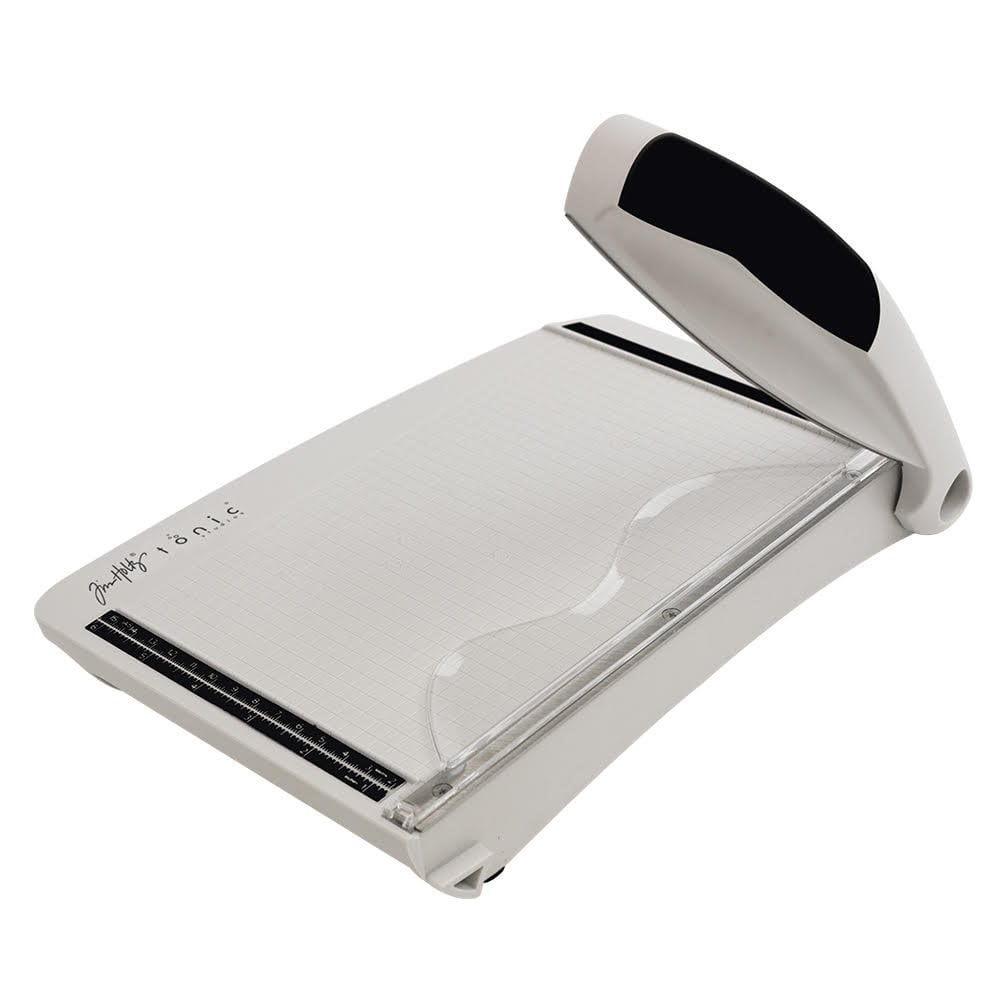
Tonic Studios Tim Holtz Comfort Trimmer 8.5 Inch
Shop at:
Scrapbookcom
Tim Holtz Non-Stick Serrated Scissors - 7 inch
Shop at:
Scrapbookcom
Project Grip Mat Large - White - 24x18 inch
Shop at:
Scrapbookcom
3 mm Adhesive Strips - 160 strips
Shop at:
Scrapbookcom
Ranger Ink Dylusions Shimmer Spray - Black Marble
Shop at:
Scrapbookcom
Vacation Paper Pad - A2 - 40 sheets
Shop at:
Scrapbookcom
Pink Stamp Cleaning Shammy
Shop at:
Scrapbookcom
Sky Blue Stamp Cleaning Shammy
Shop at:
Scrapbookcom
Exclusive Magnet Mat
Shop at:
Scrapbookcom
Pops of Color Black Gloss Liquid Embellishment
Shop at:
Scrapbookcom
We R Makers Glue Gun Kit - Pink
Shop at:
Scrapbookcom
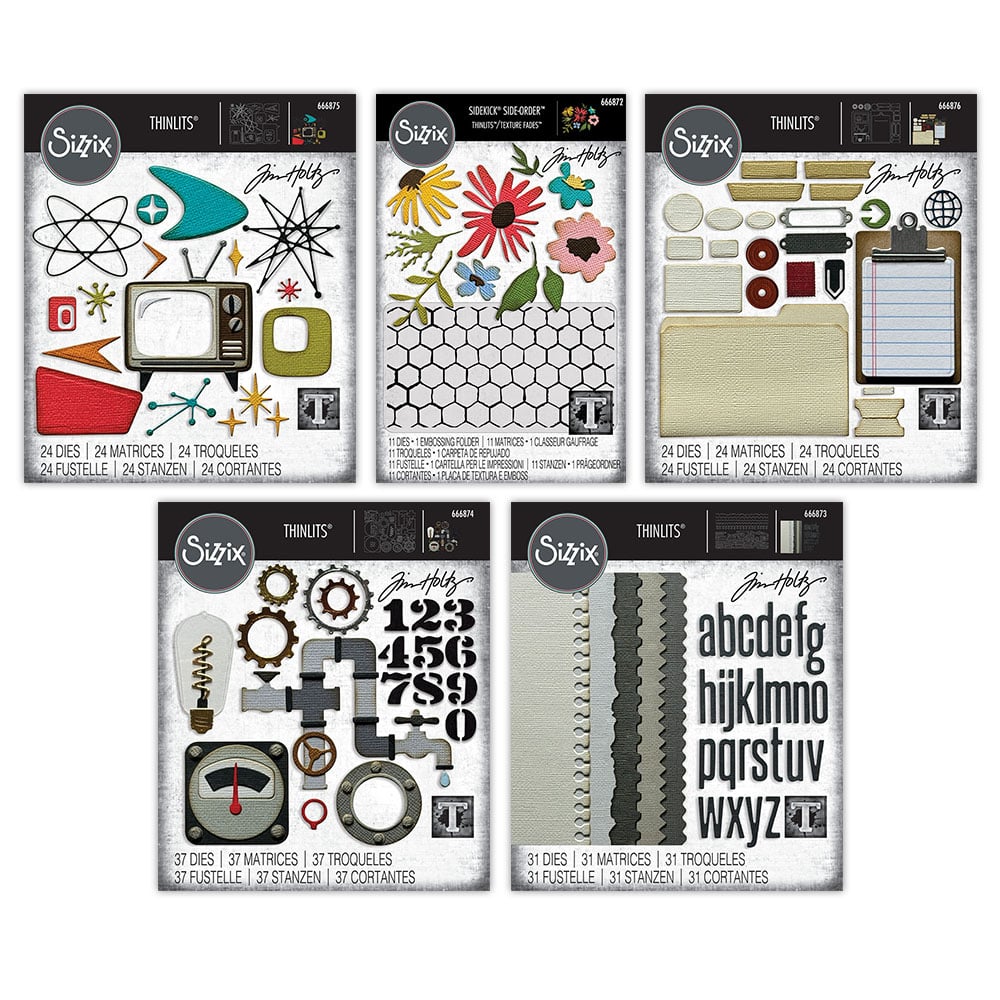
Tim Holtz/Sizzix Vault Release Bundle
Shop at:
Scrapbookcom
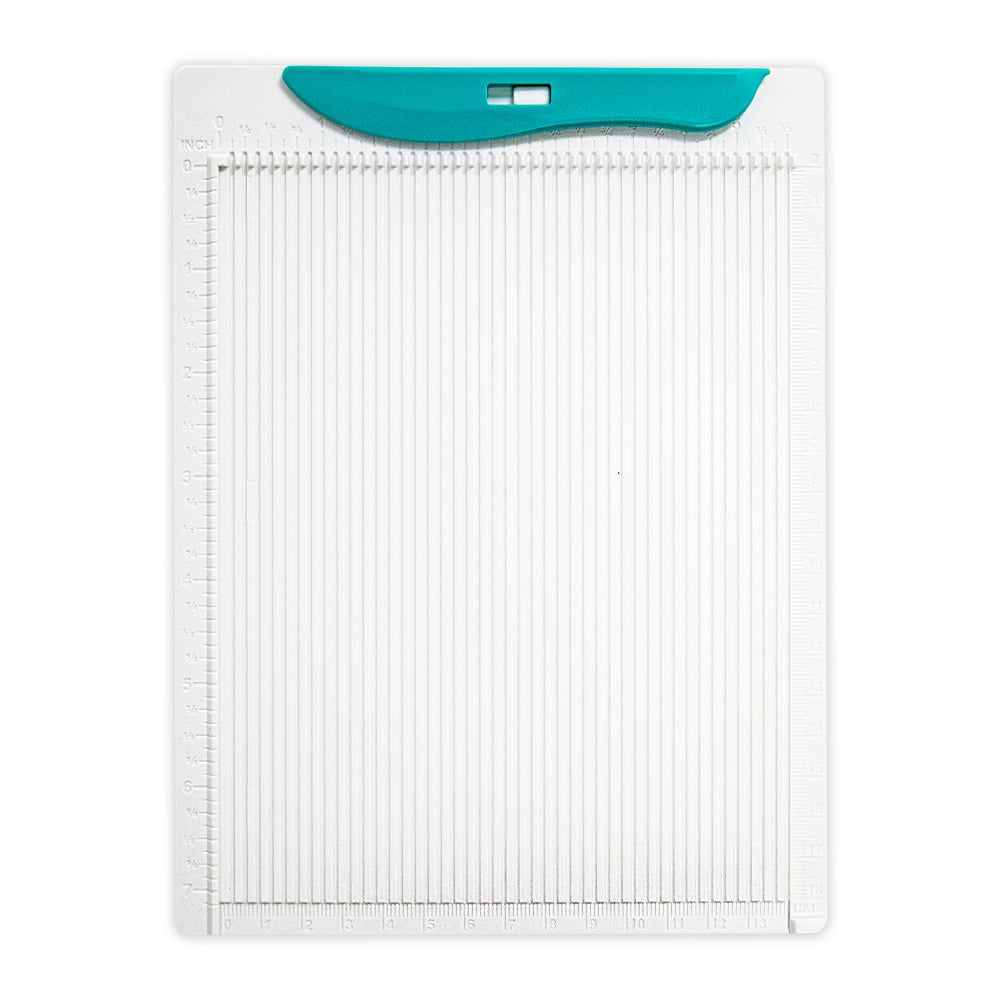
Gina K Designs Multi-Purpose Scoring Board Tool
Shop at:
Scrapbookcom
Ranger Heat It Craft Tool
Shop at:
Scrapbookcom
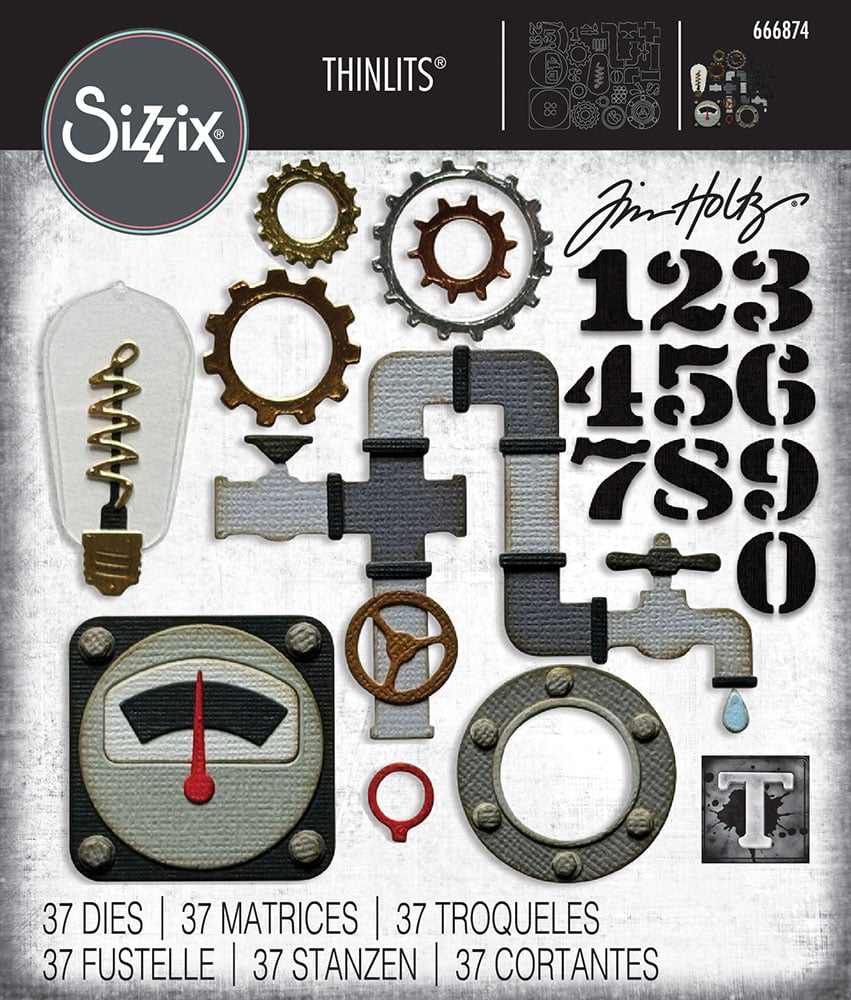
Tim Holtz Sizzix - Thinlit Dies - Vault Industrial
Shop at:
Scrapbookcom
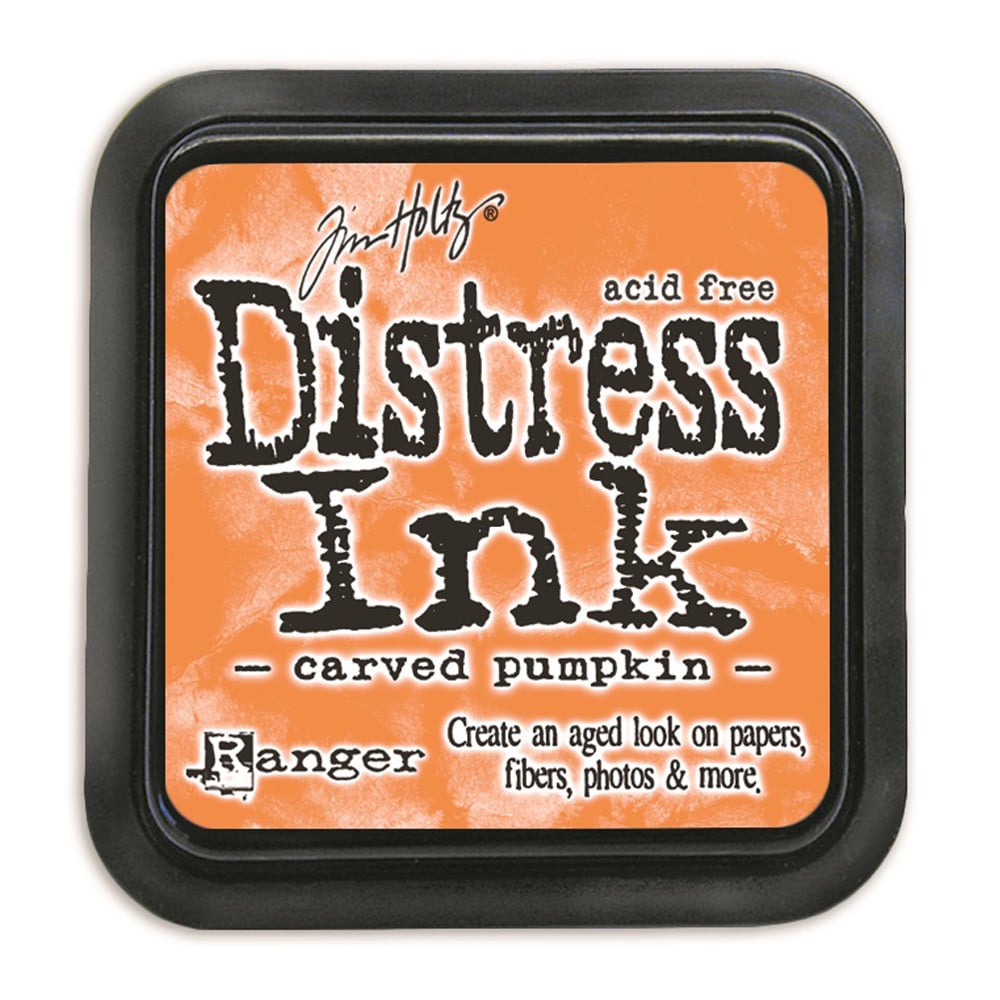
Ranger Distress Ink Pad - Carved Pumpkin
Shop at:
Scrapbookcom
Holographic Mirror Cardstock Paper Pad - 6x8
Shop at:
Scrapbookcom
Wordfetti Stamp Set - Best Day Ever
Shop at:
Scrapbookcom
Joyful Flowers Rub-ons
Shop at:
Scrapbookcom
Ranger Distress Ink Pad - Rusty Hinge
Shop at:
Scrapbookcom
Limited Edition Big Shot - Stacey Park - Teal
Shop at:
Scrapbookcom
Grow With The Flow Word Dies
Shop at:
Scrapbookcom
Card Maker Sentiments Rub-Ons
Shop at:
Scrapbookcom
Lawn Fawn Latte Hemp Twine
Shop at:
Scrapbookcom
Tim Holtz Sizzix Vault Diamonds Multi-Level Embossing Folder
Shop at:
Scrapbookcom
Tim Holtz Sizzix Vault Lace Multi-Level Embossing Folder
Shop at:
Scrapbookcom
Tim Holtz Sizzix Vault Flourish Multi-Level Embossing Folder
Shop at:
Scrapbookcom
Tim Holtz Sizzix Vault Embossing Bundle
Shop at:
Scrapbookcom


#wavingmywand #scrapbookcom #timholtz #sizzix #embossing #vault #flourish #lace #diamonds #cardmaking #cards #diy #stamping #mixedmedia #rangerink