Showing posts with label olo markers. Show all posts

Friday, April 4, 2025

Carrot Card featuring OLO Marker

Yes, indeed, today is International Carrot Day. In fact, it was a post on the Bolthouse Fresh Instagram page where I first heard about this notorious event, which inspired me to get a little creative. While carrots are one of my top 3 favorite veggies, I'm simply taking advantage of this day to do a little sketching and coloring as I occasionally like to celebrate unusual holidays. It's been awhile since I penciled up, and I had so much fun creating this colorful carrot that features OLO Markers. They're my favorite artist markers and I've been using them exclusively for awhile. If you decide you'd like to purchase some for yourself, I have clickable affiliate links scattered throughout this post.


 (FTC Disclosure: as an affiliate for various companies in the craft industry, I will receive a small commission for purchases made through my convenient affiliate links, at no additional cost to you.)


Now, if you'd like to learn more about how the carrot earned it's own celebratory day, check out this link: https://www.daysoftheyear.com/days/carrot-day/


I also made a 36 second process speed video showing my drawing and coloring, over on Tiktok and Instagram, if you'd to check it out.


Pictured above, are the OLO Markers that I used on my carrot, plus a white gel pen for accents. For the center sections of my carrot, I drew in a touch of white gel pen, then quickly swiped sideways with my finger. This helps give a little highlight and accent the curve.

My coloring was done on 100 lb weight cardstock, by the way.


I felt like I needed to add more to my card panel, so I used a little tape to cover my carrot, then splattered on some Dylusions Black Marble Shimmer Spray. Rather than spraying, I unscrewed the top, then simply tapped the tube feeder to get little droplets.

The green patterned cardstock in the background is from one of my paper pads from Scrapbookcom, called Cotton Tail.

For my sentiment, I googled "carrot puns" and found that cutesy pun, "Sorry, I got a little carrot away". I typed it in Microsoft Word and printed it off my computer on white cardstock. A couple years ago, I downloaded a bunch of free fonts and this one came from Dafont.com and is called CJ Handwriting.


I really enjoyed creating this fun carrot card. I also tried to think of some appropriate occasions for giving someone this card. 

- Give one to your mail person or delivery driver after delivering an excessively larger order

- Give one to your spouse, after he/she walks in and see's that excessively larger order (haha)

- Hand one to your favorite barista for the outrageous customized specialty drink you ordered

Basically, it's a fun way to apologize!


You can also change the sentiment, there's lots of carrot puns out there. Thanks so much for stopping by today! 

Terri


#wavingmywand #carrots #carrotcard #carrotpuns #olomarker #bolthousefresh #internationalcarrotday
#drawing #sketching #coloring #handdrawn #scrapbookcom #olomarkers


Monday, January 13, 2025

Blooming Butterfly Card for Spellbinders

The Vivid Expressions collection is now in the shop at Spellbinders! I created with 3 different products from this release for todays card. I also used the blackout technique but with a twist! Scroll down and I'll tell you about. You'll find my supply list at the end, along with clickable shopping links!


 (FTC Disclosure: as an affiliate for various companies in the craft industry, I will receive a small commission for purchases made through my convenient affiliate links, at no additional cost to you.)


If this is your first time visiting my blog, I tend to create first and measure later. This card measured in at a whopping 5 x 7.5 inches. You could easily trim off a bit to size down to 5x7. I did trim and score my own card, and also made a coordinating pink envelope using scrapbook paper from my stash and my We R Makers 123 punch board.


Typically when using the blackout technique, you color images on the flip side of your dry embossed cardstock, then swipe your panel with black ink. Instead, I went ahead and swiped my Blooming Butterflies embossed panel in black ink, then colored with my OLO Markers. 

I only used 2 markers - RV0.2 and OR4.4. Spellbinders sells these colors with marker sets and I've linked them in my supply list. If you prefer purchasing individual markers, you can get them from OLO Marker, here. 


If you caught my reel on social media earlier this week, I shared some bulk foiling with the Ideal Moments BetterPress plates/dies from the Vivid Expressions collection. My reel shows how to adhere negative foils to cardstock with adhesive spray. The tiny sentiment in the middle of my word dies is one that was included in my bulk foiling.

I also found some light pink cardstock from one of my older monthly card kits from Spellbinders that coordinated perfectly for the "Thank You", using the Vivid Script Sentiments. There are 20 dies in this set and well worth having in your craft room!


I also plan on sharing a 15 second reel on my social media showing how I applied the paint splatter on my elements, using my Spellbinders Splatter White. Also, I don't know if you noticed in my 3rd photo, but I used the Simon Hurley Bark 3D embossing folder from the Timeless Trees collection on my black cardstock. I love the texture! Lastly, I glued some of the Spellbinders Pink Opalescent sequins to my card, although they reflect blue in some of my photos due to the lighting and angle.


Let me know if you have any questions that I can answer in the comment section. Have a great day!

Terri

*********************************

Neenah Card Front Solar White 5.5 x 4.25 inch 25 pk
Shop at:
Scrapbookcom
Catherine Pooler Ink - Midnight
Shop at:
Scrapbookcom | Catherine Pooler
Spellbinders Glimmer Hot Foil - Black
Shop at:
Scrapbookcom | Spellbinders
Refillable Permanent Adhesive Runner - 49 feet
Shop at:
Scrapbookcom
Spellbinders Onyx Cardstock - 10 pk
Shop at:
Scrapbookcom | Spellbinders
Neenah Solar White Cardstock 80 lb, 25 pk
Shop at:
Scrapbookcom
Exclusive Black Platinum 6 Die Cut System
Shop at:
Scrapbookcom
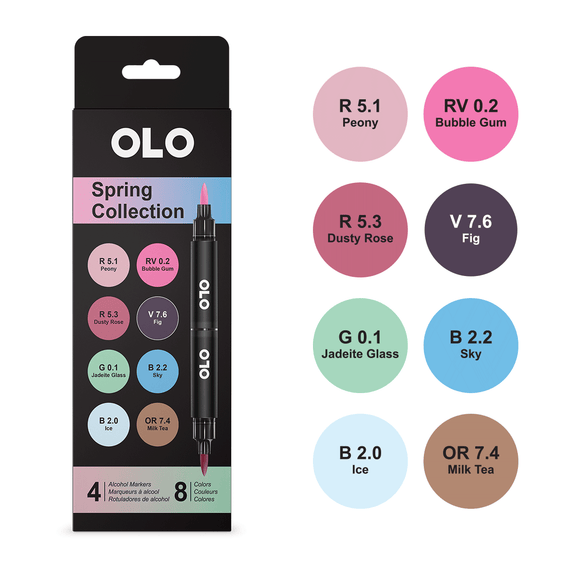
Olo Markers Set 2 Spring - 4 pc
Shop at:
Spellbinders
Spellbinders Tool N One - White
Shop at:
Scrapbookcom | Spellbinders
Tonic Studios Tim Holtz Comfort Trimmer 8.5 Inch
Shop at:
Scrapbookcom
Splatter White
Splatter White
Shop at:
Scrapbookcom | Spellbinders
3 mm Adhesive Strips - 160 strips
Shop at:
Scrapbookcom
New/Improved Glimmer Hot Foil System
Shop at:
Scrapbookcom | Spellbinders
Exclusive Lilac Shimmer Platinum 6 Die Cut/Emboss Machine
Shop at:
Spellbinders
Pixie Adhesive Spray
Shop at:
Scrapbookcom
Vivid Script Sentiments
Shop at:
Scrapbookcom | Spellbinders
Ideal Moments BetterPress Plates/Die Set
Shop at:
Scrapbookcom | Spellbinders
Blooming Butterflies 3D Emboss & Cut Folder
Shop at:
Scrapbookcom | Spellbinders
OLO Portrait Alcohol Markers Set 6
Shop at:
Spellbinders
Pink Opalescent Sequins
Shop at:
Scrapbookcom | Spellbinders
Simon Hurley 3D Embossing Folder - Bark
Shop at:
Scrapbookcom | Spellbinders
We R Makers 123 Punch Board
Shop at:
Scrapbookcom


#wavingmywand #spellbinders #neverstopmaking #glimmerhotfoilsystem #cardmaking #diycards #vividexpressions #bloomingbutterflies #splatterwhite #thankyou #butterflycards #cards #gratitude #floralcards #blackouttechnique

Saturday, December 28, 2024

Spotlight Technique Card

Hello cardmakers. I'm trying out the spotlight technique today, using an oval stencil and some newer products from Gina K Designs. I'm also flipping my sentiment with the larger sentiment stamped on the inside of the card, and the smaller sentiment on the outside, using the Gina K Designs Thoughtful Flowers stamp set. Scroll down and I'll tell you about it! I'll also have clickable product links at the end, if you'd like more details or wish to shop.


(FTC Disclosure: as an affiliate for various companies in the craft industry, I will receive a small commission for purchases made through my convenient affiliate links, at no additional cost to you.)


I really didn't have a plan when I started making this card, but I knew I wanted to use the Gina K Designs oval stencil in some way. I also wanted to use the background stamp, Blossoms in Bloom, designed by the very talented Arjita Singh. It's 6x6 inches and I'll be honest, I mostly make A2 sized cards and stamp with my mini Misti stamp positioner. What to do?

I broke out my scissors and snipped off about 1 inch from the right side. Hey, I'm not the first and I won't be the last cardmaker to chop up their stamps. Good news, though, I used the strip for the inside of my card! More on that later.


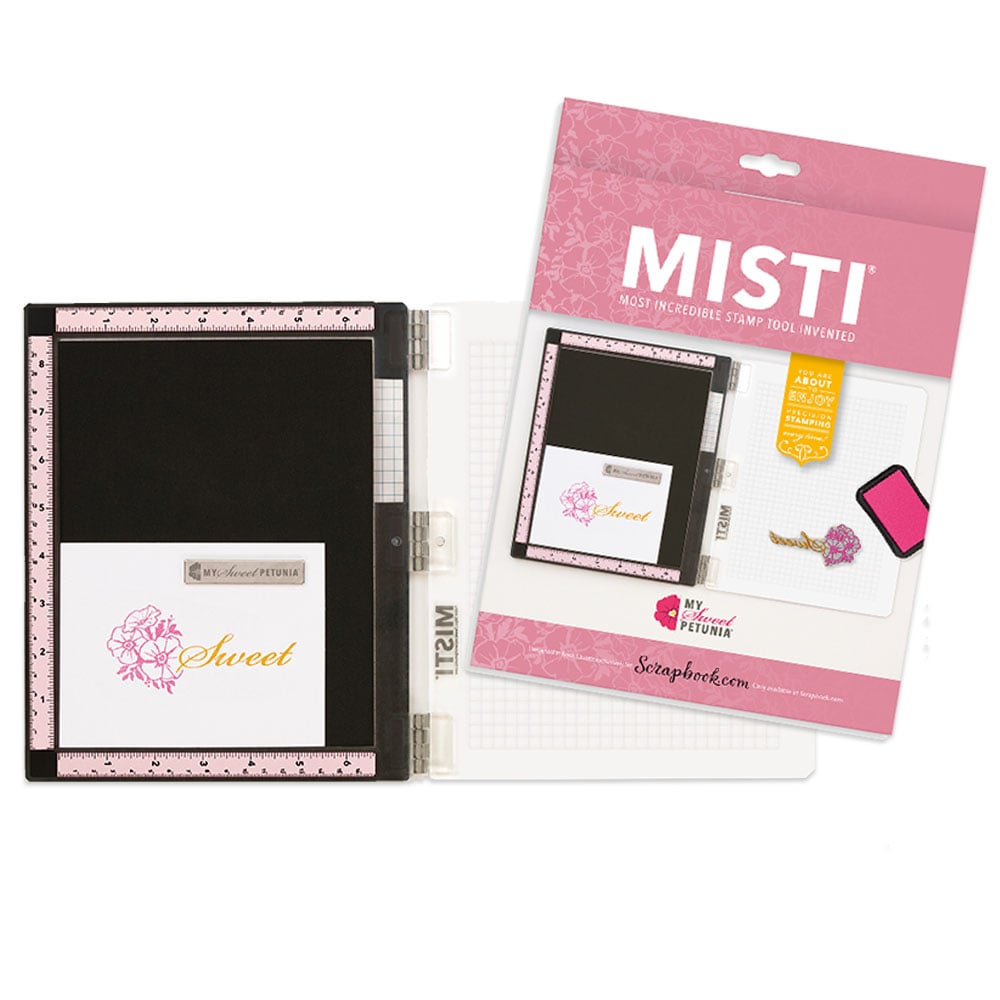
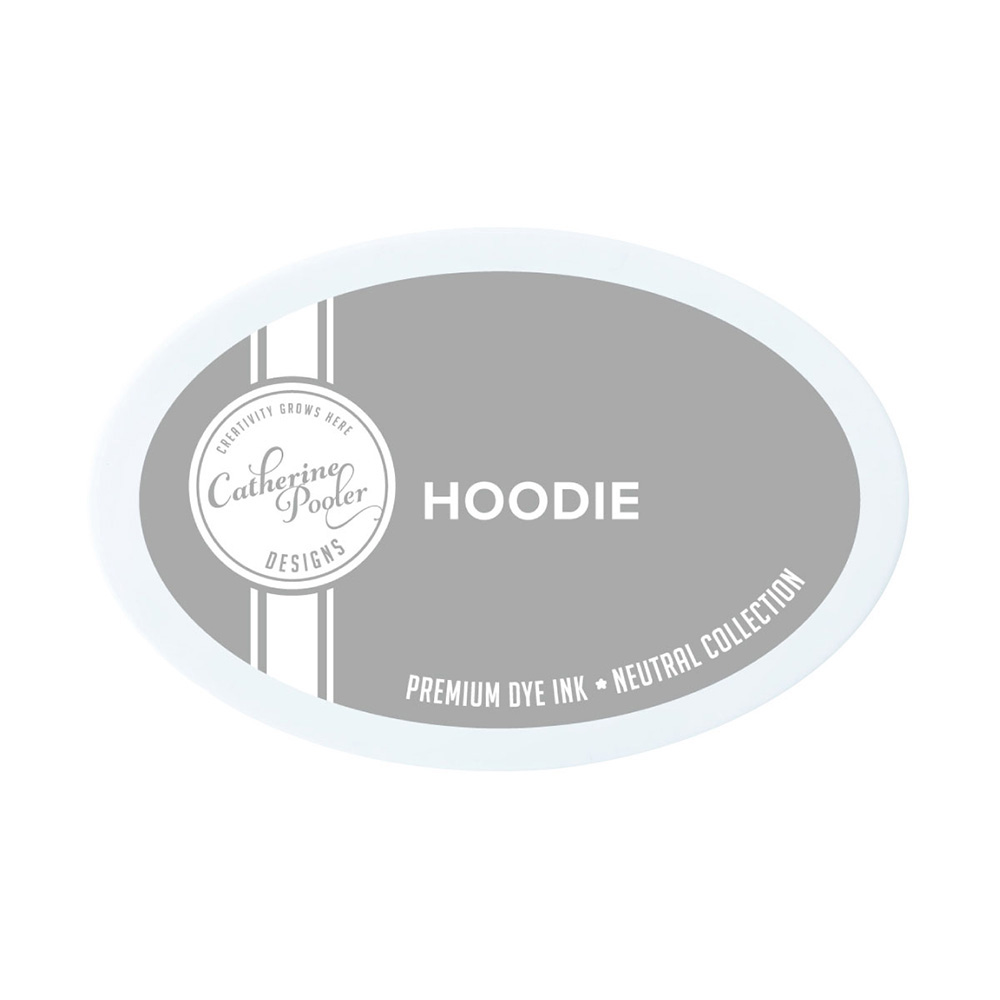
I stamped my blossoms stamp with Catherine Pooler ink, using my Misti stamp positioner. It's a gray color called Hoodie. Next, I removed my stamped card panel from the Misti and placed it on a craft mat, centering my Gina K Designs oval stencil over the top and taping it on the backside to my card panel, using 2 small strips of tape.

I used my OLO markers to color in my leaves and blooms with these colors:

YG8.5, YG8.7, RV.1, B4.3 and V0.2

After coloring, I used my Ranger Distress Oxide Ink in Vintage Photo to do some ink blending around the edges of my oval image, with the stencil still in place.

When finished, I did some ink blending with Ranger Distress Oxide Ink in Wilted Violet, splattered some white paint and glued some pretty gold sequins from my stash.


Now for the inside of my card. It was impossible to evenly trim that 1 inch edge from my background stamp, but no worries. I simply placed a strip of washi tape at the bottom of my card, so when stamping, I would get more even results instead of the jagged edge.

*BONUS TIP: I higly recommend that you swipe a new stamp across your arm or use another trick to condition your stamp prior to stamping. This picks up the oils from your skin and allows for more even inking. I also use this same trick with washi tape, taping it to my arm to pick up the oils so it doesn't stick to my cardstock and tear it. Even so, you still need to gently pull up your tape when finished, just to be safe.

Next, I grabbed a ruler and a fine tip black pen, and drew lines on top and at the bottom of my border image to make it look more cohesive, and colored the border image. I also used Catherine Pooler ink in Midnight for all my inside stamping.


Lastly, let me tell you about the card measurements. I rarely measure in advance. I like to eyeball my images and trim until it looks visually appealing to me! I will often hand score and trim my own white cards after I've finished trimming my card panel. My card panel ended up measuring in at 3 3/4 x 4 3/4 inches with my full card measuring at approximately 5 1/2 x 5 1/2 inches. I did layer some trimmed white cardstock and lavender cardstock from my stash to fit accordingly within those dimensions.

I think this card would be appropriate for someone going through a hard time and needing encouragment. Do you agree?

Thanks so much for sticking with me, I know I shared a lot of details. As an affiliate for Scrapbook.com, my affiliate links below will direct you to the products that I used and are available on  their site with the exception of the OLO Markers. You can shop my affiliate link for them, here. If you decide to shop through my links, provided at no additional cost to you, I certainly appreciate it!

Terri

*************************************


Ranger Ink Distres Oxide Wilted Violet
Shop at:
Scrapbookcom
Neenah Solar White Cardstock 8.5x11 inch
Shop at:
Scrapbookcom
Dina Wakley Heavy Body Acrylic Paint, white
Shop at:
Scrapbookcom
Ranger Ink Distress Ink Vintage Photo
Shop at:
Scrapbookcom
Wendy Vecchi Makeart Non-stick Craft Sheet
Shop at:
Scrapbookcom
Catherine Pooler Ink Pad - Midnight
Shop at:
Scrapbookcom
Refillable Permanent Adhesive Runner - 49 feet
Shop at:
Scrapbookcom
Ranger Artist Brushes - 7 pc
Shop at:
Scrapbookcom
Artis Craft Glue - Only at Scrapbookcom
Shop at:
Scrapbookcom
Exlusive Pink Mini Misti Stamp Positioner
Shop at:
Scrapbookcom
Scrapbookcom Small Blending Brushes - 3 pk
Shop at:
Scrapbookcom
Tonic Studios Tim Holtz Comfort Trimmer 8.5 Inch
Shop at:
Scrapbookcom
Catherine Pooler Ink Pad - Hoodie
Shop at:
Scrapbookcom
Silicone Project Mat - 14x14 inch
Shop at:
Scrapbookcom
3 mm Adhesive Strips - 160 strips
Shop at:
Scrapbookcom
Pink Stamp Cleaning Shammy
Shop at:
Scrapbookcom
Sky Blue Stamp Cleaning Shammy
Shop at:
Scrapbookcom
Woodland Tales Satin Gold Sequins
Shop at:
Scrapbookcom
Gina K Designs Blossoms In Bloom Stamp
Shop at:
Scrapbookcom
Gina K Designs Masked Oval Stencil Set
Shop at:
Scrapbookcom
Gina K Designs Thoughtful Flowers Stamp Set
Shop at:
Scrapbookcom
Purples Paper Pad- 6x8 in - 40 sheets
Shop at:
Scrapbookcom


#wavingmywand #scrapbookcom #ginakdesigns #blossomsinbloom #spotlighttechnique #cardmaking #encouragementcards #stamping #rangerink #catherinepoolerink #olomarkers #stenciling #diycards