Showing posts with label technique. Show all posts

Monday, January 13, 2025

Blooming Butterfly Card for Spellbinders

The Vivid Expressions collection is now in the shop at Spellbinders! I created with 3 different products from this release for todays card. I also used the blackout technique but with a twist! Scroll down and I'll tell you about. You'll find my supply list at the end, along with clickable shopping links!


 (FTC Disclosure: as an affiliate for various companies in the craft industry, I will receive a small commission for purchases made through my convenient affiliate links, at no additional cost to you.)


If this is your first time visiting my blog, I tend to create first and measure later. This card measured in at a whopping 5 x 7.5 inches. You could easily trim off a bit to size down to 5x7. I did trim and score my own card, and also made a coordinating pink envelope using scrapbook paper from my stash and my We R Makers 123 punch board.


Typically when using the blackout technique, you color images on the flip side of your dry embossed cardstock, then swipe your panel with black ink. Instead, I went ahead and swiped my Blooming Butterflies embossed panel in black ink, then colored with my OLO Markers. 

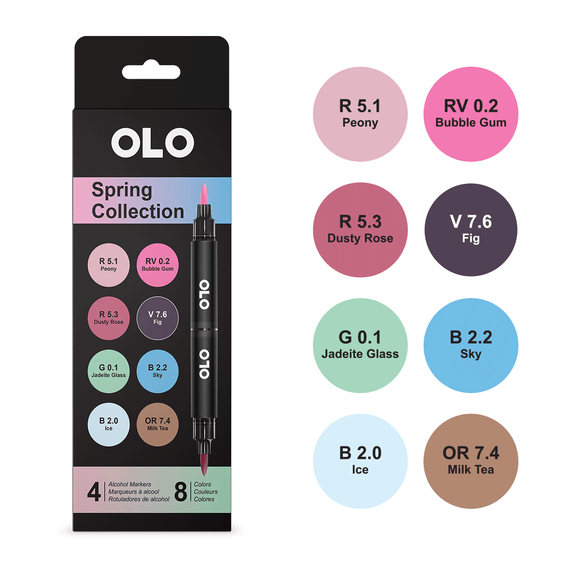
I only used 2 markers - RV0.2 and OR4.4. Spellbinders sells these colors with marker sets and I've linked them in my supply list. If you prefer purchasing individual markers, you can get them from OLO Marker, here


If you caught my reel on social media earlier this week, I shared some bulk foiling with the Ideal Moments BetterPress plates/dies from the Vivid Expressions collection. My reel shows how to adhere negative foils to cardstock with adhesive spray. The tiny sentiment in the middle of my word dies is one that was included in my bulk foiling.

I also found some light pink cardstock from one of my older monthly card kits from Spellbinders that coordinated perfectly for the "Thank You", using the Vivid Script Sentiments. There are 20 dies in this set and well worth having in your craft room!


I also plan on sharing a 15 second reel on my social media showing how I applied the paint splatter on my elements, using my Spellbinders Splatter White. Also, I don't know if you noticed in my 3rd photo, but I used the Simon Hurley Bark 3D embossing folder from the Timeless Trees collection on my black cardstock. I love the texture! Lastly, I glued some of the Spellbinders Pink Opalescent sequins to my card, although they reflect blue in some of my photos due to the lighting and angle.


Let me know if you have any questions that I can answer in the comment section. Have a great day!

Terri

*********************************
Neenah Card Front Solar White 5.5 x 4.25 inch 25 pk
Shop at:
Scrapbookcom
Catherine Pooler Ink - Midnight
Shop at:
Scrapbookcom | Catherine Pooler
Spellbinders Glimmer Hot Foil - Black
Shop at:
Scrapbookcom | Spellbinders
Refillable Permanent Adhesive Runner - 49 feet
Shop at:
Scrapbookcom
Spellbinders Onyx Cardstock - 10 pk
Shop at:
Scrapbookcom | Spellbinders
Neenah Solar White Cardstock 80 lb, 25 pk
Shop at:
Scrapbookcom
Exclusive Black Platinum 6 Die Cut System
Shop at:
Scrapbookcom
Olo Markers Set 2 Spring - 4 pc
Shop at:
Spellbinders
Spellbinders Tool N One - White
Shop at:
Scrapbookcom | Spellbinders
Tonic Studios Tim Holtz Comfort Trimmer 8.5 Inch
Shop at:
Scrapbookcom
Splatter White
Splatter White
Shop at:
Scrapbookcom | Spellbinders
3 mm Adhesive Strips - 160 strips
Shop at:
Scrapbookcom
New/Improved Glimmer Hot Foil System
Shop at:
Scrapbookcom | Spellbinders
Exclusive Lilac Shimmer Platinum 6 Die Cut/Emboss Machine
Shop at:
Spellbinders
Pixie Adhesive Spray
Shop at:
Scrapbookcom
Vivid Script Sentiments
Shop at:
Scrapbookcom | Spellbinders
Ideal Moments BetterPress Plates/Die Set
Shop at:
Scrapbookcom | Spellbinders
Blooming Butterflies 3D Emboss & Cut Folder
Shop at:
Scrapbookcom | Spellbinders
OLO Portrait Alcohol Markers Set 6
Shop at:
Spellbinders
Pink Opalescent Sequins
Shop at:
Scrapbookcom | Spellbinders
Simon Hurley 3D Embossing Folder - Bark
Shop at:
Scrapbookcom | Spellbinders
We R Makers 123 Punch Board
Shop at:
Scrapbookcom


#wavingmywand #spellbinders #neverstopmaking #glimmerhotfoilsystem #cardmaking #diycards #vividexpressions #bloomingbutterflies #splatterwhite #thankyou #butterflycards #cards #gratitude #floralcards #blackouttechnique

Friday, March 15, 2024

Blackout Spring Card for Catherine Pooler

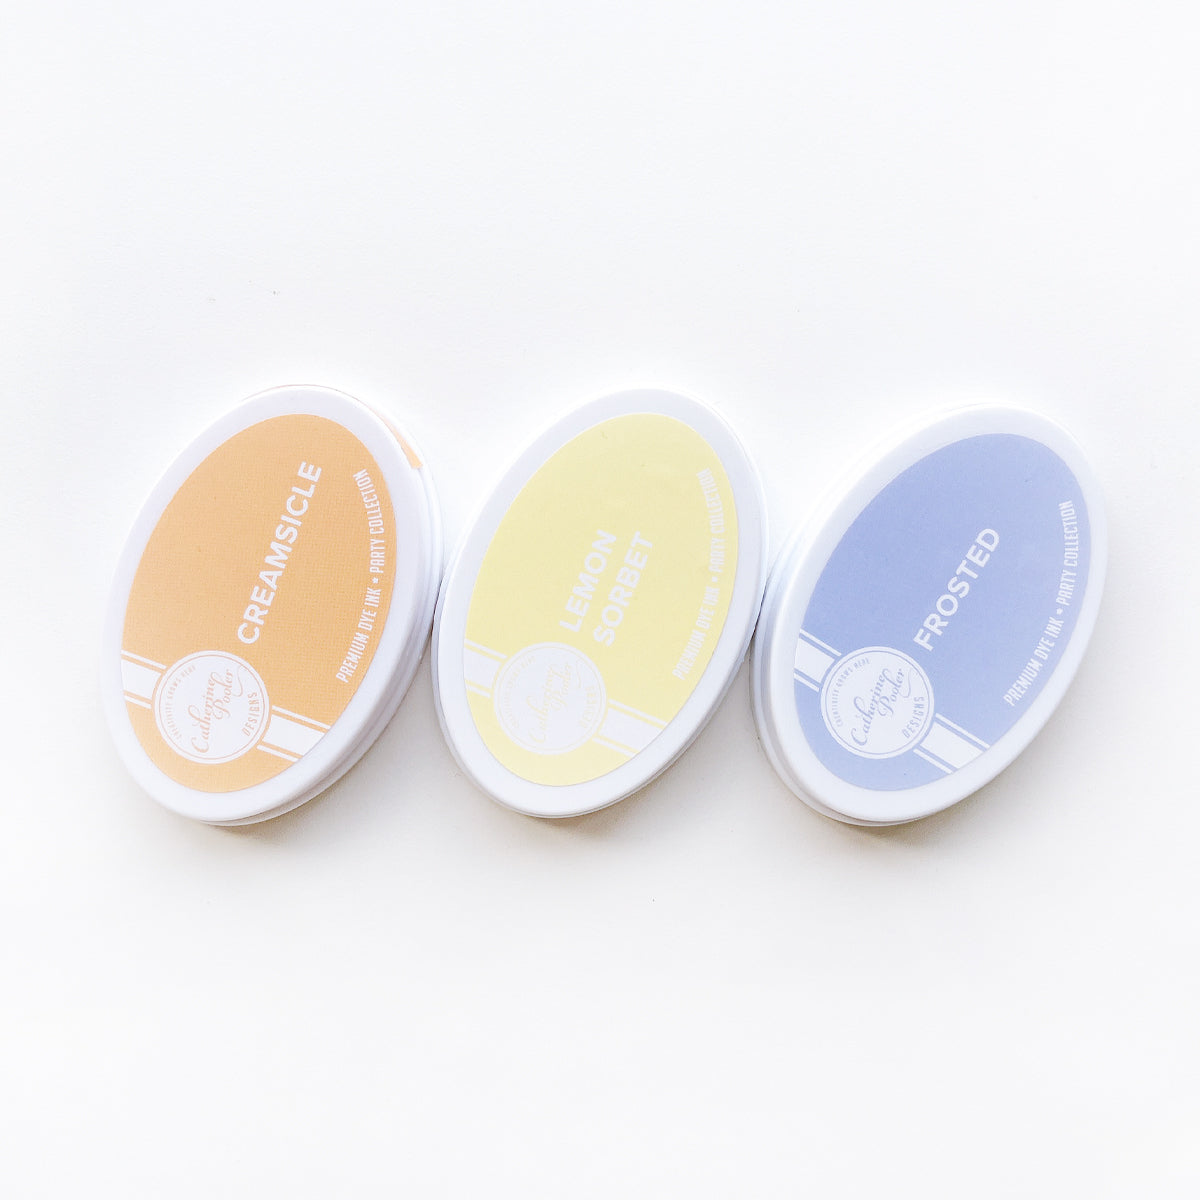
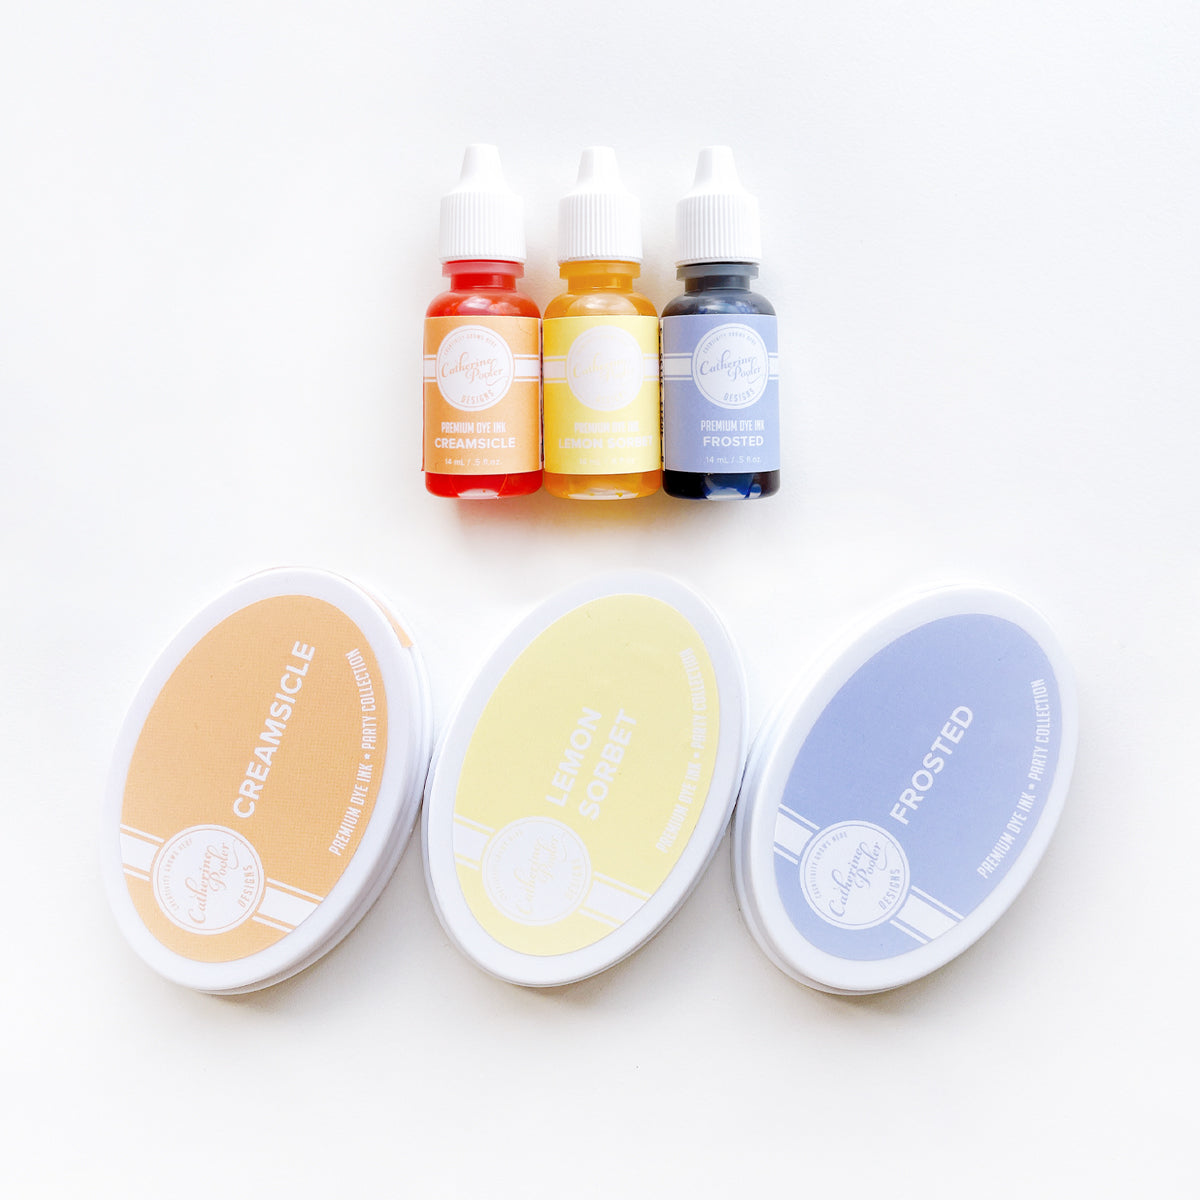
Happy Friday! I have another card for you today, featuring the new Party pastel inks from Catherine Pooler, and I'm using the blackout technique as well. Generally, I like to use the blackout technique with smaller images colored with markers but thought I'd try it with images from the CP Ukranian Eggs stamp set. I love the results. Scroll down for creative details and a bit of chit chat, as I tell you what my son had to say about this card! I'll also have affiliate product links at the end of this post if you'd like to browse or shop.


(FTC Disclosure: as an affiliate for various companies in the craft industry, I will receive a small commission for purchases made through my convenient affiliate links, at no additional cost to you.)


This is an easy card to make, but a bit time consuming. If you're someone who finds coloring relaxing then you will love this!


I started by stamping my eggs randomly all over an A2 sized piece of white mixed media paper. You can also do this on heavy, smooth cardstock. I like the mixed media paper, because it doesn't leave marker streaks. After stamping with the solid egg from the stamp set, I then stamped on top with the same color of ink using the decorative egg stamps.


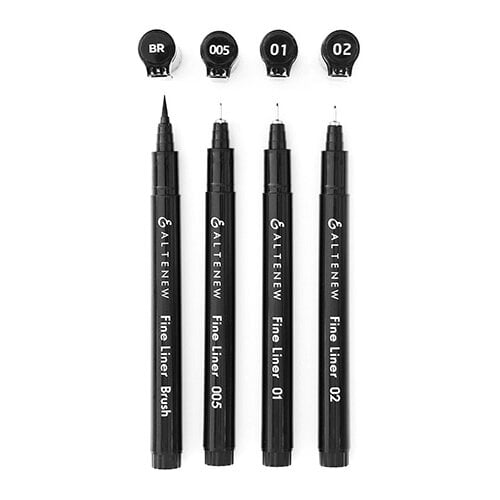
Next, I stamped the flower images from the stamp set, where there were gaps on the card. I decided to outline them with a black fineliner pen before going in with my black marker. I outlined the circles in the middle of the flowers as well and added more dotted embellishment. I also used a white gel pen on the blackout to give even more embellishment. 

If you're looking for perfection, you won't find it here. I began filling in my empty space with my black Copic marker. This does require some patience as it can be very easy to make a big mistake, if you're going for perfection. Luckily, I am not, haha. 

I decided to throw caution to the wind and ended up with  what I can only describe as wonky flowers. But, guess what? I love it. I really think this gives almost a cartoon effect. In fact, I consulted my know-it-all 22 year old man-child when I was finished, to get confirmation of the cartoon effect. He vehemently denied that it resembled any kind of cartoon image. What does he know, he's not a cardmaker. 

I stand by my initial assessment, haha. To quote an Egyptian Proverb, "A beautiful thing is never perfect". 


Lastly, I did some heat embossing for my sentiment on black cardstock, using one of the sentiments from the stamp set. Easter is coming early this year so you can easily swap out the sentiment. I also trimmed my blackout card panel down just a bit, so I could mount it on an A2 sized piece of black cardstock and adhere it to my A2 white card.

What do you say, cartoon effect? Yay or Nay. I'd love to hear your thoughts. If you disagree with me, I'll still like you, no worries.:)

See you next time!

Terri

************************************


Ranger US HEAT IT CRAFT TOOL
Shop at:
Scrapbookcom
Ranger Ink White Super Fine Embossing Powder
Shop at:
Scrapbookcom
Scrapbook.com Premium Clear Embossing Ink Pad
Shop at:
Scrapbookcom
Refillable Permanent Adhesive Runner - 49 feet
Shop at:
Scrapbookcom
Spellbinders Onyx Cardstock - 10 pk
Shop at:
Scrapbookcom
Copic Sketch Marker - 100 Black
Shop at:
ScrapbookPal
Exclusive Neenah White A2 Vertical Cards 25 ct
Shop at:
Scrapbookcom
Exclusive Rose Quartz Misti Stamp Positioner
Shop at:
Scrapbookcom
Altenew Fine Liner Pen Set - 4 pk
Shop at:
Scrapbookcom
Neenah Solar White Ultra Thick Cardstock - 8.5x11 - 25 pk
Shop at:
Scrapbookcom
Exclusive Mixed Media White Paper Pad - 15 pc.
Shop at:
Scrapbookcom
Catherine Pooler Ink - Party Pastels - Frosted Ink Pad
Shop at:
Catherine Pooler
Catherine Pooler Ink - Party Pastels - Creamsicle Ink Pad
Shop at:
Catherine Pooler
Catherine Pooler Ink - Party Pastels - Lemon Sorbet Ink Pad
Shop at:
Catherine Pooler
Catherine Pooler New Party Colors - Set of 3
Shop at:
Catherine Pooler
Catherine Pooler New Party Colors Ink Pads & Refills
Shop at:
Catherine Pooler
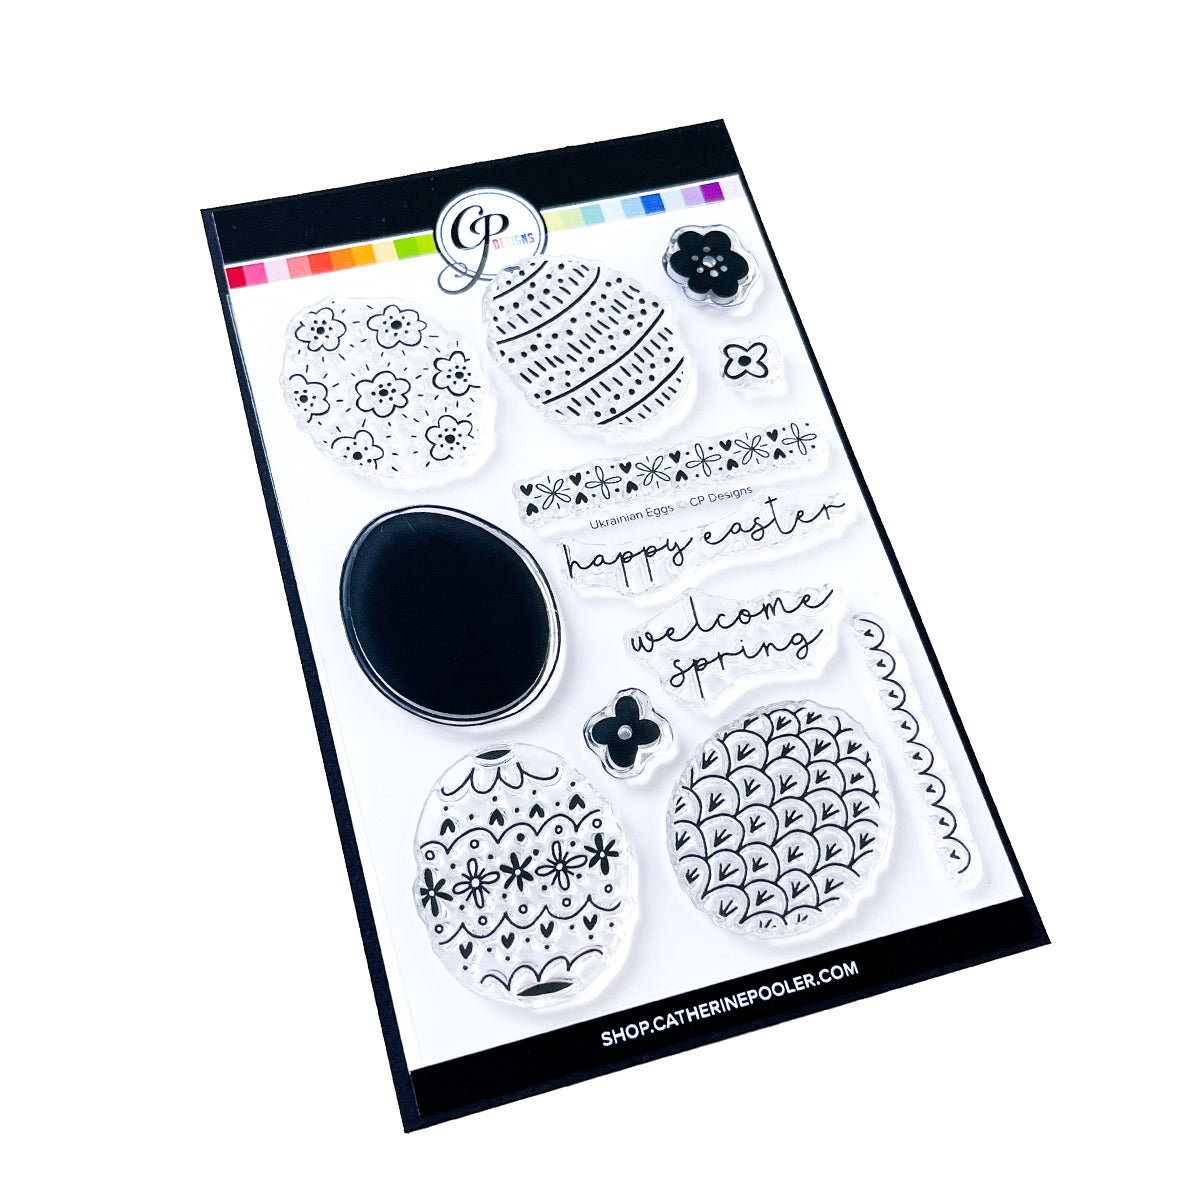
Catherine Pooler Stamp Set - Ukranian Eggs
Shop at:
Scrapbookcom | Catherine Pooler


#wavingmywand #catherinepooler #cpinks #cpdesigns #frosted #lemonsorbet #creamsicle #cardmaking #stamping #blackout #blackouttechnique #coloring #diycards #spring #eastercards #mixedmedia #scrapbookcom
Thursday, September 22, 2022

Woodgrain Pumpkin Slimline Card

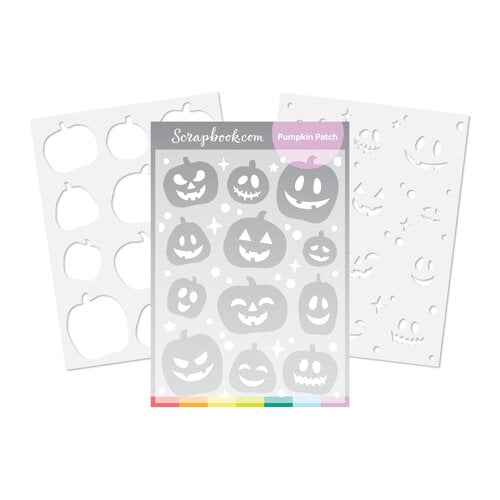
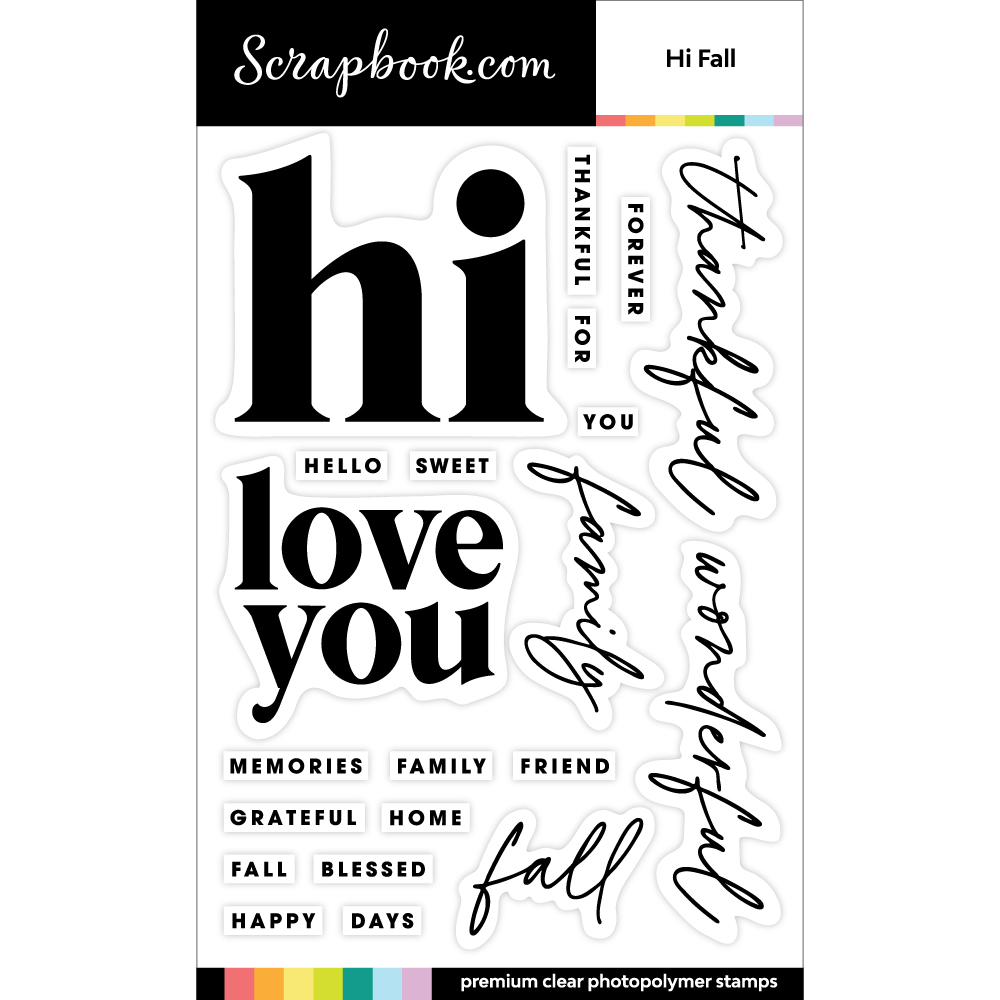
Hey friends, today I've got a fun technique that I don't use often but I really should. Stamping over stencils. It yields such cool results and is so fun to do. This project for Scrapbook.com features the Pumpkin Patch stencil and Hi Fall stamp set, both new in the shop.  Scroll down for creative details. You'll also find product links at the end of this post.

(FTC Disclosure: as an affiliate for various companies in the craft industry, I will receive a small commission for purchases made through my convenient affiliate links, at no additional cost to you.)


The dimensions of my card are close to the traditional size of a slimline card, measuring in at 4x8 inches, edge to edge. I trimmed my kraft cardstock to fit, then trimmed my white panel to fit.

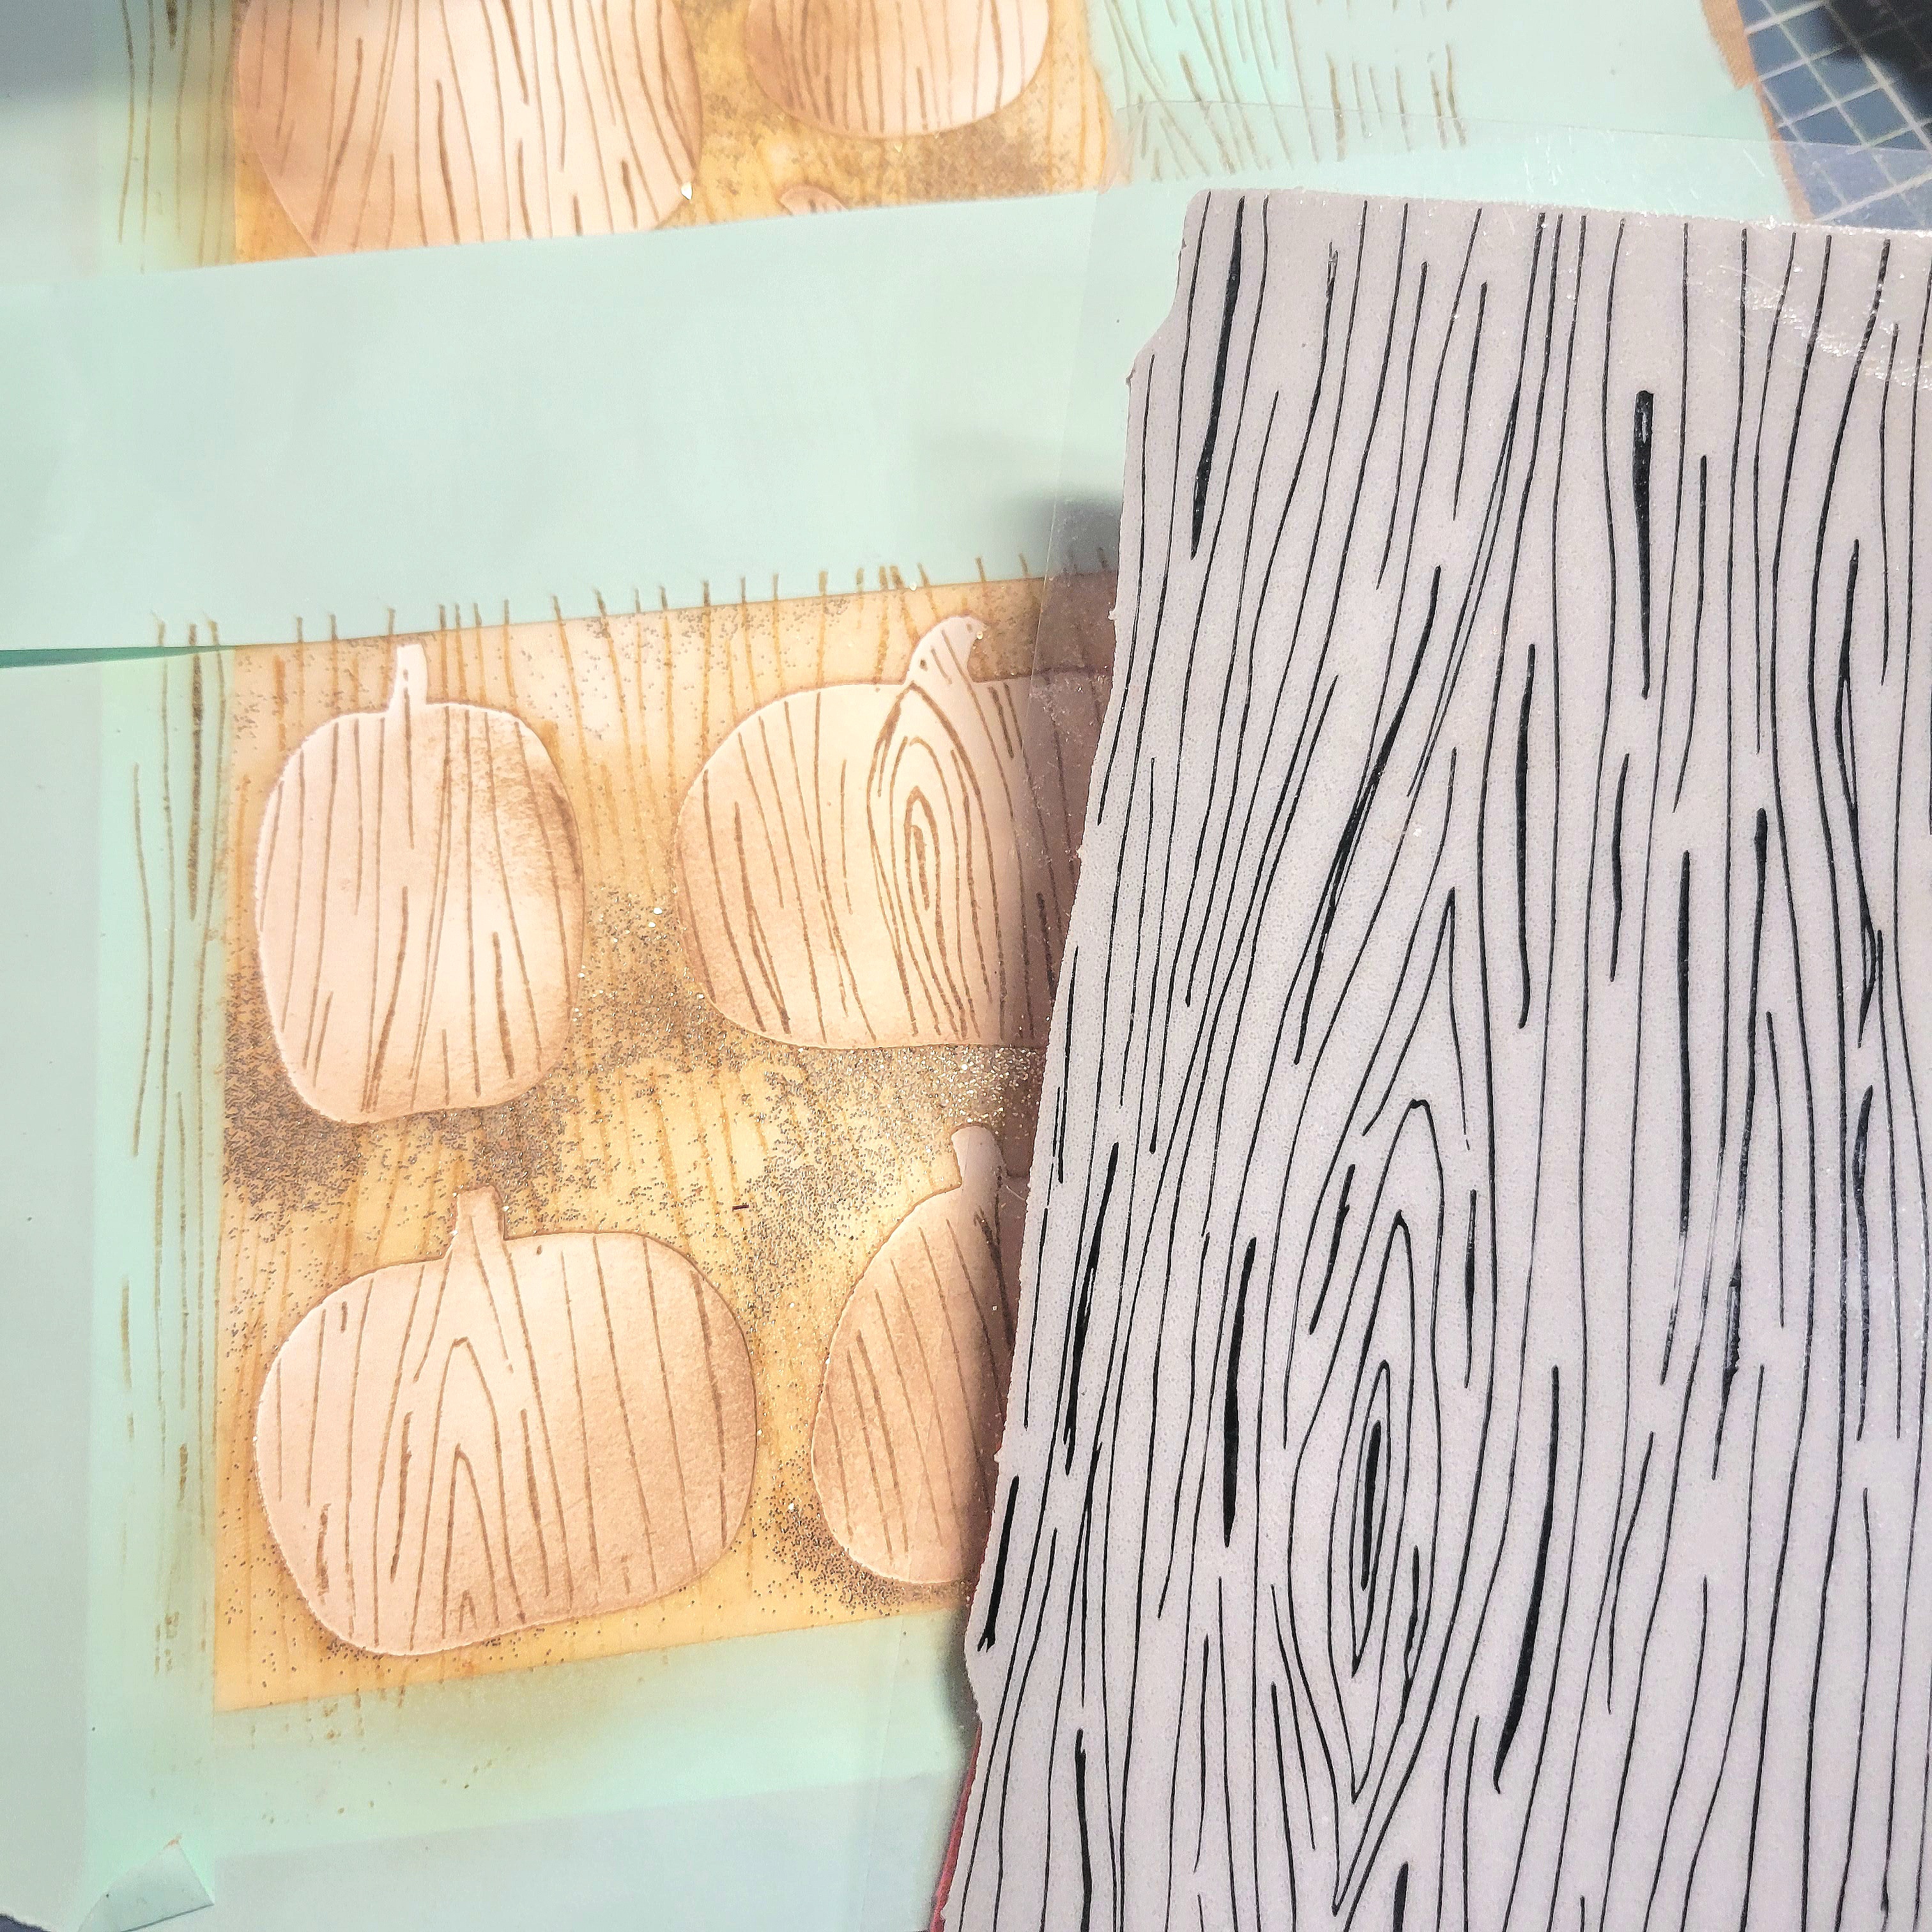
I sprayed the back of my stencil with Thermoweb Pixie Spray then masked around 2 rows of pumpkins and centered the stencil on top of my white panel. Yes, my stencil is covered in some adhesive and glitter and needs a good cleaning, haha! Even though I had tape on my stencil, I used the spray for a better seal and to prevent any of the gloss spray that I used (further down this post) to seep underneath the stencil. The Pixie Spray is currently out of stock but click the link if you'd like to be notified when it's back in stock. It's a must have staple in my craft room.


Next, I used my Scrapbookcom hybrid ink in Leather to ink blend lightly inside my pumpkins. Once this is done, LEAVE YOUR STENCIL IN PLACE! You're going to stamp right on top of your ink blended pumpkins with a woodgrain background stamp. No need for a stamp positioner, just ink up the cling stamp and press directly onto your pumpkins, If it's a large background stamp, like mine, you may need to mask some of your area to stamp 2 different sections evenly. You can also use a small woodgrain stamp and acrylic block to stamp individual pumpkins.

I should mention, the background stamp I'm using today is no longer available but I've linked a very similar woodgrain stamp at the end of this post.


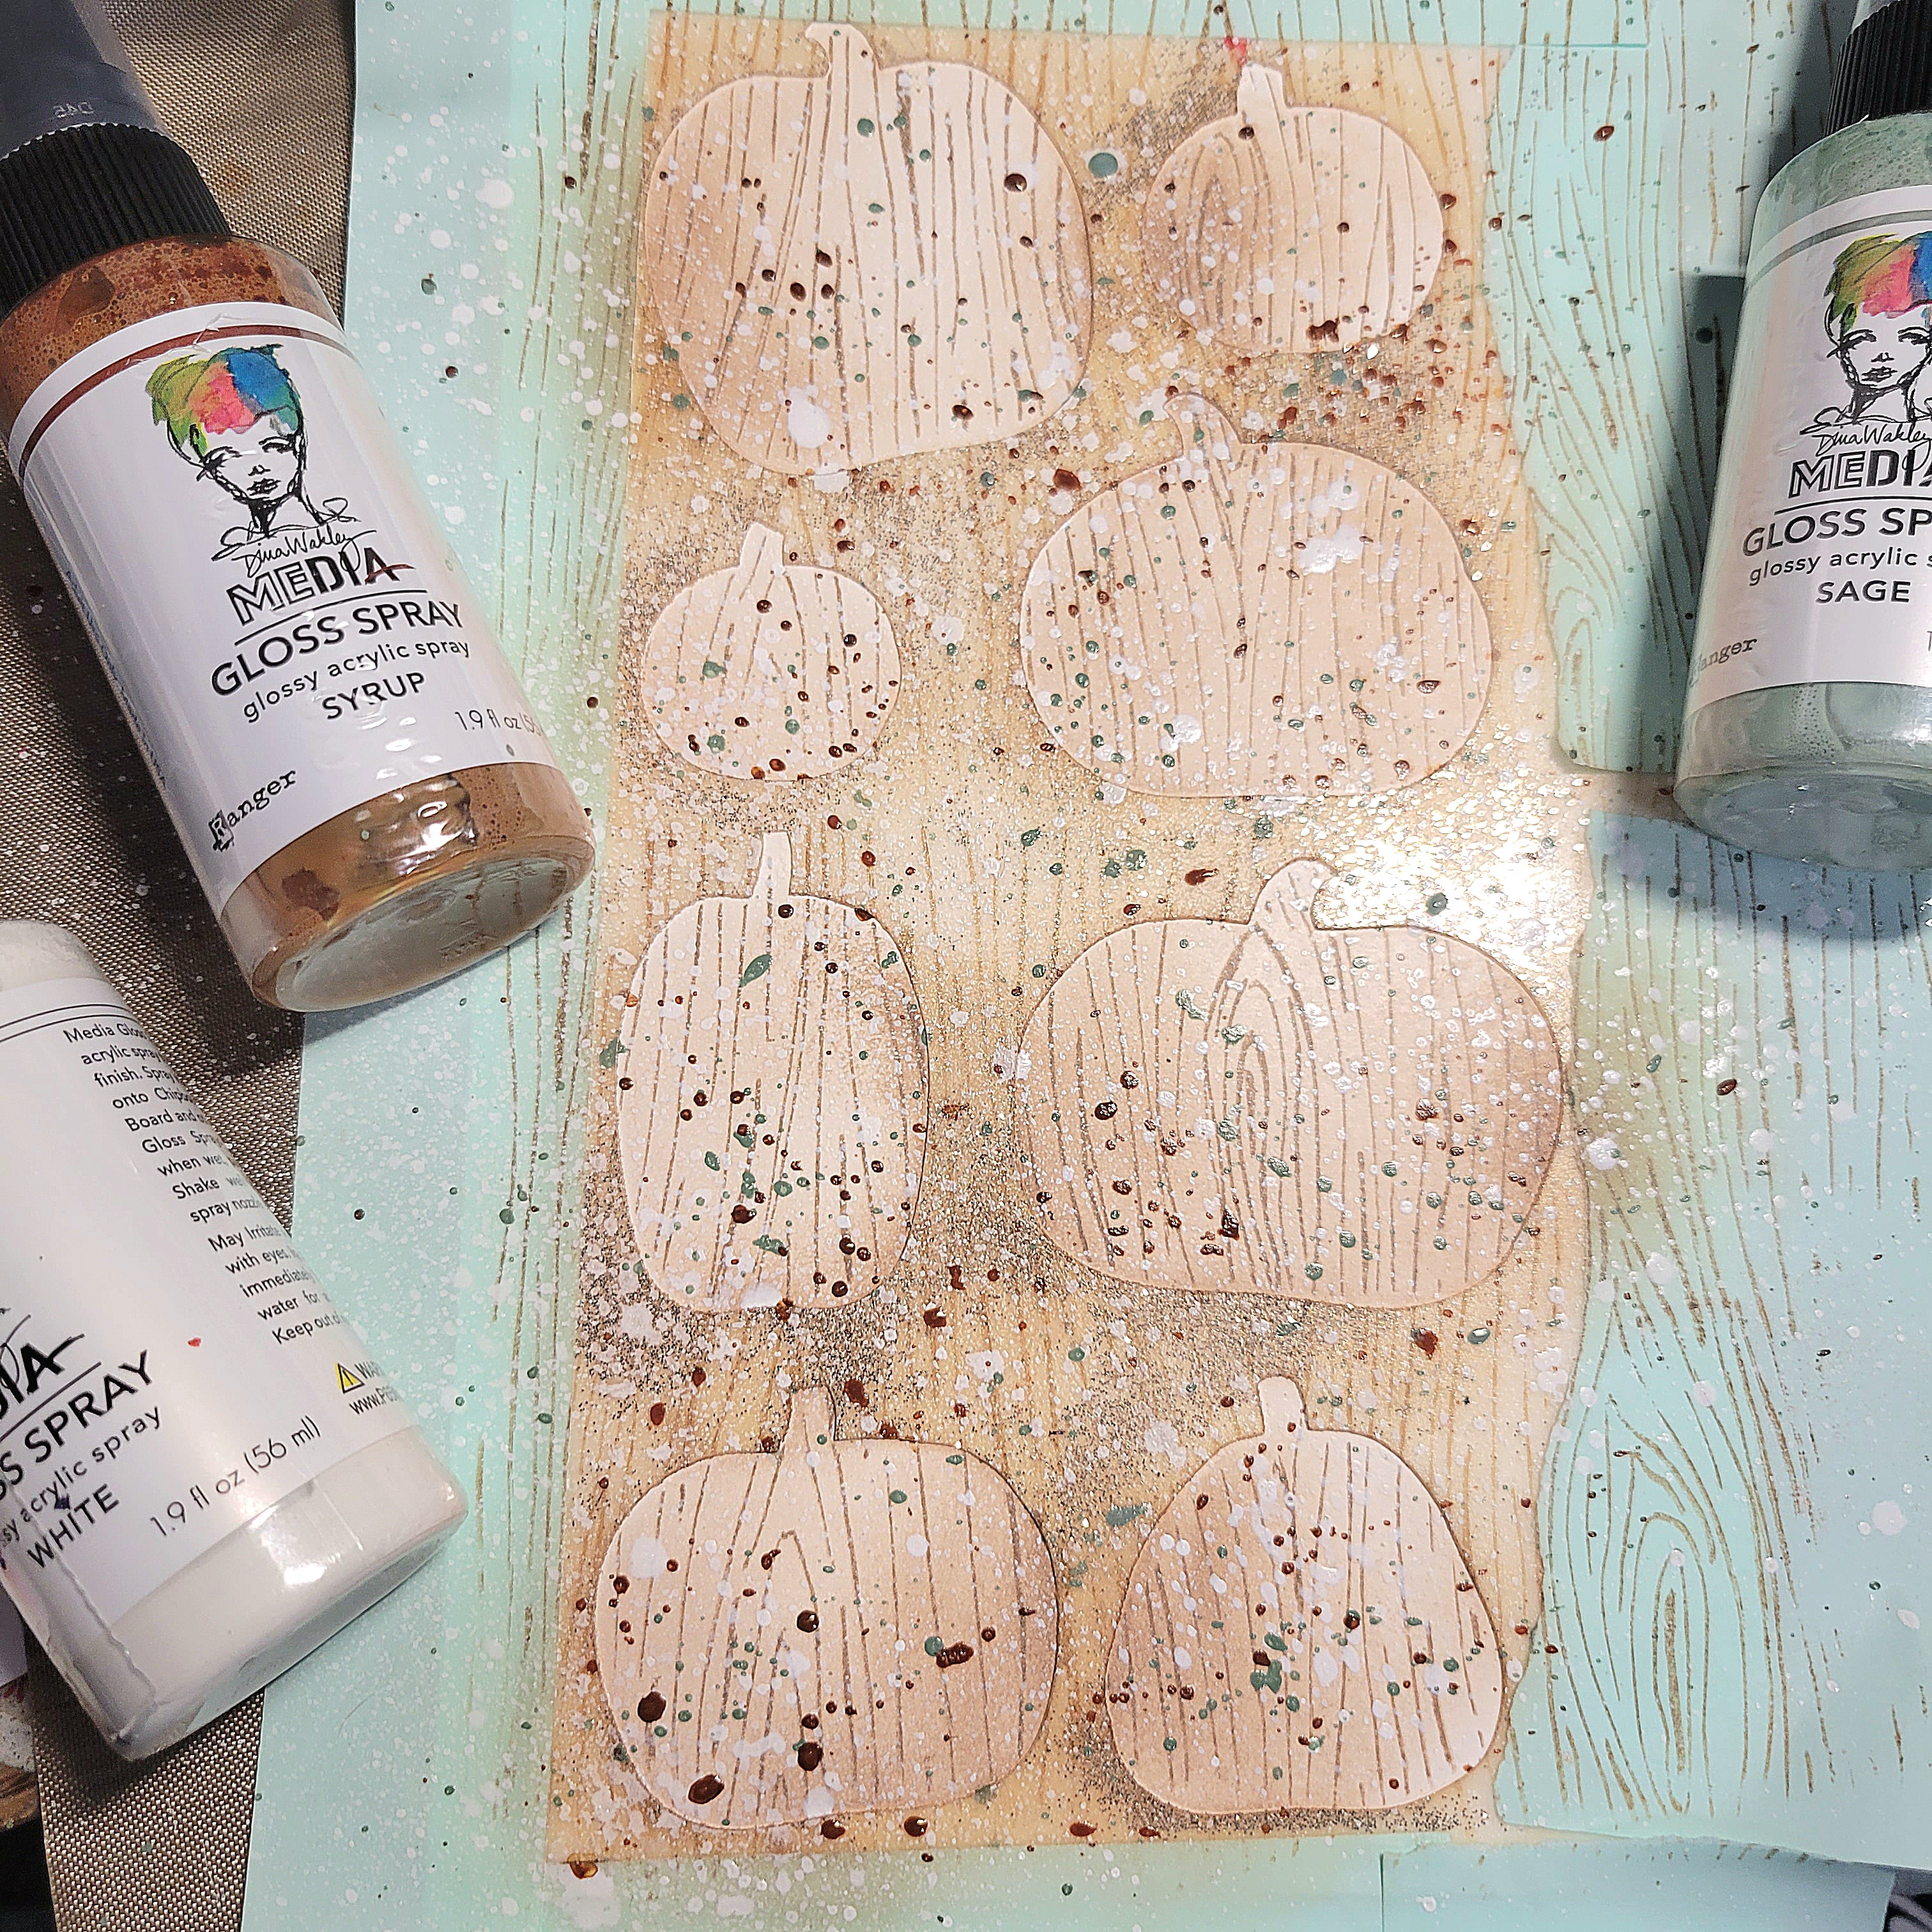
Continue to leave your masking and stencil in place for this next step. We're going to jazz up the pumpkins with some Dina Wakley Gloss Spray. I love that it dries fairly quickly and adds such pretty color, shine and dimension.
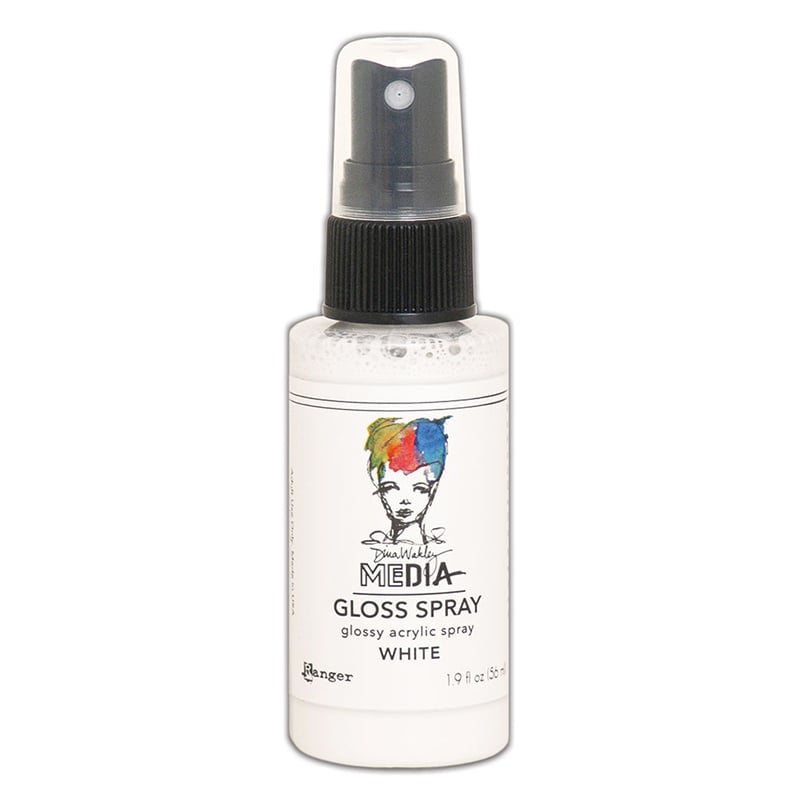
I generally unscrew my bottle top and simply tap the gloss all around with the end of the spritzer tube. It allows me a little more control this way and I don't over saturate my area.


Now, it's time for the magic. Peel off your stencil and masking tape.


Isn't it gorgeous? I decided to go in and ink blend a few pumpkin "shadows" but this was easily done without masking. I also used the 2nd stencil that comes in the set to blend in some bubbles and stars. My sentiment was stamped with gradient color, stamping half my sentiment with Leather ink and the other half with Catherine Pooler Eucalyptus ink, to tie in all my colors together. I fussy cut it and backed it with a matching trimmed kraft cardstock.

Glue a few sequins for sparkle and call it a day!


As always, I've provided convenient affiliate links below, if you'd like to do some shopping. There's no additional cost involved and I appreciate your support!

Be sure and stop by the Deals/Coupon section at Scrapbook.com as there are often free gifts that you can add to your cart with purchase. Who doesn't love free?? As of this writing, Scrapbookcom Exclusive products are on super sale which includes the stencil and sentiment set!

See you next time...... Terri

*****************************************

Scrapbook Adhesives by 3L EZ Grand Runner
Shop at:
Scrapbookcom
Scrapbook Adhesives by 3L EZ Runner Grand Refill
Shop at:
Scrapbookcom
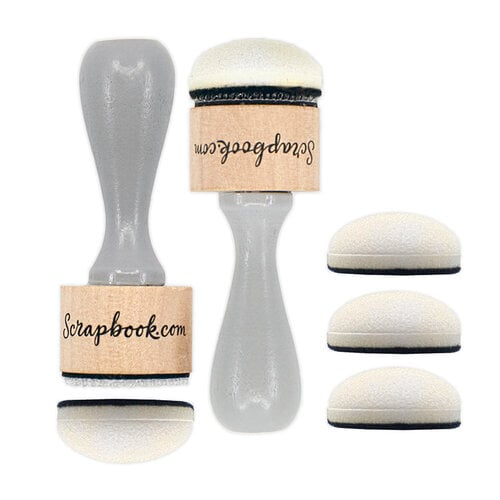
Scrapbook.com Domed Ink Blender Tools
Shop at:
Scrapbookcom
Wendy Vecchi Make Art Stay-tion
Shop at:
Scrapbookcom
Wendy Vecchi Makeart Non-stick Craft Sheet
Shop at:
Scrapbookcom | Ranger Ink
Exclusive Hybrid Ink Pad - Leather
Shop at:
Scrapbookcom
Ranger Heat It Craft Tool
Shop at:
Scrapbookcom | Ranger Ink
Mint Tape
Mint Tape
Shop at:
Scrapbookcom
Slimline Cards, Panels & Envelopes - 30 pcs
Shop at:
Scrapbookcom
Hi Fall Stamp Set
Hi Fall Stamp Set
Shop at:
Scrapbookcom
Ranger Gloss Spray - White
Shop at:
Scrapbookcom
Smart Glue
Smart Glue
Shop at:
Scrapbookcom
Catherine Pooler Ink - Eucalyptus
Shop at:
Scrapbookcom
Catherine Pooler Woodgrain Background Cling Stamp
Shop at:
Scrapbookcom
Bazill Basics Dark Kraft Cardstock
Shop at:
Scrapbookcom
Catherine Pooler Dublin Sequin Mix
Shop at:
Scrapbookcom
Dina Wakley Gloss Spray - Sage
Shop at:
Scrapbookcom
Dina Wakley Gloss Spray - Syrup
Shop at:
Scrapbookcom
Exclusive 6x8 inch Pumpkin Patch Stencil - 2 pc set
Shop at:
Scrapbookcom


#wavingmywand #scrapbookcom #pumpkinpatch #pumpkins #stencil #stenciling #hifall #Fall #Autumn #cardmaking #cards #rangerink #dinawakley #glossspray #3L #catherinepooler #slimlinecards #wendyvecchi #makeartstaytion #papercrafts #DIY #cardmakersofinstagram #cardmakersoftiktok #seasonal #techniques