Showing posts with label ranger ink. Show all posts

Wednesday, July 2, 2025

Fireworks Card For Erin Lee Creative

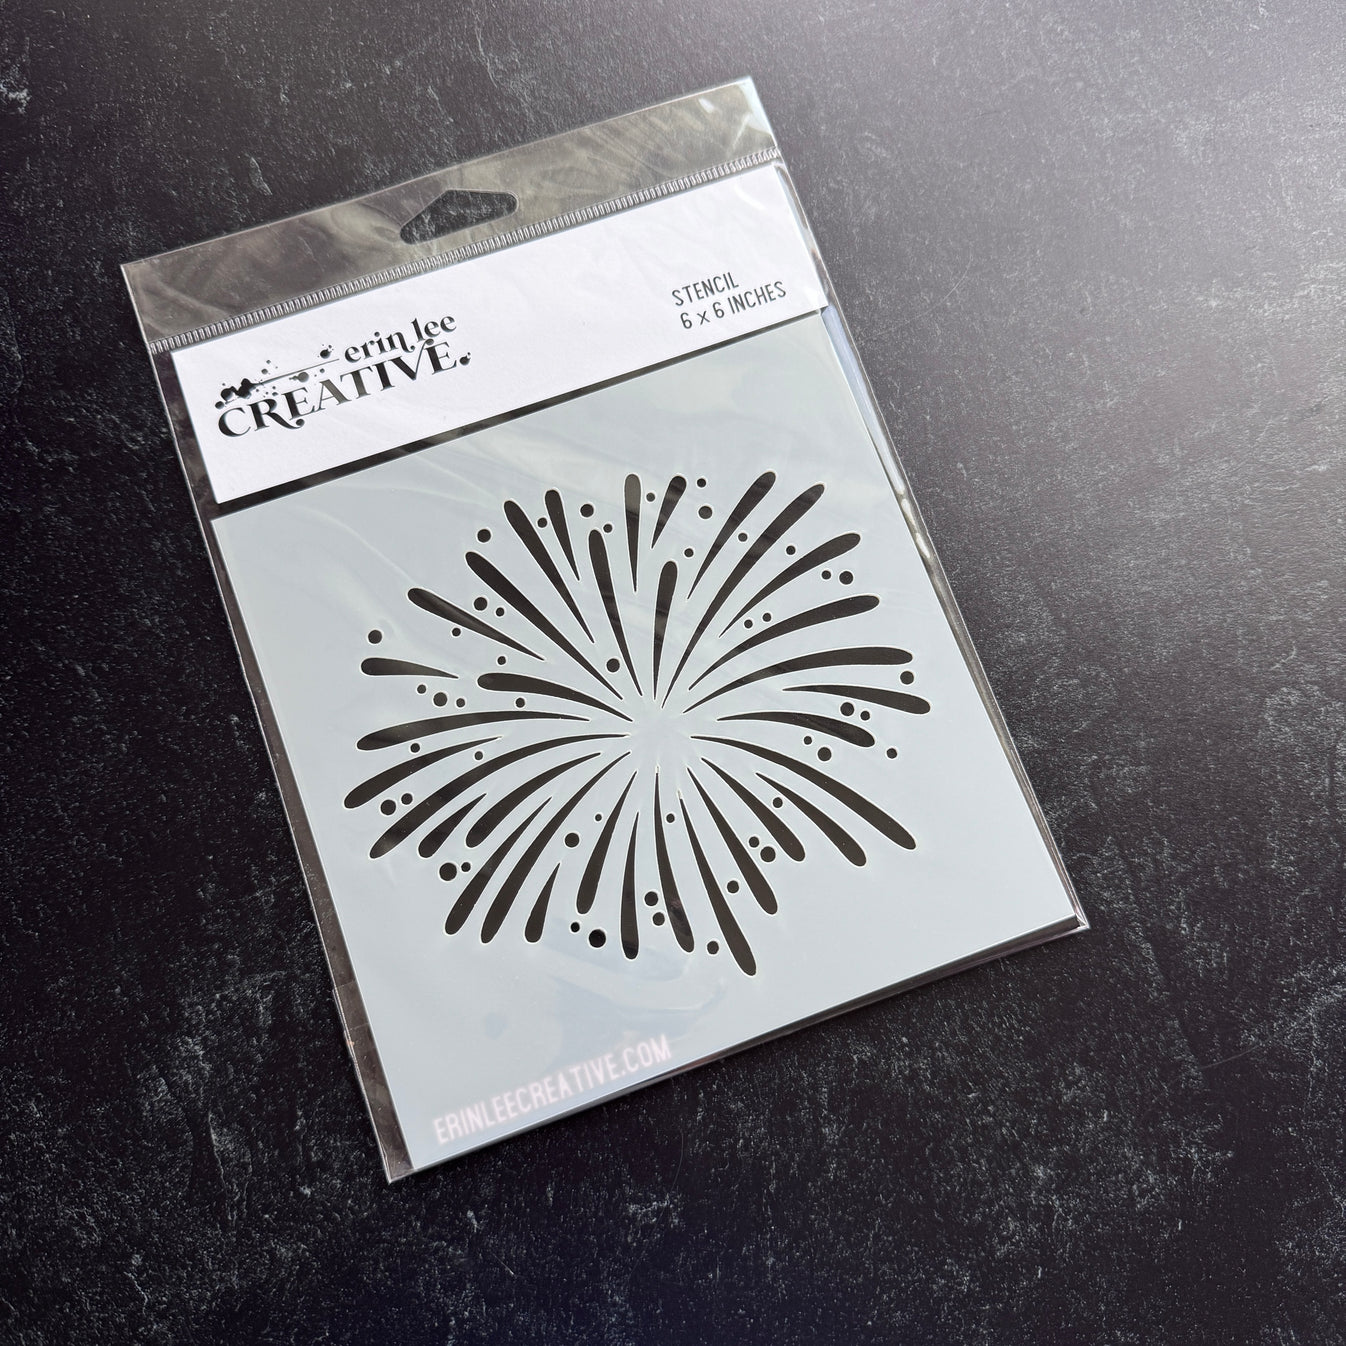
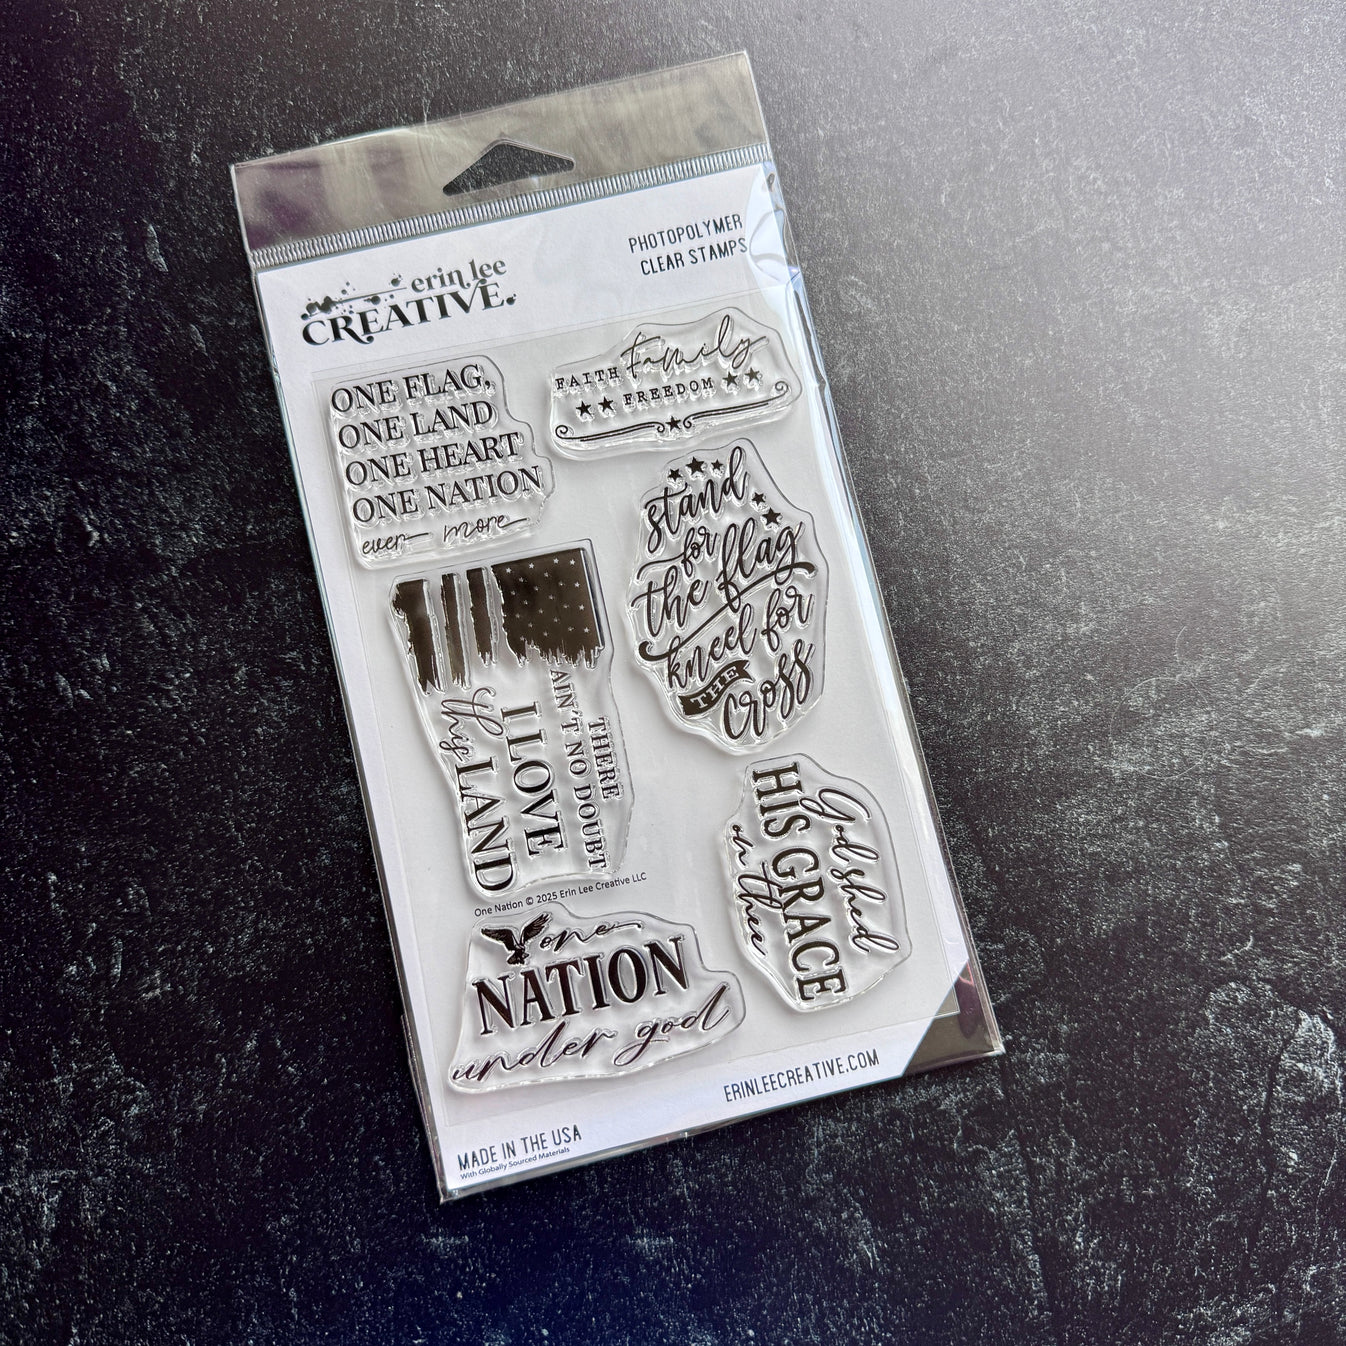
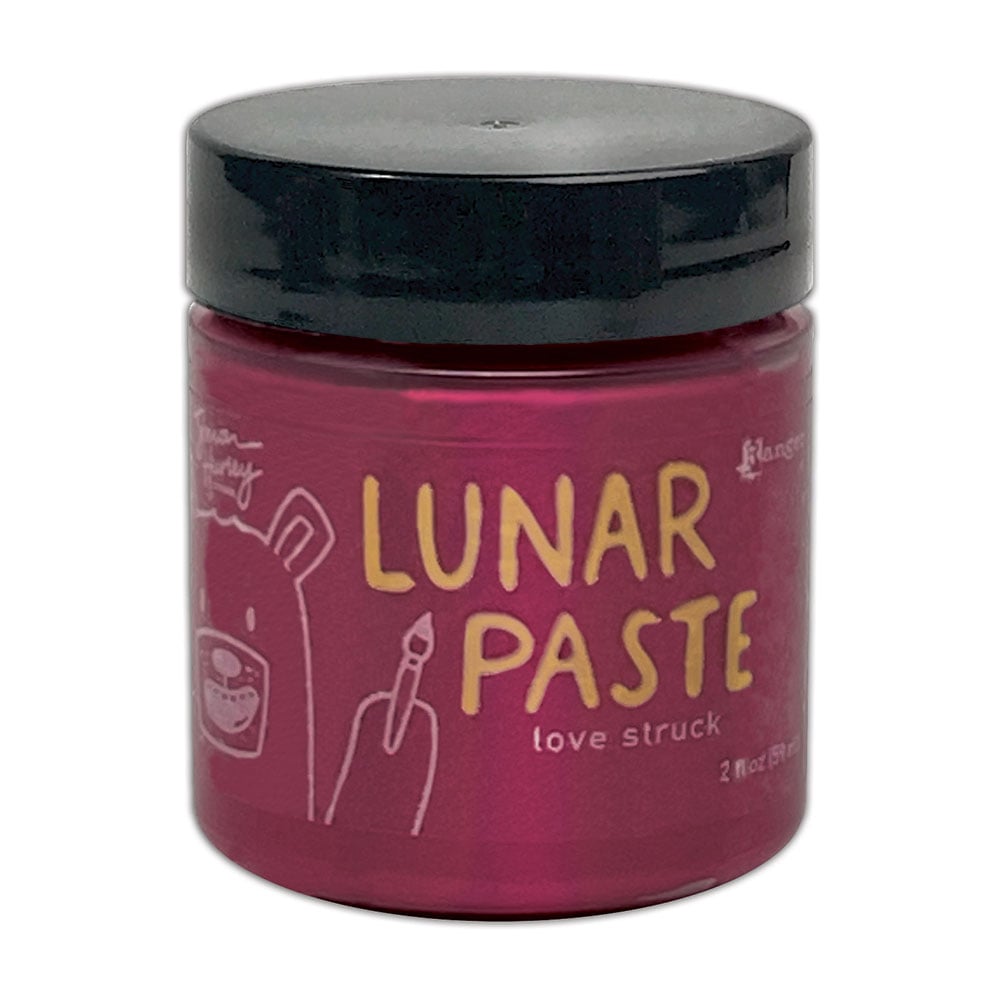
Hey friends, I'm excited to share another project for Erin Lee Creative! The new patriotic limited release "America The Beautiful" is out and there are so many fun and festive stamp sets, dies and stencils! It's a small release so it can possibly sell out quick! Today's card features the new Fireworks stencil and the One Nation stamp set. My Ranger Ink Lunar Pastes haven't seen much love in awhile, so I thought I would pair some of those colors with my stenciling. Scroll down for creative details. I've got lots of tips, so buckle up. You'll also find my clickable supply list at the end of this post.


 (FTC Disclosure: as an affiliate for various companies in the craft industry, I will receive a small commission for purchases made through my convenient affiliate links, at no additional cost to you)


First, let's talk about the dimensions of my card. The stencil is 6x6 inches, so it's ideal for square cards. My full dimensions measure in at 5 1/2 x 5 3/4 inches.

The paper that I stenciled on is from an Ombre paper pad from Scrapbookcom. It's 6x8 and was the perfect size for me to stencil on. I love that these papers look like I did some amazing ink blending but no, they're just fabulous papers!


Before stenciling, I always spray the back of my stencil with Pixie Spray. This helps avoid seepage under the stencil, so you have a crisper stenciled image. I keep a large piece of bubble wrap in my craft space to avoid getting spray on my craft desk. Make sure you allow it to dry for a good minute or two. When you place your stencil onto paper, gently press all over to make sure you have a good seal.

Now, I couldn't find my craft scraper to stencil my paste. Not to worry, I save expired gift cards. They work in a pinch as a stenciling tool. I applied both paste colors side by side on the edge of the gift card, and swiped all across my stencil.

Before peeling off my stencil, I randomly sprinkled some Ranger Gold Tinsel embossing powder, while the paste was still a little wet, tapping off the excess. Then I gently peeled my stencil off and let everything dry naturally, maybe 10 minutes. 

I also splattered some white paint splatters for stars in the sky. Simply place a small amount of paint on an acrylic block (the size of a dime), mix with a drop of water, then flick the mixture off the edge of the acrylic block with a small bristled wet paintbrush. You might want to practice this technique on some dark scrap paper to get the hang of it. And, grab a large piece of bubble wrap to cover your desk first!


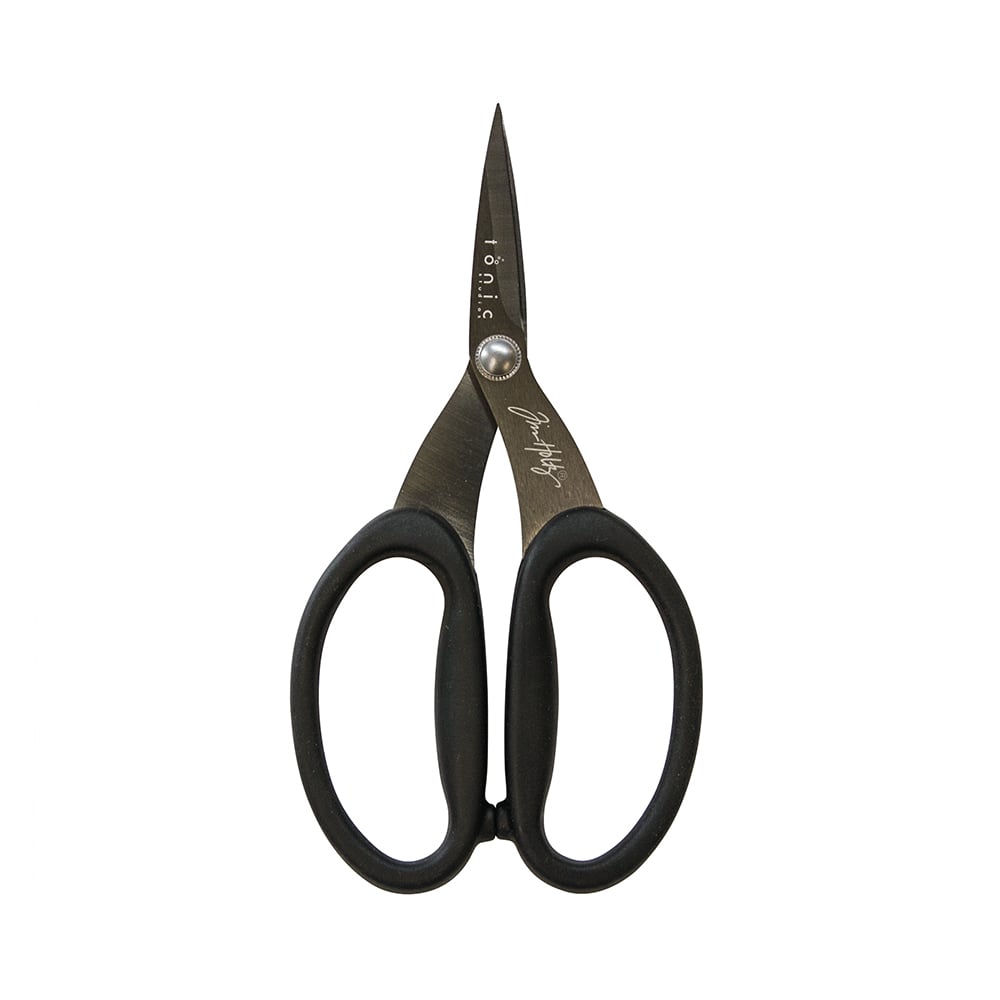
Confession Time!! Ok, so sometimes, I cut my stamped images. The sentiment I'm using includes a flag image and I didn't want to go to the trouble of trying to mask my image and stamp. Plus, the flag was very close to the wording, so it would have been tricky and honestly, a little time consuming. So, I broke out my teflon detail scissors and proceeded to trim off the flag image. It will easily re-align with my sentiment, the next time I decide to stamp with the entire image, so no worries!

I  do love the sentiment though. We all know that quote from Lee Greenwood's song God Bless The USA, right? I decided to heat emboss with white embossing powder, stamping it first in clear emboss ink on a trimmed section of the same Ombre paper and heat setting the emboss powder with my craft heat tool.

However, before the powder was completely set, I sprinkled on some more of the Gold Tinsel powder on the word LOVE, then finished heat setting.

I ended up splitting my sentiment into two sections and hand trimming around the wording with my scissors.


This card will easily fit in a 6x6 inch envelope. However, I have the We R Makers 123 punch board, so I make my own envelopes out of 12x12 inch scrapbook paper in my stash.

Let me know if you have any questions. Click any of my affiliate links below for product information or to shop. Thanks so much for popping in!

Terri

**************************

Ranger US HEAT IT CRAFT TOOL
Shop at:
Scrapbookcom
Neenah Solar White Cardstock 8.5x11 inch
Shop at:
Scrapbookcom
Lawn Fawn Black Licorice cardstock
Shop at:
Scrapbookcom
Scrapbook.com Premium Clear Embossing Ink Pad
Shop at:
Scrapbookcom
Refillable Permanent Adhesive Runner - 49 feet
Shop at:
Scrapbookcom
Dina Wakley Heavy Acrylic Paint - White
Shop at:
Scrapbookcom
Dylusions Paint Brush Set
Shop at:
Scrapbookcom
Brutus Monroe Alabaster Embossing Powder
Shop at:
Scrapbookcom
Rose Quartz Misti Stamp Positioner
Shop at:
Scrapbookcom
3mm Adhesive Strips 160 ct.
Shop at:
Scrapbookcom
Ombre Patterned Cardstock Paper Pad 6x8 in-40 pc
Shop at:
Scrapbookcom
White Project Grip Mat
Shop at:
Scrapbookcom
Tim Holtz Comfort Grip Guillotine Trimmer
Shop at:
Scrapbookcom
Gina K Designs Multi-Purpose Scoring Board Tool
Shop at:
Scrapbookcom
Fireworks Stencil
Fireworks Stencil
Shop at:
Erin Lee Creative
One Nation Stamp Set
Shop at:
Erin Lee Creative
Lunar Paste - Breakup Blue
Shop at:
Scrapbookcom
Lunar Paste - Love Struck
Shop at:
Scrapbookcom
Ranger Embossing Powder - Gold Tinsel
Shop at:
Scrapbookcom
Craft Scraper
Craft Scraper
Shop at:
Scrapbookcom
Pixie Spray
Pixie Spray
Shop at:
Scrapbookcom
We R Makers 123 Punch Board
Shop at:
Scrapbookcom


#wavingmywand #erinleecreative #americathebeautiful #patriotic #cards #cardmaking #stenciling #onenation #godblesstheusa #leegreenwood #stamping #diycards #fireworks #rangerink #simonhurley #lunarpaste #scrapbookcom #wermakers #fourthofjuly #4thofjuly #summer


Monday, May 26, 2025

Patriotic Coffee Card

I was perusing Instagram this weekend when I stumbled across Brennan Keane's IG page. He's celebrating 2000 followers on Instagram and having a challenge and giveaway. The challenge is to post a project that uses a product from any of the giveaway sponsors. I chose Pretty Pink Posh and Ranger Ink. Also, the Coffee Loving Papercrafters Industry Blog Hop is still going strong. Make sure you check that out as well! Scroll down for details on the products that I used.


 (FTC Disclosure: as an affiliate for various companies in the craft industry, I will receive a small commission for purchases made through my convenient affiliate links, at no additional cost to you)


One of my favorite die sets is the Pretty Pink Posh Winter Mug. I've been wanting to create a coffee themed patriotic card, so I paired it with some products from my stash. 


I created mug die cuts in solid white and patterned paper from the Photo Play Paper "Land That I Love" collection. I colored in some coffee with OLO Marker OR3.7 on the white die cut, prior to adding my patterned paper overlay.


I don't have much in the way of patriotic sentiments, but I did have the retired Erin Lee Creative stamp set, Stars & Stripes. I did some masking of my sentiment, to stamp 2 different colors of Catherine Pooler ink in Midnight and Rockin' Red. This technique really requires the use of a stamp positioner.

I also added lots of sparkle on my firewords with sponsor Ranger Ink Stardust Stickles, then finished off my embellishments with some red and white twine. Pink and Main, another sponsor of Brennan's challenge has a very similar twine. Mine has been in my stash forever and I don't even remember where it came from, haha.


Thanks so much for popping in today. If you'd like more information on any of the products that I used today, simply click the highlighted text throughout my post. Have a fantastic week everyone!


Terri


#wavingmywand #patriotic #prettypinkpost #wintermug #coffeemug #coffeecup #catherinepoolerink #rangerink #stickles #scrapbook #photoplaypaper #landofthefree #landthatilove #paperlovers #coffeelovingpapercrafters #springsummer2025clh #patrioticcards #coffeecards #memorialday #fourthofjuly #fireworks #july4th #independenceday #godblessamerica #homeofthebrave #homeofthefree #erinleecreative #starsandstripes #diycards #olomarker #createwitholo

Monday, March 31, 2025

Card Trio Featuring Tim Holtz Sizzix Vault Release

Hello friends. I'm back with a trio of cards for Scrapbook.com, featuring today's new Vault release of embossing folders from Tim Holtz and Sizzix! Thanks so much to Scrapbookcom for sending me these amazing products that are now seeing new light for today's crafters. I'll have creative details below, with my supply/shopping list at the end of this post. 

*Please note, as of this posting today, there is a slight delay in the embossing folder product arrival to the Scrapbookcom shop. They should be arriving within the next day or two and available at that time for purchase so be sure and check back!


 (FTC Disclosure: as an affiliate for various companies in the craft industry, I will receive a small commission for purchases made through my convenient affiliate links, at no additional cost to you.)


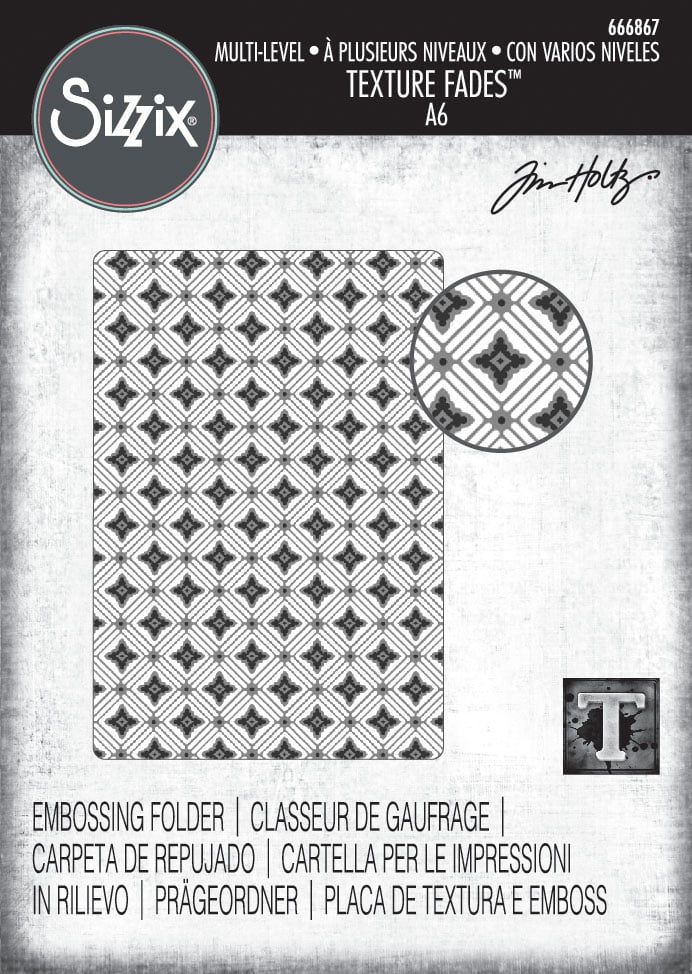
My first card features the Vault Diamonds Multi-Level Embossing Folder. This is a mini-slimline card and I kept my dry embossed background simple with some ink blending.

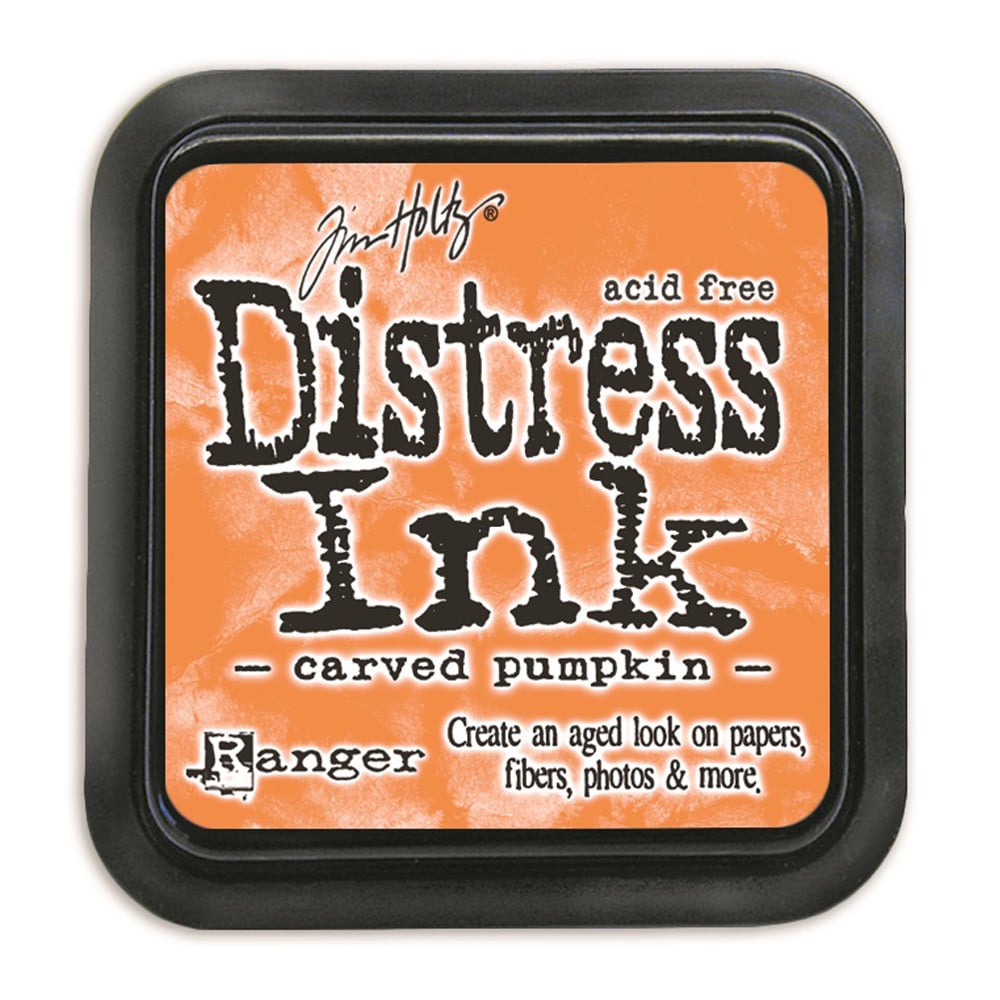
Next, I selected 5 different Ranger Inks with a goal of using at least 3-4 for each project:

* Carved Pumpkin Distress Ink
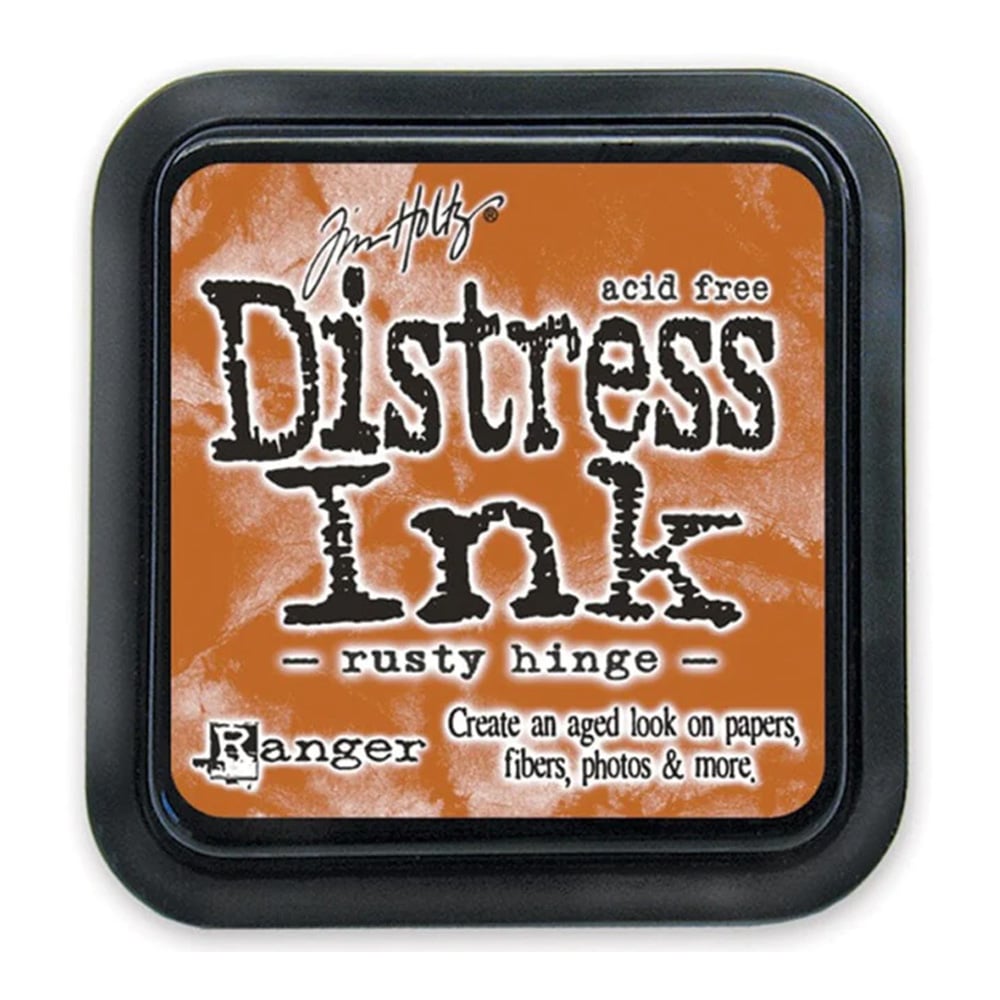
* Rusty Hinge Distress Ink
*Speckled Egg Distress Oxide Ink
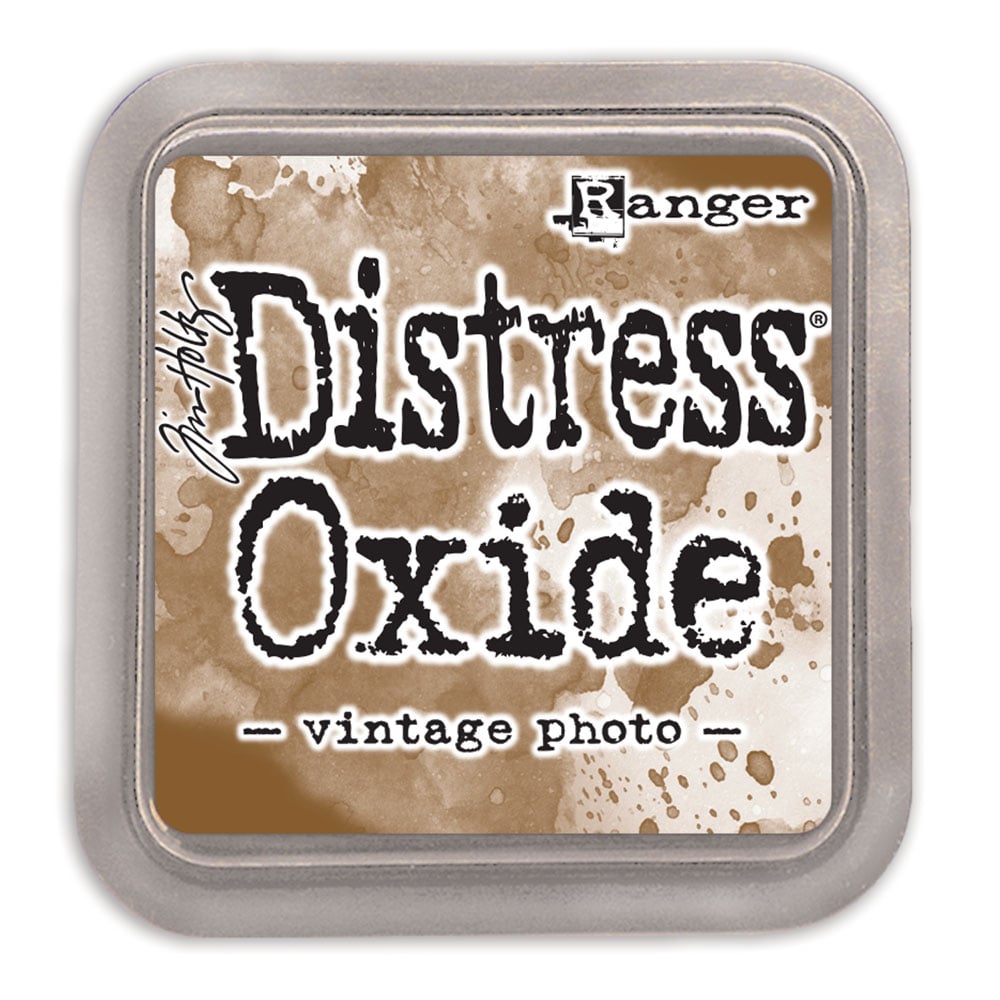
*Vintage Photo Distress Oxide Ink
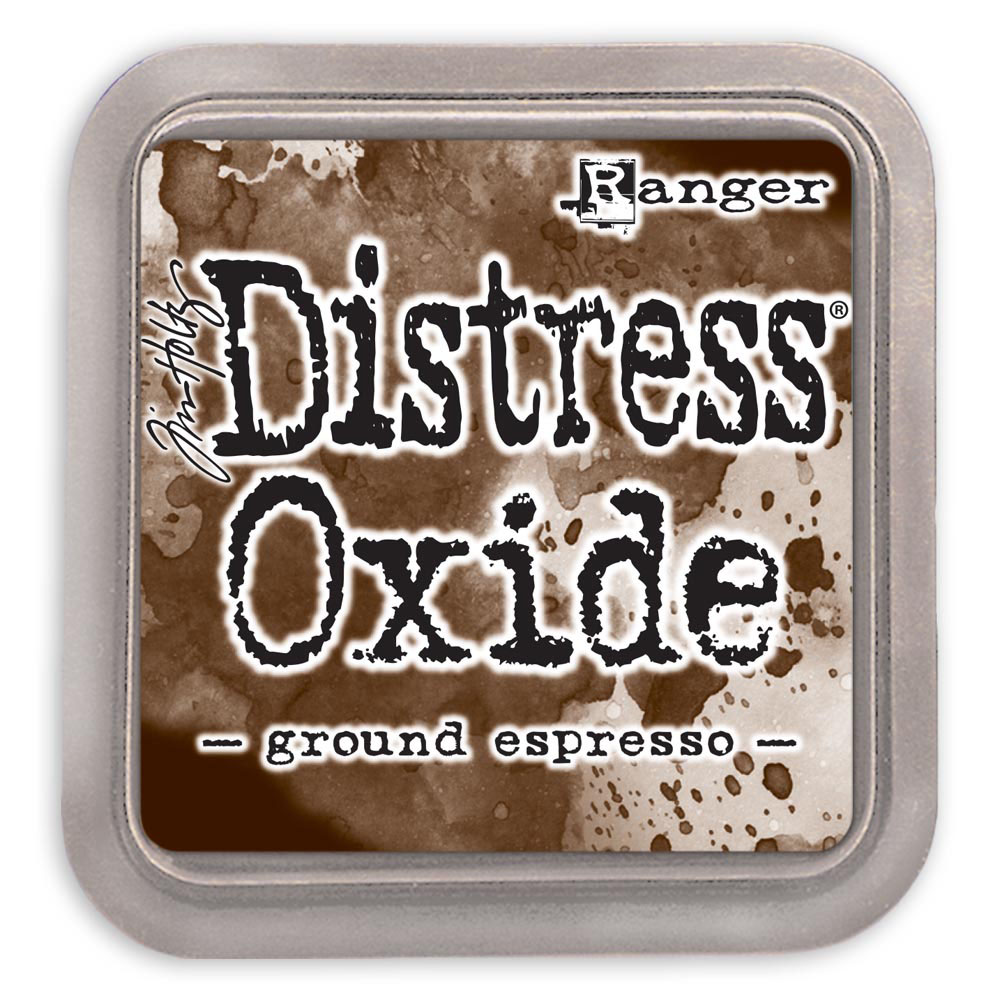
*Ground Espresso Distress Oxide Ink


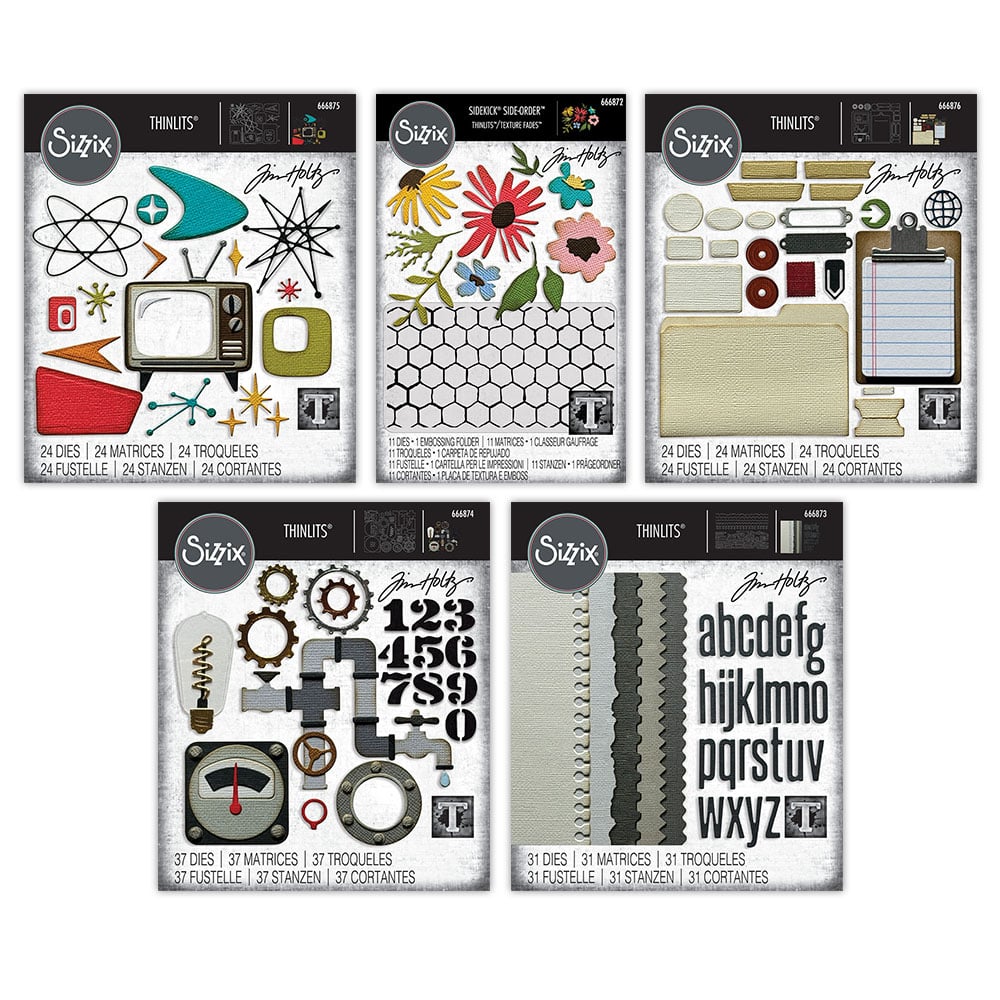
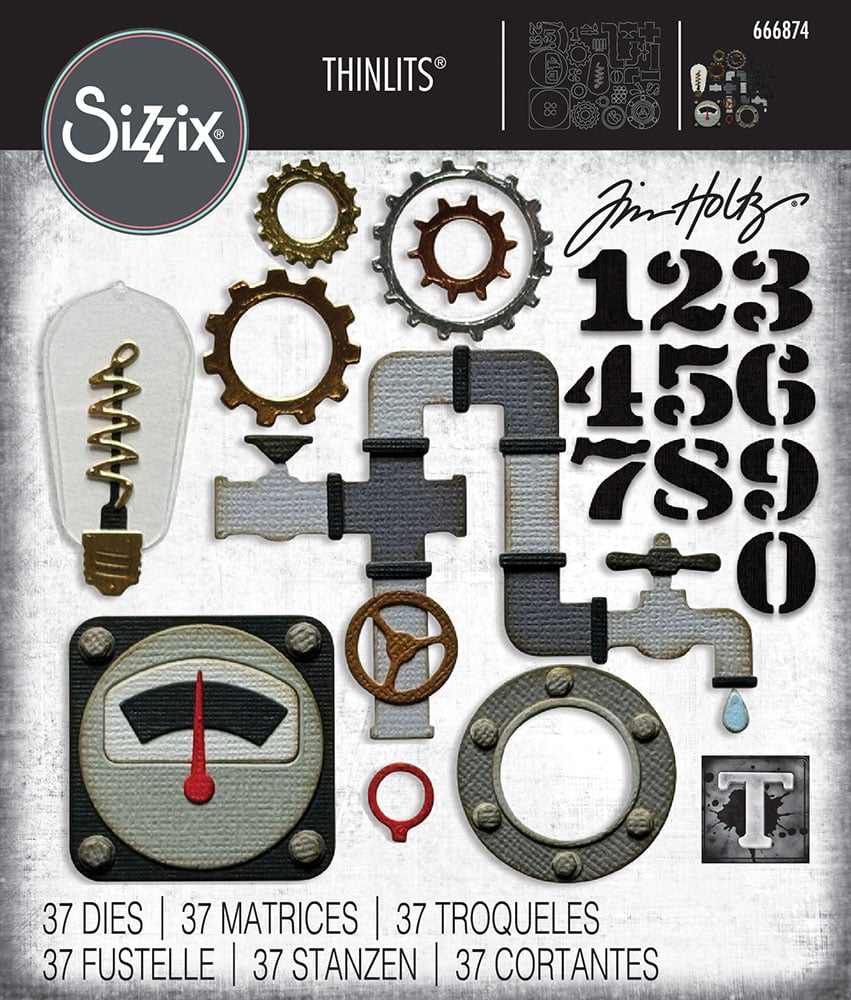
All five inks were used for the various elements on this first card. I also brought out the Tim Holtz/Sizzix Vault Industrial Thinlits, recently released, to die cut some of those fabulous light bulbs again, plus some of the gears. I also created an inked, embossed backdrop for my bulbs for added focal emphasis. Like my last project featuring these bulbs, I again used my Scrapbookcom Holographic paper to "light" things up!


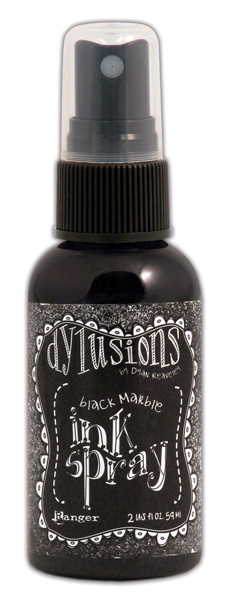
 Lastly, all my elements were splattered with Dylusions Black Marble shimmer spray. Rather than actually spray, I unscrewed the tube feeder and simply tapped droplets all around. Also, some of my die cuts were adhered directly to my embossed backdrop, while others were popped up on Scrapbookcom 3mm adhesive foam strips for dimension.


Oh, and my sentiment above was a rub-on from the Scrapbook.com Joyful Flowers Rub-on sheets. I rubbed it onto some orange cardstock, tearing the paper around the edges and ink blending those edges with Gound Espresso.

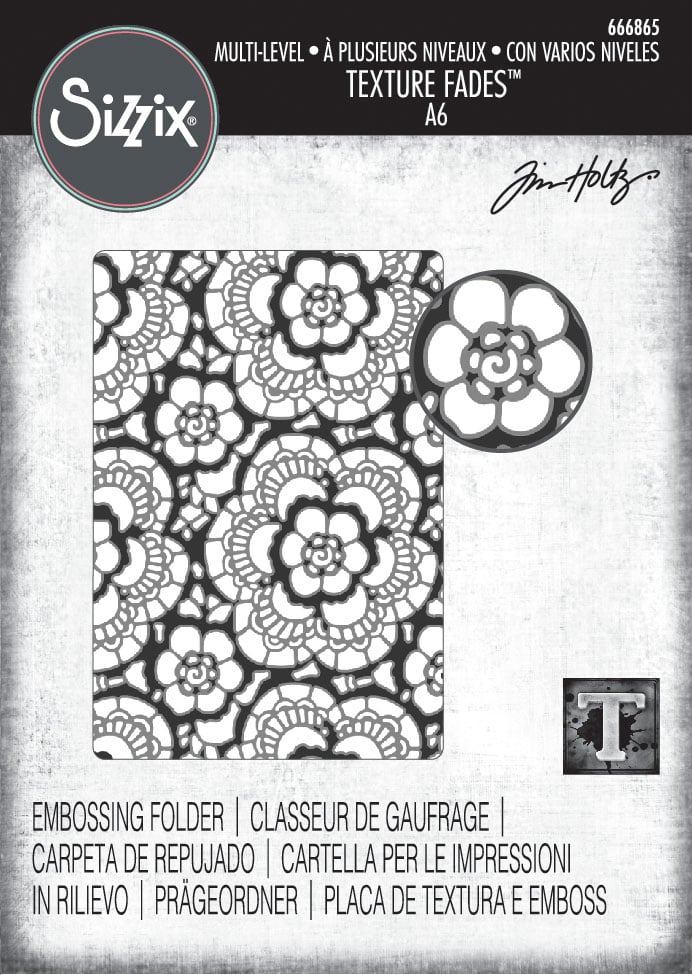
My next card below features the Tim Holtz/Sizzix Lace Multi-Level Embossing Folder. I adore watercoloring and thought this would really be a fun one to paint. I love the lace design and just had some relaxing, peaceful moments spending time painting and choosing my placement of colors.


When watercoloring, I typically press my ink pad onto a craft mat or silicone mat, spritzing with water, then paint with a water brush or wet paintbrush. However, here's a little tip. You can also use a large acrylic block or even plastic packaging that your dies or stamps come in as the platform for your ink and spritzing. The watercolor wipes off easily with a paper towel or shammy!


Before painting though, I took the Rusty Hinge distress ink pad and swiped it across my entire embossed card panel. Then, I started painting the larger blooms first, going in with Carved Pumpkin and Speckled Egg. I left some of the embossed images white, and went in with some of the background debossed spaces using Ground Espresso. Because the colors are diluted with a little water, they will be a little lighter but if you choose, you can add more layers of color.

I also added white paint splatters using Ranger Acrylic White Paint and more Black Marble shimmer spray.


I love, love, love my sentiment too. It's a large Scrapbookcom word die called Grow With The Flow. I did some ink blending on a white A2 card panel, then made my die cuts using that panel. The word die is actually designed so all the words are connected when die cut. However, I didn't want it to fully cover all the embossing and painting, so I used my scissors to get creative, making just a couple trims to separate the wording into two separate elements.
Below, is a stock photo from Scrapbookcom, showing the dies included in packaging. Where you see the black arrows, is where I made my trims, fussy cutting along the curve where the "g" and "t" meet, and also where the "h" and "w" meet. I did this after I adhered my ink blended word die cut to my coordinating black background word die cut. 


For my butterfly embellishment, I used another rub-on from the Scrapbook.com Cardmaker Sentiments rub-on sheets and pulled off the neatest trick!

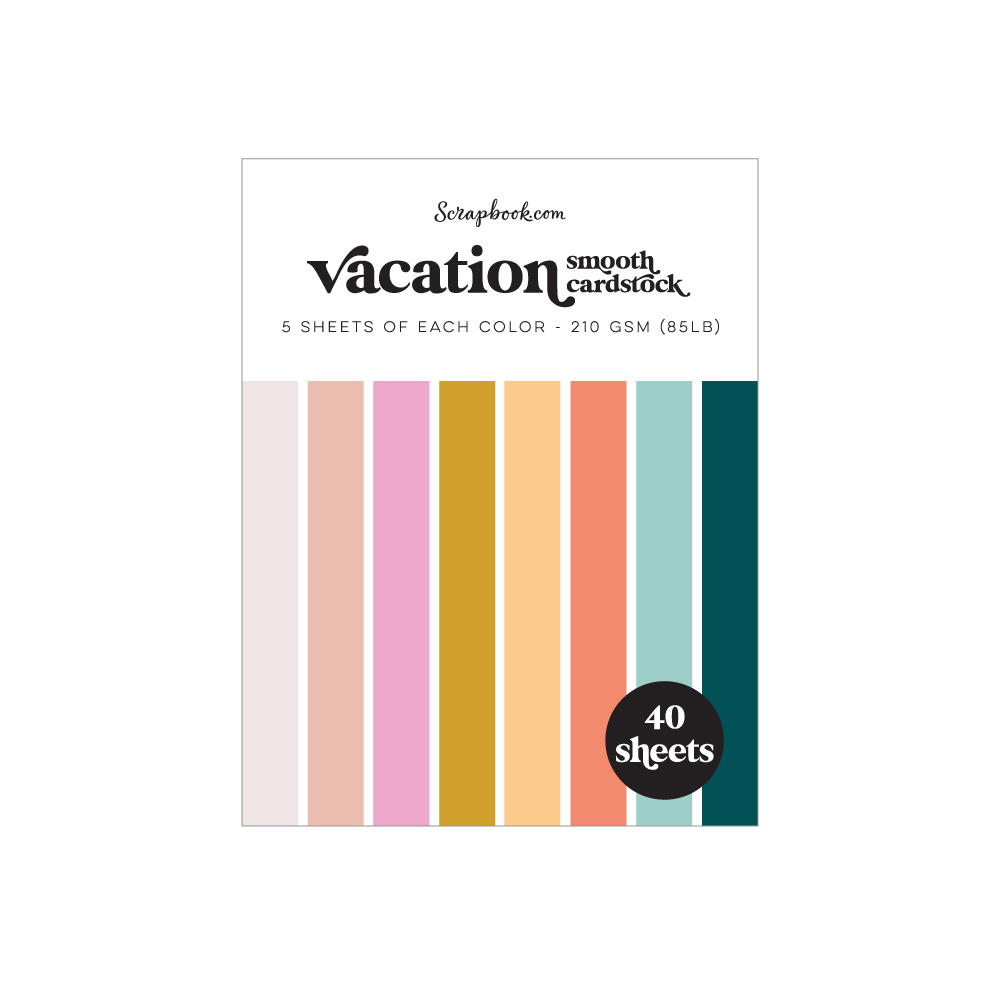
I selected two solid colors from my SBC Vacation paper pad that complemented my inks. Then, I took a strip of mint tape, butting the edges of my papers together, taping them on one side. 

Next, I flipped my papers over and adhered my rub-on dead center where the edges meet and fussy cut my butterfly. Make sure you leave that tape intact, there's no need to  remove it. I used some adhesive foam strips on the back to further support my paper "spliced" butterfly! 

This was so easy and I want to do this with all the things now! No ink blending or stamping required for this pretty little butterfly. And, the papers perfectly match my ink blending and painting! Plus, I was able to use all 5 ink colors on this card too!

The full dimensions of this card measures 3.75 x 5.25 inches.

(You can't see in these photos, but the black cardstock was also embossed!)


My last card is more simplistic, for the sake of variety and because I know many of you like to see various ways a product can be used, including a more simplistic approach. I chose to let the embossing be the star here, with very minimal embellishments. Even so, I was able to use 4 of the 5 colors I chose to create with today. This card features the Tim Holtz/Sizzix Vault Flourish Multi-Level Embossing Folder.


This is a smaller card with the top panel measuring in at almost 3 3/4 x 4 1/8 inches and the full card dimensions at 4 1/8 x 4 1/2 inches. Yes, I tend to create first and measure later, haha!


I used the swipe technique again, but first, I split my white card panel in half diagonally with my trimmer. Then swiped one piece with the Vintage Photo Ink and the other with Speckled Egg ink.

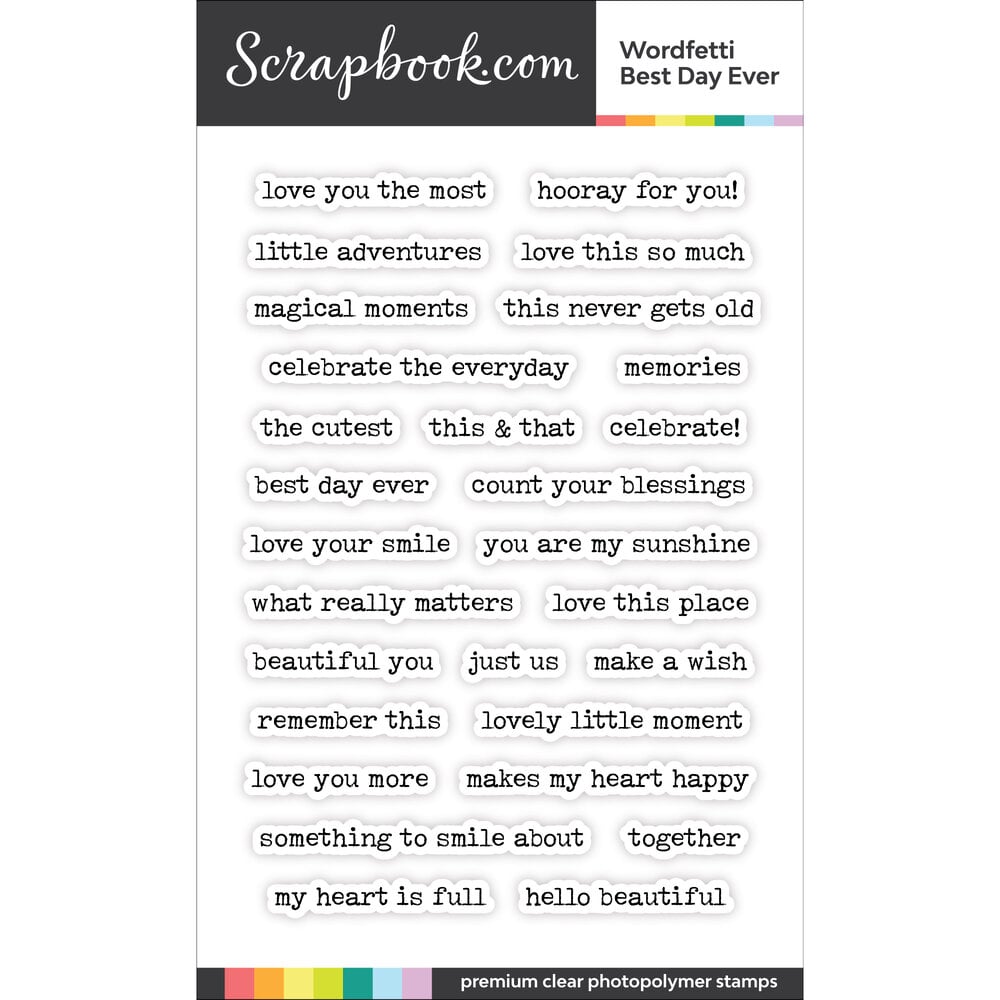
I pulled out my SBC Wordfetti Best Day Ever stamp set for my sentiment, stamping with Ground Espresso distress ink, also rubbing the edges with ink directly with the ink pad. I also did some light ink blending on top of my sentiment with leftover Rusty Hinge ink that was on my blender brush.

I had some leftover white re-inforcer die cuts from my project a couple weeks ago using the Vault Industrial Thinlits, so I picked one and ink blended with my SBC detailer brush. I adhered it in the center of my card with adhesive foam strips, hot glued a string embellishment in the center and topped with some Pops of Color in Black Gloss. 


I finished off my card by adhering my elements to some black trimmed cardstock, then mounted on my card base. A very quick card, for those of you who might want to create multiple cards!

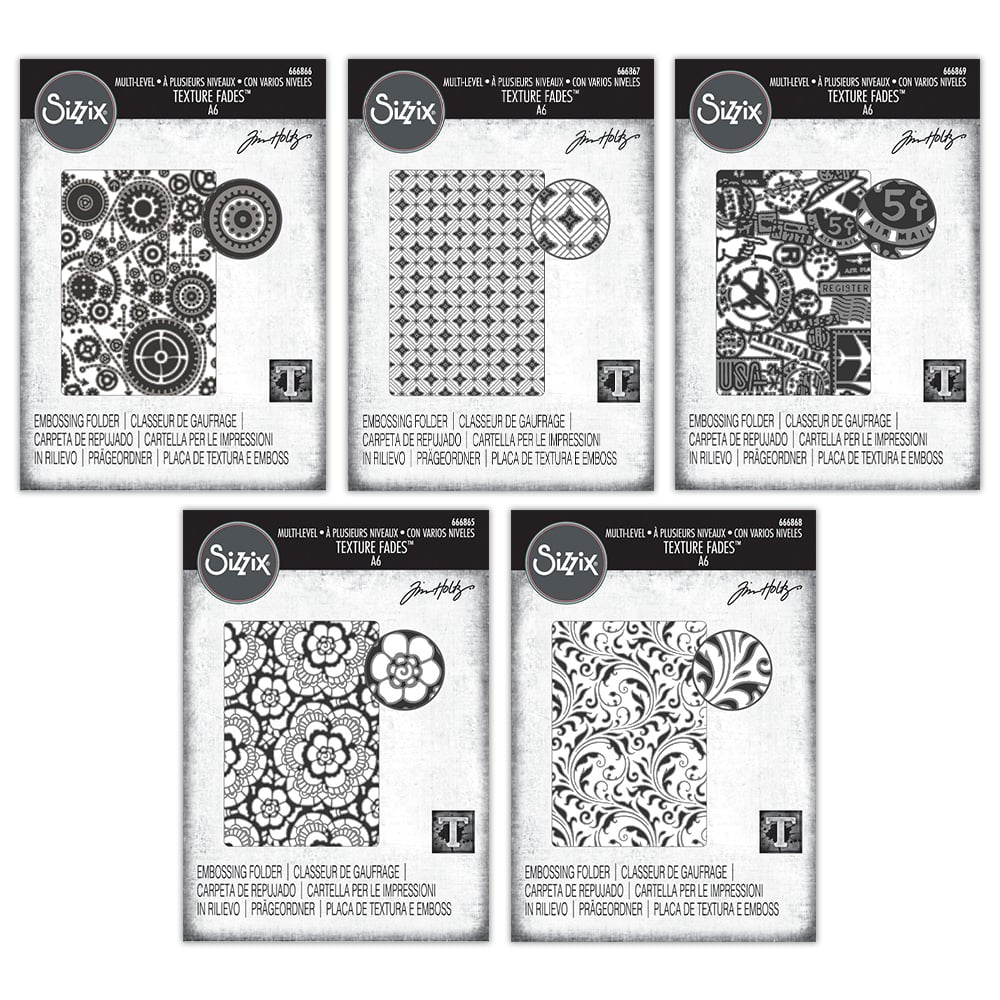
View the entire embossing collection from the Tim Holtz/Sizzix release, here!

If you're shopping today, or would just like to browse, I have clickable affiliate links below. There's no added cost to you for shopping through these links and I'm compensated a few cents per dollar from the companies that I'm affiliated with, when you make a purchase. So, once in awhile, I'm able to buy a gourmet coffee and do a little happy dance when I do!

I hope you're enjoying Spring time where you live and have a great week! Let me remind you to stop by the coupon section at Scrapbookcom, as they sometimes have coupon codes and freebies available with your purchase.

See you next time......Terri

**********************


Neenah Solar White Cardstock 8.5x11 inch
Shop at:
Scrapbookcom
Lawn Fawn Black Licorice cardstock
Shop at:
Scrapbookcom
Ranger Distress Oxide Ink Pad - Vintage Photo
Shop at:
Scrapbookcom
Refillable Permanent Adhesive Runner - 49 feet
Shop at:
Scrapbookcom
Dina Wakley Heavy Acrylic Paint - White
Shop at:
Scrapbookcom
Ranger Ink Distress Oxide Ink Pad - Ground Espresso
Shop at:
Scrapbookcom
Ranger Ink Distress Oxide Ink Pad - Speckled Egg
Shop at:
Scrapbookcom
Mint Tape 1 inch roll
Shop at:
Scrapbookcom
Ranger Artist Brushes - 7 pc
Shop at:
Scrapbookcom
Artis Craft Glue - Only at Scrapbookcom
Shop at:
Scrapbookcom
Exlusive Pink Misti Stamp Positioner
Shop at:
Scrapbookcom
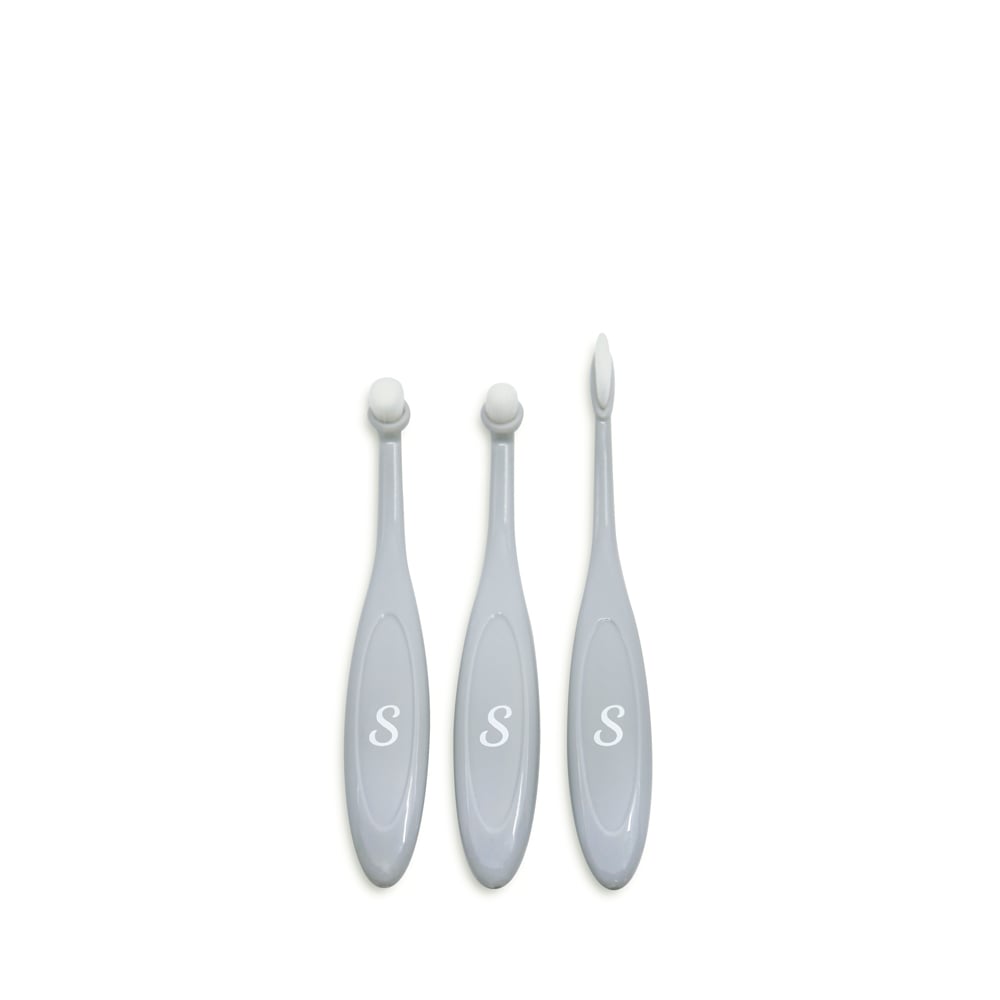
Exclusive Tiny Details Blending Brushes - 3 pk
Shop at:
Scrapbookcom
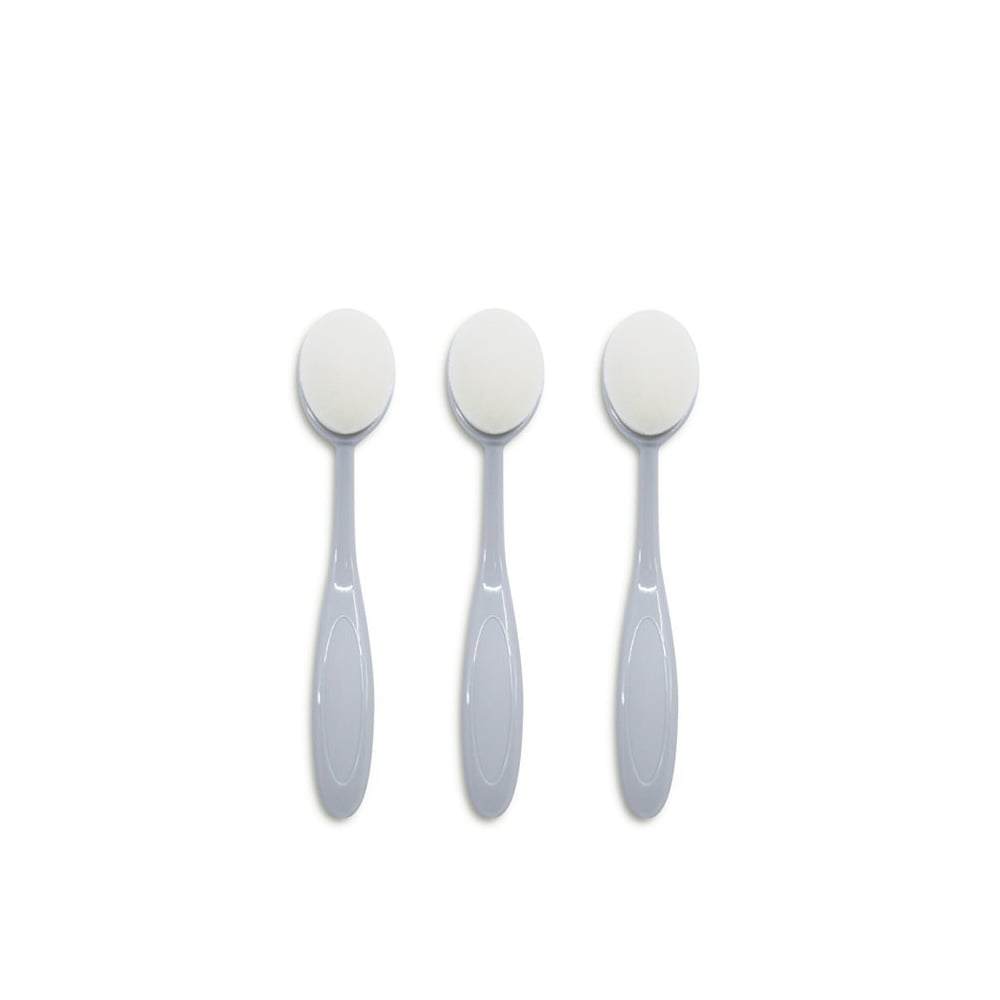
Scrapbookcom Small Blending Brushes - 3 pk
Shop at:
Scrapbookcom
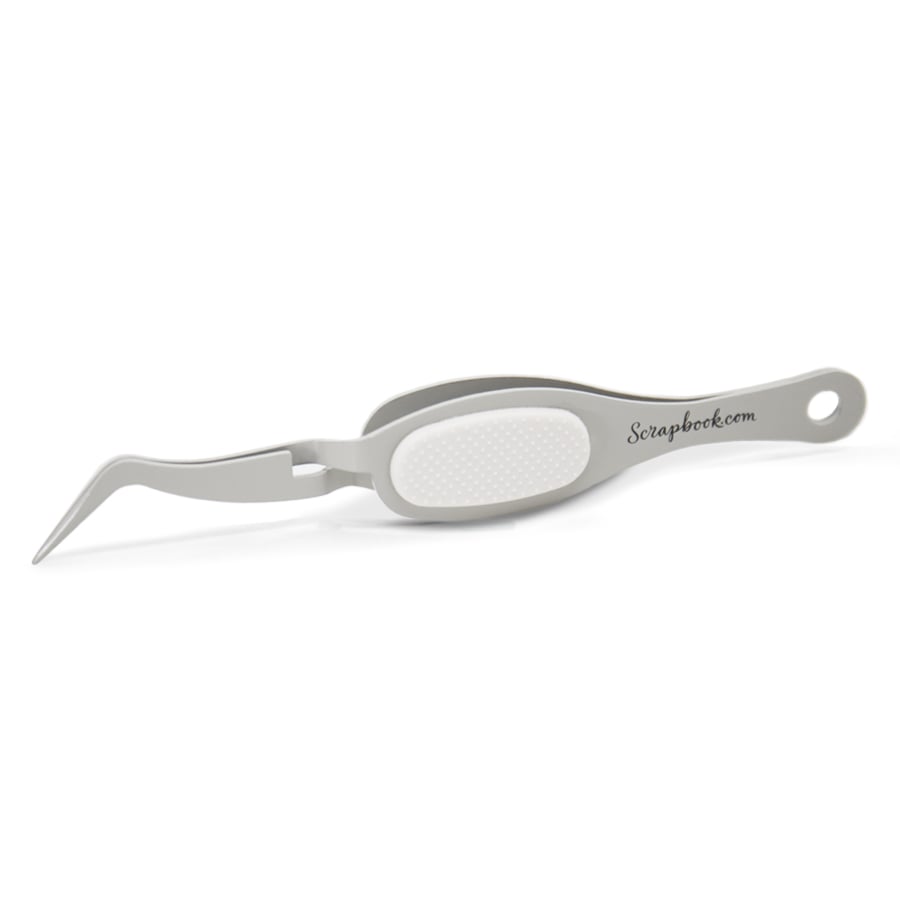
Exclusive Ergonomic Reverse Tip Tweezers
Shop at:
Scrapbookcom
Tonic Studios Tim Holtz Comfort Trimmer 8.5 Inch
Shop at:
Scrapbookcom
Tim Holtz Non-Stick Serrated Scissors - 7 inch
Shop at:
Scrapbookcom
Project Grip Mat Large - White - 24x18 inch
Shop at:
Scrapbookcom
3 mm Adhesive Strips - 160 strips
Shop at:
Scrapbookcom
Ranger Ink Dylusions Shimmer Spray - Black Marble
Shop at:
Scrapbookcom
Vacation Paper Pad - A2 - 40 sheets
Shop at:
Scrapbookcom
Pink Stamp Cleaning Shammy
Shop at:
Scrapbookcom
Sky Blue Stamp Cleaning Shammy
Shop at:
Scrapbookcom
Exclusive Magnet Mat
Shop at:
Scrapbookcom
Pops of Color Black Gloss Liquid Embellishment
Shop at:
Scrapbookcom
We R Makers Glue Gun Kit - Pink
Shop at:
Scrapbookcom
Tim Holtz/Sizzix Vault Release Bundle
Shop at:
Scrapbookcom
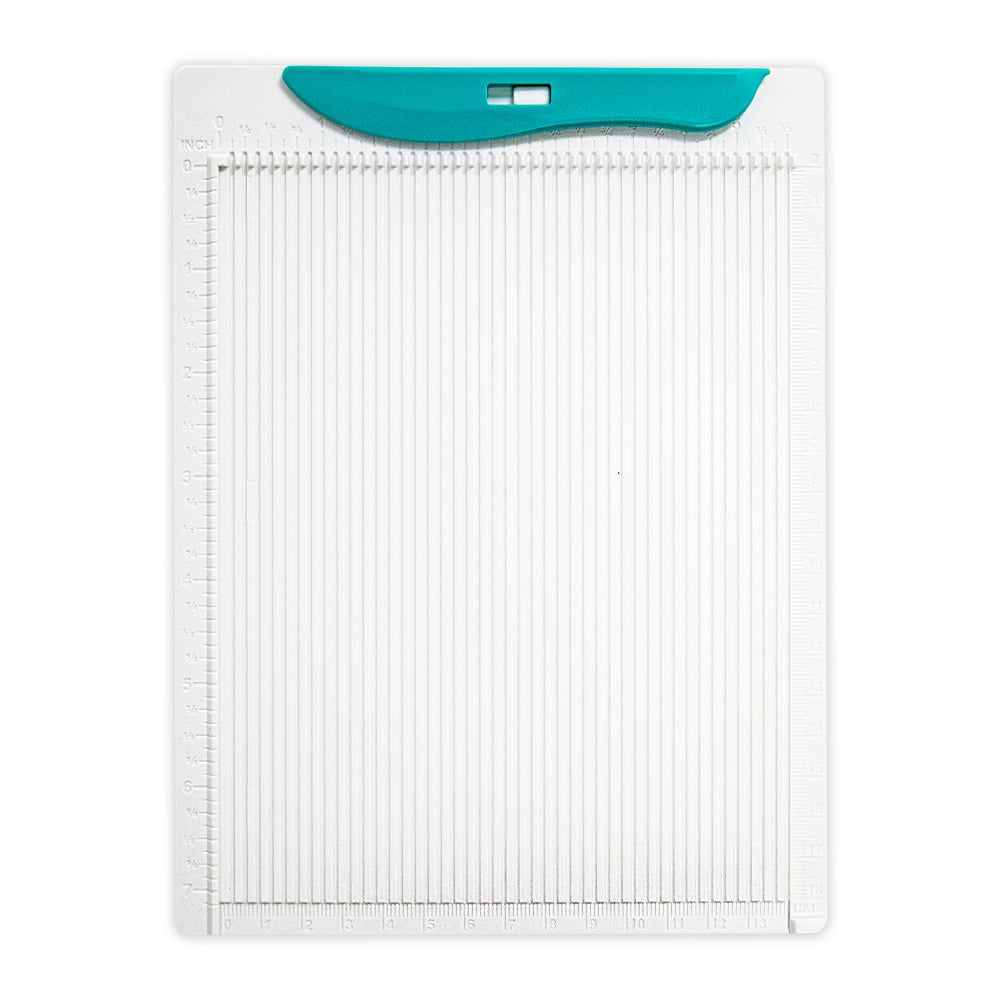
Gina K Designs Multi-Purpose Scoring Board Tool
Shop at:
Scrapbookcom
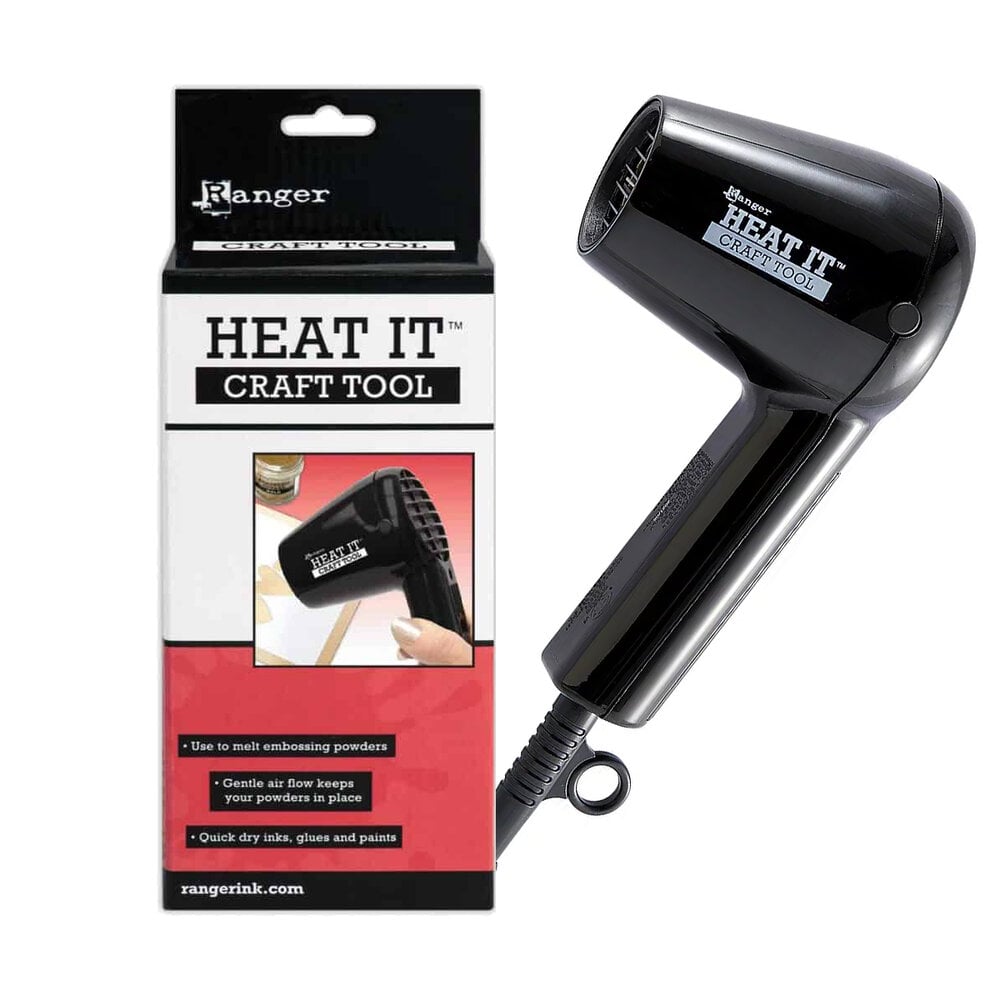
Ranger Heat It Craft Tool
Shop at:
Scrapbookcom
Tim Holtz Sizzix - Thinlit Dies - Vault Industrial
Shop at:
Scrapbookcom
Ranger Distress Ink Pad - Carved Pumpkin
Shop at:
Scrapbookcom
Holographic Mirror Cardstock Paper Pad - 6x8
Shop at:
Scrapbookcom
Wordfetti Stamp Set - Best Day Ever
Shop at:
Scrapbookcom
Joyful Flowers Rub-ons
Shop at:
Scrapbookcom
Ranger Distress Ink Pad - Rusty Hinge
Shop at:
Scrapbookcom
Limited Edition Big Shot - Stacey Park - Teal
Shop at:
Scrapbookcom
Grow With The Flow Word Dies
Shop at:
Scrapbookcom
Card Maker Sentiments Rub-Ons
Shop at:
Scrapbookcom
Lawn Fawn Latte Hemp Twine
Shop at:
Scrapbookcom
Tim Holtz Sizzix Vault Diamonds Multi-Level Embossing Folder
Shop at:
Scrapbookcom
Tim Holtz Sizzix Vault Lace Multi-Level Embossing Folder
Shop at:
Scrapbookcom
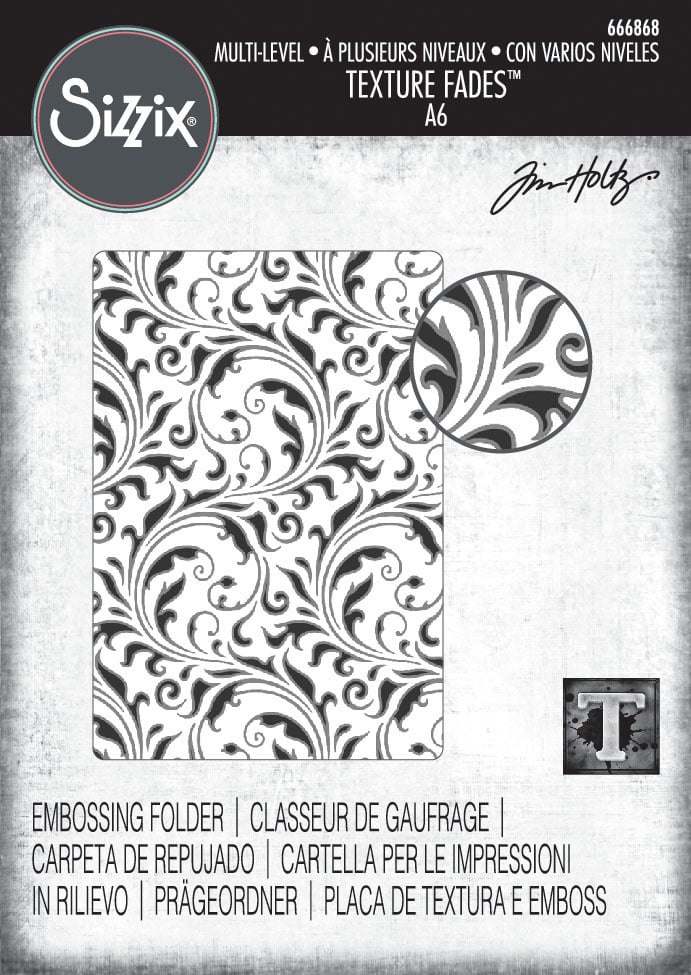
Tim Holtz Sizzix Vault Flourish Multi-Level Embossing Folder
Shop at:
Scrapbookcom
Tim Holtz Sizzix Vault Embossing Bundle
Shop at:
Scrapbookcom


#wavingmywand #scrapbookcom #timholtz #sizzix #embossing #vault #flourish #lace #diamonds #cardmaking #cards #diy #stamping #mixedmedia #rangerink