Showing posts with label simon hurley. Show all posts

Monday, September 28, 2026

Winter Polar Bear Card for Scrapbookcom

Hello crafty friends. I have a card for Scrapbook.com that features the Simon Hurley Instructor Bundle from SBCfest 2026! Alas, it sold out and to my knowledge, will not be re-stocked. If you were lucky enough to get your hands on this kit, happy creating. 


 (FTC Disclosure: as an affiliate for various companies in the craft industry, I will receive a small commission for purchases made through my convenient affiliate links, at no additional cost to you.) 


The die set included in the bundle was called Pip the Polar Bear. I did some ink blending for my background using Catherine Pooler Skylight ink pad with my blending brush. Also included in the bundle was a 3 layer stencil called Layered Frozen Fractals. I used just one stencil with tiny stars and dots, stenciling on the Astro Paste called Beluga and Sugar Rush.


I also blended CPD Sand Castle ink around the edges of my polar bear. The cardstock that I used is the luscious Scrapbookcom Heavyweight Assortment in the colors Tropical Sea and Antique Gold. 

Love these papers!


Lastly, I hand trimmed some white cardstock to make a hillside snowy slope. The die cut sentiment was also included in the Pip Polar Bear die set. 

All I can say is, when you see one of these kits that you really want is being offered for a limited time, grab it! I'm so sorry it's no longer available but hopefully this will serve as inspiration for your holiday cardmaking or to those who were able to purchase the kit.

Have a great week and stay crafty!

Terri


#wavingmywand #scrapbookcom #simonhurley #sbcfest2026 #instructorbundle #pipthepolarbear #astropaste #cardmaking #winter #christmas #cards
 

Wednesday, July 2, 2025

Fireworks Card For Erin Lee Creative

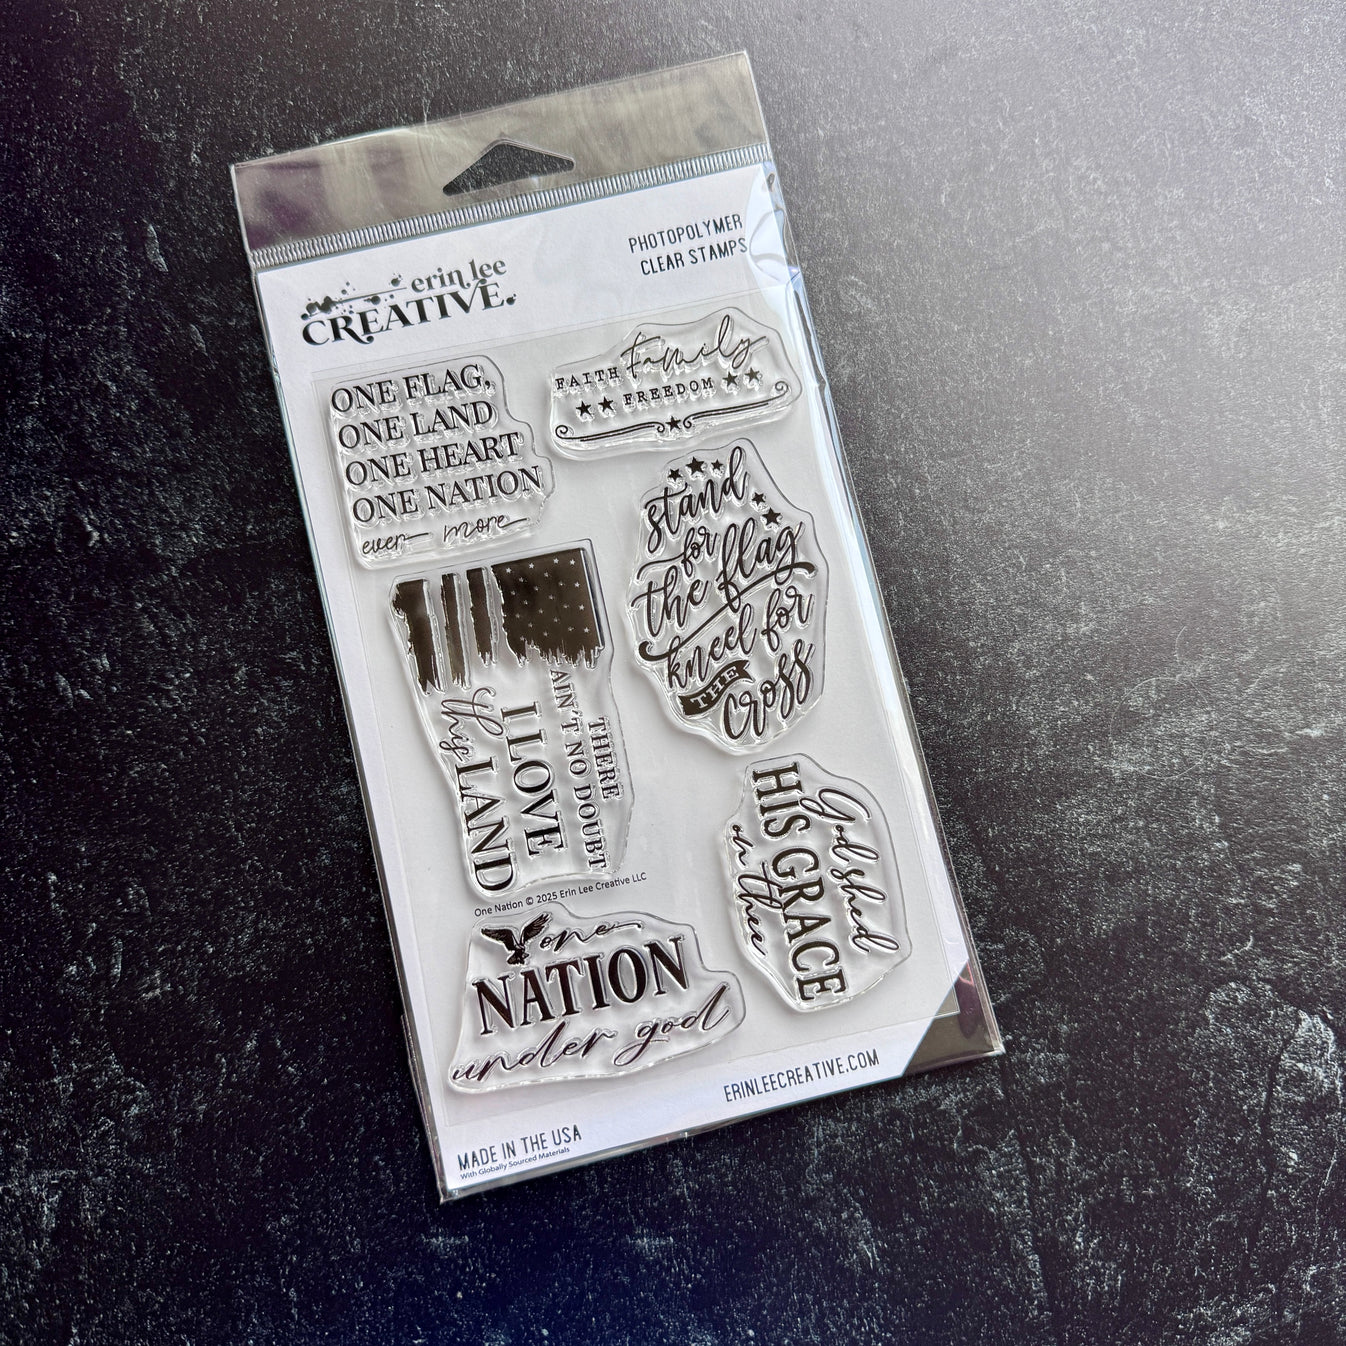
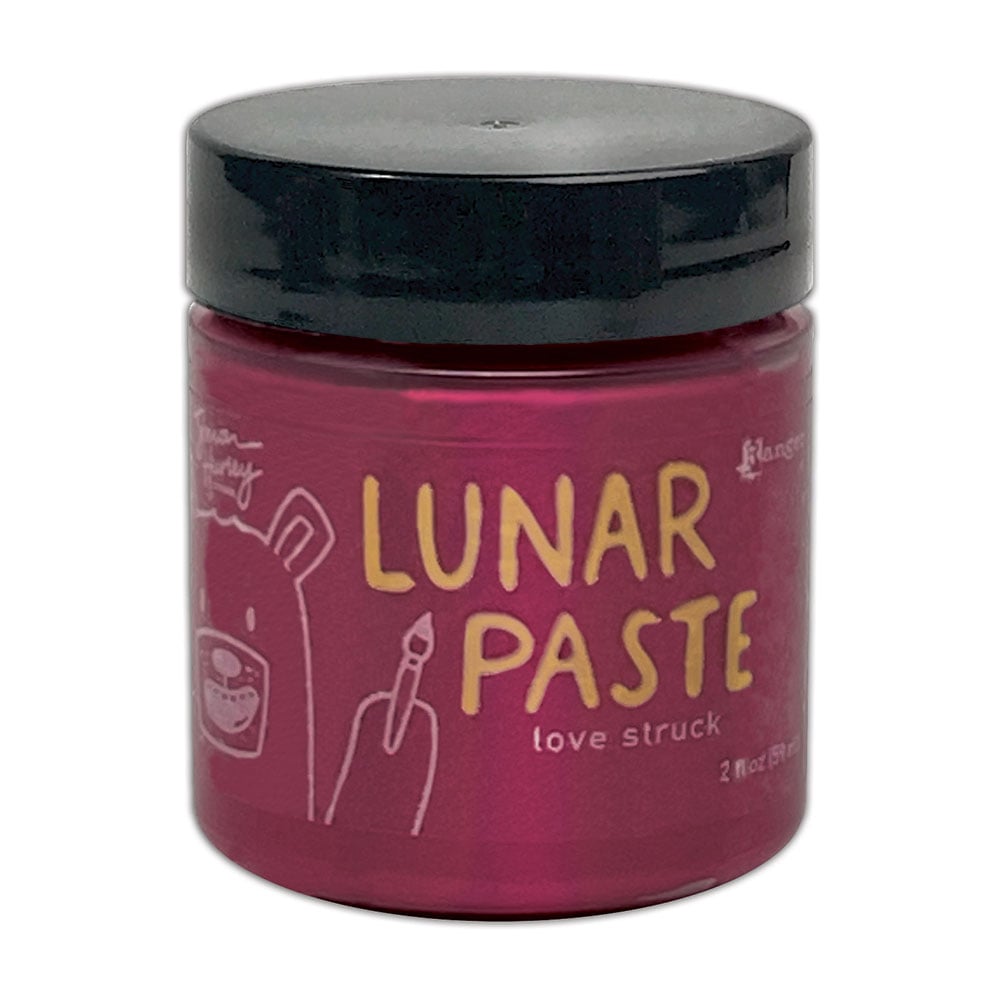
Hey friends, I'm excited to share another project for Erin Lee Creative! The new patriotic limited release "America The Beautiful" is out and there are so many fun and festive stamp sets, dies and stencils! It's a small release so it can possibly sell out quick! Today's card features the new Fireworks stencil and the One Nation stamp set. My Ranger Ink Lunar Pastes haven't seen much love in awhile, so I thought I would pair some of those colors with my stenciling. Scroll down for creative details. I've got lots of tips, so buckle up. You'll also find my clickable supply list at the end of this post.


 (FTC Disclosure: as an affiliate for various companies in the craft industry, I will receive a small commission for purchases made through my convenient affiliate links, at no additional cost to you)


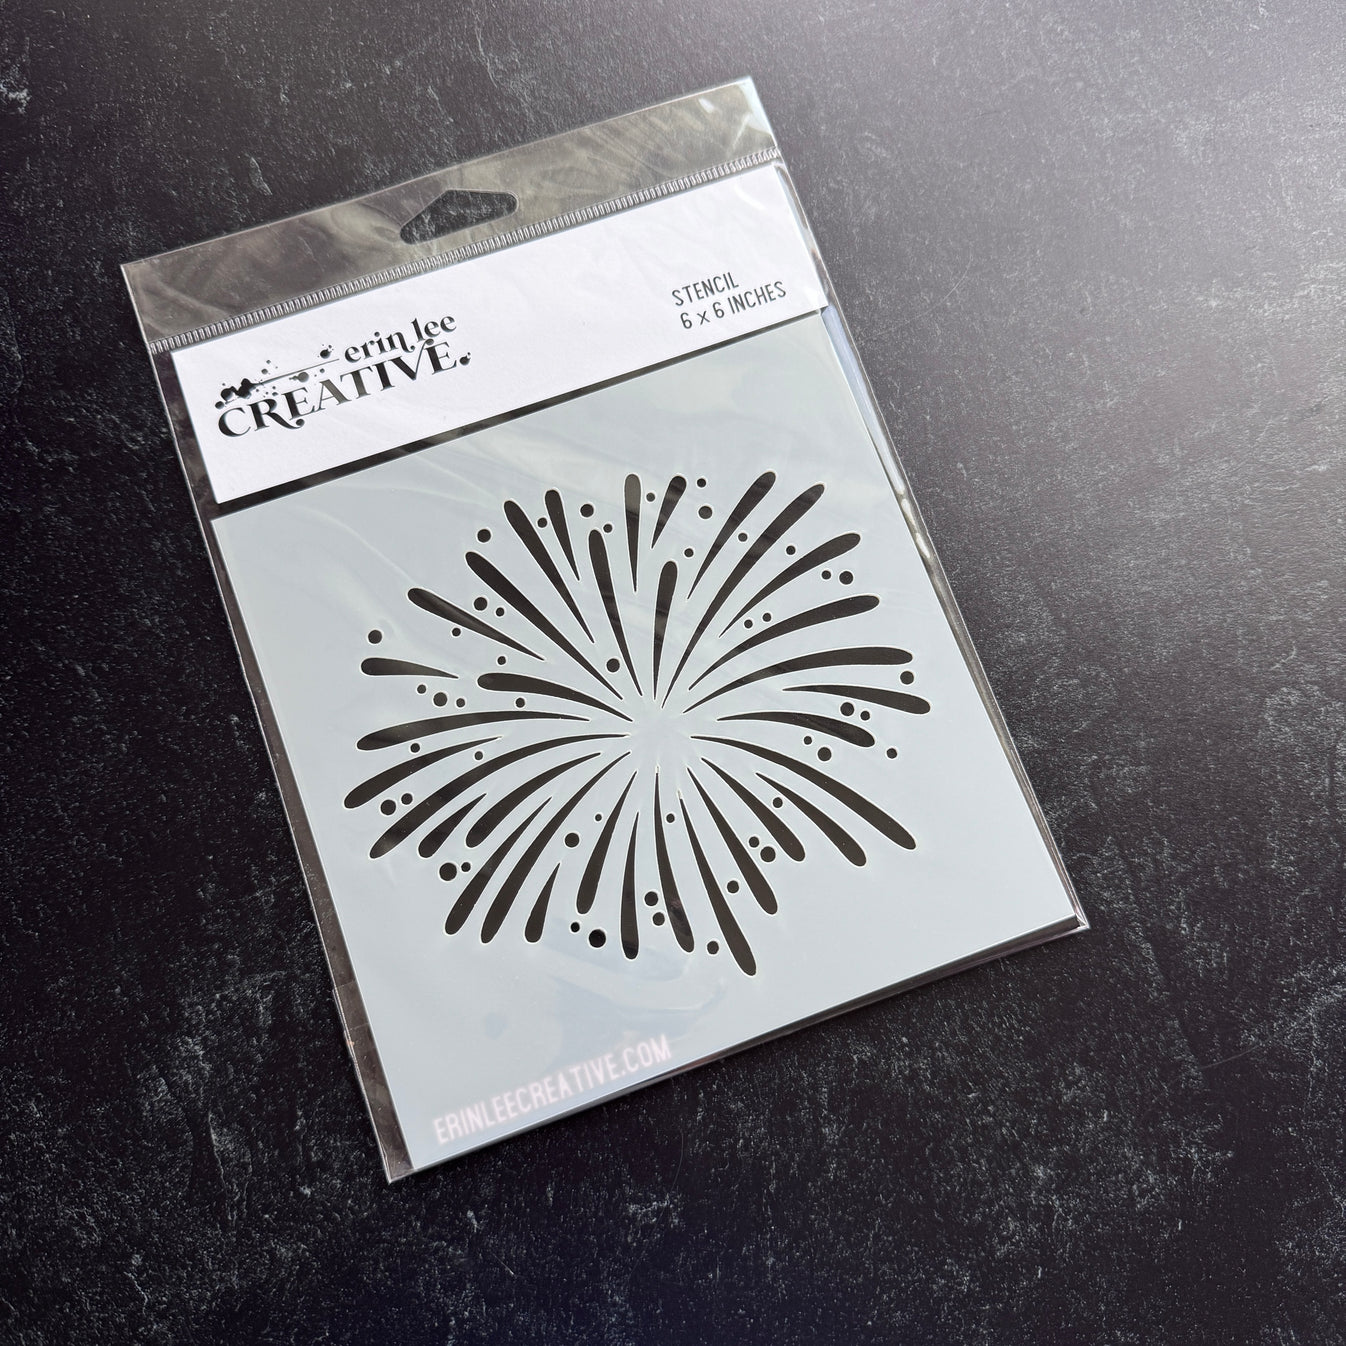
First, let's talk about the dimensions of my card. The stencil is 6x6 inches, so it's ideal for square cards. My full dimensions measure in at 5 1/2 x 5 3/4 inches.

The paper that I stenciled on is from an Ombre paper pad from Scrapbookcom. It's 6x8 and was the perfect size for me to stencil on. I love that these papers look like I did some amazing ink blending but no, they're just fabulous papers!


Before stenciling, I always spray the back of my stencil with Pixie Spray. This helps avoid seepage under the stencil, so you have a crisper stenciled image. I keep a large piece of bubble wrap in my craft space to avoid getting spray on my craft desk. Make sure you allow it to dry for a good minute or two. When you place your stencil onto paper, gently press all over to make sure you have a good seal.

Now, I couldn't find my craft scraper to stencil my paste. Not to worry, I save expired gift cards. They work in a pinch as a stenciling tool. I applied both paste colors side by side on the edge of the gift card, and swiped all across my stencil.

Before peeling off my stencil, I randomly sprinkled some Ranger Gold Tinsel embossing powder, while the paste was still a little wet, tapping off the excess. Then I gently peeled my stencil off and let everything dry naturally, maybe 10 minutes. 

I also splattered some white paint splatters for stars in the sky. Simply place a small amount of paint on an acrylic block (the size of a dime), mix with a drop of water, then flick the mixture off the edge of the acrylic block with a small bristled wet paintbrush. You might want to practice this technique on some dark scrap paper to get the hang of it. And, grab a large piece of bubble wrap to cover your desk first!


Confession Time!! Ok, so sometimes, I cut my stamped images. The sentiment I'm using includes a flag image and I didn't want to go to the trouble of trying to mask my image and stamp. Plus, the flag was very close to the wording, so it would have been tricky and honestly, a little time consuming. So, I broke out my teflon detail scissors and proceeded to trim off the flag image. It will easily re-align with my sentiment, the next time I decide to stamp with the entire image, so no worries!

I  do love the sentiment though. We all know that quote from Lee Greenwood's song God Bless The USA, right? I decided to heat emboss with white embossing powder, stamping it first in clear emboss ink on a trimmed section of the same Ombre paper and heat setting the emboss powder with my craft heat tool.

However, before the powder was completely set, I sprinkled on some more of the Gold Tinsel powder on the word LOVE, then finished heat setting.

I ended up splitting my sentiment into two sections and hand trimming around the wording with my scissors.


This card will easily fit in a 6x6 inch envelope. However, I have the We R Makers 123 punch board, so I make my own envelopes out of 12x12 inch scrapbook paper in my stash.

Let me know if you have any questions. Click any of my affiliate links below for product information or to shop. Thanks so much for popping in!

Terri

**************************


Ranger US HEAT IT CRAFT TOOL
Shop at:
Scrapbookcom
Neenah Solar White Cardstock 8.5x11 inch
Shop at:
Scrapbookcom
Lawn Fawn Black Licorice cardstock
Shop at:
Scrapbookcom
Scrapbook.com Premium Clear Embossing Ink Pad
Shop at:
Scrapbookcom
Refillable Permanent Adhesive Runner - 49 feet
Shop at:
Scrapbookcom
Dina Wakley Heavy Acrylic Paint - White
Shop at:
Scrapbookcom
Dylusions Paint Brush Set
Shop at:
Scrapbookcom
Brutus Monroe Alabaster Embossing Powder
Shop at:
Scrapbookcom
Rose Quartz Misti Stamp Positioner
Shop at:
Scrapbookcom
3mm Adhesive Strips 160 ct.
Shop at:
Scrapbookcom
Ombre Patterned Cardstock Paper Pad 6x8 in-40 pc
Shop at:
Scrapbookcom
White Project Grip Mat
Shop at:
Scrapbookcom
Tim Holtz Comfort Grip Guillotine Trimmer
Shop at:
Scrapbookcom
Gina K Designs Multi-Purpose Scoring Board Tool
Shop at:
Scrapbookcom
Fireworks Stencil
Fireworks Stencil
Shop at:
Erin Lee Creative
One Nation Stamp Set
Shop at:
Erin Lee Creative
Lunar Paste - Breakup Blue
Shop at:
Scrapbookcom
Lunar Paste - Love Struck
Shop at:
Scrapbookcom
Ranger Embossing Powder - Gold Tinsel
Shop at:
Scrapbookcom
Craft Scraper
Craft Scraper
Shop at:
Scrapbookcom
Pixie Spray
Pixie Spray
Shop at:
Scrapbookcom
We R Makers 123 Punch Board
Shop at:
Scrapbookcom


#wavingmywand #erinleecreative #americathebeautiful #patriotic #cards #cardmaking #stenciling #onenation #godblesstheusa #leegreenwood #stamping #diycards #fireworks #rangerink #simonhurley #lunarpaste #scrapbookcom #wermakers #fourthofjuly #4thofjuly #summer


Sunday, June 15, 2025

Ocean Birthday Card for Spellbinders

I have an ocean themed card to share, featuring the June Glimmer of the Month Club Kit from Spellbinders. This kit is titled "Cast Away", and I've had so much fun creating with it. Scroll down for details and click any of the highlighted text throughout this post for more product information or to shop.


 (FTC Disclosure: as an affiliate for various companies in the craft industry, I will receive a small commission for purchases made through my convenient affiliate links, at no additional cost to you)


This Glimmer kit includes a netting hot foil plate, 3 hot foil sentiment plates, a large sentiment outline die and a roll of Glimmer hot foil (selection varies).

The foil that I received in my kit this month is Opal. I am also using the Spellbinders Glimmer black/white opaque foil from my stash, for my foiled sentiments.


I don't really have much in the way of nautical themed stamps and dies, but I do have the Simon Hurley Smooth Sailing stamp/die set which is also sold at Spellbinders. I decided to incorporate the small sailboat stamp into my scene.

First, I stamped, then colored my sailboat with OLO Markers using these colors:

BG2.3, C-G3, OR3.4, R-G5


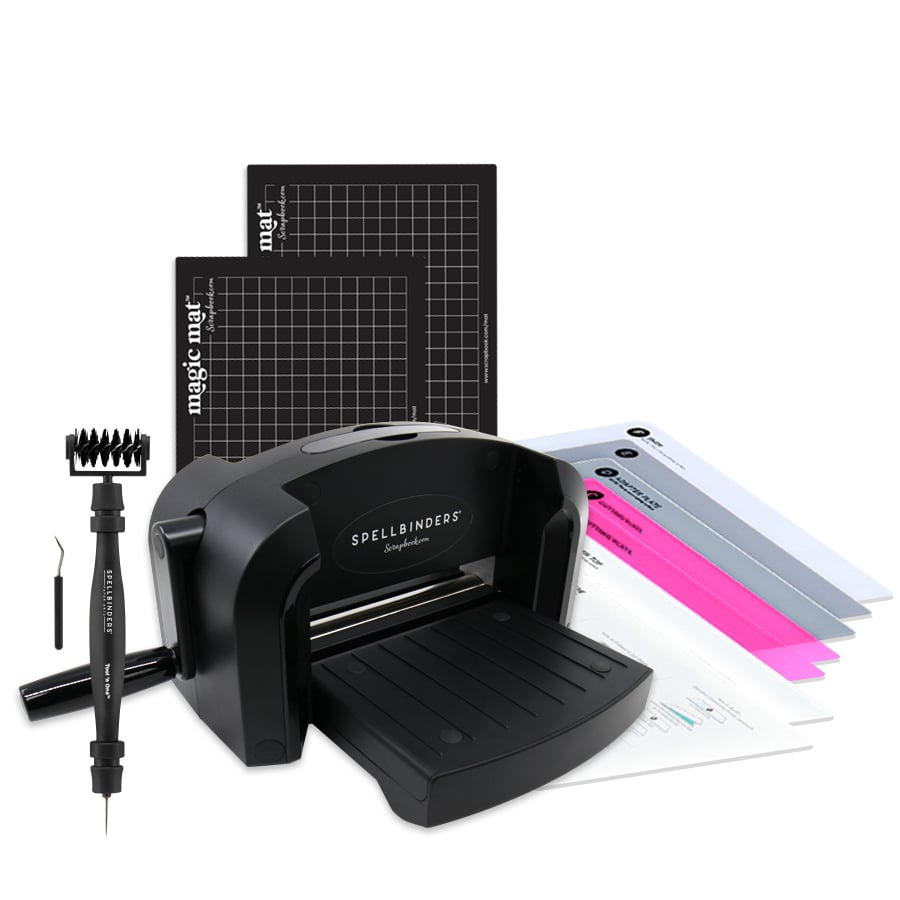
Next, I hand trimmed my sails, and foiled them with my Glimmer Hot Foil System, along with the base of my sailboat. You also need a die cut machine, such as the Spellbinders Platinum 6, to run your Glimmer platform through, to seal the foiling.

I wanted to pop up these elements with adhesive foam and also ended up trimming these elements down a bit with my scissors. I wanted this boat to be a little bit smaller to better fit within the confines of the scene that I was creating.


My sentiments were foiled on black cardstock, using my white Spellbinders hot foil. I also made some extra sentiments to have on hand, foiling on white cardstock with black foil.

For my scene, I tore some ombre paper from a paper pad in my stash to create a layer of color. The torn part, makes very effective waves, which is a bonus! I also created some 3D elements, hot gluing some netting using cheesecloth, and creating a rope from the boat to the netting, with some twine from my stash.


I created one final piece of foiling, which you can see at the bottom of my card. I foiled a trimmed section of kraft paper with the Opal hot foil, for my sandy beach.

I really love how this turned out! Let me know if you have any questions in the comment section. If you'd like to become a new subscriber to the Glimmer Monthly Club Kit, the window to receive this kit is through June 27th. Click here for details, and click here to view all the Spellbinders Club Kits!

Thanks so much for stopping by! 


Terri


#wavingmywand #spellbinders #spellbindersclubkits #glimmerhotfoilsystem #neverstopmaking #anchorsaway #castaway #cardmaking #nautical #cards #ocean #sea #birthday #ombre #netting #fishingnet #beach #sand #scrapbookcom #olomarker #stamping 

Wednesday, October 16, 2024

Christmas Cards feat New Spellbinders/Simon Hurley

The new Timeless Trees collection from Simon Hurley for Spellbinders is out, and I'm so happy to share two cards that I made from this release. I'm so thankful to Spellbinders for sending me several products from this release and I'll share some details on these cards below, including the "must have" item you need in your stash!


(FTC Disclosure: as an affiliate for various companies in the craft industry, I will receive a small commission for purchases made through my convenient affiliate links, at no additional cost to you.)


I'm creating with 3 different products from Simon's Timeless Trees collection:

 +


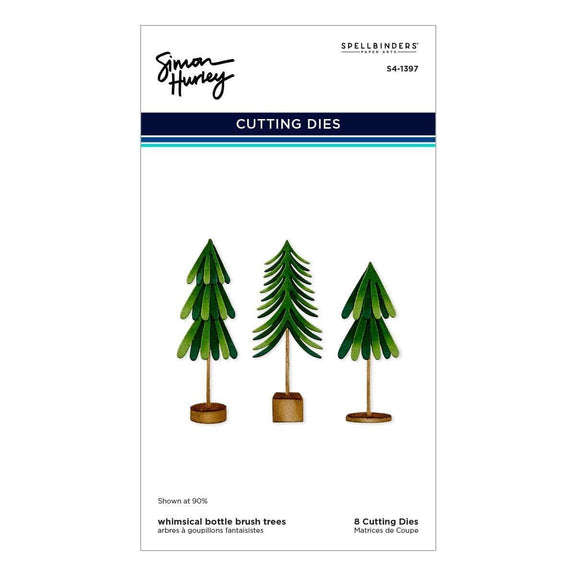
 My first card features the Whimsical Bottle Brush Tree Dies. I used green paper from one of of my paper pads and white cardstock to create my trees, die cutting with my Platinum 6.

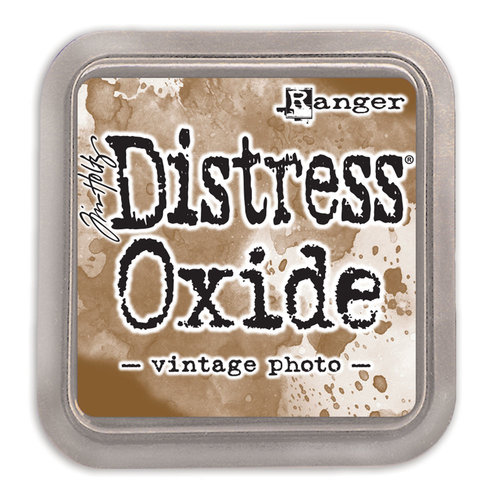
For the base of my brush trees, I dabbed on some Ranger distress ink in Vintage Photo with a blender brush. When finished, I placed only the base in the bottom of my Bark 3D embossing folder, so the long portion of my "stand was sticking out. This gave some really cool texture, almost like cork to my tree base. I also did a little ink blending in between some of my snowy hills with the same ink.

Those snowy hillside slopes were hand trimmed using my scissors and white cardstock. The bottom portion was also embossed with the 3D Bark folder. I absolutely LOVE the look! So much texture and it really looks like snow!


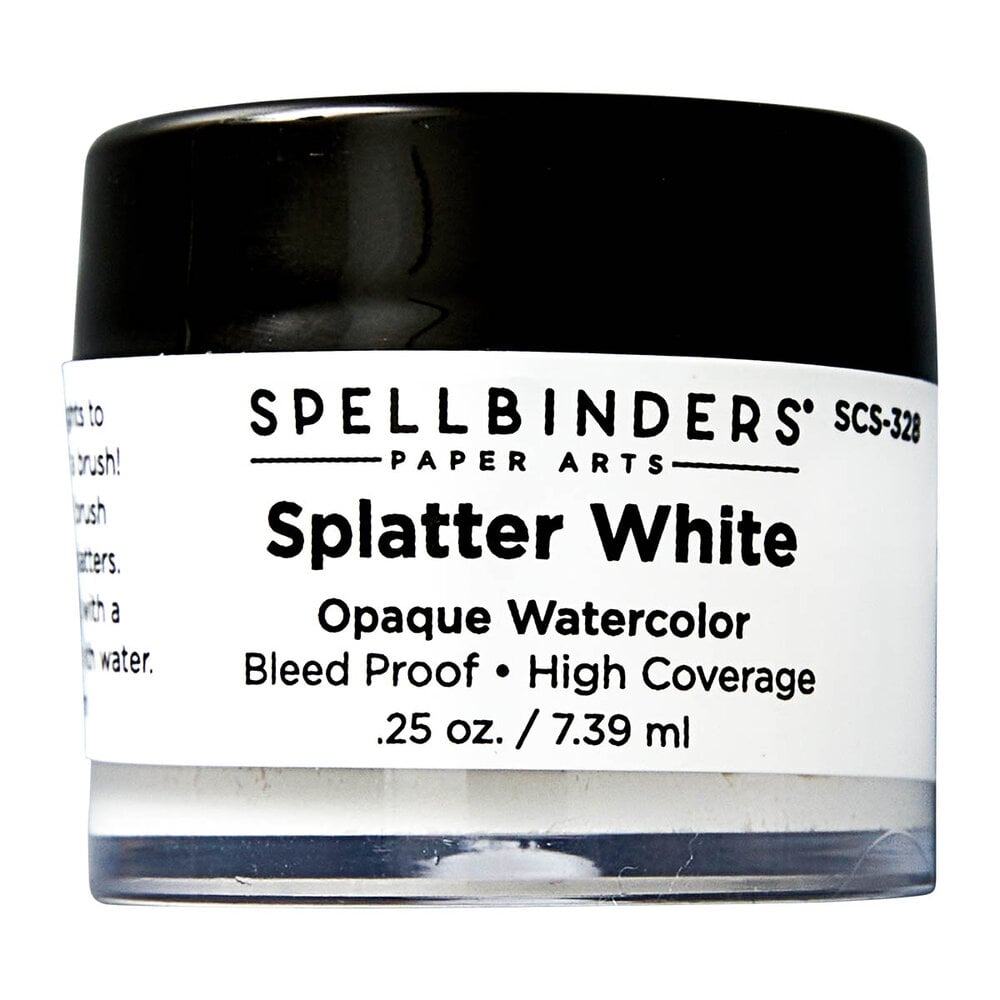
To create my background, I used my Spellbinders Splatter White on black mixed media heavyweight cardstock. For the larger dotted "snow", I dab the handle end of my paintbrush in the mix. I also splattered the branches of my bottle brush trees.

I also did some bulk foiling over the weekend using one of my favorite sentiment sets, the Simon Hurley Joyful Christmas Glimmer Sentiments.


That's not the best photo above, as I had to get a screenshot from the video I shared in my IG stories. I did a lot of foiling on colored and patterned paper, in addition to foiling on white cardstock. I used one of those foiled sentiments for my card below.


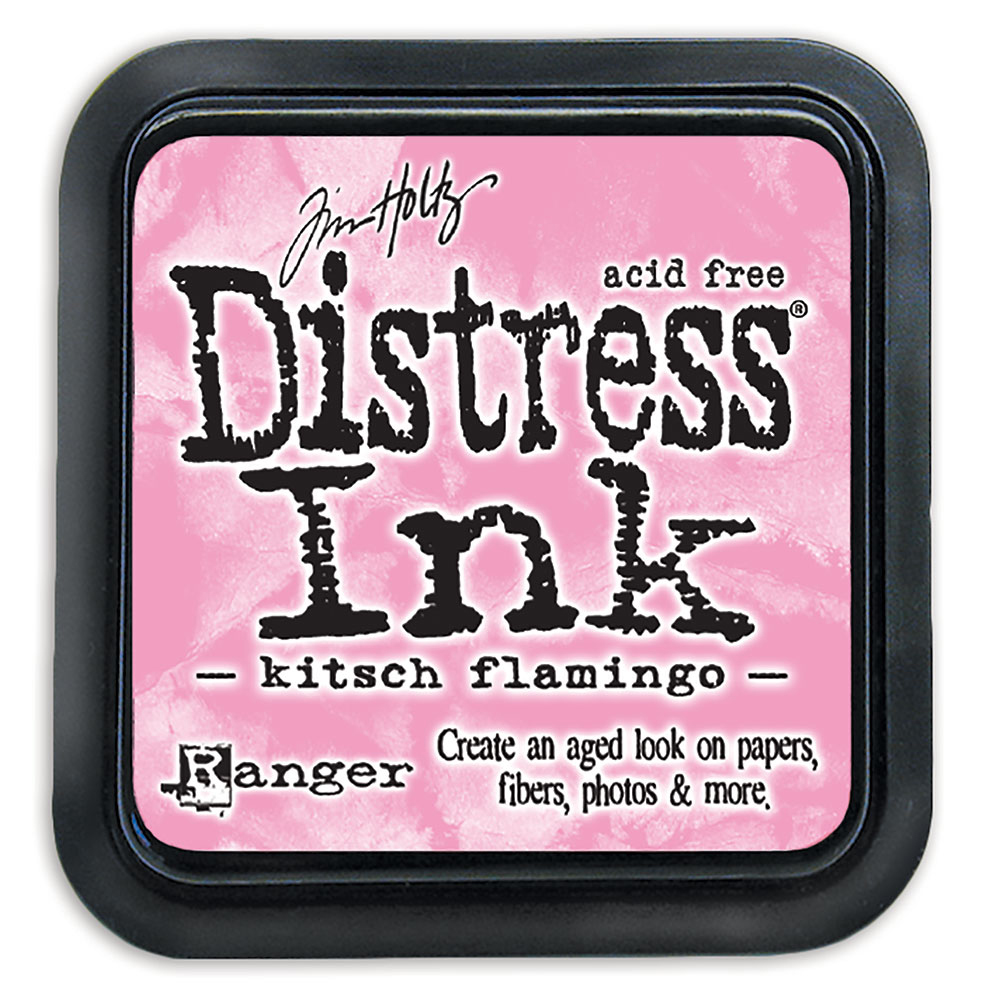
My next card below prominently features the Bark 3D embossing folder. First, I embossed my Spellbinders Dune colored cardstock. Next, I trimmed white cardstock and did some ink blending with Ranger Kitsch Flamingo distress ink, as I wanted a pink sky behind my houses. Then, I embossed my inked cardstock with the Bark folder.

I also decided to emboss some of my other die cut images from the collection; the small trees and the "mantel" strip below my houses, using the Bark folder.


You can see some of the texture a little better in this close-up photo below. I also used more Spellbinders Splatter White for my trees.


My houses were die cut with white cardstock. The die set also comes with an outline die, which I used to cut an outline with my Dune cardstock, offsetting it just a bit behind my white die cut houses.

I used a dark green paper from one of my paper pads to layer my embossed background, and also for my die cut trees and sentiment. 

I used Spellbinders Gold Matte hot foil with my Glimmer system for both of my cards.


I believe Spellbinders may have retired the Holiday Florals Glimmer set (stock # GLP-290) that includes my sentiment for the card above. I was able to find it on Amazon and linked it further up in my post. I do love that sentiment so much and have used it a ton! I thought it fit so perfectly with my Mantel Village dies. If you love tiny or small sentiments, Spellbinders has soooo many. Check out the Glitter Wishes Glimmer set, as another choice for small holiday phrases. It's on sale too! 

So what's my must-have product selection? The Bark 3D embossing folder!! It's so versatile and you can use it in so many ways! Add it to your collection and get creative with it!

Thanks for stopping by. Let me know if you have questions in the comment section. I have affiliate links below if you'd like to browse or shop for any of the products that I used today. Have a great week!

Terri

************************************

Neenah Card Front Solar White 5.5 x 4.25 inch 25 pk
Shop at:
Scrapbookcom
Ranger Ink Distress Ink Vintage Photo
Shop at:
Scrapbookcom
Holiday Florals Glimmer Hot Foil Plate Set
Shop at:
Scrapbookcom
Refillable Permanent Adhesive Runner - 49 feet
Shop at:
Scrapbookcom
Simon Hurley Joyful Christmas Hot Foil Plate/Die Set
Shop at:
Scrapbookcom | Spellbinders
Exclusive Black Platinum 6 Die Cut System
Shop at:
Scrapbookcom
Blending Brushes - Set of 3
Shop at:
Scrapbookcom | Spellbinders
A2 White Cards Top Fold - 25 ct.
Shop at:
Spellbinders
A2 White Envelopes  25 ct.
A2 White Envelopes 25 ct.
Shop at:
Spellbinders
Tonic Studios Tim Holtz Comfort Trimmer 8.5 Inch
Shop at:
Scrapbookcom
Splatter White
Splatter White
Shop at:
Scrapbookcom | Spellbinders
3 mm Adhesive Strips - 160 strips
Shop at:
Scrapbookcom
New/Improved Glimmer Hot Foil System
Shop at:
Scrapbookcom
Exclusive Magnet Mat
Shop at:
Scrapbookcom
Ranger Kitsch Flamingo Distress Oxide Ink Pad
Shop at:
Scrapbookcom
Spellbinders/Simon Hurley 3D Embossing Folder - Bark
Shop at:
Scrapbookcom | Spellbinders
Spellbinders/Simon Hurley Mantel Village Etched Dies
Shop at:
Scrapbookcom | Spellbinders
Spellbinders/Simon Hurley Whimsical Bottle Brush Trees Etched Dies
Shop at:
Scrapbookcom | Spellbinders
Spellbinders Gold Matte Foil
Shop at:
Scrapbookcom | Spellbinders
Spellbinders Cardstock - Dune - 10 pk.
Shop at:
Spellbinders
A2 Black Mixed Media Cardstock - 15 sheets
Shop at:
Scrapbookcom
Jewels Smooth Cardstock Paper Pad
Shop at:
Scrapbookcom


#wavingmywand #spellbinders #simonhurley #timelesstrees #rangerink #christmascards #christmas #cards #cardmaking #inkblending #kitschflamingo #bark #3dembossing #mantelvillage #bottlebrushtrees #whimsical #handmadecards #diycards #scrapbookcom #glimmerhotfoilsystem #foiling #neverstopmaking #teamspellbinders #spellbinderspaperarts #holidays #holidaycards #wintersnow #fromourhousetoyours #joytotheworld