Showing posts with label winter. Show all posts

Friday, December 13, 2024

White Christmas Card

I've been down and out with sickness ever since Thanksgiving, but I finally feel like creating again! I still have a lingering cough that is driving me nuts and I'm still on meds for that, but I've come a long way, let me tell you. Today's card features Angie Blom Digital Designs and OLO Marker coloring. I actually had a different plan for this card, and I'll tell you about it further down. I think you'll find it very interesting and maybe you'll even identify with what went down, haha!


(FTC Disclosure: as an affiliate for various companies in the craft industry, I will receive a small commission for purchases made through my convenient affiliate links, at no additional cost to you.)


But first, let me share some tech stuff. I resized my images in Microsoft Word. If you've never worked with digital images, you'll want to use png files for arranging multiple images. I have another project on my blog that goes into greater detail about creating a scene and moving images around. Check that out here. However, Angie usually offers printables with each collection, so you can also print, color and trim your images to make a card.


I used 2 different Angie Blom collections for this card - Warm & Cozy Holiday Girl (girl, trees, sentiment) and Camping Adventures (thermos). Angie is currently having a year end sale and everything is 50% off! That's a pretty good deal so take advantage of it, particularly since the Warm & Cozy Holiday Girl is a new release. You'll see the discount apply at checkout.

Next, I colored my girl and thermos with my OLO Markers. These are artist markers and I love them so much. I'm also an affiliate for OLO Markers, so if you decide you'd like to make a purchase, I would greatly appreciate it if you shop through the highlighted affiliate links scattered throughout this post.

In case you're wondering, I am not an affiliate for Angie Blom Digital Designs, just a fan of her designs!


I did a little swatching with various colors, to decide which markers I wanted to use. The photo above shows all the markers used on this card and where I used them.

I'll talk more about the coloring in a minute but first let me talk about the plan for this card. The trees in the digital collection I used are solid so they will print in black unless you change the color.

Since I planned to color my trees green, I selected the Picture Tools Format and selected "color" to change my image to a very light gray. I planned to color over the light gray with my green markers. Keep this in mind, that was the plan....green trees, haha. The plan was also to possibly color in some sky for the background.


Once I added all my images and arranged my scene, I decided to color my girls face. Next, I colored her hair, dress, boots, socks, cocoa and thermos. I wanted to color all the smaller images and build from there. However once I finished all those images, I saw this card in an entirely different light.

Suddenly, I wanted her hat, scarf and coat to remain white. I loved how the pops of color enhanced her "winter white coat". I also took another look at the trees and it dawned on me, this would make a really cool winter scene if I left the trees as is. 

With that in mind, I decided to splatter lots of snow around, using white acrylic paint. However, I did use small pieces of masking tape to cover her face and also the sentiment while I proceeded to make a pretty mess.


Once I finished splattering paint, I grabbed some iridescent glitter and sprinkled all over the wet paint, tapping off the excess. Unfortunately, the glitter doesn't show in these photos due to my bright light settings, but I will be posting a reel on my Instagram account, so you can see it there. It's so sparkly!

I also used a light gray marker for shading along the bottom of the card to make a snow effect, and also where you see white on the girl and thermos, along the edges and to emphasize curves in the scarf, hat, pockets, etc. on the girl.


I'm also linking my card to these challenges:

You can choose color, theme or objects, and sketch or photo inspiration. I was inspired by the photo and chose the thermos for my inspiration.


I rarely do minimalist coloring on cards but  I absolutely loved how this turned out. This would be my ideal White Christmas! I hope you like my card, let me know in the comments. Have a great weekend!

Terri


#wavingmywand #angieblomdigitaldesigns #olomarker #olomarkers #olocoloring #whitechristmas #cards #cardmaking #christmascards #diycards #digitalimages #digitaldesigns #digitalstamps #coffeelovingpapercrafters #coffeelovingcardmakers #cocoa #hotcocoa #hotchocolate #

Saturday, November 9, 2024

Nativity Scene Card for Erin Lee Creative

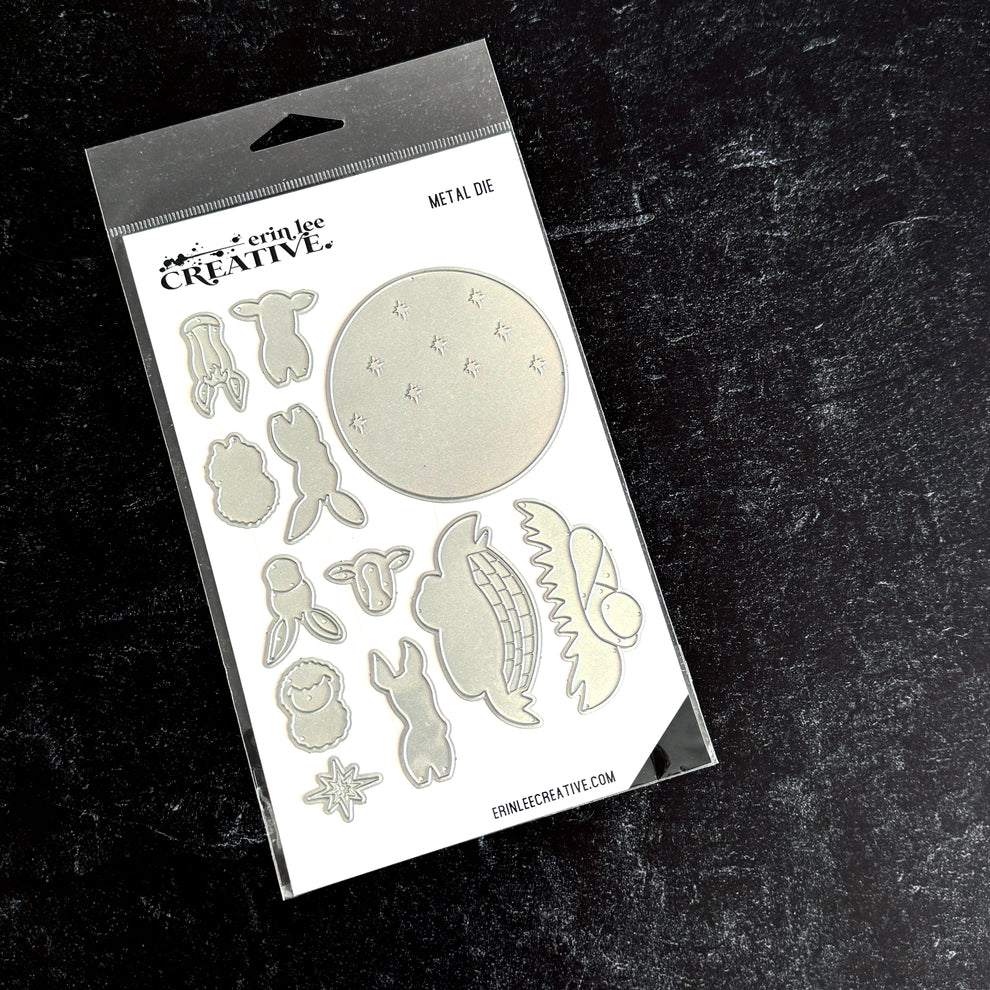
I have another card to share with you today, featuring more products from the new Erin Lee Creative Christmas release. I've paired together two of the new die sets, "Love Came Down" and "Manger Scene". While I realize, historically, Jesus was not actually born in winter, indulge me with my creative license! Scroll down for creative details and some historical chit chat. I'll have my shopping supply list at the end of this post as well.


(FTC Disclosure: as an affiliate for various companies in the craft industry, I will receive a small commission for purchases made through my convenient affiliate links, at no additional cost to you.)


Alright, history lesson first. Does it snow in Bethlehem? Yes, typically in higher elevations and usually every 3-4 years. Their last good snowfall was in 2022. Although this is a desert city, in winter it's more dry than hot. Most scholars and historians believe Jesus was actually born in early Fall/Autumn.

If you'd like to know more about why the birth of Jesus is celebrated at Christmas, check out this article from the Biblical Archeology Society. Ironically, the first image you'll see is a beautiful oil painting of Bethlehem covered in snow, painted by Peter Bruegel in 1566!


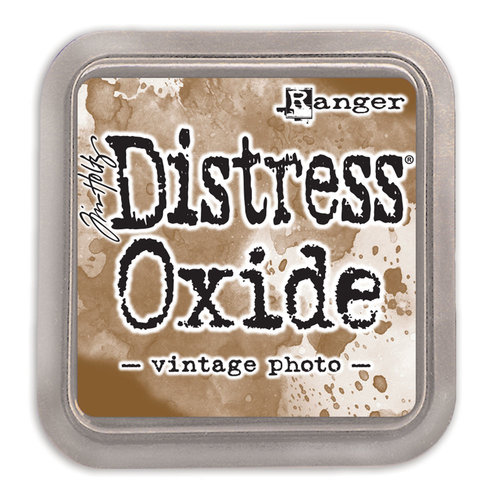
Now, for some creative details on my A2 sized card. I used a variety of more earthy, neutral tone papers from some of my paper pads for my manger scene and did some ink blending around the edges with Ranger Distress Oxide ink in Vintage Photo.

I also tore and distressed some paper across the bottom of my scene to represent the desert. A cardboard nail file works great for distressing.


The Love Came Down die set actually comes with an outline die, however, it was taking up too much space for my small, intimate scene, so I opted not to use the outline. Instead of gluing my die cut sentiment to the card panel, I wanted to pop it up for dimension. I used my Platinum 6 for all my die cutting, with white and black cardstock for this sentiment. I used glue to adhere and stagger the white on top of black. 

Not only does it give a little more definition against that snowy backdrop, but it also gives me more space to add tiny adhesive foam squares on the back, to pop up my die cuts.

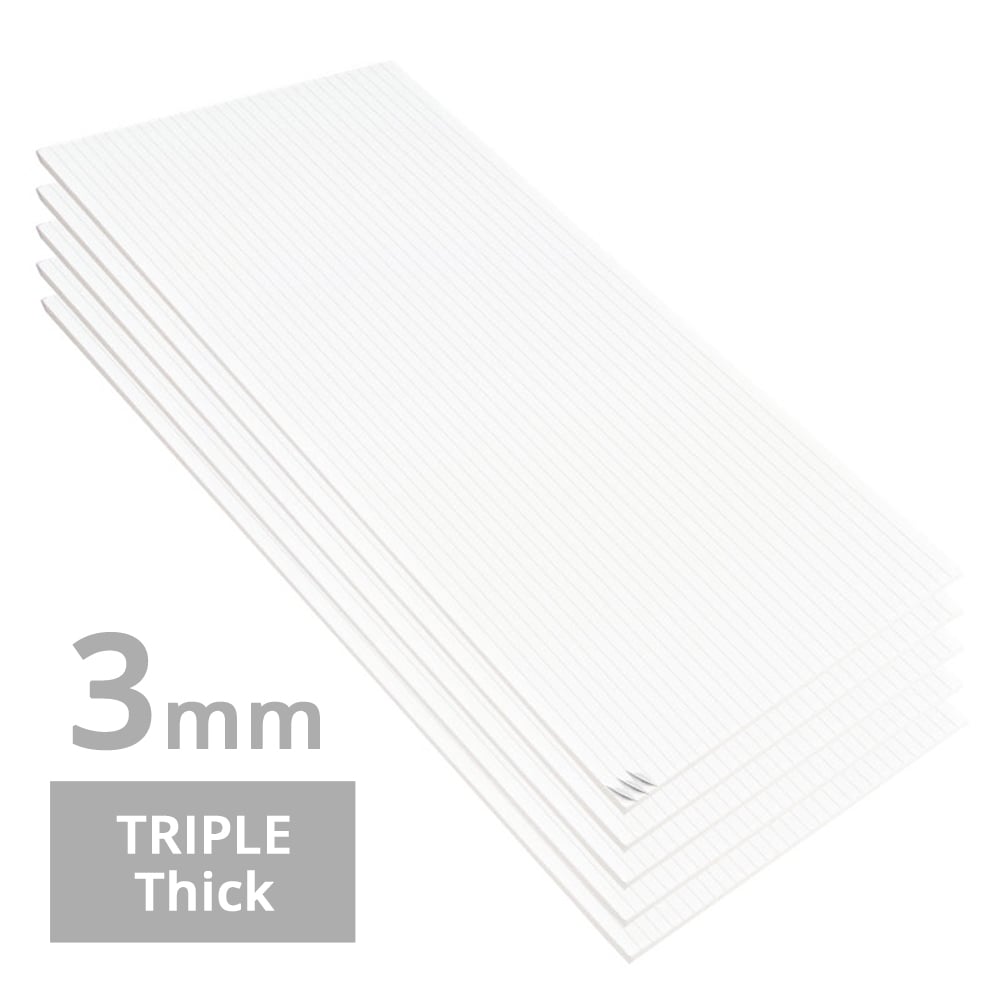
I buy sheets of adhesive strips, so I can trim them down to the size I need for any given project.


My snowy paper actually came from a retired paper pack in my stash, Echo Park Paper Lumberjack Christmas. If you wanted to recreate that snowy background and don't feel comfortable making your own paint splatters, the new Carta Bella Paper Winter Snow Sky stencil is a great alternative. Just stencil onto black cardstock, using white paint! I'll have it linked to my supply list, as well, for the sake of convenience.

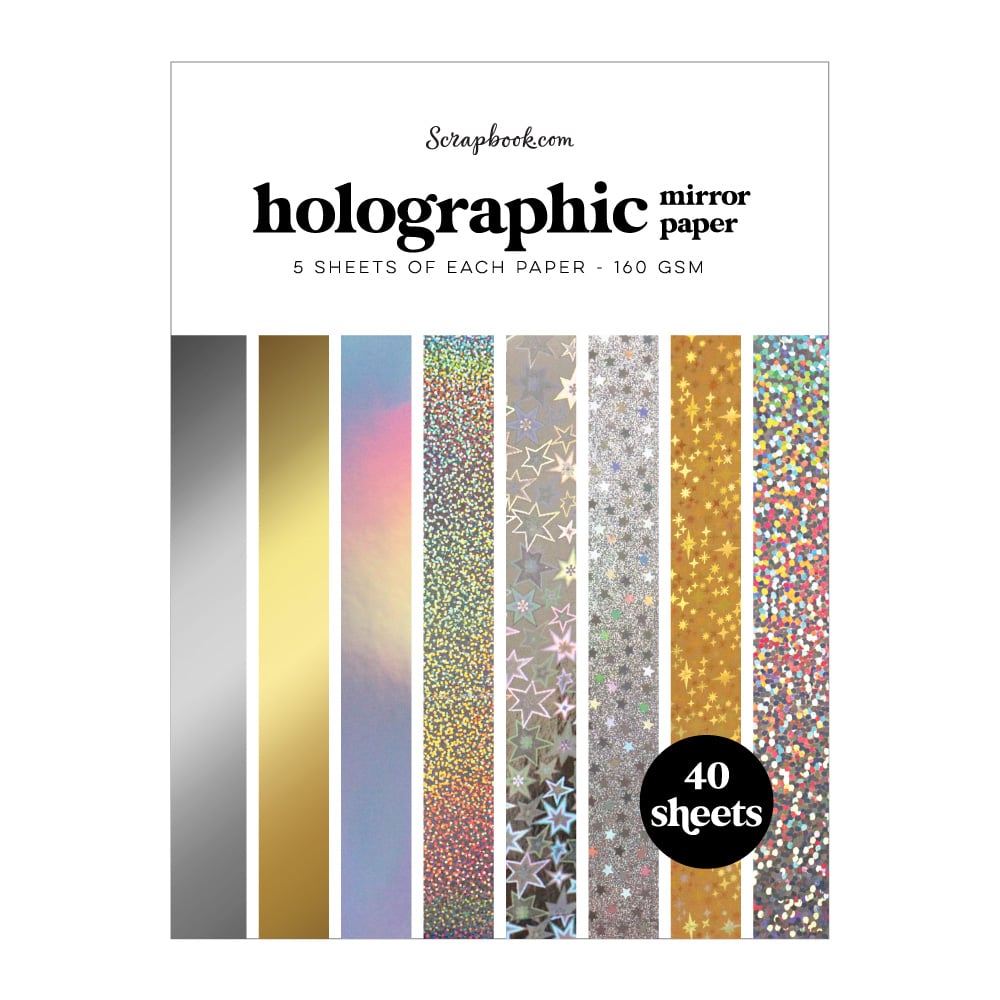
Lastly, the star die included in the Manger Scene die set, was cut using gold holographic paper from my stash. Erin Lee Creative also has a great selection of specialty cardstock, in a variety of colors, so be sure and check that out too.

Thanks so much for stopping by. Happy Holiday cardmaking ya'll!

Terri

*************************************

Neenah Solar White Cardstock 8.5x11 inch
Shop at:
Scrapbookcom
Lawn Fawn Black Licorice cardstock
Shop at:
Scrapbookcom
Ranger Ink Distress Ink Vintage Photo
Shop at:
Scrapbookcom
Wendy Vecchi Makeart Non-stick Craft Sheet
Shop at:
Scrapbookcom
Refillable Permanent Adhesive Runner - 49 feet
Shop at:
Scrapbookcom
Dina Wakley Heavy Acrylic Paint - White
Shop at:
Scrapbookcom
Exclusive Black Platinum 6
Shop at:
Scrapbookcom
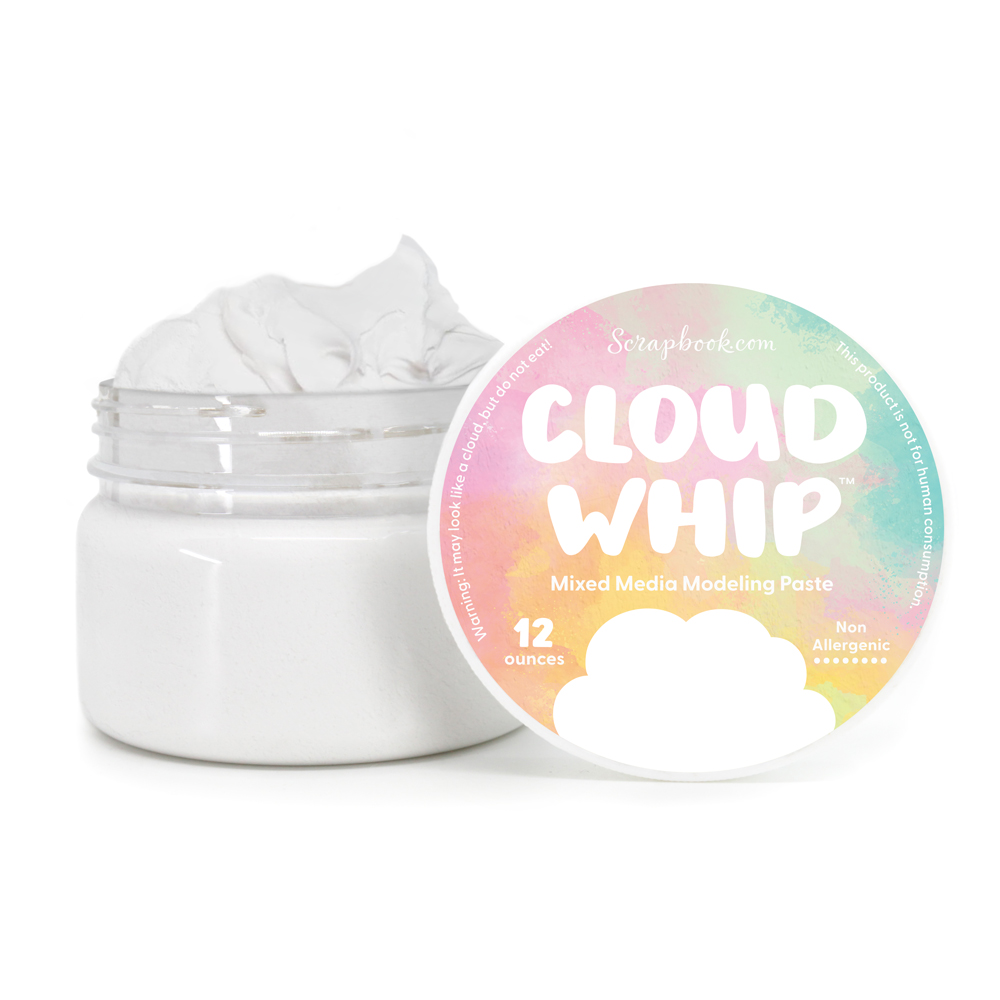
Cloud Whip
Cloud Whip
Shop at:
Scrapbookcom
Holographic Metallic Paper Pad - 6x8 in - 40 sheets
Shop at:
Scrapbookcom
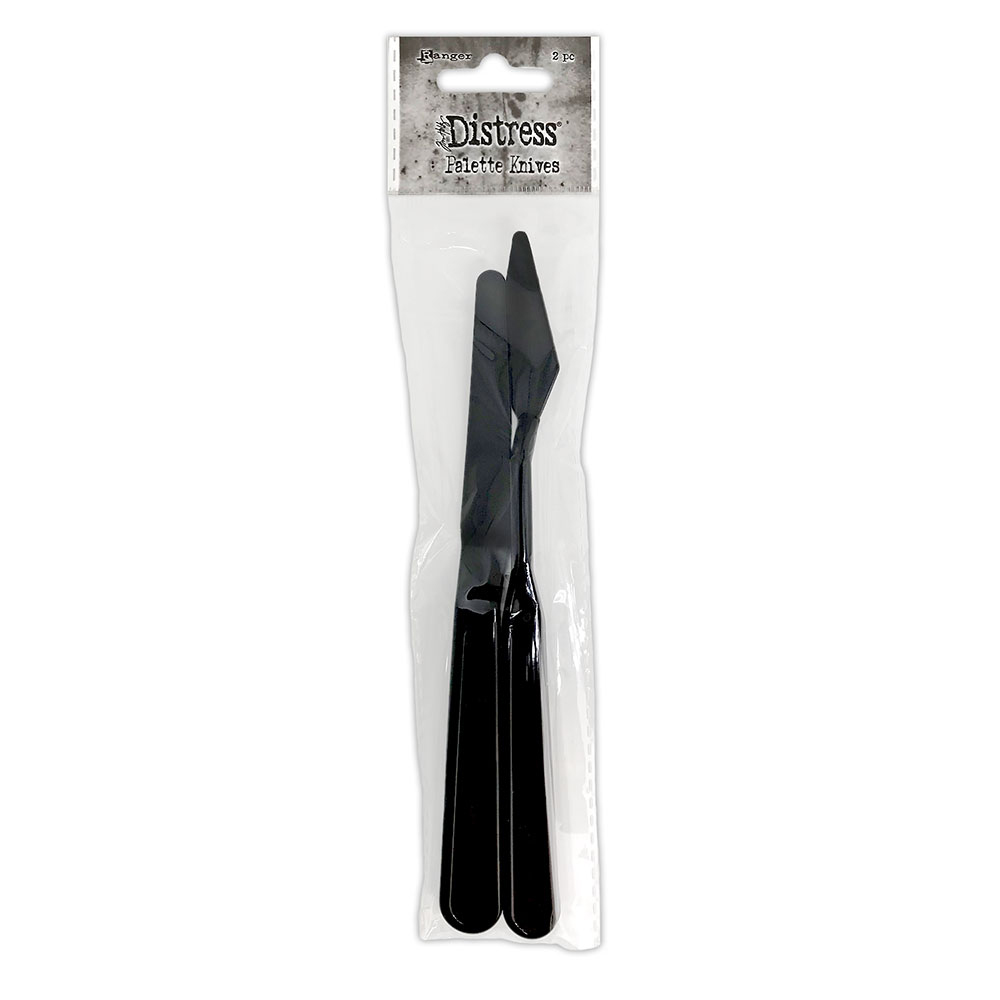
Tim Holtz Distress Palette Knife Set - 2 pc
Shop at:
Scrapbookcom
Neenah Solar White A2 Vertical Cards - 25 pk
Shop at:
Scrapbookcom
3mm Adhesive Strips 160 ct.
Shop at:
Scrapbookcom
Vacation A2 Paper Pad - 40 sheets
Shop at:
Scrapbookcom
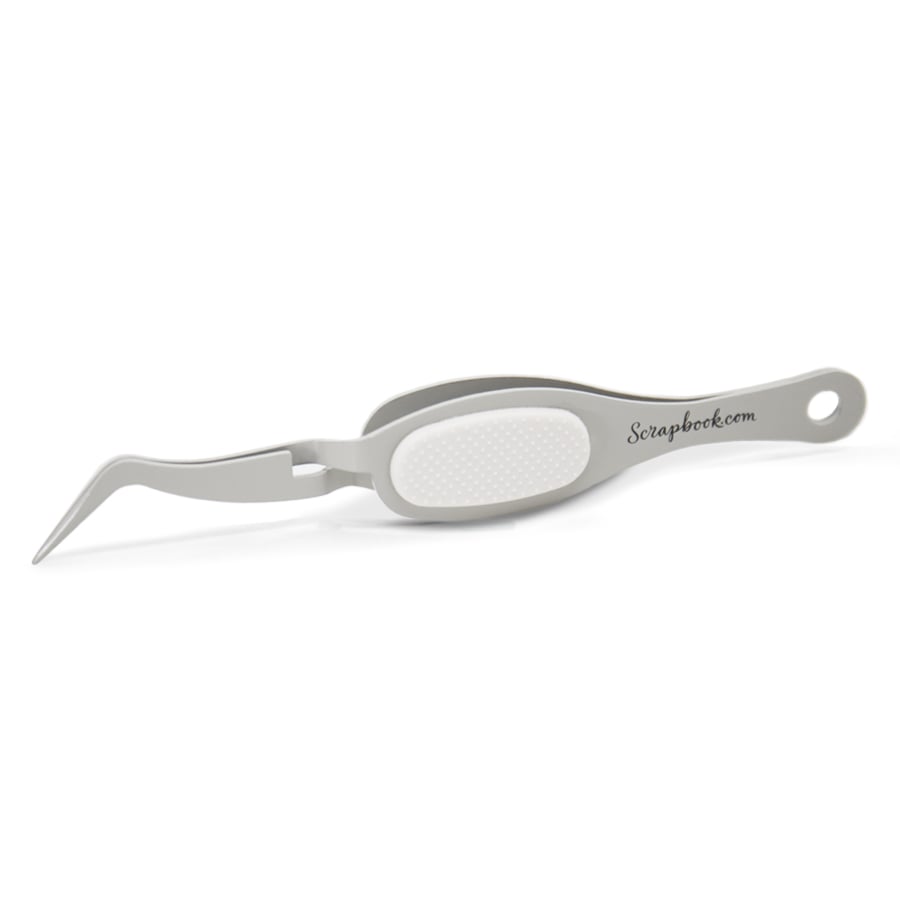
Reverse Tweezers
Reverse Tweezers
Shop at:
Scrapbookcom
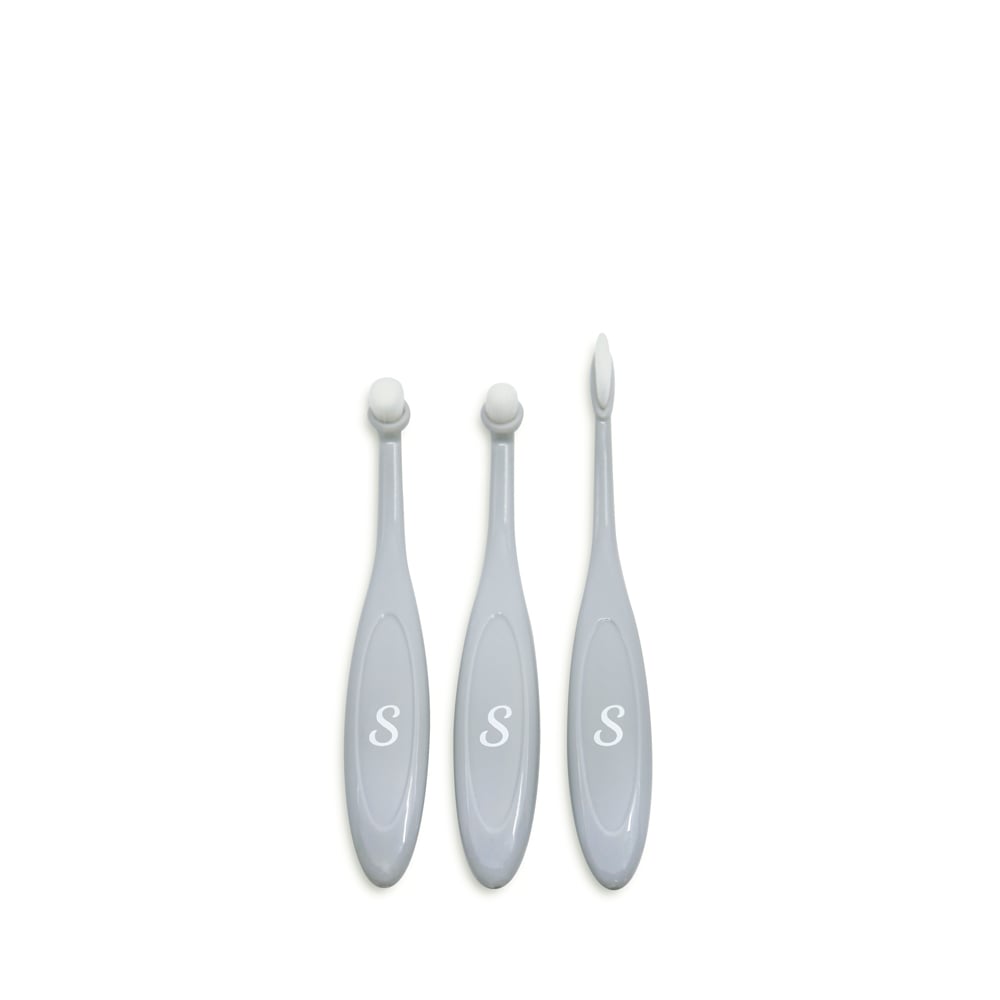
Tiny Detail Blending Brush Bundle
Shop at:
Scrapbookcom
Love Came Down Die Set
Shop at:
Erin Lee Creative
Manger Scene Die Set
Shop at:
Erin Lee Creative
Carta Bella Winter Snow Sky Stencil - 6x6 in
Shop at:
Scrapbookcom


#wavingmywand #erinleecreative #mangerscene #christmas #cards #cardmaking #lovecamedown #birthofjesus #jesusbirth #nativity #religiouscards #diycards #scrapbookcom #handmade 

Friday, November 1, 2024

Wintery Mix Card for Catherine Pooler Plus IG Hop

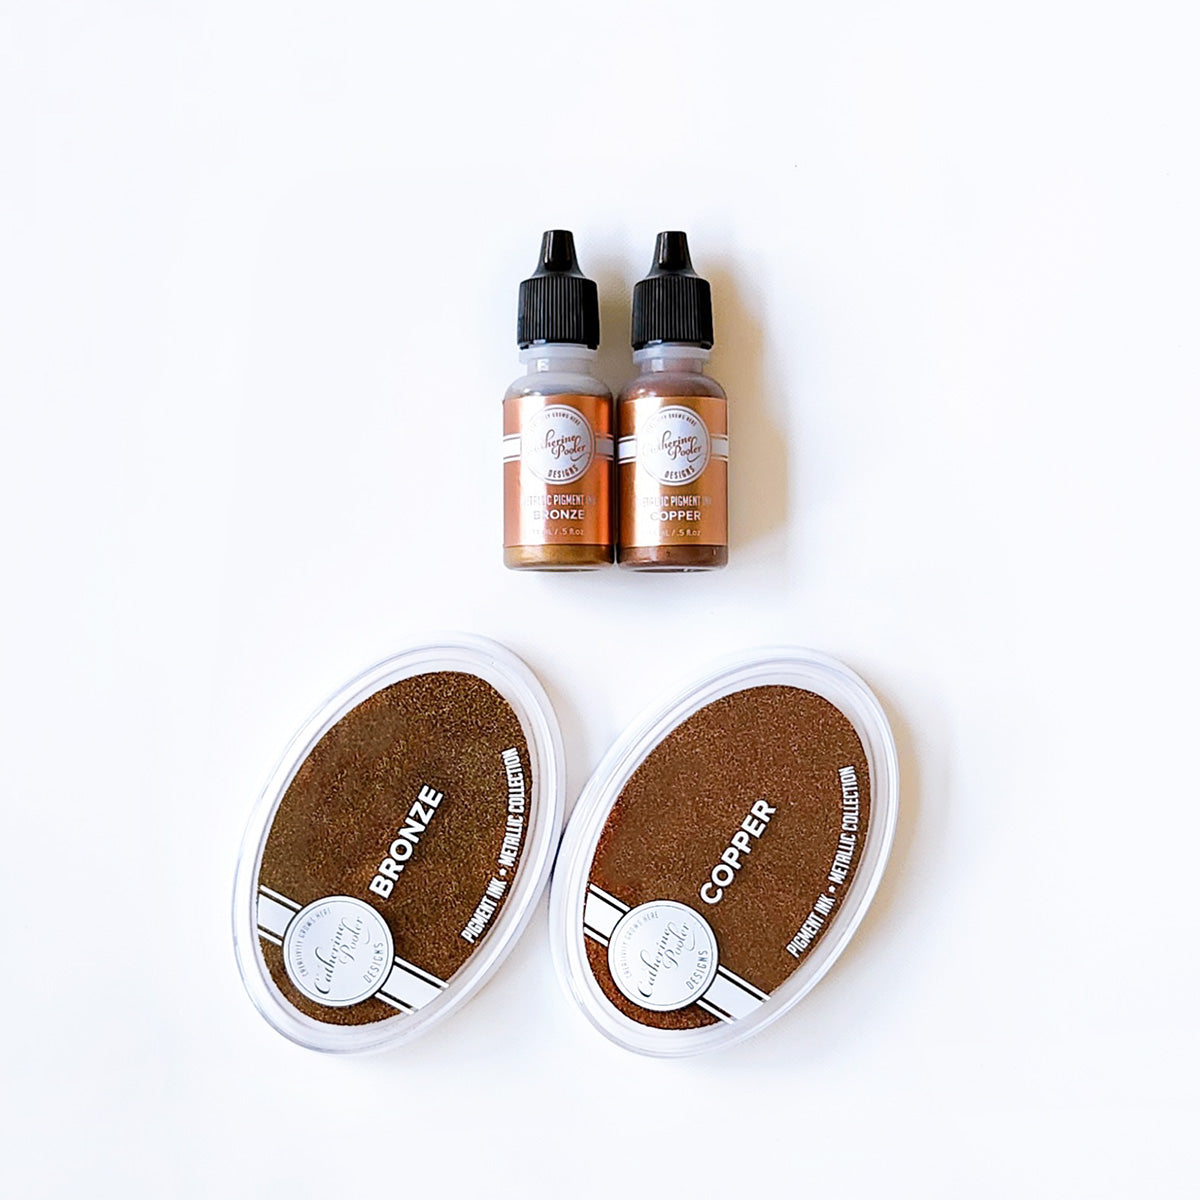
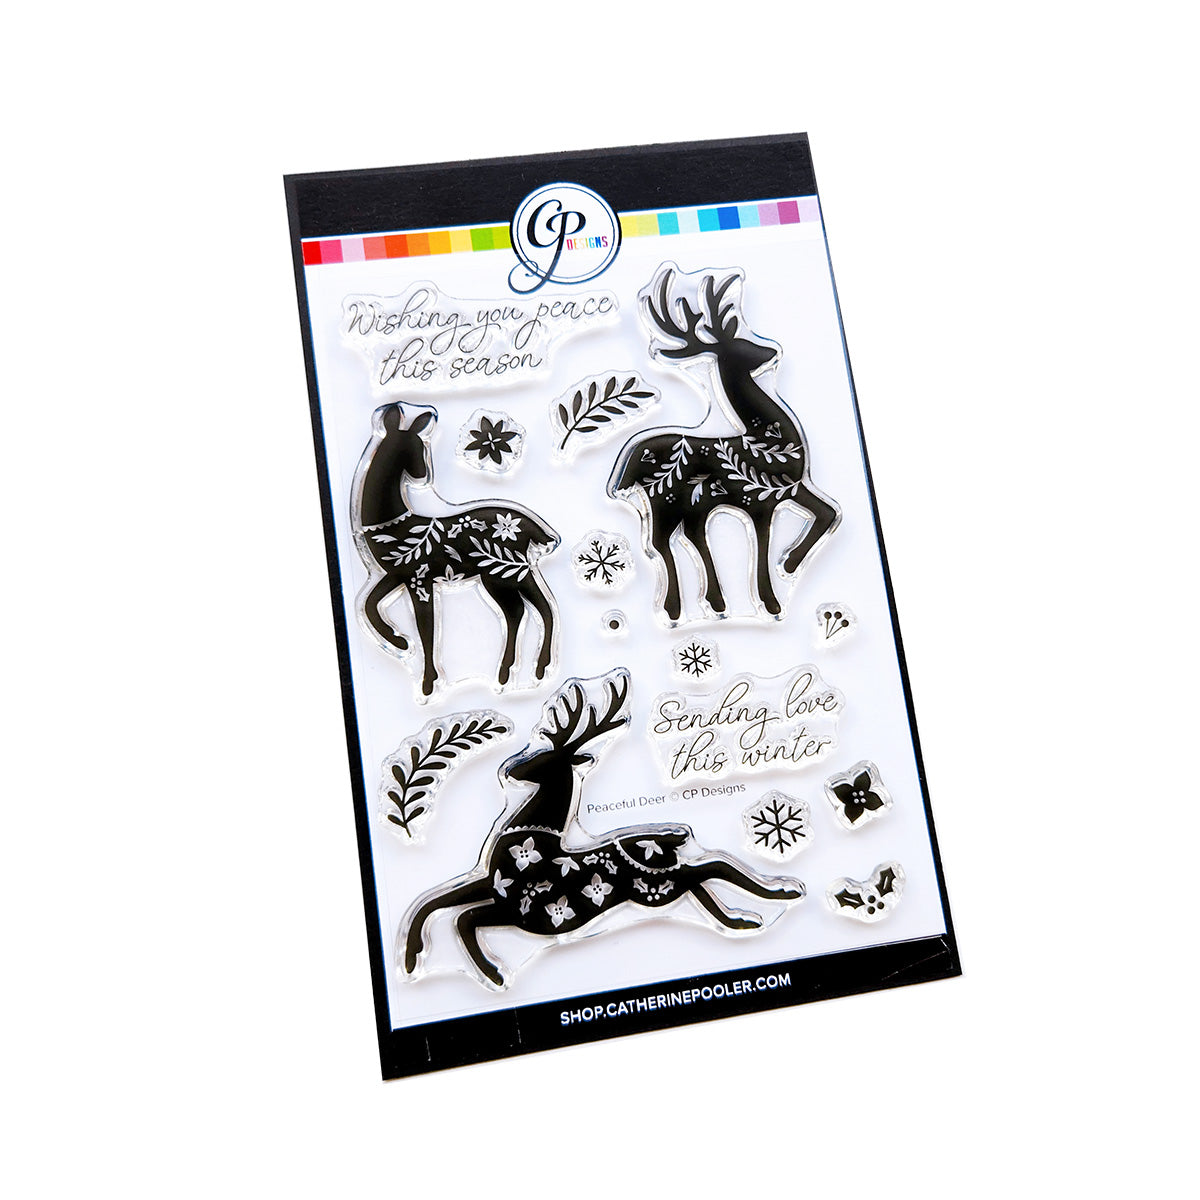
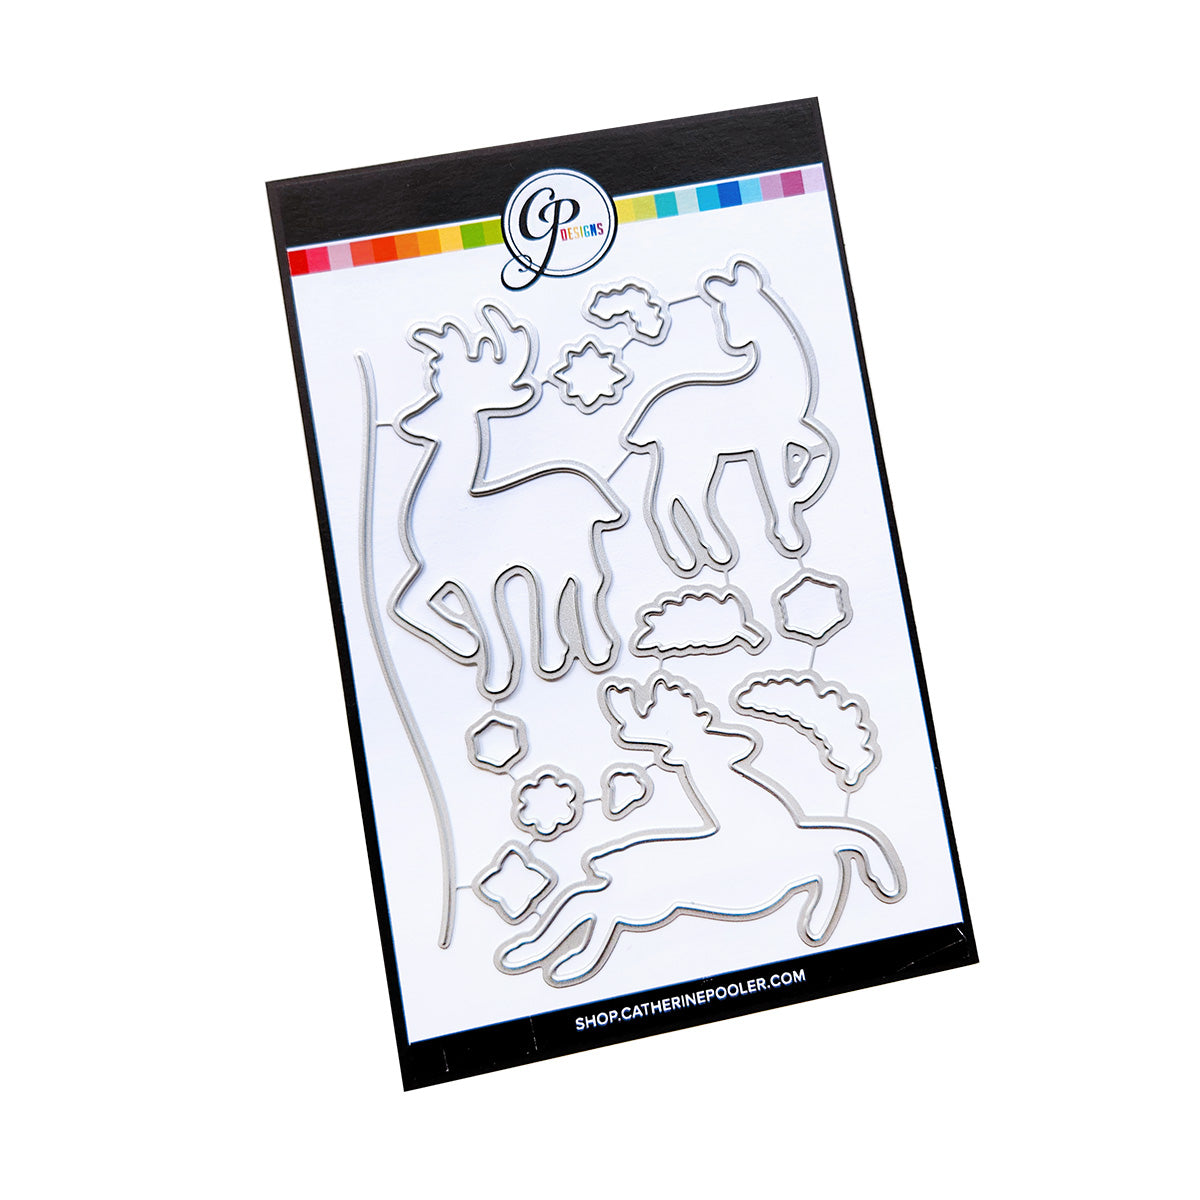
Hey friends, the new Wintery Mix release from Catherine Pooler is live today!  I'm joining my designer friends and fellow Brand Ambassadors for an Instagram Hop, starting at 9 am ET today. You have a chance to win a $100 gc to shop at Catherine Pooler! But first, scroll down and have a look at my project that features the new Copper & Bronze metallic inks from this release, plus the new Peaceful Dear stamp set w/dies. My full supply list can be found at the end of this post.


(FTC Disclosure: as an affiliate for various companies in the craft industry, I will receive a small commission for purchases made through my convenient affiliate links, at no additional cost to you.)


I wanted to create a winter scene for my inked/die cut deer, so I grabbed some heavyweight white mixed media cardstock and did some ink smooshing with my CPD Slate Ink. It has gray and blue hues but looks more blue in my photo above, due to my bright lighting. You'll notice it's a bit darker, in my photos below, as are my deer. Different angles and different lighting can make a difference!


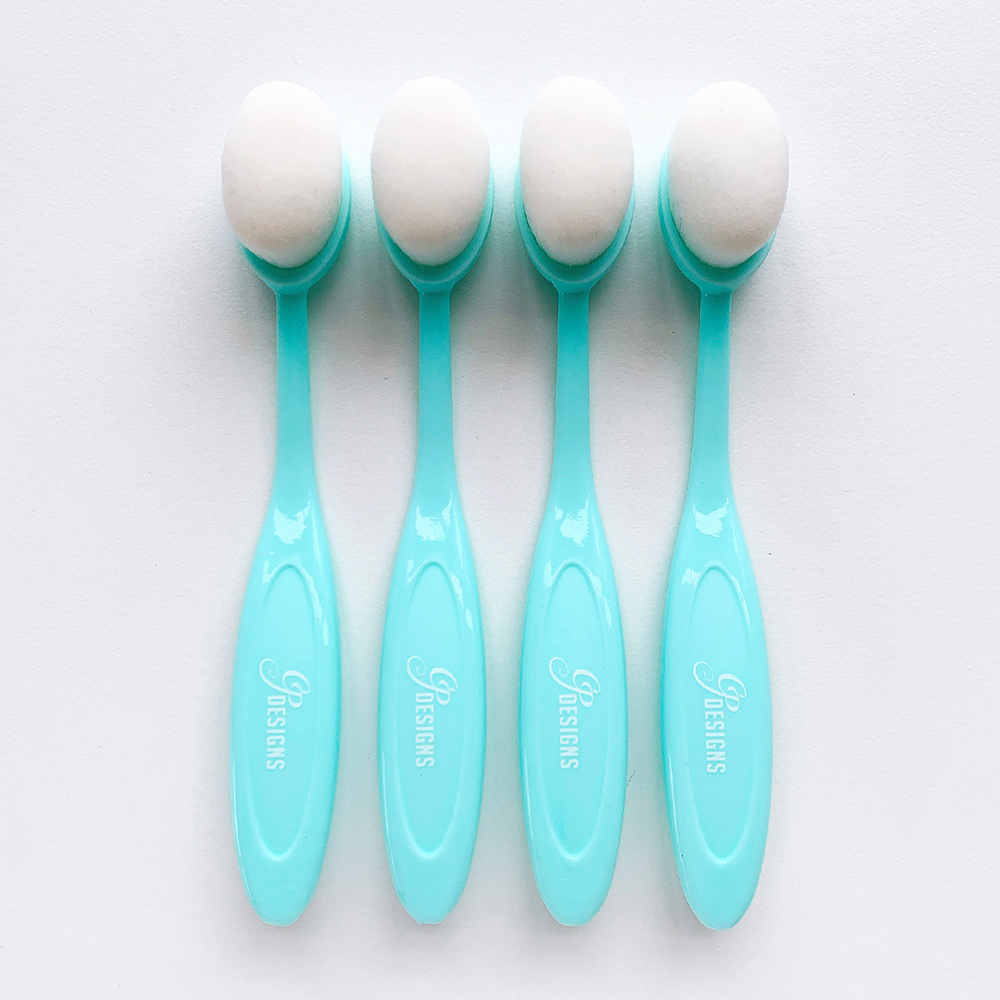
One of the dies in the Peaceful Deer die set, is a long sloped edge die to create hills, snowy slopes, anything you can image for a scenic card. I cut 3 different slopes, popping the bottom slope up on adhesive foam. Before popping it up though, I ink blended with more Slate ink, using my blender brushes on the slope, where I planned to plant my deer, for more definition between the slopes and to create a little shadow.

Bonus Tip: Turn your slope die in the opposite direction to create more sloped variations.

I also inked some tiny flowers from the same stamp set, cutting them in half, and adhering to the edge of my slopes so it appears a few random, dried flowers are still around, despite the snow setting in, haha! I used my Rose Gold metallic ink for the flowers.


 From left to right, I stamped my dear in Bronze, Copper and Platinum, and also used Copper for my sentiment. I used my stamp positioner to stamp multiple times to get the depth of inking that I was looking for. Even though I heat set my stamped images, they can still get smudged. You really need a fixative such as an adhesive spray to protect the ink if you're using a very porous surface such as cardstock. You can also heat set with clear embossing powder to seal the ink.

Before splattering my background with white paint, I stamped a few snowflakes from the Peaceful Deer stamp set using the Platinum Metallic ink.

Let's also talk about the ink refills. It's very thick, like a paste. When you need to refill your ink pad, you can rub the ink in with your finger or use a palette knife to spread it around.

I should also mention this - if you typically order labels for your ink pads, I got word from Catherine Pooler a few days ago that there was an issue with the side labels for the Bronze and Copper so they will not be available to sell right away, but will be available soon.


I would highly recommend when you're handling your inked die cuts that you use tweezers. If you lay your images face down to adhere glue or other adhesive, you could possibly smudge your ink. This happened with me and I couldn't understand why my images got smudged. I also had not used a fixative yet. When I figured it out, I had to start over. Let me save you the trouble now! Preserve that gorgeous metallic shine!

If you'd like to shop for any of the products that I used today, I have convenient affiliate links below, at no additional cost to you. Also, if you have an Instagram account and would like to hop along for the giveaway, look for the hop graphic on my Instagram at 9 am ET on Friday, 1/11. 

Thanks so much for stopping by!

Terri

******************************

Neenah Card Front Solar White 5.5 x 4.25 inch 25 pk
Shop at:
Scrapbookcom
Catherine Pooler Blending Brushes - 4 pk.
Shop at:
Scrapbookcom | Catherine Pooler
Refillable Permanent Adhesive Runner - 49 feet
Shop at:
Scrapbookcom
Ranger Distress Palette Knife Set
Shop at:
Scrapbookcom
Exclusive Black Platinum 6 Die Cut System
Shop at:
Scrapbookcom
Exclusive All Purpose Craft Scraper
Shop at:
Scrapbookcom
Wendy Vecchi Craft Mat
Shop at:
Scrapbookcom
Ranger Artist Brushes - 7 pc
Shop at:
Scrapbookcom
Exclusive Rose Quartz Misti Stamp Positioner
Shop at:
Scrapbookcom
Exclusive Ergonomic Reverse Tip Tweezers
Shop at:
Scrapbookcom
Neenah Solar White A2 Vertical Cards - 25 pk
Shop at:
Scrapbookcom
Tonic Studios Tim Holtz Comfort Trimmer 8.5 Inch
Shop at:
Scrapbookcom
Splatter White
Splatter White
Shop at:
Scrapbookcom | Spellbinders
Catherine Pooler Ink Pad - Slate
Shop at:
Scrapbookcom
3 mm Adhesive Strips - 160 strips
Shop at:
Scrapbookcom
White Mixed Media Cardstock - A2 - 15 sheets
Shop at:
Scrapbookcom
Pink Stamp Cleaning Shammy
Shop at:
Scrapbookcom
Sky Blue Stamp Cleaning Shammy
Shop at:
Scrapbookcom
Exclusive Magnet Mat
Shop at:
Scrapbookcom
Copper & Bronze Metallic Pigment Ink Pads w/Refills
Shop at:
Catherine Pooler
Wintery Mix
Wintery Mix "I want it all" Bundle
Shop at:
Catherine Pooler
Copper & Bronze Metallic Pigment Ink Pads
Shop at:
Catherine Pooler
Bronze Metallic Pigment Ink Pad
Shop at:
Catherine Pooler
Copper Metallic Pigment Ink Pad
Shop at:
Catherine Pooler
Peaceful Deer Stamp Set
Shop at:
Catherine Pooler
Peaceful Deer Die Set
Shop at:
Catherine Pooler
Rose Gold Metallic Pigment nk Pad
Shop at:
Catherine Pooler
Platinum Metallic Pigment Ink Pad
Shop at:
Catherine Pooler


#wavingmywand #catherinepooler #winterymix #christmascards #wintercards #cardmaking #diycards #stamping #metallicinks #peacefuldeer #inksmooshing #mixedmedia #inkblending #scrapbookcom