Showing posts with label olo marker. Show all posts

Thursday, June 11, 2026

Card Trio for OLO Marker plus NEWS!

Hello friends, I'm so happy to help share some exciting news for OLO Marker. This has been many, many months in the making. Everyone has been asking for fine tip nib markers and OLO Marker has been working hard to bring this product line to life. Yes! This will work like a kickstarter campaign and the fine tip nib markers will have a home of their own, not available on the OLO Marker website.

Scroll down for all the details on my card trio, plus information on production for these new markers.


 (FTC Disclosure: as an affiliate for various companies in the craft industry, I will receive a small commission for purchases made through my convenient affiliate links, at no additional cost to you.) 


I'm no expert on all the in's and out's of a kickstarter program. But, this campaign will take pre-orders. Initially, the fine tip nib markers will only be available in 3 different sets for this campaign goal of pre-orders:

64, 128 and 256 color sets. Tap here to see the colors available in each set and to pre-order. Get all the FAQ's here.


(Pictured below, 64 color set)


Eventually, individual markers will be available but it will be some time before that happens.


OLO Marker kindly sent me some of their fine tip nib markers to try out. As a colorist, it can be challenging to color small details with a brush marker. With the new fine tip nib markers, you don't have to worry about coloring outside the lines!

I used two of the fine tip nib markers to color the tiny details. For the leaves, I used BG2.7 and for some of the tiny blooms, I used BV1.2


The remaining coloring was done with OLO brush markers in these colors:

OR1.3, OR1.6, OR4.4, B2.2


I also used a white gel pen for highlight accents and added paint splatters to my background.
The paper circle die cuts were created using papers from my Joyful paper pad from Scrapbookcom as well as a sentiment from one of their stamp sets called "Thanks Friend". My butterfly was from a retired Gina K Designs stamp set called "Blooming Butterfly".


Thanks so much for stopping by. Head over to the OLO Marker Fine Tip Nib website and have a look around! Thanks so much for stopping by! 

Terri


#olomarker #olomarkerfinetipnib #artistmarkers #wavingmywand #coloring #cardmaking #gratitude #thankful #scrapbookcom #ginakdesigns #bloomingbutterfly #butterfly #thanksfriends


Saturday, May 9, 2026

Mothers Day Tea Card

Hello friends and Happy Mother's Day to all the moms out there! Although my mom passed 6 years ago, today's card honors her and I'll share the inspiration behind this card further down. I was so excited to see this new stamp set from Sunny Studio Stamps. Ya'll know I love my tea and all things tea related! It's in the shop now at Scrapbook.com and there's a coupon code too! I'll have clickable links from my supply list at the end of this post as well.


 (FTC Disclosure: as an affiliate for various companies in the craft industry, I will receive a small commission for purchases made through my convenient affiliate links, at no additional cost to you.) 


Now, I purchased the stamp set thinking I'll just hand trim my stamped images, but per the usual, I kicked myself for not getting the coordinating die set as well, haha. I decided to use a craft knife to trim out the inside handles of the tea pot and cup and let me tell you.....it was a pain in the you-know-what!


Pictured below is the inspiration for my card. My mom brought over this teacup and saucer over 40 years ago from Germany and it now resides in my cupboard. The colors, the gold rim, the pattern are all my inspiration. Which is why I was so happy that there were so many tiny little blooms in the stamp which allowed me to create a pattern for my tea ware. It's one of the main reasons I purchased this set!


I started by coloring all my stamped images with OLO Markers. Scrapbookcom sells OLO Marker sets, but if you simply need individual markers, you can shop through my OLO marker affiliate link here.
Here's my color breakdown:

Teacup, saucer, tea pot - RV0.1, RV0.2 (pinks)
Tea bag - YO2.7 (brown)
Flowers - YG8.5 (green), YO2.2, YO2.3 (yellows), RV).1, RV0.2 (pinks)
Tea - OR3.7 

I also did a fair amount of embellishing with a white gel pen.


I used a gold gel pen from my stash to color the rim of my tea pot lid and cup. I also used some mint tape to mask off areas where I wanted to stamp the blooms.

Let's talk about those blooms, shall we? I'm all about speed and efficiency. I used Catherine Pooler ink in Eucalyptus and Sparkling Berry and an acrylic block. You'll need a paper towel too. When I wanted to stamp the green leaves, I stamped the entire image, swiped off the flower bud and stamped, then I did the reverse, stamped the entire image with the pink ink, swiped off the ink from the leaves and stamped the bloom. I just kept a paper towel wrapped around my finger to swipe. 


Some might consider this tedious work but honestly, once I developed a rhythm, it went by quickly. Plus, when you're working on a labor of love, you will go to any lengths to achieve your goal, am I right?

If you know of a simpler technique, please share! I know I could have used water based markers and just colored directly on the stamp, but my plan was to use my CPD inks. I have a ton, and hey, I'm a brand ambassador, so........

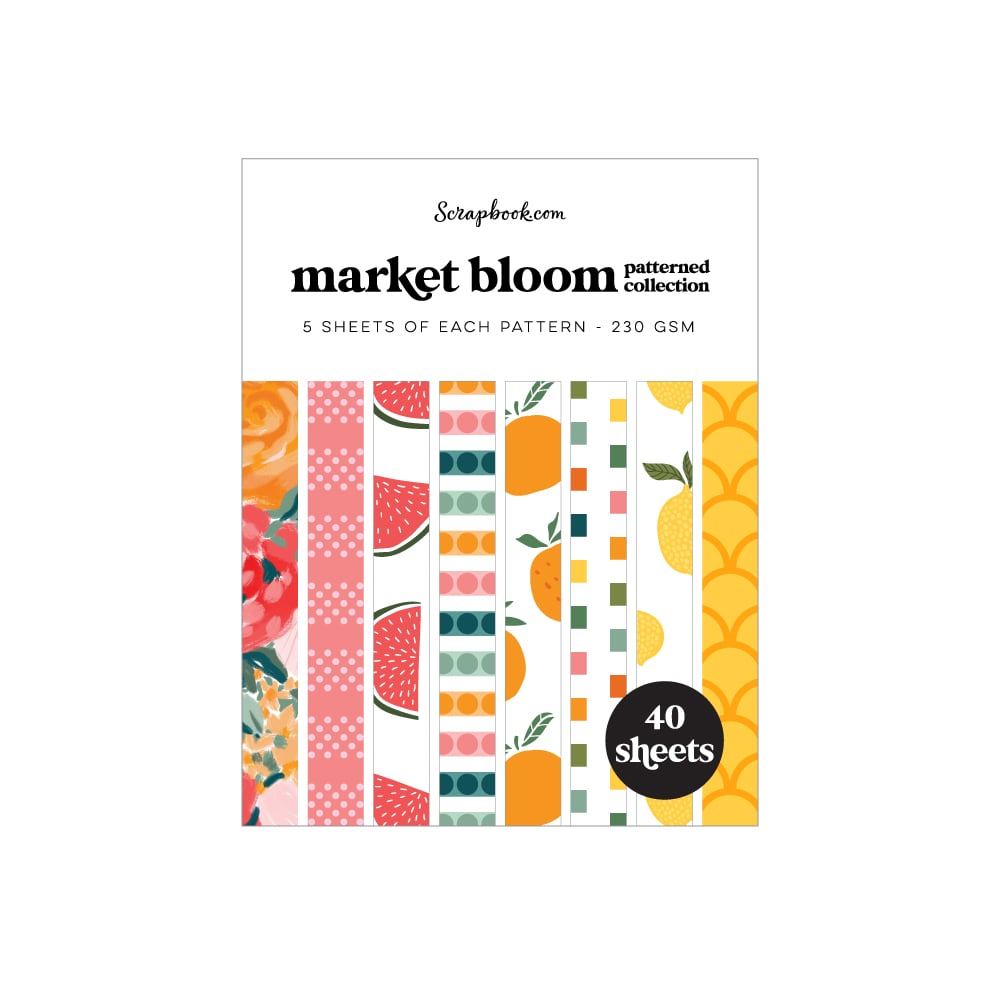
Also, the patterned paper that I used for my "tablecloth" is from the Scrapbookcom Market Bloom paper pad. For my spoon, I initially stamped it and colored in with a gray OLO Marker. I later decided I would add gold gel pen color to my tea ware, so I opted to make my spoon gold. I stamped onto my gold holographic paper, hand trimmed then simply adhered it over the top of my other spoon.


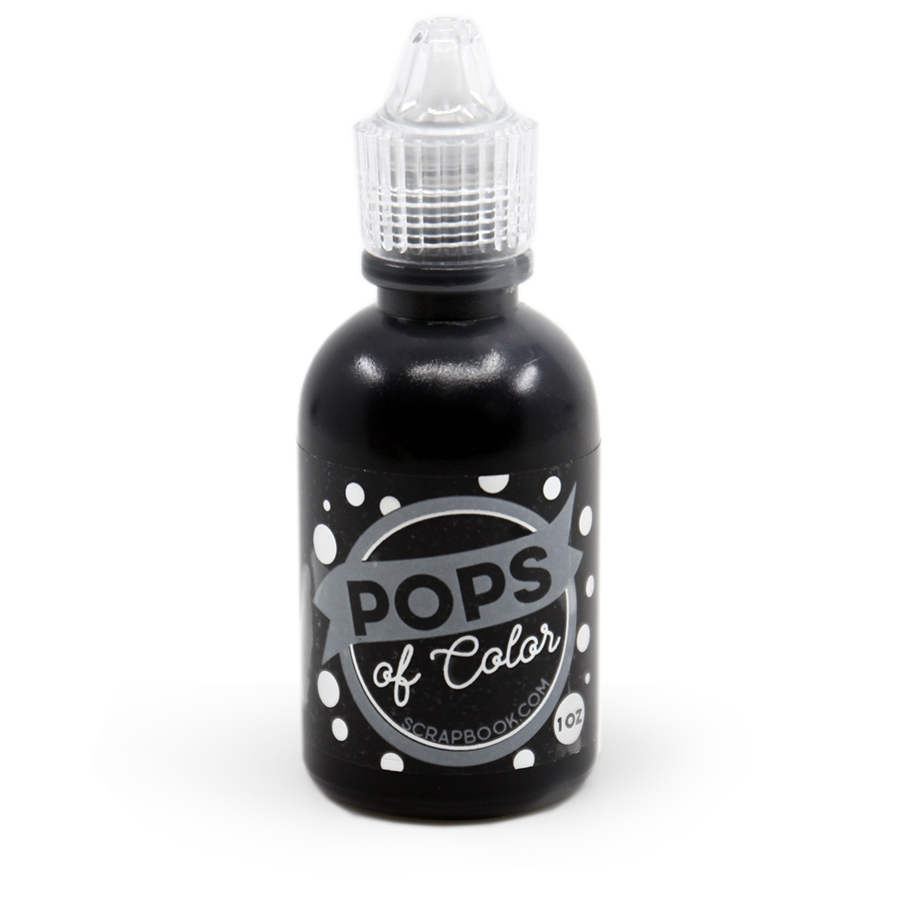
My sentiment and stamped images were stamped using Catherine Pooler Black Jack ink. I also added some splatters with my Pops of Color liquid embellishments in Black and Soft Lavender, dabbing it onto an acrylic block, adding a small drop or two of water, mixing, then splattering with a wet paint brush.

And there you have it! I love this stamp set and it has a lot of great sentiments as well for use in other occasions. The coupon code currently available at Scrapbookcom is good through Sunday May 10th at midnight. Get an additional 13% discount at checkout with code SMILE. Always check the coupon section at Scrapbookcom for coupon codes and free add-on gifts with purchase! Currently, there's a free 2pk of Nuvo white gel pens, just add to your cart but inventory is low so it may sell out even before you see this post.

Thanks so much for stopping by. Have a fabulous day and tap on any of the products in my supply list below for additional information or to shop! These are affiliate links created at no additional cost to you and I appreciate it so much, even if you just click and look without making a purchase, it still helps!

Terri

*****************************

Refillable Permanent Adhesive Runner - 49 feet
Shop at:
Scrapbookcom
3 mm Adhesive Strips - 160 strips
Shop at:
Scrapbookcom
Catherine Pooler Ink Pad - Eucalyptus
Shop at:
Scrapbookcom
Pink Stamp Cleaning Shammy
Shop at:
Scrapbookcom
Gina K Designs Multi-Purpose Scoring Board Tool
Shop at:
Scrapbookcom
Exclusive Gripmate
Exclusive Gripmate
Shop at:
Scrapbookcom
Mini Misti Stamp Positioner
Shop at:
Scrapbookcom
Catherine Pooler Ink Pad - Black Jack
Shop at:
Scrapbookcom
Neenah Solar White Ultra Thick Cardstock - 25 pack
Shop at:
Scrapbookcom
Pops of Color Liquid Embellishment - Soft Lavendar
Shop at:
Scrapbookcom
Mint Tape Roll - 1/4
Mint Tape Roll - 1/4"
Shop at:
Scrapbookcom
Market Bloom Patterned Paper - A2
Shop at:
Scrapbookcom
Pink Platinum 6 Die Cut System
Shop at:
Scrapbookcom
Sunny Studio Stamp Set - Afternoon Tea
Shop at:
Scrapbookcom
Sunny Studio Die Set - Afternoon Tea
Shop at:
Scrapbookcom
Nuvo White Gel Pens - 2 pack
Shop at:
Scrapbookcom
Pops of Color Liquid Embellishment - Black
Shop at:
Scrapbookcom
Small 1.5 inch Acrylic Block
Shop at:
Scrapbookcom
CPD Sparkling Berry Ink Pad
Shop at:
Scrapbookcom
A2 Holographic Paper Pad
Shop at:
Scrapbookcom


#wavingmywand #scrapbookcom #sunnystudiostamps #afternoontea #catherinepoolerink #olomarker #teacup #teapot #mothersday #cardmaking #mothersdaycard #celebration #celebrate #tealover


Tuesday, November 25, 2025

Bestie Girl Foiled Card for Spellbinders

Hello friends, time is drawing to a close if you'd like to join any of the Spellbinders Clubs this month and receive the current selections. Today's card features the Stamp/Die of the Month selection and the Glimmer Hot Foil Club Kit. Scroll down for details!


 (FTC Disclosure: as an affiliate for various companies in the craft industry, I will receive a small commission for purchases made through my convenient affiliate links, at no additional cost to you.)


This Stamp and Die Club Kit is called, Go-To-Girl and it's the cutest set ever! I had so much fun coloring up the image that's featured above. Plus, there are numerous sentiments which is always a plus when  making a purchase.


The Glimmer Hot Foil Club Kit is called, "Luxe Loops" and it's such a cool, trendy design. I opted to do some tone on tone foiling with some dark pink cardstock using my Glimmer Hot Foil System and the foil included with this months kit, Bright Pink. Keep in mind, selection on the foils you receive does vary.

I also sealed my foiling, using my Platinum 6 die cut machine. This, and the Glimmer machine, go hand in hand when foiling. You simply remove your platform, then run it through the Platinum 6 to seal it.


All of my coloring was done with OLO Markers. Here are the colors that I used:

OR2.5, O2.4, RV0.2, YO2.3, OR1.4, OR4.4, RV0.4, YG8.5, OR3.4, RV0.1


Spellbinders sells OLO Marker sets on their site, however, if you're looking for specific individual markers, you can find them on the OLO Marker site here.

Also, if you look closely at my die cut girl above, you'll see she was adhered to a second die cut outline with my green cardstock. This was offset just a bit and helps to not only tie in all the green colors together, but let her stand out a bit amongst all the pink.


Thanks so much for popping in today. Remember, if you wish to try out any of the Club Memberships, you are under no obligations. You can cancel at any time. Some crafters find a particular month may not be their style and opt to skip a month by canceling, then re-joining.  

Get all the details on all the club memberships, here.


See you next time, and Happy Thanksgiving!

Terri


#wavingmywand #spellbindersclubkits #glimmerhotfoilsystem #stamping #luxeloops #gotogirl #cardmaking #diycards #spellbinderspaperarts #spellbinders #olomarker

Friday, November 21, 2025

Journey to Bethlehem Card for Erin Lee Creative

Hello my crafty friends! I'm back with another card featuring the new holiday release from Erin Lee Creative! There are 4 different ELC products that I'm creating with today and I've got a bunch of technique photos to share. Scroll down for the details, plus my clickable shopping/supply list at the end of this post.


 (FTC Disclosure: as an affiliate for various companies in the craft industry, I will receive a small commission for purchases made through my convenient affiliate links, at no additional cost to you.)


Below, are all the products in the new holiday release. I'm featuring the Love Came Down stamp set, the Starry Night stencil, Nativity Add-On die set and Nativity Scene Cover Plate.


To begin, I die cut my Nativity Scene Cover Plate on white cardstock and also on a light tan paper from one of my paper pads called, Daybreak. I also did a partial die cut on silver holographic paper to procure that star at the top of my card.


Because I wanted to color my windows and keep them inlaid, I added tape to the back of my white die cut, then insert all the negative pieces for the windows and doors.


Some of my coloring was outside the lines, but that's ok because I trimmed out the "buildings" from the tan paper, to pop up with adhesive foam over my white buildings. It will hide any errors.

I also added a little definition to my buildings by using my score tool and score board, as pictured below.
I made 4 score lines just to add a little something extra. I can definitely be a little extra from time to time, haha!


All of my coloring was done with OLO Markers and here's the breakdown:

Palm Trees - YG8.7, YG8.5, OR3.4, OR3.7
Windows: YO2.3, OR1.6, OR1.3
Joseph/Mary/Donkey: B4.3, OR3.4, CG1, OR1.0
Doors: OR3.4, OR3.7

OLO Marker is currently having a 20% off sale, so if you'd like to start a collection, or add to an existing one, tap my link above to get started!


Now, for my night sky, I swiped some Catherine Pooler Designs ink in Glacier across my cardstock. I heat set the ink and then stenciled my sky with the Starry Night Sky stencil and white modeling paste.

After making sure my stenciling was dry, I masked off an area with low tack mint tape to create light beaming down from the star.


I simply dipped a cotton ball into white pigment ink, then blotted in the color, removing the tape when finished.

Even though I heat set my ink, I still had some bleed thru of blue color onto my white stenciled stars, so I touched up my stars using a white gel pen.


Now, you don't necessarily have to color the Joseph, Mary, Donkey images, but I chose to do so. I imagined where to emphasize the head piece for Joseph, where to place a "burlap sack" over the donkey's back and how to color Mary's garment.

You might want to cut out several die cuts and experiment with placement and color for those images. You can also just use the die cuts as silhouette images.


Lastly, I added more white gel pen highlights to my building and trees. I also stamped my sentiment directly onto the bottom of my card, using CPD Cargo ink.

Let me know if you have any questions in the comment section. Thanks so much for stopping by. Tap any of my affiliate links below for product details or to shop! 

Terri

*********************************

Ranger US HEAT IT CRAFT TOOL
Shop at:
Scrapbookcom
Neenah Solar White Cardstock 8.5x11 inch
Shop at:
Scrapbookcom
Neenah Card Front Solar White 5.5 x 4.25 inch 25 pk
Shop at:
Scrapbookcom
Premium Pigment Ink- Pure White
Shop at:
Scrapbookcom
Refillable Permanent Adhesive Runner - 49 feet
Shop at:
Scrapbookcom
Artis Glue
Artis Glue
Shop at:
Scrapbookcom
Rose Quartz Misti Stamp Positioner
Shop at:
Scrapbookcom
Holographic Metallic Paper Pad - 6x8 in - 40 sheets
Shop at:
Scrapbookcom
Tim Holtz Distress Palette Knife Set - 2 pc
Shop at:
Scrapbookcom
3mm Adhesive Strips 160 ct.
Shop at:
Scrapbookcom
Mint Tape - 1 inch roll - 11 yards
Shop at:
Scrapbookcom
Reverse Tweezers
Reverse Tweezers
Shop at:
Scrapbookcom
Gelly Roll White Pens - 3 pk
Shop at:
Scrapbookcom
Daybreak Cardstock Paper Pad - 6x8 in - 40 sheets
Shop at:
Scrapbookcom
White Project Grip Mat
Shop at:
Scrapbookcom
Tim Holtz Comfort Grip Guillotine Trimmer
Shop at:
Scrapbookcom
Gina K Designs Multi-Purpose Scoring Board Tool
Shop at:
Scrapbookcom
ELC Oval Nativity Scene Die
Shop at:
Erin Lee Creative
ELC Starry Night Stencil - 6x6 inch
Shop at:
Erin Lee Creative
ELC Love Came Down Stamp Set
Shop at:
Erin Lee Creative
Stamperia Modeling Paste - White
Shop at:
Scrapbookcom
Spellbinders Platinum 6 Die Cut System - Tool N One Bundle
Shop at:
Scrapbookcom
ELC Nativity Add-On Die Set
Shop at:
Erin Lee Creative
ELC Nativity Scene Cover Plate
Shop at:
Erin Lee Creative
Catherine Pooler Ink Pad - Glacier
Shop at:
Scrapbookcom
Catherine Pooler Ink Pad - Cargo
Shop at:
Scrapbookcom
All Purpose Craft Scraper
Shop at:
Scrapbookcom


#wavingmywand #erinleecreative #nativity #christmas #scripture #bible #savior #reasonfortheseason #diy #cards #cardmaking #scrapbookcon #catherinepoolerink #stamping #stenciling #stars #nightsky #bethlehem #lovecamedown #olomarker