Showing posts with label glimmer. Show all posts

Tuesday, March 31, 2026

Sea Monster Shaped Card for Scrapbook.com

Hello crafty friends. I'm so happy to be sharing several projects in the coming days for Scrapbook.com, with exciting news. They now are carrying their own line of premium cardstock! The A2 size variety pack bundle is already sold out but you can visit my link and be notified when it's back in stock. There's also 12x12 inch single sheets with weight measurements between 80-100 lb. The Glimmer cardstock is 80# weight.

The cardstock comes in 5 different styles: Classic, Glimmer, Canvas, Swiss Dot and Heavyweight, with 165 total colors! Wow! Scroll down for more details on today's card that features the Glimmer A2 size cardstock from the variety pack bundle.


 (FTC Disclosure: as an affiliate for various companies in the craft industry, I will receive a small commission for purchases made through my convenient affiliate links, at no additional cost to you.)


The glimmer cardstock colors that I'm using for today's card are:

Granite, Sandpaper, Glacier Blue and Bedazzled Blue


I'm also creating with one of the Octopus dies from the Coastal Charms die set, a sentiment from the Hooked On You stamp & die set, and the largest die from the Nested Elegant Circle Mandalas die set which measures 4.2 inches.


To begin, I scored and trimmed a vertical 5x5 inch card using white cardstock, placing the die just over the top edge of the vertical line, then die cut with my Platinum 6 die cut system.


Important tip: Stack all your paper die cuts to make sure they line up correctly before tearing your paper. I had one that was rotated differently and it didn't line up correctly. This is important so they all line up properly on your die cut shaped card. 


I started by tearing my Sandpaper cardstock, then worked my way up using the other two colors. This is solid core cardstock and I love the way it looks.

Next, I made two die cuts with the Octopus die with the Glimmer Granite cardstock, trimming several of the tentacles from one of the die cuts

I didn't fully adhere my cardstock along the top edge, so I could instead apply adhesive to my tentacles and tuck them under the edge of the paper.


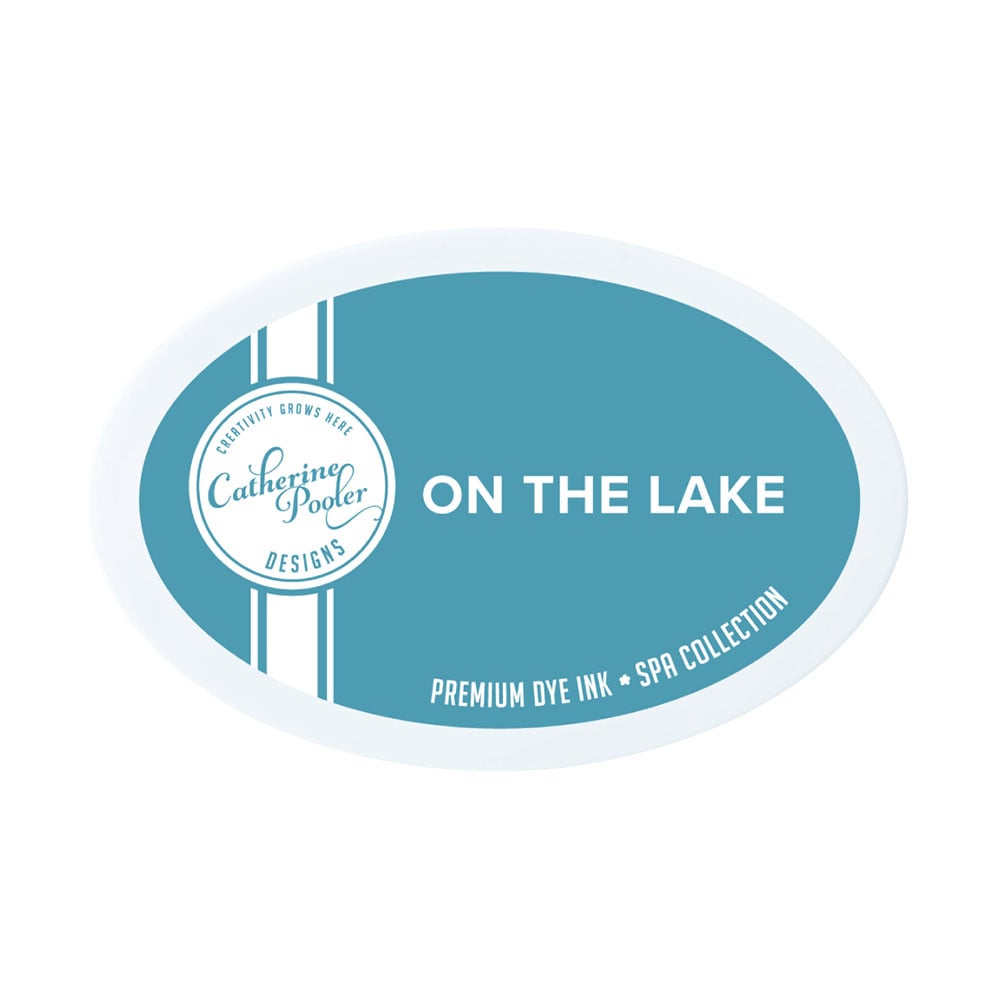
To ink my sentiment, I used my stamp positioner with Catherine Pooler Black Jack ink, then die cut with the coordinating dies. I also splattered some white paint and ink blended along the top of my card with Catherine Pooler On The Lake ink and blender brushes.

I had so much fun making this card and I hope it inspires you! Tap any of the highlighted affiliate products throughout this post to browse for more information or shop my affiliate supply list below. Thanks so much for stopping by!

Terri

**********************************

Catherine Pooler Blending Brushes - 4 pk.
Shop at:
Scrapbookcom
Refillable Permanent Adhesive Runner - 49 feet
Shop at:
Scrapbookcom
Dina Wakley Heavy Acrylic Paint - White
Shop at:
Scrapbookcom
3 mm Adhesive Strips - 160 strips
Shop at:
Scrapbookcom
Pink Stamp Cleaning Shammy
Shop at:
Scrapbookcom
Mini Misti Stamp Positioner
Shop at:
Scrapbookcom
Ultimate A2 Variety Pack Bundle Premium Cardstock
Shop at:
Scrapbookcom
Coastal Charm Decorative Die Set
Shop at:
Scrapbookcom
Hooked On You Stamp/Die Set
Shop at:
Scrapbookcom
Nested Elegant Circle Mandalas Die Set
Shop at:
Scrapbookcom
Catherine Pooler Ink Pad - Black Jack
Shop at:
Scrapbookcom
Catherine Pooler Ink Pad - On The Lake
Shop at:
Scrapbookcom
Neenah Solar White Ultra Thick Cardstock - 25 pack
Shop at:
Scrapbookcom
Sage Green Platinum 6 Bundle
Shop at:
Scrapbookcom


#wavingmywand #scrapbookcom #cardstock #glimmer #seamonster #beach #ocean #cards #cardmaking #diycards


Tuesday, November 25, 2025

Bestie Girl Foiled Card for Spellbinders

Hello friends, time is drawing to a close if you'd like to join any of the Spellbinders Clubs this month and receive the current selections. Today's card features the Stamp/Die of the Month selection and the Glimmer Hot Foil Club Kit. Scroll down for details!


 (FTC Disclosure: as an affiliate for various companies in the craft industry, I will receive a small commission for purchases made through my convenient affiliate links, at no additional cost to you.)


This Stamp and Die Club Kit is called, Go-To-Girl and it's the cutest set ever! I had so much fun coloring up the image that's featured above. Plus, there are numerous sentiments which is always a plus when  making a purchase.


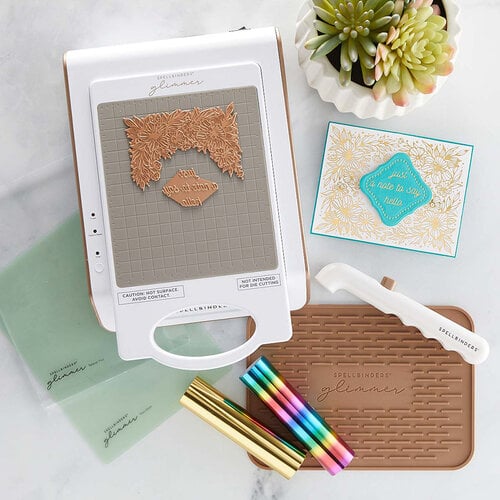
The Glimmer Hot Foil Club Kit is called, "Luxe Loops" and it's such a cool, trendy design. I opted to do some tone on tone foiling with some dark pink cardstock using my Glimmer Hot Foil System and the foil included with this months kit, Bright Pink. Keep in mind, selection on the foils you receive does vary.

I also sealed my foiling, using my Platinum 6 die cut machine. This, and the Glimmer machine, go hand in hand when foiling. You simply remove your platform, then run it through the Platinum 6 to seal it.


All of my coloring was done with OLO Markers. Here are the colors that I used:

OR2.5, O2.4, RV0.2, YO2.3, OR1.4, OR4.4, RV0.4, YG8.5, OR3.4, RV0.1


Spellbinders sells OLO Marker sets on their site, however, if you're looking for specific individual markers, you can find them on the OLO Marker site here.

Also, if you look closely at my die cut girl above, you'll see she was adhered to a second die cut outline with my green cardstock. This was offset just a bit and helps to not only tie in all the green colors together, but let her stand out a bit amongst all the pink.


Thanks so much for popping in today. Remember, if you wish to try out any of the Club Memberships, you are under no obligations. You can cancel at any time. Some crafters find a particular month may not be their style and opt to skip a month by canceling, then re-joining.  

Get all the details on all the club memberships, here.


See you next time, and Happy Thanksgiving!

Terri


#wavingmywand #spellbindersclubkits #glimmerhotfoilsystem #stamping #luxeloops #gotogirl #cardmaking #diycards #spellbinderspaperarts #spellbinders #olomarker

Tuesday, September 16, 2025

Grunge Autumn Card for Spellbinders

Fall is my favorite season of the year and today's card for Spellbinders reflects so many things I love when the weather starts getting cooler and you can sense the change in the air.  Today's card features two of the September Club Kits and I've gone with a bit of a grunge feel today. Scroll down for creative details. You can also click any of the highlighted products throughout this post for more product information or to shop.


 (FTC Disclosure: as an affiliate for various companies in the craft industry, I will receive a small commission for purchases made through my convenient affiliate links, at no additional cost to you.)


The September Stamp & Die Monthly Club Selection is called "Autumn Whim". It includes lots of fun, seasonal images and 6 different sentiments. If you're not into die cutting, this same stamp set is available as the September Clear Stamp of the Month Club selection.

My card also features the September Glimmer Hot Foil Club Kit called, "Gilded Weave".   A hot foil roll is also included with your monthly club kit. I received Copper hot foil this month, however selection does vary. Working with hot foil does require some tools. I use my Glimmer Hot Foil System for foiling, then run the platform through my Platinum 6 die cut machine to pressure seal the foiling.


I really love the Glimmer Hot Foil plate this month. It reminds me of burlap and perfectly compliments Fall themed projects. Also, for my stamped images, I stamped with a hybrid ink called "Leather" from Scrapbookcom, using my stamp positioner. I really like using hybrid inks which work really well when using alcohol markers.


For my coloring, I used a lot of OLO Markers in seasonal colors. Spellbinders carries OLO Markers in sets. However, if you wish to purchase individual markers, those can be found directly at the OLO Marker website, here.


Now, once I colored my stamped A2 size card panel, I tore the edges all round my panel, then did some ink blending with Catherine Pooler Macchiato ink and a blender brush. In addition to embellishing some of my colored images with a white gel pen, I also threw a lot of splatter on my card panel, using black paint, gold paint and some Ranger Ink Distress Spray in Cracked Pistachio.


The papers in my background are the Spellbinders Saffron cardstock and Truffle cardstock. 
The Copper foiling in some of my photos lends to an orange hue because of my lighting, but it does present with more of a gold/copper hue as opposed to an orange-ish hue.


I thoroughly enjoyed making this card and I hope I've inspired you. If you'd like to subscribe to any of the Spellbinders Monthly Club Selections, check out all the various offerings here. The window for new subscribers to join any of the Spellbinders clubs this month ends on 9/27/25. 

Thank so much for stopping by. Have a great day and stay crafty!

Terri


#wavingmywand #spellbinders #spellbindersclubkits #autumnwhim #glimmerhotfoilsystem #cardmaking #autumn #fall #cards #diy #stamping #pumpkins #leaves #olomarker
 

Monday, August 25, 2025

Floating Bottle Cards for Spellbinders

Hey friends. Today's card pairing features the Spellbinders August Stamp & Die Club Kit, (Paper Splash) as well as the Glimmer of the Month club kit (Artic Glimmer). I thoroughly enjoyed pairing these clubs together! All the club kits are designed to work well with one another. Scroll down for a creative details. Click any of highlighted affiliate links throughout this post, to learn more about the product or to shop.


 (FTC Disclosure: as an affiliate for various companies in the craft industry, I will receive a small commission for purchases made through my convenient affiliate links, at no additional cost to you.)


This month's Glimmer Club Kit includes the adorable bubble design hot foil plate and two hot foil sentiment plates with outline dies. You also receive a roll of hot foil and selections do vary. I received the Speckled Prism hot foil roll with my Glimmer Kit this month. It has a multi-color shimmer when angled side to side.

If you'd like to receive this kit, the last day to sign up is Aug. 27th, and the kit will ship next month.


Now, the August Stamp & Die Club Kit includes 2 main stamp images with outline dies, 10 different stamp sentiments and two outline border dies for some of the single line sentiments. You can also purchase the stamp set separately by joining the Stamp of the Month Club.

Considering all the health issues I've recently gone through, I really appreciate the sentiment on this card. 
Encouraging sentiments have always been a favorite of mine, so I definitely wanted to use it for this card.


To stamp my bottle image, I used Catherine Pooler Macchiato ink, then colored it with my OLO Markers in O7.1, OR7.4, BG2.1, BG2.3 and B2.0. 

Did you know you can also purchase OLO Markers in sets at Spellbinders?


The paper that I'm foiling on is a green ombre paper from a paper pad in my stash. And of course, I'm also using my Glimmer Hot Foil System and Platinum 6 to accomplish all my foiling and die cutting today. I love my Spellbinder tools!!


I initially foiled two A2 sized card panels with the green paper, but only used a trimmed portion of that foiling for my first card. These card panels were eventually trimmed down just a bit, to fit on an A2 sized white vertical card. 

For my second card I used the leftover foiling to die cut a bottle outline. I also used the bottle die for a vellum die cut and a white cardstock die cut.


Here's how I adhered the bottle together with all three bottle die cuts. But first, please take note that I did stamp only the the bottle top with the cork onto the vellum with the CP Macchiato ink, using a piece of tape to mask below it.

1) White bottle outline is the base
2) Foiled bottle outline is adhered onto the base (trim off the bottle top first)
3) Stamped vellum bottle is adhered on top with a simple staple at the bottle top)


I also did some foiling and reverse foiling with the hot foil plate sentiments included in the Glimmer Club Kit. First, I foiled some sentiments on the green cardstock with my white Spellbinders hot foil. This only comes in a 2-pack of white and black hot foil. I purchased this some time ago and it's probably my most used foils. I highly recommend having the white/black foil in your stash!

You can see some of the sentiments that I foiled in my first photo at the top of the screen. However, for the card above, I used the negative foil with a solid hot foil plate, foiling the negative sheet directly onto the green cardstock. Once you peel off your plastic lining after foiling, the green cardstock peeks through, surrounded by all the gorgeous, shiny white foil. I absolutely love to do negative foiling. Save those leftover foil sheets for negative foiling, people!

Once again, I threw a lot at you, but hopefully it was helpful information?! Thanks so much for stopping by. I appreciate you so much!

Terri


#wavingmywand #spellbinders #glimmer #stamping #clubkits #spellbindersclubkits #summer #messageinabottle #cardmaking #catherinepoolerink #olomarker


Sunday, June 15, 2025

Ocean Birthday Card for Spellbinders

I have an ocean themed card to share, featuring the June Glimmer of the Month Club Kit from Spellbinders. This kit is titled "Cast Away", and I've had so much fun creating with it. Scroll down for details and click any of the highlighted text throughout this post for more product information or to shop.


 (FTC Disclosure: as an affiliate for various companies in the craft industry, I will receive a small commission for purchases made through my convenient affiliate links, at no additional cost to you)


This Glimmer kit includes a netting hot foil plate, 3 hot foil sentiment plates, a large sentiment outline die and a roll of Glimmer hot foil (selection varies).

The foil that I received in my kit this month is Opal. I am also using the Spellbinders Glimmer black/white opaque foil from my stash, for my foiled sentiments.


I don't really have much in the way of nautical themed stamps and dies, but I do have the Simon Hurley Smooth Sailing stamp/die set which is also sold at Spellbinders. I decided to incorporate the small sailboat stamp into my scene.

First, I stamped, then colored my sailboat with OLO Markers using these colors:

BG2.3, C-G3, OR3.4, R-G5


Next, I hand trimmed my sails, and foiled them with my Glimmer Hot Foil System, along with the base of my sailboat. You also need a die cut machine, such as the Spellbinders Platinum 6, to run your Glimmer platform through, to seal the foiling.

I wanted to pop up these elements with adhesive foam and also ended up trimming these elements down a bit with my scissors. I wanted this boat to be a little bit smaller to better fit within the confines of the scene that I was creating.


My sentiments were foiled on black cardstock, using my white Spellbinders hot foil. I also made some extra sentiments to have on hand, foiling on white cardstock with black foil.

For my scene, I tore some ombre paper from a paper pad in my stash to create a layer of color. The torn part, makes very effective waves, which is a bonus! I also created some 3D elements, hot gluing some netting using cheesecloth, and creating a rope from the boat to the netting, with some twine from my stash.


I created one final piece of foiling, which you can see at the bottom of my card. I foiled a trimmed section of kraft paper with the Opal hot foil, for my sandy beach.

I really love how this turned out! Let me know if you have any questions in the comment section. If you'd like to become a new subscriber to the Glimmer Monthly Club Kit, the window to receive this kit is through June 27th. Click here for details, and click here to view all the Spellbinders Club Kits!

Thanks so much for stopping by! 


Terri


#wavingmywand #spellbinders #spellbindersclubkits #glimmerhotfoilsystem #neverstopmaking #anchorsaway #castaway #cardmaking #nautical #cards #ocean #sea #birthday #ombre #netting #fishingnet #beach #sand #scrapbookcom #olomarker #stamping 

Thursday, April 24, 2025

April Glimmer Foiled Card for Spellbinders

Hello friends. Today's card features the April Glimmer Club Kit from Spellbinders. I adore foiling and am always excited when my monthly kit arrives. My first impression when viewing the "Scattered Letters" hot foil plate, was to create something with clean lines. It's also National Letter & Card Writing Month, have you been celebrating? Scroll down for my card details and supply list at the end.


 (FTC Disclosure: as an affiliate for various companies in the craft industry, I will receive a small commission for purchases made through my convenient affiliate links, at no additional cost to you.)


Included with each month's Glimmer kit is a roll of foil and you never know what you'll get as colors vary. This month, I received the black hot foil with my kit and I'm so glad because I just ran out of black foil!


I trimmed an A2 size card panel to foil with my Glimmer Hot Foil System and black hot foil. 

I came up with the idea to add some patterned paper postage to my envelopes. I found some pretty yellow paper with tiny little blossoms from one of my Spellbinders Cardmaking Kit of the Month from March 2023, called Bee Yourself. It's not available on the site but I'm so glad I hung on to my leftovers from the retired kits. You never know when you might need something, right? 

I'm sure you've probably got some suitable tiny patterns in your paper stash. If you have some stamps with tiny images, you could stamp and color in the postage space. Just mask the area around the postage space with low tack tape, when stamping.


I trimmed off a long thin strip of the patterned paper, then trimmed tiny rectangles to nicely fit inside the postage space. I wanted the black outline of the foiling to show and not be entirely covered up with my patterned paper.

I also added some liquid embellishment dots on top of the foiled heart design, just to add some more pops of yellow.

I also swiped an OLO Marker, YO2.3 Butterscotch, across the address lines. Spellbinders sells the OLO Forest collection on their site, which includes YO2.3, and this is my favorite marker set!


I feel like I did a pretty good job keeping this design clean. I trimmed my card panel down a bit, to add the black cardstock backing which is A2 sized and adhered to my white A2 card. 

Also, the kit this month includes two sentiments on one hot foil plate, designed to cut both sentiments at the same time with your die cutting system. Nice!

Keep in mind, if you'd like to subscribe to the Glimmer Club Kit, shipping is free for your club selection. You'll also receive a discount on other products purchased from Spellbinders. There's no obligation or commitment. Cancel or rejoin at any time, if a particular club is not your style or to your liking. New subscribers have until the 27th of April to join and receive this kit. Get details on all the club memberships here.

Thanks so much for stopping by!

Terri

********************************


Spellbinders Glimmer Hot Foil System
Shop at:
Scrapbookcom | Spellbinders
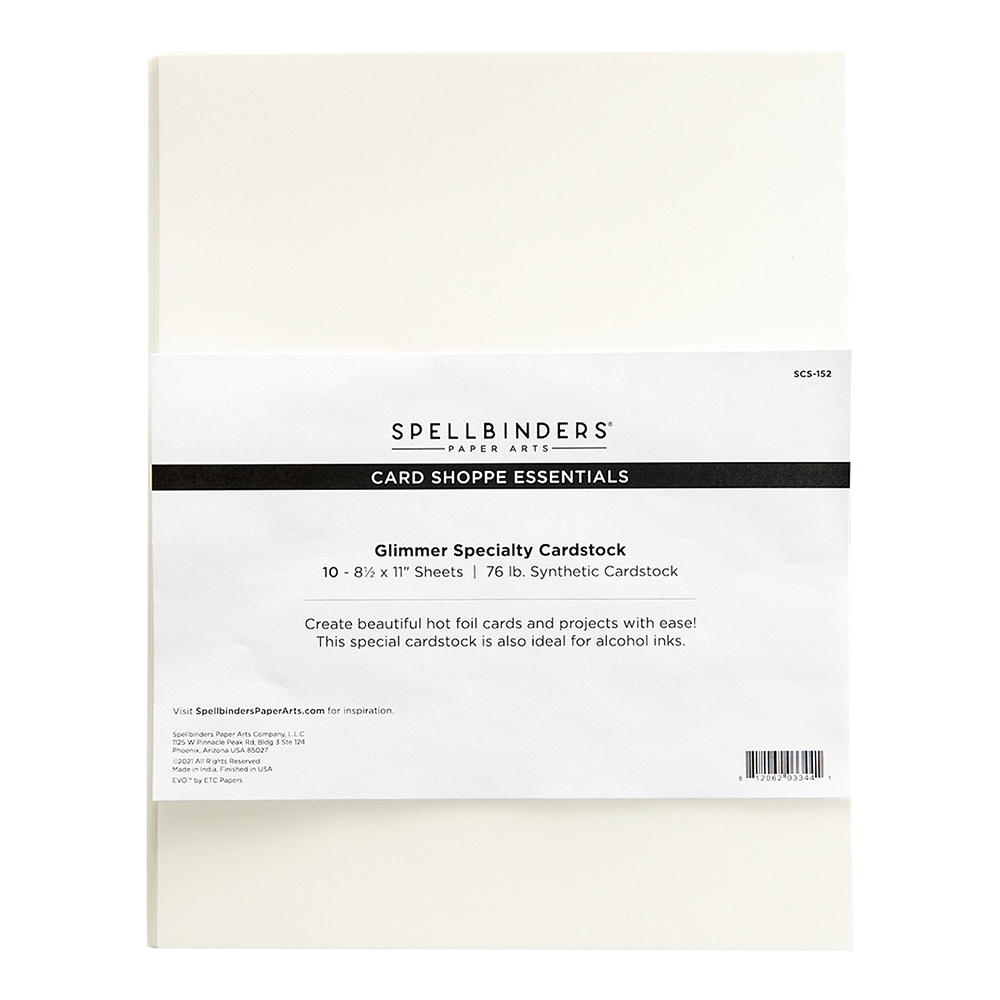
Glimmer Specialty Cardstock
Shop at:
Scrapbookcom | Spellbinders
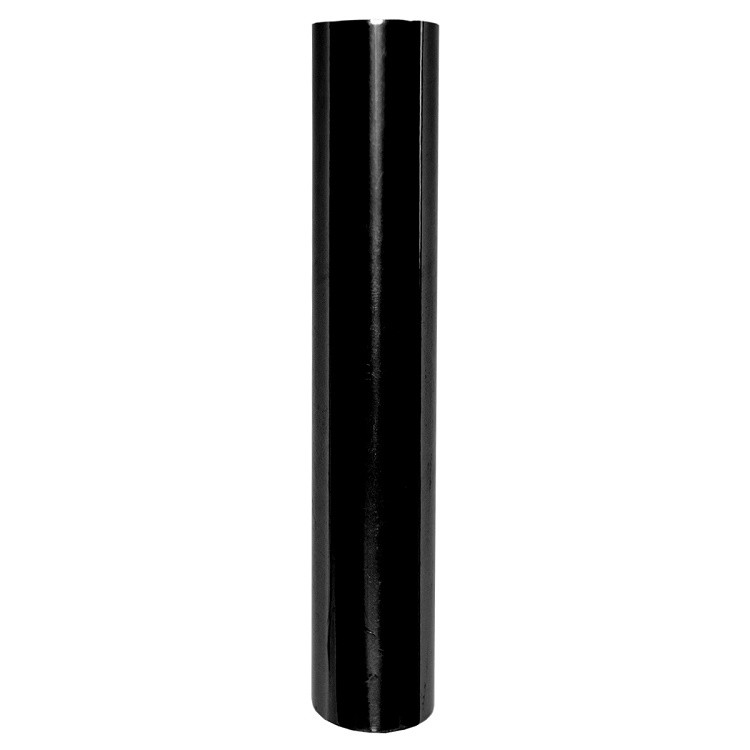
Spellbinders Glimmer Hot Foil - Black
Shop at:
Scrapbookcom | Spellbinders
Refillable Permanent Adhesive Runner - 49 feet
Shop at:
Scrapbookcom
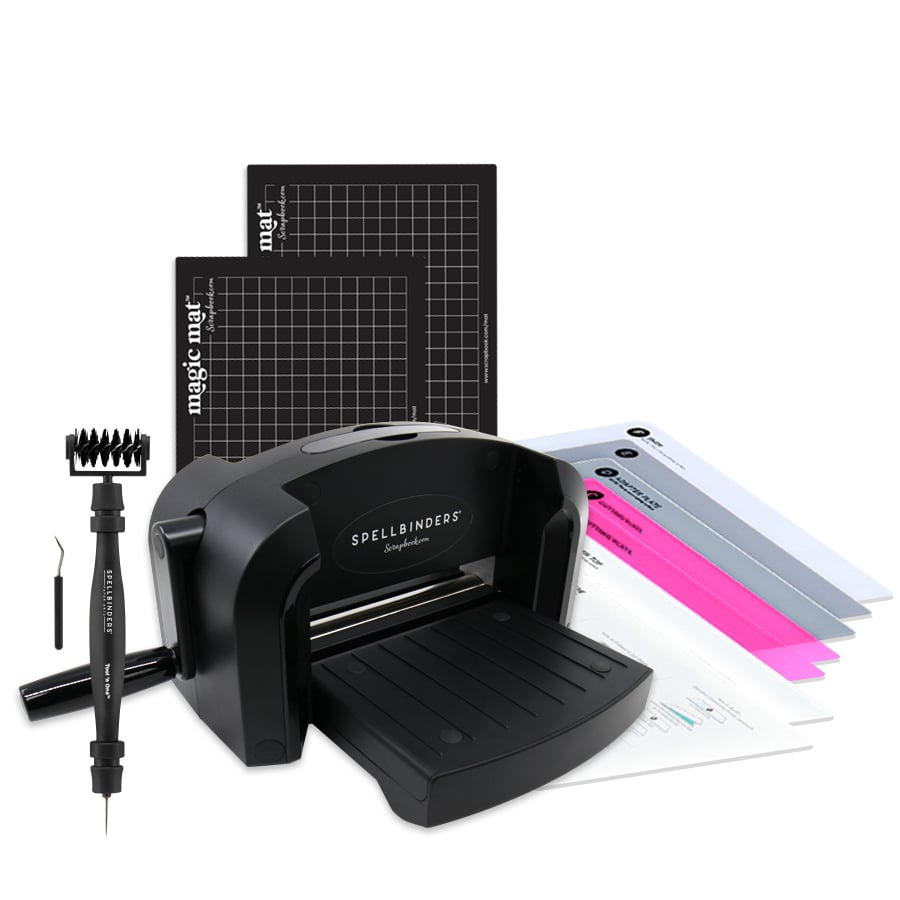
Exclusive Black Platinum 6 Die Cut System
Shop at:
Scrapbookcom
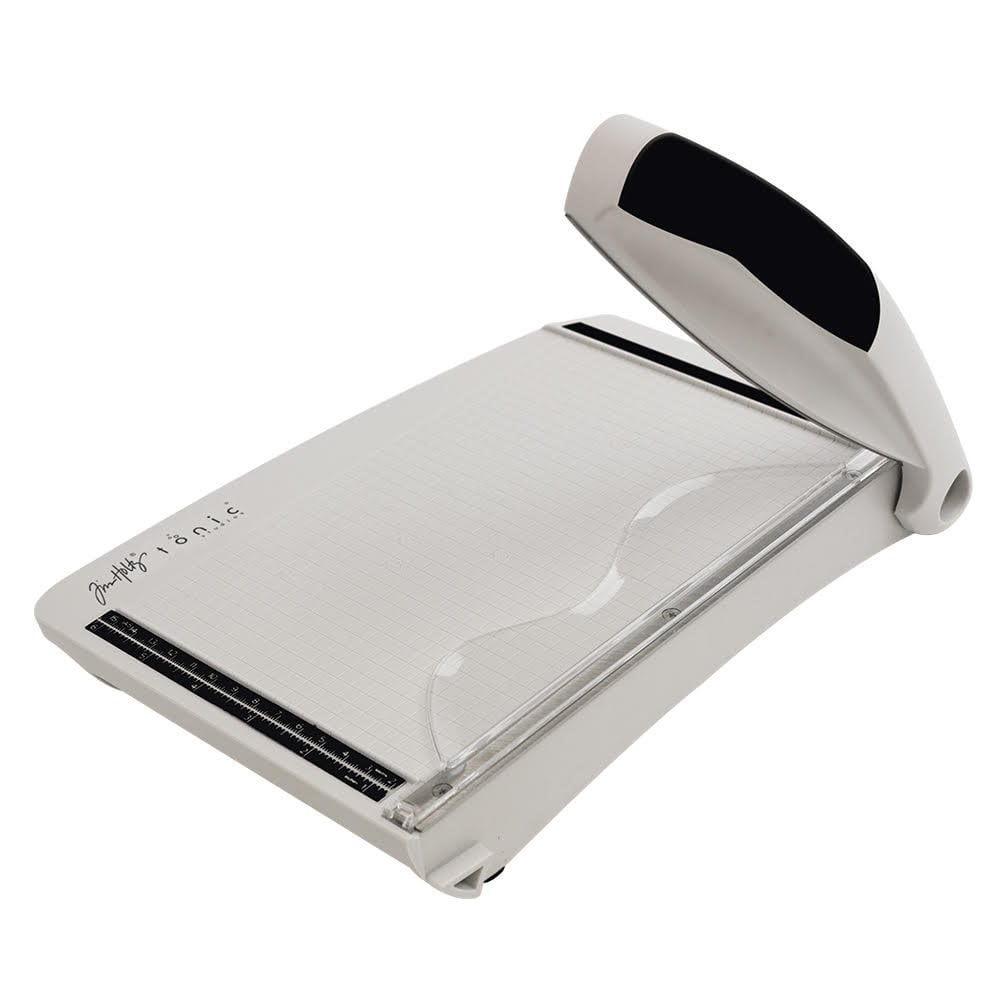
Tonic Studios Tim Holtz Comfort Trimmer 8.5 Inch
Shop at:
Scrapbookcom
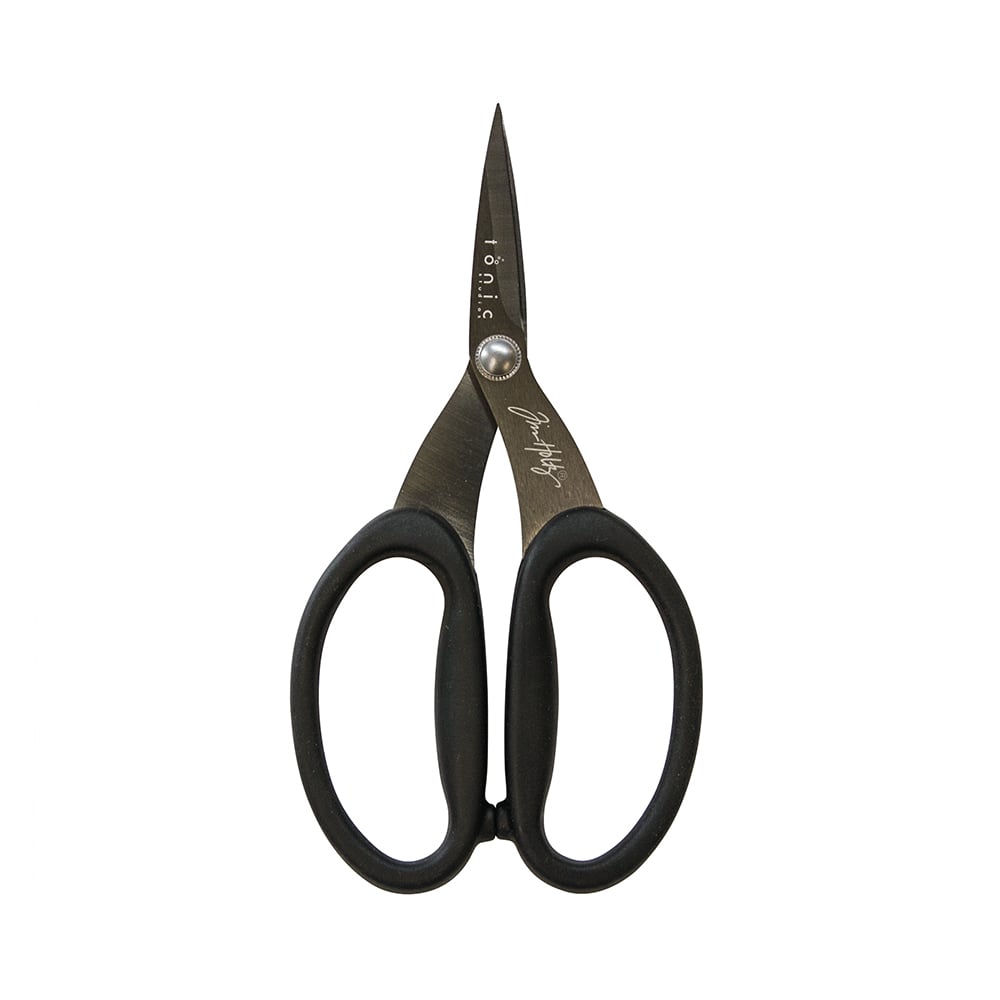
Tim Holtz Non-Stick Serrated Scissors - 7 inch
Shop at:
Scrapbookcom
3 mm Adhesive Strips - 160 strips
Shop at:
Scrapbookcom
Spellbinders A2  Side Fold Card Bases - 25 pk
Spellbinders A2 Side Fold Card Bases - 25 pk
Shop at:
Spellbinders
Exclusive Lilac Shimmer Platinum 6 Die Cut/Emboss Machine
Shop at:
Spellbinders
Spellbinders Top Fold A2 Cards (Vertical) - 25 pc
Shop at:
Spellbinders
Spellbinders White A2 Envelopes - 25 pc
Shop at:
Spellbinders
OLO Forest Alcohol Markers - 4 pc, 8 colors
Shop at:
Spellbinders
Glimmer Kit of the Month - April - Scattered Letters
Shop at:
Spellbinders
Raven ColorWheel Cardstock
Shop at:
Scrapbookcom | Spellbinders
White Cardstock 8.5x11 inch - 80 lb - 25 pk
Shop at:
Spellbinders
Pops of Color - Sunflower
Shop at:
Scrapbookcom


#wavingmywand #spellbinders #spellbindersclubkits #neverstopmaking #scatteredletters #glimmer #foiling #cardmaking #diycards #glimmerhotfoilsystem #nationalletterwritingmonth #scatteredletters #popsofcolor #postagestamps #patternedpaper