Showing posts with label club kits. Show all posts

Tuesday, November 25, 2025

Bestie Girl Foiled Card for Spellbinders

Hello friends, time is drawing to a close if you'd like to join any of the Spellbinders Clubs this month and receive the current selections. Today's card features the Stamp/Die of the Month selection and the Glimmer Hot Foil Club Kit. Scroll down for details!


 (FTC Disclosure: as an affiliate for various companies in the craft industry, I will receive a small commission for purchases made through my convenient affiliate links, at no additional cost to you.)


This Stamp and Die Club Kit is called, Go-To-Girl and it's the cutest set ever! I had so much fun coloring up the image that's featured above. Plus, there are numerous sentiments which is always a plus when  making a purchase.


The Glimmer Hot Foil Club Kit is called, "Luxe Loops" and it's such a cool, trendy design. I opted to do some tone on tone foiling with some dark pink cardstock using my Glimmer Hot Foil System and the foil included with this months kit, Bright Pink. Keep in mind, selection on the foils you receive does vary.

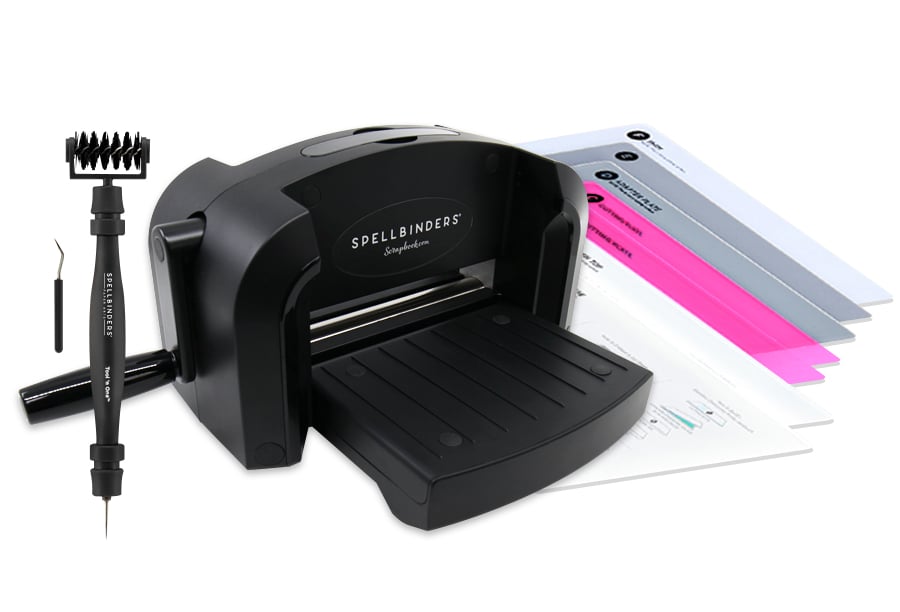
I also sealed my foiling, using my Platinum 6 die cut machine. This, and the Glimmer machine, go hand in hand when foiling. You simply remove your platform, then run it through the Platinum 6 to seal it.


All of my coloring was done with OLO Markers. Here are the colors that I used:

OR2.5, O2.4, RV0.2, YO2.3, OR1.4, OR4.4, RV0.4, YG8.5, OR3.4, RV0.1


Spellbinders sells OLO Marker sets on their site, however, if you're looking for specific individual markers, you can find them on the OLO Marker site here.

Also, if you look closely at my die cut girl above, you'll see she was adhered to a second die cut outline with my green cardstock. This was offset just a bit and helps to not only tie in all the green colors together, but let her stand out a bit amongst all the pink.


Thanks so much for popping in today. Remember, if you wish to try out any of the Club Memberships, you are under no obligations. You can cancel at any time. Some crafters find a particular month may not be their style and opt to skip a month by canceling, then re-joining.  

Get all the details on all the club memberships, here.


See you next time, and Happy Thanksgiving!

Terri


#wavingmywand #spellbindersclubkits #glimmerhotfoilsystem #stamping #luxeloops #gotogirl #cardmaking #diycards #spellbinderspaperarts #spellbinders #olomarker

Monday, August 25, 2025

Floating Bottle Cards for Spellbinders

Hey friends. Today's card pairing features the Spellbinders August Stamp & Die Club Kit, (Paper Splash) as well as the Glimmer of the Month club kit (Artic Glimmer). I thoroughly enjoyed pairing these clubs together! All the club kits are designed to work well with one another. Scroll down for a creative details. Click any of highlighted affiliate links throughout this post, to learn more about the product or to shop.


 (FTC Disclosure: as an affiliate for various companies in the craft industry, I will receive a small commission for purchases made through my convenient affiliate links, at no additional cost to you.)


This month's Glimmer Club Kit includes the adorable bubble design hot foil plate and two hot foil sentiment plates with outline dies. You also receive a roll of hot foil and selections do vary. I received the Speckled Prism hot foil roll with my Glimmer Kit this month. It has a multi-color shimmer when angled side to side.

If you'd like to receive this kit, the last day to sign up is Aug. 27th, and the kit will ship next month.


Now, the August Stamp & Die Club Kit includes 2 main stamp images with outline dies, 10 different stamp sentiments and two outline border dies for some of the single line sentiments. You can also purchase the stamp set separately by joining the Stamp of the Month Club.

Considering all the health issues I've recently gone through, I really appreciate the sentiment on this card. 
Encouraging sentiments have always been a favorite of mine, so I definitely wanted to use it for this card.


To stamp my bottle image, I used Catherine Pooler Macchiato ink, then colored it with my OLO Markers in O7.1, OR7.4, BG2.1, BG2.3 and B2.0. 

Did you know you can also purchase OLO Markers in sets at Spellbinders?


The paper that I'm foiling on is a green ombre paper from a paper pad in my stash. And of course, I'm also using my Glimmer Hot Foil System and Platinum 6 to accomplish all my foiling and die cutting today. I love my Spellbinder tools!!


I initially foiled two A2 sized card panels with the green paper, but only used a trimmed portion of that foiling for my first card. These card panels were eventually trimmed down just a bit, to fit on an A2 sized white vertical card. 

For my second card I used the leftover foiling to die cut a bottle outline. I also used the bottle die for a vellum die cut and a white cardstock die cut.


Here's how I adhered the bottle together with all three bottle die cuts. But first, please take note that I did stamp only the the bottle top with the cork onto the vellum with the CP Macchiato ink, using a piece of tape to mask below it.

1) White bottle outline is the base
2) Foiled bottle outline is adhered onto the base (trim off the bottle top first)
3) Stamped vellum bottle is adhered on top with a simple staple at the bottle top)


I also did some foiling and reverse foiling with the hot foil plate sentiments included in the Glimmer Club Kit. First, I foiled some sentiments on the green cardstock with my white Spellbinders hot foil. This only comes in a 2-pack of white and black hot foil. I purchased this some time ago and it's probably my most used foils. I highly recommend having the white/black foil in your stash!

You can see some of the sentiments that I foiled in my first photo at the top of the screen. However, for the card above, I used the negative foil with a solid hot foil plate, foiling the negative sheet directly onto the green cardstock. Once you peel off your plastic lining after foiling, the green cardstock peeks through, surrounded by all the gorgeous, shiny white foil. I absolutely love to do negative foiling. Save those leftover foil sheets for negative foiling, people!

Once again, I threw a lot at you, but hopefully it was helpful information?! Thanks so much for stopping by. I appreciate you so much!

Terri


#wavingmywand #spellbinders #glimmer #stamping #clubkits #spellbindersclubkits #summer #messageinabottle #cardmaking #catherinepoolerink #olomarker


Tuesday, June 3, 2025

Beachy Birthday Card for Spellbinders

Where's my ocean lovers? I'm loving the new club kits at Spellbinders this month. Most, if not all, have a nautical theme and they're so fun! For today's card, I've paired the June Stamp/Die Club Kit with the Glimmer plate from the June Glimmer of the Month Club Kit. I love when a card comes together easily and this one certainly did. Scroll down for creative details and click any of the highlighted words throughout this post for more product information or to shop.


 (FTC Disclosure: as an affiliate for various companies in the craft industry, I receive a small commis
sion for purchases made through my convenient affiliate links, at no additional cost to you)


The Spellbinders Clear Stamp & Die Monthly Club Kit for June is titled, "Anchors Away". I don't have any other club kits in my possession (except the Glimmer Kit), so I tried to get really creative with minimal products.

Let me also mention, this stamp set is also available without dies, if you're interested in joining the Stamp of the Month Club.


This month's Glimmer Hot Foil Club Kit is called, "Cast Away" and includes this awesome netting Glimmer Hot foil Plate, 3 hot foil plate sentiments, 1 large sentiment outline die and 1 roll of Glimmer Hot Foil. Foil selection varies.

The foil that came with my Glimmer kit this month is called Opal. It's a translucent, shiny, iridescent foil. I'll be sharing another project soon that features that foil, but I actually used my Spellbinders White Opaque foil that I purchased some time ago, in a 2-pack with Black. I thought it would really make the netting pop.


To get started, I turned to several products in my stash, some Ranger Kraft Cardstock, as the base for my foiling, and an ombre paper pad from Scrapbookcom.

The Glimmer plate is roughly 4 1/2 x 5 3/4 inches, so I foiled a larger section of kraft paper, then trimmed my foiled cardstock down to A2 sized. My foiling was done using my Glimmer Hot Foil System, then run through my Platinum 6.


As you can see in the photo above, I tore my ombre paper at an angle, to have a wide white edge which represents the foam from the sea at the water's edge. Don't strive for perfection when tearing, irregularity is actually what you want!

I also wanted you to see the placement of my twine. I opted to use a blue/white twine from my stash, to tie in with the blue colors of my background and my stamped images. I used my hot glue gun, tacking down about 4 or 5 spots of my twine.


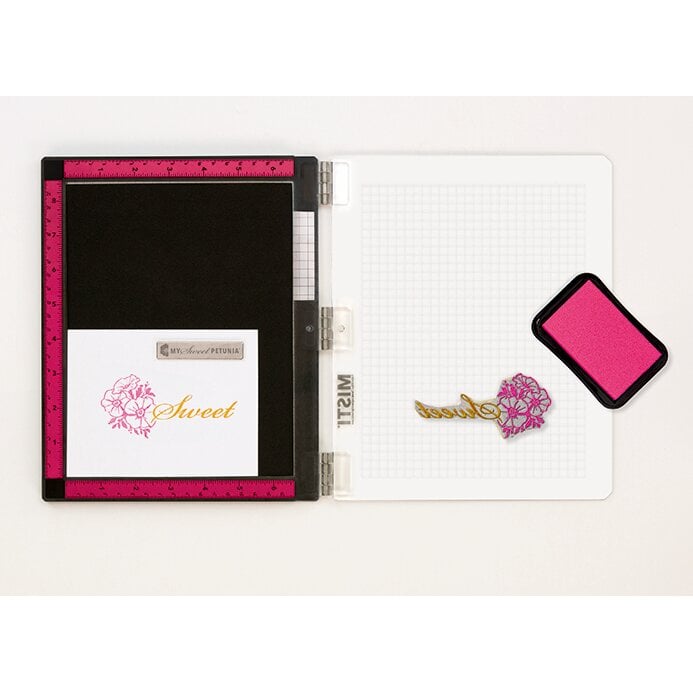
My sentiment was stamped with Catherine Pooler Glacier Ink and Midnight inks, using a mask technique and my stamp positioner, and my anchor was also stamped with Glacier and colored in with some of my OLO Markers.


Everything was adhered flat to my Spellbinders A2 white card, with the exception of my stamped images which were popped up on adhesive foam. I love how this turned out, and even better that it was a fairly quick card to make.

Let me know if you have any questions in the comment section. If you'd like to subscribe to any of the Spellbinders Monthly Club Kits, the window for new subscribers is June 6th-June 27th. Some kits do sell out, so don't wait! You can always cancel at any time, and re-subscribe again at any time, if a future club kit is not to your liking.

I hope you have a great week, thanks for stopping by!

Terri

***********************************


#wavingmywand #spellbinders #spellbindersclubkits #glimmerhotfoilsystem #neverstopmaking #anchorsaway #castaway #cardmaking #nautical #cards #ocean #sea #birthday #ombre #netting #fishingnet #beach #sand #scrapbookcom #catherinepoolerinks #stamping 


Thursday, June 1, 2023

Stitched Seashell Card for Spellbinders


Hello friends. I have some stitching inspiration featuring the Spellbinders June Stitching Die of the Month Club selection. This die set called, "Stitched Shell Card Front" comes with 7 dies that you can use as dies cuts or for embossing on cardstock.


(FTC Disclosure: as an affiliate for various companies in the craft industry, I will receive a small commission for purchases made through my convenient affiliate links, at no additional cost to you.)


My favorite summer colors are beige, sea green and coral and I definitely channeled those colors for this A2 sized card.


I tend to be a slow stitcher so it took me about an hour to stitch the 7 sea shells that I cut using the dies from the set. The embroidery floss that I used is DMC 543 which is a light beige color.

I used some mint colored cardstock for my backdrop and embossed it with my Spellbinders 3D Circle Illusion embossing folder and Platinum 6.

My sentiment is from the Sentimental Greetings stamp set that was released back in January to coordinate with the January Stitching Die of the Month. It sold out and is no longer available which is unfortunate. It's one of my absolute favorite sentiment sets and I wish they'd bring it back! Seriously, if you find a set that you really love and don't buy it, don't have regrets later when it's not available! 

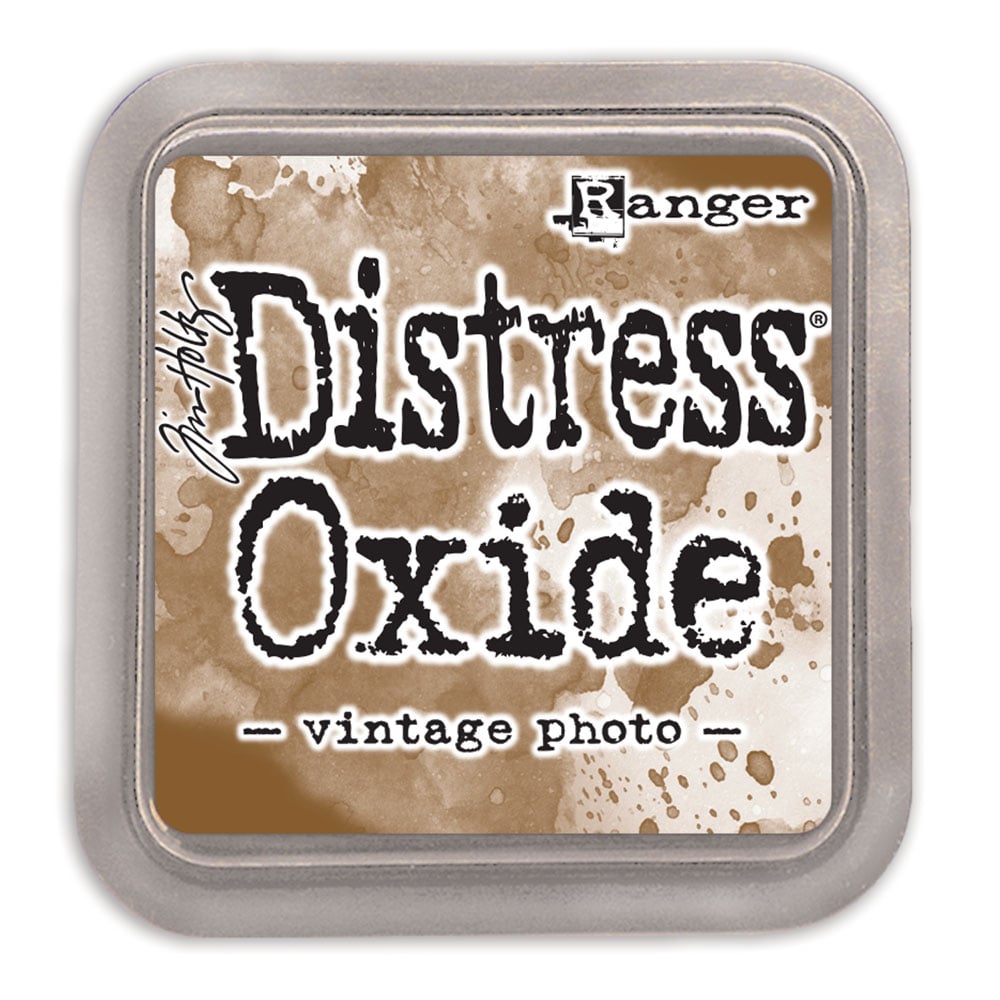
I did some ink blending around my stamped sentiment using Ranger Ink Vintage Photo distress oxide ink and a blender brush. It's popped up on adhesive foam and framed by another die in the kit that I cut with on coral colored paper.


My embellishments include May Arts Ribbon twine and some pretty iridescent confetti that I had in my stash. 

Do you enjoy taking girl trips to the beach? It's been awhile since I've had the opportunity to do so, but this card definitely gives me summer vibes to give to one of my beach buddies.

If you'd like to join the Stitching Die of the Month Club and receive awesomeness in the mail every month, sign up here. The window for new subscribers opens on June 6th and typically runs until the 27th of the month. You can cancel your subscription at any time! Some folks like to skip a month if something doesn't suit their needs and that's perfectly ok! 

If you'd like to check out all the various club offerings, click here.

Thanks so much for stopping by! You'll find other affiliate product links below. Just click the company name to be taken directly to that product for more information.

Terri

*********************************************


Neenah Card Front Solar White 5.5 x 4.25 inch 25 pk
Shop at:
Scrapbookcom
Scrapbook.com Hybrid Ink - Black
Shop at:
Scrapbookcom
Wendy Vecchi Makeart Non-stick Craft Sheet
Shop at:
Scrapbookcom | Ranger Ink
Ranger Distress Oxide Ink Pad - Vintage Photo
Shop at:
Scrapbookcom
Refillable Permanent Adhesive Runner - 49 feet
Shop at:
Scrapbookcom
Double Sided Adhesive Foam Tape - 32 feet
Shop at:
Scrapbookcom
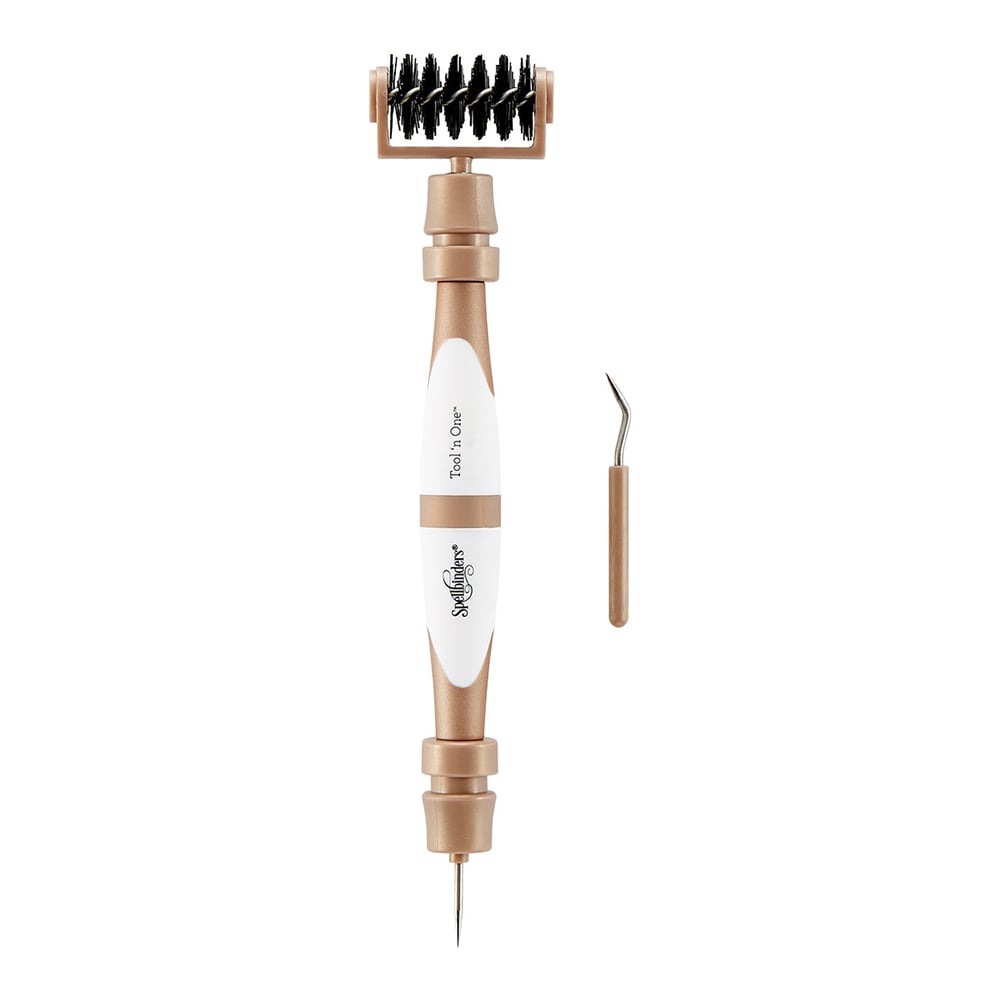
Spellbinders Tool N One - Rose Gold
Shop at:
Scrapbookcom | Spellbinders
New Misti (metal hinges) 8x10 inch
Shop at:
Scrapbookcom
Exclusive Black Platinum 6 Die Cut System
Shop at:
Scrapbookcom
Blending Brushes - Set of 3
Shop at:
Spellbinders
A2 White Cards Top Fold - 25 ct.
Shop at:
Spellbinders
A2 White Envelopes  25 ct.
A2 White Envelopes 25 ct.
Shop at:
Spellbinders
Spellbinders Stitching Die of the Month
Shop at:
Spellbinders
3D Circle Illusion Embossing Folder
Shop at:
Scrapbookcom | Spellbinders
Peppermint Smooth Cardstock - 6x8 inch pad
Shop at:
Scrapbookcom


#wavingmywand #spellbinders #spellbindersclubkits #stitchingdieofthemonth #seashells #summer #summervibes #ocean #coral #seagreen #cards #cardmaking #diycards #stamping #platinum6 #embossing #3Dembossing #dmcembroidery #dmcfloss #scrapbookcom #misti

Wednesday, March 1, 2023

Spellbinders March Quick and Easy Card Kit Makes

I'm sharing my cards that were created for the March Spellbinders Quick & Easy Card Kit of the Month Club release. I love the elements in this months theme titled "Bee Yourself.  It's not just about bees though. You'll find elements to make birthday cards, encouragement cards and more! These kits have been selling out every month so Spellbinders is switching things up a bit to accommodate current subscribers who will get first crack at this release that bills on the 5th.  The window for new subscribers will open on March 6th. 


(FTC Disclosure: as an affiliate for various companies in the craft industry, I will receive a small commission for purchases made through my convenient affiliate links, at no additional cost to you.)


There are sooo many gorgeous patterned papers in this set.  My favorite patterned paper was used on the card above. I thought the bees would pair nicely with all those large, bold floral images. I used the following elements included in the kit: ephemera, patterned paper, puffy stickers, sequins and cardstock stickers in addition to the white card and yellow cardstock panel. 


When I saw that gorgeous cake die cut, I knew I wanted to make a birthday card. I stayed within the soft pastel color scheme, using the papers, panel, puffy stickers and ephemera. By the way, there are lots of foiled accents on some of the images, including that pretty scalloped strip.


After laying out all the die cuts before me, I spotted some elements that I knew would make a fun little scene. I trimmed some of the blue and dark green cardstock panels and adhered them to my card as my base. It was super easy to place everything in this scene and it came together quickly which is always a bonus!


When I saw the rainbow and clouds, I knew I wanted to make a friendship/encouragement card. I layered a variety of trimmed pieces of patterned paper on the bottom half of my card, then placed my rainbow and clouds above, using the sequins like raindrops. I know. I'm a genius. Haha. 

I hope you love this kit as much as I do. This is just a small sampling of what you can do with this kit. You can find more samples by searching #spellbindersclubkits on social media.
Click here to view all the club options this month. I'll be back to share my creations using the new Stitching Die of the Month club kit as well. 

Thanks for stopping by!

Terri

*********************************


#wavingmywand #spellbinders #neverstopmaking #spellbindersclubkits #quickandeasycardkit #bees #birthday #friendship #encouragement #cards #cardmaking #foilaccents #puffystickers #stickers #ephemera #birthdaycake #celebration #honeybees #honey #rainbow #clouds #rain #diycards #beeyourself

Wednesday, February 1, 2023

Spellbinders February Card Kit Release

Hello my lovely friends. The February Club Kits from Spellbinders went live today and I have a couple cards featuring the Quick & Easy Card Kit of the Month, "Spring Delight". First a housekeeping note.... due to the club kits selling out so quickly each month, current club members will be first in line to receive this kit when it bills out on Feb. 5th. Starting Feb. 6th, the window opens for new subscribers. Now, scroll down for a quick chat!


(FTC Disclosure: as an affiliate for various companies in the craft industry, I will receive a small commission for purchases made through my convenient affiliate links, at no additional cost to you.)


I wanted a more simplistic look for this first card. Even though I consider myself an advanced card maker, I feel it's important to sometimes create cards that can be easily replicated by beginning card makers. With that being said, I LOVE how this card turned out and I would definitely love it if I received one just like it! 

Now, I love creating scenic cards so I picked out a few elements that I felt would go well with an outdoor scene. I mean, the name of the kit is SPRING DELIGHT, know what I mean? 

I started by taking that pretty patterned paper from the kit and hand trimming a sloped, grassy hillside. I left a little space at the top edge when applying adhesive, so I could tuck my house behind the slope, before adhering to my white card. I also tucked and adhered the flower next to the house. The remaining elements in my scene were popped up with adhesive foam.


The elements used for the card above are die cuts, puffy sticker hearts, patterned paper and the sentiment was from a sticker sheet in the kit. I have to say, "Bloom with Grace" just jumped out and I had to use it. We need a lot more grace in this world if you know what I mean. 

A trimmed piece of dark cardstock from the kit was used as backing for my sticker, and popped up on adhesive foam as well.


For my next card, I wanted to showcase the sheet of puffy/epoxy words included in the kit, as pictured below.


I started by trimming my card panel and patterned paper from the kit, for a layered look on my card. I chose a delicious die cut strawberry as my center piece, with the words framing my berry. 

Next, I added more puffy hearts and those gorgeous sequins that are included in the kit. I used a lot of adhesive foam to pop up not only my plaid patterned paper, but the strawberry and square backing too.  The word "special" is one of the puffy sentiments included in this kit and there are several puffy sentiments to choose from.


There are enough elements in this kit to create 8 cards but trust me when I say, you will have lots of leftovers to play with too. I'll be sharing more cards from this kit soon but you can find more samples by searching #spellbindersclubkits on social media.

Click here to view all the club options this month. I'll be back later this week to share my work using  the new Stitching Die of the Month Club Kit. 

Thanks for stopping by!

Terri

*********************************


#wavingmywand #spellbinders #neverstopmaking #spellbindersclubkits #quickandeasycardkit  #friendship #encouragement #cards #cardmaking #foilaccents #puffystickers #stickers #ephemera  #diycards #springdelight #strawberries #strawberry