Showing posts with label friendship. Show all posts

Wednesday, May 10, 2023

New Hexi-Gem Collection from Spellbinders

The new Hexi-Gem Collection is live today at Spellbinders! Today's card features new hot foil products and dies from this collection, along with some coloring with Olo Markers which is a line of markers that Spellinders now carries. Scroll down for creative  details. You'll find product links at the end of this post.


(FTC Disclosure: as an affiliate for various companies in the craft industry, I will receive a small commission for purchases made through my convenient affiliate links, at no additional cost to you.)


I love my Glimmer hot foil system so, when presented with the opportunity to play with new Glimmer products, I will jump on that! I took the Hexi-Gem Blooms Glimmer Hot Foil Plate and Die Set for a spin, doing some partial hot foiling at each corner of my A2 card panel. This is really easy to do, it just takes a little extra time since you have to turn off your Glimmer system after each foiling to remove the platform and run through your die cut system, which in my case, is the Platinum 6.


Once I foiled all my corners, I then foiled the full bloom on white cardstock and colored it, along with coloring all four corners with Olo Markers using these colors: O2.2, OR4.2 OR4.4, BG2.1 B2.0, R-G5 and BG0.8. 

I actually grabbed some of the color from  BG0.8 which is a really dark green with the tip of BG2.1 to do some color mixing on those leaves. I needed a darker color but BG0.8 was too dark. You can totally mix colors by tapping your tips! It blends out quickly, so keep tapping as much as you need.

The center of my blooms was created by tapping in some multi-surface paint with a sharp tool using white, brown and a dark yellow.


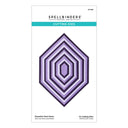
Next, I trimmed white and light green cardstock alternating with 3 different sizes of the Essential Hexi-Gems Etched Dies.  The green cardstock was from my Spellbinders May Quick & Easy card kit. I took my full foiled bloom and trimmed it down one size smaller than the smallest Hexi-Gem etched die on my card, and adhered all the shaped die cuts, popping the base up on adhesive foam.

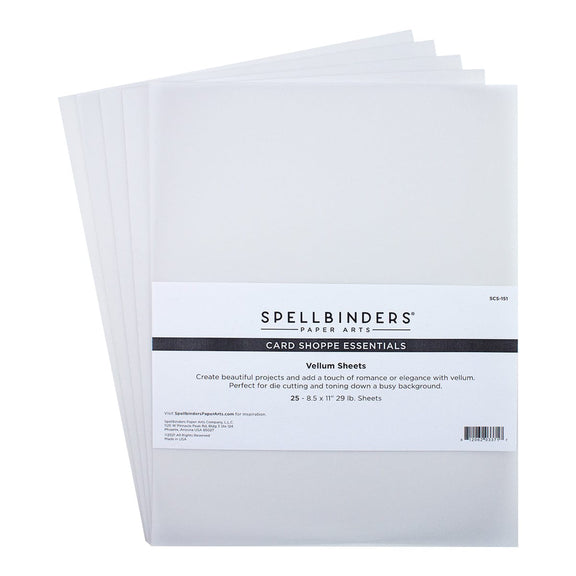
My sentiment is from the Glimmer hot foil plate/die sets from Yana's Birthday collection, called Yana's Special Sentiments. I hot foiled the sentiment on vellum than adhered it to a coordinating light green cardstock die cut outline. 


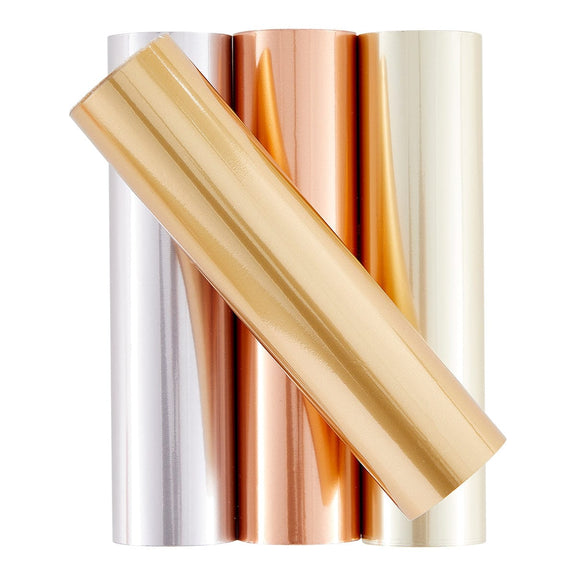
It's funny how lighting affects the way a foiled card looks. As you can see from both photos, it's all in the angles and light. I almost forgot to mention the color of foil that I used. For my foiled blooms I used  Satin Gold which is currently available in two different sets of 4 packs, but not individually. I used black glimmer hot foil for my sentiment.

Thanks so much for stopping by. Have a great day!

Terri

******************************
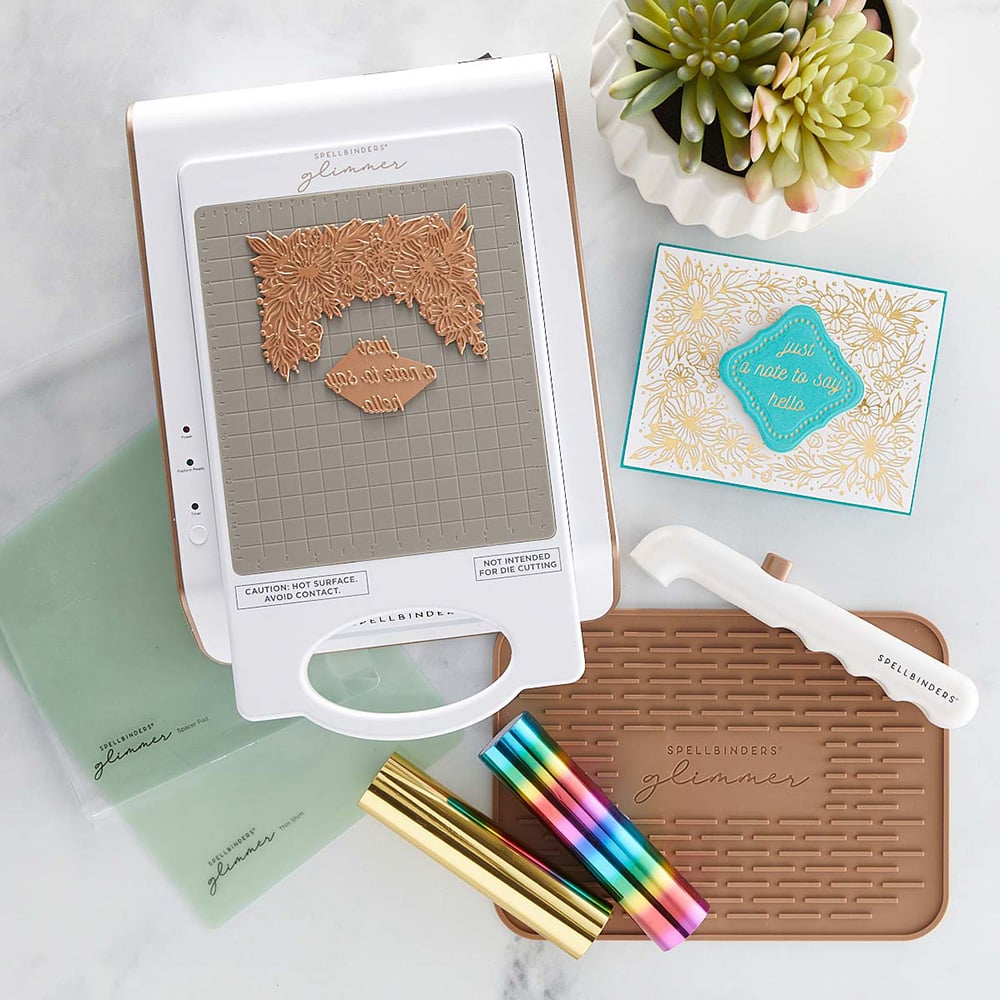

Spellbinders Glimmer Hot Foil System
Shop at:
Scrapbookcom | Spellbinders
Glimmer Specialty Cardstock
Shop at:
Scrapbookcom | Spellbinders
Spellbinders Glimmer Hot Foil - Black
Shop at:
Scrapbookcom | Spellbinders
Refillable Permanent Adhesive Runner - 49 feet
Shop at:
Scrapbookcom
Double Sided Adhesive Foam Tape - 32 feet
Shop at:
Scrapbookcom
Exclusive Black Platinum 6 Die Cut System
Shop at:
Scrapbookcom
A2 White Cards Top Fold - 25 ct.
Shop at:
Spellbinders
A2 White Envelopes  25 ct.
A2 White Envelopes 25 ct.
Shop at:
Spellbinders
Hexi-Gem Blooms Glimmer Hot Foil Plate & Die Set
Shop at:
Scrapbookcom | Spellbinders
Essential Hexi-Gems Etched Dies
Shop at:
Scrapbookcom | Spellbinders
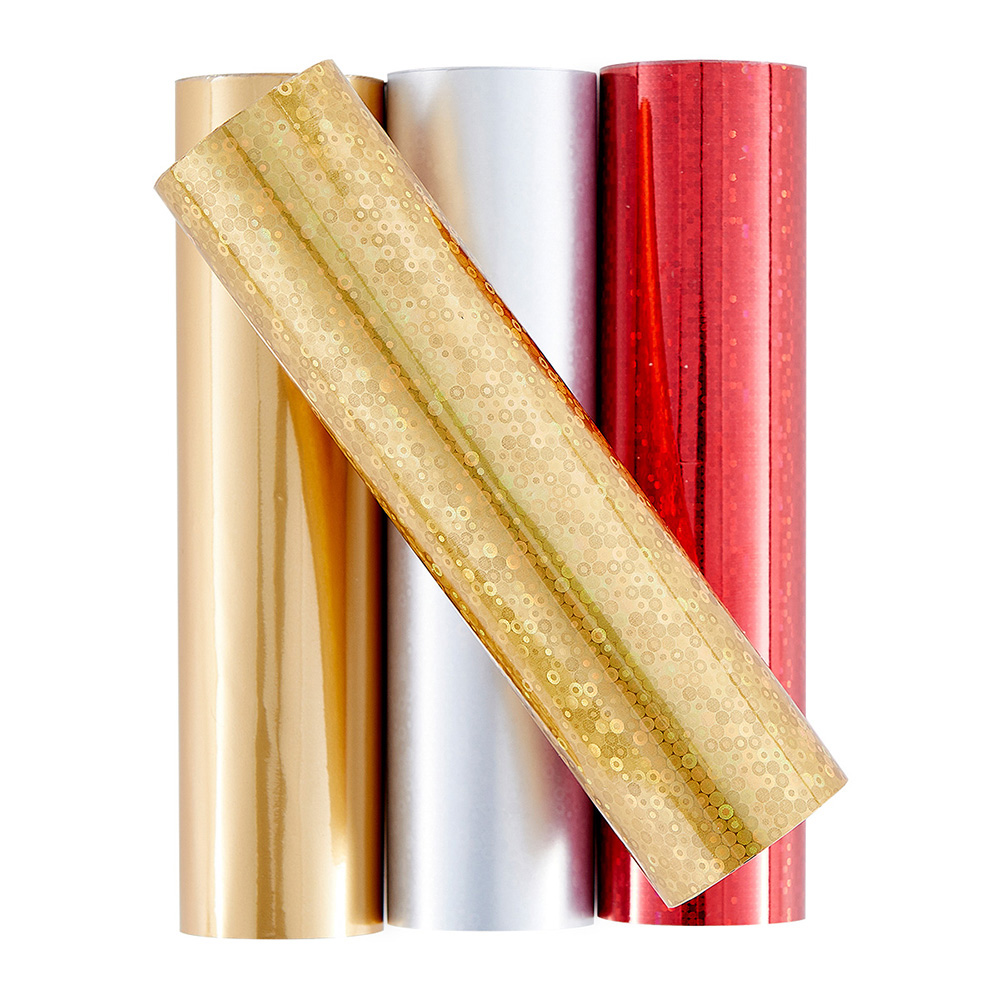
Glimmer Hot Foil 4 pk - Christmas Sparkle
Shop at:
Scrapbookcom | Spellbinders
Yana's Special Sentiments Glimmer Hot Foil/Die Set
Shop at:
Scrapbookcom | Spellbinders
Glimmer Hot Foil 4 pk- Satin Metallics
Shop at:
Scrapbookcom | Spellbinders
Smooth Disc Sequins - Latte
Shop at:
Scrapbookcom | Spellbinders
Vellum Sheets - 25 sheet pk 8.5x11 inch - 29 lb
Shop at:
Scrapbookcom | Spellbinders


#wavingmywand #spellbinders #glimmerhotfoilsystem #hotfoiling #platinum6 #glimmerhotfoil #neverstopmaking #hexigem #foiledcards #cardmaking #diycards #floralcards #olomarkers 


Wednesday, March 1, 2023

Spellbinders March Quick and Easy Card Kit Makes

I'm sharing my cards that were created for the March Spellbinders Quick & Easy Card Kit of the Month Club release. I love the elements in this months theme titled "Bee Yourself.  It's not just about bees though. You'll find elements to make birthday cards, encouragement cards and more! These kits have been selling out every month so Spellbinders is switching things up a bit to accommodate current subscribers who will get first crack at this release that bills on the 5th.  The window for new subscribers will open on March 6th. 


(FTC Disclosure: as an affiliate for various companies in the craft industry, I will receive a small commission for purchases made through my convenient affiliate links, at no additional cost to you.)


There are sooo many gorgeous patterned papers in this set.  My favorite patterned paper was used on the card above. I thought the bees would pair nicely with all those large, bold floral images. I used the following elements included in the kit: ephemera, patterned paper, puffy stickers, sequins and cardstock stickers in addition to the white card and yellow cardstock panel. 


When I saw that gorgeous cake die cut, I knew I wanted to make a birthday card. I stayed within the soft pastel color scheme, using the papers, panel, puffy stickers and ephemera. By the way, there are lots of foiled accents on some of the images, including that pretty scalloped strip.


After laying out all the die cuts before me, I spotted some elements that I knew would make a fun little scene. I trimmed some of the blue and dark green cardstock panels and adhered them to my card as my base. It was super easy to place everything in this scene and it came together quickly which is always a bonus!


When I saw the rainbow and clouds, I knew I wanted to make a friendship/encouragement card. I layered a variety of trimmed pieces of patterned paper on the bottom half of my card, then placed my rainbow and clouds above, using the sequins like raindrops. I know. I'm a genius. Haha. 

I hope you love this kit as much as I do. This is just a small sampling of what you can do with this kit. You can find more samples by searching #spellbindersclubkits on social media.
Click here to view all the club options this month. I'll be back to share my creations using the new Stitching Die of the Month club kit as well. 

Thanks for stopping by!

Terri

*********************************


#wavingmywand #spellbinders #neverstopmaking #spellbindersclubkits #quickandeasycardkit #bees #birthday #friendship #encouragement #cards #cardmaking #foilaccents #puffystickers #stickers #ephemera #birthdaycake #celebration #honeybees #honey #rainbow #clouds #rain #diycards #beeyourself
Saturday, February 25, 2023

Patchwork Style Rainbow Card for Catherine Pooler

Hello cardmakers! I'm back with another card for Catherine Pooler, featuring the Smile Bright dies from the Boho Trends Collection that was released this week, plus a reminder about the Instagram Hop that you can participate in for a prize! Hang out with me for a few quick minutes for creative details on this card and info below!


(FTC Disclosure: as an affiliate for various companies in the craft industry, I will receive a small commission for purchases made through my convenient affiliate links, at no additional cost to you.)


This is a mini-slimline card that measures 6 x 3.5 inches. Everything on the front was die cut, with a sentiment inside. The only ink used was for my butterfly and my sentiment inside. I actually was going to use this butterfly for something else I had in mind, but tossed this on at the last minute and I talk more about it below.


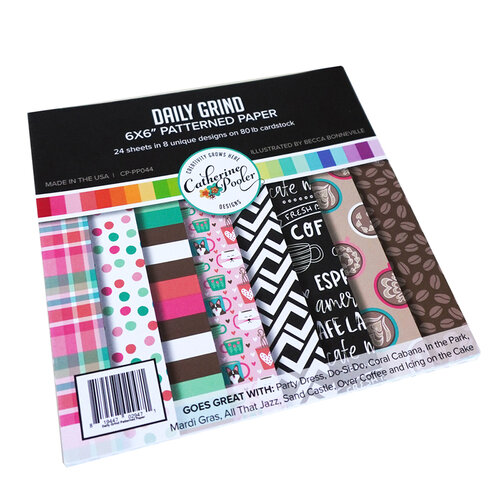
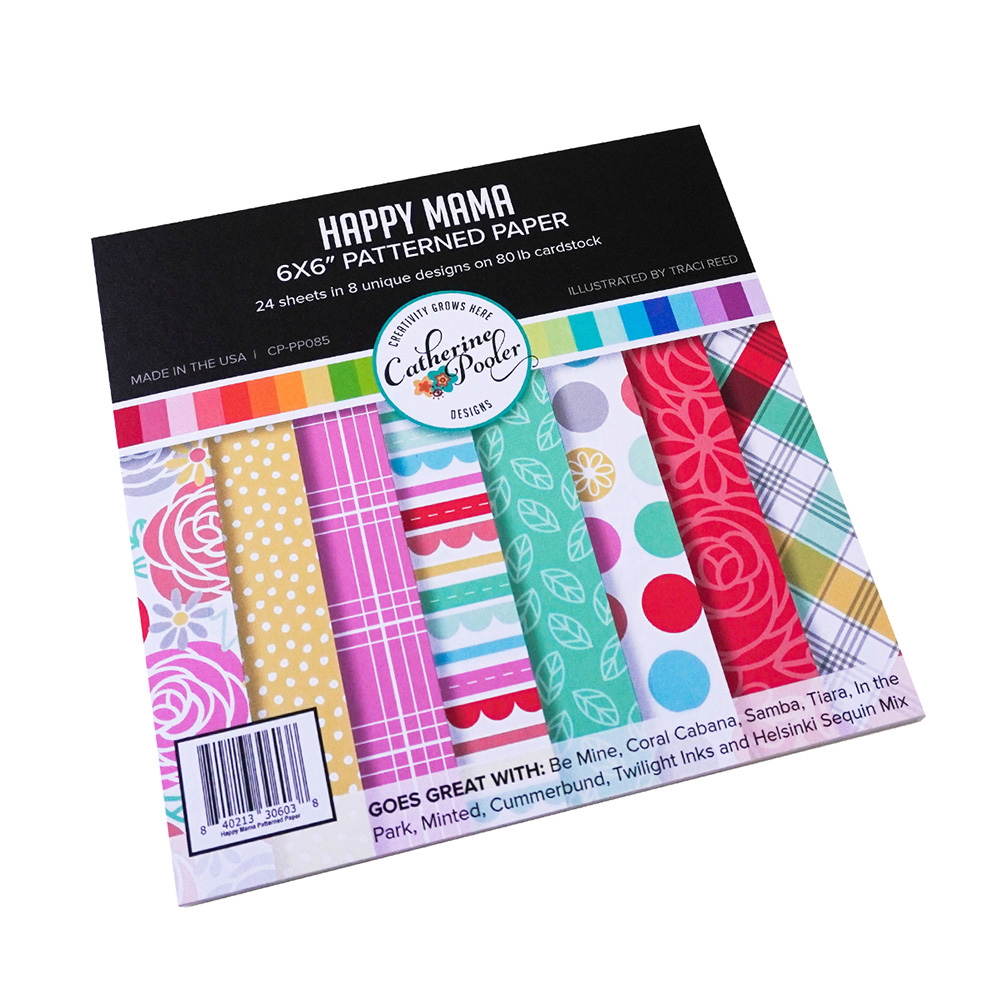
I wanted really bright, festive papers for this card, so I chose a variety of appropriate patterned papers from the Happy Mama and Daily Grind paper pack. I'll have affiliate links to all the products used at the end of this post. Just click any of the links to view more detail about the product.


The butterfly is the only item that has ink on it. I shared a 30 second ink process
video earlier this week in my Instagram Stories, unfortunately I didn't save it as a reel. I did some ink splattering with Ginger, Macchiato and In The Park ink on cardstock. Then, I die cut it with one of the butterflies from the Butterfly Buddies die set.

Here's a picture below showing how I kept all the bits for the butterfly intact after die cutting, for an inlaid effect. I actually traced just the inside of the wings from the die onto an adhesive creative sheet and fussy cut it. After I die cut my butterfly, I carefully flipped my die plate sandwich over from my Platinum 6 and lifted the top plate, keeping all my bits intact. *Do not remove the cuts from the die at this point! 


Next, I peeled off the top layer of my adhesive sheet and adhered it to the back of my die cut. To pop out the cut and keep everything intact, I used a sharp tool with my die and die cut still intact, keeping it on a flat surface and gently pressing each hole on the front of the die until my entire die cut was popped out. A Spellbinders Tool N One or die cut weeding tool is perfect for this. If you have a stylus or jewel picker tool with a small tip, this may work as well. Just be careful, if you lose a tiny piece, you can always use a sharp tool to pick it back up and press it back into place. Once my entire die was removed I firmly pressed all over to make sure my bits were adhered nicely to the adhesive sheet. I used double layers of adhesive foam to pop it up over the corner of my paper rainbow.


Since all my pretty patterned die cut scene took up so much space on the front of my card, I saved my sentiment for the inside. I adhered one of the tiny heart die cuts, then stamped my sentiments from the Smile Bright stamp set.


A few other special accents are the sunbeams shooting out from my cloud that I fussy cut using the pretty yellow polka dot paper from the Happy Mama paper pad. I also used a hole punch with some of  that left over paper to center on top of my die cut flowers at the bottom of my card. I added just a touch of liquid pearls to my center as well. The grassy hillside that my rainbow is standing on was also fussy cut, just curving along the top with my scissors, then adhered flat. Some of my elements are popped up on adhesive foam and some are adhered flat to my card panel.


This was such a fun card to make and believe it or not, once I got in the creative groove and had all my die cuts in hand, it came together very quickly.


If you have an Instagram account, be sure to visit the CP Insta page and hop along to all the other designer accounts where you find this graphic. All the designer links are on Catherine's post. Just hop along and leave comments and follow each account to be in the running for a $50 gc to shop at Catherine Pooler! A winner will be picked Monday, Feb. 27th, so hurry and good luck!

Thanks for stopping by. Click the links below for more product information or to shop!

Terri

*********************************

CPD Midnight Ink Pad
Shop at:
Catherine Pooler
Wendy Vecchi Make Art Stay-tion
Shop at:
Scrapbookcom
Wendy Vecchi Makeart Non-stick Craft Sheet
Shop at:
Scrapbookcom | Ranger Ink
Catherine Pooler Patterned Paper - Daily Grind
Shop at:
Scrapbookcom | Catherine Pooler
Happy Mama Patterned Paper 6x6
Shop at:
Scrapbookcom | Catherine Pooler
Catherine Pooler Ink Pad - Macchiato
Shop at:
Scrapbookcom | Catherine Pooler
Refillable Permanent Adhesive Runner - 49 feet
Shop at:
Scrapbookcom
New Misti (metal hinges) 8x10 inch
Shop at:
Scrapbookcom
Catherine Pooler In The Park Ink Pad
Shop at:
Scrapbookcom | Catherine Pooler
Butterfly Buddies Die Set
Shop at:
Scrapbookcom | Catherine Pooler
CP Apothecary Mini's - Spa Collection
Shop at:
Scrapbookcom | Catherine Pooler
Smile Bright Stamp Set
Shop at:
Scrapbookcom | Catherine Pooler
Boho Trends Entire Bundle
Shop at:
Catherine Pooler
Ginger Ink Pad
Ginger Ink Pad
Shop at:
Scrapbookcom | Catherine Pooler
Smile Bright Die Set
Shop at:
Scrapbookcom | Catherine Pooler
Wendy Vecchi Liquid Pearls - Sunflower
Shop at:
Scrapbookcom


#wavingmywand #catherinepooler #catherinepoolerdesigns #cpbohotrends  #bohotrends #apothecary #minis #catherinepoolerinks #cardmaking #diycards #smilebright #stamps #stamping #rainbows #rainbowcards #happymama #friendshipcards #happymama #dailygrind #patternedpaper #inksplatters #butterfly #butterflies #boho #patchworkcard


Wednesday, February 5, 2020

Stitched Stencil Watercolor Card

Hello crafty friends!  I'm featuring this project for Scrapbook.com with a spotlight on some of their brand new products in the shop.  Did you know they have exclusive, brand products? Stencils, inks, stamps, adhesives..... you name it! And, I love them all.  Plus, I'm sharing tips on water coloring with hybrid inks on heavyweight card stock. Yes, you can!


(FTC Disclosure: as an affiliate for various companies in the craft industry, I will receive a small commission for purchases made through my convenient affiliate links.  This does not affect your purchase price.)


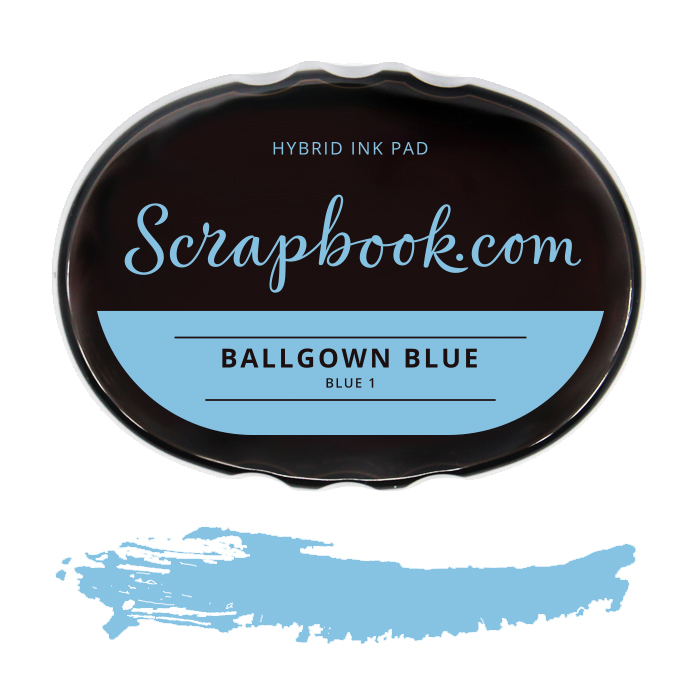
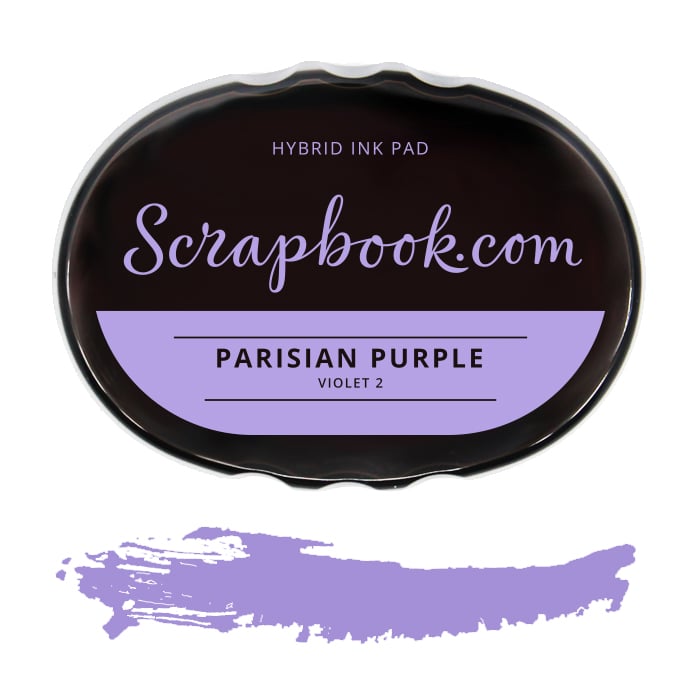
Let's start with the stenciling.  I used the Scrapbookcom hybrid inks in Ballgown Blue and Parisian Purple.  You'll find links to most of the products that I used at the end of this post. 

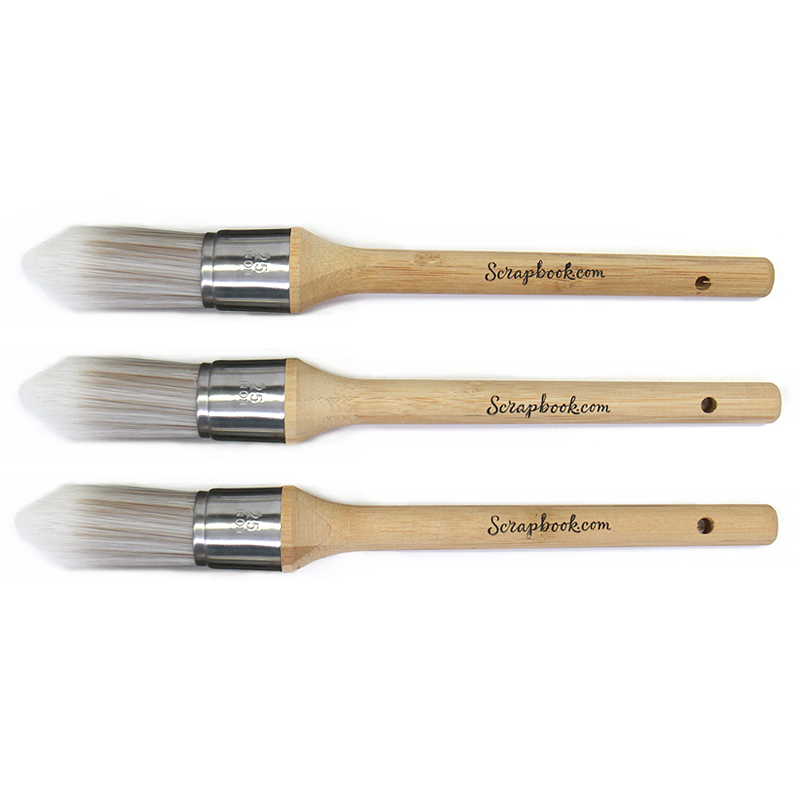
First, I tried my domed foam blender tools to stencil, but those stitched holes are tiny and I wasn't getting the deep coverage that I wanted.  I would recommend blender brushes for the stenciling.  They were able to get into the nooks and crannies without any difficulty.  I used both colors of ink on a different slant, with purple going in one direction and blue in the other.  It's hard to pick out from these photos but it's so pretty in person.


Now, let's color! Ideally, you need heavyweight cardstock for this technique, 80 to 110 lbs. I love the Neenah solar white because it's super white with none of the dullness that standard white cardstock sometimes can have.  Of course, you can also use watercolor paper or mixed media paper.

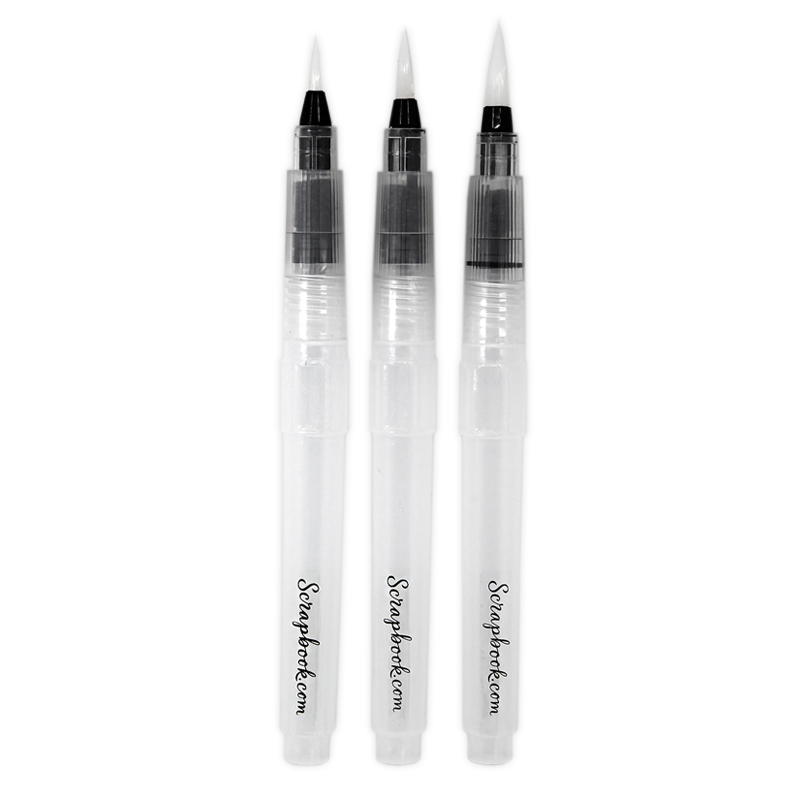
You'll need a craft mat, as well.  Simply press your ink onto the craft mat, then grab your water brush, filled with water and squeeze a little into the mix.  Now grab the inky mixture and start coloring the squares.  I started filling the selected squares with purple first, then mixed in a little blue.  

Make sure you don't over saturate your cardstock.  If you get it a little too wet, just blot with a paper towel.  

To get that 3D effect, outline a darker shade of purple mix in an L shape for each square.  If you have some white pigment ink, this is where it gets good.  Press it onto your craft mat as well, and dab in some white for a light effect.  This offers that amazing 3D visual.  Don't you love it?  I think it kind of looks like quilting.  What do you think?


For my sentiment focus, I used a heart shaped adhesive foam cut out and traced around it onto my Solar White cardstock, to fussy cut a paper heart for stamping and layering on top.  Before cutting out my paper heart, I allowed excess room for stamping with my Misti stamp positioner. 

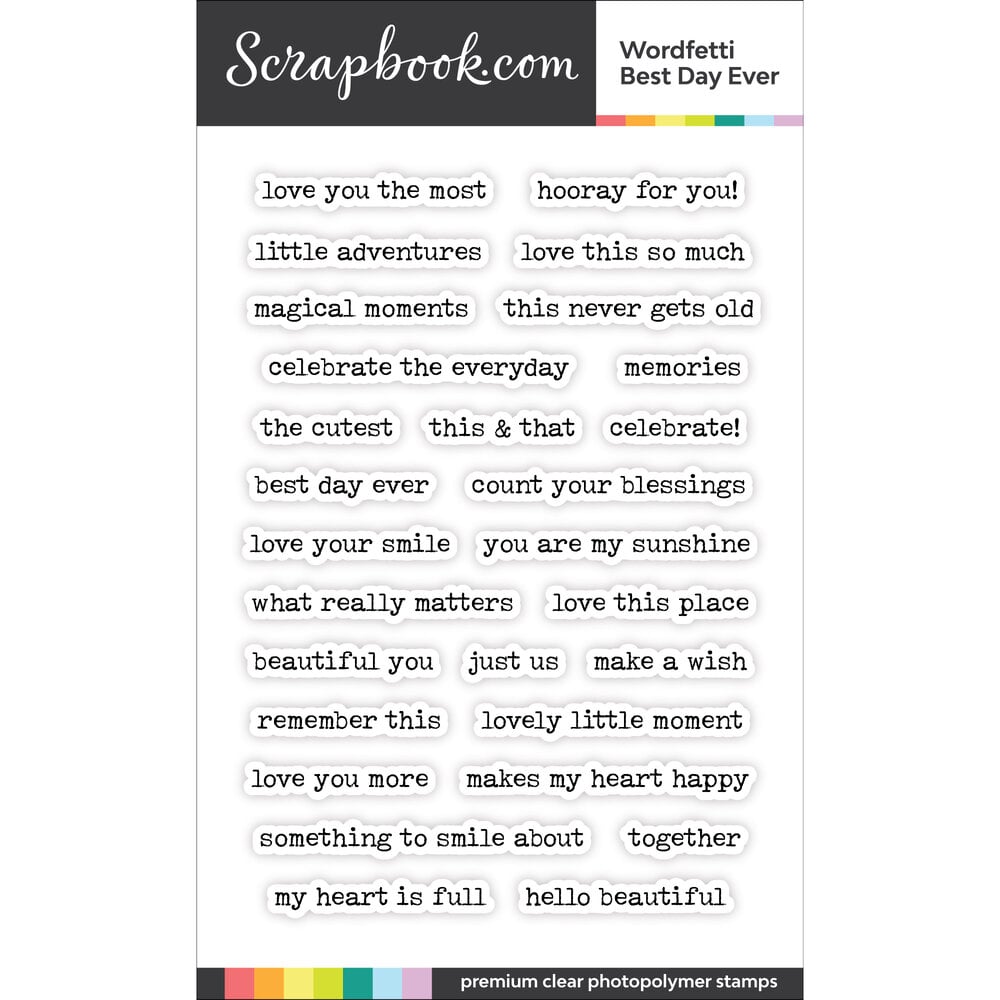
Using the Best Day Ever Funfetti stamp set from Scrapbookcom, I staggered my stamping at a slant with black hybrid ink.  I stamped the center line with my blue ink, then again with purple over the top which was a nice blend to match my squares.

Next, I stamped YOU ARE from the Vintage Type Upper case stamp set, also from.....you guessed it, Scrapbookcom! I love these cool stamp sets paired together, don't you? I also made a heat embossed black strip, simply by trimming a piece of from my adhesive roll. I adhered my strip to a  trimmed piece of white cardstock, peeled back the top lining and sprinkledblack embossing powder on top.  A  craft heat tool melts the powder and adhesive together for a gorgeous shiny accent.  

Lastly, I backed my card with purple cardstock at an offset to my white card which was not quite A2 sized.


Be sure to scroll down and click any of the links below that were featured in my project today, then check out the coupon/deal section at Scrapbook.com.  It's Freebie February with various freebies and "freemium" incentives all month long.  Plus, the top 8 brands are on sale and so much more!


Thanks so much for popping in today!  I appreciate you spending time with me today!

Terri


Affiliate product links are listed throughout this post. Click on the link to go directly to the product.  I do receive a small commission at no extra cost to you, if you make a purchase.


Mini Misti Stamp Positioner
Shop at:
Scrapbook.com
Ranger US HEAT IT CRAFT TOOL
Shop at:
Scrapbook.com
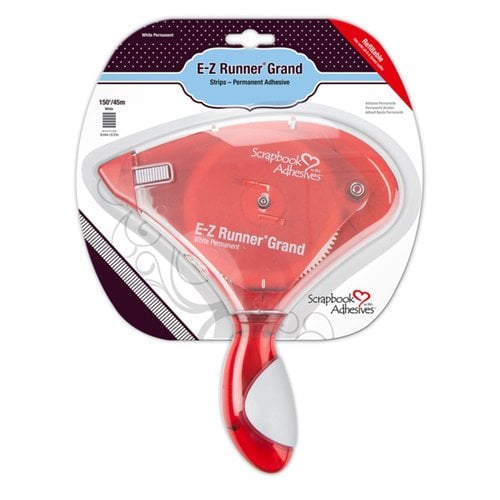
Scrapbook Adhesives by 3L EZ Grand Runner
Shop at:
Scrapbook.com
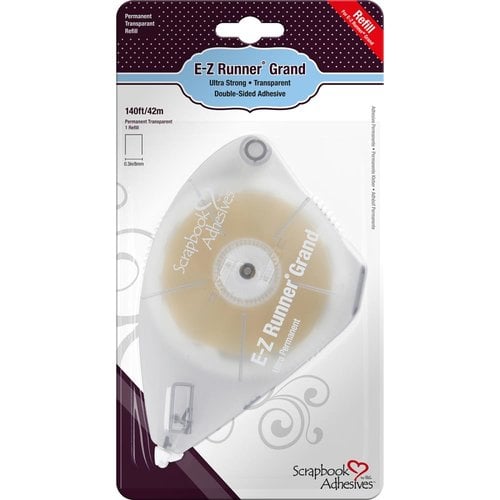
Scrapbook Adhesives by 3L EZ Grand Ultra Refill - Clear
Shop at:
Scrapbook.com
Neenah Solar White Cardstock 25 pk - 8.5x11 inch
Shop at:
Scrapbook.com
Waffle Flower Crafts Water Media Mat
Shop at:
Scrapbook.com
DCWV White Core Double Sided Cardstock Stack
Shop at:
Scrapbook.com
Fiskars 12
Fiskars 12" Premium Cut Line Portable Trimmer
Shop at:
Scrapbook.com
Exclusive Scrapbook.com Pure White Pigment Ink
Shop at:
Scrapbook.com
Exclusive Scrapbook.com Hybrid Ink - Black
Shop at:
Scrapbook.com
Scrapbook.com Hybrid Ink - Ballgown Blue
Shop at:
Scrapbook.com
Scrapbook.com Hybrid Ink - Parisian Purple
Shop at:
Scrapbook.com
Scrapbook.com Stencil Blending Brushes
Shop at:
Scrapbook.com

Scrapbook.com 1/4" x 81 feet Adhesive Roll
Shop at:
Scrapbook.com
Scrapbook.com Diamond Stitched Stencil 6x8 inch
Shop at:
Scrapbook.com
Scrapbook.com Best Day Ever Wordfetti Stamp Set
Shop at:
Scrapbook.com
Scrapbook.com Vintage Type Upper Stamp Set
Shop at:
Scrapbook.com
Ranger Ink Super Fine Black Embossing Powder
Shop at:
Scrapbook.com
Scrapbook.com Round Tip Water Brush Set 3 pk
Shop at:
Scrapbook.com


#wavingmywand #scrapbookcom #stencils #diamondstitched #hybridink #parisianpurple #ballgownblue #vintagetype #stamps #bestdayever #funfetti #waterbrush #watercoloring #papercrafts #cardmaking #adhesiveroll #heatembossing #Misti #rangerink #Neenah #DIY #cards #terriburson #youare #whatreallymatters #scrapbookadhesivesby3L #waffleflowercrafts #watermediamat #dcwv #diecutswithaview #cardstock #fiskars #hearts #love #encouragement #friendship #sharehandmadekindness #sharingiscaring