Showing posts with label butterflies. Show all posts

Sunday, July 26, 2026

Handmade Postcard Exchange

Hello friends. Today's project was created for a postcard pal exchange, hosted by @planninginhd on Instagram. I thought it would be the perfect opportunity to use some rub-ons in my stash. Scroll down for creative details. You'll find my clickable supply list at the end of this post, as well.


 (FTC Disclosure: as an affiliate for various companies in the craft industry, I will receive a small commission for purchases made through my convenient affiliate links, at no additional cost to you.) 


Although the postcard exchange has closed for this month, be sure and check back, if you'd like to sign up for future exchanges.


The rub-ons that I used for this postcard are called Retro Garden from Scrapbook.com. I was going for a summery, happy vibe! I kept the address side of this postcard fairly simplistic, but added lots of mixed media flair for the flip side.


My postcard was created completely from scratch, including trimming a standard size 4x6 inch piece of white cardstock. I decided to use heavyweight 100# cardstock, so nothing would bleed through to the other side, since I planned to add paint and ink splatters.


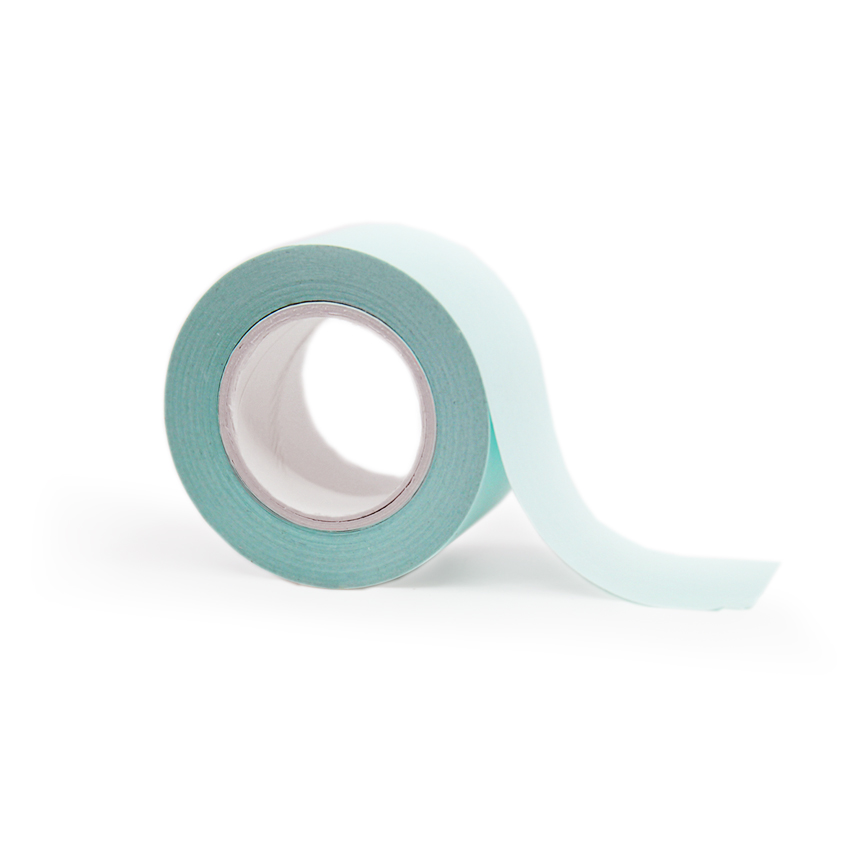
I adhererd some low tack mint adhesive tape, covering the outer 1/2" of all sides to form a border. I rubbed on the center phrase first, then created a floral, butterfly scene with rub-ons, most of which were offset on the border. 

Although a wooden stick is included in the rub-on set, I prefer to use my bone folder as it glides a bit smoother.


Next, I did some ink blending around the edges with my Catherine Pooler Spiced ink, and a blender brush. The photo above looks pretty messy, but it's all in the process!

I also created lots of splatters with my Spiced ink, white paint and some Catherine Pooler Glitz Shimmer for some shine and sparkle.

I have a dedicated large piece of bubble wrap that I use to protect my space when splattering.


Another tip? I used my bone folder to also go all along the inner edges of the lined tape, so when I gently pull off the tape, the overlap of the rub-ons easily come off and don't leave any jagged edges.


I love how it turned out. So much inky deliciousness! If you wanted to do something similar, you wouldn't necessarily have to add the ink and paint splatters. The scene looks perfectly lovely without the added enhancement.


As of this writing, there's a coupon code available at Scrapbookcom. Use code HOLIDAY by midnight Sunday 7/26 tonight for an additional 12% discount off your entire purchase. If you're seeing this post after Sunday, tap here to see if there's another coupon code available! There are often free add-on gifts you can toss into your cart too from the coupon section.

I can't wait for the recipient to receive this. I hope she loves it as much as I do! If you have any other questions, let me know in the comment section. I hope you have a fantastic day!


Terri

******************
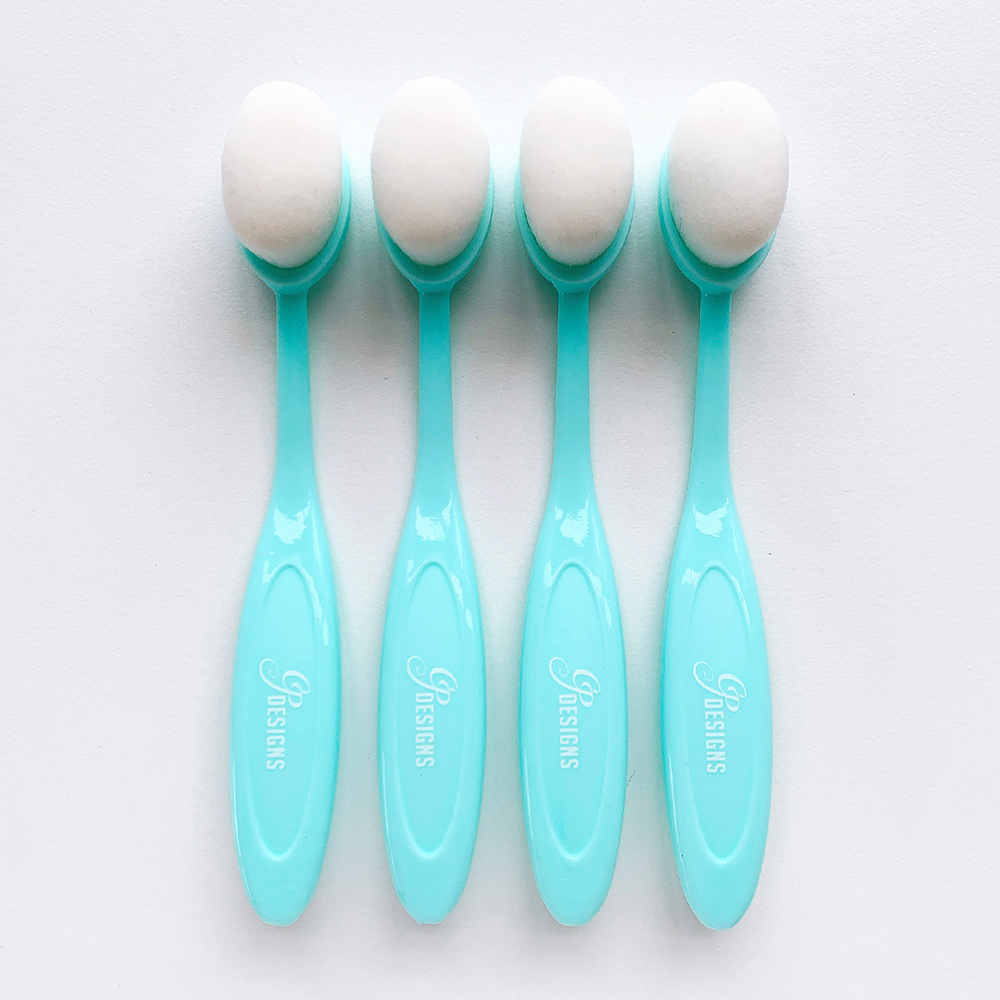
Catherine Pooler Blending Brushes - 4 pk.
Shop at:
Scrapbookcom
Mint Tape 1 inch roll
Shop at:
Scrapbookcom
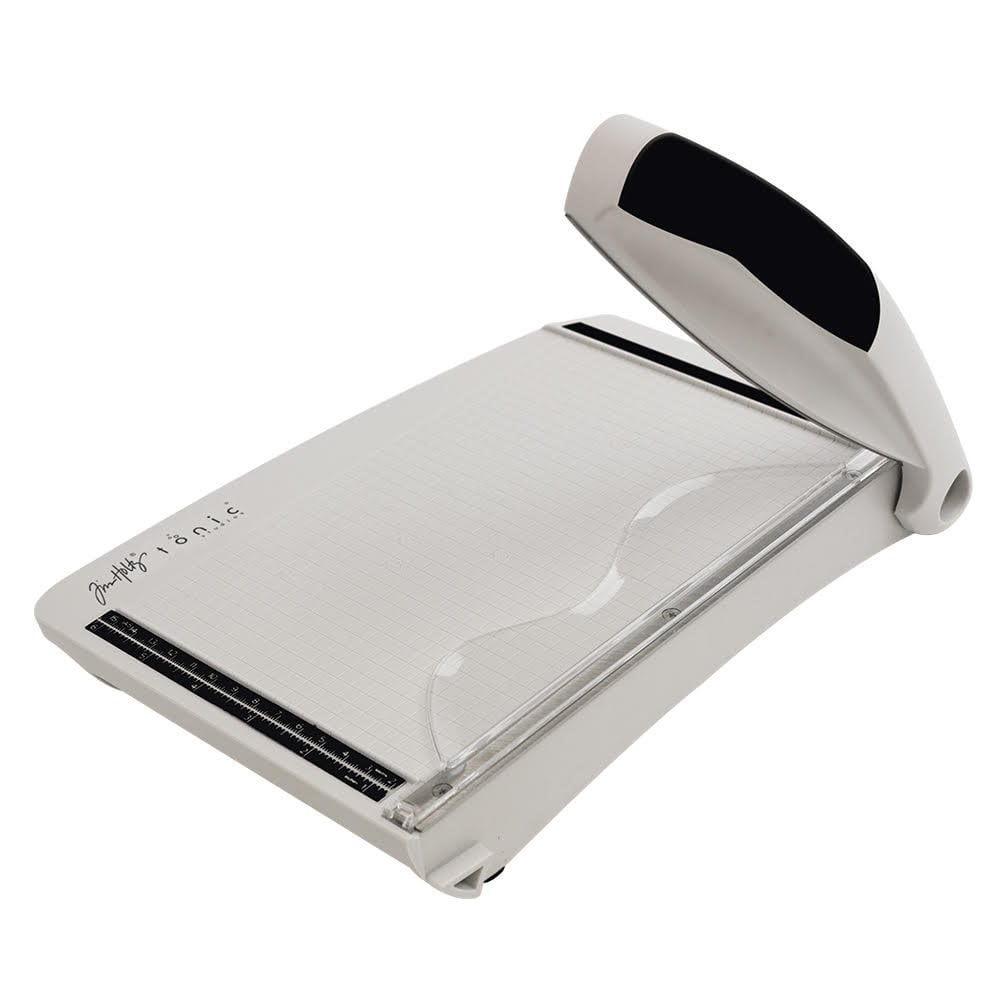
Tonic Studios Tim Holtz Comfort Trimmer 8.5 Inch
Shop at:
Scrapbookcom
Project Grip Mat Large - White - 24x18 inch
Shop at:
Scrapbookcom
CPD Ink Pad - Spiced
Shop at:
Scrapbookcom
Altenew Fine Liner Pen Set
Shop at:
Scrapbookcom
Dina Wakley White Acrylic Paint
Shop at:
Scrapbookcom
Retro Garden Rub-ons - 2 pc set
Shop at:
Scrapbookcom
CPD Favorite White Cardstock - 100 lb - 25 pk
Shop at:
Scrapbookcom
Dress My Craft Non-Stick Bone Folder
Shop at:
Scrapbookcom


Shop at:
Scrapbookcom


#wavingmywand #thecreativedeskpostcardpalexchange #handmade #postcard #scrapbookcom #catherinepoolerdesigns #catherinepoolerink #diypostcard #rubon #mixedmedia #diy #summertime #sunshine #butterflies #flowers #floral

Tuesday, April 14, 2026

Peeking Butterflies Card for Scrapbookcom

Hello cardmakers. Today I've got another card created for Scrapbook.com featuring their new A2 size cardstock packs. They sold out a few weeks ago and are now back in stock. It's a hot item so grab some before they sell out again! There's 5 different packs you can purchase separately, or grab the bundle. It comes in Glimmer, Classic, Heavyweight, Swiss Dot and Canvas. Scroll down for details on my Peeking Butterflies Card!


 (FTC Disclosure: as an affiliate for various companies in the craft industry, I will receive a small commission for purchases made through my convenient affiliate links, at no additional cost to you.)


The cardstock packs I'm creating with today are Glimmer and Swiss Dot.


I started by die cutting lots of butterflies from the Cottage die set. Some will serve as the backing for the top layer of butterflies. I lightly tacked them in the center and also scored the top butterflies in the center so the wings would be lifted.


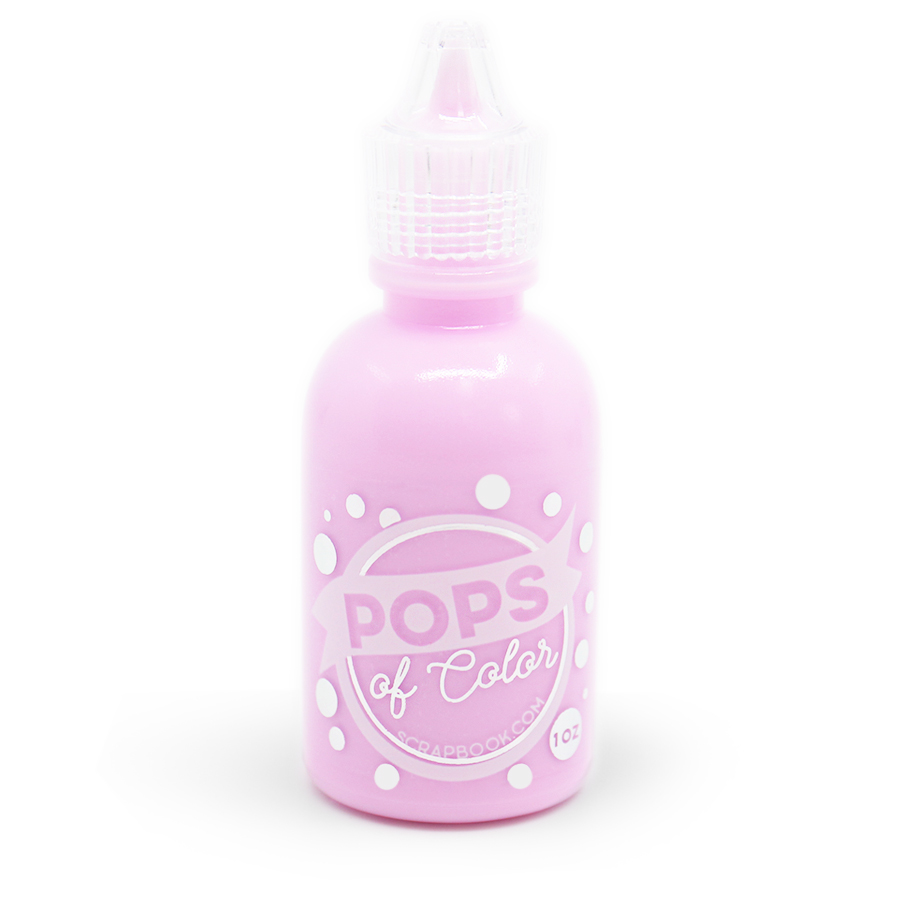
I wanted to add some Pops of Color in Soft Lavender on top of those tiny holes cut out on the butterfly wings. To keep my liquid embellishment from seeping through, I simply placed thin strips of 1/4" mint tape on the back side of the wings, as pictured below.


Now here's a really cool trick.  I applied my Pops of Color at the end, after my card was completely assembled and here's why. To get your liquid embellishment to flatten and look like enamel dots, just slap your card against the top of your desk or whatever surface you are creating on. Don't be too aggressive, haha, just give it a little slap. It will flatten those liquid dots right out. Cool, huh? You can see the before and after below.


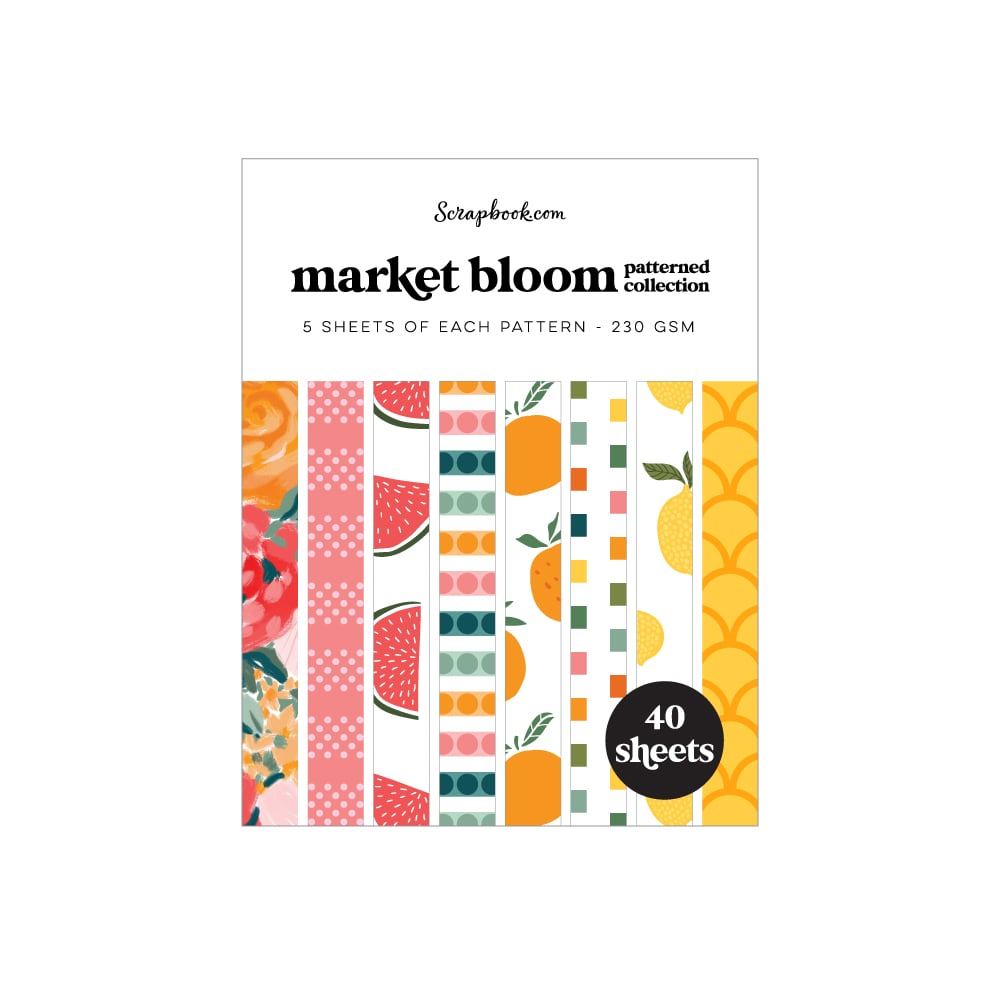
Now, the frame that I die cut using white cardstock is the A2 Stitched Scallop Block Frame. I simply punched out all 6 center pieces and backed my frame with some pretty plaid paper from the Market Bloom paper pad.

Let me also mention, to get my butterflies to look like they pop out, I pulled each butterfly through the window frame, lightly tacked it to the backside of my scalloped die cut frame, then trimmed off the excess part of the wing on the back side. I did this before adhering the plaid paper behind it.


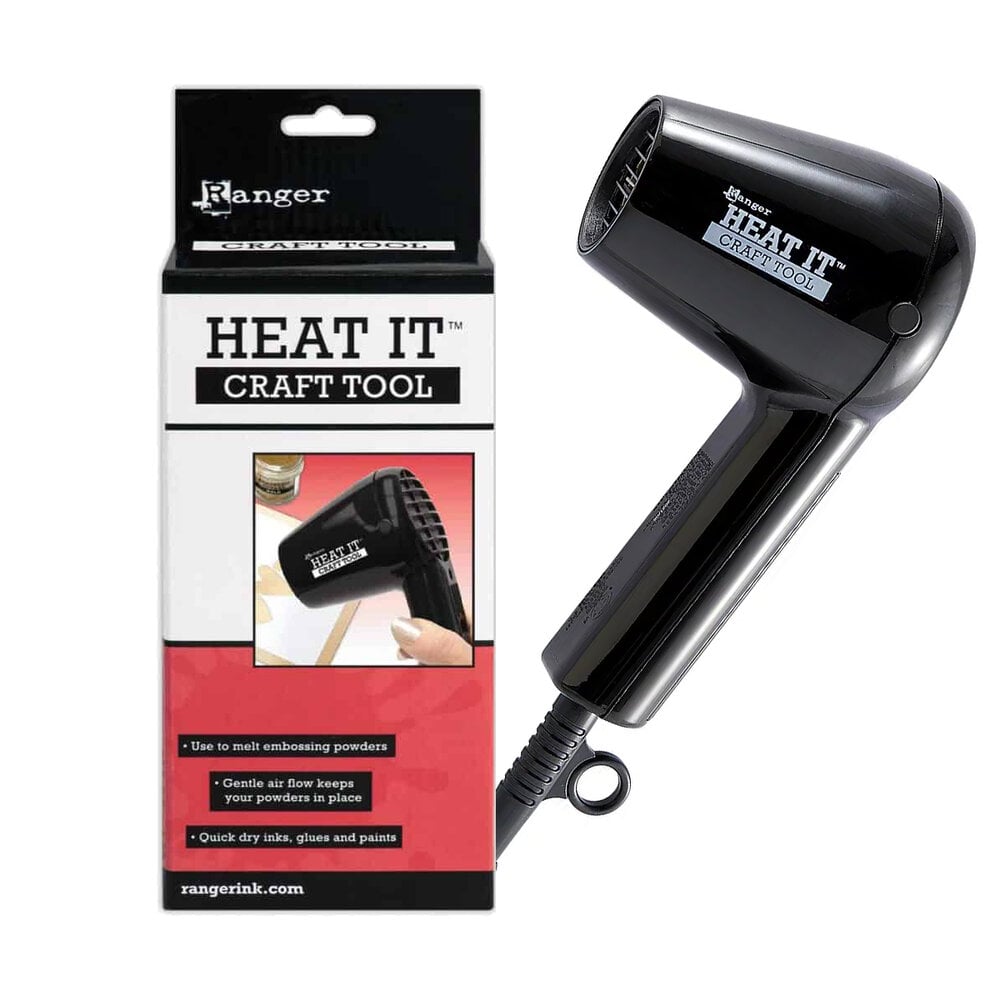
Lastly, I used a really great sentiment from the Woodland Enchanted Forest Stamp/Die set. I wanted a longer sentiment that I could break up and spread out across my card, so I used my stamp positioner and used the masking technique to stamp, and then heat emboss, one line at a time. I did this on the textured Glimmer cardstock. I love how it looks and it's such a lovely quote!

Thanks so much for stopping by. If you'd like more information on any of the products that I used today, or wish to add some of these absolutely fabulous products to your own craft space, simply tap any of the affiliate links I've provided below. 

I hope you have an amazing day. Stay crafty!

Terri

************************

Ranger Ink White Super Fine Embossing Powder
Shop at:
Scrapbookcom
Scrapbook.com Premium Clear Embossing Ink Pad
Shop at:
Scrapbookcom
Refillable Permanent Adhesive Runner - 49 feet
Shop at:
Scrapbookcom
3 mm Adhesive Strips - 160 strips
Shop at:
Scrapbookcom
Pink Stamp Cleaning Shammy
Shop at:
Scrapbookcom
Mini Misti Stamp Positioner
Shop at:
Scrapbookcom
Neenah Solar White Ultra Thick Cardstock - 25 pack
Shop at:
Scrapbookcom
Sage Green Platinum 6 Bundle
Shop at:
Scrapbookcom
A2 Premium Swiss Dot Cardstock
Shop at:
Scrapbookcom
A2 Premium Glimmer Cardstock
Shop at:
Scrapbookcom
Cottage Die Set
Cottage Die Set
Shop at:
Scrapbookcom
Pops of Color Liquid Embellishment - Soft Lavendar
Shop at:
Scrapbookcom
Mint Tape Roll - 1/4
Mint Tape Roll - 1/4"
Shop at:
Scrapbookcom
A2 Stitched Scallop Block Frame
Shop at:
Scrapbookcom
Market Bloom Patterned Paper - A2
Shop at:
Scrapbookcom
Woodland Enchanted Forest Stamp/Die Set
Shop at:
Scrapbookcom
Pink Platinum 6 Die Cut System
Shop at:
Scrapbookcom
Ranger Heat It Craft Tool
Shop at:
Scrapbookcom


#wavingmywand #scrapbookcom #cardstock #glimmer #cards #cardmaking #diycards #swissdot #butterfly #butterflies #popsofcolor #lavendar #love


Sunday, October 5, 2025

Pink Ribbon Card for Pajama Crafter Stamps

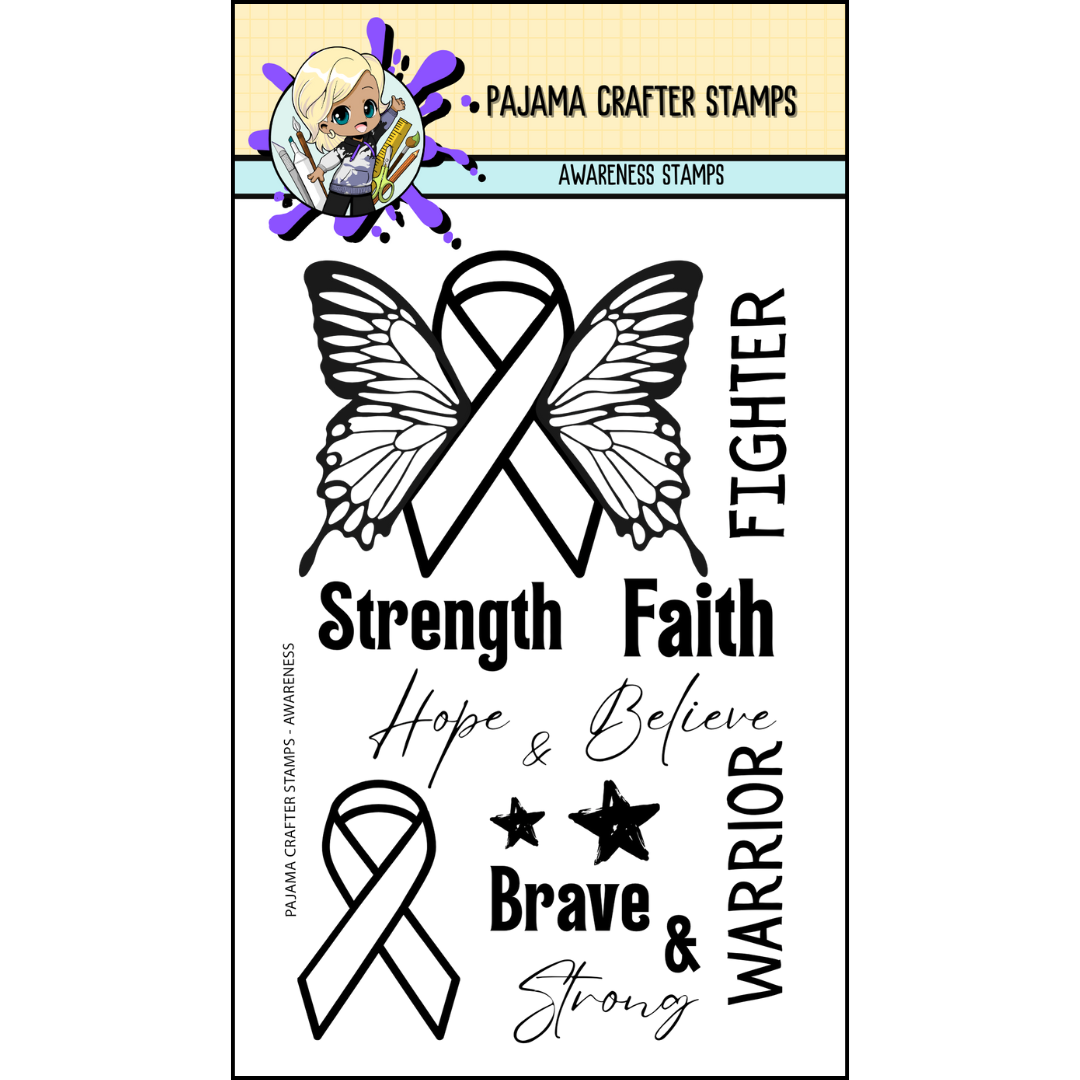
 It's October and that means you'll see pink ribbons everywhere for breast cancer awareness. Today's card features the new Awareness stamp set from Pajama Crafter Stamps and I absolutely had to have this in my collection. As someone who began their breast cancer journey this year, the pink ribbon means so much to me, now more than ever.


 (FTC Disclosure: as an affiliate for various companies in the craft industry, I will receive a small commission for purchases made through my convenient affiliate links, at no additional cost to you.)


If you haven't followed my journey, my mother and sister were both breast cancer survivors. My mom's was caught early and she avoided chemo and radiation, same as me. My sister however, ignored a growing lump for many years and she is very lucky to be alive. She is now over 10 years cancer free but it wasn't without a long, strenuous and painful journey of chemo and radiation.

That is why it's so important to get yearly mammograms and don't ignore symptoms!

I was diagnosed with early stage breast cancer in May and had a mastectomy in July. Although it was early stages, my doctor did not recommend a lumpectomy due to my family history. I'm doing very well at this time!


So let's get on with a few creative details. I started by stamping my image with Inkon3 Fadeout Ink, then used OLO Markers in 3 colors to color in the negative space.

My stamping was done using my Misti stamp positioner with the cardstock left in place to color. The reason why, is in the next step.

Once I finished my coloring, with my image still in place on the Misti, I stamped my image again using Catherine Pooler Cotton Candy ink, sprinkled on some clear embossing powder, then heat set my image.

I had seen this technique done before, so I thought I'd try it. The reasoning behind it is to avoid muddling up your alcohol marker brush tips with embossing powder that can seep onto your brush tips.


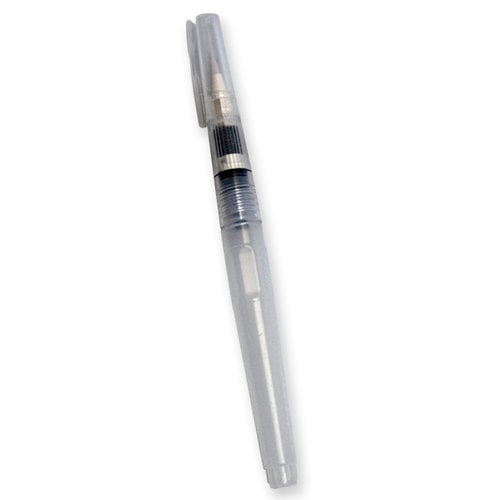
To pop up my butterfly wings, I trimmed along the ribbon line where the wings connect, so I could adhere adhesive foam strips on the backside and have my wings elevated above the ribbon. I also used a paintbrush to slightly curl my wings.


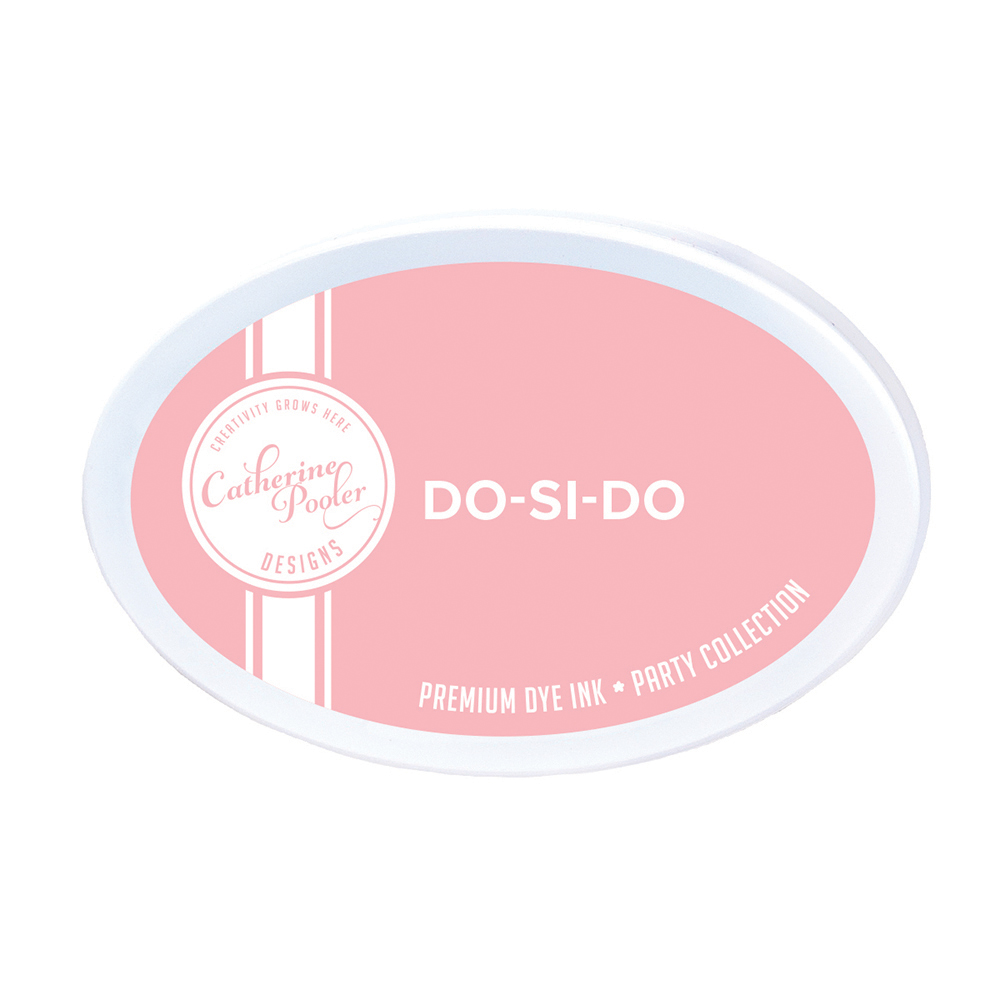
Lastly, I added white paint splatters to my wings, covering up the pink ribbon with low tack tape during this process. I also splattered some ink splatters on my background using Catherine Pooler Do-Si-Doh ink.

My sentiment was stamped in Catherine Pooler Midnight Ink.

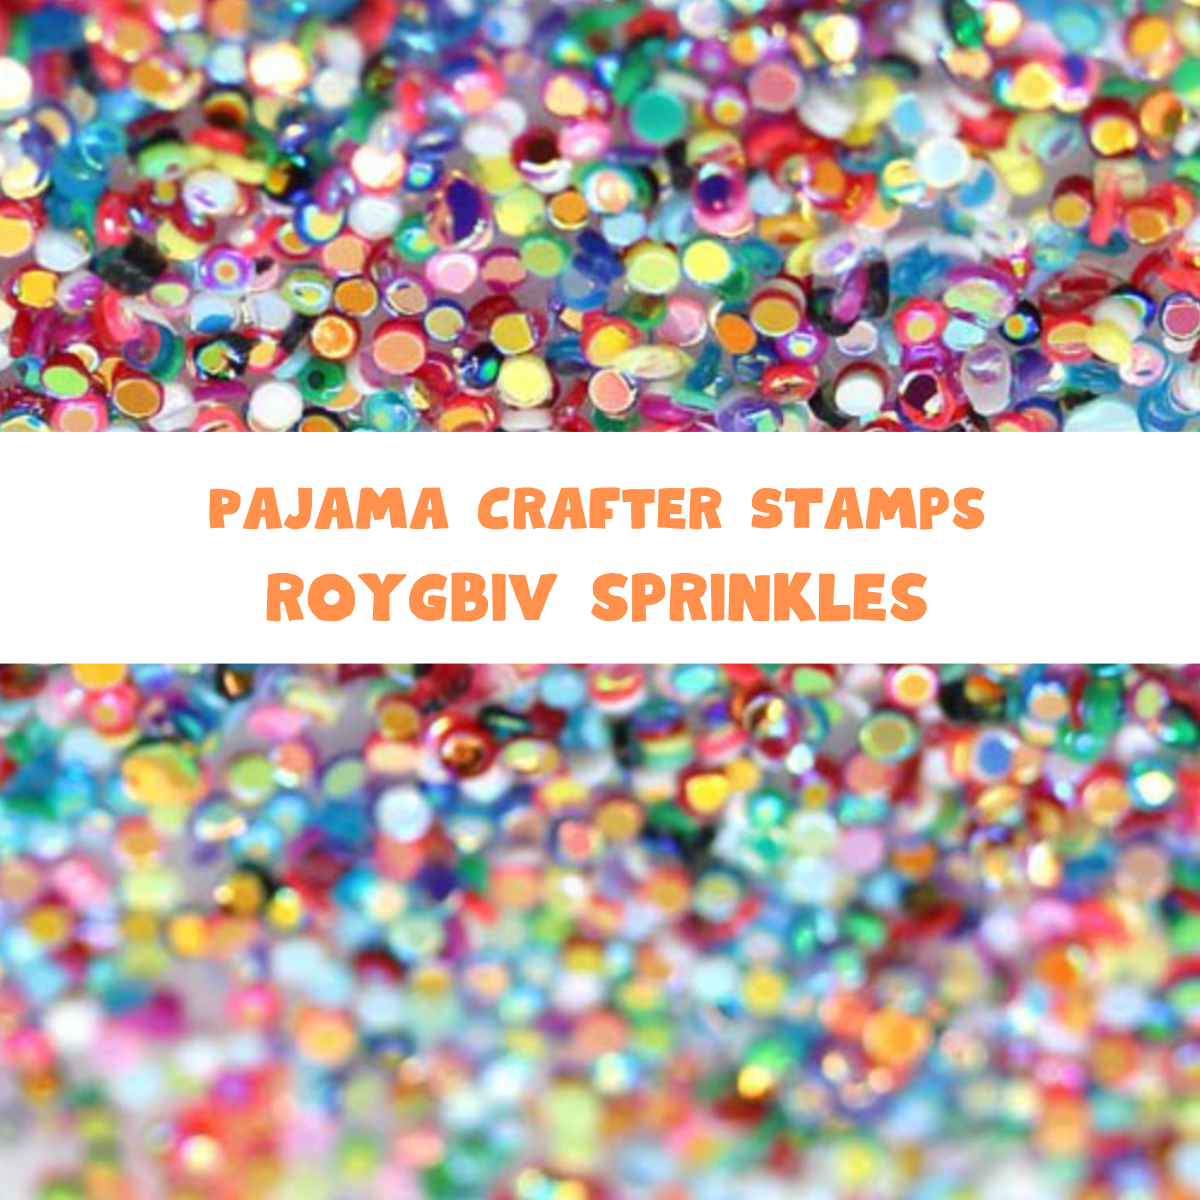
If you look closely at the photo above, you might see some of the itty bitty pink sprinkles I harvested from the Pajama Crafter Stamps ROYGBIV Sprinkles Embellishment Mix and glued to my card. Tiny little sequins are some of my faves. So subtle and yet sparkly and shiny.


I'm so happy you stopped by today. Be sure and tap any of the links provided from my supply list for more product information or to shop. I hope you have a lovely day!

Terri

******************************

Ranger Tim Holtz Detail NIB Water Brush
Shop at:
Scrapbookcom
Hero Arts Clear Embossing Powder
Shop at:
Scrapbookcom
CPD Do-Si-Do Date Night Ink Pad
Shop at:
Scrapbookcom | Catherine Pooler
Refillable Permanent Adhesive Runner - 49 feet
Shop at:
Scrapbookcom
Tonic Studios Tim Holtz Comfort Trimmer 8.5 Inch
Shop at:
Scrapbookcom
3 mm Adhesive Strips - 160 strips
Shop at:
Scrapbookcom
Pink Stamp Cleaning Shammy
Shop at:
Scrapbookcom
OLO Marker RV0.2 - Bubble Gum
Shop at:
OLO Marker
Craft Pick Pro Tool w/ 4 Interchangeable Tools
Shop at:
Scrapbookcom
Sizzix Heat Tool
Sizzix Heat Tool
Shop at:
Scrapbookcom
Sizzix Effectz White Acrylic Paint
Shop at:
Scrapbookcom
Sizzix Hot Glue Gun
Sizzix Hot Glue Gun
Shop at:
Scrapbookcom
Pajama Crafter Stamps ROYGBIV Sprinkles Mix
Shop at:
Pajama Crafter Stamps
Pajama Crafter Stamps Awareness Stamp Set
Shop at:
Pajama Crafter Stamps
OLO Marker Brush Marker - Y2.2 - Daffodil
Shop at:
OLO Marker
OLO Marker Brush Marker - R2.2 - Peach Blossom
Shop at:
OLO Marker
CPD Cotton Candy Ink Pad
Shop at:
Scrapbookcom
Inkon3 Fadeout No Line Coloring Ink Cube
Shop at:
Simon Says Stamp
Neenah A2 White Vertical Scored Cards - 25 pk
Shop at:
Scrapbookcom


#wavingmywand #pajamacrafterstampss #breastcancerawareness #pinkribbon #cardmaking #awarenessstamps #stamping #diycards #butterflies #olomarker #paintsplatters #inksplatters #fighter #warrior #survivor #breastcancersurvivor #cards