Showing posts with label catherinepoolerink. Show all posts

Sunday, July 26, 2026

Handmade Postcard Exchange

Hello friends. Today's project was created for a postcard pal exchange, hosted by @planninginhd on Instagram. I thought it would be the perfect opportunity to use some rub-ons in my stash. Scroll down for creative details. You'll find my clickable supply list at the end of this post, as well.


 (FTC Disclosure: as an affiliate for various companies in the craft industry, I will receive a small commission for purchases made through my convenient affiliate links, at no additional cost to you.) 


Although the postcard exchange has closed for this month, be sure and check back, if you'd like to sign up for future exchanges.


The rub-ons that I used for this postcard are called Retro Garden from Scrapbook.com. I was going for a summery, happy vibe! I kept the address side of this postcard fairly simplistic, but added lots of mixed media flair for the flip side.


My postcard was created completely from scratch, including trimming a standard size 4x6 inch piece of white cardstock. I decided to use heavyweight 100# cardstock, so nothing would bleed through to the other side, since I planned to add paint and ink splatters.


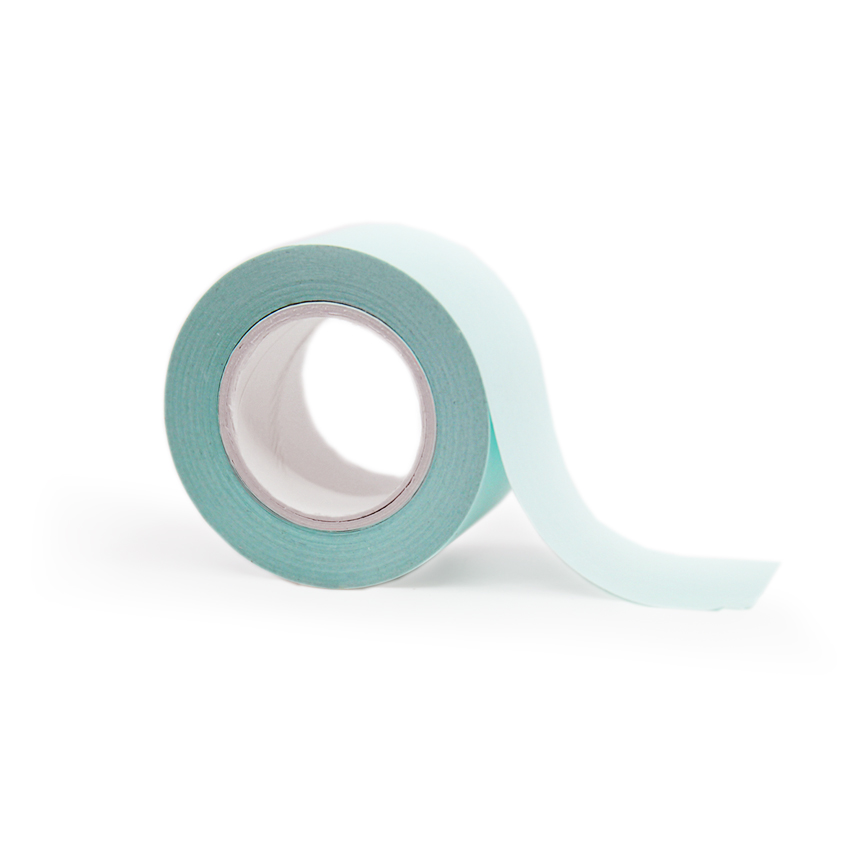
I adhererd some low tack mint adhesive tape, covering the outer 1/2" of all sides to form a border. I rubbed on the center phrase first, then created a floral, butterfly scene with rub-ons, most of which were offset on the border. 

Although a wooden stick is included in the rub-on set, I prefer to use my bone folder as it glides a bit smoother.


Next, I did some ink blending around the edges with my Catherine Pooler Spiced ink, and a blender brush. The photo above looks pretty messy, but it's all in the process!

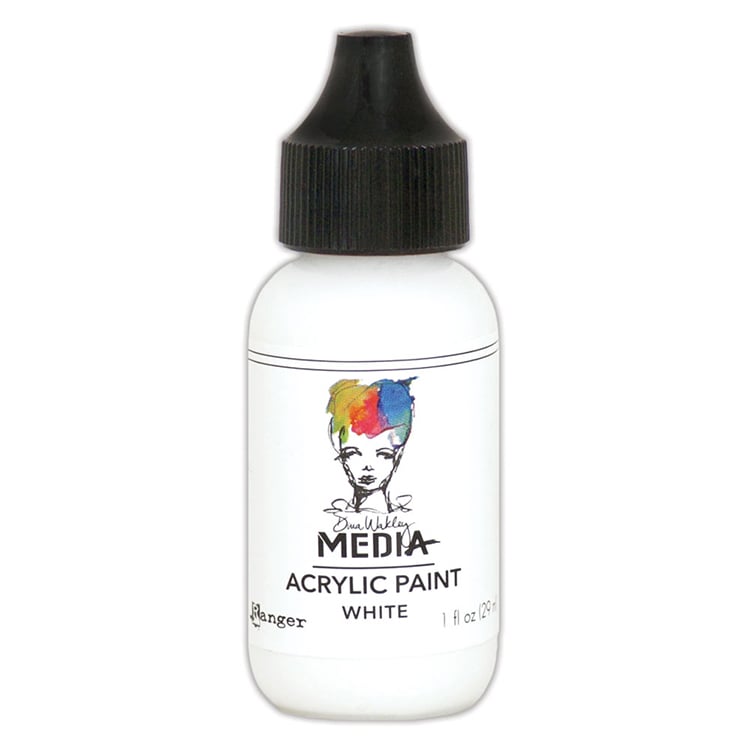
I also created lots of splatters with my Spiced ink, white paint and some Catherine Pooler Glitz Shimmer for some shine and sparkle.

I have a dedicated large piece of bubble wrap that I use to protect my space when splattering.


Another tip? I used my bone folder to also go all along the inner edges of the lined tape, so when I gently pull off the tape, the overlap of the rub-ons easily come off and don't leave any jagged edges.


I love how it turned out. So much inky deliciousness! If you wanted to do something similar, you wouldn't necessarily have to add the ink and paint splatters. The scene looks perfectly lovely without the added enhancement.


As of this writing, there's a coupon code available at Scrapbookcom. Use code HOLIDAY by midnight Sunday 7/26 tonight for an additional 12% discount off your entire purchase. If you're seeing this post after Sunday, tap here to see if there's another coupon code available! There are often free add-on gifts you can toss into your cart too from the coupon section.

I can't wait for the recipient to receive this. I hope she loves it as much as I do! If you have any other questions, let me know in the comment section. I hope you have a fantastic day!


Terri

******************
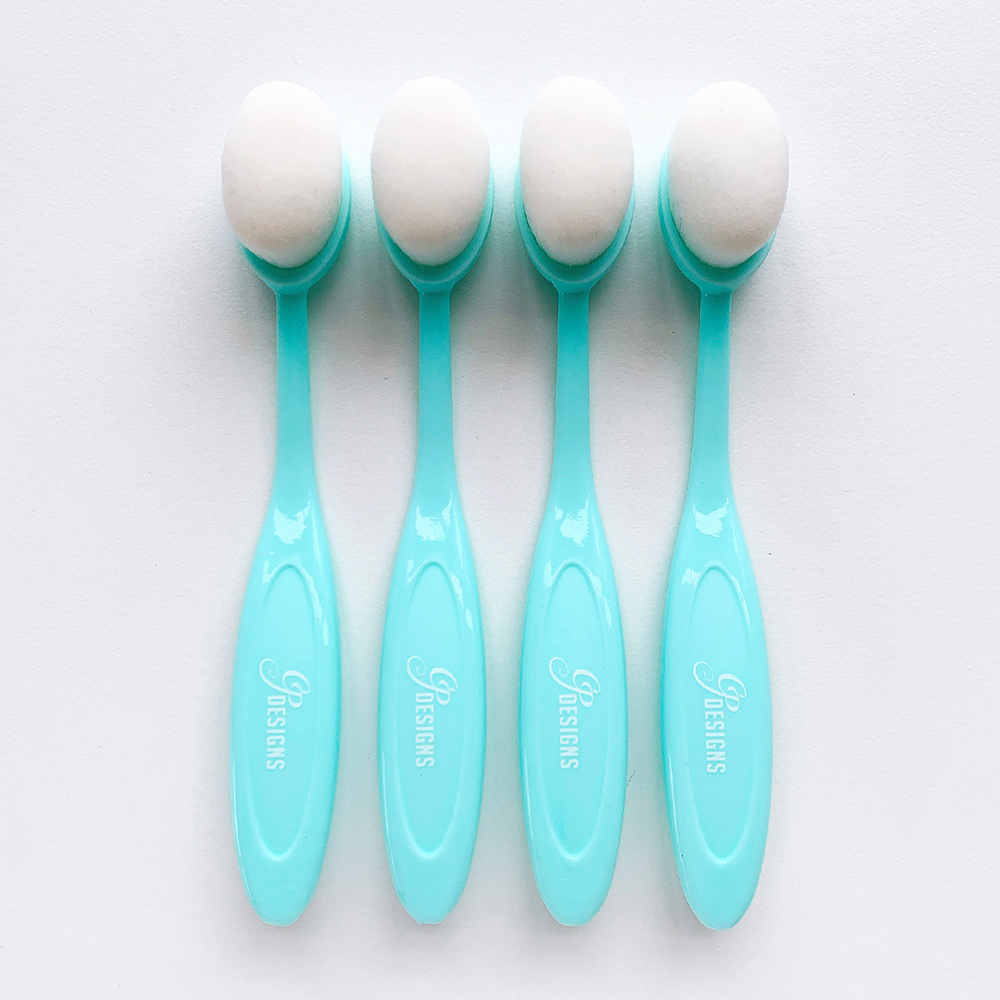
Catherine Pooler Blending Brushes - 4 pk.
Shop at:
Scrapbookcom
Mint Tape 1 inch roll
Shop at:
Scrapbookcom
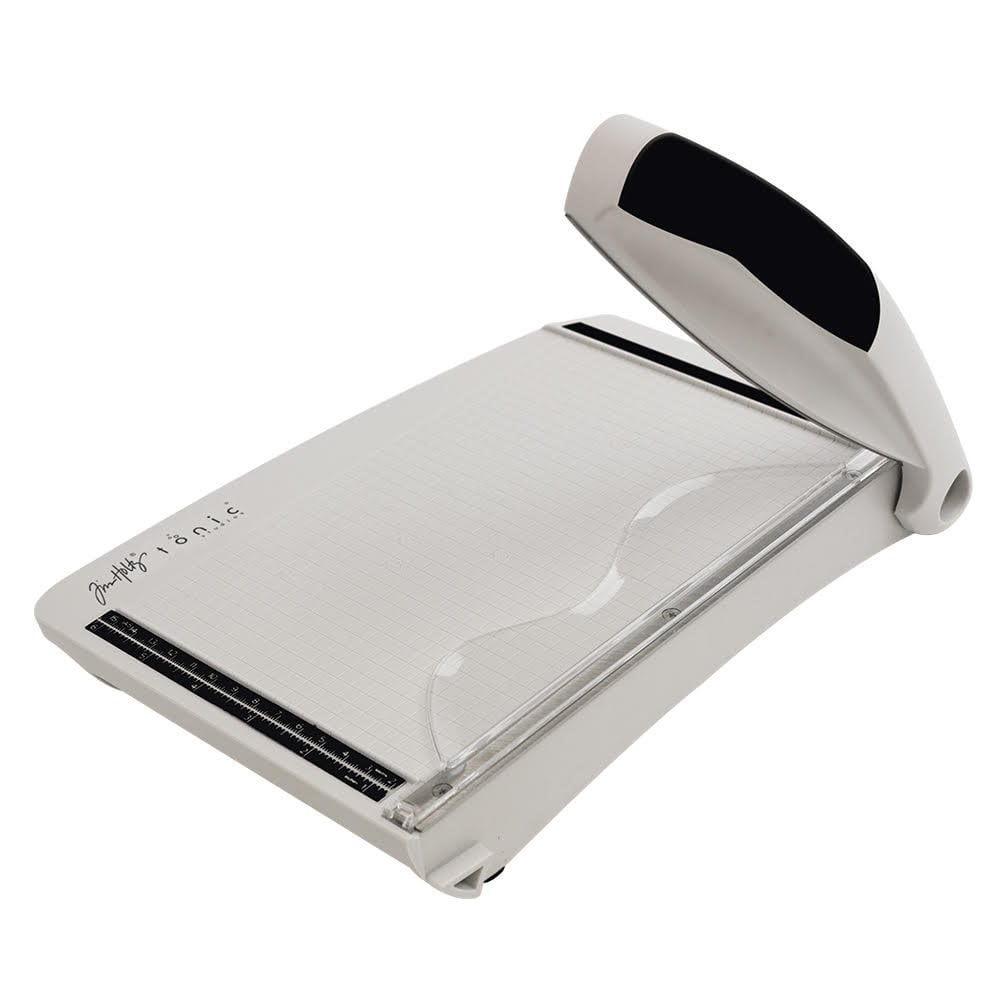
Tonic Studios Tim Holtz Comfort Trimmer 8.5 Inch
Shop at:
Scrapbookcom
Project Grip Mat Large - White - 24x18 inch
Shop at:
Scrapbookcom
CPD Ink Pad - Spiced
Shop at:
Scrapbookcom
Altenew Fine Liner Pen Set
Shop at:
Scrapbookcom
Dina Wakley White Acrylic Paint
Shop at:
Scrapbookcom
Retro Garden Rub-ons - 2 pc set
Shop at:
Scrapbookcom
CPD Favorite White Cardstock - 100 lb - 25 pk
Shop at:
Scrapbookcom
Dress My Craft Non-Stick Bone Folder
Shop at:
Scrapbookcom


Shop at:
Scrapbookcom


#wavingmywand #thecreativedeskpostcardpalexchange #handmade #postcard #scrapbookcom #catherinepoolerdesigns #catherinepoolerink #diypostcard #rubon #mixedmedia #diy #summertime #sunshine #butterflies #flowers #floral

Wednesday, September 14, 2022

Spellbinders Christmas Flea Market Finds

Welcome to a new release from Spellbinders! Today, several new collections from Spellbinders are live in the shop and I'll be sharing another blog post today as well. The first collection I'm creating with is from the Christmas Flea Market collection, designed by Cathe Holden. Gosh, she's talented! There are several products that I'll be sharing here today so be sure and scroll down for details. You'll also find affiliate product links at the end of this post.


(FTC Disclosure: as an affiliate for various companies in the craft industry, I will receive a small commission for purchases made through my convenient affiliate links, at no additional cost to you.)


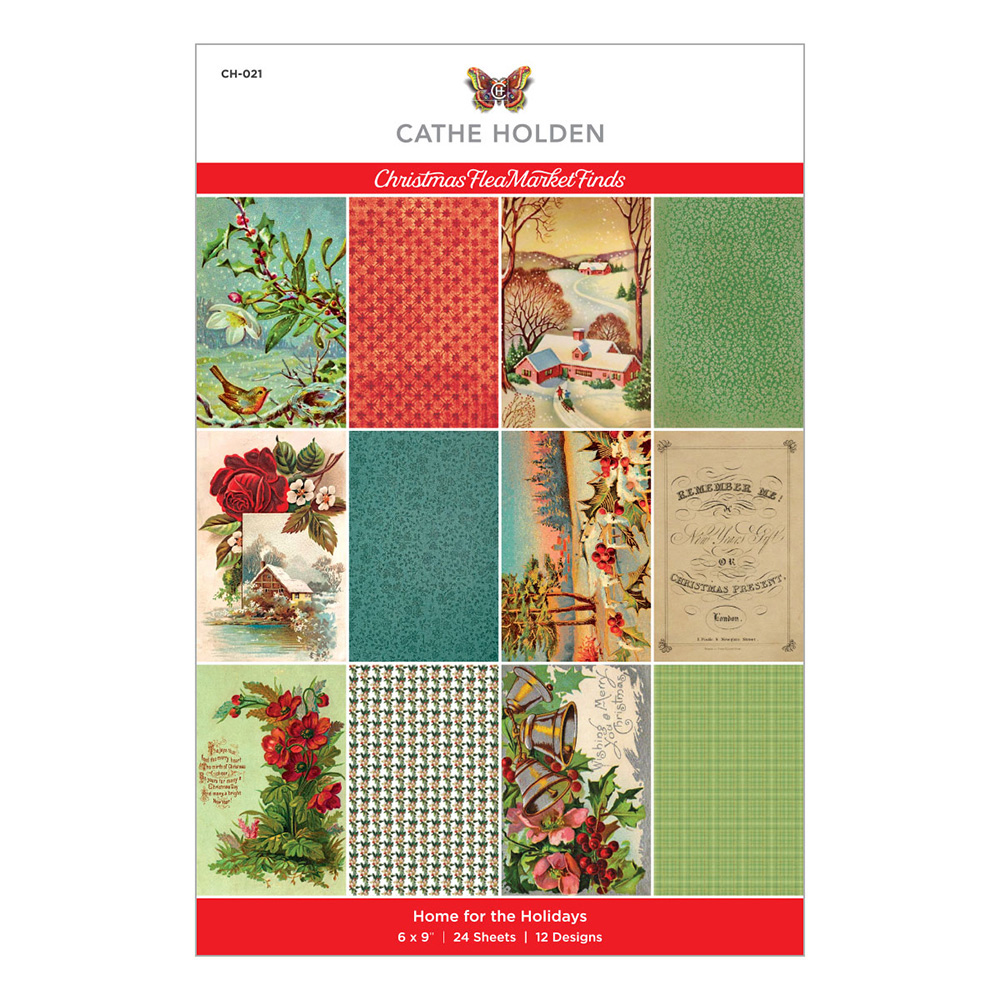
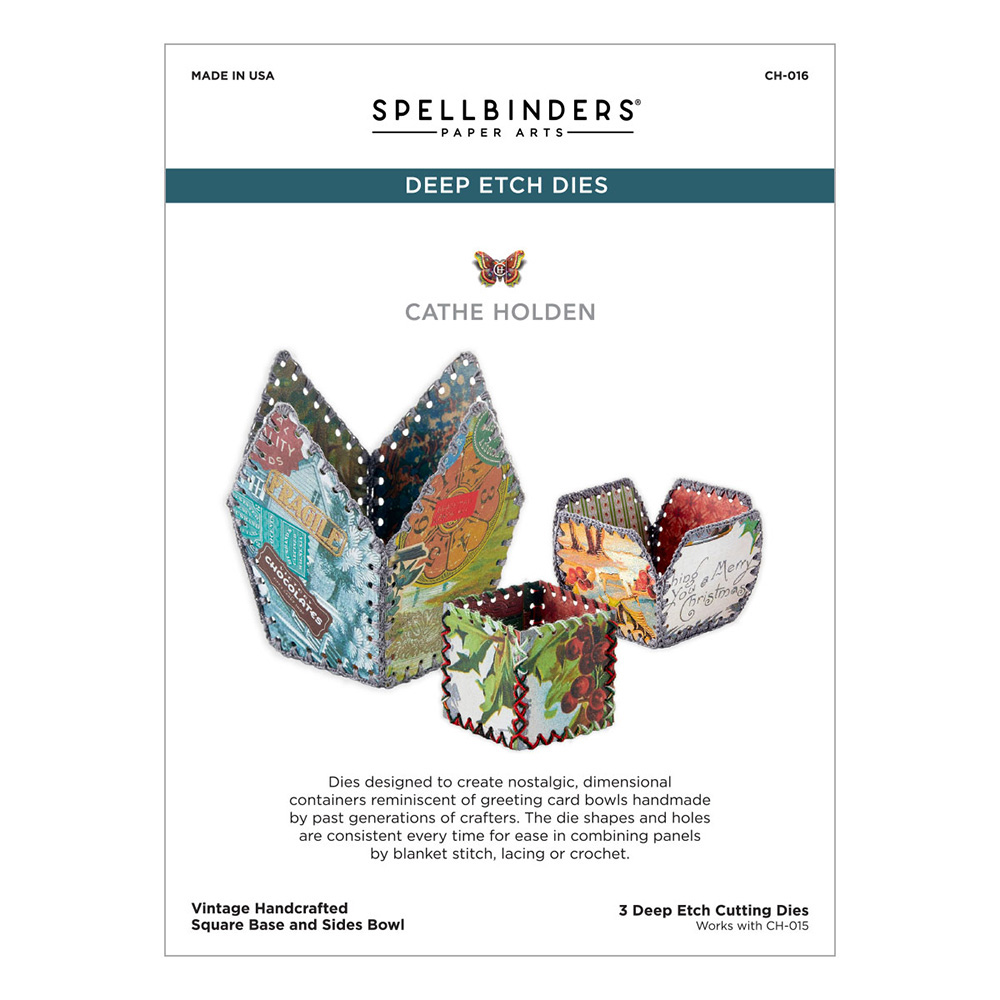
I created a trio of vintage style boxes and bowls with the Vintage Style handcrafted square base and side bowl etched die set , along with the Handmade for the Holidays paper pad. The papers in this collection are absolutely gorgeous!

Since the paper pads are single sided, I decided to make mine double sided with adhesive sheets! So easy, just peel the backing on one adhesive sheet and apply to the backside of cardstock/paper. Then, peel the top layer off the adhesive sheet and lay down your second piece of decorative paper on top and it's ready to die cut. I would recommend that you burnish the adhesive sheet before applying the second sheet to remove any air bubbles and to effectively adhere the papers together.

Now, the inside of my boxes/bowls look pretty too!


For my stitching, I wanted to keep the color neutral so as not to clash too much with my pretty papers. I used DMC embroidery floss #841. I used the entire 6 strands to make it really stand out. I tried fewer strands but wasn't getting the fullness that I wanted to achieve. You'll definitely want to use a needle that has a slightly larger hole to get all those strands threaded.


I also found, when stitching the die cut sides and base together, it seemed to work better for me to stitch 3 sides together first, then stitch the base and then the 4th side.


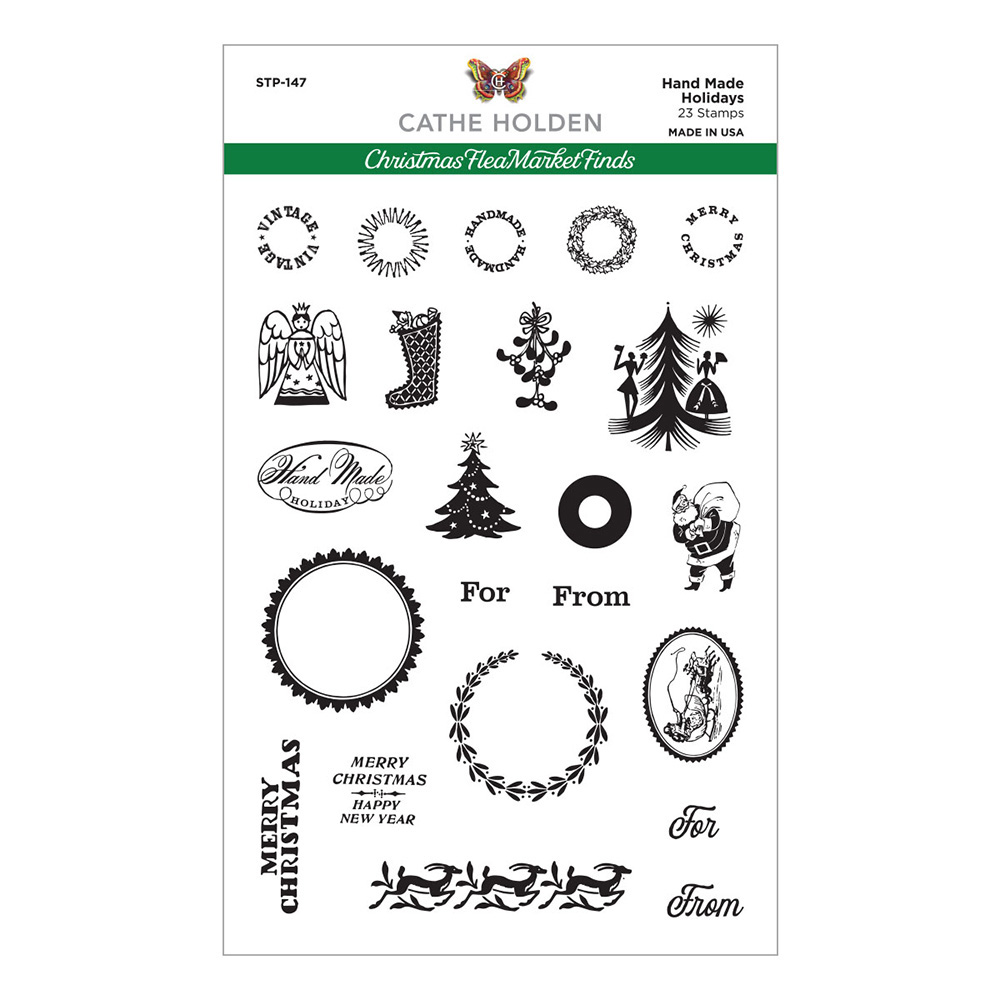
I also made a few pretty little vintage style round labels with the Handmade Holidays clear stamp set.
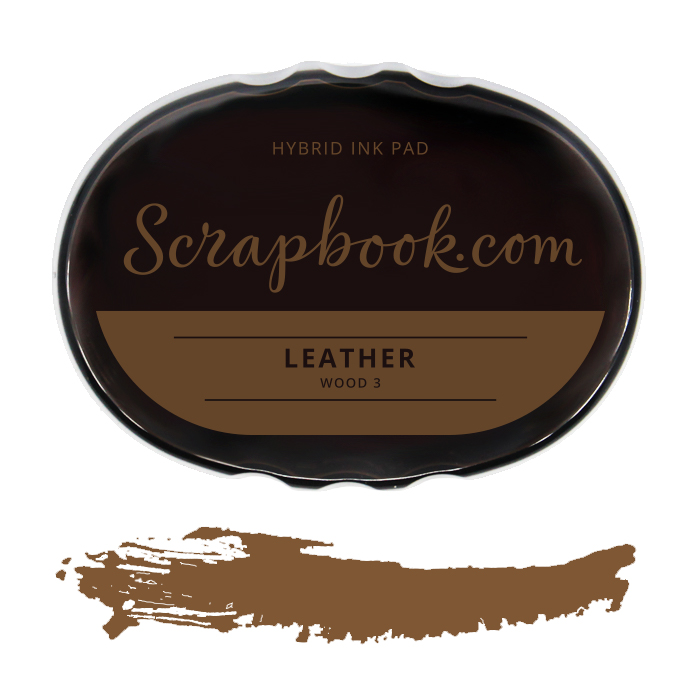
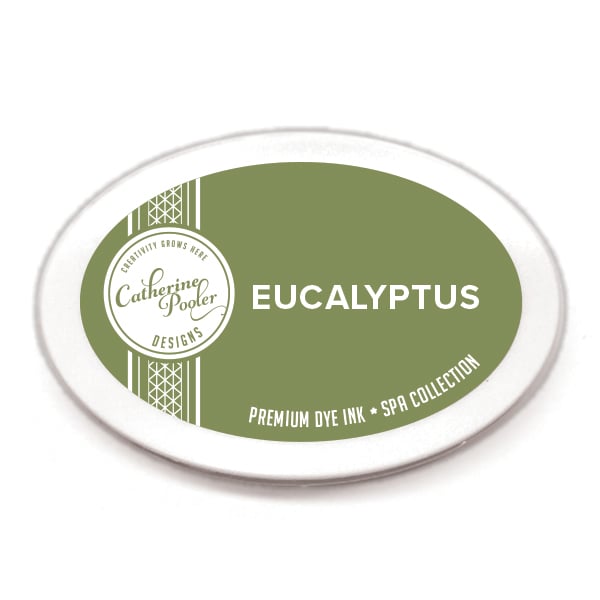
You can use a small circle die or circle punch to make these. I stamped my wreath and center image on white cardstock using my Catherine Pooler Eucalyptus ink pad. I also ink blended just a bit on the outer edges of my circle with my Scrapbookcom Leather hybrid ink and also swiped around the circle with my ink pad. 

It's definitely giving me vintage vibes!

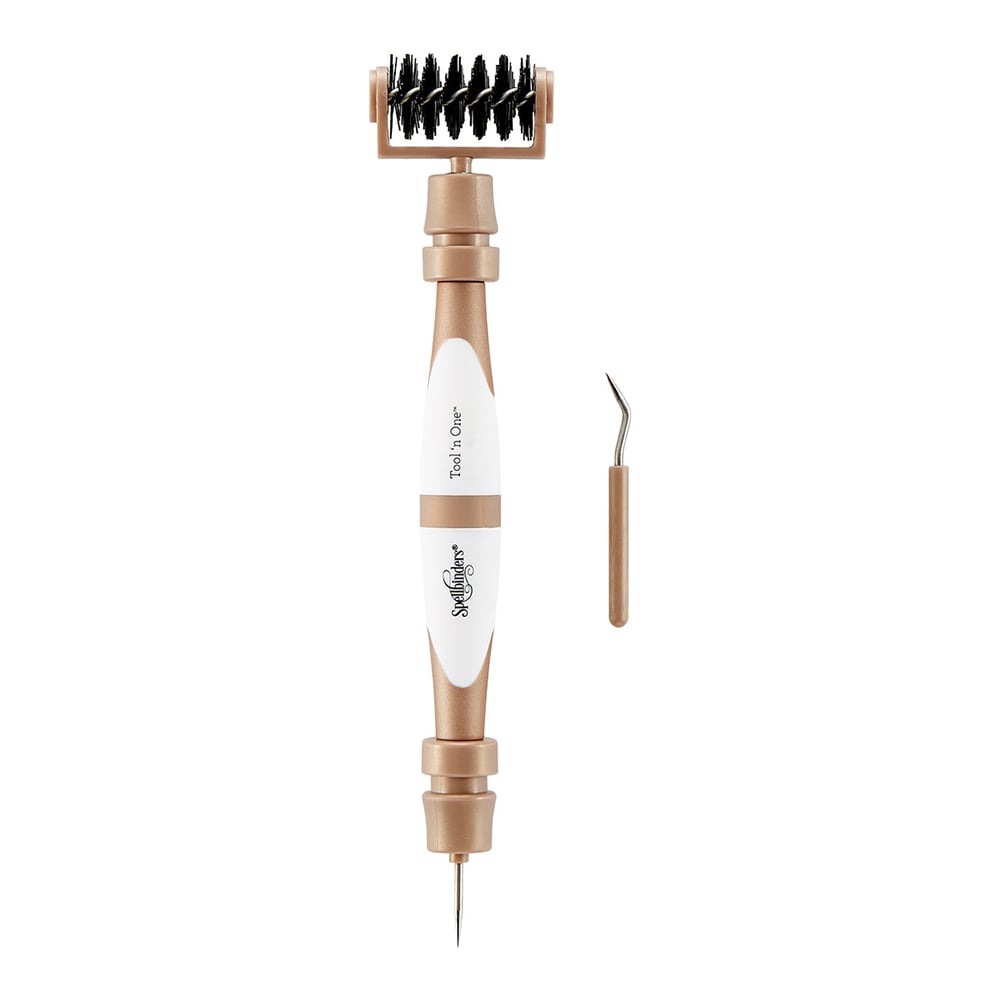
To finish it off, I punched a tiny hole with my Spellbinders Tool N One and tied some burlap string. This is one of my FAVORITE tools in my arsenal. I use it all the time!


Toss in some shredded paper and fill your box with goodies for home decor or gift giving.
If you'd like to add some of these delicious products to your stash for creating handmade gift giving items this holiday season, I hope you'll use the convenient affiliate links that I've provided below. There is no additional cost for you to do so. 

There is much more in this collection than what you've seen here today, so be sure and hop over to Spellbinders to check it out! Thanks so much for stopping by! 


Terri

****************************************


Ranger Inkssentials Craft Mat 15x18
Shop at:
Scrapbookcom
Neenah Solar White Cardstock 8.5x11 inch
Shop at:
Scrapbookcom
Exclusive Hybrid Ink Pad - Leather
Shop at:
Scrapbookcom
Spellbinders Platinum 6 Die Cut/Emboss Machine
Shop at:
Scrapbookcom | Spellbinders
Catherine Pooler Ink - Eucalyptus
Shop at:
Scrapbookcom
Spellbinders Home For the Holidays Paper Pad
Shop at:
Scrapbookcom | Spellbinders
Spellbinders Christmas Flea Market Vintage Bowl Dies
Shop at:
Scrapbookcom | Spellbinders
Spellbinders Hand Made Holidays Stamp Set
Shop at:
Scrapbookcom | Spellbinders
Ranger Gold Sticklers Glitter Glue
Shop at:
Scrapbookcom
Exclusive Adhesive Sheets
Shop at:
Scrapbookcom
Spellbinders Tool N One - Rose Gold
Shop at:
Scrapbookcom | Spellbinders


#wavingmywand #spellbinders #teamspellbinders #neverstopmaking #christmasfleamarketfinds #vintagebowls #vintageboxes #handmadefortheholidays #catheholden #holidaydecor #giftboxes #treatboxes #scrapbookcom #catherinepoolerink #stitching #stitched #embroideryfloss #DMC
#handmade #DIY #vintagestyle

Sunday, June 7, 2020

Happiness in a Cup Plus Digital Tips

I hope you're not bored with all the thank you cards that I've been creating, because the graduation gifts continue to roll in for my Senior! Today's project pairs a couple different digital stamp sets from Polka Dot Orchard; Happiness in a Cup and the sentiment from Spring Blessings. Scroll down for a few creative details.


(FTC Disclosure: as an affiliate for various companies in the craft industry, I will receive a small commission for purchases made through my convenient affiliate links.  This does not affect your purchase price.)


Digital images have really gained momentum in recent years and show no sign of slowing down. Many stamp companies are now offering digital images in additional to traditional clear or rubber stamps. Within the last year, numerous graphic designers have branched out with their own line of digital products. Low overhead costs allow for savings passed on to hungry consumers that are always looking for something new to spark their creative outlets. Card makers love the ease of printing and coloring, making multiples faster and the ability to customize the graphic to fit their needs, yours truly, included!


If you've never tried working with digital images, you really don't know what you're missing. I've been working with digital products for years and I've discovered a few things along the way.  Let me share a couple of those with you today.

As you can see in the product photo above, the Happiness in a Cup floral image is simple enough for anyone on any level of artistry to color.  Even your kids can color it without any difficulty. Depending on your skill level, you can go simplistic, or create a masterpiece! Knowledge is power in the digital world so here's a few tips.


I don't use anything fancy like Photoshop or fancy die cut machines that print and cut. I use Microsoft Word. That's right, plain and simple Microsoft Word.  When you purchase your graphic images, you are able to download them to your computer. You then can upload them into a blank Word document and insert as a picture. Just go find the folder you saved your image in and select and add to your document.  I decided to offset my image, off the cardstock, using a border, when printing.

As you can see in the photo above, I chose to augment my image with a more grunge look.  It's easy peasy and here's how. Once you've added your image to your Word document and sized it as you wish, tap on the picture with your mouse and a format section will pop up on your toolbar. Next, choose artistic effect. There's an entire selection of images that will change your outlined image.  Just tap whichever image you like. It won't save the changes until you save your document so you can tap on all the images if you want, and see which one you like the best. Or don't change anything at all! These are just options available to you.  Also on the format toolbar is a picture effect button. Here, you can add shadows, glows or reflections of image and so much more. Just play around with it.


I did end up placing a shadow behind my image and it's hard to see in the first photo but you can see it better in the photo above. I tried the new #100 lb cardstock from Simon Hurley to test watercoloring and painting and it worked beautifully.I tried not to oversaturate the paper and didn't have any problems with buckling or warping. Also, for my sentiment, I needed to stagger it, so I simply inserted, then copied it three times, using the crop feature by right clicking with my mouse and cropping some of the words. To move them around the page, sometimes you need to right click your mouse and select to wrap text in front. I find that it's always easier to move images around the page when I use the wrap text feature.


I used my Altenew pan watercolor paints to color and embellished with acrylic paint in white and brown for my flower centers, tapping in the paint with the tip of a paintbrush, dotting it for the effects you see.  Brown paint splatters adorn the card in some of the white space, as well. I also mixed a bit of white paint with some of my other colors for various light effects.


For my cup, I placed some washi tape along the sides of the cup and did some ink blending with Catherine Pooler Daydream Ink. It is a water reactive ink and as you can see, I added some water splashes to my cup. To finish my card, I trimmed along the border edge and used black cardstock as a backdrop and adhered to my 5x7 card.

I hope I haven't overwhelmed you with too much information but like I said, knowledge is power, right? Thanks so much for hanging in there with me and if you have any questions, please feel free to ask in the comment section. Or leave a little love as well. I love reading your comments!  See you next time...... Terri


Affiliate product links are listed throughout this post. Click on the link to go directly to the product.  I do receive a small commission at no extra cost to you, if you make a purchase.


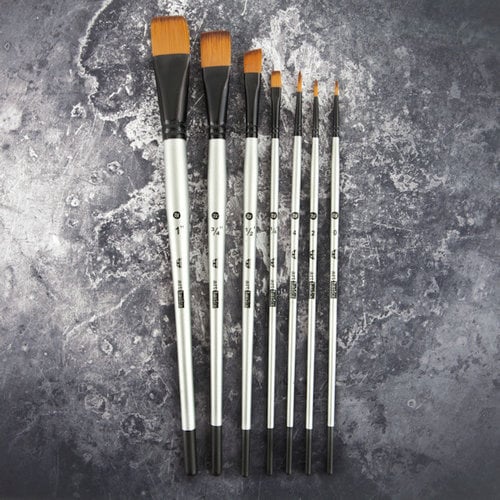
Prima Finnabair 7 pc brush set
Shop at:
Scrapbook.com
Ranger Ink Inkssentials 2 oz mister spray bottle
Shop at:
Scrapbook.com
Scrapbook Adhesives by 3L EZ Grand Ultra Refill - Clear
Shop at:
Scrapbook.com
Lawn Fawn Black Licorice 8.5x11 in 100 lb cardstock
Shop at:
Scrapbook.com
Scrapbook Adhesives by 3L E-Z Grand Runner
Shop at:
Simon Says Stamp
Waffle Flower Crafts Water Media Mat
Shop at:
Scrapbook.com
Picket Fence Studios Life Changing Blender Brushes
Shop at:
Simon Says Stamp
Catherine Pooler Ink Daydream
Shop at:
Scrapbook.com
Picket Fence Studios Life Changing Blender Brushes
Shop at:
Scrapbook.com
Nuvo Crystal Drops Morning Dew
Shop at:
Scrapbook.com
Scrapbook.com Round Tip Water Brush Set 3 pk
Shop at:
Scrapbook.com
Tonic Studios Craft Perfect 5x7 Card/Envelope 10 pc set
Shop at:
Scrapbook.com
Ranger Ink Simon Hurley Stark White Cardstock 100 lb
Shop at:
Scrapbook.com
Altenew 6 pan Watercolor Set
Shop at:
Scrapbook.com
American Crafts Professional Acrylic Paint Set
Shop at:
Scrapbook.com


#wavingmywand #polkadotorchard #happinessinacup #digitalimages #digitalstamps #sunflowers #floral #flowers #rangerink #altenew #catherinepoolerink #simonhurley #tonicstudios #picketfence #blenderbrushes #waffleflowercrafts #watermediamat #lawnfawn #scrapbookcom #papercrafts #cards #thankyou #gratitude #DIY #watercolor #paint #americancrafts #acrylicpaint #scrapbookadhesivesby3L