Showing posts with label rangerink. Show all posts

Monday, September 11, 2023

Fall Flowers and Gratitude Card for Erin Lee Creative

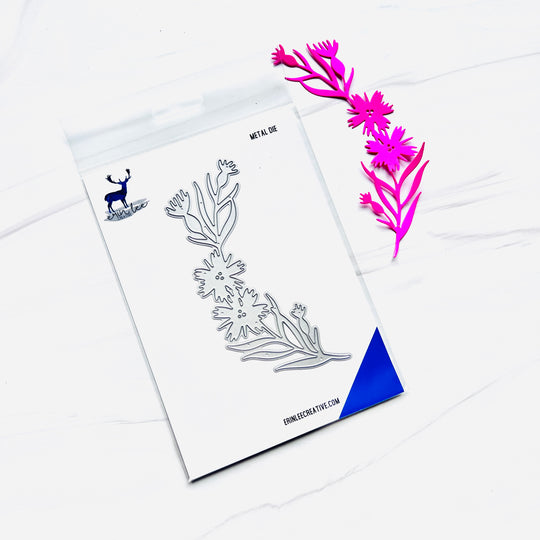
Hello friends. I've been making lots of gratitude cards in the last month or so and I have another one for you today. This card features 3 different dies from Erin Lee Creative. She is so innovative with her products and I absolutely love her designs, particularly her handwriting fonts. I also purchased the  Jumbo Wildflower die not long ago and, after seeing a neighbor's gorgeous Black-Eyed Susan's in her yard, decided to jazz up some wildflower die cuts. I'm all about Fall cardmaking right now so my color scheme will also follow suit.


(FTC Disclosure: as an affiliate for various companies in the craft industry, I will receive a small commission for purchases made through my convenient affiliate links, at no additional cost to you.)


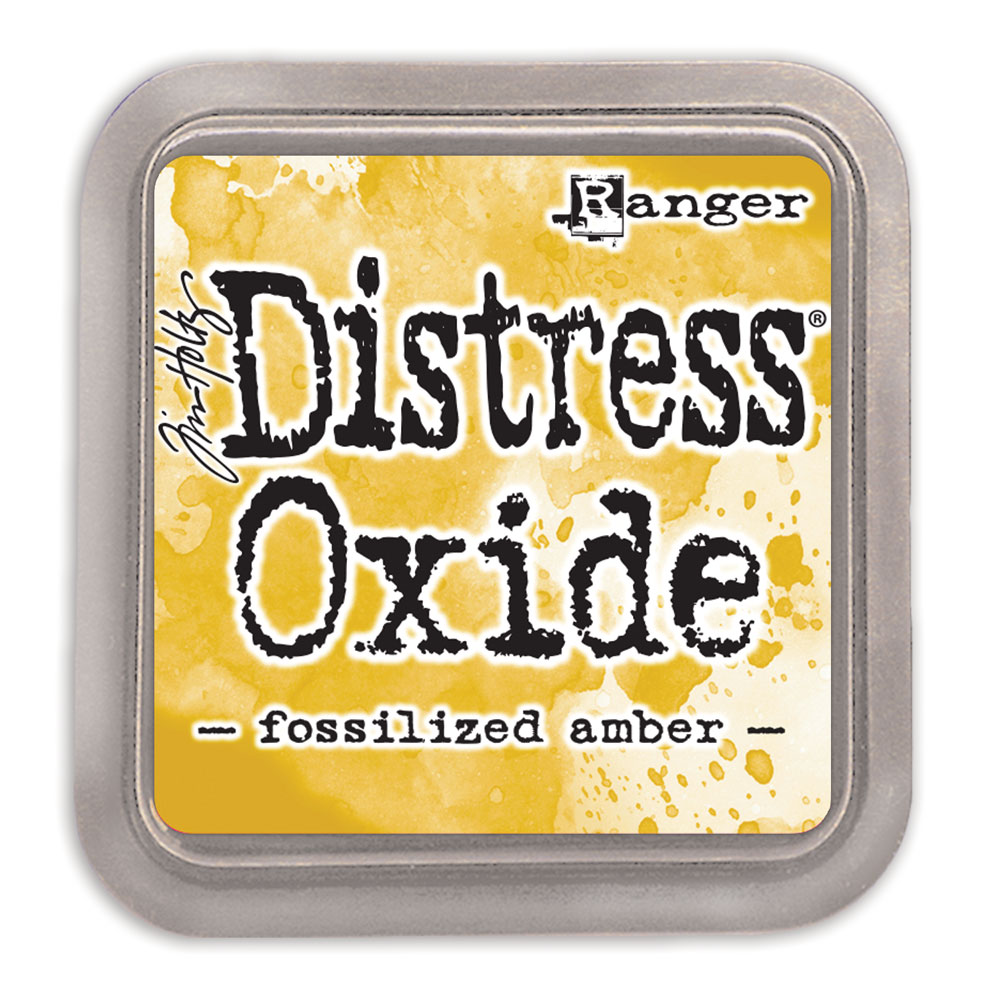
I started by ink blending my blooms with Ranger Distress Ink in Fossilized Amber. For my leaves I used Ranger/Wendy Vecchi MakeArt Ink in Fern Green. Unfortunately, Ranger discontinued that line of Wendy Vecchi ink not long ago.


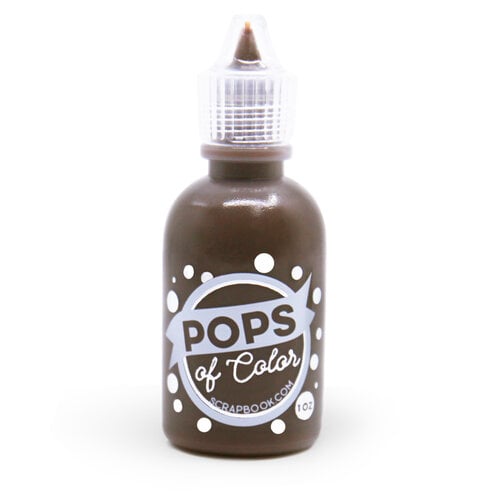
For the centers of my flowers I used my Scrapbookcom Pops of Color in Chocolate Kiss. I filled in a circle of this brown liquid embellishment which leaves a glossy finish. I used a sharp tool to pull out tiny lines all around the center, while the liquid was still wet. You can also use a toothpick.
I let this dry naturally on my craft mat but you can also use a craft heat tool. 


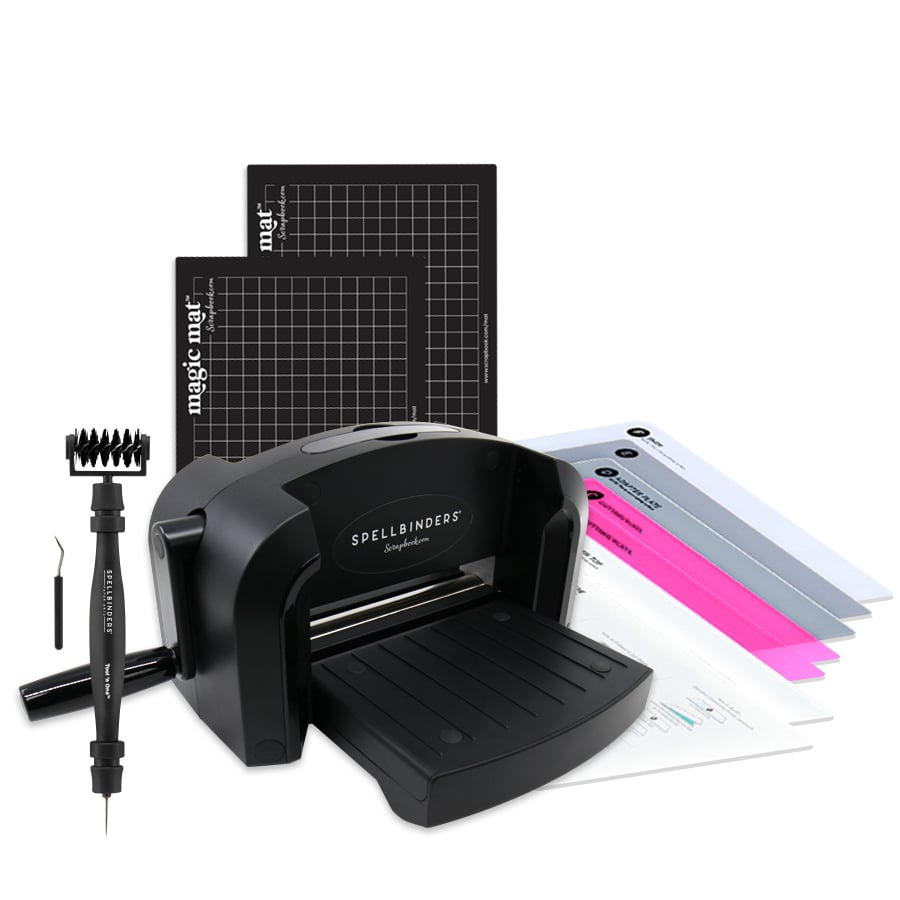
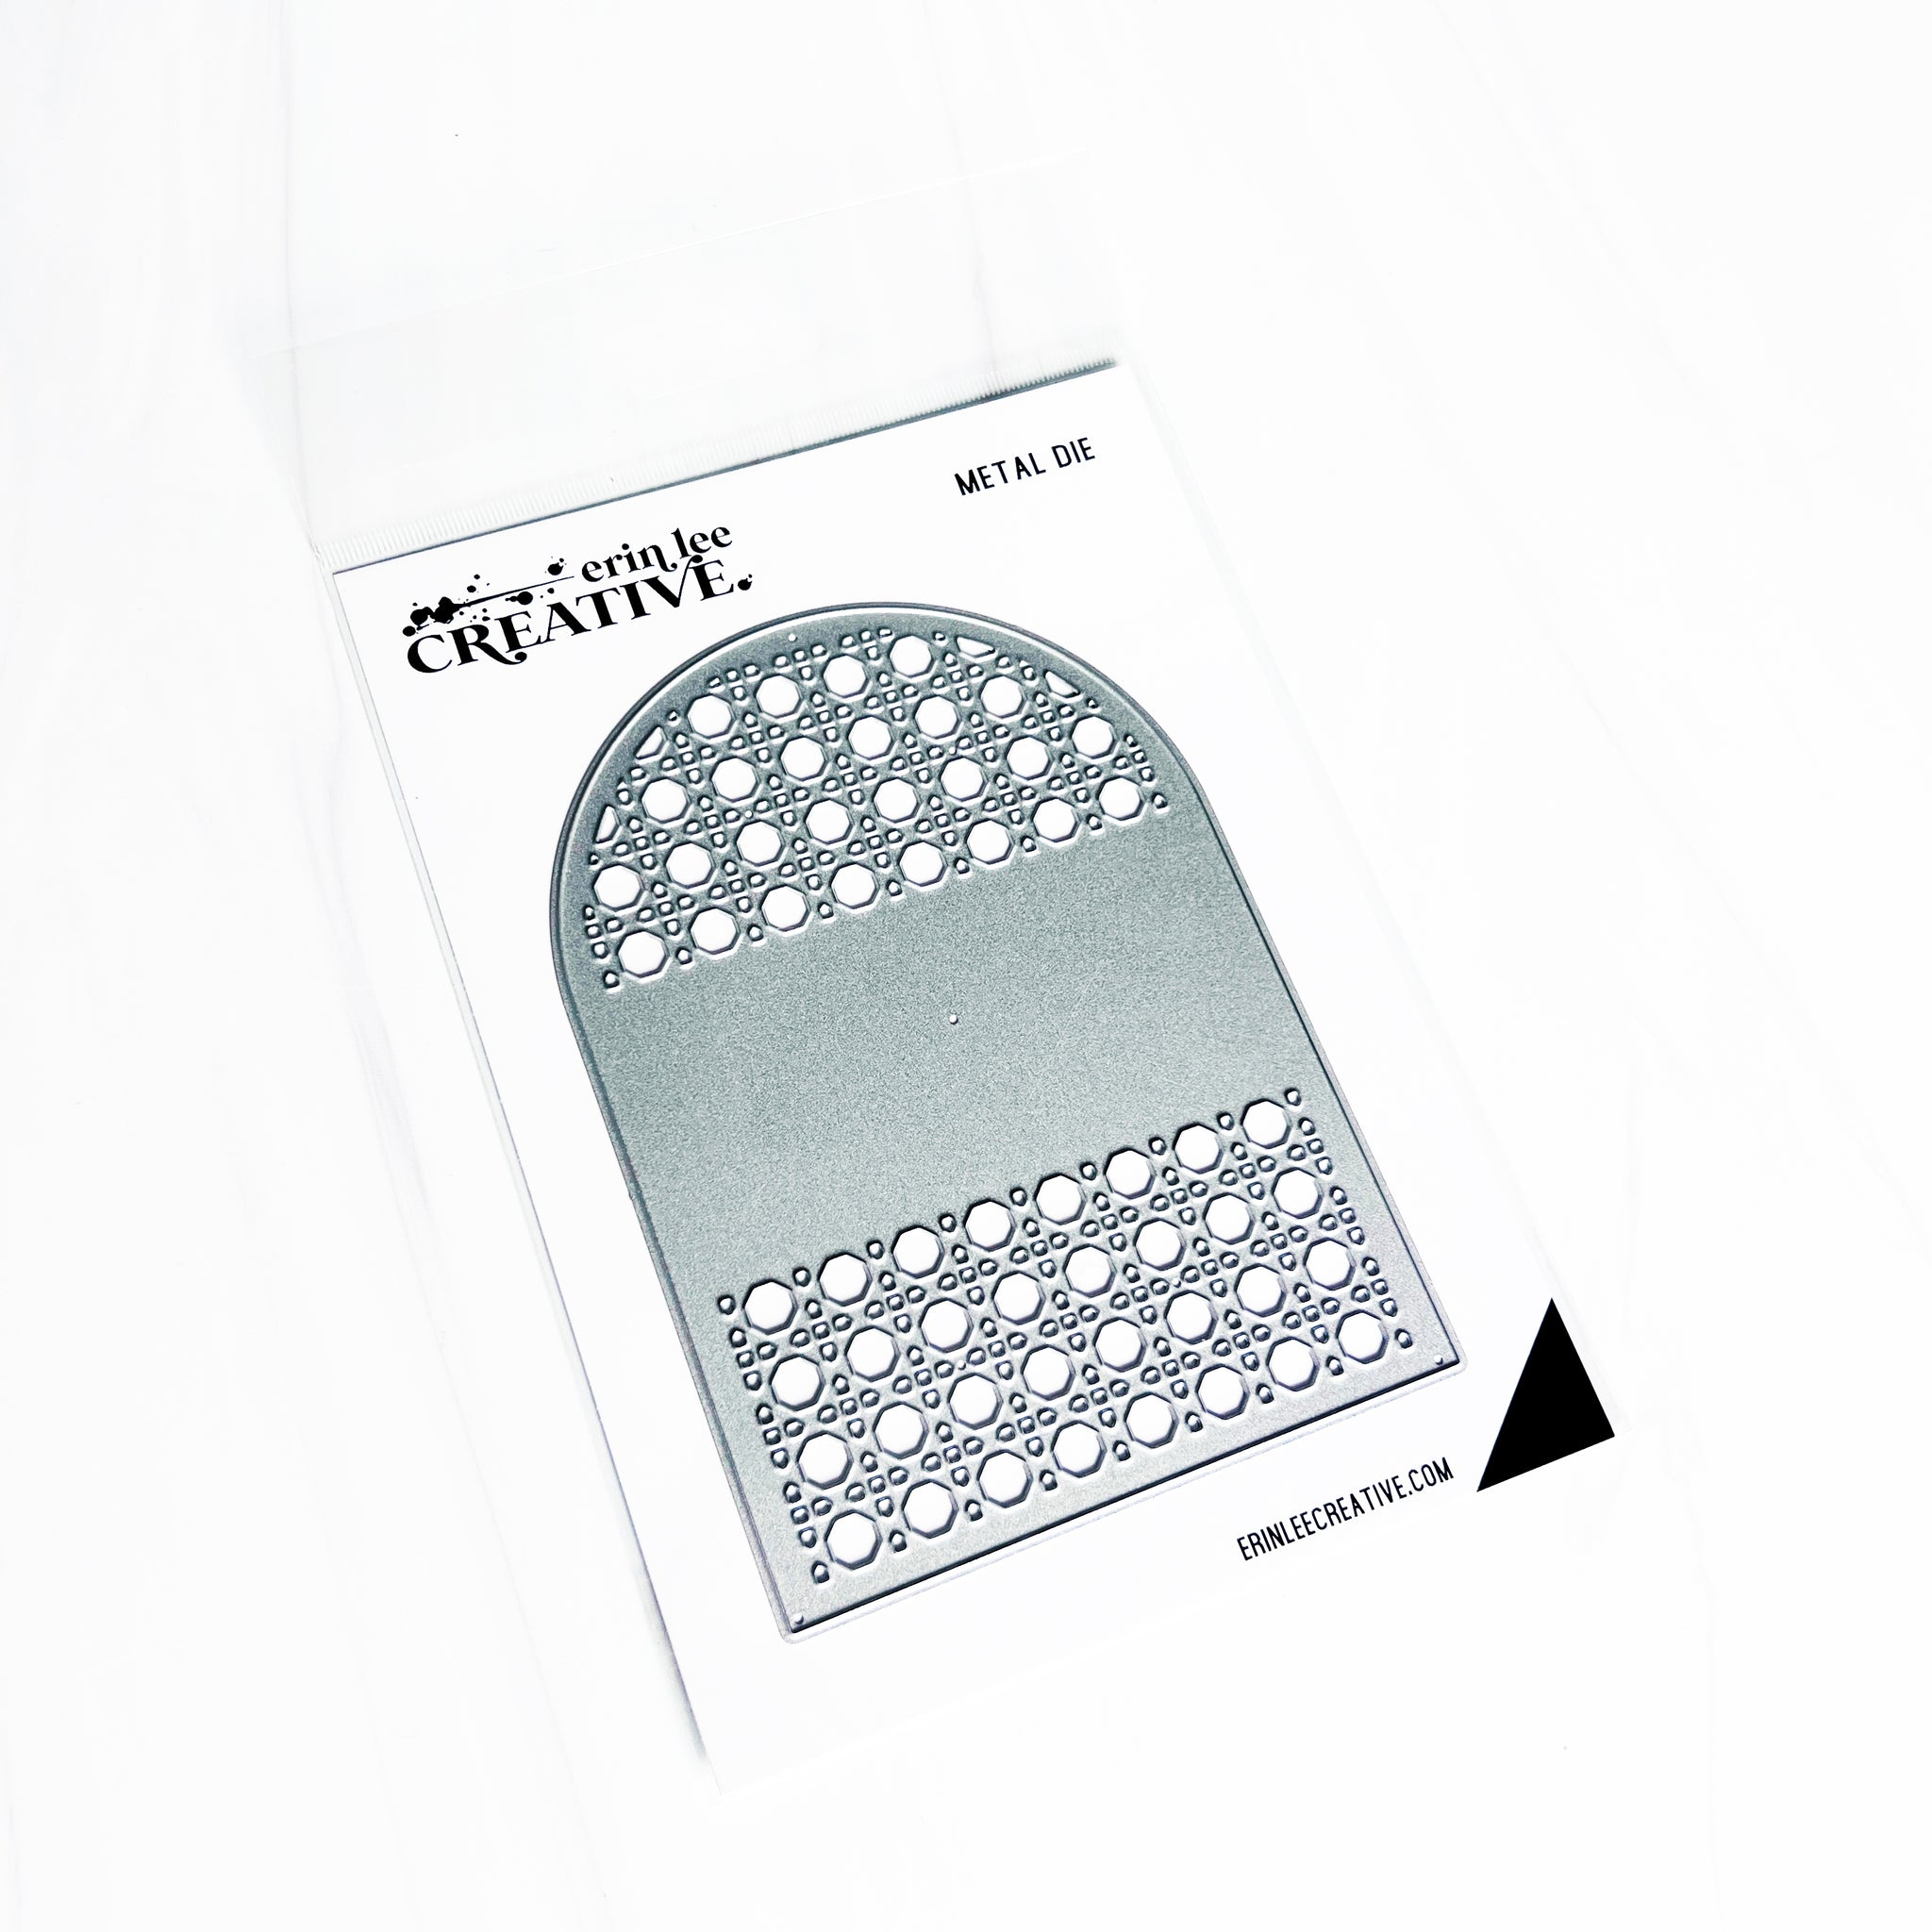
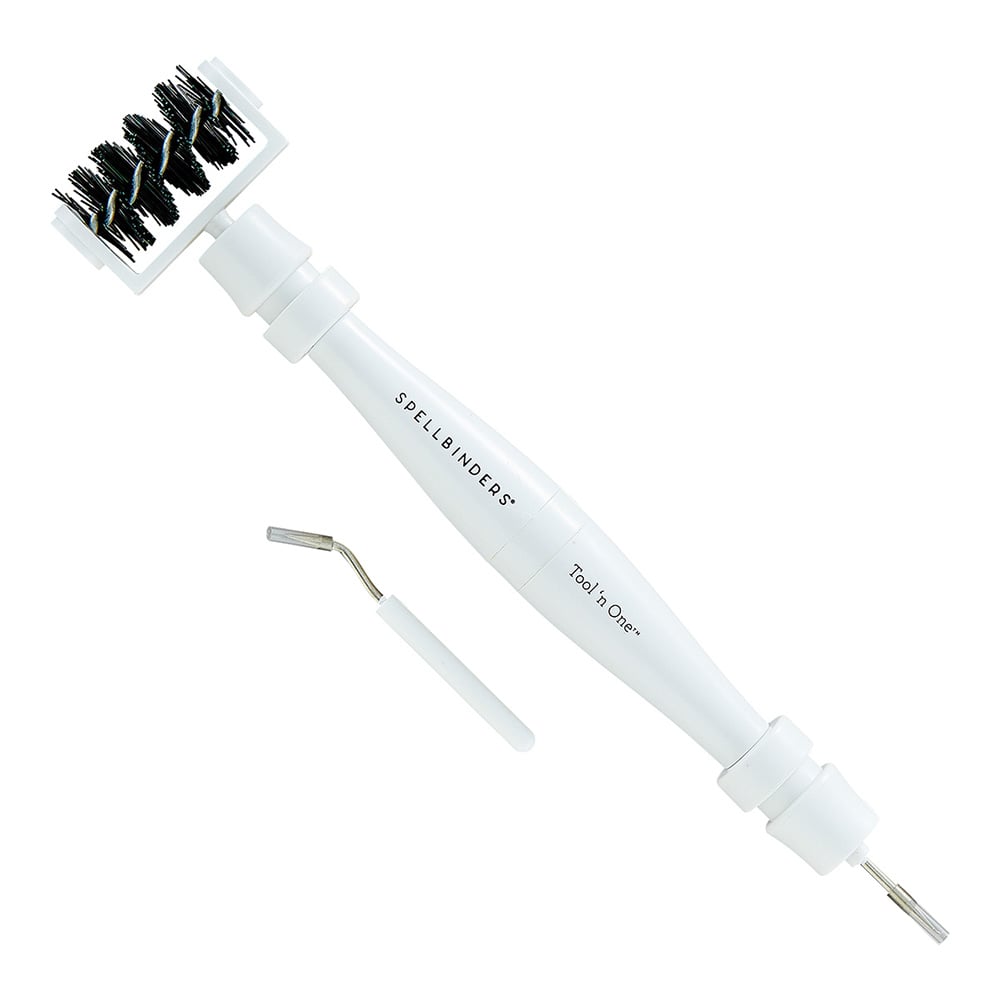
Next, I die cut my Rattan Arch 2 Die from Erin Lee Creative on white cardstock with my Platinum 6.  Also, I use the Spellbinders Tool N One to quickly and easily get all those die cut bits out. I backed the lower section of my panel die with green patterned paper and trimmed a piece that would go in the center of my arch.

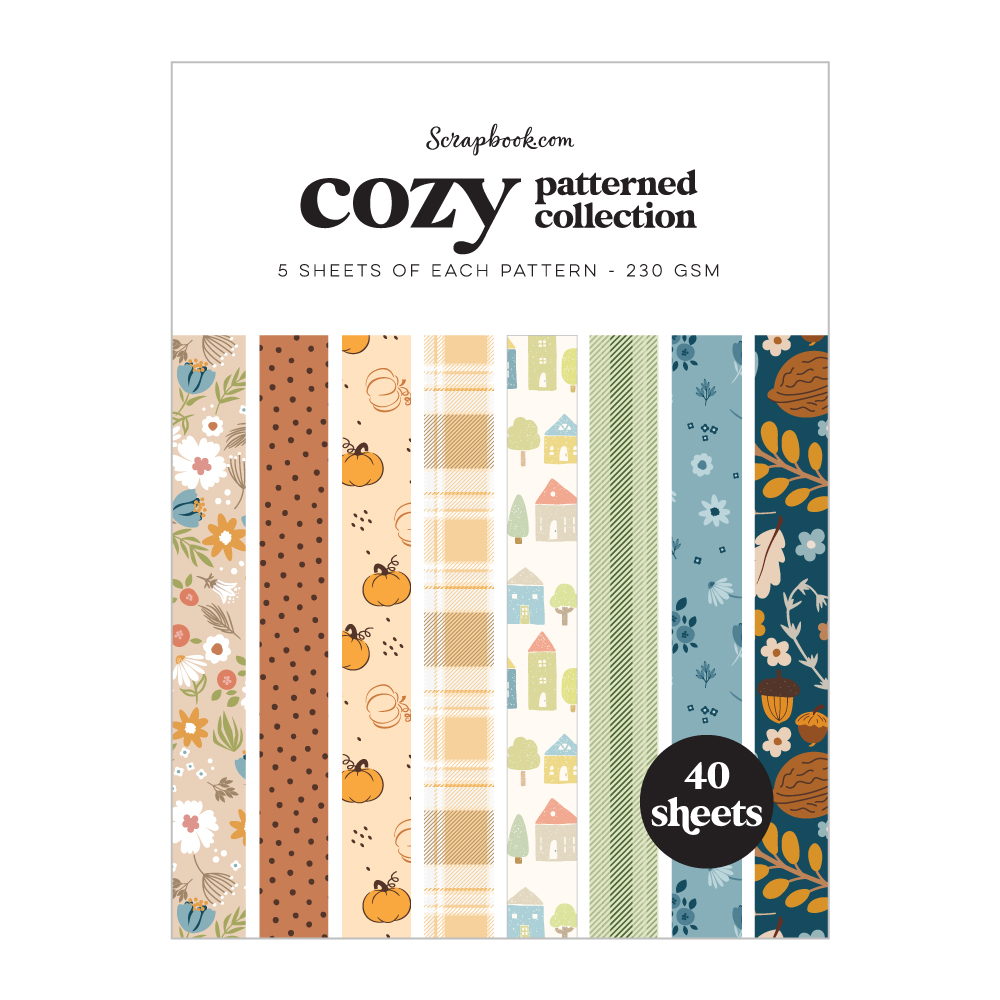
My backdrop consists of a trimmed piece of coordinating dark orange paper from the same paper pad and was adhered to my white card.


I placed some of my flowers behind the top section of my rattan die cut and also around my arch. I decided to cut up some of my flowers and placed them wherever I wanted. Some are adhered directly to my arch and some are popped up on adhesive foam. I did pop my arch up on adhesive foam as well.


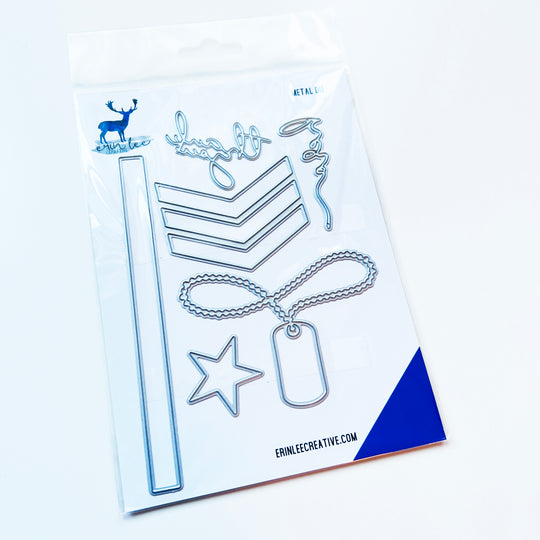
Lastly, I die cut the word "Thank You" from one of the dies in the ELC Thank You Hero Die set.

Please note, the stitched oval die cut under my sentiment is from a die that I've had in my stash for years and honestly, I don't even remember the brand. 


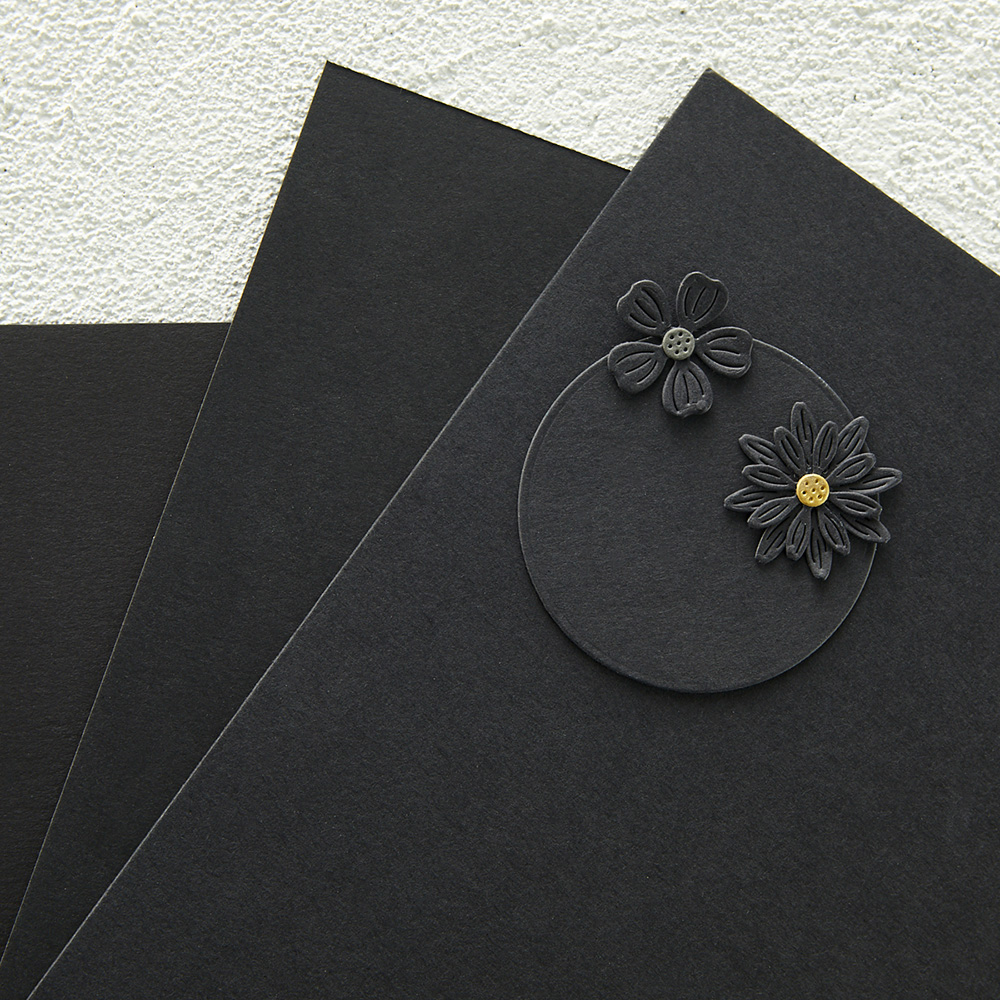
**Here's a bonus tip for you - To easily make a really nice dimensional and layered die cut word stand out, you really need at least 3-4 die cuts glued together. I find the easiest way is to trim two sections of cardstock (I used black) fold each one in half and apply some adhesive to the inside of one of the halves. Press down and adhere. Lay your die on top and run through your die cut machine. 

Now you have two die cuts already adhered. Repeat the process for another die cut. Glue both die cuts together. It's so much easier to glue 2 die cuts consisting of 4 layers, than to glue 4 individual layers. You're welcome!


Thanks so much for popping in today. I love my wildflowers turned Black-Eyed Susan's! Happy Fall cardmaking ya'll and if you'd like to purchase any of the products or just want to browse, click any of my affiliate product links below.  

Terri

**************************************

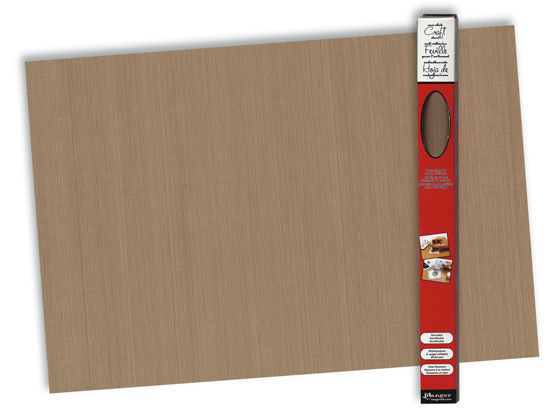
Wendy Vecchi Makeart Non-stick Craft Sheet
Shop at:
Scrapbookcom | Ranger Ink
Ranger Heat It Craft Tool
Shop at:
Scrapbookcom | Ranger Ink
Neenah A2 Vertical Card/Envelope Set 25 pk
Shop at:
Scrapbookcom
Neenah A2 Card Front Panel 25 pk
Shop at:
Scrapbookcom
Refillable Permanent Adhesive Runner - 49 feet
Shop at:
Scrapbookcom
Double Sided Adhesive Foam Tape - 32 feet
Shop at:
Scrapbookcom
Exclusive Black Platinum 6
Shop at:
Scrapbookcom
Ranger Fossilized Amber distress oxide ink pad
Shop at:
Scrapbookcom
Spellbinders Oxyx Cardstock
Shop at:
Scrapbookcom
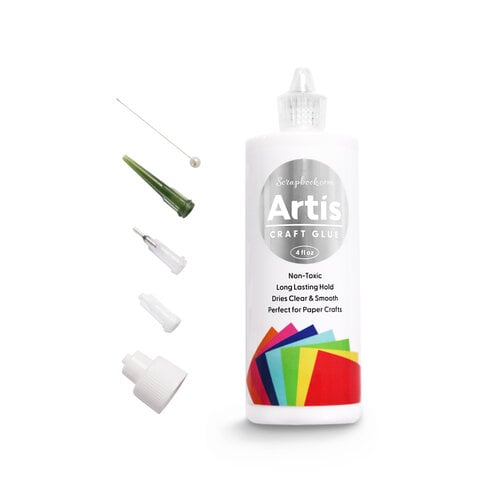
Artis Glue
Artis Glue
Shop at:
Scrapbookcom
Rattan Arch 2 Die
Rattan Arch 2 Die
Shop at:
Erin Lee Creative
Jumbo Wildflower Die
Shop at:
Erin Lee Creative
Thank You Hero Die Set
Shop at:
Erin Lee Creative
Pops of Color - Chocolate Kiss
Shop at:
Scrapbookcom
Cozy Patterned Paper Pad
Shop at:
Scrapbookcom
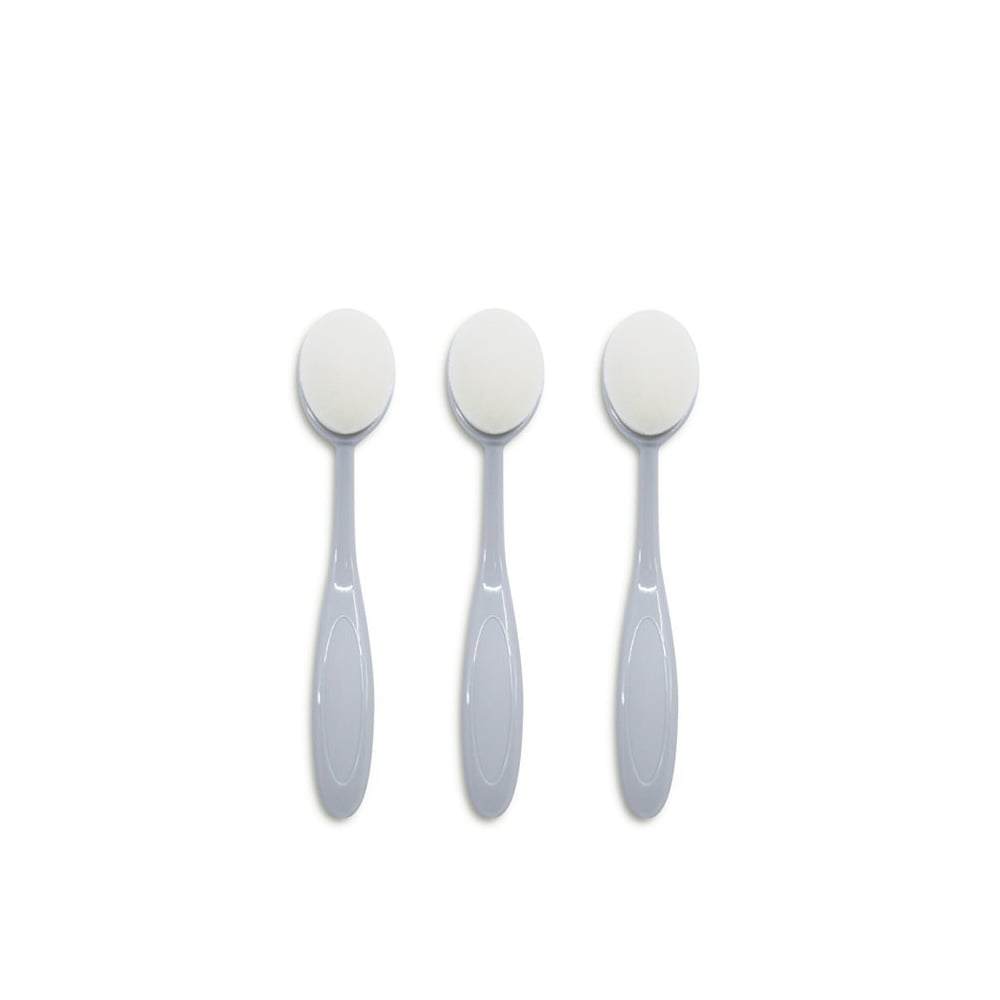
Exclusive Blending Brushes - Small - 3 pc
Shop at:
Scrapbookcom
Spellbinders Tool N One - White
Shop at:
Scrapbookcom


#wavingmywand #erinleecreative #wildflower #blackeyedsusan #rattanarch #thankyou #gratitude #diycards #cardmaking #thankful #thanksgiving #friendship #fall #autumn #rangerink #scrapbookcom #distressink #inkblending 

Sunday, June 7, 2020

Happiness in a Cup Plus Digital Tips

I hope you're not bored with all the thank you cards that I've been creating, because the graduation gifts continue to roll in for my Senior! Today's project pairs a couple different digital stamp sets from Polka Dot Orchard; Happiness in a Cup and the sentiment from Spring Blessings. Scroll down for a few creative details.


(FTC Disclosure: as an affiliate for various companies in the craft industry, I will receive a small commission for purchases made through my convenient affiliate links.  This does not affect your purchase price.)


Digital images have really gained momentum in recent years and show no sign of slowing down. Many stamp companies are now offering digital images in additional to traditional clear or rubber stamps. Within the last year, numerous graphic designers have branched out with their own line of digital products. Low overhead costs allow for savings passed on to hungry consumers that are always looking for something new to spark their creative outlets. Card makers love the ease of printing and coloring, making multiples faster and the ability to customize the graphic to fit their needs, yours truly, included!


If you've never tried working with digital images, you really don't know what you're missing. I've been working with digital products for years and I've discovered a few things along the way.  Let me share a couple of those with you today.

As you can see in the product photo above, the Happiness in a Cup floral image is simple enough for anyone on any level of artistry to color.  Even your kids can color it without any difficulty. Depending on your skill level, you can go simplistic, or create a masterpiece! Knowledge is power in the digital world so here's a few tips.


I don't use anything fancy like Photoshop or fancy die cut machines that print and cut. I use Microsoft Word. That's right, plain and simple Microsoft Word.  When you purchase your graphic images, you are able to download them to your computer. You then can upload them into a blank Word document and insert as a picture. Just go find the folder you saved your image in and select and add to your document.  I decided to offset my image, off the cardstock, using a border, when printing.

As you can see in the photo above, I chose to augment my image with a more grunge look.  It's easy peasy and here's how. Once you've added your image to your Word document and sized it as you wish, tap on the picture with your mouse and a format section will pop up on your toolbar. Next, choose artistic effect. There's an entire selection of images that will change your outlined image.  Just tap whichever image you like. It won't save the changes until you save your document so you can tap on all the images if you want, and see which one you like the best. Or don't change anything at all! These are just options available to you.  Also on the format toolbar is a picture effect button. Here, you can add shadows, glows or reflections of image and so much more. Just play around with it.


I did end up placing a shadow behind my image and it's hard to see in the first photo but you can see it better in the photo above. I tried the new #100 lb cardstock from Simon Hurley to test watercoloring and painting and it worked beautifully.I tried not to oversaturate the paper and didn't have any problems with buckling or warping. Also, for my sentiment, I needed to stagger it, so I simply inserted, then copied it three times, using the crop feature by right clicking with my mouse and cropping some of the words. To move them around the page, sometimes you need to right click your mouse and select to wrap text in front. I find that it's always easier to move images around the page when I use the wrap text feature.


I used my Altenew pan watercolor paints to color and embellished with acrylic paint in white and brown for my flower centers, tapping in the paint with the tip of a paintbrush, dotting it for the effects you see.  Brown paint splatters adorn the card in some of the white space, as well. I also mixed a bit of white paint with some of my other colors for various light effects.


For my cup, I placed some washi tape along the sides of the cup and did some ink blending with Catherine Pooler Daydream Ink. It is a water reactive ink and as you can see, I added some water splashes to my cup. To finish my card, I trimmed along the border edge and used black cardstock as a backdrop and adhered to my 5x7 card.

I hope I haven't overwhelmed you with too much information but like I said, knowledge is power, right? Thanks so much for hanging in there with me and if you have any questions, please feel free to ask in the comment section. Or leave a little love as well. I love reading your comments!  See you next time...... Terri


Affiliate product links are listed throughout this post. Click on the link to go directly to the product.  I do receive a small commission at no extra cost to you, if you make a purchase.


Prima Finnabair 7 pc brush set
Shop at:
Scrapbook.com
Ranger Ink Inkssentials 2 oz mister spray bottle
Shop at:
Scrapbook.com
Scrapbook Adhesives by 3L EZ Grand Ultra Refill - Clear
Shop at:
Scrapbook.com
Lawn Fawn Black Licorice 8.5x11 in 100 lb cardstock
Shop at:
Scrapbook.com
Scrapbook Adhesives by 3L E-Z Grand Runner
Shop at:
Simon Says Stamp
Waffle Flower Crafts Water Media Mat
Shop at:
Scrapbook.com
Picket Fence Studios Life Changing Blender Brushes
Shop at:
Simon Says Stamp
Catherine Pooler Ink Daydream
Shop at:
Scrapbook.com
Picket Fence Studios Life Changing Blender Brushes
Shop at:
Scrapbook.com
Nuvo Crystal Drops Morning Dew
Shop at:
Scrapbook.com
Scrapbook.com Round Tip Water Brush Set 3 pk
Shop at:
Scrapbook.com
Tonic Studios Craft Perfect 5x7 Card/Envelope 10 pc set
Shop at:
Scrapbook.com
Ranger Ink Simon Hurley Stark White Cardstock 100 lb
Shop at:
Scrapbook.com
Altenew 6 pan Watercolor Set
Shop at:
Scrapbook.com
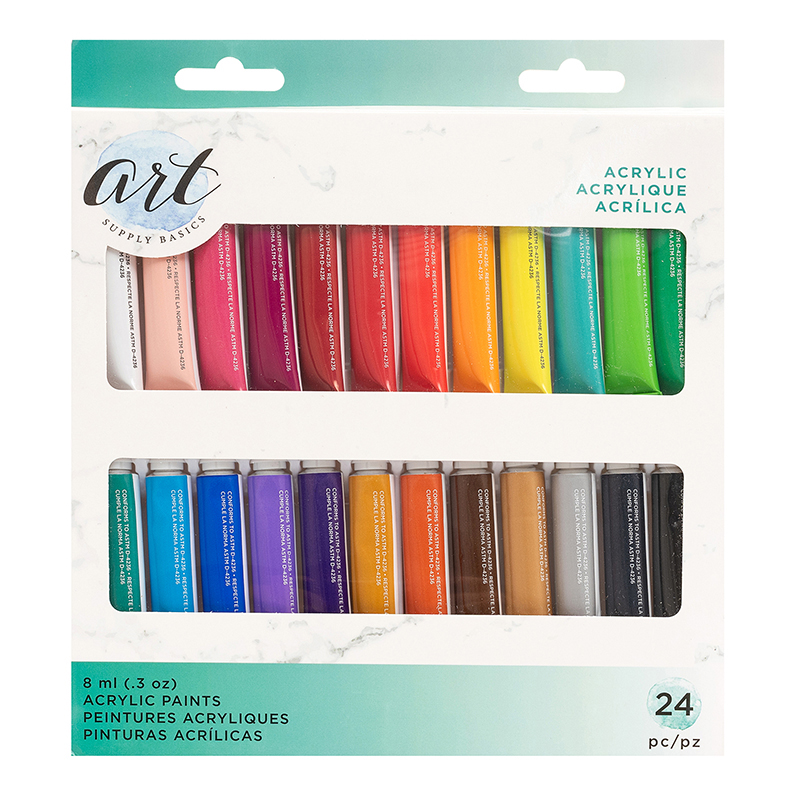
American Crafts Professional Acrylic Paint Set
Shop at:
Scrapbook.com


#wavingmywand #polkadotorchard #happinessinacup #digitalimages #digitalstamps #sunflowers #floral #flowers #rangerink #altenew #catherinepoolerink #simonhurley #tonicstudios #picketfence #blenderbrushes #waffleflowercrafts #watermediamat #lawnfawn #scrapbookcom #papercrafts #cards #thankyou #gratitude #DIY #watercolor #paint #americancrafts #acrylicpaint #scrapbookadhesivesby3L

Wednesday, June 3, 2020

Thank You Cards Featuring Ranger Speckled Egg Ink

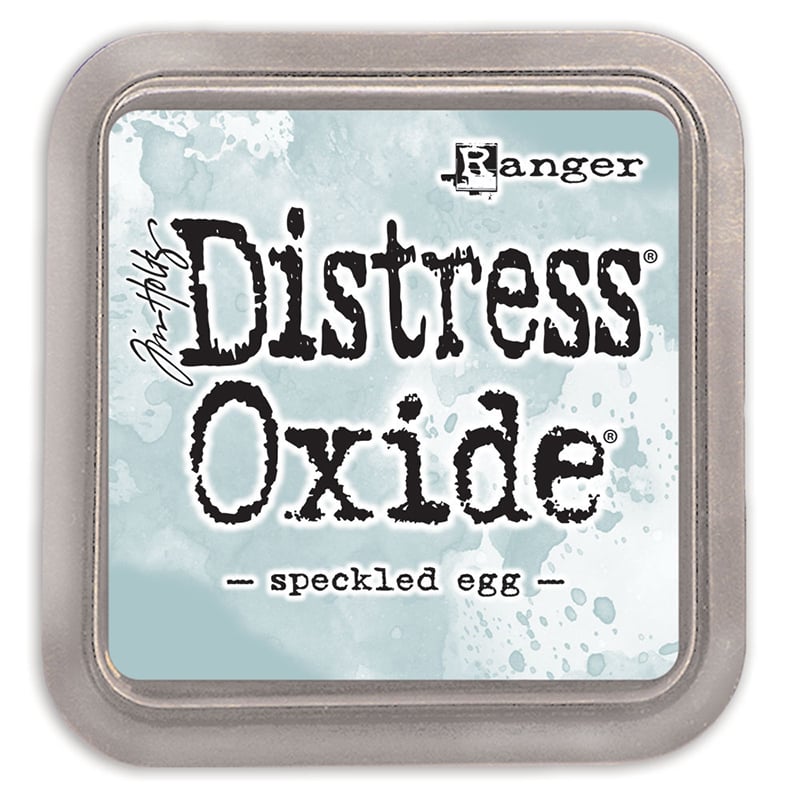
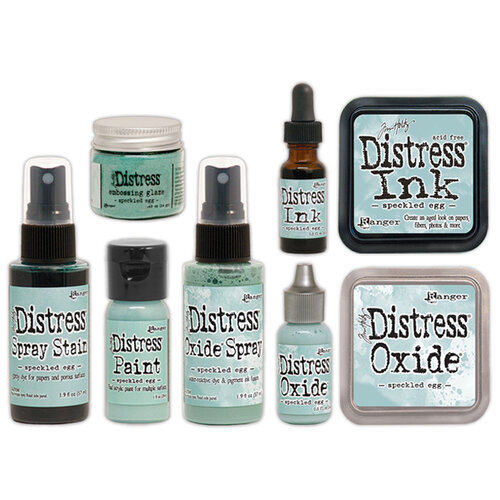
Have you tried the new Speckled Egg Ink by Ranger and Tim Holtz? Oh my goodness, I am totally crushing on this color. With a name like Speckled Egg, I mean, you really can't go wrong can you?  I'm still working on handmade thank you cards for my Senior to send out for his graduation gifts and it was the perfect time to test this delicious ink.


(FTC Disclosure: as an affiliate for various companies in the craft industry, I will receive a small commission for purchases made through my convenient affiliate links.  This does not affect your purchase price.)


To begin, I used a Stampers Anonymous stamp set called Mini Flutter which was a freebie for a time over at Scrapbook.com. For my gold butterfly, I used Premium Clear Embossing Ink, stamping on watercolor paper, then heat embossing with Ranger's Gold Tinsel embossing powder.  This stuff really shines!  I highly recommend that you prepare your surface for embossing, prior to stamping, with an anti-static pouch. Just rub across your surface and blow any excess powder away. This will help keep away loose powder and provide a much cleaner emboss when you heat with your craft heat tool.

Instead of leaving the exposed image white, I pressed a little Speckled Egg ink onto my craft mat, grabbed a water brush to pick up the color and watercolored the white portion. I think it turned out beautifully.


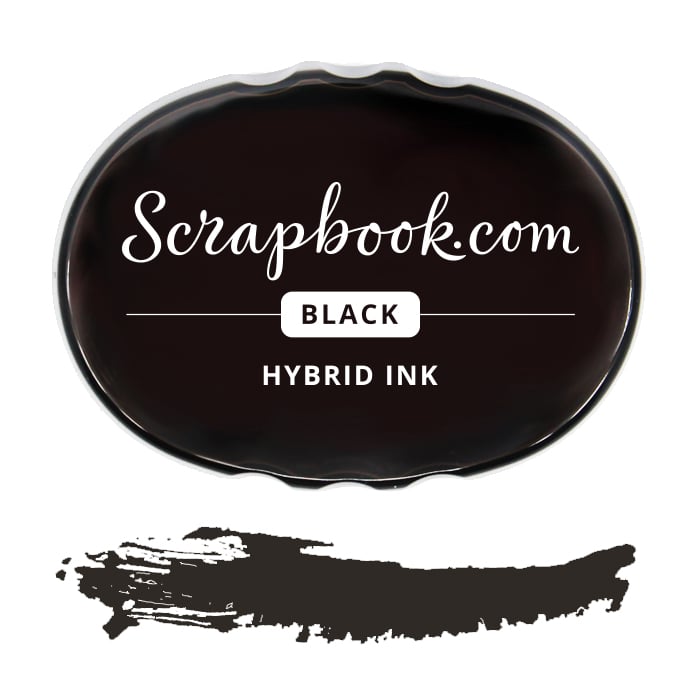
My blue butterfly was stamped a little differently. First, I masked my wings and stamped the body and antennas of the butterfly with black hybrid ink.  You'll want to use a stamp positioner for the best results. Next, I removed the washi tape masking and carefully inked just the wings. Because the distress oxide ink is slower to dry, I stamped directly with Speckled Egg Oxide Ink, then sprinkled on some clear embossing powder, tapping off the excess and heating with a craft heat tool. I left the exposed white portion alone and love how soft and subtle it looks.


For my backgrounds, I trimmed watercolor paper that would accommodate my layered A2 sized cards. Next, I pressed my Speckled Egg ink onto a craft mat, spritz with a little bit of water, and randomly (and carefully) dabbed my paper into the mix. Go heavy or light, whatever is your pleasure but use your craft heat tool to dry or allow time to dry completely before embellishing.

Once dried, I splattered some black paint onto my card. (I failed to link the Dylusions Black Marble paint at the end of this post. You can find it here.) The easiest way to do this is grab two paintbrushes. Squeeze a very small amount of paint onto your craft mat and spritz a tiny bit of water onto your paint. Using a small tipped paintbrush, dip it into the paint, covering your brush generously.  Now, take your second paint brush and tap the middle of your wet brush, almost like your playing drums, haha! Place random splatters wherever you like and tap, tap, tap that brush.

For the larger paint drops, I simply took the opposite end of my paintbrush and dipped it into the paint mixture, dabbing spots here and there.  I know this is a lot of information but I want you to know exactly how to achieve these effects. Of course, when you're smooshing, no two cards are exactly alike and that's ok.


For my sentiment, I used a Wendy Vecchi stamp set and stamped onto black cardstock with clear embossing ink, sprinkling on white embossing powder and heating with my heat tool.  I also popped the sentiment up with foam circles for added dimension, as well as my butterflies.

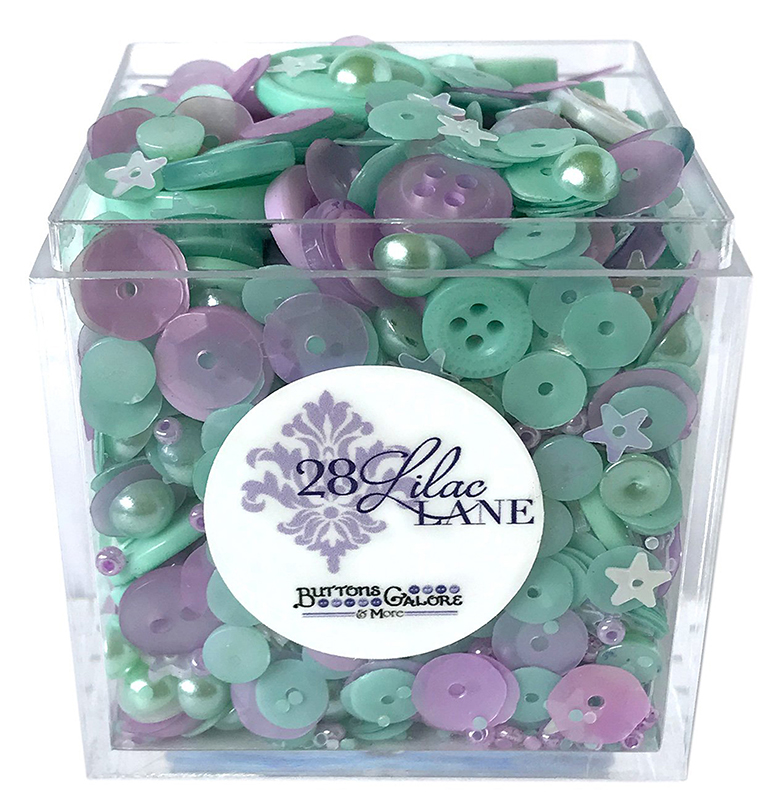
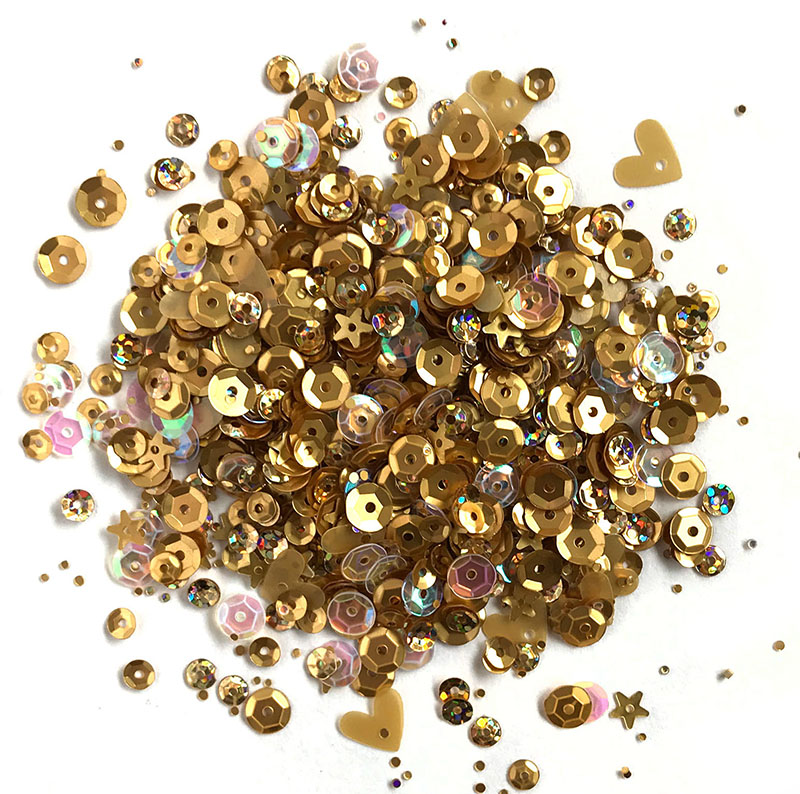
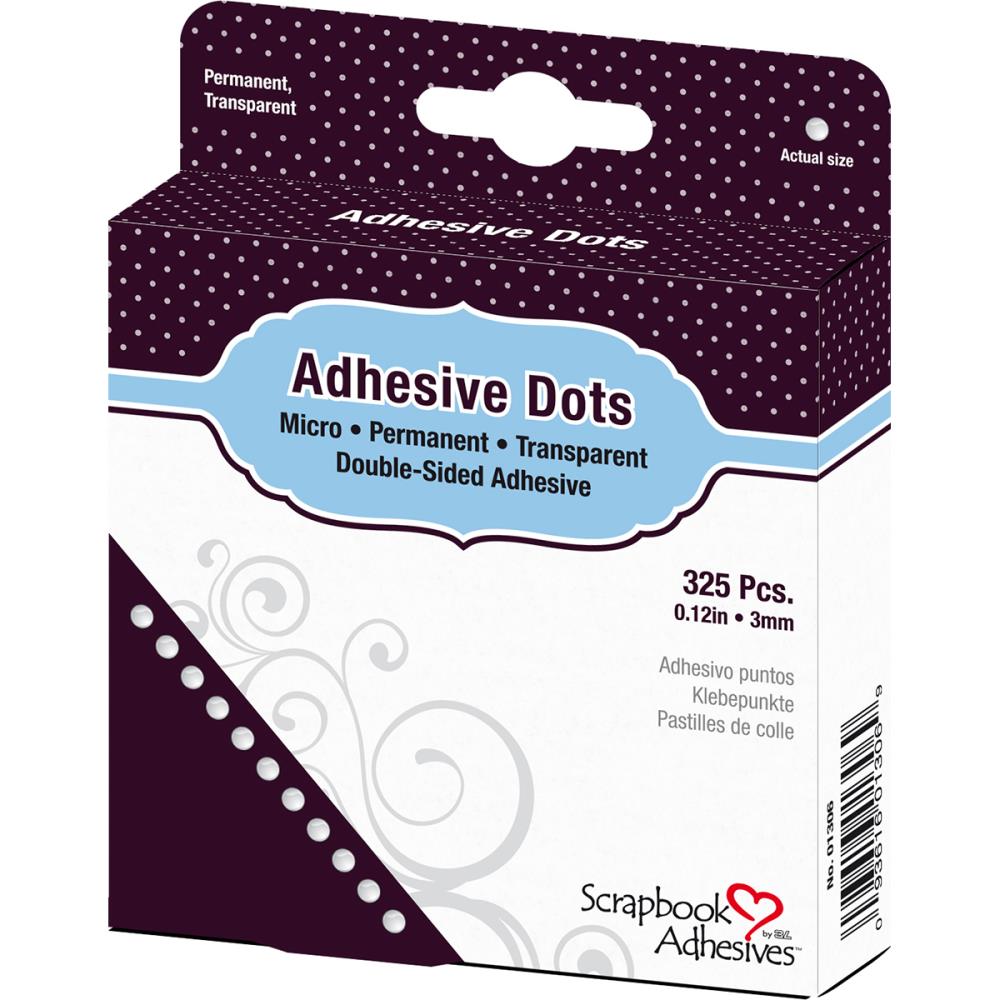
To finish everything off, I embellished with gold sequins, dotting on some Mercury Glass Stickles glitter glue. For my blue butterfly card, I used flat back pearls from a shaker mix. Both cards have additional clear gemstones from one of my Sparkletz packets from 28 Lilac Lane. I love these little packs because they have so many different gemstones, bubbles and tiny sequins that you can mix and match.  These are adhered to my card using my favorite Scrapbook Adhesives by 3L micro dots.  These are a staple in my craft space and if you don't have them, you need them!


I know this blog post was a little lengthier than usual but I think the more tips you know, the better. And since I also work a full time job, I simply do not have the time to invest in doing YouTube videos lately, although I do have a YouTube channel with many videos. Life is crazy right now and sometimes you just have to know your limits.

Thanks so much for popping in. I've got affiliate shopping links below if you find something you like. Some items are currently out of stock at Ranger Ink and some items are currently out of stock at Scrapbook.com, which is why I've listed both. Hopefully you'll find what you need! Also, both shops have special offers right now. If you purchase the Speckled Egg bundle from Ranger Ink, you'll get a free distress enamel pin. You can also buy now and pay later with AfterPay at Ranger Ink.  If you're shopping at Scrapbook.com, be sure and check out the coupon section as there is a free gift offer right now, while supplies last.

See you next time and happy crafting!  Terri


Affiliate product links are listed throughout this post. Click on the link to go directly to the product.  I do receive a small commission at no extra cost to you, if you make a purchase.


Ranger Inkssentials Craft Mat 15x18
Shop at:
Scrapbook.com
Ranger US HEAT IT CRAFT TOOL
Shop at:
Scrapbook.com
Ranger Ink Inkssentials 2 oz mister spray bottle
Shop at:
Scrapbook.com
Scrapbook Adhesives by 3L EZ Grand Ultra Refill - Clear
Shop at:
Scrapbook.com
Lawn Fawn Black Licorice 8.5x11 in 100 lb cardstock
Shop at:
Scrapbook.com
Scrapbook Adhesives by 3L Foam Circles
Shop at:
Scrapbook.com
Scrapbook Adhesives by 3L E-Z Grand Runner
Shop at:
Simon Says Stamp
Neenah Solar White Cardstock 25 pk A2 Card/Env. Set
Shop at:
Scrapbook.com
Buttons Galore Aquamarine Sparkletz
Shop at:
Scrapbook.com
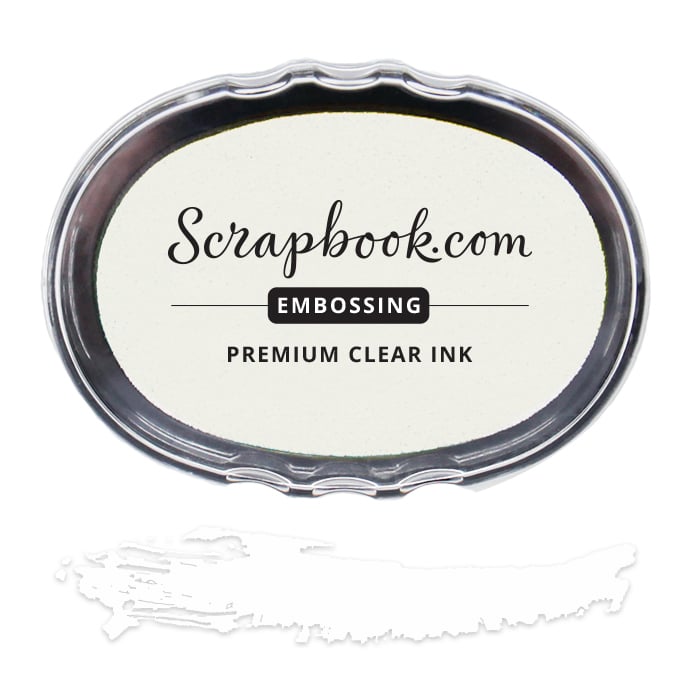
Exclusive Scrapbook.com Premium Clear Embossing Ink
Shop at:
Scrapbook.com
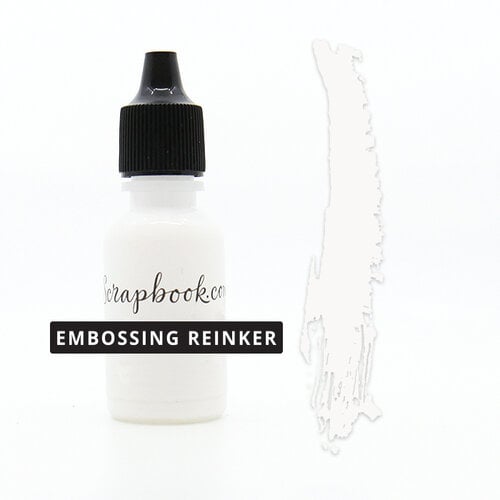
Exlusive Scrapbook.com Premium Clear Embossing Reinker
Shop at:
Scrapbook.com
Exclusive Scrapbook.com Hybrid Ink - Black
Shop at:
Scrapbook.com
Scrapbook.com Round Tip Water Brush Set 3 pk
Shop at:
Scrapbook.com
Ranger Speckled Egg Distress Oxide Ink
Shop at:
Scrapbook.com | Ranger Ink
Ranger Speckled Egg Distress Ink Bundle
Shop at:
Scrapbook.com | Ranger Ink
Ranger Watercolor Paper 8.5x11 inch 10 pk
Shop at:
Ranger Ink
Scrapbook Adhesives by 3L Micro Adhesive Dots
Shop at:
Scrapbook.com
Ranger Super Fine White Embossing Powder
Shop at:
Scrapbook.com | Ranger Ink
Ranger Super Fine Clear Embossing Powder
Shop at:
Scrapbook.com | Ranger Ink
Ranger Gold Tinsel Embossing Powder
Shop at:
Scrapbook.com | Ranger Ink
28 Lilac Lane Fairy Dust Shaker Mix
Shop at:
Scrapbook.com
28 Liilac Lane Golden Sequins
Shop at:
Scrapbook.com
Ranger Mercury Glass Stickles Glitter Glue
Shop at:
Scrapbook.com | Ranger Ink
Ranger Anti-Static Pouch
Shop at:
Scrapbook.com | Ranger Ink


#wavingmywand #scrapbookcom #rangerink #speckledegg #thankyoucards #friendship #butterfly #butterflies #handmade #cardmaking #papercrafts #DIY #scrapbookadhesivesby3L #lawnfawn #embossing #heatembossing #watercolor #watercoloring #smooshing #technique #stickles #glitterglue #buttonsgaloreandmore #28lilaclane #sparkletz #fairydust #embellishments #distressink #oxideink #distressoxideink #hybridink