
Hello friends. Today's project was created for a postcard pal exchange, hosted by @planninginhd on Instagram. I thought it would be the perfect opportunity to use some rub-ons in my stash. Scroll down for creative details. You'll find my clickable supply list at the end of this post, as well.
(FTC Disclosure: as an affiliate for various companies in the craft industry, I will receive a small commission for purchases made through my convenient affiliate links, at no additional cost to you.)

Although the postcard exchange has closed for this month, be sure and check back, if you'd like to sign up for future exchanges.

The rub-ons that I used for this postcard are called Retro Garden from Scrapbook.com. I was going for a summery, happy vibe! I kept the address side of this postcard fairly simplistic, but added lots of mixed media flair for the flip side.

My postcard was created completely from scratch, including trimming a standard size 4x6 inch piece of white cardstock. I decided to use heavyweight 100# cardstock, so nothing would bleed through to the other side, since I planned to add paint and ink splatters.

I adhererd some low tack mint adhesive tape, covering the outer 1/2" of all sides to form a border. I rubbed on the center phrase first, then created a floral, butterfly scene with rub-ons, most of which were offset on the border.
Although a wooden stick is included in the rub-on set, I prefer to use my bone folder as it glides a bit smoother.

Next, I did some ink blending around the edges with my Catherine Pooler Spiced ink, and a blender brush. The photo above looks pretty messy, but it's all in the process!
I also created lots of splatters with my Spiced ink, white paint and some Catherine Pooler Glitz Shimmer for some shine and sparkle.
I have a dedicated large piece of bubble wrap that I use to protect my space when splattering.

Another tip? I used my bone folder to also go all along the inner edges of the lined tape, so when I gently pull off the tape, the overlap of the rub-ons easily come off and don't leave any jagged edges.

I love how it turned out. So much inky deliciousness! If you wanted to do something similar, you wouldn't necessarily have to add the ink and paint splatters. The scene looks perfectly lovely without the added enhancement.

As of this writing, there's a coupon code available at Scrapbookcom. Use code HOLIDAY by midnight Sunday 7/26 tonight for an additional 12% discount off your entire purchase. If you're seeing this post after Sunday, tap here to see if there's another coupon code available! There are often free add-on gifts you can toss into your cart too from the coupon section.
I can't wait for the recipient to receive this. I hope she loves it as much as I do! If you have any other questions, let me know in the comment section. I hope you have a fantastic day!
Terri
******************
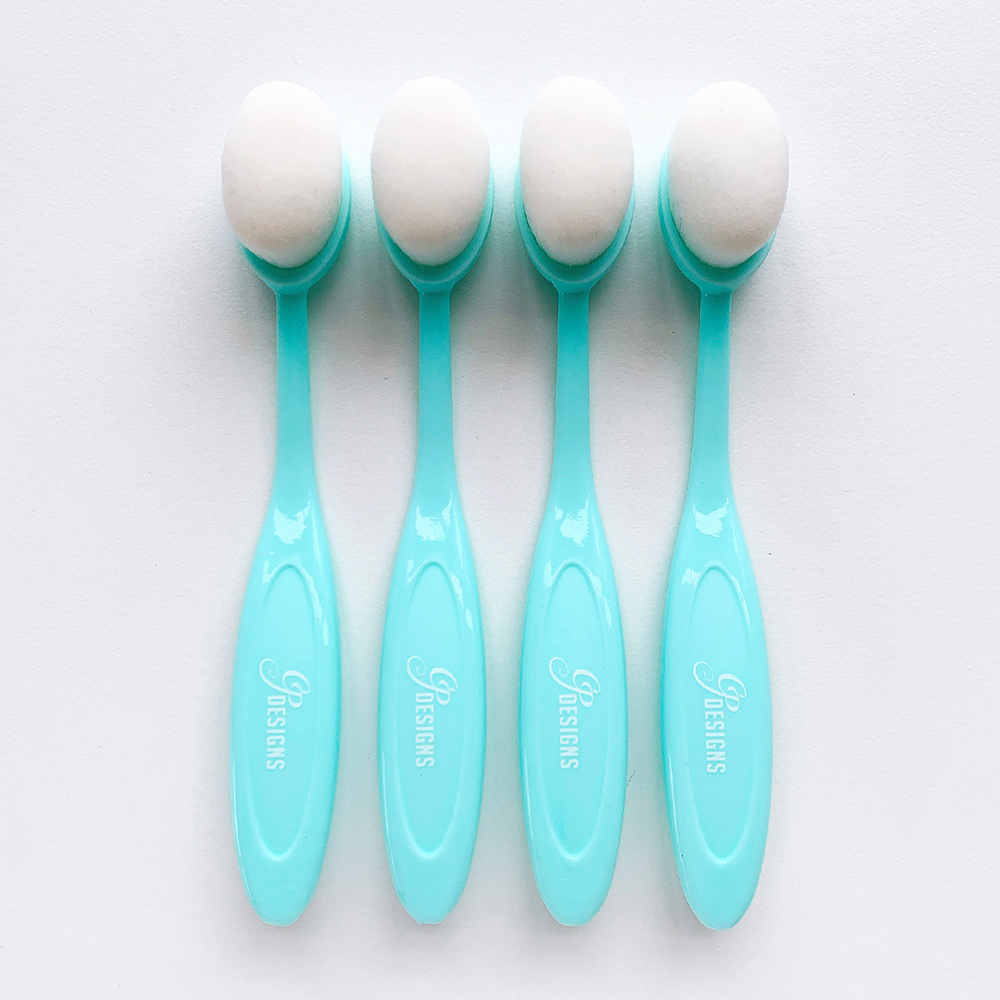 Catherine Pooler Blending Brushes - 4 pk. Shop at: Scrapbookcom |
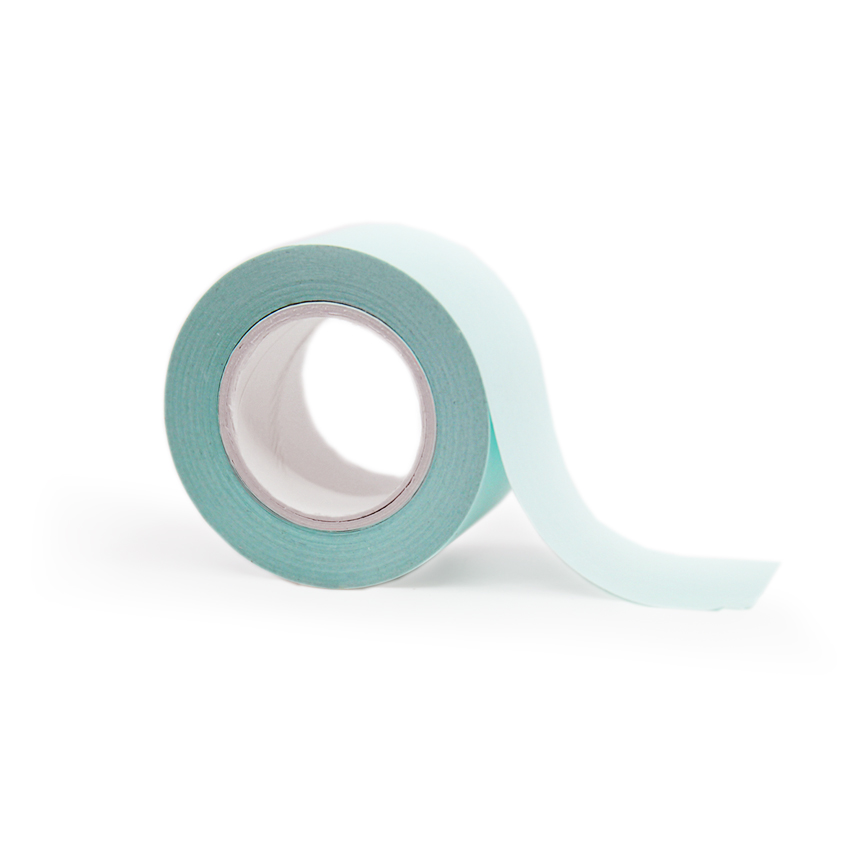 Mint Tape 1 inch roll Shop at: Scrapbookcom |
 Tonic Studios Tim Holtz Comfort Trimmer 8.5 Inch Shop at: Scrapbookcom |
 Project Grip Mat Large - White - 24x18 inch Shop at: Scrapbookcom |
 CPD Ink Pad - Spiced Shop at: Scrapbookcom |
 Altenew Fine Liner Pen Set Shop at: Scrapbookcom |
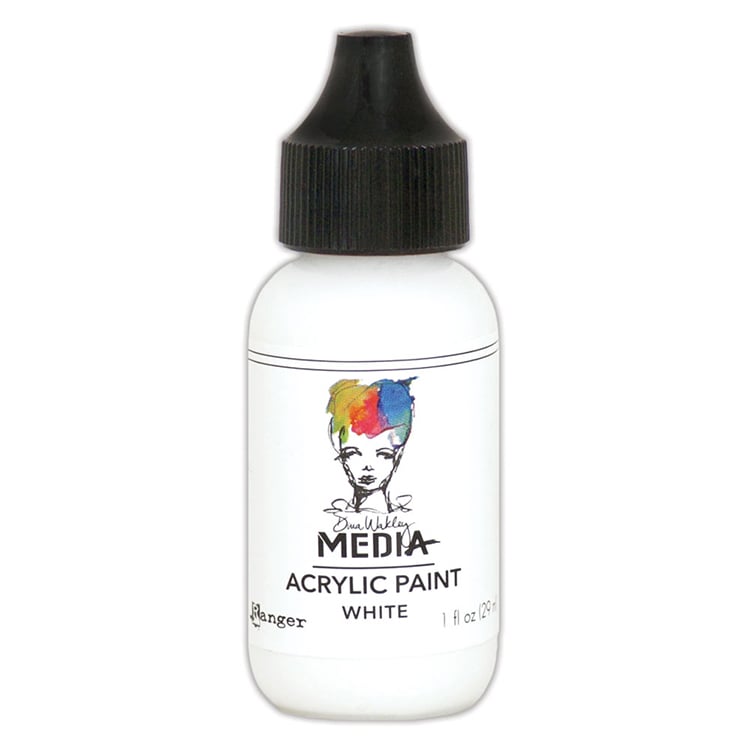 Dina Wakley White Acrylic Paint Shop at: Scrapbookcom |
 Retro Garden Rub-ons - 2 pc set Shop at: Scrapbookcom |
 CPD Favorite White Cardstock - 100 lb - 25 pk Shop at: Scrapbookcom |
 Dress My Craft Non-Stick Bone Folder Shop at: Scrapbookcom |
 Shop at: Scrapbookcom |
#wavingmywand #thecreativedeskpostcardpalexchange #handmade #postcard #scrapbookcom #catherinepoolerdesigns #catherinepoolerink #diypostcard #rubon #mixedmedia #diy #summertime #sunshine #butterflies #flowers #floral


 :)
:)
 :(
:(
 :))
:))
 :((
:((
 =))
=))
 =D>
=D>
 :D
:D
 :P
:P
 :-O
:-O
 :-?
:-?
 :-SS
:-SS
 :-f
:-f
 d(
d(
 :-*
:-*
 b-(
b-(
 h-(
h-(
 g-)
g-)
 5-p
5-p
 y-)
y-)
 c-)
c-)
 s-)
s-)
 d-)
d-)
 w-)
w-)
 :-h
:-h
 :X
:X
No comments:
Post a Comment
(Ignore the robot caption feature and just click submit for your comments. It's a blogger glitch) I appreciate each and every comment. Thank you so much!