Showing posts with label sand. Show all posts

Tuesday, June 3, 2025

Beachy Birthday Card for Spellbinders

Where's my ocean lovers? I'm loving the new club kits at Spellbinders this month. Most, if not all, have a nautical theme and they're so fun! For today's card, I've paired the June Stamp/Die Club Kit with the Glimmer plate from the June Glimmer of the Month Club Kit. I love when a card comes together easily and this one certainly did. Scroll down for creative details and click any of the highlighted words throughout this post for more product information or to shop.


 (FTC Disclosure: as an affiliate for various companies in the craft industry, I receive a small commis
sion for purchases made through my convenient affiliate links, at no additional cost to you)


The Spellbinders Clear Stamp & Die Monthly Club Kit for June is titled, "Anchors Away". I don't have any other club kits in my possession (except the Glimmer Kit), so I tried to get really creative with minimal products.

Let me also mention, this stamp set is also available without dies, if you're interested in joining the Stamp of the Month Club.


This month's Glimmer Hot Foil Club Kit is called, "Cast Away" and includes this awesome netting Glimmer Hot foil Plate, 3 hot foil plate sentiments, 1 large sentiment outline die and 1 roll of Glimmer Hot Foil. Foil selection varies.

The foil that came with my Glimmer kit this month is called Opal. It's a translucent, shiny, iridescent foil. I'll be sharing another project soon that features that foil, but I actually used my Spellbinders White Opaque foil that I purchased some time ago, in a 2-pack with Black. I thought it would really make the netting pop.


To get started, I turned to several products in my stash, some Ranger Kraft Cardstock, as the base for my foiling, and an ombre paper pad from Scrapbookcom.

The Glimmer plate is roughly 4 1/2 x 5 3/4 inches, so I foiled a larger section of kraft paper, then trimmed my foiled cardstock down to A2 sized. My foiling was done using my Glimmer Hot Foil System, then run through my Platinum 6.


As you can see in the photo above, I tore my ombre paper at an angle, to have a wide white edge which represents the foam from the sea at the water's edge. Don't strive for perfection when tearing, irregularity is actually what you want!

I also wanted you to see the placement of my twine. I opted to use a blue/white twine from my stash, to tie in with the blue colors of my background and my stamped images. I used my hot glue gun, tacking down about 4 or 5 spots of my twine.


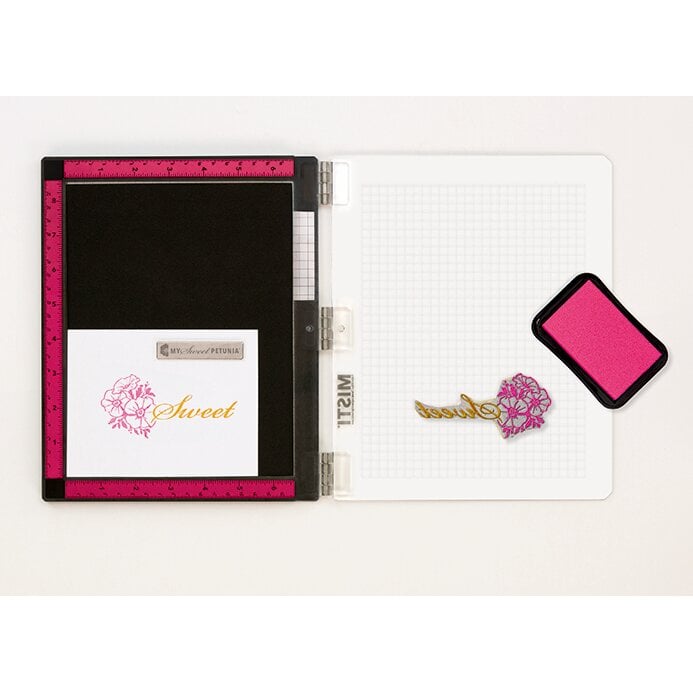
My sentiment was stamped with Catherine Pooler Glacier Ink and Midnight inks, using a mask technique and my stamp positioner, and my anchor was also stamped with Glacier and colored in with some of my OLO Markers.


Everything was adhered flat to my Spellbinders A2 white card, with the exception of my stamped images which were popped up on adhesive foam. I love how this turned out, and even better that it was a fairly quick card to make.

Let me know if you have any questions in the comment section. If you'd like to subscribe to any of the Spellbinders Monthly Club Kits, the window for new subscribers is June 6th-June 27th. Some kits do sell out, so don't wait! You can always cancel at any time, and re-subscribe again at any time, if a future club kit is not to your liking.

I hope you have a great week, thanks for stopping by!

Terri

***********************************


#wavingmywand #spellbinders #spellbindersclubkits #glimmerhotfoilsystem #neverstopmaking #anchorsaway #castaway #cardmaking #nautical #cards #ocean #sea #birthday #ombre #netting #fishingnet #beach #sand #scrapbookcom #catherinepoolerinks #stamping 


Tuesday, June 27, 2023

Sand and Starfish Card for Spellbinders

I have another card featuring the new Simon Hurley/Ranger Ink release, sent to me by my lovely friends at Spellbinders. This is my second card using the Smooth Sailing stamp and die set. I wanted to create a sandy beach scene to accent those gorgeous, etched starfish dies. Scroll down for creative details. You'll also find clickable product links at the end of this post.


(FTC Disclosure: as an affiliate for various companies in the craft industry, I will receive a small commission for purchases made through my convenient affiliate links, at no additional cost to you.)


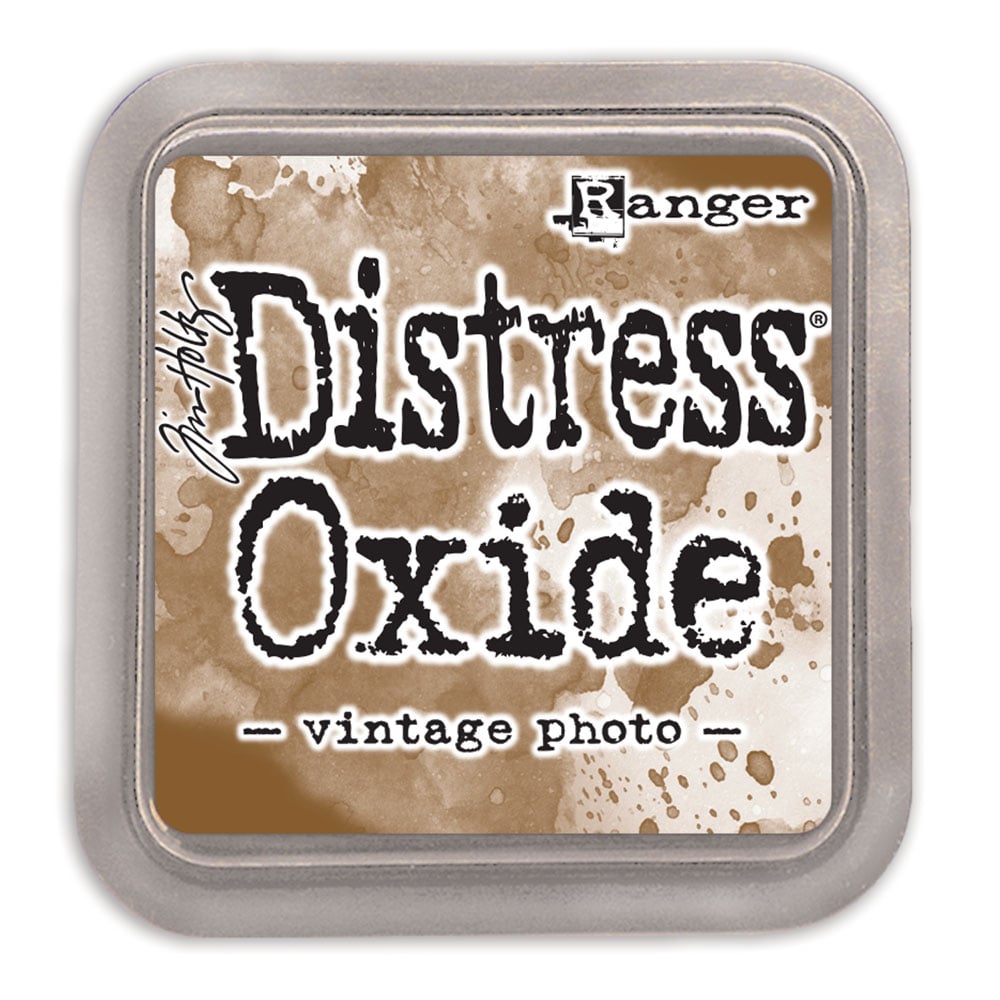
To begin, I did some ink smooshing on an A2 white card panel, using the inks you see below. If you've never tried ink smooshing, its' super easy! Just press your ink pad onto a craft mat and spritz with water, then randomly pat sections of your card panel in the mix. Heat dry your wet card in between colors. I started with the Vintage Photo, and finished with the Rusty Hinge ink.

When done, I did some ink blending with a blender brush on all four corners of the panel using the Vintage Photo Ink. 


I also splattered black paint and white paint around my card. I typically drop some of my paint onto my craft mat and spritz with a little water and mix with a paintbrush, then splatter all around.


I love embossing card panels as a backdrop for my focal point. It gives so much added interest to a card, even when just a little of the embossing is peeking out from behind a card panel! I used the Geo Screen 3D embossing folder with my Platinum 6. The design reminds me of a compass and is very fitting for a nautical or beach themed card.


Next, I ran the etched and outline starfish dies with cardstock through my Platinum 6 to create 5 die cuts.  These were adhered in random areas around my card, offset on the card panel edges and trimmed from the edge.

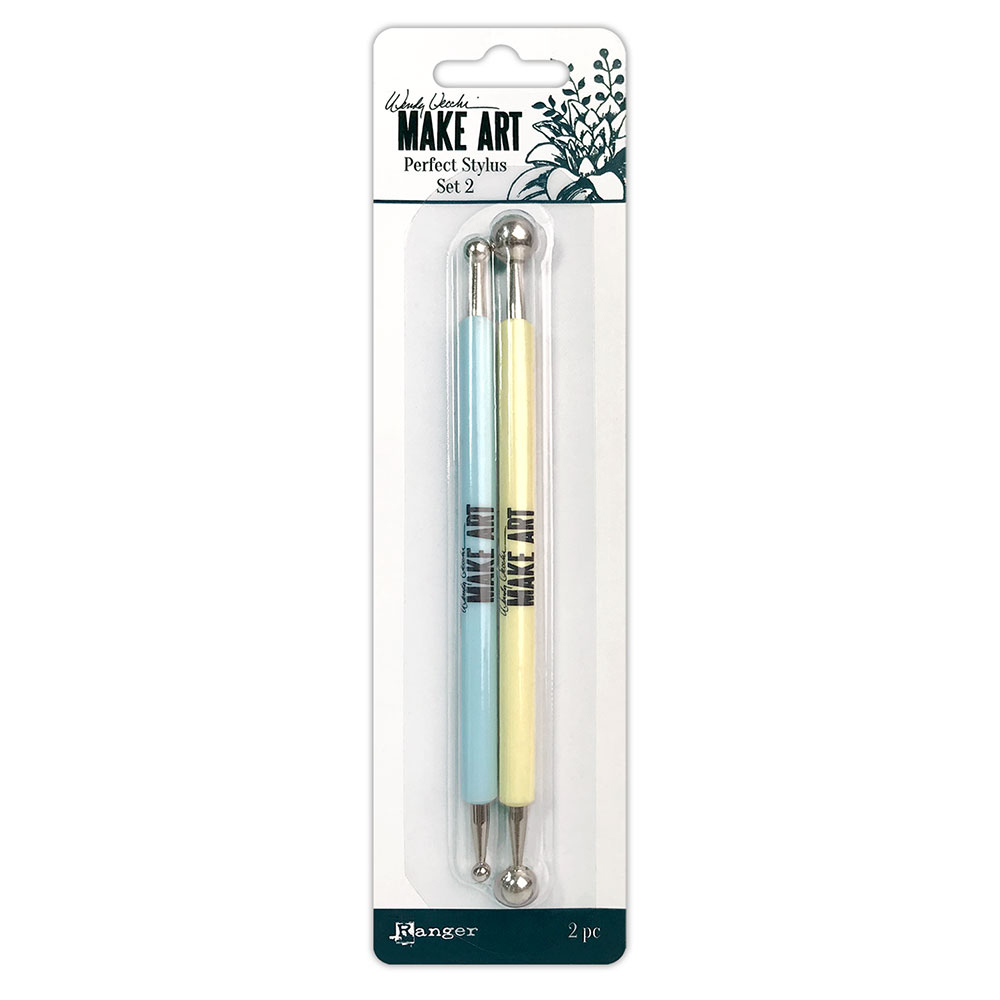
If you follow me on Instagram, I shared a short video in my stories today, showing how I popped out the inner ridges of those starfish using a stylus to give more definition. 


Lastly, I did some heat embossing on torn kraft paper for my sentiment and inked up the edges using Ranger Ground Espresso distress ink. 

I hope you like this card as much as I do! Thanks so much for popping in. If you'd like to do some shopping through my affiliate links, I'd appreciate it so much. These links are provided at no additional cost to you. See you again soon!

Terri

*****************************

Ranger Ink White Super Fine Embossing Powder
Shop at:
Scrapbookcom | Ranger Ink
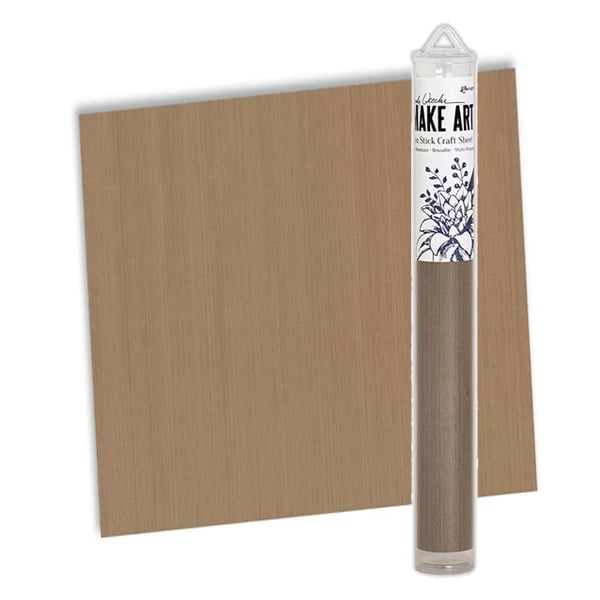
Wendy Vecchi Makeart Non-stick Craft Sheet
Shop at:
Scrapbookcom | Ranger Ink
Ranger Heat It Craft Tool
Shop at:
Scrapbookcom
Ranger Vintage Photo Distress Oxide Ink Pad
Shop at:
Scrapbookcom | Ranger Ink
Refillable Permanent Adhesive Runner - 49 feet
Shop at:
Scrapbookcom
Double Sided Adhesive Foam Tape - 32 feet
Shop at:
Scrapbookcom
Bazill Basics Dark Kraft Cardstock
Shop at:
Scrapbookcom
Dina Wakley Heavy Acrylic Paint - White
Shop at:
Scrapbookcom
New Misti (metal hinges) 8x10 inch
Shop at:
Scrapbookcom
Ranger Ink Distress Ink Pad - Ground Espresso
Shop at:
Ranger Ink
Wendy Vecchi Make Art Stylus
Shop at:
Scrapbookcom | Ranger Ink
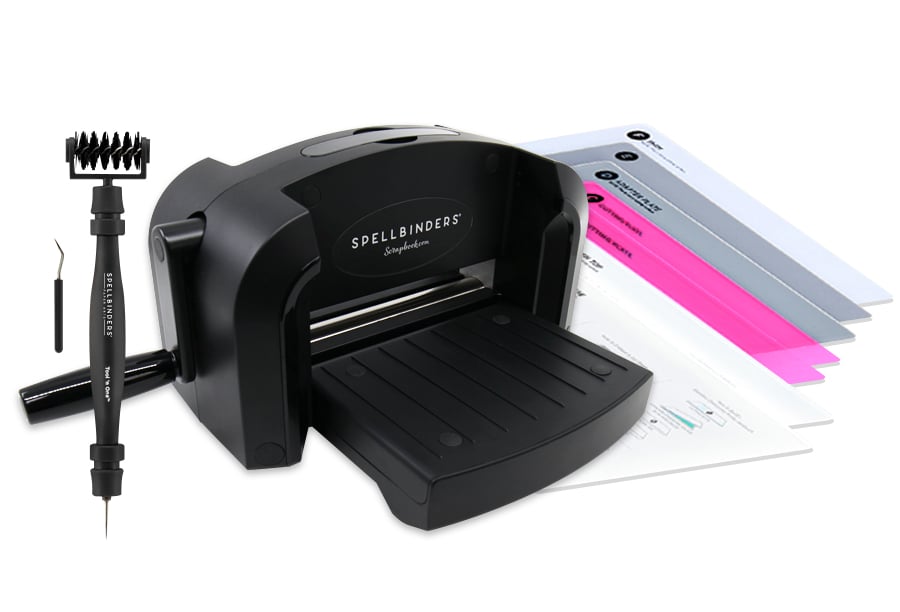
Exclusive Black Platinum 6 Die Cut System
Shop at:
Scrapbookcom
Blending Brushes - Set of 3
Shop at:
Spellbinders
A2 White Cards Top Fold - 25 ct.
Shop at:
Spellbinders
A2 White Envelopes  25 ct.
A2 White Envelopes 25 ct.
Shop at:
Spellbinders
Wendy Vecchi Craft Mat
Shop at:
Scrapbookcom
Simon Hurley Smooth Sailing Stamp & Die Set
Shop at:
Ranger Ink | Spellbinders
White Cardstock 8.5x11 inch - 25 pk
Shop at:
Spellbinders
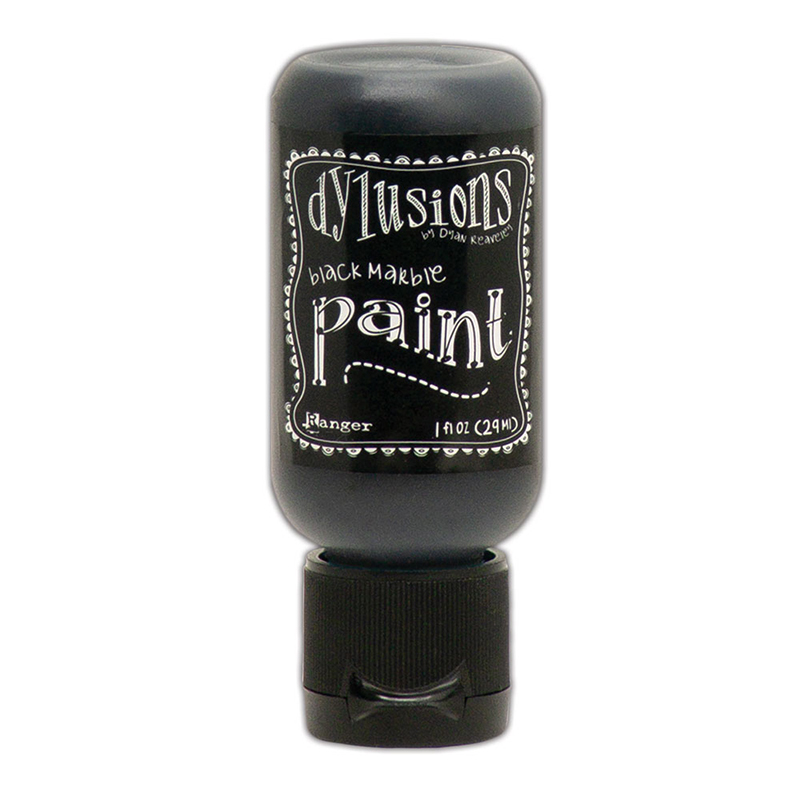
Ranger Black Marble Paint
Shop at:
Scrapbookcom | Ranger Ink
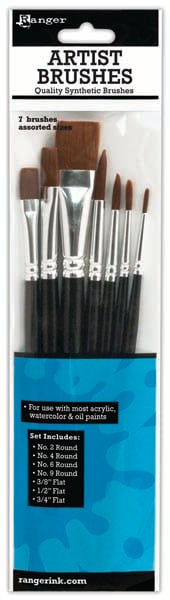
Ranger Artist Brushes - 7 pc
Shop at:
Scrapbookcom | Ranger Ink


#wavingmywand #spellbinders #neverstopmaking #platinum6 #cardmaking #simonhurleycreate #rangerink #smoothsailing #beachcards #sand #summercards #ocean #beach #cards  #inkblending #distressink  #3dembossing diycards #scrapbookcom #inksmooshing #heatembossing #stamping #mixedmedia #distressink #distressoxideink

Monday, April 13, 2015

Embossed Wedding card

 Love is in the air and wedding cards abound.  I'm making them left and right for various family members.  Yes, my sister always calls when she needs something but, hey, that's what sisters are for right?  Plus, I have a nephew getting married soon so there's lots of prep going on for that (congrats Jake!)  But today, I have a wedding card made by request of sis.  It's going to a former student of hers who is getting married.

I've done some embossing and sanding and used my Lil' Inkers Designs oval stitched frame to showcase this sweet sentiment.  I also stamped a congratulatory quote inside as well.


I'll be entering this into a couple fun challenges today:


Additional supplies: Pretty Pink Posh clear sequins, May Arts Ribbon white mesh ribbon, Tombow Mono Super Bond adhesive runner, Cuttlebug embossing folder, Unity Stamps Sentiment 9/2013 kit of the month (Happiness Has No Limit), Simon Says Stamp light gray cardstock, Stickles Stardust glitter glue, Core'dinations dark gray cardstock, Close To My Heart Black archival ink, Wink of Stella glitter brush clear,


Disclosure: This post may contain affiliate links so, if you purchase a product using the link I may receive a commission. I only participate in the affiliate programs linked above because they are products that I use and love. Your purchase price is not affected in any way, by using my links.  Thank you for your support and helping me keep my content free!

#ssswchallenge #lilinkerdesigns #cre8time #wedding #love