Showing posts with label dina wakley. Show all posts

Thursday, September 22, 2022

Woodgrain Pumpkin Slimline Card

Hey friends, today I've got a fun technique that I don't use often but I really should. Stamping over stencils. It yields such cool results and is so fun to do. This project for Scrapbook.com features the Pumpkin Patch stencil and Hi Fall stamp set, both new in the shop.  Scroll down for creative details. You'll also find product links at the end of this post.


(FTC Disclosure: as an affiliate for various companies in the craft industry, I will receive a small commission for purchases made through my convenient affiliate links, at no additional cost to you.)


The dimensions of my card are close to the traditional size of a slimline card, measuring in at 4x8 inches, edge to edge. I trimmed my kraft cardstock to fit, then trimmed my white panel to fit.

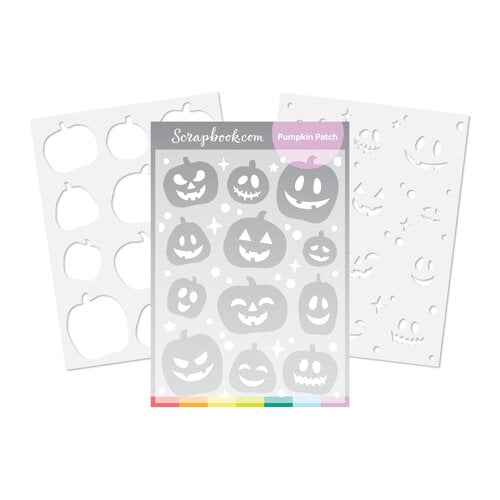
I sprayed the back of my stencil with Thermoweb Pixie Spray then masked around 2 rows of pumpkins and centered the stencil on top of my white panel. Yes, my stencil is covered in some adhesive and glitter and needs a good cleaning, haha! Even though I had tape on my stencil, I used the spray for a better seal and to prevent any of the gloss spray that I used (further down this post) to seep underneath the stencil. The Pixie Spray is currently out of stock but click the link if you'd like to be notified when it's back in stock. It's a must have staple in my craft room.


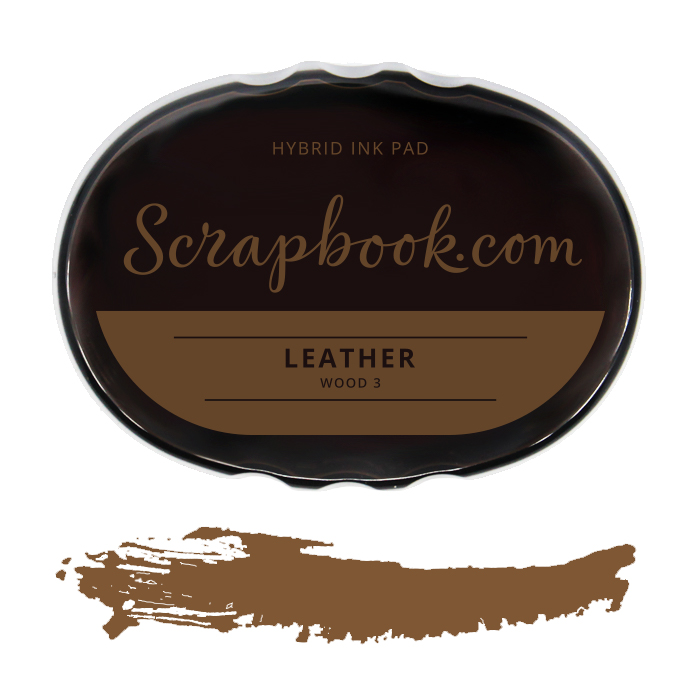
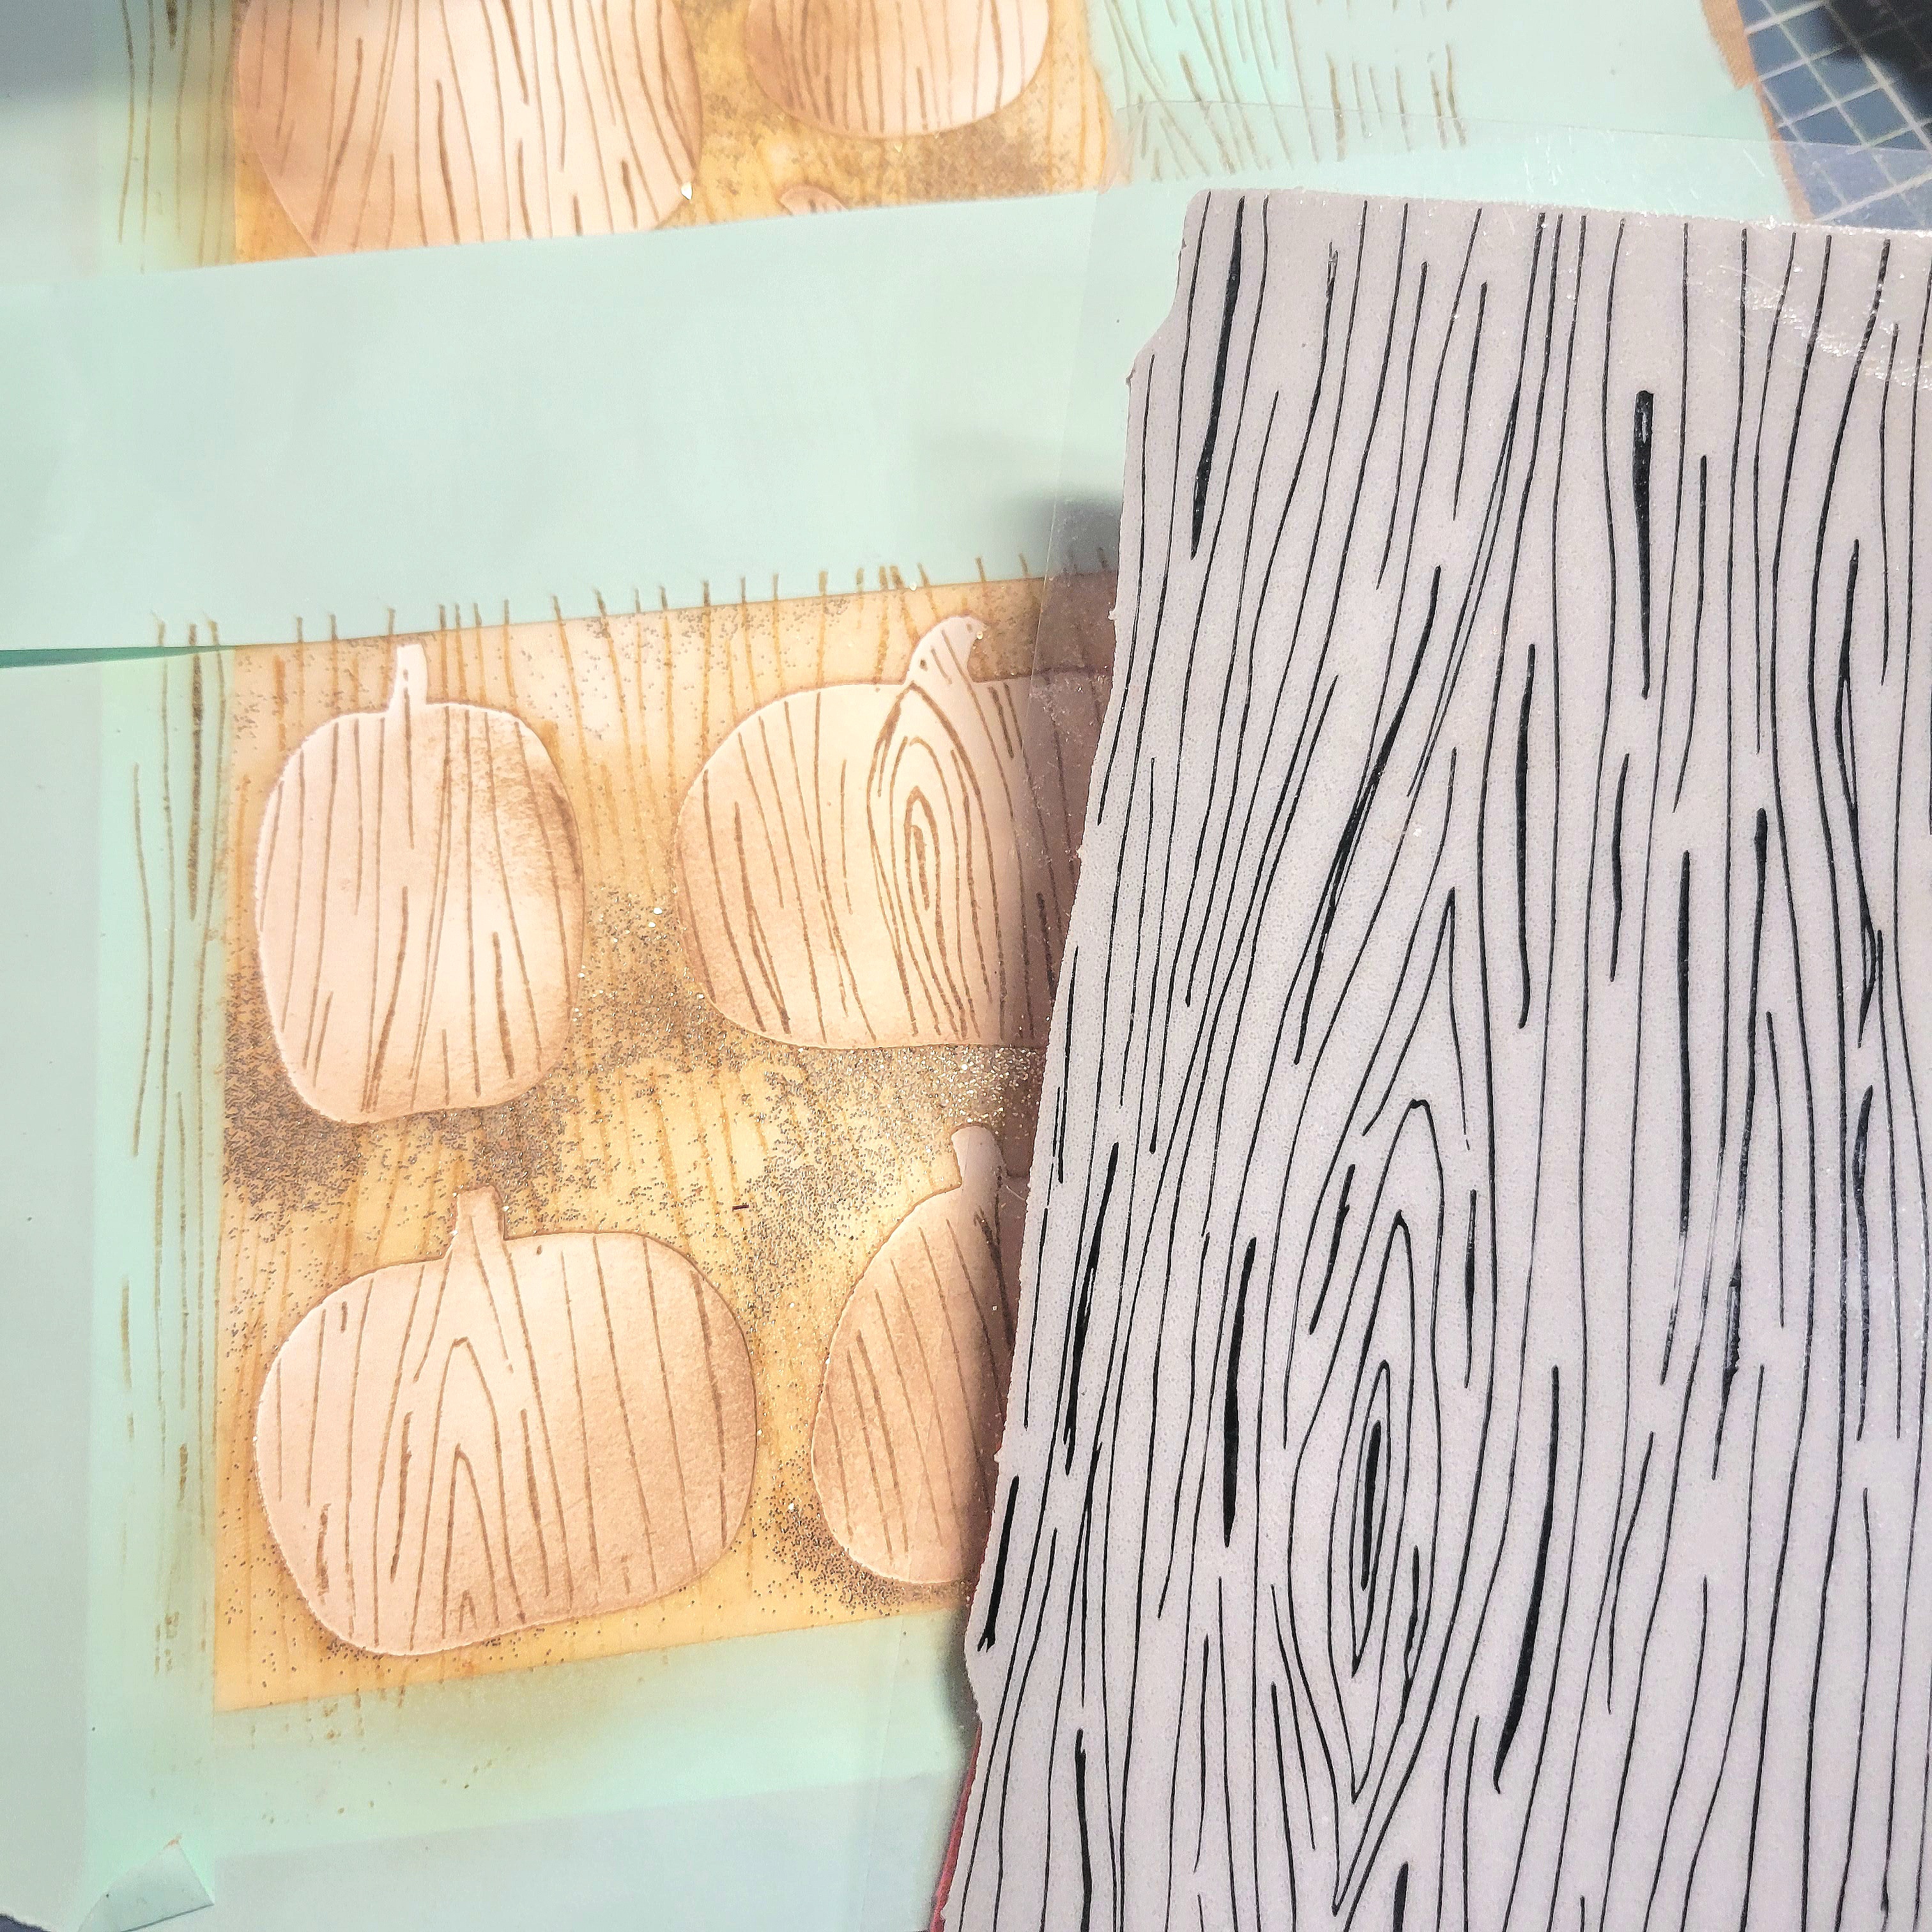
Next, I used my Scrapbookcom hybrid ink in Leather to ink blend lightly inside my pumpkins. Once this is done, LEAVE YOUR STENCIL IN PLACE! You're going to stamp right on top of your ink blended pumpkins with a woodgrain background stamp. No need for a stamp positioner, just ink up the cling stamp and press directly onto your pumpkins, If it's a large background stamp, like mine, you may need to mask some of your area to stamp 2 different sections evenly. You can also use a small woodgrain stamp and acrylic block to stamp individual pumpkins.

I should mention, the background stamp I'm using today is no longer available but I've linked a very similar woodgrain stamp at the end of this post.


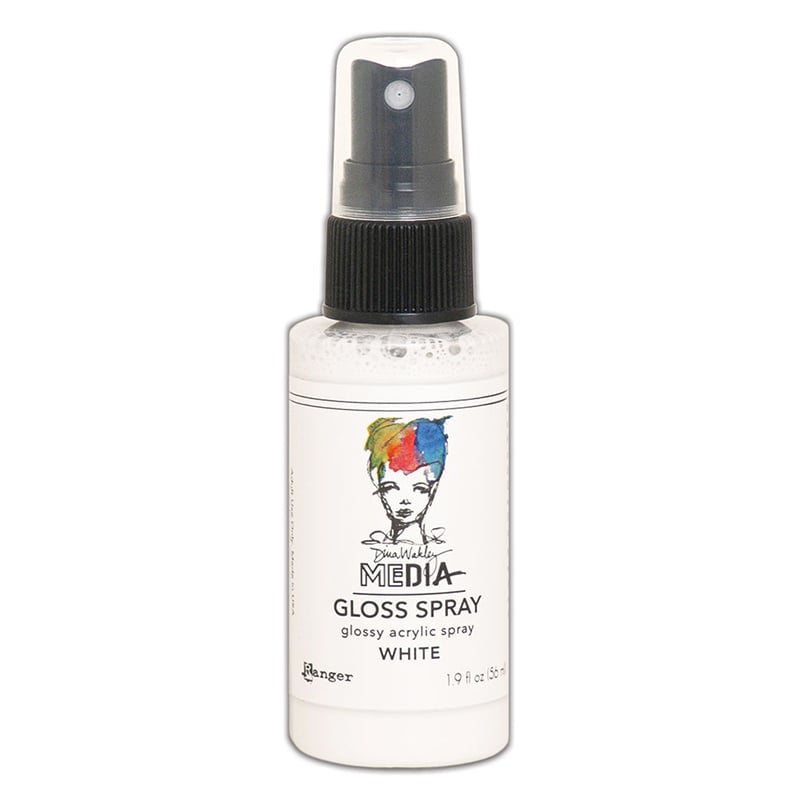
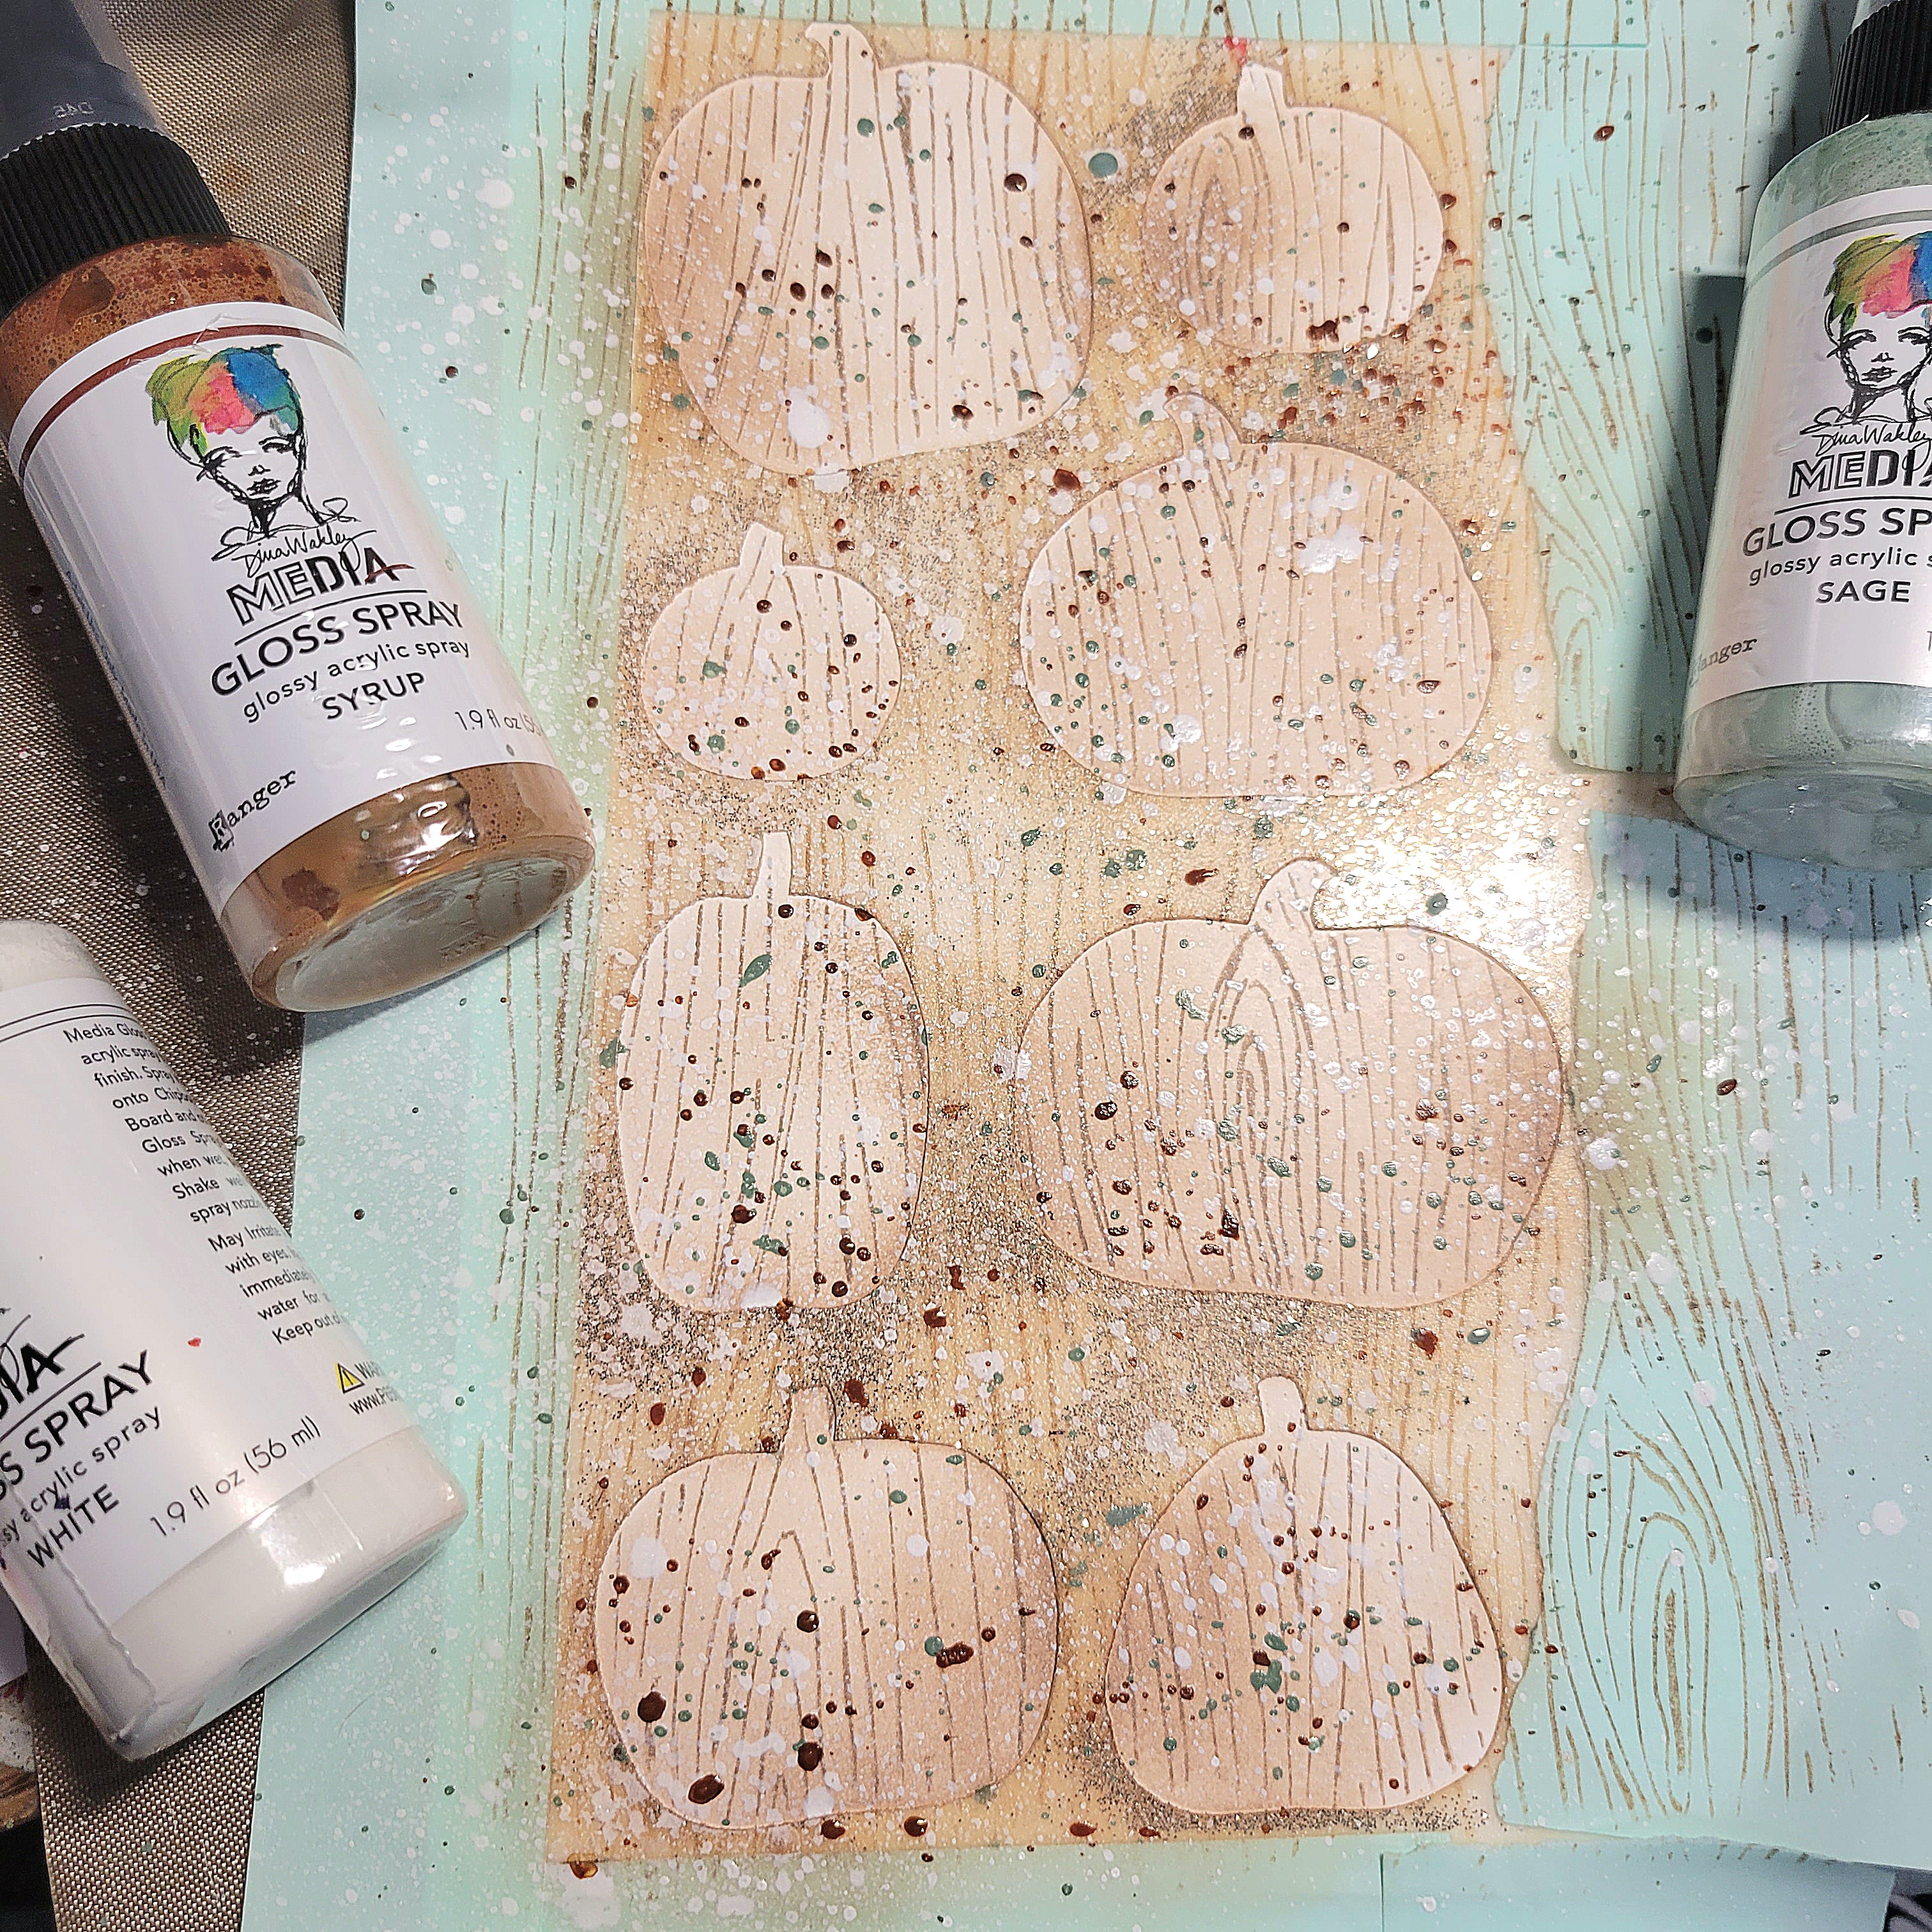
Continue to leave your masking and stencil in place for this next step. We're going to jazz up the pumpkins with some Dina Wakley Gloss Spray. I love that it dries fairly quickly and adds such pretty color, shine and dimension.

I generally unscrew my bottle top and simply tap the gloss all around with the end of the spritzer tube. It allows me a little more control this way and I don't over saturate my area.


Now, it's time for the magic. Peel off your stencil and masking tape.


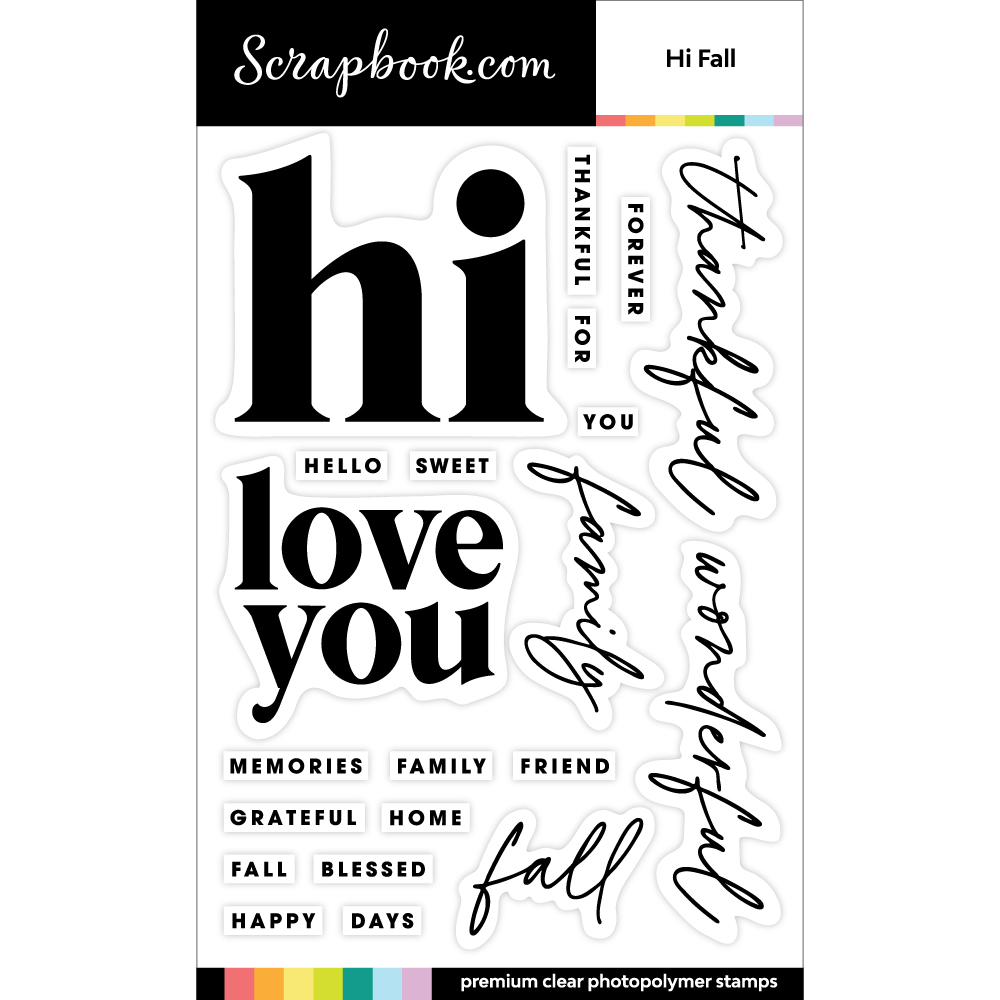
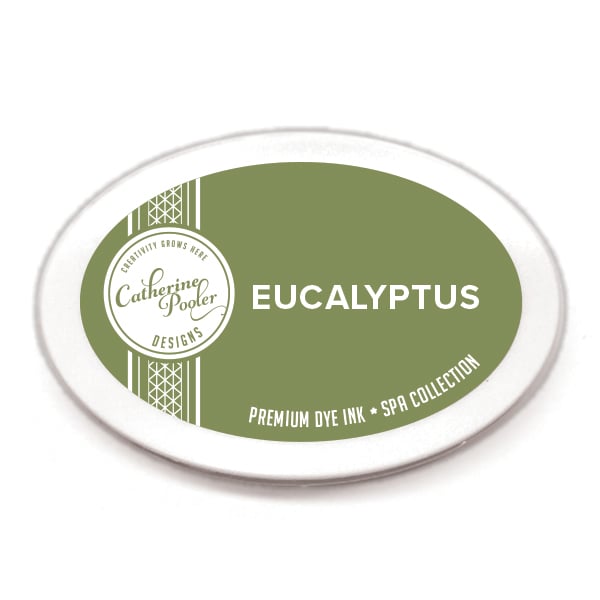
Isn't it gorgeous? I decided to go in and ink blend a few pumpkin "shadows" but this was easily done without masking. I also used the 2nd stencil that comes in the set to blend in some bubbles and stars. My sentiment was stamped with gradient color, stamping half my sentiment with Leather ink and the other half with Catherine Pooler Eucalyptus ink, to tie in all my colors together. I fussy cut it and backed it with a matching trimmed kraft cardstock.

Glue a few sequins for sparkle and call it a day!


As always, I've provided convenient affiliate links below, if you'd like to do some shopping. There's no additional cost involved and I appreciate your support!

Be sure and stop by the Deals/Coupon section at Scrapbook.com as there are often free gifts that you can add to your cart with purchase. Who doesn't love free?? As of this writing, Scrapbookcom Exclusive products are on super sale which includes the stencil and sentiment set!

See you next time...... Terri

*****************************************
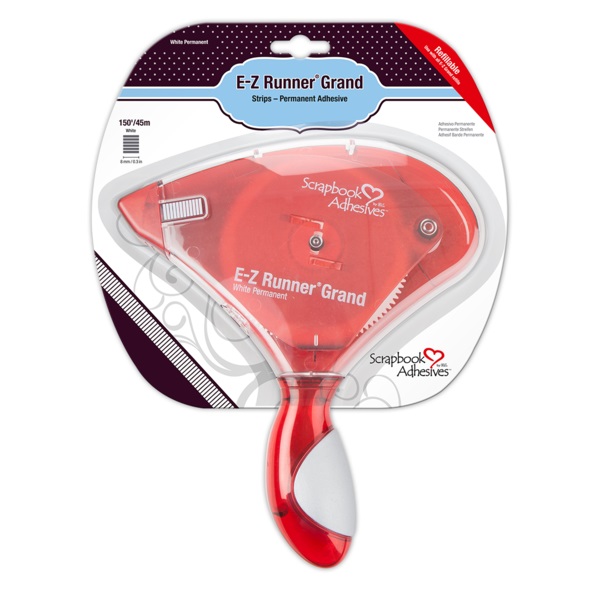
Scrapbook Adhesives by 3L EZ Grand Runner
Shop at:
Scrapbookcom
Scrapbook Adhesives by 3L EZ Runner Grand Refill
Shop at:
Scrapbookcom
Scrapbook.com Domed Ink Blender Tools
Shop at:
Scrapbookcom
Wendy Vecchi Make Art Stay-tion
Shop at:
Scrapbookcom
Wendy Vecchi Makeart Non-stick Craft Sheet
Shop at:
Scrapbookcom | Ranger Ink
Exclusive Hybrid Ink Pad - Leather
Shop at:
Scrapbookcom
Ranger Heat It Craft Tool
Shop at:
Scrapbookcom | Ranger Ink
Mint Tape
Mint Tape
Shop at:
Scrapbookcom
Slimline Cards, Panels & Envelopes - 30 pcs
Shop at:
Scrapbookcom
Hi Fall Stamp Set
Hi Fall Stamp Set
Shop at:
Scrapbookcom
Ranger Gloss Spray - White
Shop at:
Scrapbookcom
Smart Glue
Smart Glue
Shop at:
Scrapbookcom
Catherine Pooler Ink - Eucalyptus
Shop at:
Scrapbookcom
Catherine Pooler Woodgrain Background Cling Stamp
Shop at:
Scrapbookcom
Bazill Basics Dark Kraft Cardstock
Shop at:
Scrapbookcom
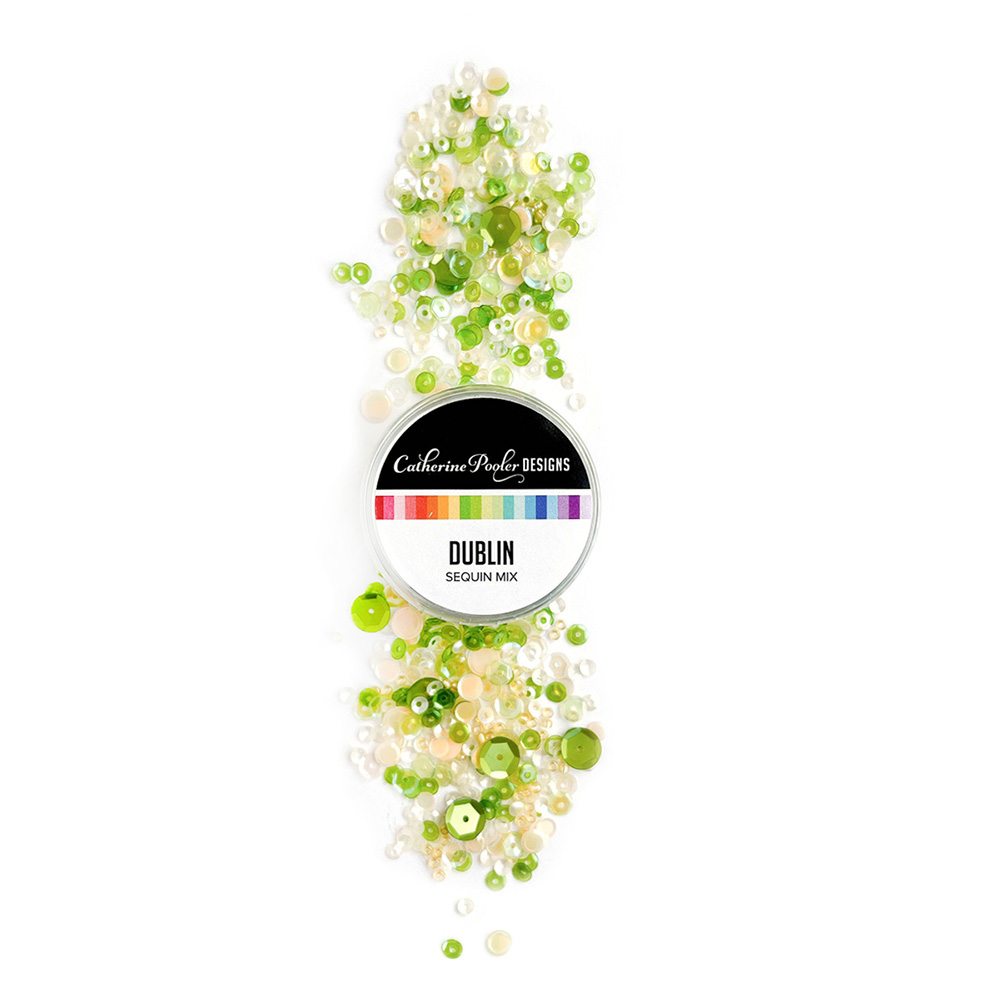
Catherine Pooler Dublin Sequin Mix
Shop at:
Scrapbookcom
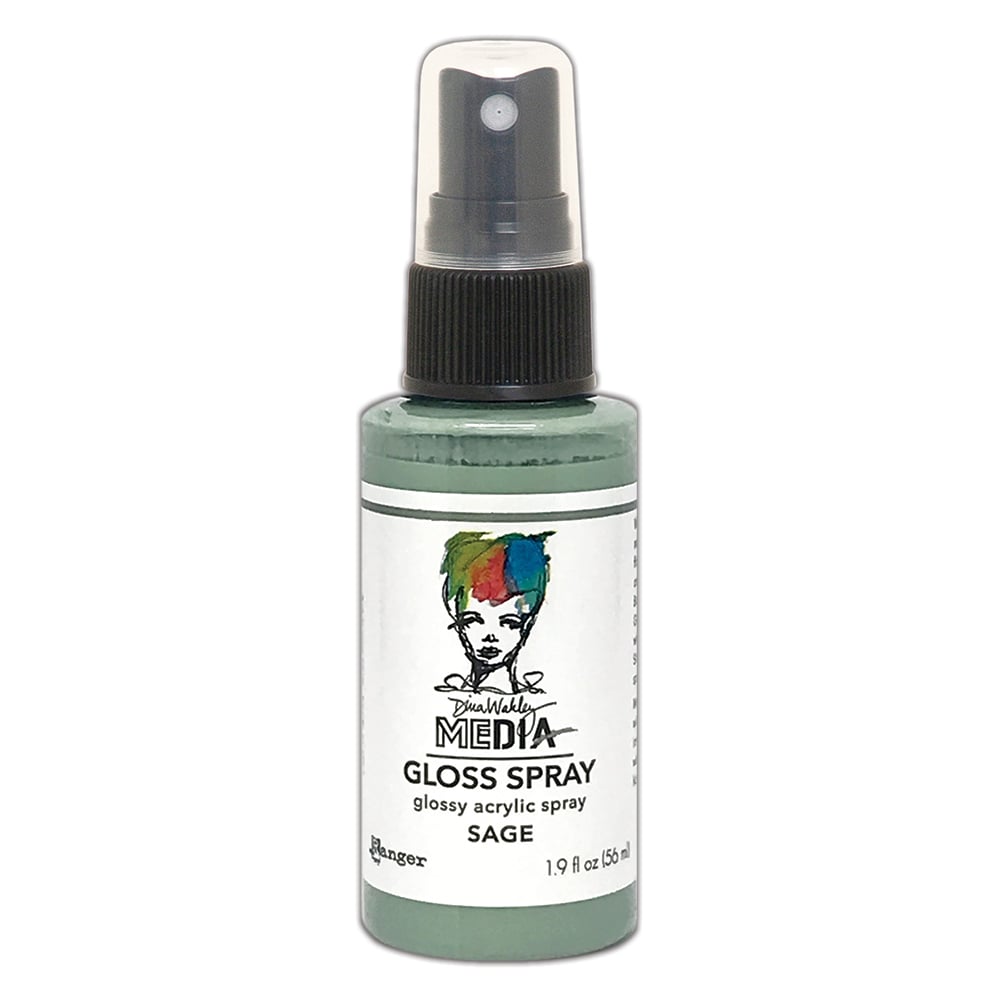
Dina Wakley Gloss Spray - Sage
Shop at:
Scrapbookcom
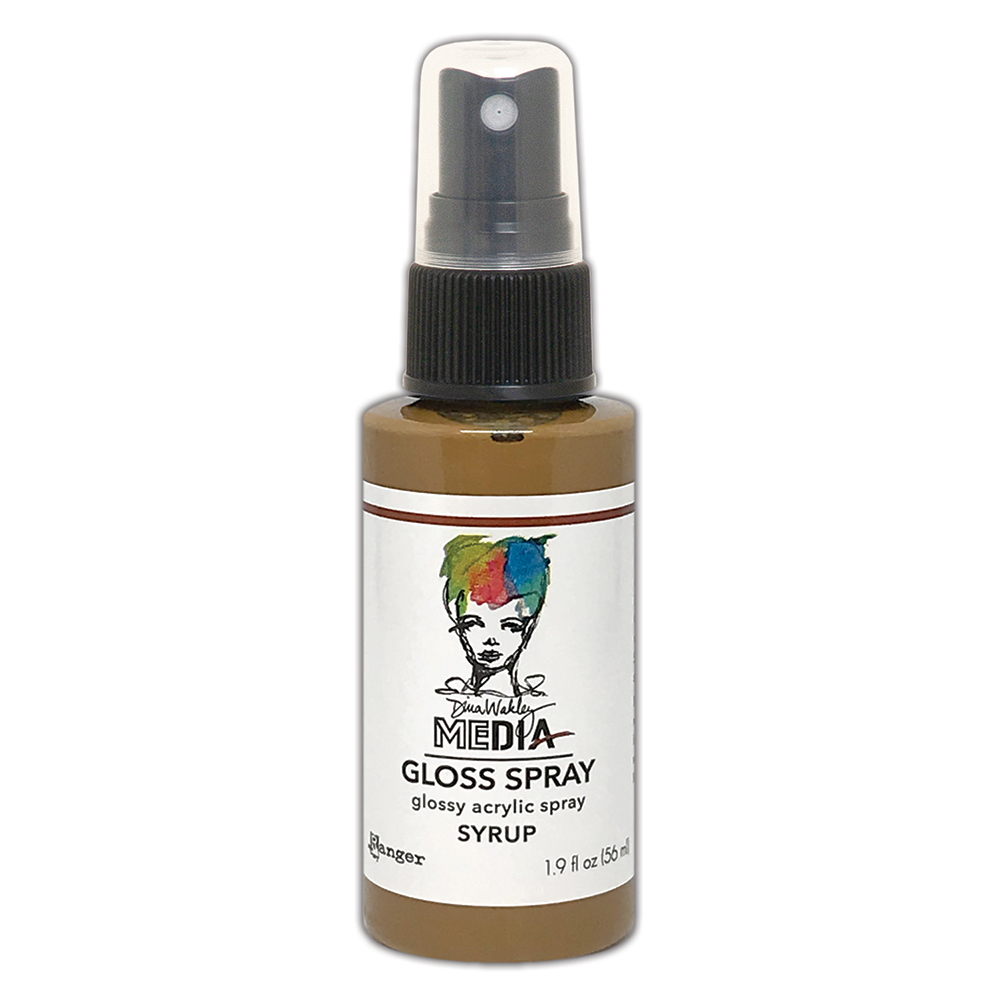
Dina Wakley Gloss Spray - Syrup
Shop at:
Scrapbookcom
Exclusive 6x8 inch Pumpkin Patch Stencil - 2 pc set
Shop at:
Scrapbookcom


#wavingmywand #scrapbookcom #pumpkinpatch #pumpkins #stencil #stenciling #hifall #Fall #Autumn #cardmaking #cards #rangerink #dinawakley #glossspray #3L #catherinepooler #slimlinecards #wendyvecchi #makeartstaytion #papercrafts #DIY #cardmakersofinstagram #cardmakersoftiktok #seasonal #techniques

Saturday, July 28, 2018

Snarky Pop-Tarts Card

It's time for another Crackerbox and Suzy stamps project!  I've had this idea bouncing around in my head for awhile, and it's so super duper easy.  I love easy!  I bet you do too.  You could make a ton of these lickity split.  For this card, I'm featuring the Pop-Tarts stamp.  It's also part of the Food and Drink sale going on this month.  Add it to your shopping cart before Aug. 1st to get an additional 15% off.


(FTC Disclosure: as an affiliate for various companies in the craft industry, I will receive a small commission for purchases made through my convenient affiliate links.  This does not affect your purchase price.)


If you have some wonky nesting frame dies, they would work great for this.  However, I chose to simply use some DCWV papers and just cut my own wonky shape, to look like the shape of a pop-tart.  These are sized to layer onto an A2 sized card.  My kraft paper is adhered with my EZ Grand Runner and my purple layer is popped up with foam circles, as is my sentiment.


Grab some white acrylic paint and just dab lots of dots with a small paintbrush.  I sprinkled a touch of crystal glitter while it was still wet, but you can't really see the sparkle in these photos.  For my sentiment, I used my Misti to stamp and masked my center wording, going in later with a purple brush marker and directly coloring the ink onto the stamp.  Easy and colorful!


My girlfriends would totally "get" the sarcasm behind this sentiment!  Give this card a try.  You really can't mess this one up and you are going to love how easy and quick this comes together.  Don't forget the Christmas in July challenge that is currently going on.  I hope you'll enter!  There's a $25 GC up for grabs and you have until Aug. 14th.  


Thanks so much for stopping by.  I have convenient shopping links below, should you decide you need some of the supplies that I've used today.  See you next time!  Terri


SUPPLIES:

I’m listing the products I used throughout this post. Click on the link to go directly to the product. Where available I use compensated affiliate links which means if you make a purchase I receive a small commission at no extra cost to you. Thank you so much for your support!


Misti Original
Misti Original
Shop at:
Scrapbookcom | Crackerbox & Suzy Stamps
Scrapbook Adhesives by 3L EZ Grand Runner
Shop at:
Scrapbookcom
Scrapbook Adhesives by 3L Foam Circles Mix, White
Shop at:
Scrapbookcom
Neenah Solar White Cardstock 8.5x11 inch
Shop at:
Scrapbookcom
DCWV Kraft 6x6 inck paper pad
Shop at:
Scrapbookcom
Scrapbook Adhesives by 3L EZ Runner Grand Refill
Shop at:
Scrapbookcom
Neenah Solar White 25 pk Card/Envelope Set A2
Shop at:
Scrapbookcom
DCWV Brights 6x6 inch pad
Shop at:
Scrapbookcom
Crackerbox & Suzy Stamps Pop-Tart
Shop at:
Crackerbox & Suzy Stamps
Dina Wakley Heavy Body Acrylic Paint, white
Shop at:
Scrapbookcom


#crackerboxandsuzystamps #sosuzystamps #wavingmywand #cards #cardmaking #papercrafts #poptarts #pop-tarts #DIY #DCWV #scrapbookcom #neenah #dinawakley #paint #Misti #breakfast #scrapbookadhesivesby3L #terriburson 

Friday, October 21, 2016

Casology Challenge - Coffee

FTC disclosure: This post may contain affiliate links so, if you purchase a product using the link I may receive a small commission. I only participate in affiliate programs that feature products that I use and love. Your purchase price is not affected in any way, by using my links)
I was so hoping I would find the time to link up to the Casology challenge this week.  Several of my crafty friends have shared this challenge and of course, I'm another coffee loving crafter, so it's right up my alley.  I've been wanting to break in this amazing Stampendous stamp that I was lucky enough to snag at Tuesday Morning recently.

This is easier to make than it looks; a waterbrush, Tombow dual brush markers and a white gel pen are all you need.  I swiped my stamp with  my black Tombow around the rim, then swiped  the center with brown and filled in one addition beige color.  Mix it up a bit in the center with the waterbrush, blotting with a paper towel.  


I did take a paint brush at the last minute and dip it into my Ranger Distress paint to splatter a bit on the page, with a tiny bit of white splatter in my cup.  Fill in the wording with a white gel pen to make it pop and call it a day!


Link up to the challenge, here.  Hurry, though, it ends Monday at noon.  Thanks so much to Stamplorations for sponsoring!


If you're interested in any of the products I used, feel free to shop at my affiliate link for the products shown below.


Shop Your Fav Brands at Scrapbook.com


#casology #challenge #coffee #wavingmywand #stampendous #tombow #tombowusa #ranger #distress #paint #acrylic #dinawakley #timholtz #terriburson #card #craft #DIY #cre8time 

Thursday, July 14, 2016

Art/Devotion Journaling with TPD Stamps

I've got another fun project for you that features the newest release from Two Paper Divas Stamps.   This project is a page that I created from my devotion journal, using the Journal It! 1 stamp set as well as those pretty flowers from the Sunshine and Smiles stamp set.


I began by using a measured piece of designer scrapbook paper and applying some white gesso, to make a nice surface for my stamped images.  All of my coloring is with Tombow Dual Brush markers.


I also added a little hand lettered word, "Mercy" to tie into my devotion theme. 


The sparkly flowers were hard to capture so here's a blurred photo that I took to show some of the Stickles glitter glue that I added to my flowers.


Finally, here's my scrap paper that I ran through my Xyron Creative Station for edge to edge coverage on my page.  With the leftover sticker backing, I laid a strip of washi tape and cut it in half, to use as a nice edging for the bottom of my page.  I save all my sticker paper backings and you should to.  They come in handy for so many things.


Purchase Journal It!1 here.


Visit the Two Paper Divas Blog for daily project inspiration and on Wednesdays for the Design Team Roundup.  Check out the new July release right here:


Additional supplies: Dina Wakley white gesso,  DCWV Vintage Essentials Tissue Paper Stack, Tombow Dual Brush Markers, Ranger black archival ink, Ranger Stickles Glitter Glue, Queen & Co washi tape, Hobby Lobby washi tape, Westcott fine tip titanium scissors, Xyron Creative Station


#tpdstamps #twopaperdivas #cre8time #planner #plannerstamps #timholtz #journal #devotion #artjournal #altered #upcycle #paint #dcwv #dcwvinc #vintage #tissuepaper #diy #biblejournaling #gesso #xyron #stickles #ranger #queenandcompany #washi #washitape #Westcott #hobbylobby #tombow #dinawakley #wavingmywand #terriburson