Showing posts with label techniques. Show all posts

Saturday, April 5, 2025

Cherry Chai Card featuring Erin Lee Creative

Hello lovelies. Today, I'm celebrating a few of my favorite things! First off, Spring is here, and with it comes new Spring beverages at some of my favorite coffee spots. I have been all about the Iced Cherry Chai Latte from Starbucks. I would be totally ok with this being served year round! I decided to celebrate this beautiful, tasty beverage by using it as inspiration for today's card, featuring products from Erin Lee Creative. Scroll down for all the details, including my clickable supply list at the end.


 (FTC Disclosure: as an affiliate for various companies in the craft industry, I will receive a small commission for purchases made through my convenient affiliate links, at no additional cost to you.)


For comparison, the photo below is a recent shot that I took of my Iced Cherry Chai Latte. That cherry cold foam is soooo good! I want to make popsicles out of that stuff! I also love all things tea related, particularly chai. I wasn't too sure how cherry and chai would taste together, but it totally works!


Here's a close-up of my ink blending, including sprinkles and ice cubes! 


For my ink blending, I used Catherine Pooler Inks because they're a water based ink. You'll need water based inks to replicate ice cubes.

By the way, this is an A1 sized card. I generally make larger cards but I wanted a compact little scene to show off my cherry chai die cut. For dimensional purposes, A1 cards are 3.5 x 4.5 inches and are generally the size used to create note cards. 


I began by ink blending my Catherine Pooler inks in Cashmere and Sparkling Berry with blender brushes on white cardstock. I also covered the bottom section afterwards and splattered white paint on my "cold foam" topping.


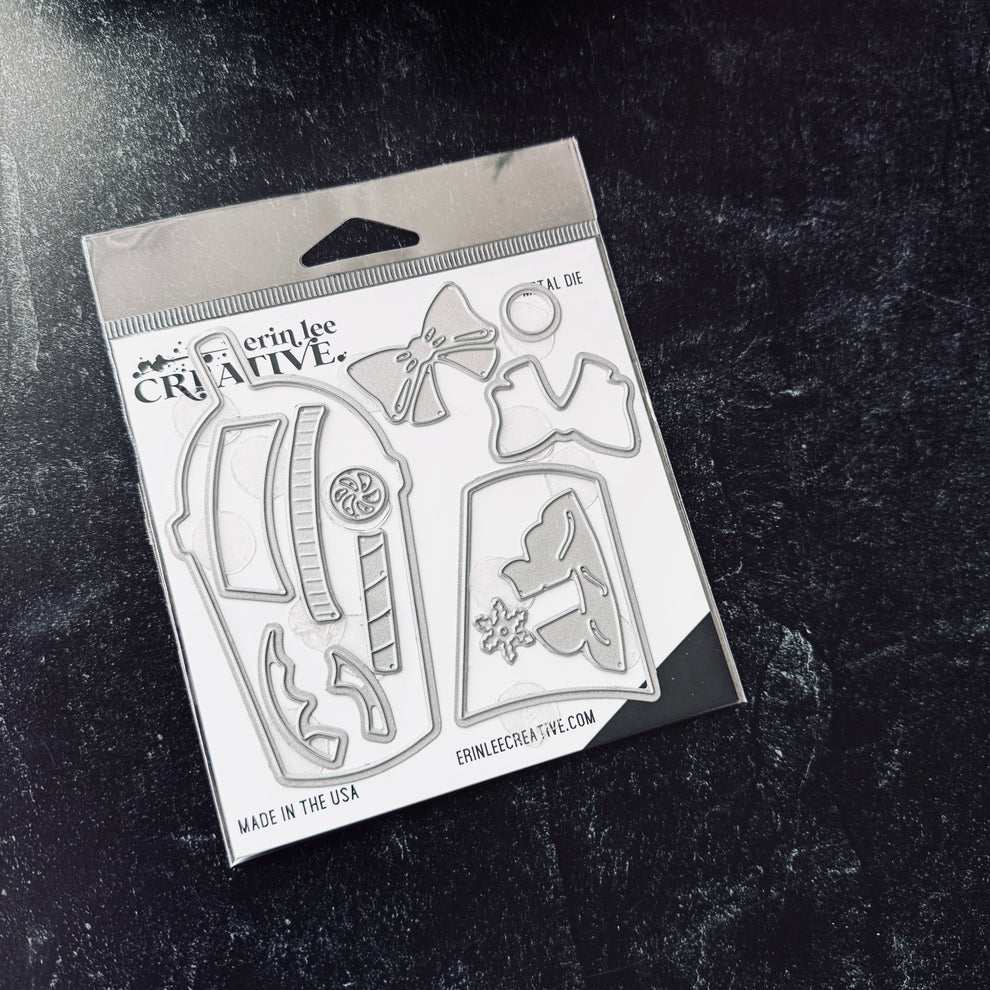
I only used 2 dies from the Erin Lee Creative "Holiday Cheer" die set; the large outline die and the rim die for the edge of the lid.

When I centered my large outline die for die cutting, I placed it over my ink blending in such a way that the "cold foam" would seep down into the chai tea, rather than sitting completely at the top of the beverage, as that is precisely how Starbucks makes this drink.


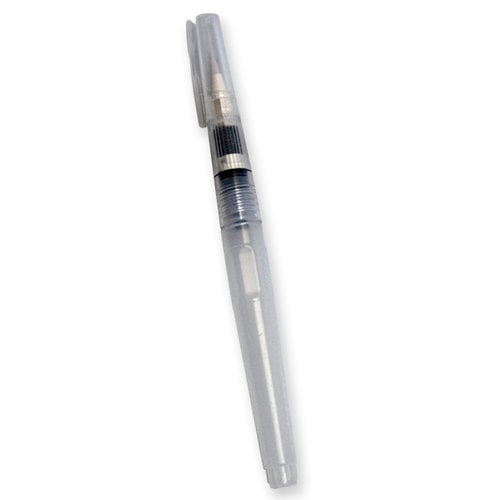
To create the ice cubes, use a wet paint brush or water brush to draw and completely fill in squares with the water brush, but don't over saturate. Work with one square at a time, filling in the space, then blotting the wet square with a paper towel.

I'll have a 30 second process reel over on my Tiktok and Instagram account, go have a look!

If I had it to do over again, I might bring my ice cubes higher up into the cold foam, as pictured in my second photo. I should have taken a glance at my photo first! But, I'm totally ok with how this turned out. It's such a fun technique, you should try it!

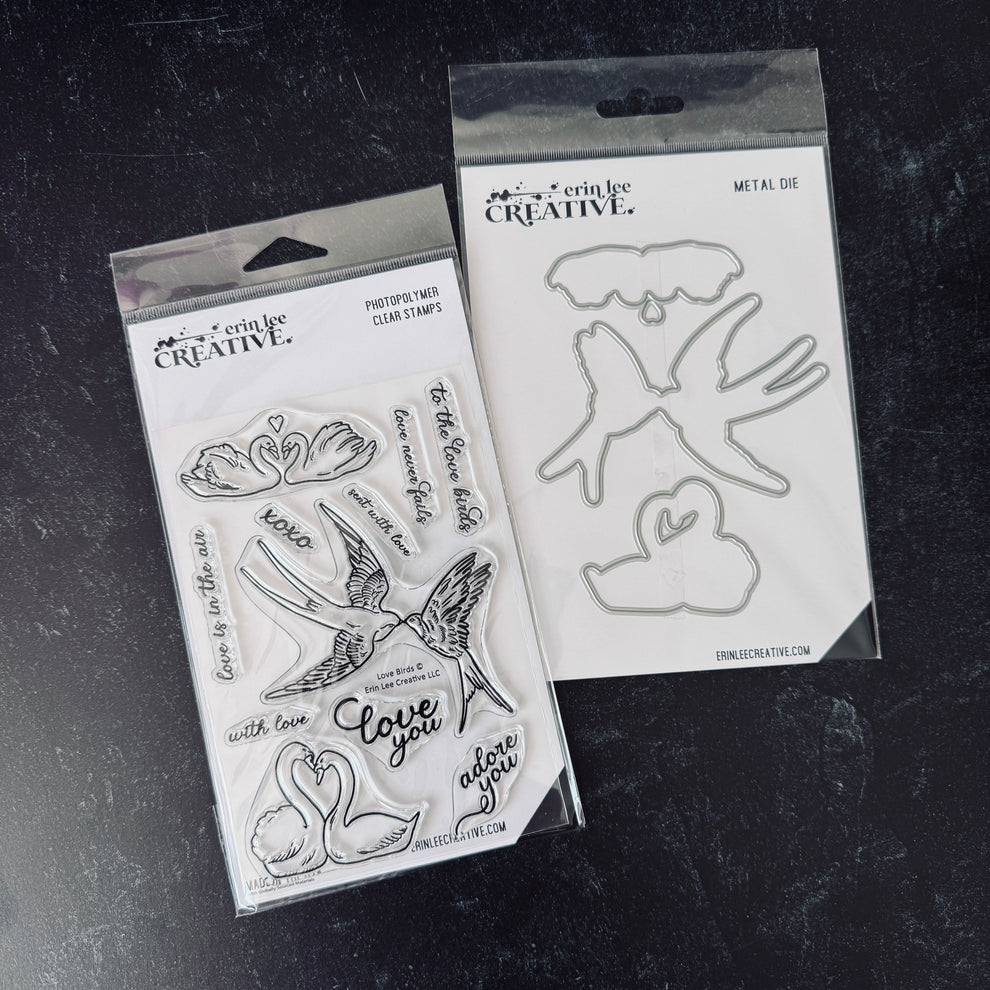
For my sentiments, I used the Erin Lee Creative stamps from the Love Birds stamp & die set, stamping love you in the Sparkling Berry ink and xoxo in black ink.

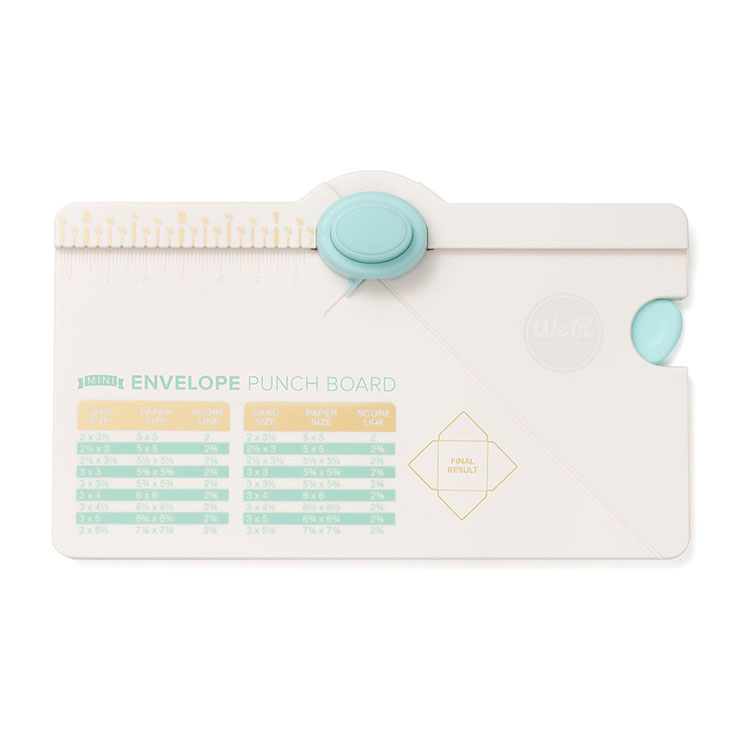
I did score and trim this card and can easily make a coordinating envelope with my We R Maker Envelope Punch board.


 My sprinkles were created using OLO Marker RV1.7 Lily Magnolia. I also did a little shading under the vellum cup rim with OLO Marker CG3 Cool Gray.

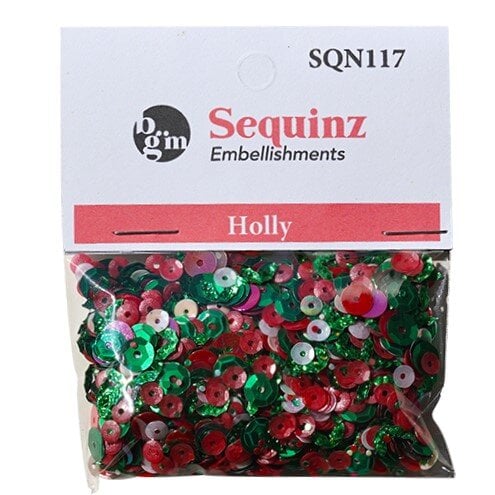
My pretty patterned paper is from a Scrapbookcom paper pad called, Bouquet and my dark gray cardstock is from my Playful paper pad. I also glued on sequins from a retired Buttons Galore shaker mix.

I hope you're celebrating what makes you happy with Spring's arrival! Thanks so much for popping in. I've provided convenient affiliate shopping links below, if you'd like to browse or shop. These are provided at no additional cost to you! Have a great weekend!

Terri

*******************************
Ranger Tim Holtz Detail NIB Water Brush
Shop at:
Scrapbookcom
Ranger US HEAT IT CRAFT TOOL
Shop at:
Scrapbookcom
Neenah Solar White Cardstock 8.5x11 inch
Shop at:
Scrapbookcom
Scrapbook.com Hybrid Ink - Black
Shop at:
Scrapbookcom
Refillable Permanent Adhesive Runner - 49 feet
Shop at:
Scrapbookcom
Dina Wakley Heavy Acrylic Paint - White
Shop at:
Scrapbookcom
Exclusive Black Platinum 6
Shop at:
Scrapbookcom
Dylusions Paint Brush Set
Shop at:
Scrapbookcom
Artis Glue
Artis Glue
Shop at:
Scrapbookcom
Exclusive Blending Brushes - Small - 3 pc
Shop at:
Scrapbookcom
Rose Quartz Misti Stamp Positioner
Shop at:
Scrapbookcom
3mm Adhesive Strips 160 ct.
Shop at:
Scrapbookcom
Love Birds Stamp & Die Set
Shop at:
Erin Lee Creative
White Project Grip Mat
Shop at:
Scrapbookcom
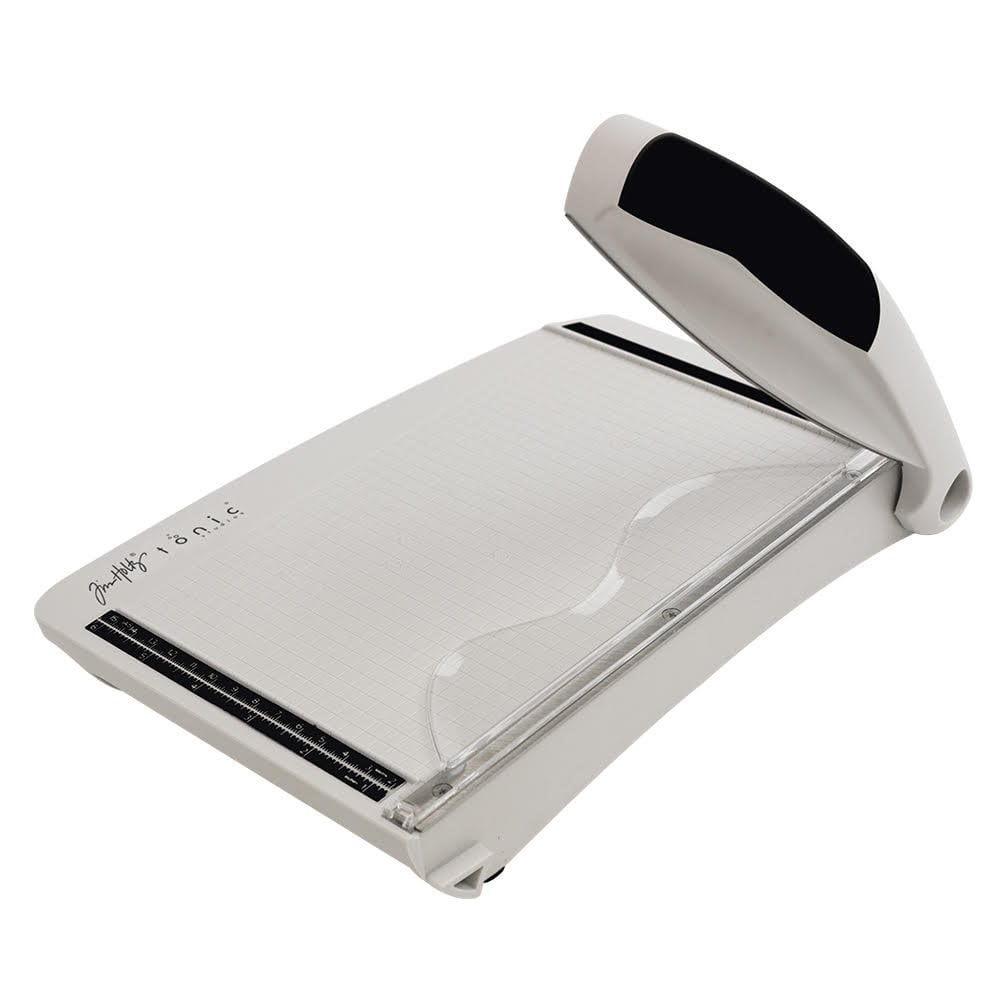
Tim Holtz Comfort Grip Guillotine Trimmer
Shop at:
Scrapbookcom
Bouquet A2 Paper Pad - 40 sheets
Shop at:
Scrapbookcom
Holiday Cheer Coffee Cup Die Set
Shop at:
Erin Lee Creative
Cashmere Ink Pad
Cashmere Ink Pad
Shop at:
Scrapbookcom | Catherine Pooler
Sparkling Berry Ink Pad
Shop at:
Scrapbookcom | Catherine Pooler
Buttons Galore & More Sequinz - Holly
Shop at:
Scrapbookcom
Playful A2 Paper Pad - 40 sheets
Shop at:
Scrapbookcom
Gina K Designs Multi-Purpose Scoring Board Tool
Shop at:
Scrapbookcom
Lawn Fawn Vellum - 10 pk
Shop at:
Scrapbookcom
We R Makers Mini Envelope Punch Board
Shop at:
Scrapbookcom


#wavingmywand #erinleecreative #holidaycheer #springcards #icedcherrychai #starbucks #lovebirds #stamping #inkblending #cardtechniques #scrapbookcom #diycards #latte #icedcherrychailatte #paintsplatters #olomarker #olomarkers #spring #love #xoxo

Saturday, December 28, 2024

Spotlight Technique Card

Hello cardmakers. I'm trying out the spotlight technique today, using an oval stencil and some newer products from Gina K Designs. I'm also flipping my sentiment with the larger sentiment stamped on the inside of the card, and the smaller sentiment on the outside, using the Gina K Designs Thoughtful Flowers stamp set. Scroll down and I'll tell you about it! I'll also have clickable product links at the end, if you'd like more details or wish to shop.


(FTC Disclosure: as an affiliate for various companies in the craft industry, I will receive a small commission for purchases made through my convenient affiliate links, at no additional cost to you.)


I really didn't have a plan when I started making this card, but I knew I wanted to use the Gina K Designs oval stencil in some way. I also wanted to use the background stamp, Blossoms in Bloom, designed by the very talented Arjita Singh. It's 6x6 inches and I'll be honest, I mostly make A2 sized cards and stamp with my mini Misti stamp positioner. What to do?

I broke out my scissors and snipped off about 1 inch from the right side. Hey, I'm not the first and I won't be the last cardmaker to chop up their stamps. Good news, though, I used the strip for the inside of my card! More on that later.


I stamped my blossoms stamp with Catherine Pooler ink, using my Misti stamp positioner. It's a gray color called Hoodie. Next, I removed my stamped card panel from the Misti and placed it on a craft mat, centering my Gina K Designs oval stencil over the top and taping it on the backside to my card panel, using 2 small strips of tape.

I used my OLO markers to color in my leaves and blooms with these colors:

YG8.5, YG8.7, RV.1, B4.3 and V0.2

After coloring, I used my Ranger Distress Oxide Ink in Vintage Photo to do some ink blending around the edges of my oval image, with the stencil still in place.

When finished, I did some ink blending with Ranger Distress Oxide Ink in Wilted Violet, splattered some white paint and glued some pretty gold sequins from my stash.


Now for the inside of my card. It was impossible to evenly trim that 1 inch edge from my background stamp, but no worries. I simply placed a strip of washi tape at the bottom of my card, so when stamping, I would get more even results instead of the jagged edge.

*BONUS TIP: I higly recommend that you swipe a new stamp across your arm or use another trick to condition your stamp prior to stamping. This picks up the oils from your skin and allows for more even inking. I also use this same trick with washi tape, taping it to my arm to pick up the oils so it doesn't stick to my cardstock and tear it. Even so, you still need to gently pull up your tape when finished, just to be safe.

Next, I grabbed a ruler and a fine tip black pen, and drew lines on top and at the bottom of my border image to make it look more cohesive, and colored the border image. I also used Catherine Pooler ink in Midnight for all my inside stamping.


Lastly, let me tell you about the card measurements. I rarely measure in advance. I like to eyeball my images and trim until it looks visually appealing to me! I will often hand score and trim my own white cards after I've finished trimming my card panel. My card panel ended up measuring in at 3 3/4 x 4 3/4 inches with my full card measuring at approximately 5 1/2 x 5 1/2 inches. I did layer some trimmed white cardstock and lavender cardstock from my stash to fit accordingly within those dimensions.

I think this card would be appropriate for someone going through a hard time and needing encouragment. Do you agree?

Thanks so much for sticking with me, I know I shared a lot of details. As an affiliate for Scrapbook.com, my affiliate links below will direct you to the products that I used and are available on  their site with the exception of the OLO Markers. You can shop my affiliate link for them, here. If you decide to shop through my links, provided at no additional cost to you, I certainly appreciate it!

Terri

*************************************


Ranger Ink Distres Oxide Wilted Violet
Shop at:
Scrapbookcom
Neenah Solar White Cardstock 8.5x11 inch
Shop at:
Scrapbookcom
Dina Wakley Heavy Body Acrylic Paint, white
Shop at:
Scrapbookcom
Ranger Ink Distress Ink Vintage Photo
Shop at:
Scrapbookcom
Wendy Vecchi Makeart Non-stick Craft Sheet
Shop at:
Scrapbookcom
Catherine Pooler Ink Pad - Midnight
Shop at:
Scrapbookcom
Refillable Permanent Adhesive Runner - 49 feet
Shop at:
Scrapbookcom
Ranger Artist Brushes - 7 pc
Shop at:
Scrapbookcom
Artis Craft Glue - Only at Scrapbookcom
Shop at:
Scrapbookcom
Exlusive Pink Mini Misti Stamp Positioner
Shop at:
Scrapbookcom
Scrapbookcom Small Blending Brushes - 3 pk
Shop at:
Scrapbookcom
Tonic Studios Tim Holtz Comfort Trimmer 8.5 Inch
Shop at:
Scrapbookcom
Catherine Pooler Ink Pad - Hoodie
Shop at:
Scrapbookcom
Silicone Project Mat - 14x14 inch
Shop at:
Scrapbookcom
3 mm Adhesive Strips - 160 strips
Shop at:
Scrapbookcom
Pink Stamp Cleaning Shammy
Shop at:
Scrapbookcom
Sky Blue Stamp Cleaning Shammy
Shop at:
Scrapbookcom
Woodland Tales Satin Gold Sequins
Shop at:
Scrapbookcom
Gina K Designs Blossoms In Bloom Stamp
Shop at:
Scrapbookcom
Gina K Designs Masked Oval Stencil Set
Shop at:
Scrapbookcom
Gina K Designs Thoughtful Flowers Stamp Set
Shop at:
Scrapbookcom
Purples Paper Pad- 6x8 in - 40 sheets
Shop at:
Scrapbookcom


#wavingmywand #scrapbookcom #ginakdesigns #blossomsinbloom #spotlighttechnique #cardmaking #encouragementcards #stamping #rangerink #catherinepoolerink #olomarkers #stenciling #diycards