It's official, I made my first light up card! I don't know what took me so long, probably intimidation, but it was so easy! When Catherine Pooler asked if I'd like to join this fun collaboration hop with Pear Blossom Press over on Instagram, I jumped at the opportunity! Plus, you have the chance to win one of two $25 gift cards to shop. Scroll down for creative details on my card and also hop information!
(FTC Disclosure: as an affiliate for various companies in the craft industry, I will receive a small commission for purchases made through my convenient affiliate links, at no additional cost to you.)
First, thank you to Catherine and Amanda for sending me these products to create with today! Make sure you stop by my Instagram page and look for my card, to participate, although the full hop lineup will be at both Catherine Pooler Designs and Pear Blossom Press. You'll need to stop at each hop and follow the instructions to be in the running to win a prize. The hop begins Wed., April 9th at 9 am EST and ends 4/15/25 at 9 am est. Winners will be announced on the Pear Blossom Press and Catherine Pooler Instagram accounts on 4/15/25.
My card dimensions are 4 1/2 x 5 3/4 inches, but could easily be scaled down to A2 sized.
I'm creating today with the Pear Blossom Press Twinkling Lights set plus their stamp & die set, Catherine Pooler Inks, papers and the Bright Days stamp & die set.
I started by doing the ink smooshing technique with Catherine Pooler Dress Blues ink. I pressed the ink onto my silicone mat, spritzed with water, then pressed the top of half of my A2 white heavyweight mixed media cardstock into the inky mixture,letting the ink run a bit, tipping the paper side to side. I did this twice, drying with my craft heat tool in between inkings.

Next, I used the Bright Days dies to die cut 3 light bulbs on my inked card panel. I also swiped some Catherine Pooler ink on vellum using Minted, Coral Cabana and Tiara. Then, I sprinkled on some clear embossing powder and carefully used my heat tool to dry the colored vellum. Vellum can warp, so you really don't want to place heat in one spot for too long. Sorry, I didn't get a photo of that process, but it made for nice glossy, shiny bulbs!
My next step was to stamp the bulb image on the flip side of my embossed vellum.
As you can see in the photo above, I used a lot of tape to adhere my vellum bulbs to the back of my card panel, and also the wires for my lights.
My bulbs were adhered so the glossy side was facing forward.
I was super impressed with how quick the process was to place my lights. The twinkling light set comes with two packs of lights and two batteries. The battery simply slides down into the metal compartment that the guide wires and lights are attached to. There are 2 guide wires attached to each light and you do need to do a bit of unraveling when taken out of the package, but it's easy enough to do.
When I decided where to place my lights and where to place my battery compartment, I made sure my battery would be situated so the "press" button would be at the bottom center of my card panel. I swiped my adhesive runner and simply laid the compartment on top. Then, I taped my wires down, making sure my LED bulbs would be near the top center of my stamped bulbs.
I should mention, before placing my LED lights and and battery, I did finish off my card panel, tracing some light strings with a white gel pen, stamping my sentiment and adding a small strip of yellow plaid paper from the CPD Anchored paper pack.
I stamped the word "push" using the Pear Blossom Press stamp set and trimmed with my scissors.
Then, I added adhesive foam strips to the back of my card panel to pop up everything up.
Lastly, I added more of the yellow plaid paper as a backing to my card panel and adhered it to my side-fold card.
Let me know in the comments if you have any questions. I'll be sharing a short clip in my Instagram stories (showing the glossy bulbs, and the card lit up) and also on my Tiktok account.
I have affiliate products links below, for the supplies used today, if you'd like to browse or shop. Thanks so much for stopping in today, and good luck to those of you who plan to participate in the IG hop!
Terri
*************************
 Hero Arts Clear Embossing Powder Shop at: Scrapbookcom |
 Neenah Solar White Cardstock 8.5x11 inch Shop at: Scrapbookcom |
 Catherine Pooler Ink - Midnight Shop at: Scrapbookcom | Catherine Pooler |
 Catherine Pooler Ink Pad - Coral Cabana Shop at: Scrapbookcom | Catherine Pooler |
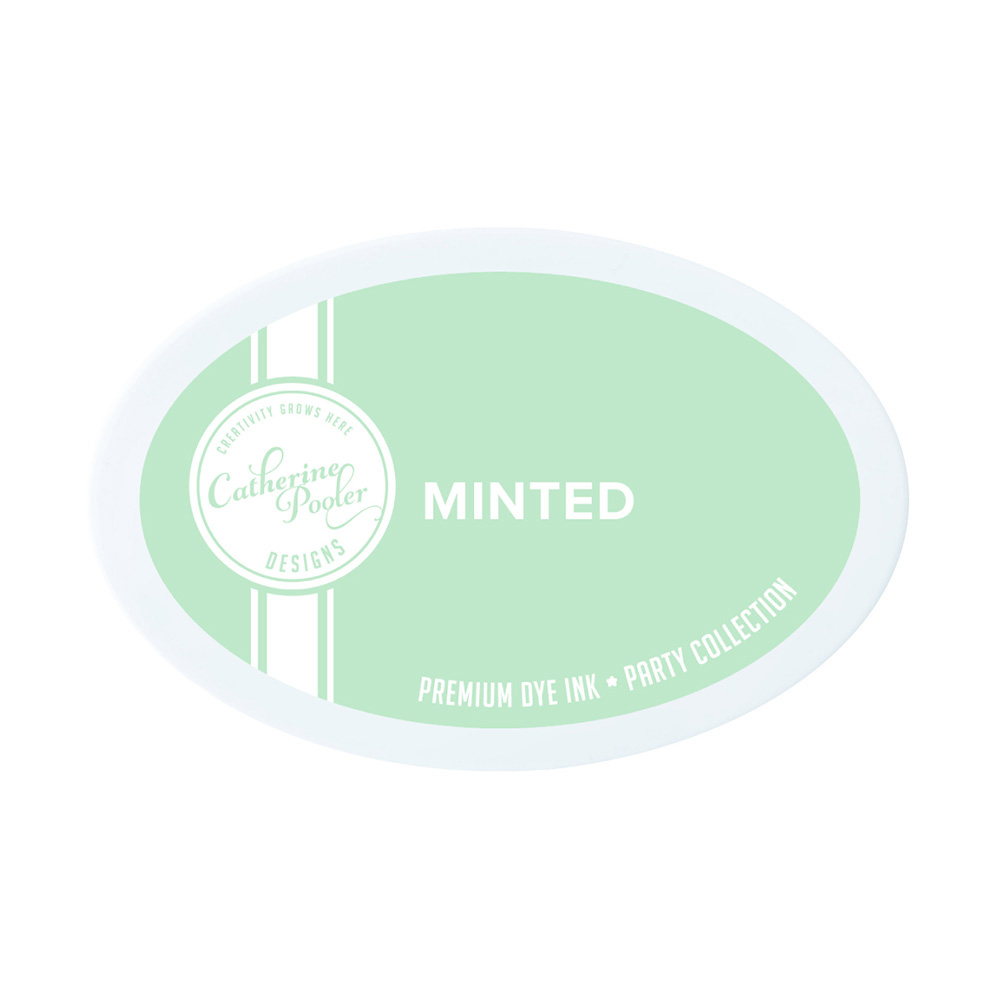 Catherine Pooler Ink - Minted Shop at: Scrapbookcom | Catherine Pooler |
 Refillable Permanent Adhesive Runner - 49 feet Shop at: Scrapbookcom |
 Exclusive Black Platinum 6 Die Cut System Shop at: Scrapbookcom |
 Mint Tape 1 inch roll Shop at: Scrapbookcom |
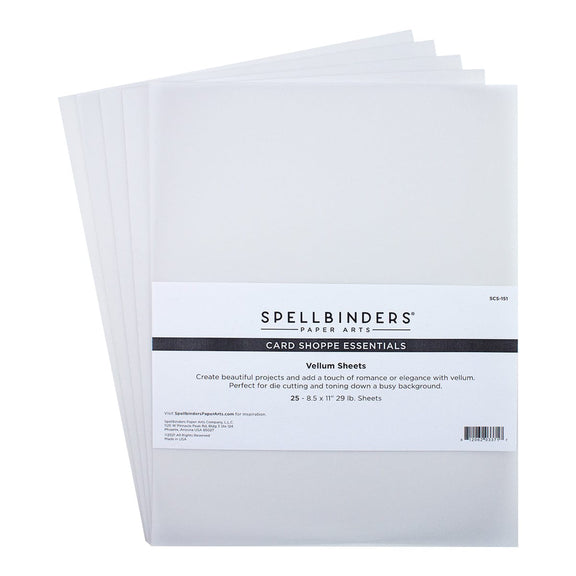 Vellum Sheets - 25 sheet pk 8.5x11 inch - 29 lb Shop at: Scrapbookcom |
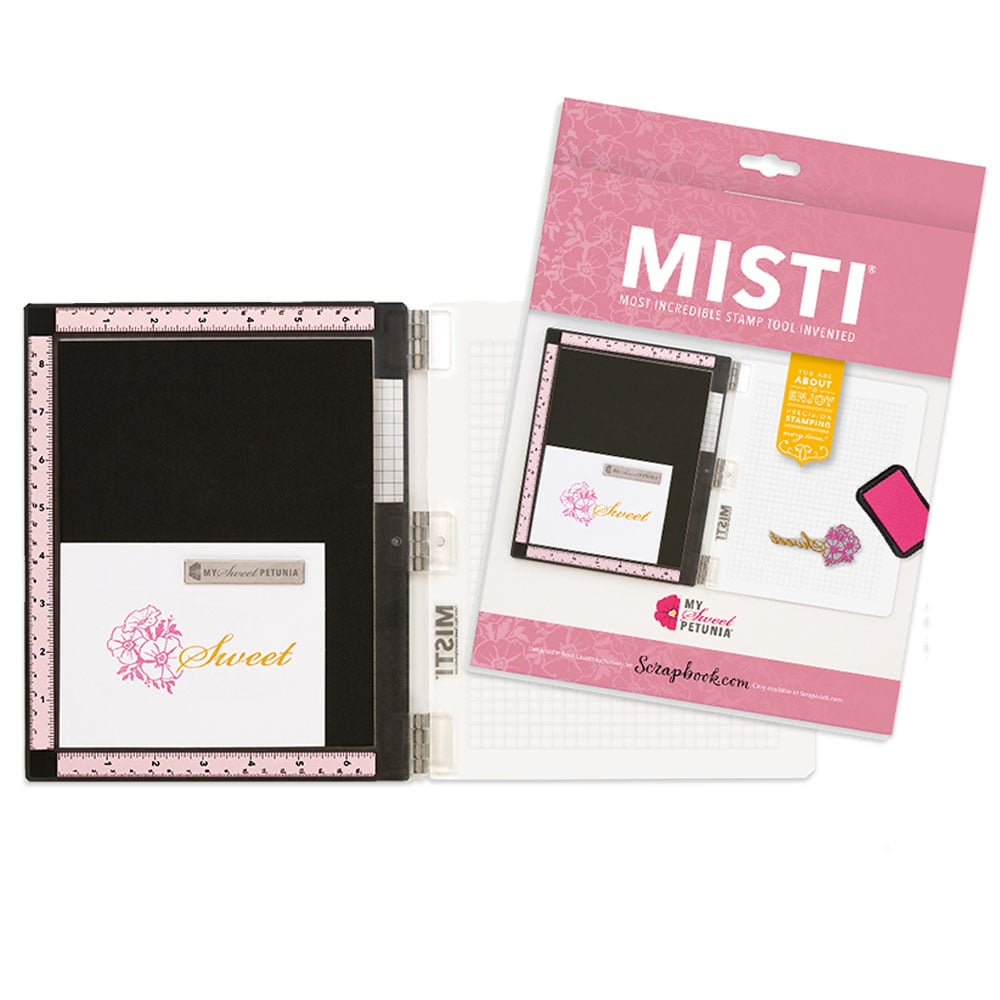 Exlusive Pink Misti Stamp Positioner Shop at: Scrapbookcom |
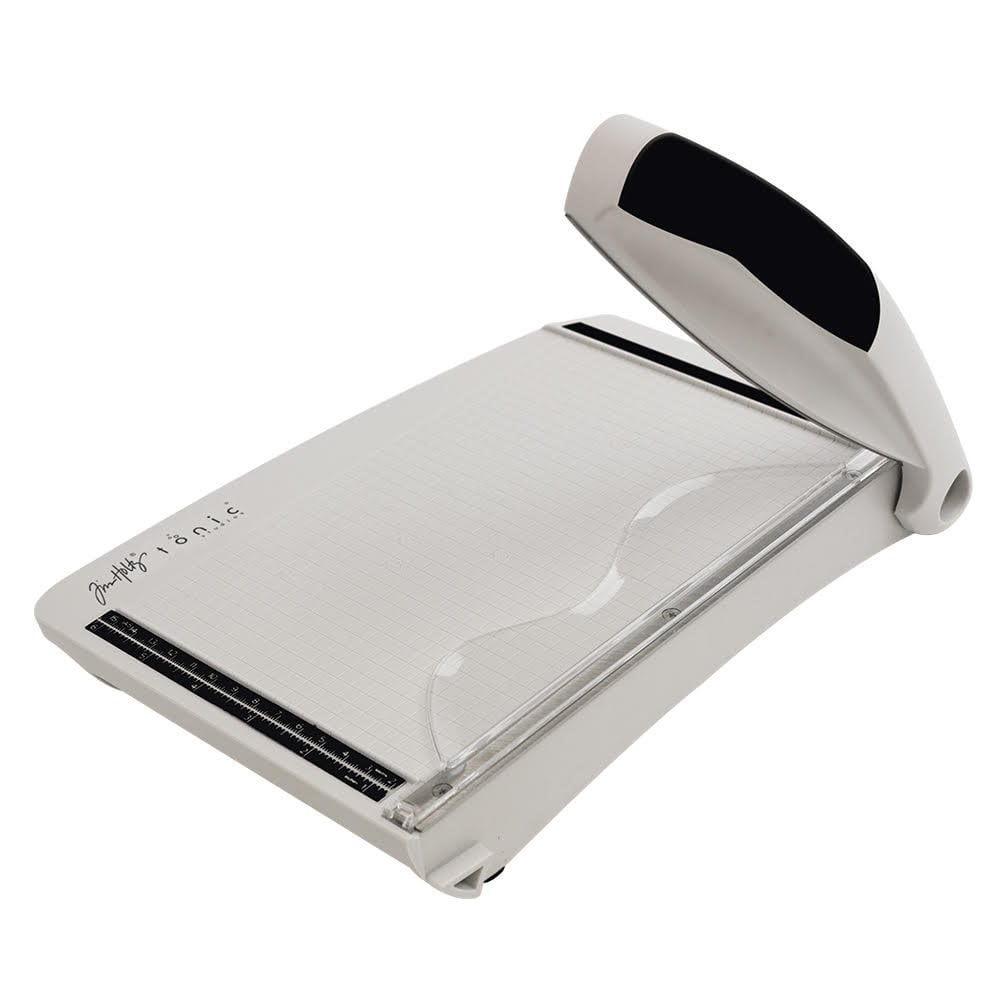 Tonic Studios Tim Holtz Comfort Trimmer 8.5 Inch Shop at: Scrapbookcom |
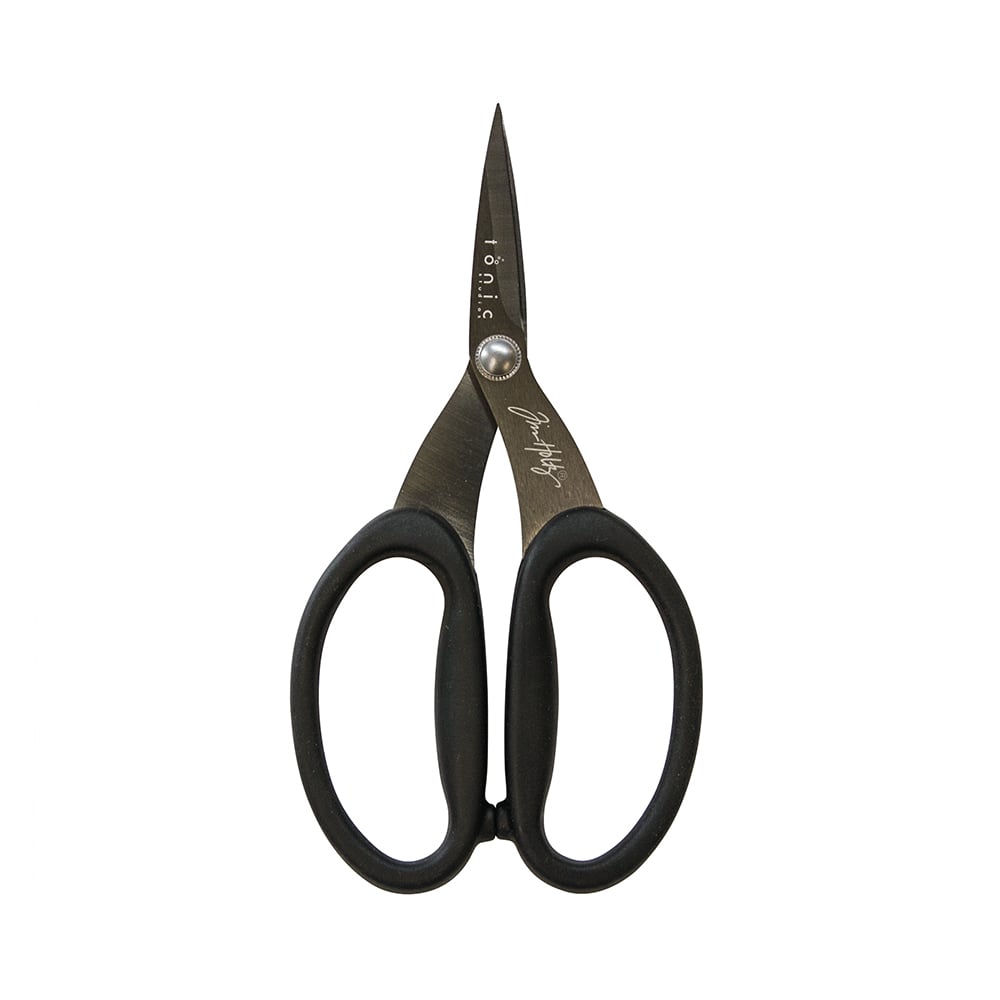 Tim Holtz Non-Stick Serrated Scissors - 7 inch Shop at: Scrapbookcom |
Project Grip Mat Large - White - 24x18 inch Shop at: Scrapbookcom |
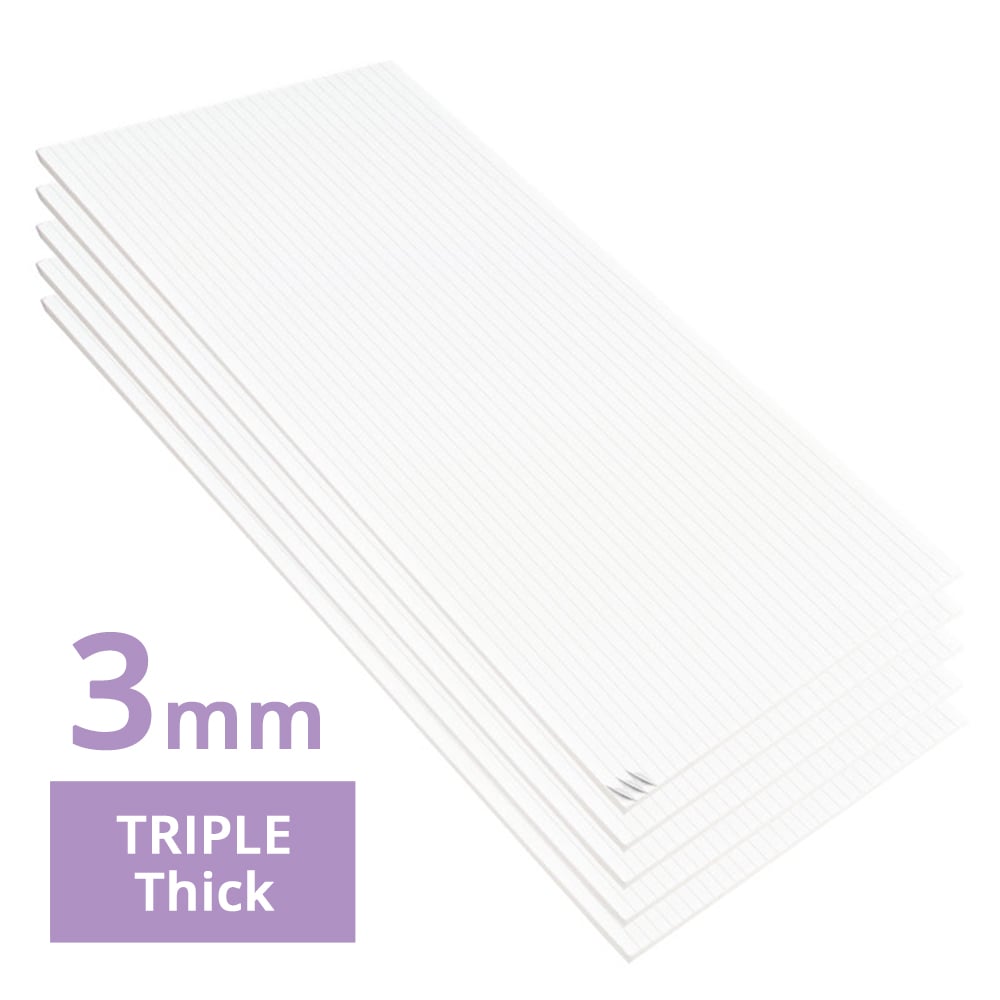 3 mm Adhesive Strips - 160 strips Shop at: Scrapbookcom |
 Pink Stamp Cleaning Shammy Shop at: Scrapbookcom |
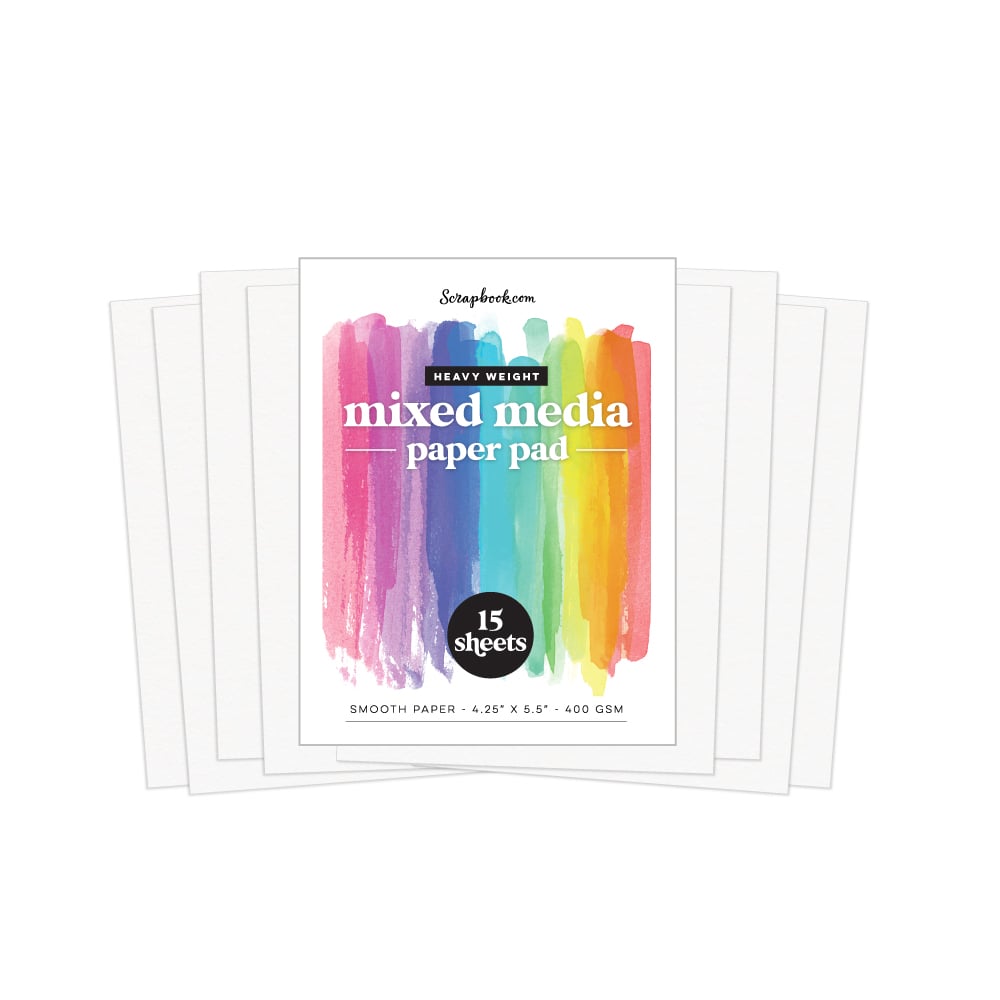 White Mixed Media Heavyweight Cardstock - A2 Shop at: Scrapbookcom |
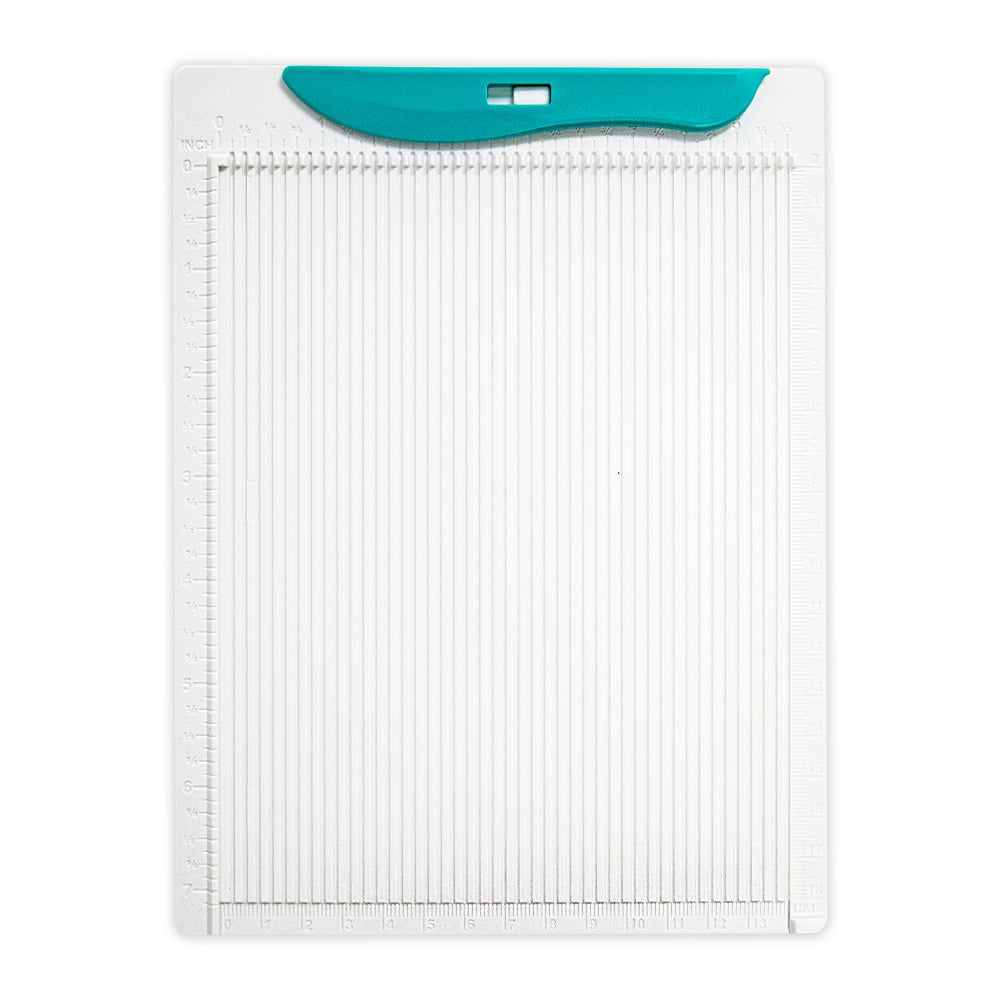 Gina K Designs Multi-Purpose Scoring Board Tool Shop at: Scrapbookcom |
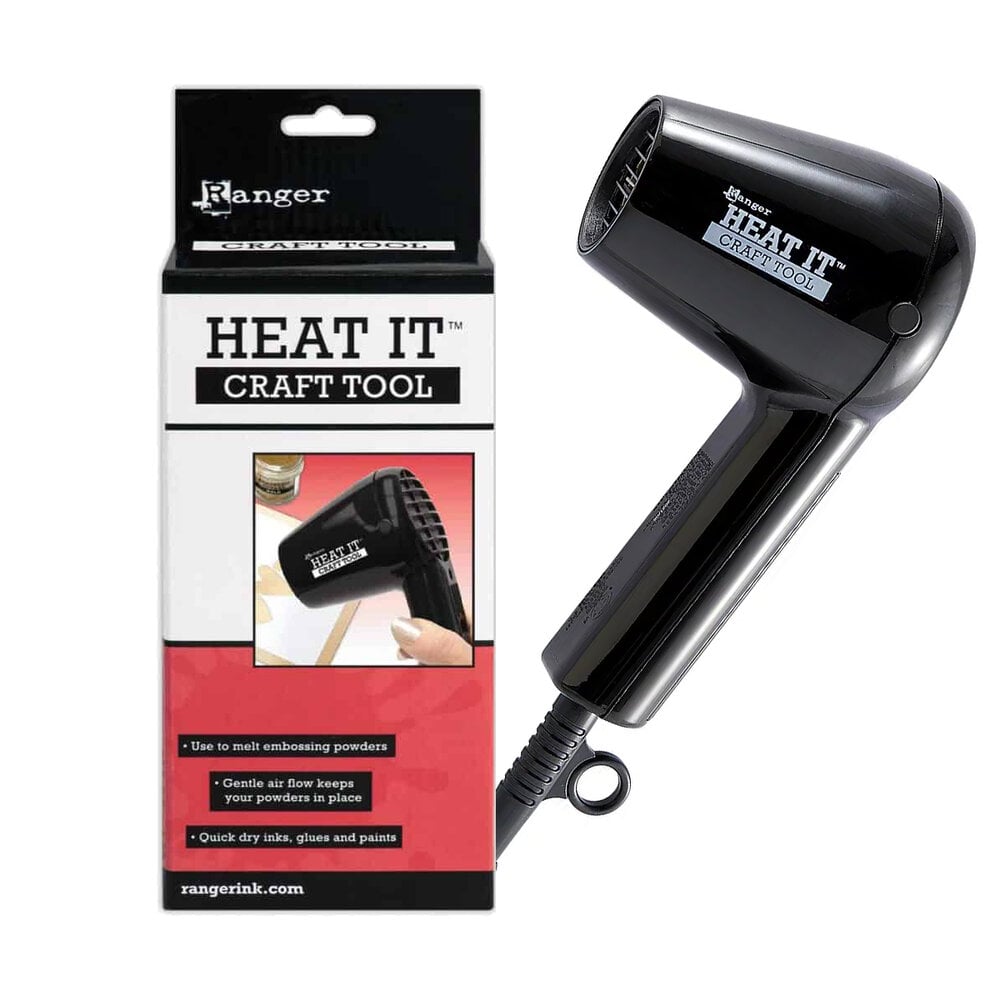 Ranger Heat It Craft Tool Shop at: Scrapbookcom |
 Pear Blossom Press Twinkling Lights - 2 pk Shop at: Scrapbookcom |
 Pear Blossom Press Stamp & Die Set Shop at: Scrapbookcom |
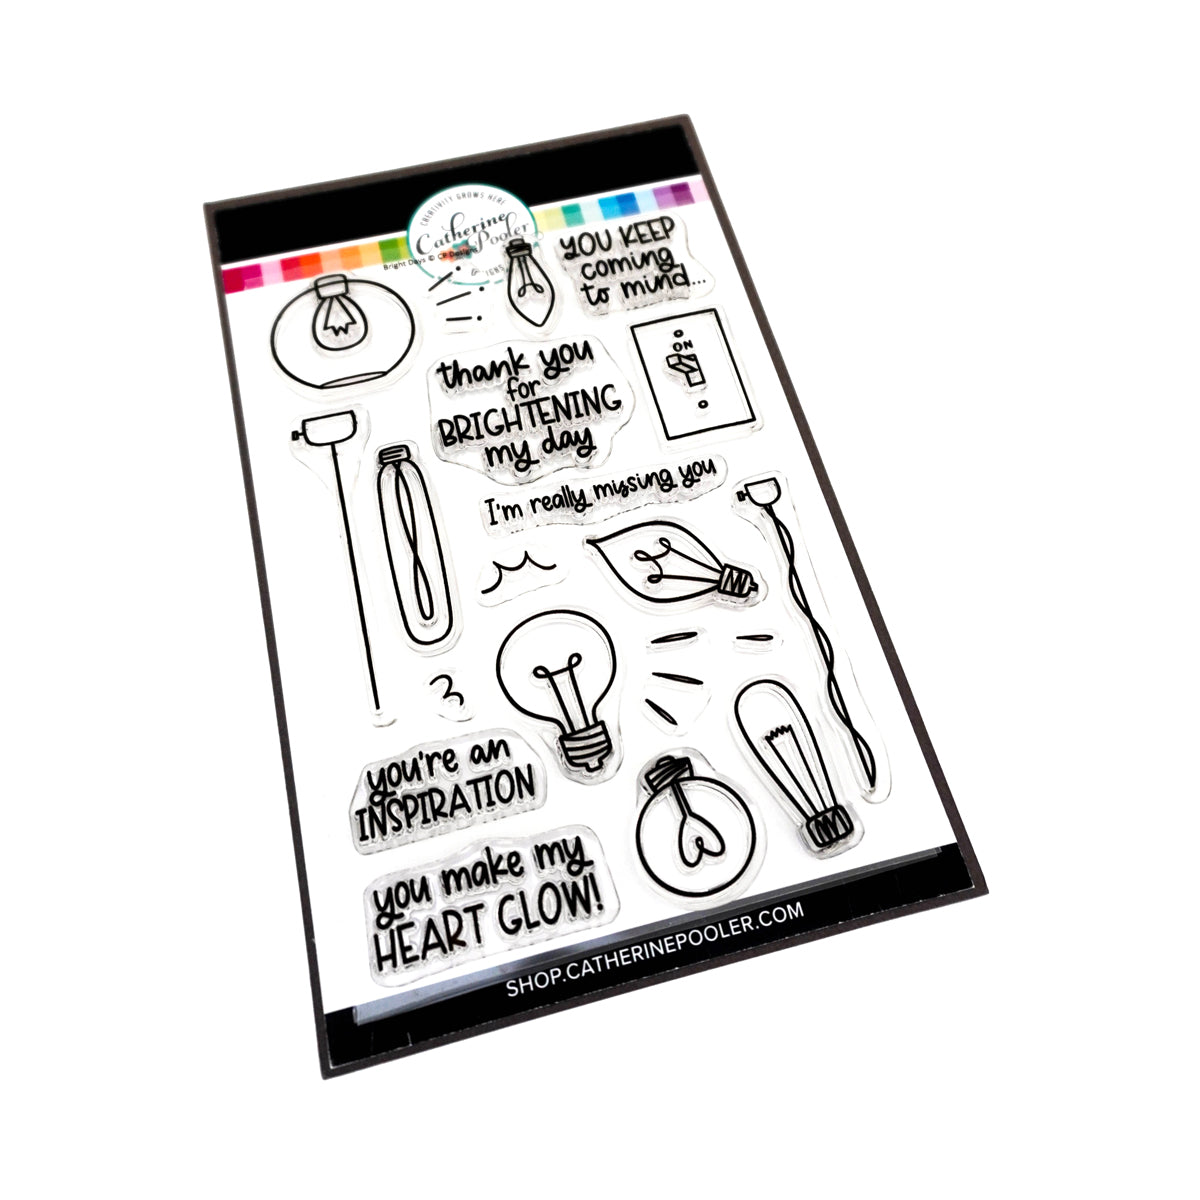 Bright Days Stamp Set Shop at: Catherine Pooler |
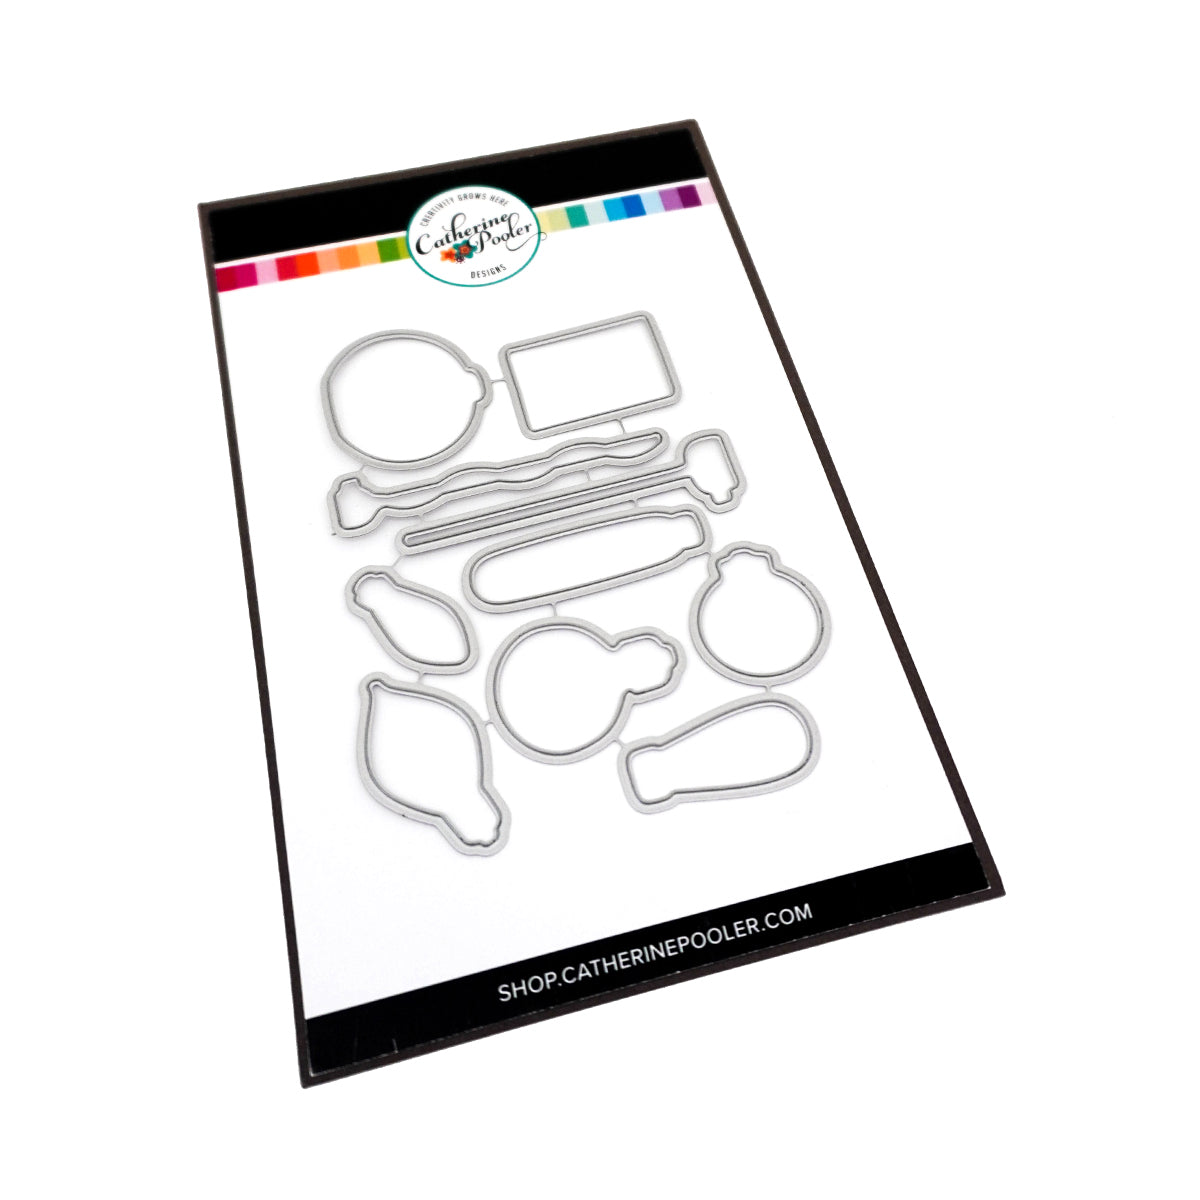 Bright Days Die Set Shop at: Catherine Pooler |
 Catherine Pooler Anchored Paper Pack Shop at: Scrapbookcom | Catherine Pooler |
 Catherine Pooler Ink Pad - Tiara Shop at: Scrapbookcom | Catherine Pooler |
 Catherine Pooler Ink Pad - Dress Blues Shop at: Scrapbookcom | Catherine Pooler |


 :)
:)
 :(
:(
 :))
:))
 :((
:((
 =))
=))
 =D>
=D>
 :D
:D
 :P
:P
 :-O
:-O
 :-?
:-?
 :-SS
:-SS
 :-f
:-f
 d(
d(
 :-*
:-*
 b-(
b-(
 h-(
h-(
 g-)
g-)
 5-p
5-p
 y-)
y-)
 c-)
c-)
 s-)
s-)
 d-)
d-)
 w-)
w-)
 :-h
:-h
 :X
:X
No comments:
Post a Comment
(Ignore the robot caption feature and just click submit for your comments. It's a blogger glitch) I appreciate each and every comment. Thank you so much!