Showing posts with label shaker. Show all posts

Sunday, September 22, 2024

Halloween Ghostly Shaker Card

I've got another card featuring spooky products from This Calls For Confetti. This fun, ghostly shaker card features embellishments, acetate and dies from TCFC and I'll tell you all about it below. I'll also have a clickable shopping supply list at the end.


(FTC Disclosure: as an affiliate for various companies in the craft industry, I will receive a small commission for purchases made through my convenient affiliate links, at no additional cost to you.)


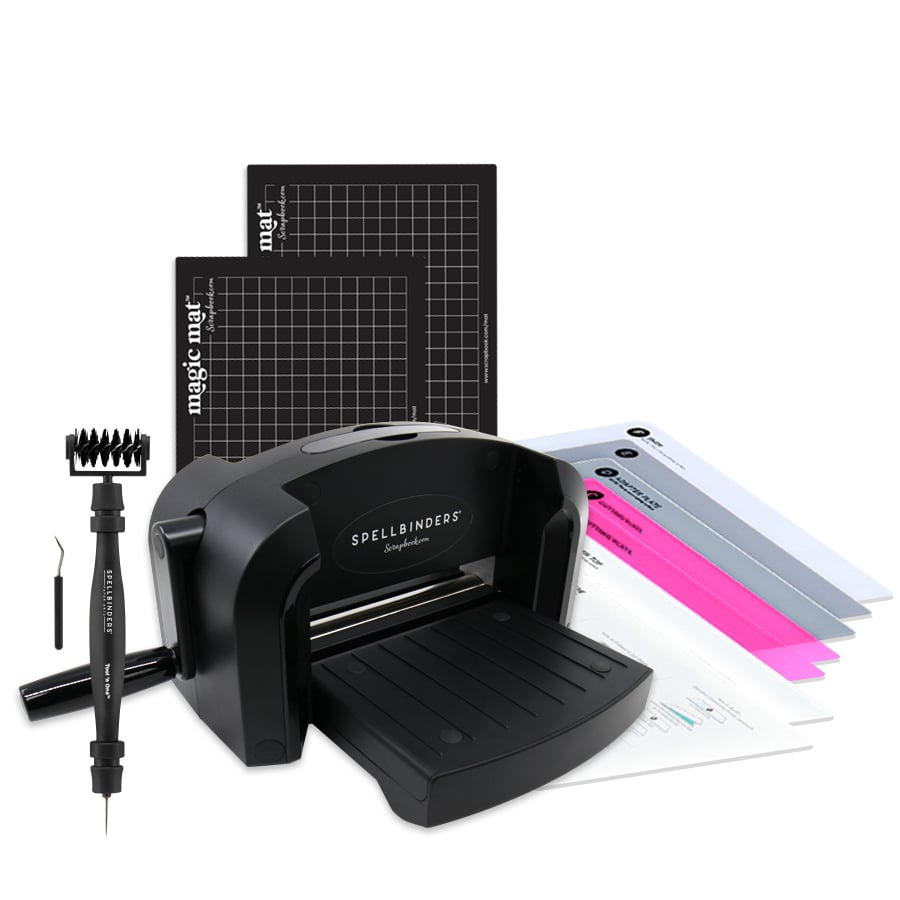
I love making shaker cards, do you? I thought it would be fun to use one of the dies from the Ghostly Greetings Die Set and cut multiple images on patterned paper using my Platinum 6.

I used Halloween papers that I already had in my stash but TCFC has a fabulous paper pack here. I'll have it linked below as well.


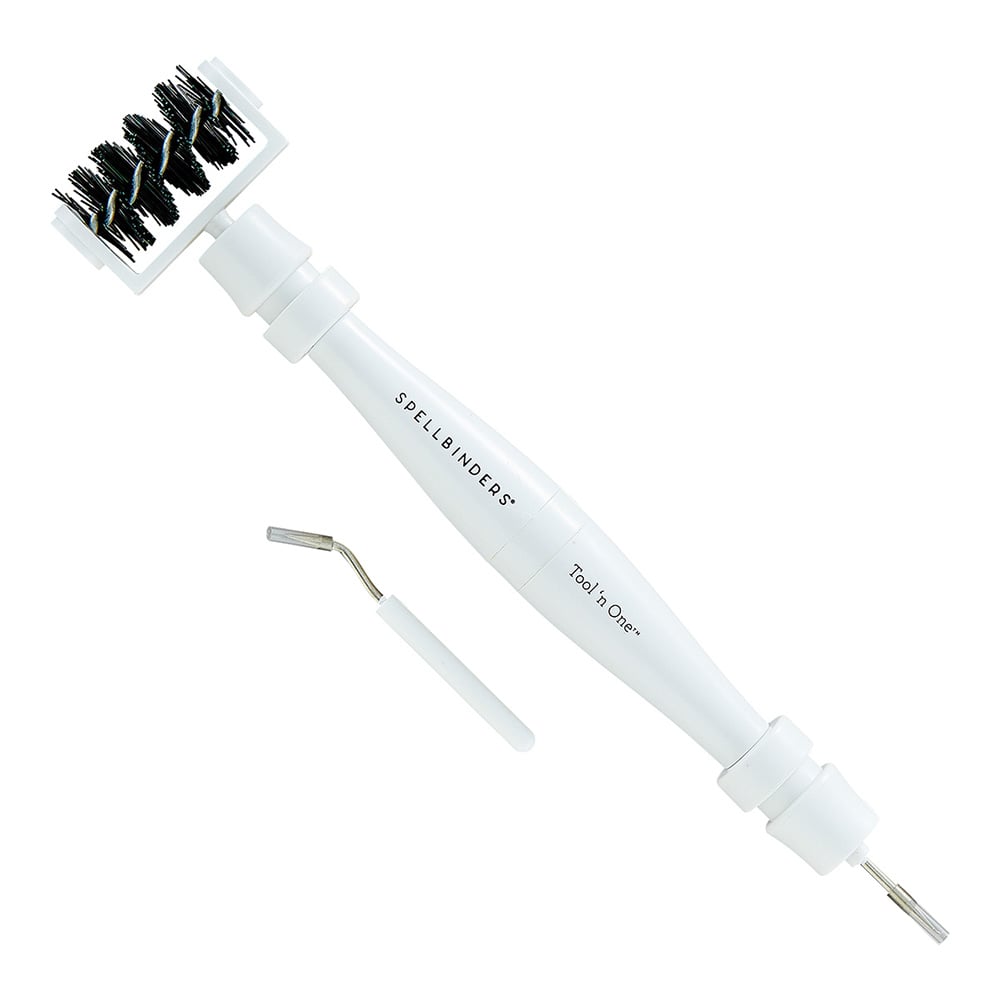
Once I cut my images, I saved the small bits (eyes, mouth) to glue on my acetate later. I love the A2 sized acetate sheets from TCFC. They do have a film on them that you need to peel off before usage. I used my Spellbinders Tool N One on one corner to grab the film and peel.

 Before adhering my acetate sheet, I went ahead and trimmed my black background cardstock to A2 size and adhered to an A2 card. Next, I trimmed my die cut paper within about 1/4" for layering on top.

I also trimmed my acetate sheet to just cover the die cuts and adhered this to the back of my die cut paper.

I placed adhesive foam strips around the backside of the ghost die cut images, then centered my panel  to gauge where to place my sequin mix. I'm using the Spookalicious mix, by the way.


Once I lined up where to place my sequins, I dropped them in the space, peeled off the adhesive strip lining from my panel and adhered it to my card.

I glued my face bits that I saved from the ghost die cuts, to the front of my adhesive and also adhered the Boo sentiment that I made. I only used two of the Boo dies included in the Ghostly Greetings die set. It comes with 2 layering dies and I used just one. This was popped up on adhesive strips as well.

Once I got in my groove, this card came together so quickly! It's always a bonus when that happens.

If you'd like to browse or shop for any of the products that I used today, I have convenient affiliate links below, provided at no additional cost to you.

See you next time!

Terri

**********************************


Refillable Permanent Adhesive Runner - 49 feet
Shop at:
Scrapbookcom
Exclusive Black Platinum 6 Die Cut System
Shop at:
Scrapbookcom
Artis Craft Glue - Only at Scrapbookcom
Shop at:
Scrapbookcom
Tonic Studios Tim Holtz Comfort Trimmer 8.5 Inch
Shop at:
Scrapbookcom
3 mm Adhesive Strips - 160 strips
Shop at:
Scrapbookcom
Spooky Patterned Paper Pad - 6x8 in - 40 sheets
Shop at:
Scrapbookcom
Spookalicious Polymer Clay/Sequin/Confetti Mix
Shop at:
TCF Confetti
Ghostly Greeting Metal Die Set - 9 pc
Shop at:
TCF Confetti
A2 Size Acetate Sheets - 20 pk
Shop at:
TCF Confetti
Concord and 9th Black Cardstock - 8.5 x 11 in - 12 pc
Shop at:
Scrapbookcom
This Calls For Confetti Boo Paper Pack 6x6 in
Shop at:
TCF Confetti
Vacation Paper Pad - A2 - 40 sheets
Shop at:
Scrapbookcom
Spellbinders Tool N One - White
Shop at:
Scrapbookcom


#wavingmywand #thiscallsforconfetti #ghostlygreetings #halloweencards #shakercards #cardmaking #handmadecards #diycards #scrapbookcom #boo #sequins #confetti #spooky

Wednesday, September 11, 2024

Christmas Inlaid Shaker Card for Catherine Pooler

Hey friends, I'm back with another project for Catherine Pooler featuring the new Holiday Magic release. This one is an inlaid Christmas shaker card. I wasn't sure what to call this technique as I was just kind of winging it, haha, but after looking on Google, sure enough, it's a thing. If you've never heard of it, I'll explain further down. I'll also have a clickable supply shopping list at the end of this post.
 

(FTC Disclosure: as an affiliate for various companies in the craft industry, I will receive a small commission for purchases made through my convenient affiliate links, at no additional cost to you.)


First, let me mention that I'm creating with products from the Nutcracker Sweet Bundle which includes dies, stamps, patterned paper and a sequin mix.


My card is a side fold A2 sized card with the side seam turned towards the top. I started by die cutting two different patterned papers using the Festive Joy Word die with my Platinum 6.


I removed the die cut word from the plaid paper and replaced it with the die cut word from the red snowflake paper, laid it all down on my card panel and lined it up how I wanted it.

I carefully tacked down a few spots with adhesive on my plaid paper to keep it lined up, then glued down my letters. 


After my letters were glued down, I pulled my plaid paper back up. I strategically placed adhesive strips around the die cut letters that were glued down, leaving enough space to add the sequins, then removed the liner from the adhesive strips.

Next, I adhered a trimmed piece of adhesive sheet to the backside of my plaid paper, covering the empty space of the die cut word that was removed.

I then applied more adhesive strips to the backside of my plaid paper (avoiding the adhesive sheet section) and removed the liner from the adhesive strips. 

I lined up my plaid paper and placed it over my word/shaker focal point. We now have an inlaid shaker card with the shaker element inside the inlaid wording. Fun, right?


I also had stamped lots of holly images from my Nutcracker stamp set for use on my last project and had enough leftover to use for this one. They had been watercolored with my CP Deck The Halls ink and Rockin' Red ink. You can see that project here, if you missed it. 

Before I applied my holly die cuts to the corners, I decided at the last minute to create a frame for my card. I swiped Deck The Halls ink along the edges of an A2 white card panel and die cut with rectangle nesting dies using my Platinum 6 to create the frame. It really gives that something extra that I was looking for. I also glued some sequins to the front of my plaid panel for added sparkle, using the new Reykjavik sequin mix.


Lastly, I created a sentiment from the Holiday Joy stamp set, using the mask technique with my stamp positioner. This was inked with more Rockin' Red and Deck The Halls ink. I love that color combo so much. They're classic Christmas colors and work so well together.

I know that was a lot of information I just threw at you, so let me know if you have any questions in the comment section. Thanks so much for stopping in!

Terri

******************************

Ranger Tim Holtz Detail NIB Water Brush
Shop at:
Scrapbookcom
Neenah A2  Solar White Card/Env. 25 pc set
Neenah A2 Solar White Card/Env. 25 pc set
Shop at:
Scrapbookcom
Neenah Card Front Solar White 5.5 x 4.25 inch 25 pk
Shop at:
Scrapbookcom
Catherine Pooler Ink Pad - Midnight
Shop at:
Scrapbookcom | Catherine Pooler
Refillable Permanent Adhesive Runner - 49 feet
Shop at:
Scrapbookcom
Exclusive Black Platinum 6 Die Cut System
Shop at:
Scrapbookcom
Bearly Arts 4 oz glue
Shop at:
Catherine Pooler
Catherine Pooler Rockin' Red Ink Pad
Shop at:
Scrapbookcom | Catherine Pooler
Exclusive Rose Quartz Misti Stamp Positioner
Shop at:
Scrapbookcom
Tonic Studios Tim Holtz Comfort Trimmer 8.5 Inch
Shop at:
Scrapbookcom
Project Grip Mat Large - White - 24x18 inch
Shop at:
Scrapbookcom
3 mm Adhesive Strips - 160 strips
Shop at:
Scrapbookcom
Pink Stamp Cleaning Shammy
Shop at:
Scrapbookcom
Exclusive Magnet Mat
Shop at:
Scrapbookcom
Holiday Magic
Holiday Magic "I want it all" Bundle
Shop at:
Catherine Pooler
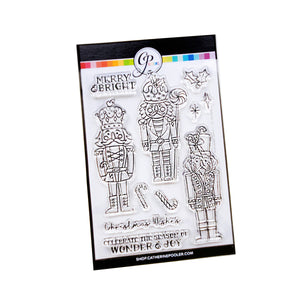
Nutcracker Sweet Stamp Set
Shop at:
Catherine Pooler
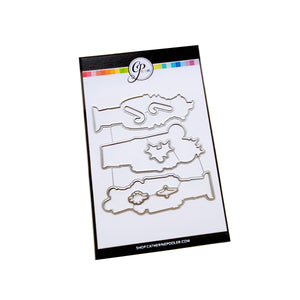
Nutcracker Sweet Dies
Shop at:
Catherine Pooler
Nutcracker Sweet Bundle
Shop at:
Catherine Pooler
Holiday Joy Stamp Set
Shop at:
Catherine Pooler
Reykjavik Sequin Mix
Shop at:
Catherine Pooler
Festive Joy Word Die
Shop at:
Catherine Pooler
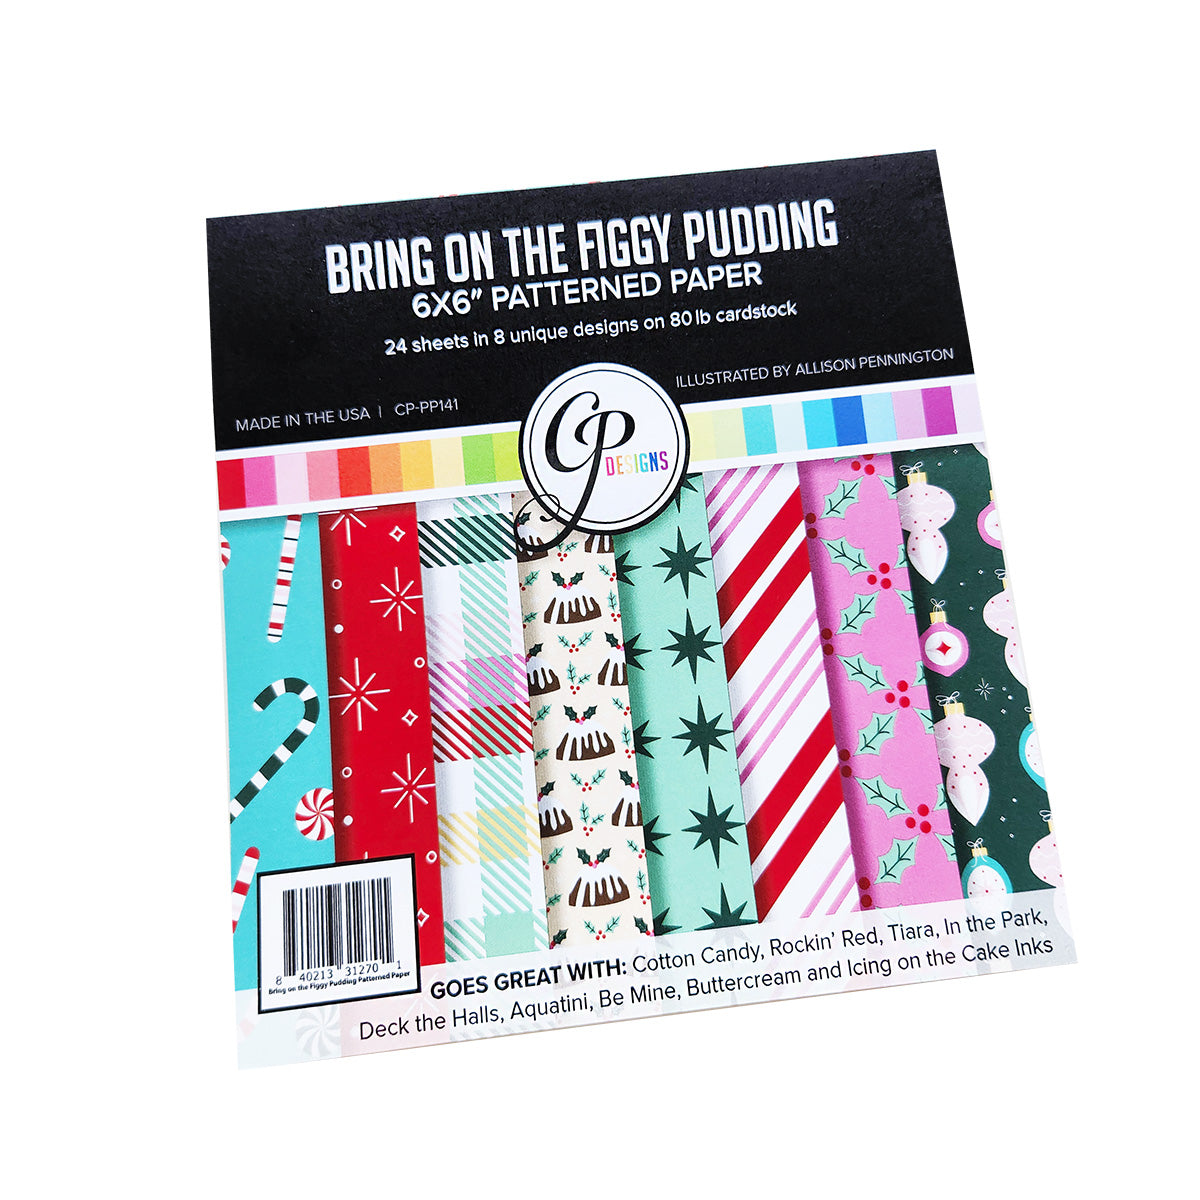
Bring on the Figgy Pudding Patterned Paper
Shop at:
Catherine Pooler
Catherine Pooler Deck The Halls Ink Pad
Shop at:
Scrapbookcom | Catherine Pooler
Greenery Of The Season Bundle
Shop at:
Catherine Pooler
Catherine Pooler Rectangle Dies
Shop at:
Scrapbookcom | Catherine Pooler


#wavingmywand #catherinepooler #catherinepoolerdesigns #brandambassador #catherinepoolerinks #cpinks #nutcrackersweet #nutcrackers #christmascards #holidaycards #christmas #diycards #stamping #holidaymagic #holidayjoy #shakercards #inlaidshakercards #inlayshakercards #shakercards

Wednesday, February 7, 2024

Ladybug Love Card

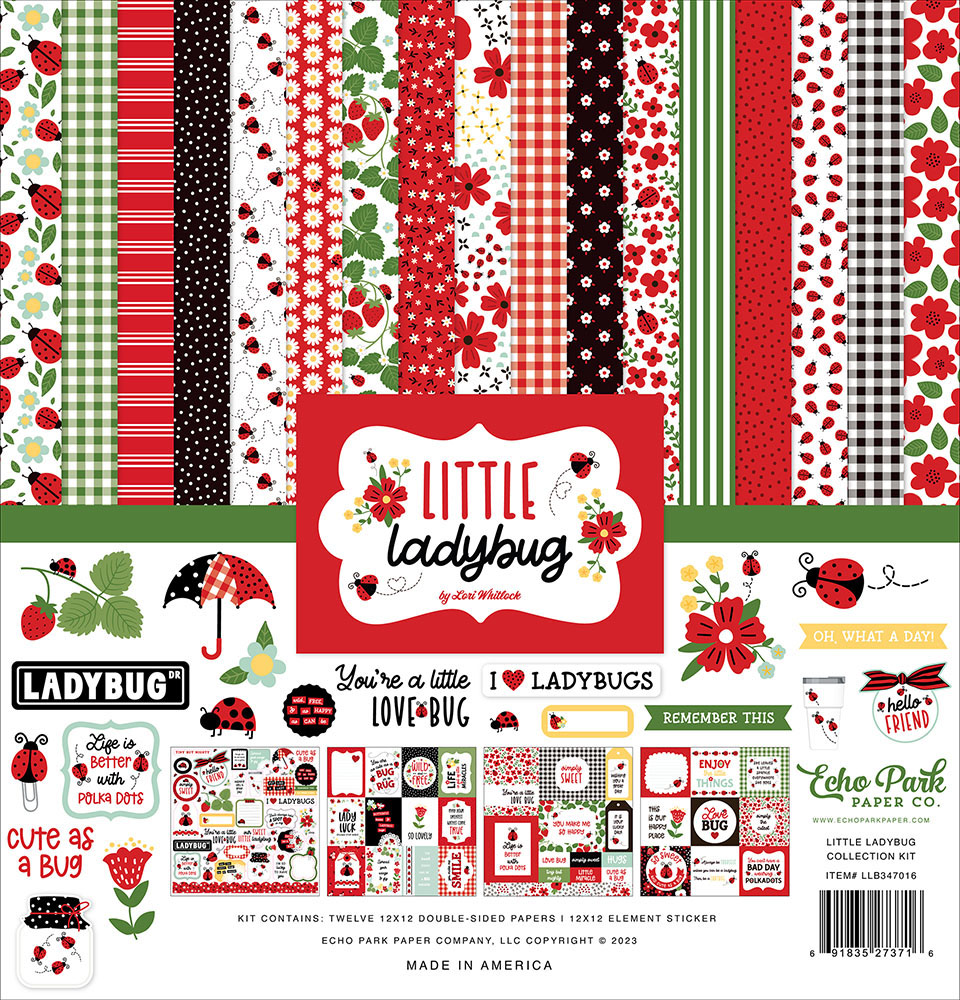
I'm so excited to share this adorable ladybug card for you today! Thanks so much to Creative Scrapbooker Magazine for sending me products from the Echo Park Paper "Little Ladybug" collection, designed by Lori Whitlock.  Make sure you check out their weekly "Why Not Win Wednesday" contest, which is how I won this collection. You might be the next winner! I have a few creative details below and product links at the end of this post (+ a coupon code!), if you'd like to shop for this collection or any other products at Scrapbook.com.


(FTC Disclosure: as an affiliate for various companies in the craft industry, I will receive a small commission for purchases made through my convenient affiliate links, at no additional cost to you.)


There are so many beautiful papers in this collection and I really hated to cover up that floral pattern, so I decided to create a shaker focus in the center and have more of the patterned paper peeking through.

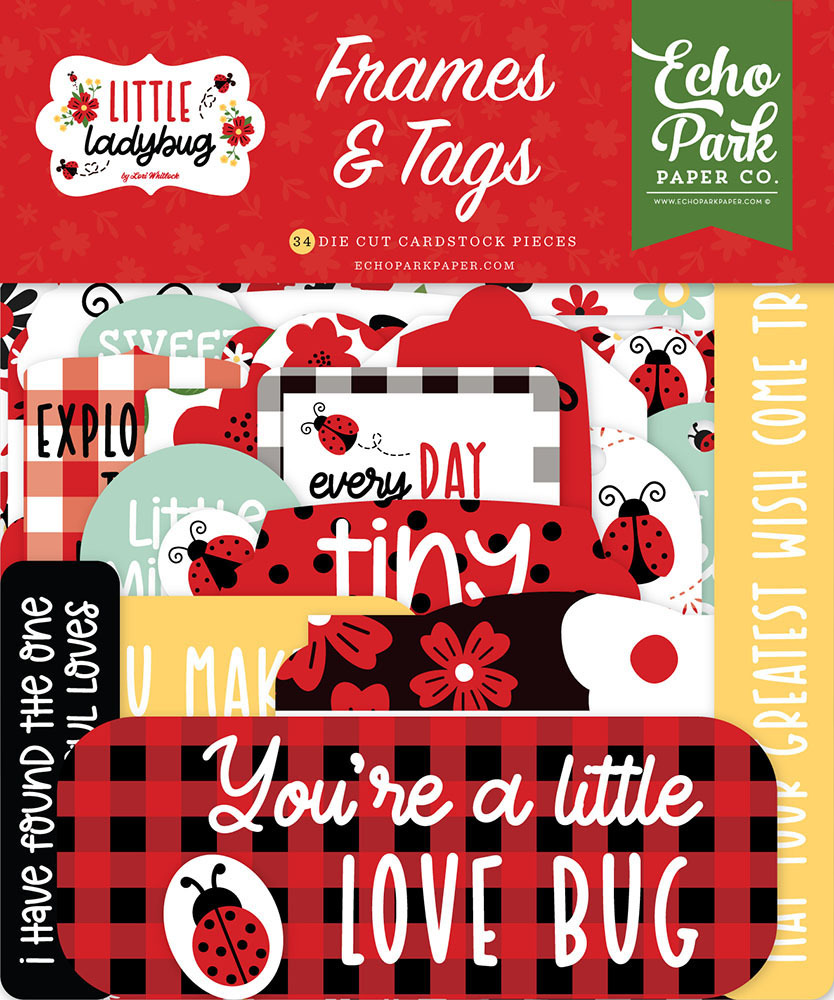
Initially, I was going to make a little girl card because ladybugs remind me of my sweet little niece. Then, I started looking through the ephemera and saw several "love" sentiments. I really love the one I used on my card and thought it would make an awesome Valentine card.


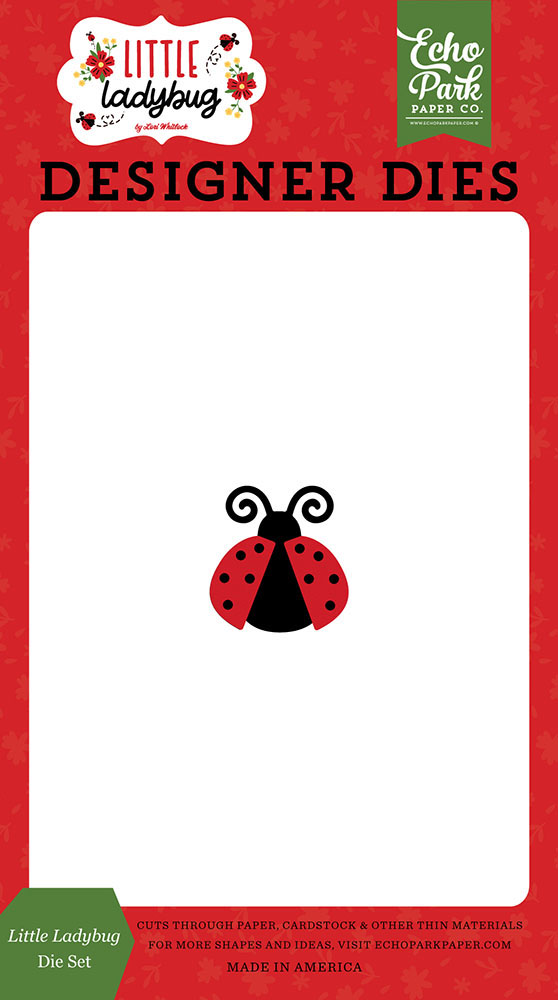
Although I used papers from the 12x12 inch collection kit, there's also a 6x6 paper pad available. The other products I used were ephemera and the ladybug dies. I used my Pops of Color black liquid embellishment on the wings to make them pop a bit more.

I also used several basics from Scrapbook.com to make this card; rectangle nesting dies for my black polka dot frame, adhesive/foam, a white A2 vertical card, acrylic sheets, and of course my exclusive black Platinum 6 die cut system which you can only get at Scrapbookcom. Also, a solid paper pad for my ladybug die cuts.

You can view all of the Little Ladybug products in the shop at Scrapbookcom, here.


I also have stamps and stencils from this collection so I'll be creating another ladybug card very soon.

If you'd like to do some shopping, I have affiliate product links below. Use coupon code LOVE at checkout by Sunday, Feb. 11th, 2024 at midnight MST for an additional 6% discount on your entire purchase at Scrapbook.com.

 Thanks so much for stopping by and I hope you have a great day!


Terri

********************


Refillable Permanent Adhesive Runner - 49 feet
Shop at:
Scrapbookcom
Exclusive Black Platinum 6 Die Cut System
Shop at:
Scrapbookcom
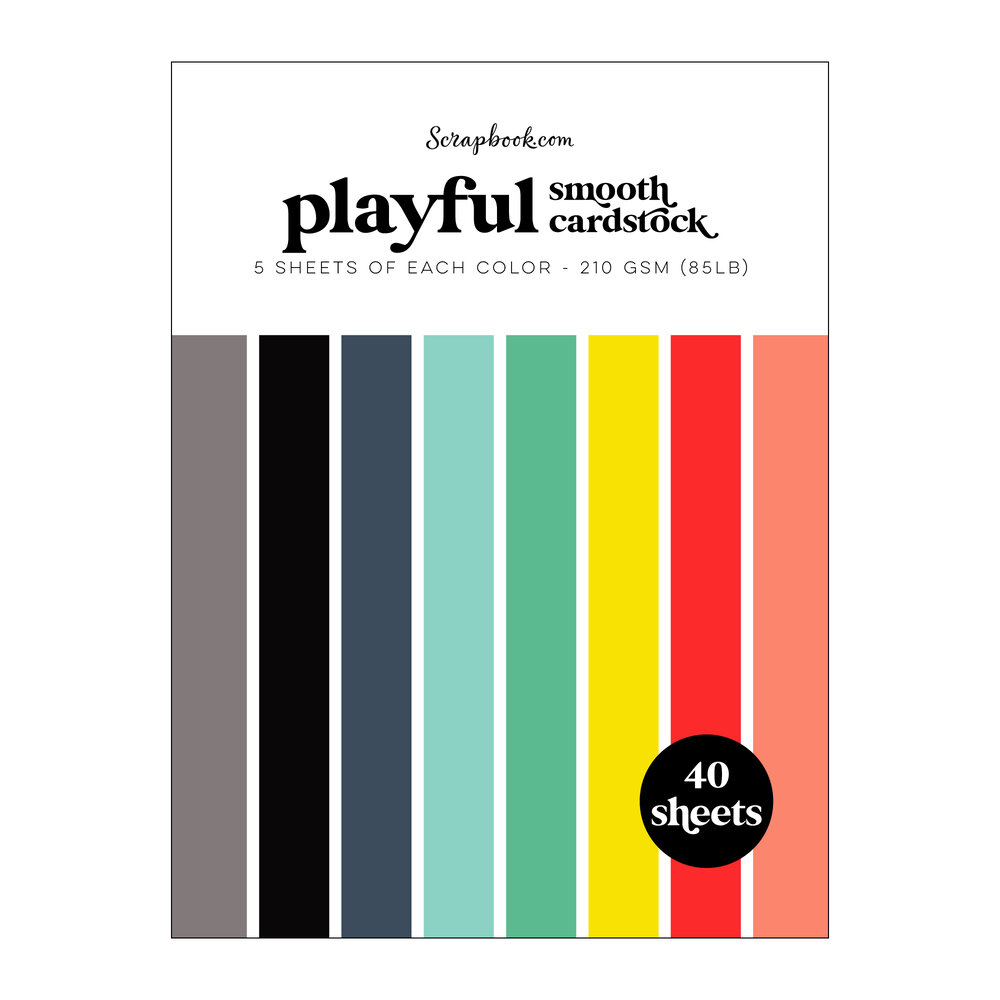
Exclusive 6x8 in Paper Pad - Playful
Shop at:
Scrapbookcom
Wendy Vecchi Craft Mat
Shop at:
Scrapbookcom
Artis Craft Glue - Only at Scrapbookcom
Shop at:
Scrapbookcom

Double Sided Adhesive Foam Roll 1/4"x 32 ft - 2 mm
Shop at:
Scrapbookcom
Neenah Solar White A2 Vertical Cards - 25 pk
Shop at:
Scrapbookcom
Echo Park Paper Little Ladybug Collection Kit - 12x12
Shop at:
Scrapbookcom
Echo Park Paper Little Ladybug Frames & Tags Ephemera
Shop at:
Scrapbookcom
Echo Park Paper Little Ladybug Designer Dies
Shop at:
Scrapbookcom
Nested A2 Rectangle Dies - 12 pc
Shop at:
Scrapbookcom
Pops of Color - Black
Shop at:
Scrapbookcom
Lawn Fawn Stitched Circle Frames
Shop at:
Scrapbookcom
Clear Acetate Sheets - 5x6 in - 20 pk
Shop at:
Scrapbookcom
Heffy Doodle Sequin Mix - Secret Santa
Shop at:
Scrapbookcom


#wavingmywand #creativescrapbookermagazine #whynotwinwednesday #echoparkpaper #littleladybug #scrapbooking #cardmaking #papercrafts #diycards #ladybugs #shakercards #couponcode #valentinesday #sweetheart #love #cards #handmadecards #scrapbookcom