Friday, May 3, 2024

Geometric Stenciled Card for Scrapbook.com

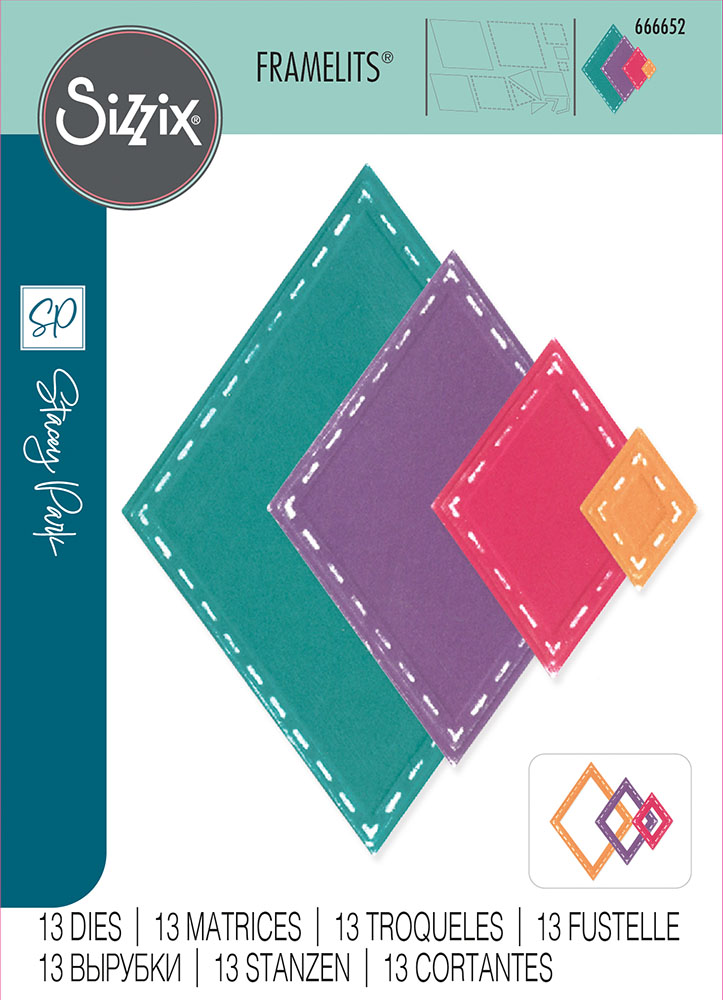
Hey crafty friends, I'm back with another project for Scrapbook.com, featuring products from the latest Sizzix + Stacey Park release. I wanted to try my hand at creating a geometric card. I don't think I've ever made one before, but the Sizzix Framelits Katy Deco Diamond dies inspired me to give it a try. It was relatively easy! Scroll down and I'll tell you how I turned my stenciled A2 card into an almost perfectly square card. I'll have a clickable supply list at the end of this post, as well.


(FTC Disclosure: as an affiliate for various companies in the craft industry, I will receive a small commission for purchases made through my convenient affiliate links, at no additional cost to you.)


Did you notice I said almost a perfectly square card? Haha, caught that did you? One thing you should know about me is that I eyeball pretty much everything when I'm creating. The one thing I'm absolutely precise on is trimming exact measurements for card panels and scored cards, mainly A2 and A7 sizes. 

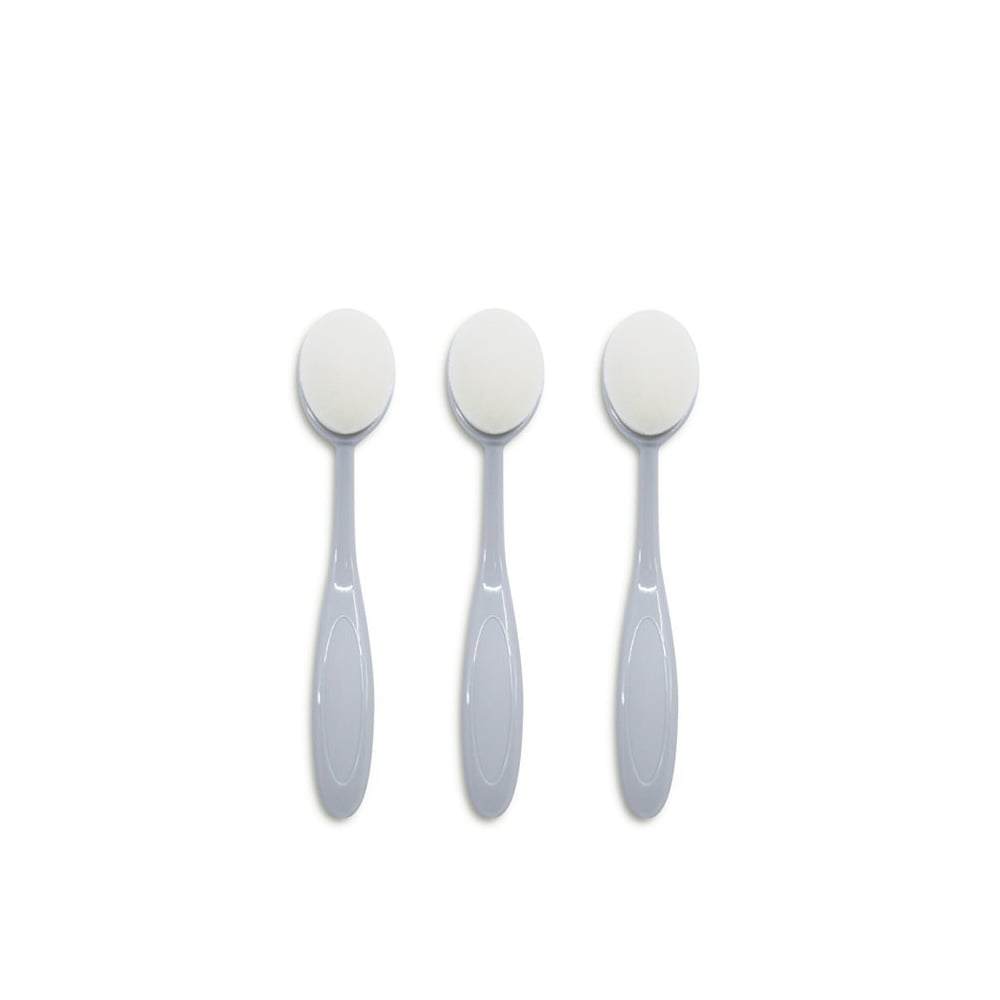
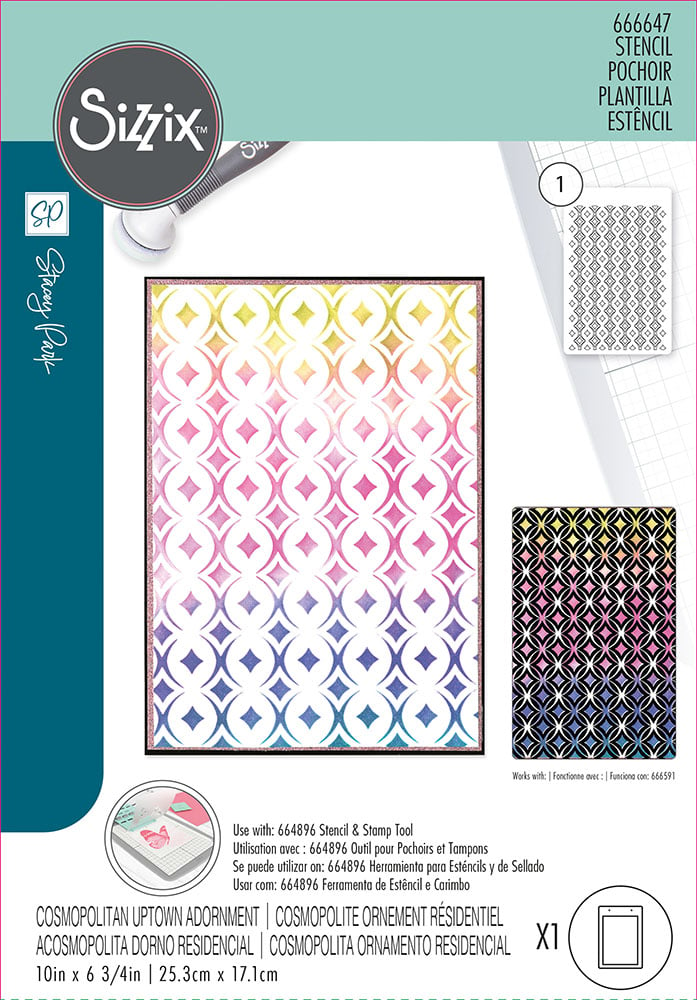
So, the first thing I did was stencil my A2 card panel using the new Sizzix/Stacey Parks stencil called Cosmopolitan Uptown Adornment with my SBC blender brushes and a variety of Catherine Pooler Inks. Also, shout out for my Scrapbookcom 14x14 inch white project mat. Clean up is a breeze!

I didn't get a photo of this next step, but I used a couple smaller diamond dies to create my solid stenciled diamond and the center frame around it, as pictured above, then set them aside.

Next, I used the largest diamond die in the Katy Deco set and placed it in the center of my A2 card panel, then ran it through my die cut system. 

The top and bottom point of the diamond actually go over the edge of my card panel, but that's ok. It's going to split my card panel. Wait though, you'll see.


In the photo above, I took my 2 large split pieces of cardstock and adhered SBC adhesive strips. All of my stenciled images are popped up on these strips.

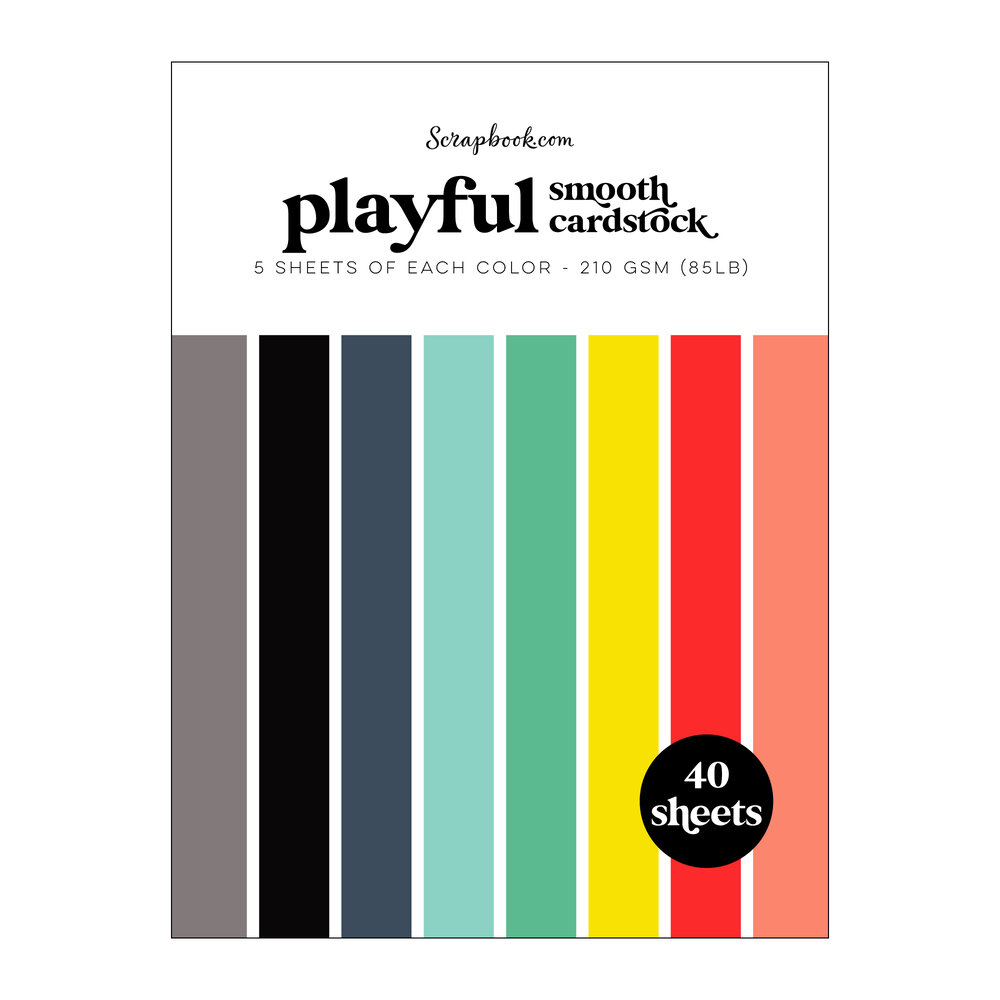
Once I determined how to space out all my stenciled die cut pieces so they looked evenly spaced, I trimmed a piece of black paper (from my SBC Playful paper pad) as the base for my geometric design.

And, as it turns out, the perfect measurement that was needed for my black card base and white trimmed and scored card, was 5 x 5 1/2 inches. And that's why I mentioned earlier that it was almost a perfectly square card!


I kept this card minimal with embellishments but I did add some of my SBC Pops of Color liquid gloss in black, right in the center of each tiny stenciled diamond, just to coordinate a bit with my black panel.

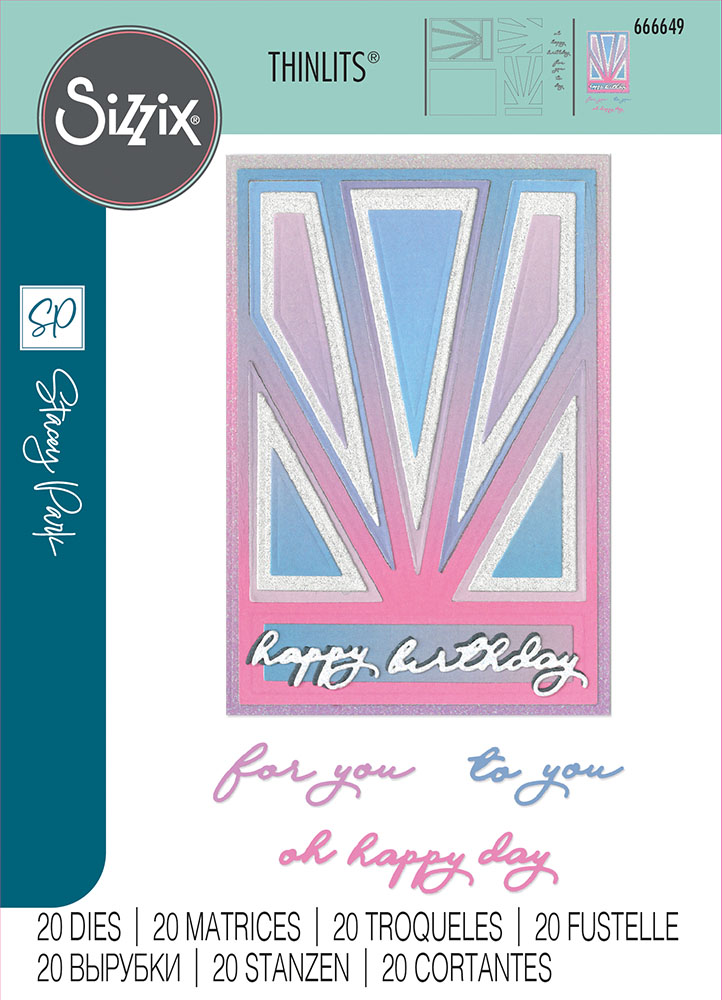
I also created a die cut sentiment using the Happy Birthday sentiment die included in the new Cosmopolitan Refined Rays Framelit die set. I actually cut 2 layers for each sentiment and glued them together with my SBC Artis glue.


While trying to decide on placement for the sentiment, I opted to create a black outline. I glued my die cut words to a strip of black paper then simply cut an outline around my words with scissors. This allows me to pop the sentiments up on adhesive strips and place them in the gaps of empty space.

It worked out perfectly as the outline actually blends in visually with the black card panel. By the way, the black card panel is adhered flat to my card. Having all these popped up elements really gives this card a little drama! The sentiments almost appear to be floating, if you could see the card in person.


I think this geometric card would work really nicely for a masculine card, as well. There are 7 different word dies included in the Refined Rays set, so you can mix it up a little with your sentiments. Bonus! 

This was somewhat of an experiment for me, not having created a geometric die cut card like this before, but I'll definitely do it again!

If you'd like more information on any of the products that I used today, or would like to shop, just click the affiliate product links below. Thanks for popping in!

Terri

******************************

Catherine Pooler Ink Pad - Catching Rays
Shop at:
Scrapbookcom | Catherine Pooler
Catherine Pooler Ink - Drive In
Shop at:
Scrapbookcom
Refillable Permanent Adhesive Runner - 49 feet
Shop at:
Scrapbookcom
Neenah Solar White Cardstock 80 lb, 25 pk
Shop at:
Scrapbookcom
Exclusive Black Platinum 6 Die Cut System
Shop at:
Scrapbookcom
Artis Craft Glue - Only at Scrapbookcom
Shop at:
Scrapbookcom
Exclusive Playful Paper Pad 6x8 inch - 40 sheets
Shop at:
Scrapbookcom
Scrapbookcom Small Blending Brushes - 3 pk
Shop at:
Scrapbookcom
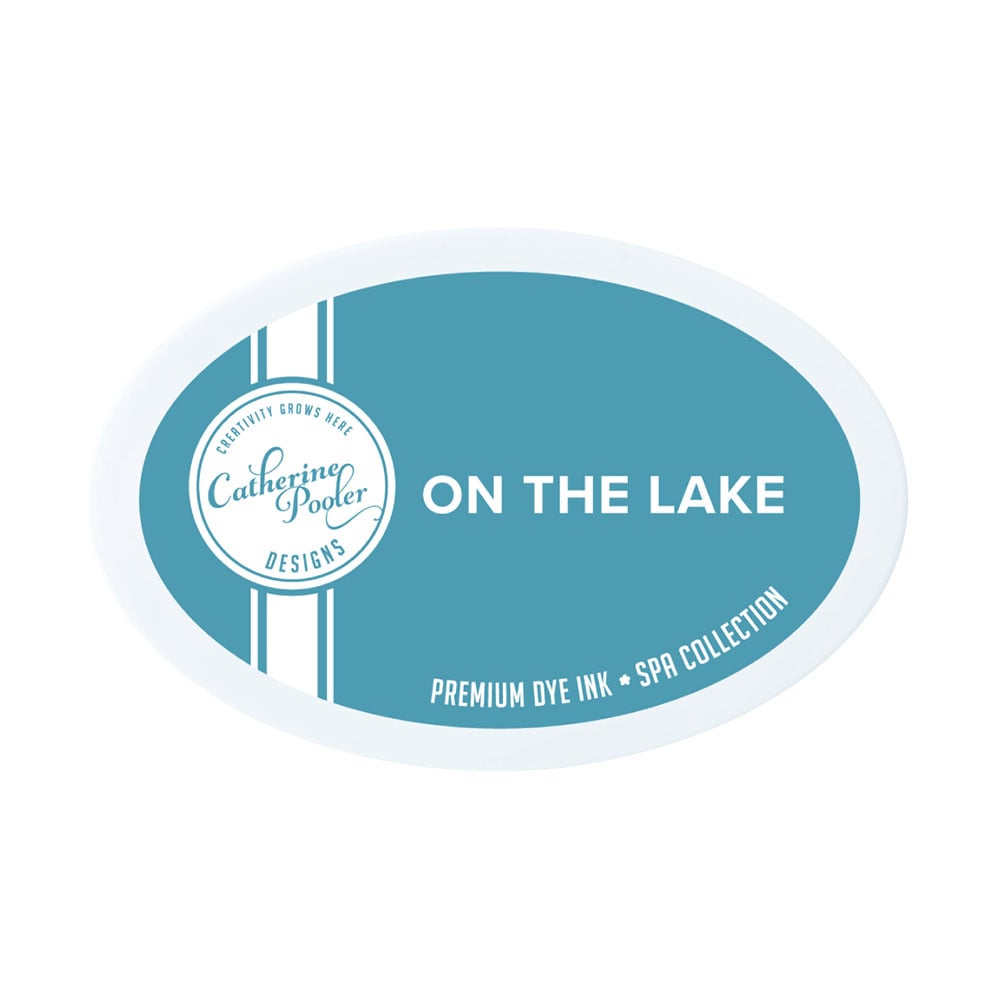
CPD Ink Pad - On The Lake
Shop at:
Scrapbookcom
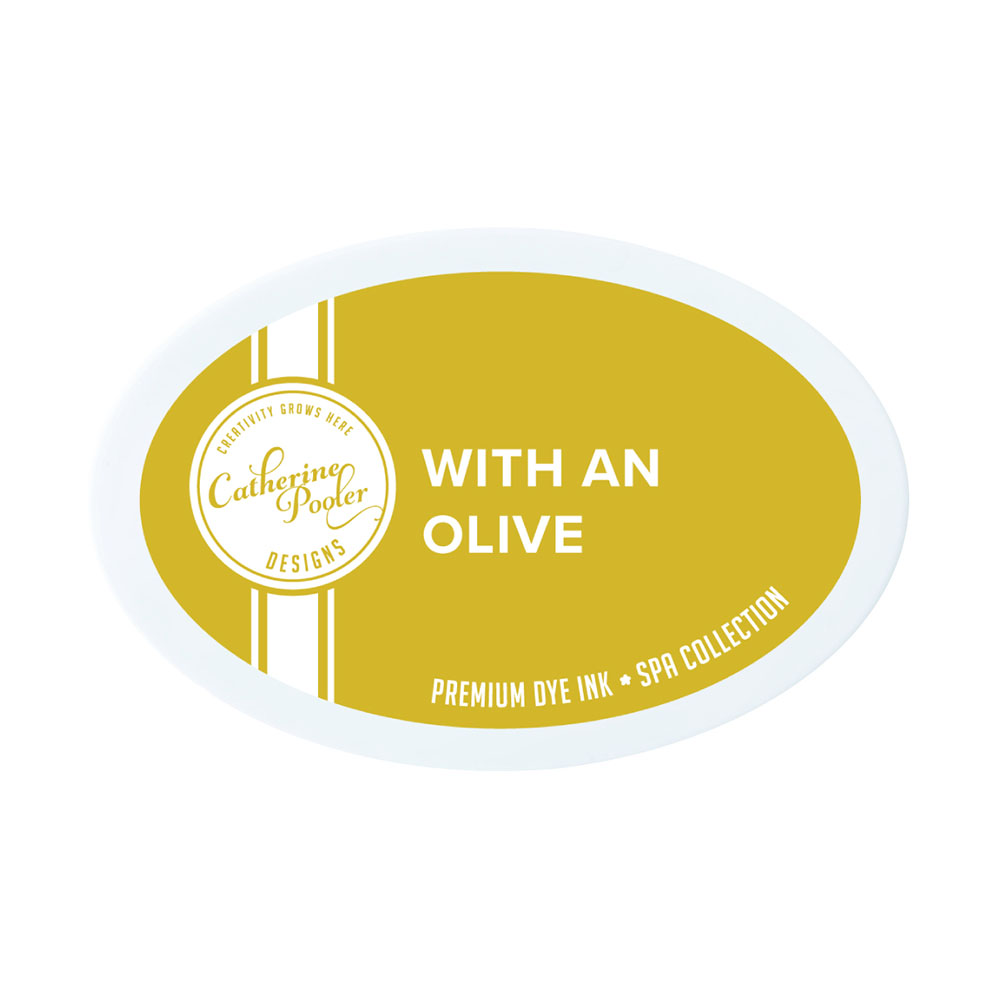
CPD Ink Pad - With An Olive
Shop at:
Scrapbookcom | Catherine Pooler
Exclusive Ergonomic Reverse Tip Tweezers
Shop at:
Scrapbookcom
Exclusive EasyGrip Ergonomic Scissors
Shop at:
Scrapbookcom

Adhesive Foam Roll - 3 mm - 1/4" x 32 feet
Shop at:
Scrapbookcom
Project Grip Mat Large - White - 24x18 inch
Shop at:
Scrapbookcom
Sizzix Scoring Board & Trimmer Tool
Shop at:
Scrapbookcom
Sizzix Stencil & Stamp Tool
Shop at:
Scrapbookcom
Sizzix/Stacey Park Uptown Adornment Stencil
Shop at:
Scrapbookcom
Sizzix/Stacey Park Cosmopolitan Refined Rays Thinlits Die Set
Shop at:
Scrapbookcom
Sizzix/Stacey Park Fanciful Framelit Katy Deco Diamonds Die Set
Shop at:
Scrapbookcom


#wavingmywand #scrapbookcom #sizzix #staceypark #cosmopolitanrefinedrays #framelits #thinlits #katydecodiamonds #cosmopolitanuptownadornment #projectmat #popsofcolor #catherinepoolerink #geometric #cards #cardmaking #diycards #stenciling #birthdaycards #masculinecards

Monday, April 29, 2024

Floral Butterfly Card

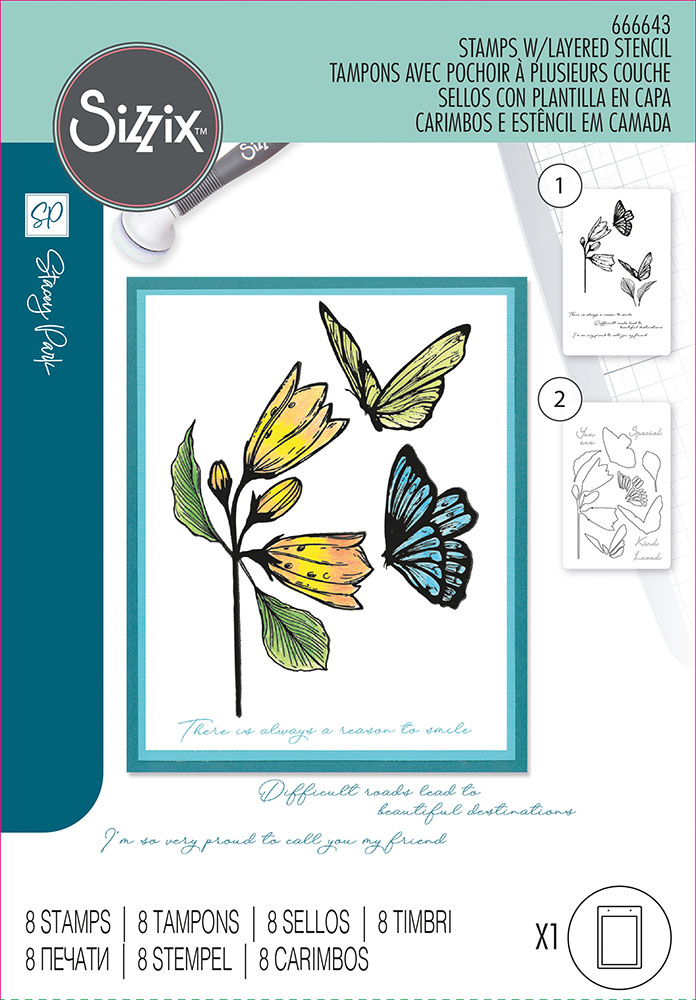
Hello friends. I'm sharing this card for Scrapbook.com, featuring the new Sizzix & Stacey Park release. I'm working with another addition to the Cosmopolitan collection, a stamp and stencil set called "Farfallina", which in Italian, means butterfly. I chatted up Stacey herself (she's lovely, by the way) to inquire about the naming of this set. I won't go into all the details but suffice it to say, it represents overcoming tragedy and the little blessings in life. Scroll down for creative details, plus I'll have a clickable supply list at the end of this post, as well.


(FTC Disclosure: as an affiliate for various companies in the craft industry, I will receive a small commission for purchases made through my convenient affiliate links, at no additional cost to you.)


This stamp set is so gorgeous and I love the lines in the stamped images. The stamps are rather large, so I chose to go a little bigger than my usual A2 size card. The total dimension of my card is 4.50  x 6.25  inches so this will fit nicely in a 5 x 7 inch envelope. I used Neenah 8.5 x 11 inch cardstock for my trimmed and scored card with a side-fold. You would need to trim your card down to 9 x 6.25 inches. I've created a graphic for you to see the measurements for scoring, below. 


I started with a sheet of the Scrapbookcom white mixed media cardstock from the 6 x 8 inch paper pad. It's heavyweight and sturdy and great for watercoloring. I then trimmed it down to 4 x 6 inches.

I wanted to keep this a mostly one layer card, with the exception of the popped up sentiments. I pulled out my mint tape, and stamped a couple leaves, fussy cutting the tape leaves with scissors, so I could use them to create a masked, stamped border along the top and bottom of my card.


The masked leaves allow you to create an overlap on your stamping, without disturbing the integrity of your stamped images.

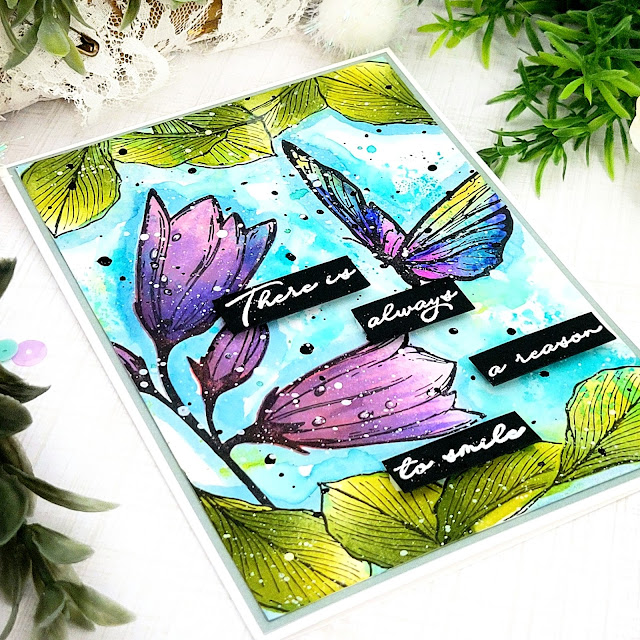
After stamping all my images, I went in with the stencil and my Catherine Pooler Inks. I ink blended all the images with my blender brushes but kept my inking very minimal on the flowers and butterfly, as I wanted to go in and add more depth of color by watercoloring. This is achieved by pressing your ink pad on a craft mat and spritzing with a little water. Then, simply grab the mixture with a water brush and just start painting!

I love that there is only one stencil, with all the images cut out on it. I think the cut images are spaced out nicely, however, if you have large blender brushes, you may want to consider using tape to cover the surrounding cut-outs, so you don't muddy up space on your card because your brush was too big.

I didn't do any watercoloring on the leaves, only the flowers and butterfly, layering on colors with my ink and a waterbrush. Next, I started watercoloring around my stamped images, creating a painted blue outline. When done, there was a little ink left on my craft mat, so I took my card panel and tapped it onto the inky mixture. That's where some of the blue splatters came from. 


My next step was to add more splatters, so I grabbed my Ranger Black Marble shimmer spray, unscrewing the bottle and tapping the feeder tube to get droplets on my panel.

I also used the Spellbinders Splatter White for paint splatters. A tiny bit of this was mixed with water. Next, I flicked the mixture off the edge of an acrylic block using a paint brush.

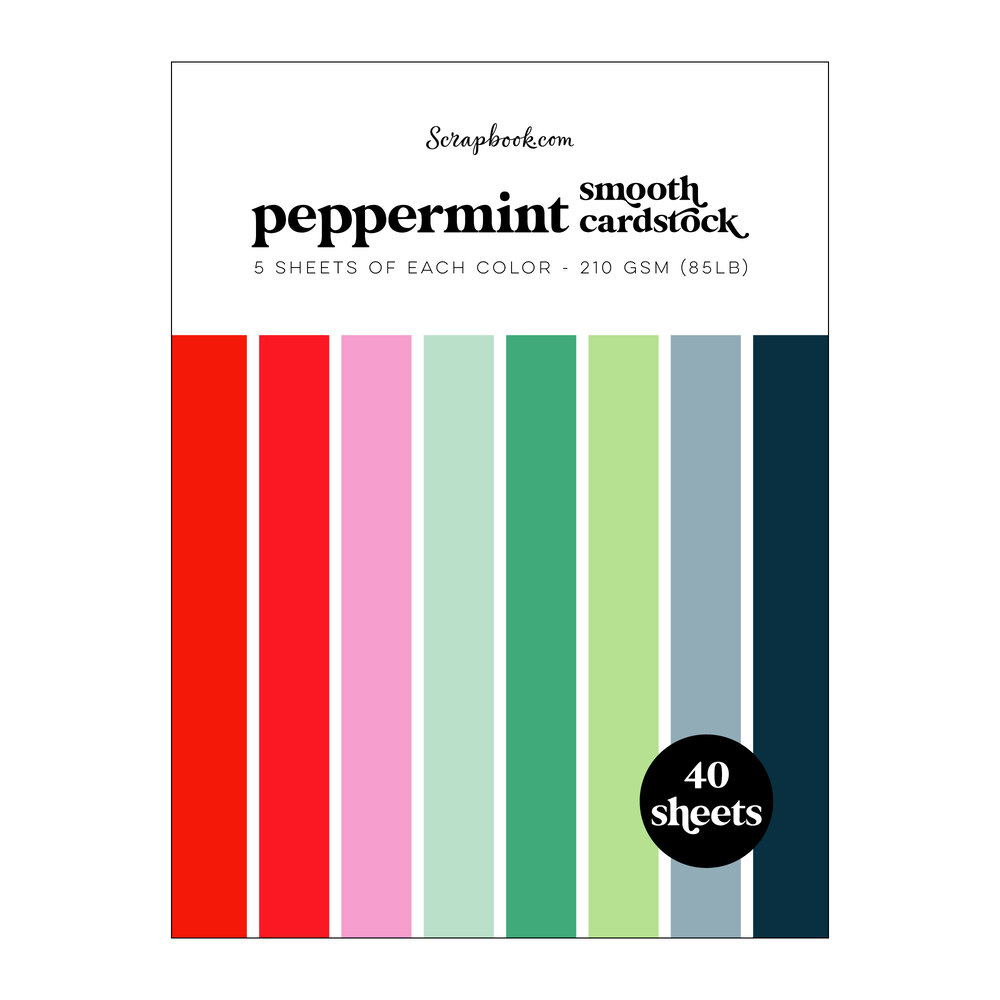
I used a really pretty sage green paper from the Scrapbook.com 6x8 inch Peppermin Solid Paper Pad. I love the subtle effect of color from the paper, in my background.


My card panel and background paper were adhered flat to my white card. For my sentiment, I heat embossed one of the sentiments from the stamp set onto my SBC black mixed media cardstock, using SBC premium clear emboss ink and Wow embossing powder. I love the spacing between the words, which allowed me to chop up my sentiment and scatter it about on my card. The words are popped up on SBC adhesive strips.

I hope you like my card, I'm kind of crushing on it myself!  I have convenient affiliate links below, if you'd like to do some shopping. There is no additional cost to you, for using my links and I appreciate it so much when you do! 

Thanks so much for popping in. Let me know if you have any questions, in the comment section.

Terri

******************************

Ranger Tim Holtz Detail NIB Water Brush
Shop at:
Scrapbookcom
Ranger US HEAT IT CRAFT TOOL
Shop at:
Scrapbookcom
Scrapbook.com Premium Clear Embossing Ink Pad
Shop at:
Scrapbookcom
Catherine Pooler Ink Pad - Catching Rays
Shop at:
Scrapbookcom | Catherine Pooler
Mint Tape
Mint Tape
Shop at:
Scrapbookcom
Catherine Pooler Ink - Drive In
Shop at:
Scrapbookcom
Refillable Permanent Adhesive Runner - 49 feet
Shop at:
Scrapbookcom
Neenah Solar White Cardstock 80 lb, 25 pk
Shop at:
Scrapbookcom
Catherine Pooler Cummerbund Ink Pad
Shop at:
Scrapbookcom
Catherine Pooler Ink Pad - Sixteen Candles
Shop at:
Scrapbookcom
Scrapbook.com Hybrid Ink - Black
Shop at:
Scrapbookcom
Wendy Vecchi Craft Mat
Shop at:
Scrapbookcom
Ranger Artist Brushes - 7 pc
Shop at:
Scrapbookcom
Scrapbookcom Small Blending Brushes - 3 pk
Shop at:
Scrapbookcom
Exclusive Rose Quartz Misti Stamp Positioner
Shop at:
Scrapbookcom
CPD Ink Pad - On The Lake
Shop at:
Scrapbookcom
CPD Ink Pad - With An Olive
Shop at:
Scrapbookcom | Catherine Pooler
Exclusive Ergonomic Reverse Tip Tweezers
Shop at:
Scrapbookcom
Exclusive EasyGrip Ergonomic Scissors
Shop at:
Scrapbookcom
White Mixed Media Paper - 6x8 inch - 15 sheets
Shop at:
Scrapbookcom

Adhesive Foam Roll - 3 mm - 1/4" x 32 feet
Shop at:
Scrapbookcom
Splatter White
Splatter White
Shop at:
Scrapbookcom
Wow Embossing Powder - Bright White - Regular
Shop at:
Scrapbookcom
Project Grip Mat Large - White - 24x18 inch
Shop at:
Scrapbookcom
Black Mixed Media Cardstock - A2 - 15 sheets
Shop at:
Scrapbookcom
Ranger Ink Dylusions Shimmer Spray - Black Marble
Shop at:
Scrapbookcom
Sizzix - Stacey Park Cosmopolitan - Farfallina Stamp & Stencil Set
Shop at:
Scrapbookcom
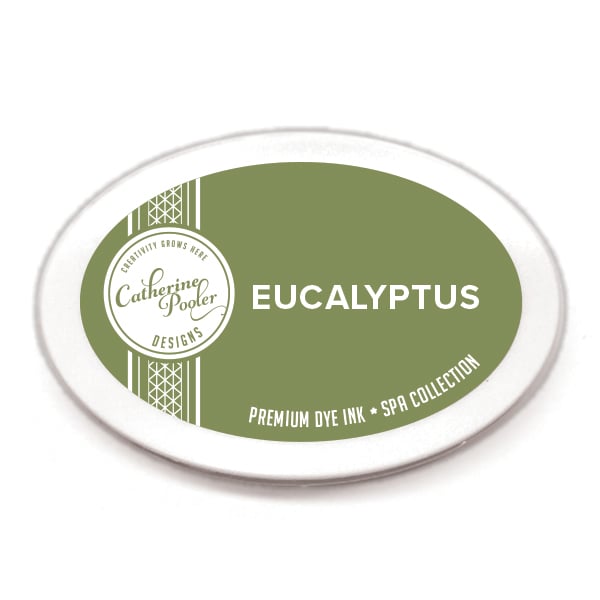
Caatherine Pooler Ink Pad - Eucalyptus
Shop at:
Scrapbookcom
Sizzix Scoring Board & Trimmer Tool
Shop at:
Scrapbookcom
Peppermint Paper Pad - 6x8 inch - 40 sheets
Shop at:
Scrapbookcom


#wavingmywand #scrapbookcom #sizzix #staceypark #cosmopolitan #farfallina #butterflies #butterfly #cardmaking #cards #spring #flowers #floral #leaves #catherinepoolerink #stenciling #stamping #rangerink #spellbinders #splatterwhite #watercoloring #heatembossing #wowembossing