Hello lovelies, today I'm sharing a trio of slimline cards in collaboration with Scrapbook.com featuring several new products. I have some creative details and insider tips so be sure and scroll down. I'll try and be brief but I will most likely fail, haha! You'll also find links to many of the supplies I used at the end of this post.
(FTC Disclosure: as an affiliate for various companies in the craft industry, I will receive a small commission for purchases made through my convenient affiliate links, at no additional cost to you.)
Two of my cards feature stenciling with the Flower Garden stencil which is an exclusive brand item from Scrapbookcom. In fact, many of the products featured today are exclusive SBC products!
My ink blending is done courtesy of my Catherine Pooler inks and blender brushes, to pair well with the Roses and Floral cardstock papers and die cuts that I'm using today.
One of my favorite things to do with die cuts is cut multiple images in different colors and swap out and mix some of the inner cuts.
One of my tricks? Trim thin strips of tape like washi or decorative tape to hold the swapped die cut pieces in place, as pictured below. You an use scotch tape too! I just have hoards of washi tape on hand.
Scrapbookcom carries a line of white slimline cards, envelopes and panels as a set. I love them. Pre-cut panels take all of the guess work out of measuring.
This slimline set is a super hot item so if they're out of stock, be sure and click the button to get notified when they're back in stock.
I should also mention, I used the Hi Fall stamp set for my sentiment with SBC black hybrid ink. The word "friend" is from the same set and was heat embossed. I also sprinkled droplets of Ranger White Gloss onto my inked panel.
My next card features the Spring Floral Slimline Die along with the Sprigs die set and the Prayers For You stamp set.
I cut the slimline die with my Platinum 6 die cut machine and popped out the individual cuts to leave negative space. I then did some ink smooshing on a slimline panel by simply pressing my ink pad onto a craft mat (CP ink in Bay Breeze & Sea Glass), spritzing with a little water, then dipping the panel in random patterns on top of the ink mix. Let dry naturally or use a heat craft tool to dry.
After adhering my die cut panel over my ink smooshed card, I mounted it with adhesive foam tape to my slimline card, then stamped a sentiment on a trimmed piece of white cardstock and lined it with matching paper from the Cool slimline paper set.
For cutting these dies with the Sprig die set, I chose to keep all my pieces intact. As the Wicked Witch from the Wizard of Oz says, "these things must be done del-i-cate-ly!"
To achieve this, You'll need to trim 2 die cuts for each die. For your bottom die cut piece, apply a trimmed piece of an adhesive sheet to the back side of your cardstock and also to the front of your cardstock.
After running the die through your die cut machine, gently use a sharp tool to poke out the stem of the leafy die cut and gently pull, trying to keep as much intact as possible. You may need to go in and add some stray pieces back to the die cut. Use a sharp tool to peel off the adhesive sheet backing that's on top including the intricate cuts. DO NOT REMOVE THE ADHESIVE SHEET ON THE BACK!
Next, trim your second cut with the adhesive sheet only on the back of your cardstock. Remove from your die, as above and replace any missing pieces that popped out. Gently remove the adhesive backing and place on top of your other die cut. Pop them up on adhesive foam squares, where they hang over the edge of your sentiment.
You could always cover your leaf details in a clear gloss, like Glossy Accents, to better secure, particularly for mailing.
I also hot glued a vintage button from my stash as an added embellishment.
I wanted to go from Summer to Fall with my last card so I used the Flower Garden stencil with more Catherine Pooler inks: Coral Cabana, Catching Rays, Mandarin Spice and Macchiato to ink blend around the edges. I used these same inks for the first card but added Eucalyptus instead of Macchiato.
My sentiment was stamped with Macchiato ink and trimmed to look like a die cut. I trimmed my stamp sentiment for my first card in the same manner. The smaller stamped wording was inked with Coral Cabana and both items were popped up on my card with adhesive foam.
To finish off my card panel, I used Ranger distress stain in Ground Espresso. I like to unscrew my spritzer and just tap the color onto the panel. I also used my Scrapbookcom smart glue to adhere some sequins for a little sparkle. My panel was mounted onto slimline cardstock from the Floral slimline paper set, then adhered to a slimline card.
I covered a lot of ground and really TRIED to be brief but a few details need some explaining. Did I miss anything? Be sure and any questions in the comment section, or maybe just a little love, if you'd like. I appreciate you stopping by and if you want to do a little shopping or to just look at some of the products in more detail, please use my affiliate links posted below. Thank you and have a great day!
Terri
***************************************
 Ranger Ink White Super Fine Embossing Powder Shop at: Scrapbookcom |
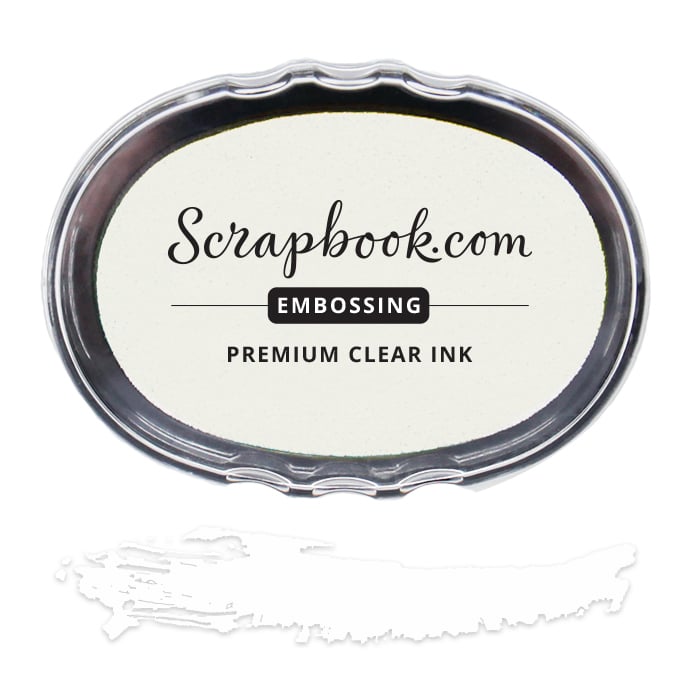 Scrapbook.com Premium Clear Embossing Ink Pad Shop at: Scrapbookcom |
 Scrapbook.com Double Sided Adhesive Foam Square Set Shop at: Scrapbookcom |
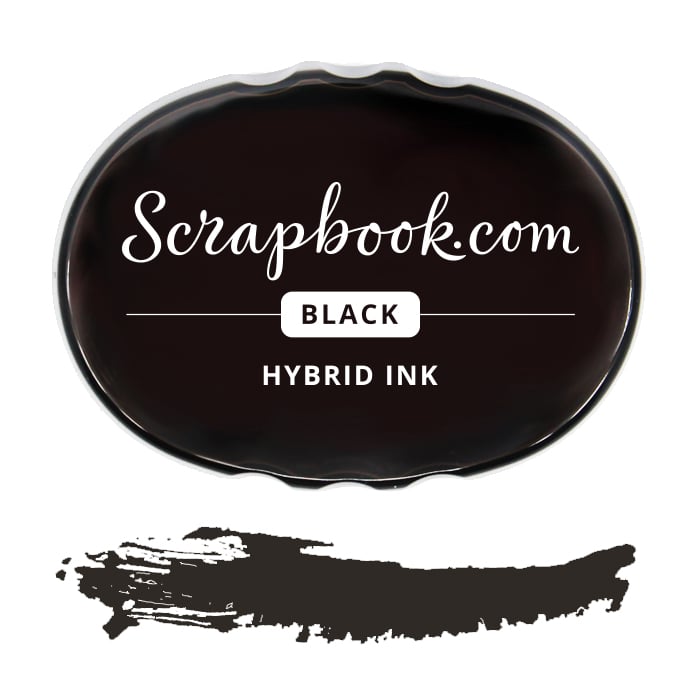 Scrapbook.com Hybrid Ink - Black Shop at: Scrapbookcom |
 Wendy Vecchi Make Art Stay-tion Shop at: Scrapbookcom | Ranger Ink |
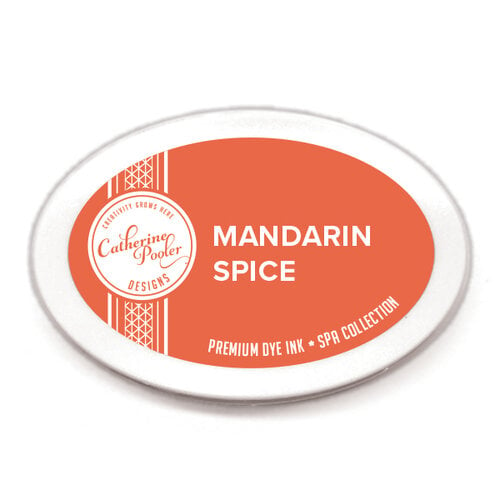 Catherine Pooler Ink Pad - Mandarin Spice Shop at: Scrapbookcom |
 Catherine Pooler Ink Pad - Sea Glass Shop at: Scrapbookcom |
 Catherine Pooler Blending Brushes - 4 pk. Shop at: Scrapbookcom | Catherine Pooler |
 Wendy Vecchi Makeart Non-stick Craft Sheet Shop at: Scrapbookcom | Ranger Ink |
 Catherine Pooler Ink - Bay Breeze Shop at: Scrapbookcom |
 Ranger Heat It Craft Tool Shop at: Scrapbookcom | Ranger Ink |
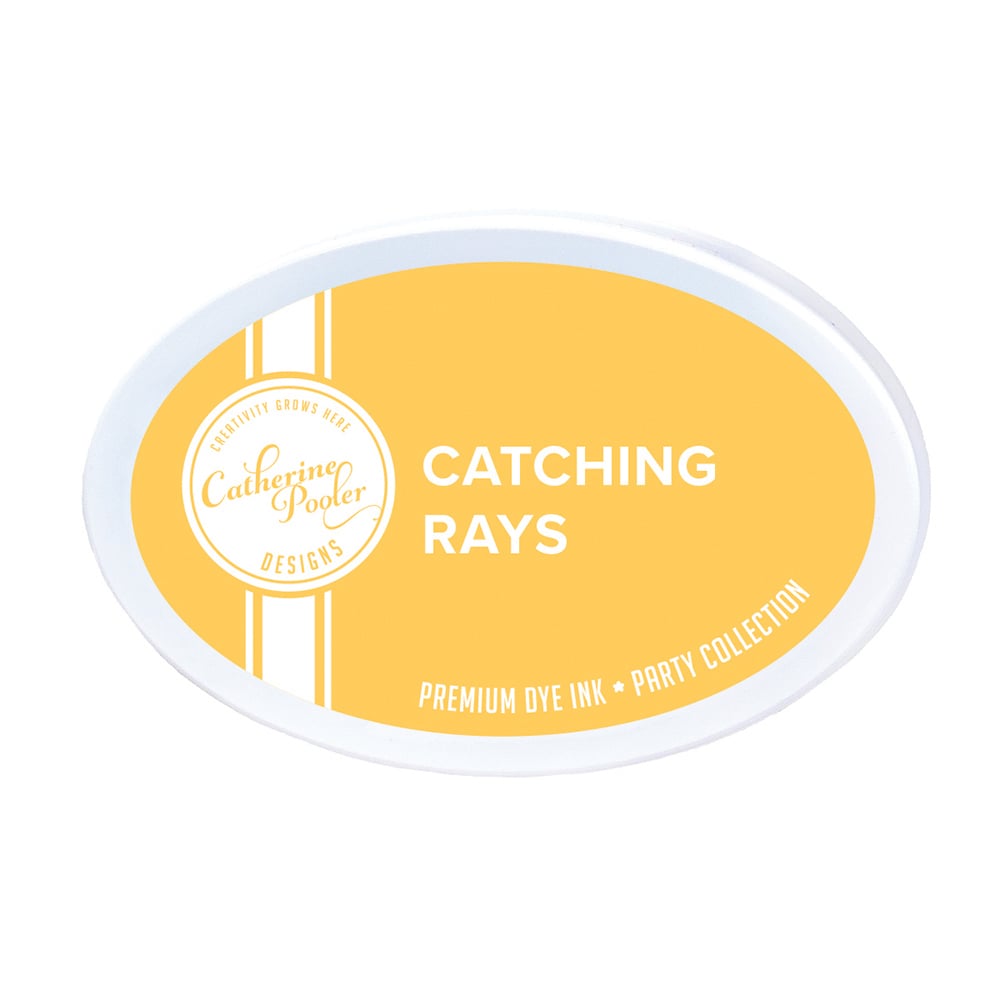 Catherine Pooler Ink - Catching Rays Shop at: Scrapbookcom |
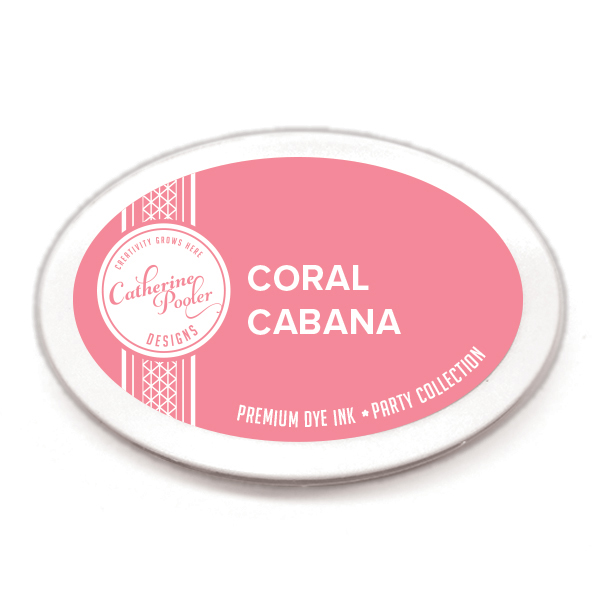 Catherine Pooler Ink - Coral Cabana Shop at: Scrapbookcom |
 Spellbinders Platinum 6 Die Cut/Emboss Machine Shop at: Scrapbookcom | Spellbinders |
 Mint Tape Shop at: Scrapbookcom |
 Catherine Pooler Ink Pad - Macchiato Shop at: Scrapbookcom |
 Flower Garden Stencil Shop at: Scrapbookcom |
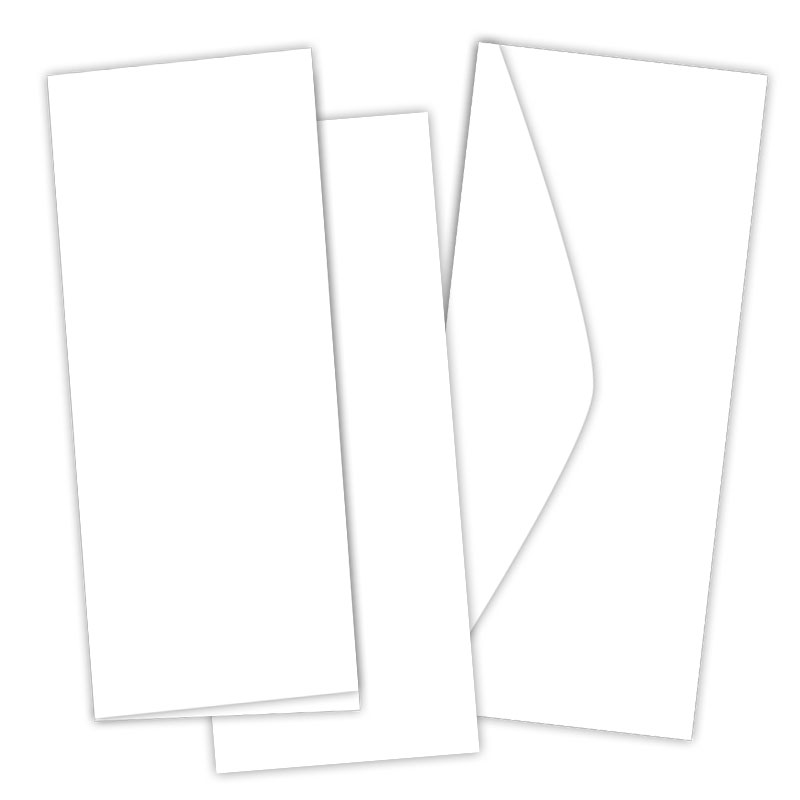 Slimline Cards, Panels & Envelopes - 30 pcs Shop at: Scrapbookcom |
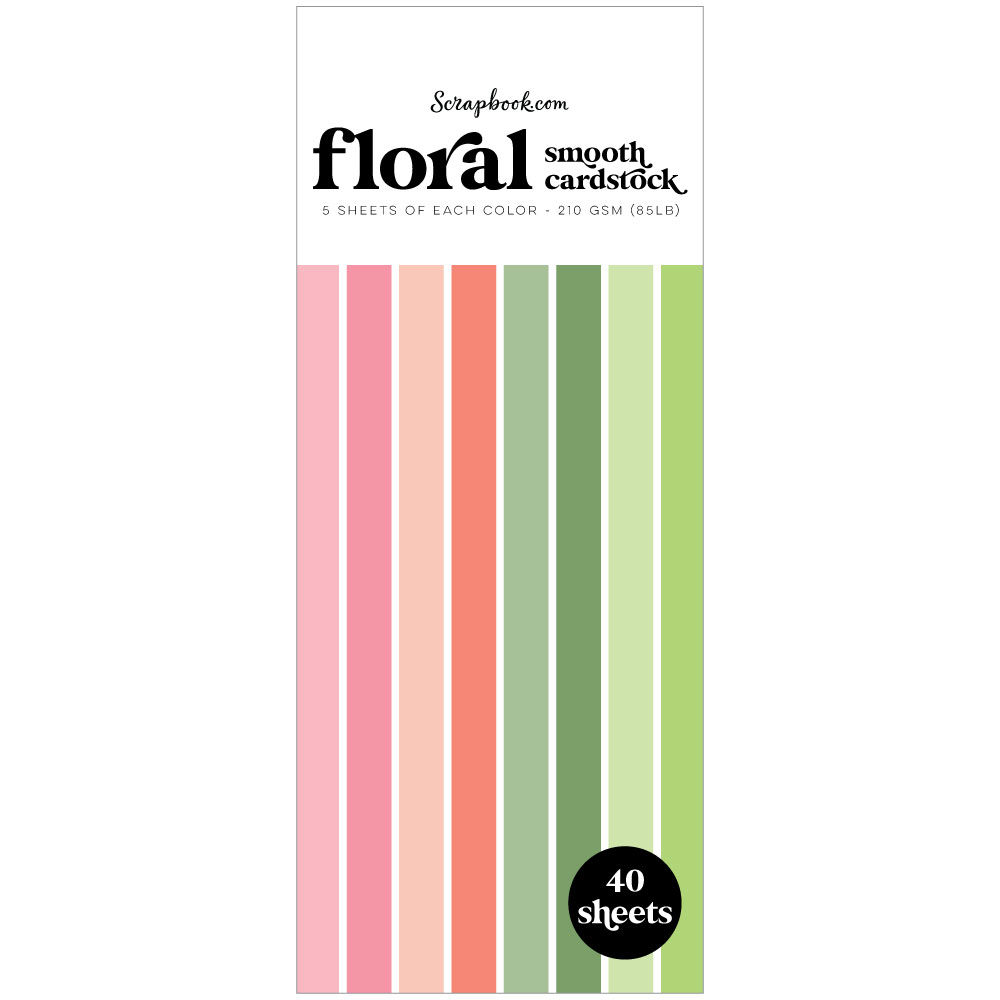 Slimline Cardstock - Floral Shop at: Scrapbookcom |
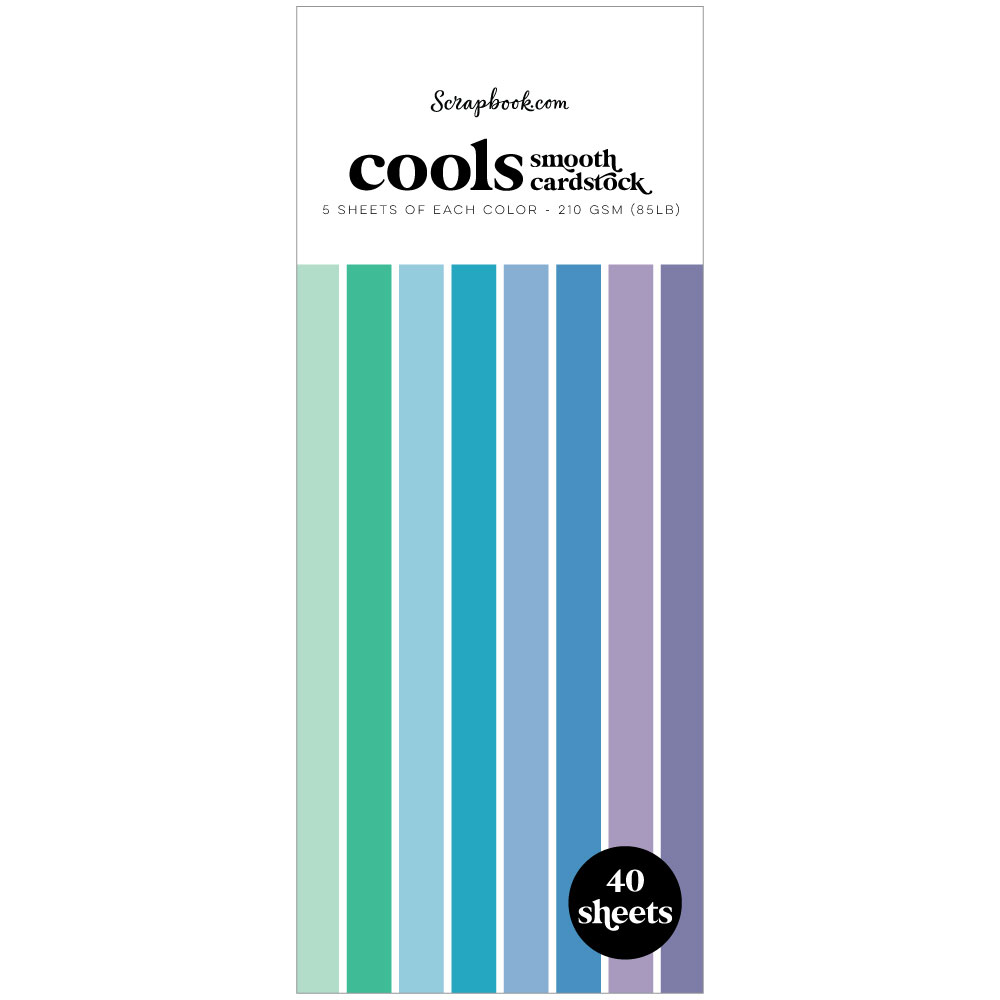 Slimline Cardstock - Cool Shop at: Scrapbookcom |
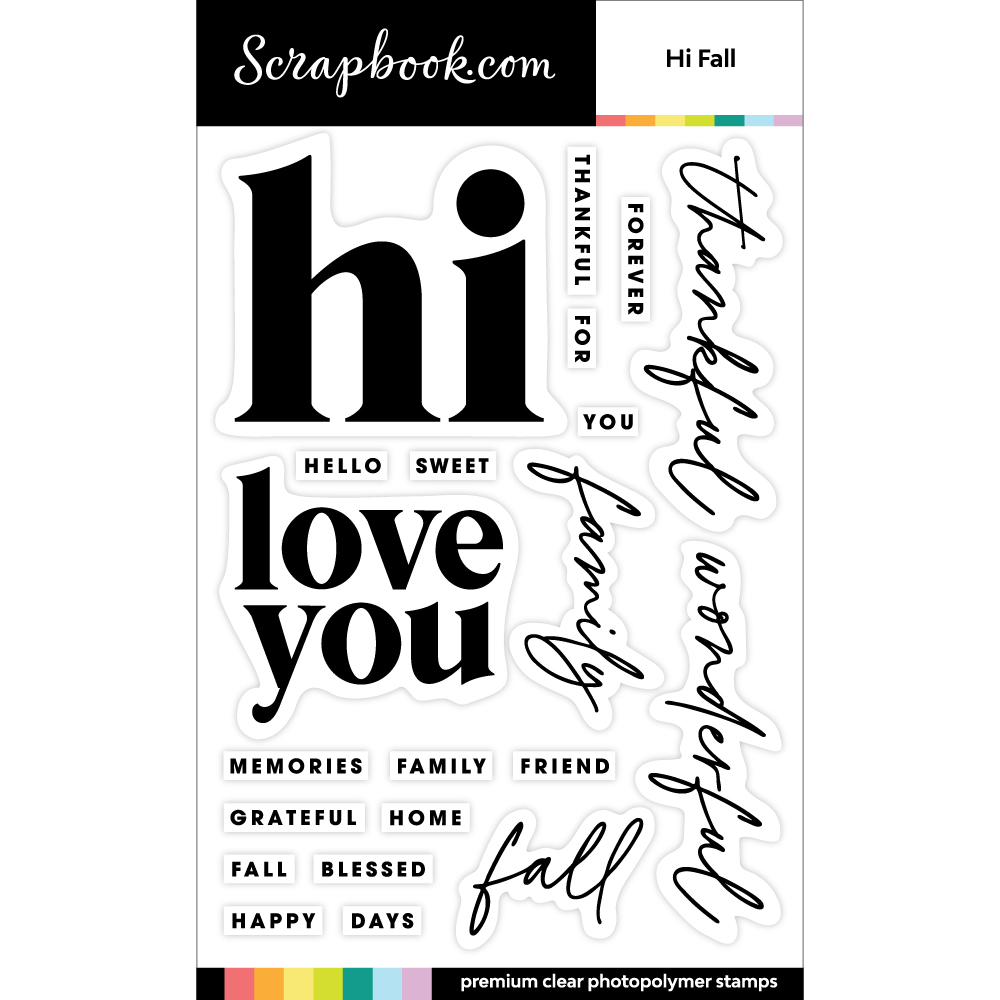 Hi Fall Stamp Set Shop at: Scrapbookcom |
 Decorative Die Set - Sprigs Shop at: Scrapbookcom |
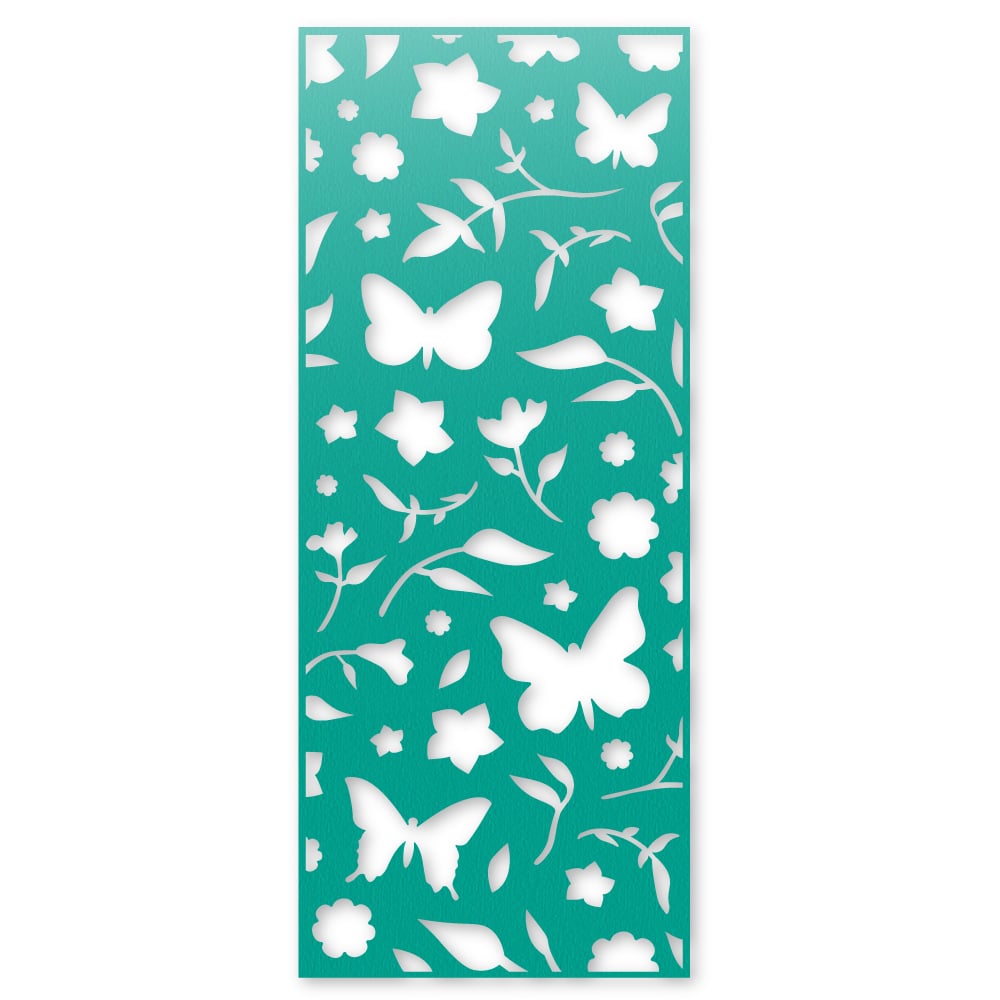 Slimline Spring Floral Decorative Die Shop at: Scrapbookcom |
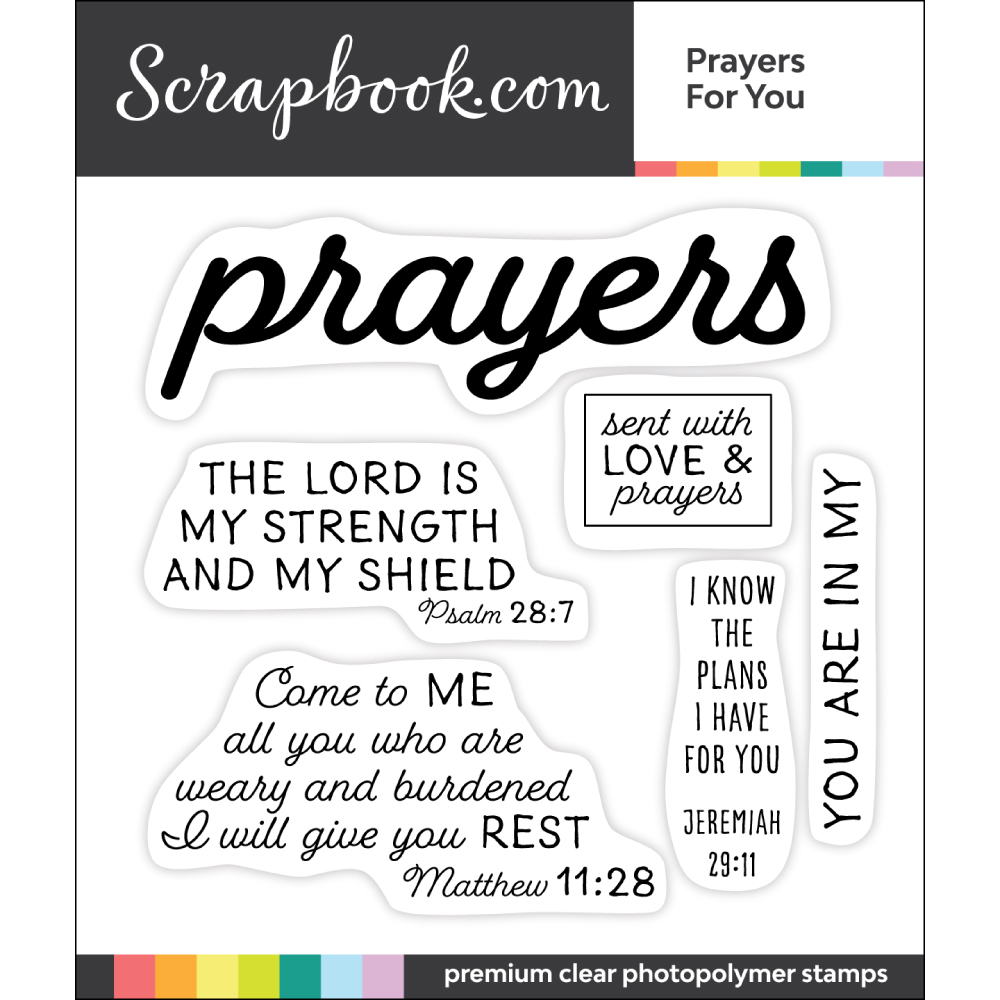 Prayers For You Stamp Set Shop at: Scrapbookcom |
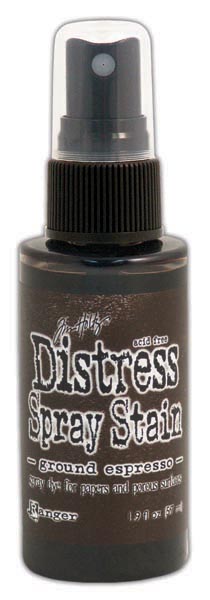 Ranger Ink Ground Espresso Distress Spray Stain Shop at: Scrapbookcom |
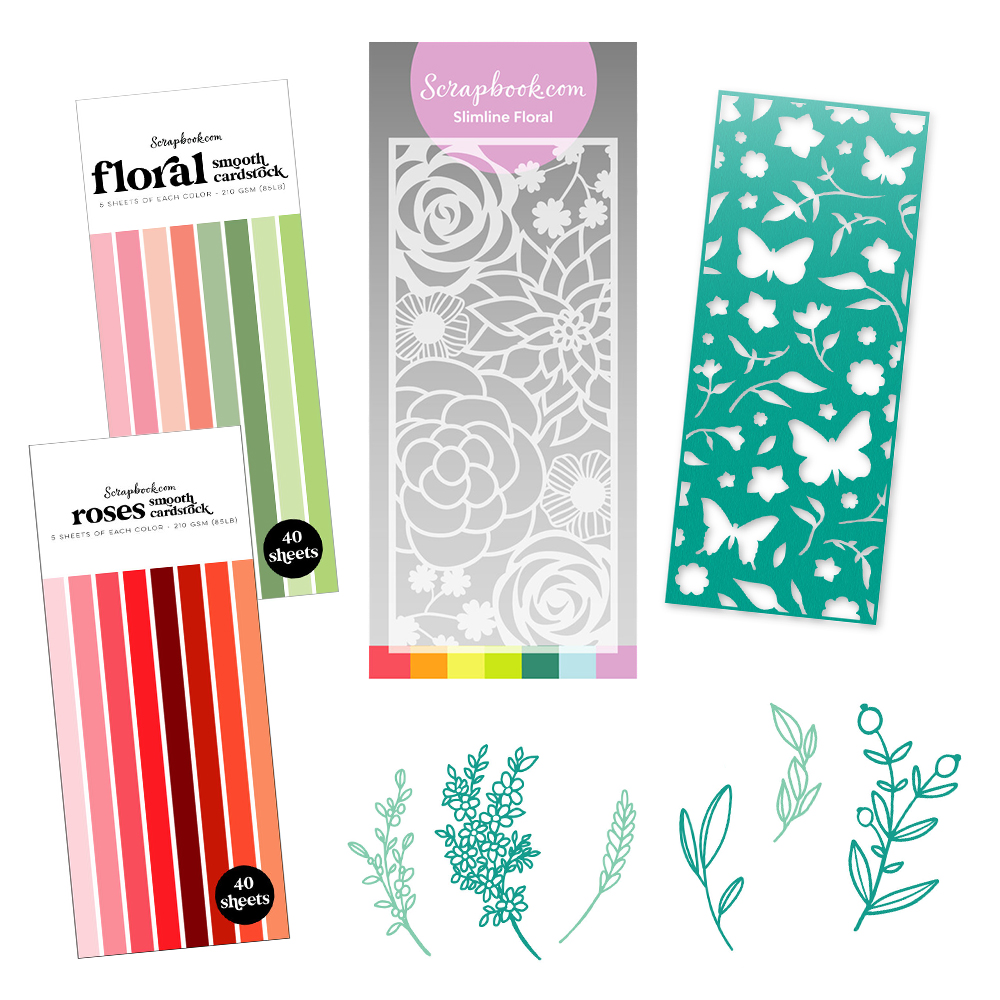 Bloom Bundle Shop at: Scrapbookcom |
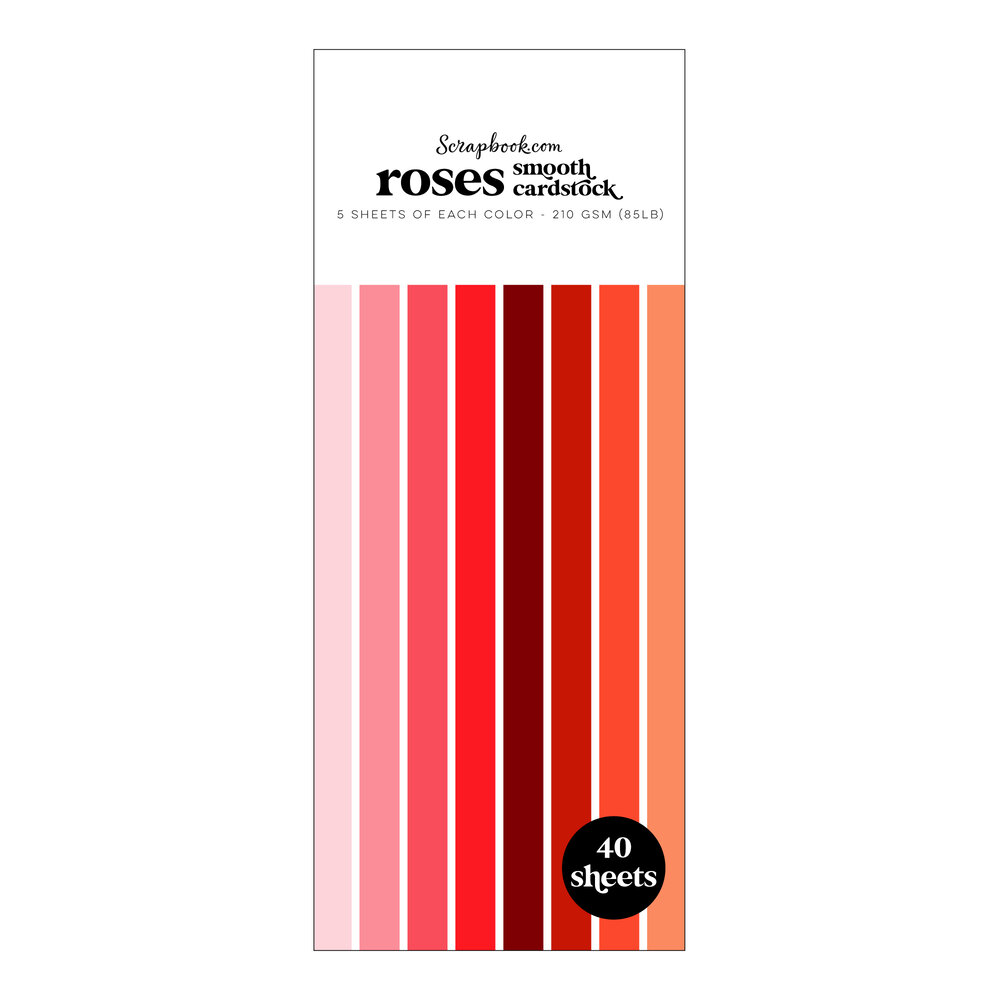 Slimline Cardstock - Roses Shop at: Scrapbookcom |
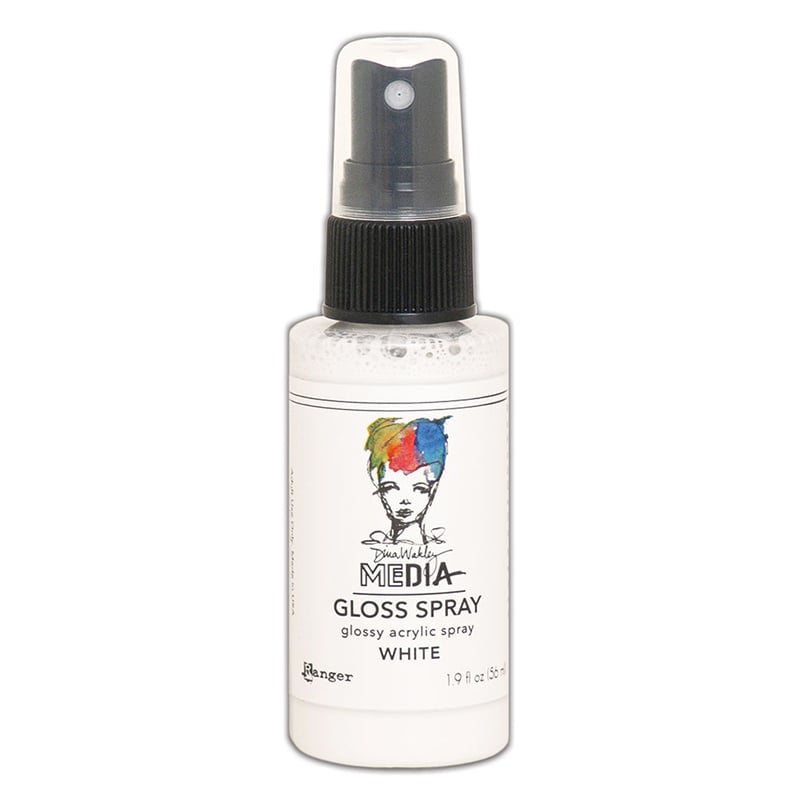 Ranger Gloss Spray - White Shop at: Scrapbookcom |
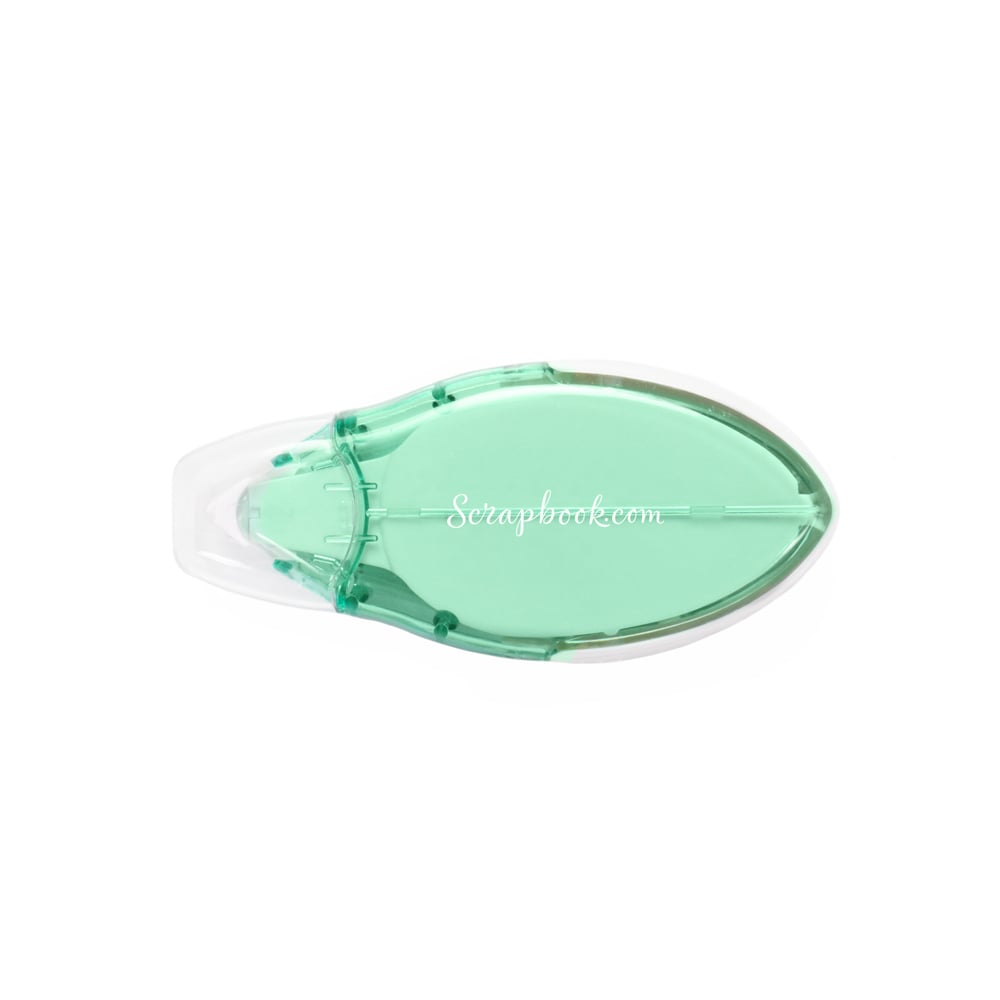 Refillable Permanent Adhesive Runner - 49 feet Shop at: Scrapbookcom |
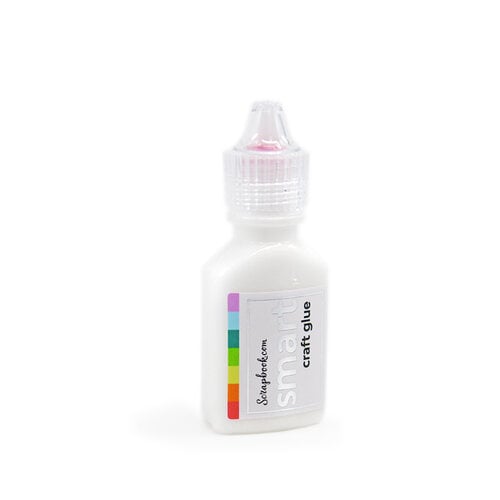 Smart Glue Shop at: Scrapbookcom |
 28 Lilac Lane Sequins Shop at: Scrapbookcom |
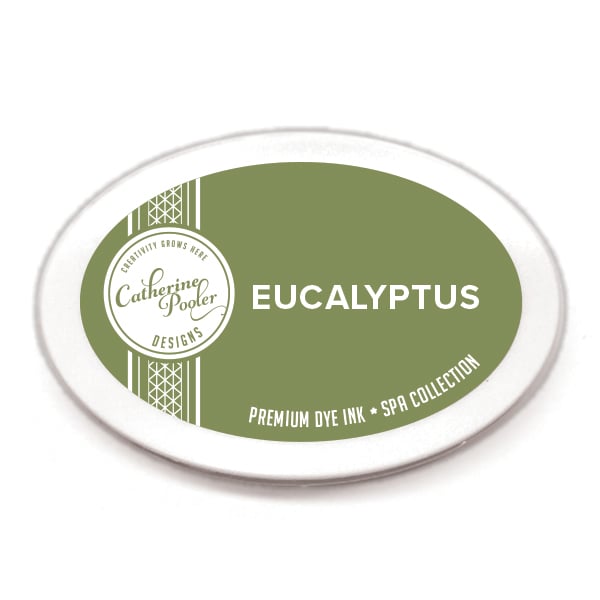 Catherine Pooler Ink - Eucalyptus Shop at: Scrapbookcom |
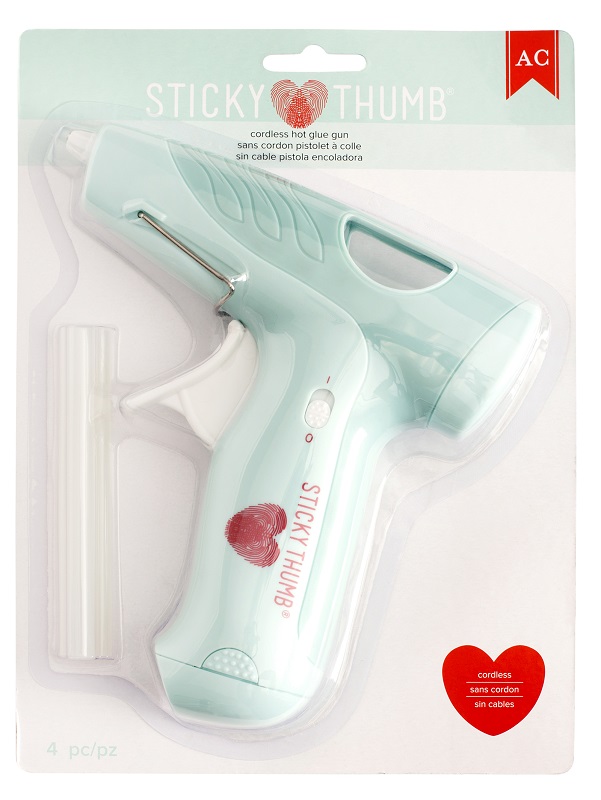 AC Craft Cordless Hot Glue Gun Shop at: Scrapbookcom |
 Double Sided Adhesive Foam Tape - 32 feet Shop at: Scrapbookcom |
#wavingmywand #scrapbookcom #slimline #cards #spring #summer #fall #garden #floral #inkblending #stenciling #stencils #catherinepooler #catherinepoolerink #catherinepoolerdesigns #techniques #papercrafts #DIY #cardmaking #rangerink #spellbinders #hifall #flowergarden


 :)
:)
 :(
:(
 :))
:))
 :((
:((
 =))
=))
 =D>
=D>
 :D
:D
 :P
:P
 :-O
:-O
 :-?
:-?
 :-SS
:-SS
 :-f
:-f
 d(
d(
 :-*
:-*
 b-(
b-(
 h-(
h-(
 g-)
g-)
 5-p
5-p
 y-)
y-)
 c-)
c-)
 s-)
s-)
 d-)
d-)
 w-)
w-)
 :-h
:-h
 :X
:X
No comments:
Post a Comment
(Ignore the robot caption feature and just click submit for your comments. It's a blogger glitch) I appreciate each and every comment. Thank you so much!