Showing posts with label homemade. Show all posts

Saturday, September 8, 2018

Decorative Gift Bag Plus Recipe

Here's a little sneak peek of my project that's up on the Scrapbook Adhesives by 3L blog today.  Did you know it's National Date Nut Bread day?  Yup, it's a thing.  Who knew?  I not only made several loaves of date nut bread but I made decorative gift bags to make special gifts!  My brother-in-law's birthday was last week and one of these loaves went to him in this festive bag, along with some coffee.  Because coffee and treats go together, right?  I'll have a full product list at the end of this post but first, scroll down for the recipe.


(FTC Disclosure: as an affiliate for various companies in the craft industry, I will receive a small commission for purchases made through my convenient affiliate links.  This does not affect your purchase price.)


I thought I would share my recipe.  It's surprisingly easy to make and has a special ingredient that you would NEVER guess.... instant coffee!  Yup, I keep Folger's instant decaf on hand, those individual serving packets that come in a box.  They're less than $2 a box and come in handy for baking and late night coffee drinking too.  Here's the thing.  You can't taste the coffee in the mix.  At all.  So why add it?  Typically, a date nut loaf comes out looking yellowish inside.  You could add a variety of spices, such as cinnamon, allspice, nutmeg, etc., and get a darker appearance (and spiced flavor) but my husband really doesn't care for spices.  

The instant coffee simply makes the bread look darker and for some reason, dark sweet breads tend to be more appealing than lighter sweet breads.  It's all in preference, really.  The taste and color of this loaf bread is more like a banana nut bread.  I cannot begin to tell you how good this stuff is!  And, healthy!  

Here's another tip - roast or toast your pecans first.  I toasted mine on the stove the night before, with a little salt and butter.  It just brings out that nutty flavor and I can promise that you will taste the difference.  It gives this loaf the perfect combination of salty and sweet.  You can thank me later!  
Don't forget to stop by the Scrapbook Adhesives by 3L blog to check out the full project.


Date Nut Bread Recipe
(makes 2 large loaves - half recipe for one loaf)

1 1/2 c. chopped dates                                     3/4 c. coarsely chopped pecans
1 1/2 c. hot water                                             1 1/2 tsp baking soda
4 Tbsp. butter, softened                                   1 1/2 tsp salt
2 1/4 c. all purpose flour                                  2 large eggs, lightly beaten
1 1/2 c. sugar                                                    1 1/2 tsp. vanilla extract
1 to 1 1/2 tsp. instant coffee *optional             Confectioner's sugar *optional

Directions

1.  In large bowl, combine dates, water, butter and coffee.  Let soak for 10 minutes.  In another large bowl, combine flour, sugar, pecans, baking soda and salt.  
2.  In a medium bowl, combine eggs and vanilla.  Add date mixture and stir.  Stir into dry ingredients just until moistened.
3.  Pour into two greased 9 x 5 inch loaf pans.  Bake at 375 degrees for 45-50 minutes or until a toothpick comes out clean.  (For mini loaf pans, pour into 4-5 pans, baking at 375 degrees for 25-30 minutes.)   Cool completely on wire racks before removing from pan.  If you like, sprinkle with confectioner's sugar using a sifter, once cooled.

*Tip - Loaves will easily come out of the pan if you grease lightly with oil, then sprinkle with flour (tip pan to coat all sides with flour, then tap off excess) and allow to completely cool.  Enjoy!


SUPPLIES:


I’m listing the products I used throughout this post. Click on the link to go directly to the product. Where available I use compensated affiliate links which means if you make a purchase I receive a small commission at no extra cost to you. Thank you so much for your support!


Misti Original
Misti Original
Shop at:
Scrapbookcom
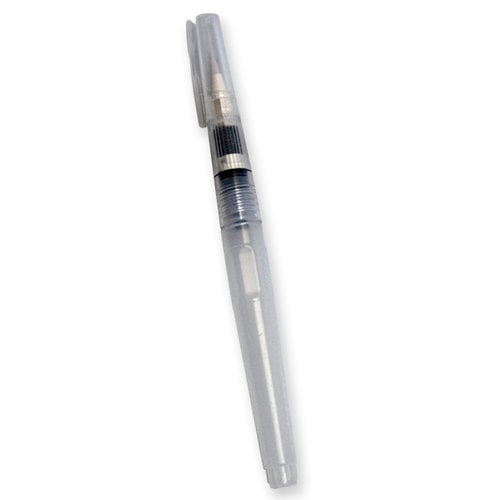
Ranger Tim Holtz Detail NIB Water Brush
Shop at:
Scrapbookcom
Ranger Ink Distress Oxide Vintage Photo
Shop at:
Scrapbookcom
Ranger Ink Distress Oxides Spiced Marmalade
Shop at:
Scrapbookcom
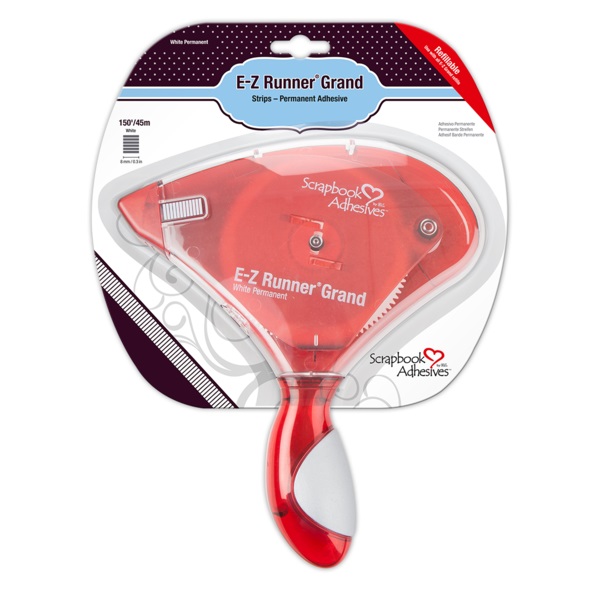
Scrapbook Adhesives by 3L EZ Grand Runner
Shop at:
Scrapbookcom
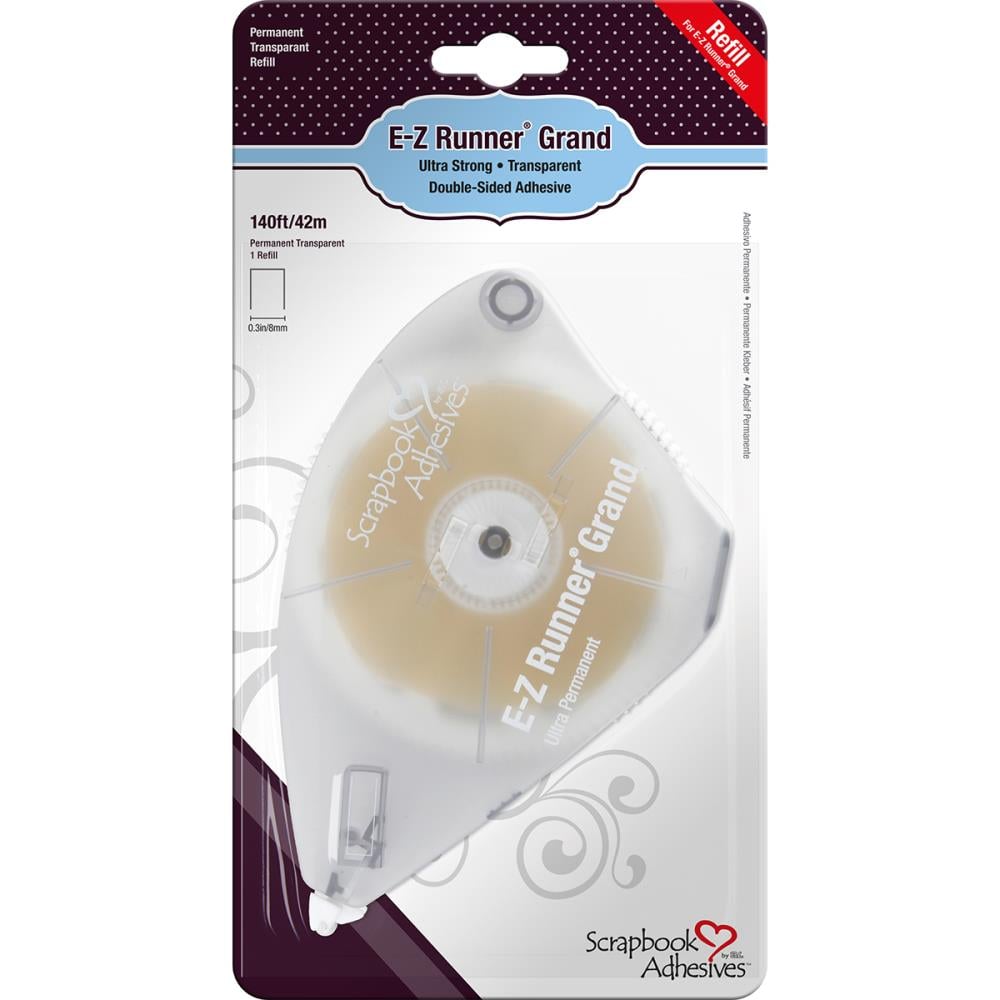
Scrapbook Adhesives by 3L EZ Runner Grand Refill
Shop at:
Scrapbookcom
Paper House Productions Delish Paper Kit
Shop at:
Scrapbookcom | Paper House Productions
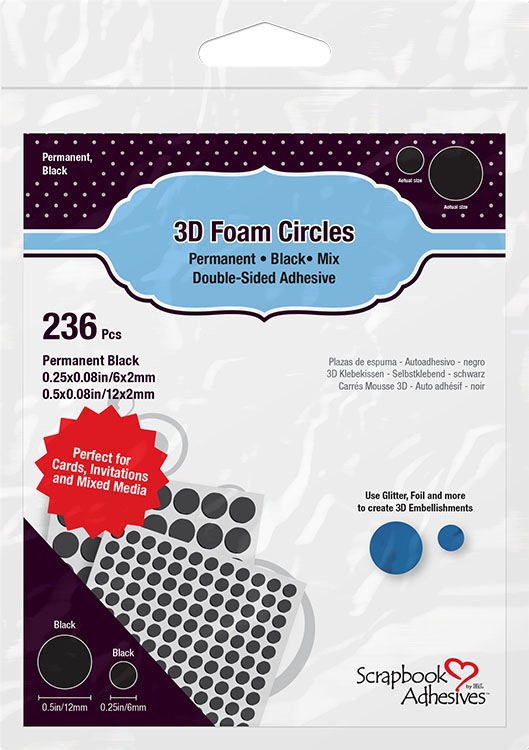
Scrapbook Adhesives by 3L Foam Circles Mix Black
Shop at:
Scrapbookcom
Exclusive Scrapbookcom Life Handmade Sentiment 1
Shop at:
Scrapbookcom
(Extreme Tape 1/2" where available)


#scrapbookadhesivesby3L #wavingmywand #decorativegiftbag #seasonal #autumn #giftbag #partydecor #partyfavors #kraft #treatbag #nationaldatenutbreadday #datenutbreadday #baking #recipe #wavingmywand #terriburson #scrapbookcom #lifehandmade #homemade #ezgrandrunner #extremetape #3Dfoamcircles #Misti #rangerink #distressoxide #oxides #oxideink #spicedmarmalade #vintagephoto #paperhouseproductions #delish #kit #diecuts #timholtz #waterbrush #stitcheddies #ribbon #hobbylobby #mayartsribbon #burlapstring #DIY #papercrafts #handmadegifts #homemade #printablerecipe #datenutbread


Sunday, March 5, 2017

Reveal Day With My Creative Scrapbook

It's reveal day at My Creative Scrapbook.  I'm thrilled to be Guest Designing this month, featuring their main kit of the month, chock full of Pebbles Inc Simple Life products designed by Jen Hadfield.  I'll be featuring cards, all month, using the My Creative Scrapbook March Main Kit of the Month, pictured below. 

For my first project, I thought it would be fun to create a scene straight out of a fancy tea room.  Here in the South, you are bound to discover quaint, fancy restaurants that are birthed from old heritage houses, many of which are now easily found in any business district.  One of my favorites is the Blue Willow Inn in Social Circle, GA.  You can also find this scene below in many Southern Bridal teas across the South, as well.  I must admit, I was thinking of my niece Savannah's bridal tea last year while I was creating this card, as well.
  
(A7 Sized Card)


My card features stickers, die cuts, scrapbook paper and lace ribbon included in the kit.


Isn't that die cut coffee cup simply darling with flowers peeking out?  Both are separate die cuts that I adhered together.  All my adhesives are from Scrapbook Adhesives by 3L.


Included in the March Main Kit are: 

Pebbles Inc- Jen Hadfield Simple Life Collection
patterned paper, ephemera, foil phrases, puffy stickers, phrase and accent stickers Heidi Swapp- Stamp and Stencil Pink Paislee- Memorandum Letter Stickers Ribbon and Lace

This kit supplies enough product to make numerous layouts and have enough left to make some amazing cards as well.  So much value for your money!  


We're accepting new members now!  Take a look at the various membership kits as there are several different types of kits and join today!


We also invite you to join the sketch challenge that is currently in progress.  There's one week left so you still have time to join the current challenge.  Of course, there's a prize up for grabs, too.


Thanks so much for stopping by today and thanks to MCS for having me join the team this month!

Terri


#mycreativescrapbook #kitclub #pebbles #pebblesinc #simplelife #jenhadfield #heidiswapp #pinkpaislee #mainkit #MCSmainkit #wavingmywand #terriburson #woodgrain #coffee #tea #thankyou #sketch #grateful #hello #love #sstamp #stencil #stickers #diecut #ephemera #flowers #bouquet #scrapbook #card #craft #DIY #homemade #handmade

Wednesday, July 1, 2015

Get Well Card With Watercolored Faux Die Cut

 I shared this handmade image the other day, making it for a special friend who was in the hospital.  Today, I put it together for this lovely get well card.    I think it's so bright and cheery and would make anyone's day, don't you?  I hope my friend loves it.  I call it a faux die cut.  It's not really a die cut, but it looks like one, right?  No fancy machine required, just the hands that God gave me.  ;)


 You can read all about how I made this watercolored image with my Tombow Dual Brush pens here, and how you can make one too:  http://wavingmywand.blogspot.com/2015/06/create-your-own-watercolor-die-cut.html


To put this together, I used an A2 Core'dinations card from the Bright collection and added a sheet of glitter mesh that I picked up at the Scrapbook Expo last year.  I made some leaves out of May Arts Ribbon white silky crushed ribbon and inked it green with my Quick Quotes Powder Puff chalk ink in Limeade.  Next, I added some orange striped May Arts Ribbon and some Skittles embellishments which are not yet released, but you get a sneak peek today!  This is all held together with Tombow Power Bond adhesive runner and foam squares. 


Hope you're on the mend Deb.  This card is for you!


I plan on entering this card into several challenges:


Disclosure: This post may contain affiliate links so, if you purchase a product using the link I may receive a commission. I only participate in the affiliate programs linked above because they are products that I use and love. Your purchase price is not affected in any way, by using my links.  Thank you for your support and helping me keep my content free!