Showing posts with label mftstamps. Show all posts

Tuesday, January 8, 2019

National Bubble Bath Day

Hey crafty friends.  Yes indeed, National Bubble Bath Day is a thing!  Who knew?  I had an idea to make easy bubble bath, Unicorn style!  Perfect for getting fussy kids into the bathtub.   Hop on over to the Scrapbook Adhesives by 3L blog for all the details, including that awesome bubbly label below, featuring the MFT Stamps set, Magical Unicorns.  


(FTC Disclosure: as an affiliate for various companies in the craft industry, I will receive a small commission for purchases made through my convenient affiliate links.  This does not affect your purchase price.)


If you popped over here from the Scrapbook Adhesives blog, I promised to share information on the font that I used for my label.  The name of the font is "Fantastic" and is part of a free font bundle available at The Hungry JPEG.  You'll need a program to unzip the file.  You can find many free programs online for this.  If you are not familiar with how to install the free font, once you've unzipped it and downloaded to your computer, there are instructions in the free bundle folder on how to do this.  I chose the Fantastic font as it closely resembled the style of pottery artist, Rae Dunn.  Once I installed my font, I simply created a word document, typed the text, "Unicorn Bubbles" using my font, then printed on Neenah Solar White cardstock.  I allowed enough room on my cardstock so I could stamp the unicorn, do some coloring and create the label with nesting dies.  I hope that answers your questions about the font!


I hope you find a little time to relax and do a little soaking today!  Thanks for popping in.  Be sure and head on over to the Scrapbook Adhesives by 3L blog.  You'll find convenient affiliate shopping links below, for many of the products that I've used today.  Have a great day!  

Terri


(Please note, the nesting dies that I used are not listed below.  You can find the Echo Park dies, here.)


SUPPLIES:

I’m listing the products I used throughout this post. Click on the link to go directly to the product. Where available I use compensated affiliate links which means if you make a purchase I receive a small commission at no extra cost to you. Thank you so much for your support!

""
Mini Misti
Mini Misti
Shop at:
Scrapbook.com | Simon Says Stamp
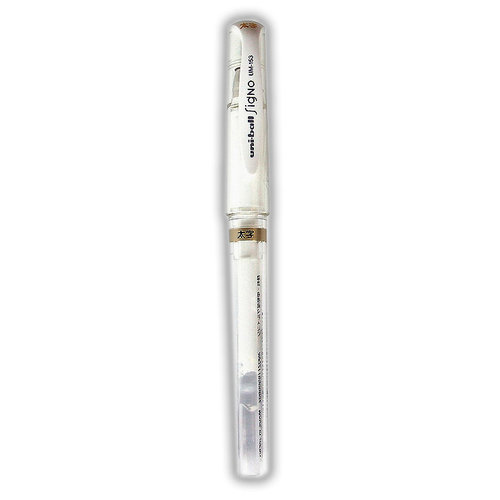
Signo White Uni-ball gel pen
Shop at:
Scrapbook.com | Simon Says Stamp
Hero Arts Clear Embossing Powder
Shop at:
Scrapbook.com | Simon Says Stamp
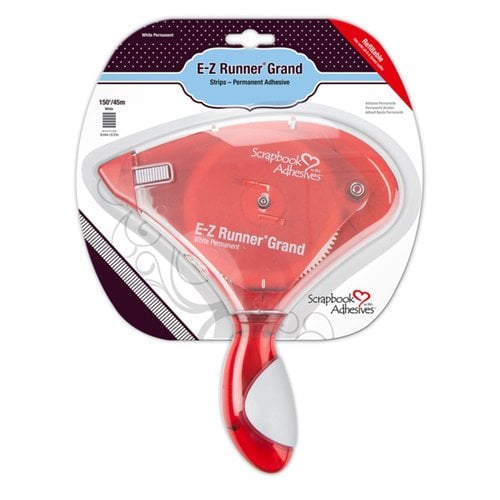
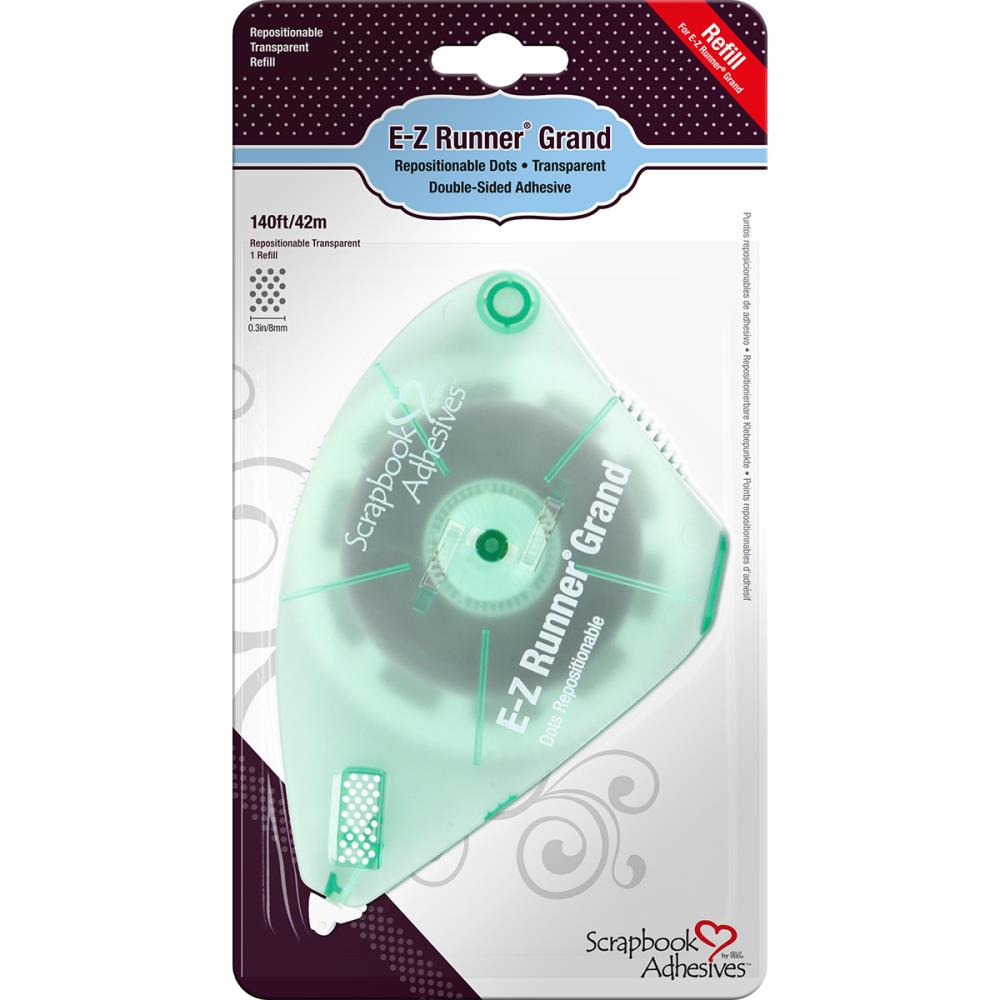
Scrapbook Adhesives by 3L EZ Grand Runner
Shop at:
Scrapbook.com | Simon Says Stamp
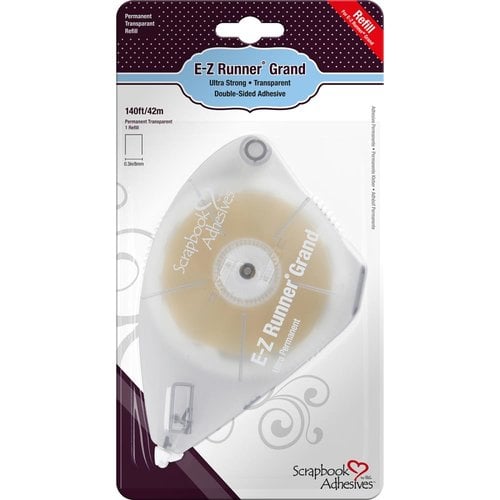
Scrapbook Adhesives by 3L EZ Grand Ultra Refill - Clear
Shop at:
Scrapbook.com | Simon Says Stamp
Spellbinders Platinum 6 Die Cutting/Emboss Machine
Shop at:
Scrapbook.com | Simon Says Stamp
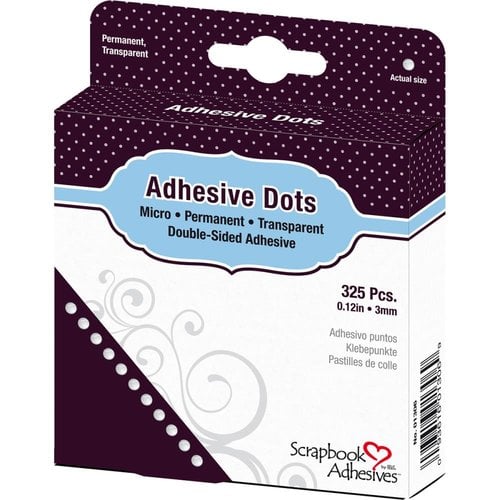
Scrapbook Adhesives by 3L Micro Dots
Shop at:
Scrapbook.com
Uniball Signo White Gel Pen 1 mm
Shop at:
Scrapbook.com | Simon Says Stamp
Neenah Solar White Cardstock 25 pk - 8.5x11 inch
Shop at:
Scrapbook.com
Lawn Fawn Black Licorice 8.5x11 in 100 lb cardstock
Shop at:
Scrapbook.com | Simon Says Stamp
Scrapbook Adhesives by 3L EZ Grand Repositionable Tape
Shop at:
Scrapbook.com
Neenah Solar White 80 lb Cardstock
Shop at:
Simon Says Stamp
Colorbox Wicked Black Dye Ink Pad
Shop at:
Scrapbook.com | Simon Says Stamp
Brutus Monroe Alabaster Super Fine Embossing Powder
Shop at:
Simon Says Stamp
My Favorite Things Magical Unicorns Stamps
Shop at:
Simon Says Stamp
Copic Sketch Marker C1 Cool Gray / Grey
Shop at:
Crackerbox & Suzy | Simon Says Stamp
Copic Sketch Marker C3 Cool Gray / Grey
Shop at:
Crackerbox & Suzy | Simon Says Stamp
Copic Sketch Marker BG10 Cool Shadow
Shop at:
Crackerbox & Suzy | Simon Says Stamp
Copic Sketch Marker BG13 Mint Green
Shop at:
Crackerbox & Suzy | Simon Says Stamp
Copic Sketch Marker R20 Blush
Shop at:
Crackerbox & Suzy | Simon Says Stamp
Copic Sketch Marker V12 Pale Lilac
Shop at:
Crackerbox & Suzy | Simon Says Stamp

Nuvo - Arabian Nights Collection - Pure Sheen Glitter - Desert Sunset
Shop at:
Scrapbook.com | Simon Says Stamp


#scrapbookadhesivesby3L #wavingmywand #scrapbookcom #coloring #adhesive #DIY #papercrafts #nationalbubblebathday #glitter #Misti #stamping #simonsaysstamp #colorbox #handmade #adhesivedots #signo #Colorbox #clearsnap #terriburson #EZgrandrunner #bubblebath #crayola #fingerpaint #softsoap #mftstamps #myfavoritethings #magicalunicorns #embossing #copic #copicmarkers #crackerboxandsuzystamps #neenah #lawnfawn #spellbinders #echoparkpaper #nestingdies #Nuvo #font #fantastic #thehungryjpeg

Monday, July 20, 2015

May Arts Ribbon Round 2 Design Team Finalist Submission

Here's my round two creation, as finalist for the May Arts Ribbon Design Team 2015-2016
I've created "Floating Lotus Flower Ribbon Lights".    
I have an inexpensive planner and right away, started jotting down ideas.  I came up with about 10 different project ideas.  What stuck in my head was doing a floating project.  A floating lotus made out of ribbon.  And, maybe a light in the middle?  How about a ribbon flower wrapped around the light?  So, that's how my idea took form and here's how I implemented it.  


I googled lotus flowers and was inspired by the photo below and this article from Liz Larson, a student at North Dakota State University.  Lotus Flower Article.  Did you know the lotus flower only blooms in pink or white and is often mistaken for the Water Lily, which blooms in many colors?  There's your fun fact of the day. 


As you can see, I chose to make one white and one pink.  


The ribbons that I'm featuring today are:


My tutorial will include instructions for making two of the floating lights.  

Below are the supplies needed for the Float, Lily Pad, and Lotus Flowers.  Actually, the lily pad was a last minute add on.  After looking at all those googled flowers, I couldn't imagine making a floating Lotus without a Lily Pad.  Bonus!  I hope you'll be patient with me as I break this tutorial down into sections, starting with the float.

For the float you will need:

- Two 5" Circular Craft Foam  (available as a 2-pk at Dollar Tree)
-Two battery operated tea light candles (available as a 4-pk at the Dollar Tree)
-Ruler
-Marker
-Large knife

To begin, measure and trace a 2.5" square in the center of your craft foam and trim edges 
off with a knife. 


Well, that was easy!  Now, let's create the Lily Pad.  You will need:

- One 8.5"x11" sheet of vellum paper
-Clear Glue
- Extra Fine Glitter
-Paint or Ink/Mister
-Scissors
-small paintbrush
-heat embossing tool (optional)
-hot glue gun

To begin, if you have May Arts Ribbon spools this is going to be super easy.  Just trace your circle with the lid of your spool onto your vellum!  Or you can use a die-cutting machine such as a Cricut or Silhouette and cut a 4" circle, or go old school and measure and hand cut.


(Originally, I trimmed a center circle to place the lily pad over my tealight, however I didn't like the height of the lily pad so just ignore those inner trimmed circles.  That step will not be necessary.)

Paint your vellum circle with green paint.  I chose Spellbinders Silk Luster in Luscious Lime which comes with it's own brush attached.  

The vellum will curl, so you may need to use something to hold it down while you paint.  I often turn to my Cricut tools for this but the point of your scissors would work, as well.

Allow to dry or use a heat tool for a minute or less to dry the paint. 

Next, cover your painted vellum circle with clear glue.  I love Tombow Mono Aqua glue because it has a fine tip on one end, and a wide tip on the other end.  The wide tip is perfect for large coverage.


Sprinkle with glitter while still wet.


Allow to dry overnight or for several hours.
Re-shape as desired, then apply to craft foam with hot glue gun.

See the lighter circle?  I thought I'd try one without the paint.  Which led me to believe, YES, it needs paint!  Sometimes it helps to see what works and what doesn't, don't you think?  Crafting is not a perfect science and it just might save you the heartache of skipping out on the paint.


I decided that I wanted a yellow bud in the center, as many of the white lotus flowers have a yellow center.   I chose to make a rolled, quilled ribbon flower.   

You will need:

- Four 3" long trimmed strips of yellow KA27
-Two 3" squares of  Heat n Bond (found in Walmart and Craft stores)
- fine tipped Scissors
-Quilling Tool
-Rolled Flower Die
-Die cutting machine (I used my Cuttlebug)
-Iron
-Heat embossing tool


First, if using wired ribbon, remove the wires.  Trim one edge only from each strip.  Overlap two of the ribbons approximately 1/4" in the center with
your trimmed edges in the center. 

Repeat for the second bud.


Add your heat n bond, glossy side down and iron for 8 seconds or so.  Don't hold too long or you risk burning your ribbon.  This step is necessary to provide a cleaner, crisper die cut. 

Peel off your backing.


Place your ribbon and die through your die cut machine.  In this case, I used my Cuttlebug.
I ran this through several passes to make sure it was cut well.  Even so, a few strands may need to be hand trimmed with fine tipped scissors. 


Use your quilling tool to roll your ribbon flower.  

*There is a slight learning curve if you've never quilled before.  You can find the tool in most craft stores for under $3.00.  You can also find videos on YouTube.  As a special treat, I've made a video for you today, showing you how to roll this flower.  I must warn you; I don't do videos as you will soon see.  In fact, I had my husband hold the camera so I could use two hands.  Maybe this is just the impetus I need to start doing videos?  I highly doubt it.  But, one never knows.... so here's my ah, hem.... video.  Laugh, if you will.  I can take it.  I do hope it's easy enough to help the newbie out.


Terri's Quilled Flower video


If you'd like something a little more "professional", then check out this under 2 minutes video from Judy Morrow and My Favorite Things, makers of the rolled scallop die that I used for this bud:

Allow your flower to slightly unravel.

You will need to slightly heat set the quilled flower so that it maintains it's shape and fits properly over the tea light.  Turn the flower upside down and heat for just a few seconds.  Allow to cool for a few minutes before proceeding.  You may need to insert a pencil up through the bud to open enough to fit over the light.

It's also removeable, should you need to replace the tea light.


Let's wrap this up with instructions for the lotus flower.  We're getting there, yay!


You will need:
-40 2.5" leaf petals made with JC01 and JC17 (20 pink and 20 white)
 -Heat n Bond (optional if using Cricut/Silhouette)
-Iron
-Spray Starch
-Wax paper
-Hot Glue Gun
-scissors
*optional- decorative string or ribbon around base of flower

However you choose to cut your lotus petals, you will need 12 - 2"x11" strips of ribbon to make 2 lotus flowers, if using a die cutting machine.  You will need to iron on strips of heat n bond, just as you did for the bud above.


I used this Cricut Explore Design Space file to cut my leaf petals.  It was created with free basic shapes so you are welcome to use if you are an Explore owner.  Simply click the link and log on to Design Space, then save the file:


You'll need to turn your leaf petals sideways to cut horizontally on the ribbon.

  Once leaves are cut, spread out on wax paper and spray both sides with spray starch.  I read online that this was a good way to stiffen ribbon or fabric.  Blot excess spray from the wax paper.  Cover with another layer of wax paper, press down and allow to dry overnight.   


Did it stiffen to the degree that I expected?  I'd like to say yes, but I have to say no.  It was not as stiff as I would like.  However, it was workable.  


Now, divide your leaf petals in groups:
6, 6 and 8 per float


To better stabilize the petals, trim the bottom so the edge is flat. 

Stack 6 petals and trim 3/4" off the bottom. 


Place your tea light in the center, as a guide for gluing your petals around it. 
Hot glue around the base, taking care to not glue the tealight itself.  Slighty overlap each leaf petal and tack with extra glue as needed to stabilize in an upright position. 


Next, lay 6 petals flat around the base of the inner flowers, as pictured above, evenly spaced and hot glued to the lily pad.


Finally, add the outer layer of petal leaves. 
For these 8 petals, only trim 1/2" flat from the base.  Begin gluing, alternatively spacing around the inner lotus petals, tacking as needed to maintain an upright position. 


I added some mini pom poms ribbon in white around my white flower,  If you have excess hot glue that you'd like to cover up, this is an option.


I know this was lengthy and I appreciate your patience.  I wanted to cover all my bases and I hope I did so.  Thanks so much for allowing me to share this with you today.  These photos were taken at my brother's house where he has a very nice swimming pool which was the perfect backdrop for my photos.  Yes, I just "hated" that I had to go swimming today... haha.  Did I mention that it's mighty humid in Alabama?  As evidenced by my pink lotus..... it wanted to wilt just a bit in this humidity.  The white lotus held up nicely though.  Like I said.... crafting is not a perfect science..... but it sure is fun!


#cre8time #mayartsribbon #ribbon #flower #lotus #lilypad #crafting


Friday, June 5, 2015

Coffee Lovers Blog Hop time! Mug shaped card with Fused gift card pocket!

It's that time again.  Time for the Coffee Lover's Cardmaking Blog Hop.  The theme this time is SUMMER and I've got the perfect "blend" for my creation.  Frappuccino, anyone?  Yes, please!


For my project, I've made a fun, Splashin' Mug shaped card using my Eileen Hull Sizzix Mug die, Fancy Pants Designs papers and elements from the Nautical collection, Skittles from Doubleclick Connection and my We R Memory Keepers Fuse.  (I do have some affiliate links below, so if you should decide to shop, I do appreciate it.  Doing so, allows me to offer the occasional prize on my blog!)


(Pssst.... the Sizzix Mug & Spoon Die is on sale!!)

Sizzix - Vintage Kitchen Collection - Bigz Die - Mug and Spoon - $15.99
from: Scrapbook.com

I cut 3 of the mug shapes and created a gift card pocket with my We R Memory Keepers - Photo Sleeve Fuse (from: Scrapbook.com) leaving an open slit at the top to insert a gift card, which is sandwiched between the card front and a blank mug shape (to hide all the adhesive).  The whipped cream on the cup?  It's from a snow marker I snagged after Christmas on clearance.  It's not just for snow!

BONUS TIP!  Stack up to 4 sheets of card stock when die cutting in your Big Shot, Cuttlebug, etc.,  for making quick multiples!


To make the fun chat bubbles and foil sunglasses, I used My Favorite Things Photo Booth dies.  I ran some Tombow Power Bond adhesive over cardstock, laid a piece of foil on top, then ran both through my Cuttlebug.  Super easy!  All the word elements are Fancy Pants Design as well.


This fun card will fit inside a 6x6 envelope, dimensions here are approximately 5"w x 6"l.
It was a little top heavy with the gift card inside, but the pocket can be removed by gently prying off the blank inner panel.


Want to join the hop?  Here's the link to check out all the creations and link up your new creation as well.  Be sure you follow the rules.  The hop begins June 5th and ends June 12, 2015:


Shop Your Fav Brands at Scrapbook.com


I would love if you would like/follow me on:


Additional supplies: Paper Straws from Target Dollar Spot, Doubleclick Skittles in "Stream" color, The Paper Studio Foam squares, Marvy Snow Marker from Hobby Lobby


Disclosure: This post may contain affiliate links so, if you purchase a product using the link I may receive a commission. I only participate in the affiliate programs linked above because they are products that I use and love. Your purchase price is not affected in any way, by using my links.  Thank you for your support and helping me keep my content free!

#‎summerclh‬ #coffee #cre8time #sizzix #eileenhull #fancypantsdesign #fpd #skittles #doubleclick #fuse #wrmk #wermemorykeepers #wavingmywand #terriburson #summer #coffeecup #coffeemug