Showing posts with label coffee loving cardmakers. Show all posts

Saturday, November 8, 2025

Coffee Loving Papercrafters Hop feat Pajama Crafter Stamps

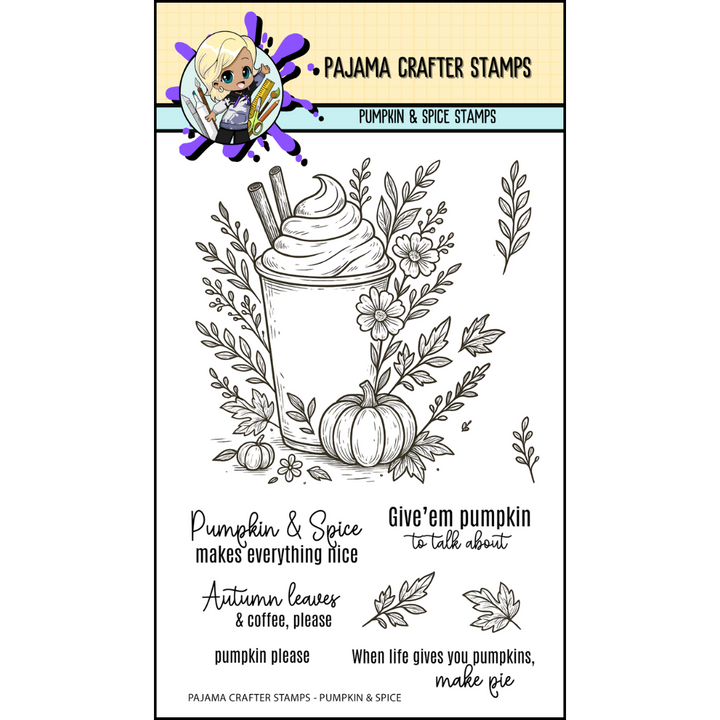
Hello lovelies. It's time for the Coffee Loving Paper Crafters Fall/Winter Blog Hop! 'Tis the season to link up your newly created card, be inspired and maybe even win a sponsored prize. Tap the link above and check out the rules. You have until Nov. 14th to link up. I'll have highlighted text throughout this post, if you'd like to tap for product details or wish to shop! Today's card features the Pajama Crafter Stamps Pumpkin & Spice stamp set, paired with OLO Marker coloring.


 (FTC Disclosure: as an affiliate for various companies in the craft industry, I will receive a small commission for purchases made through my convenient affiliate links, at no additional cost to you.)


I did a little Googling to find a color palette that might fit with some of the marker colors I had on hand and found this gorgeous assemblage of colors, which inspired my cardmaking today. I don't often work with pre-fabricated color palettes, but chose to do so today, for the fun of it!


I started by stamping my image using a hybrid ink from Scrapbookcom called Leather. It's one of my favorites for stamping in natural tones, and it works well with either alcohol markers or watercoloring.  They're having a sale right now and coupon code HOLIDAY will get you an additional 10% off your purchase through Sunday Nov. 9th. Check out the coupon section for add-on freebies!


These are the OLO Marker colors I used:

OR1.0, O4.6, Y2.2, OR4.2, YO2.5, YO2.3, YG8.5, 02.7, OR3.4, R0.6, OR2.5, OR1.6, YG8.7

After coloring my images, I masked an area around the whipped cream with mint tape and splattered on some Pops of Color liquid embellishment in Chocolate Kiss, diluted with a bit of water. Then, I went in and added extra dots from the bottle, onto my whipped cream.

Here's a bonus tip: To get your liquid embellishments flattened so it doesn't dry with a curl, take your embellished card panel, pick it up and slap it against a hard surface like your craft table. This will flatten your liquid embellishment drops. 


For my sentiment, I did some heat embossing using Wow Embossing Powder in Verdant which is a mix of gold and green colors. I also did some ink blending around my card panel using Catherine Pooler Ink in Icing On The Cake and Amber.

Lastly, the backing for my card panel was created using a dark solid green paper from my Market Bloom paper pad and Simon Hurley Bark 3D embossing folder, run through my Platinum 6 die cut system.

Thanks so much for stopping in. I adore this stamp set from Pajama Crafter Stamps and it comes with several different sentiments. I hope you'll join the hop, get to making!

Terri


#wavingmywand #coffeelovingpapercrafters #fallwinter2025clh #coffeelovingpapercrafters #coffeelovingcardmakers #pajamacrafterstamps #pumpkinspice #olomarker #stamping #catherinepoolerink #coffeelover #coffeecup


Friday, October 3, 2025

National Coffee Week at Coffee Loving Papercrafters

Hello friends, I'm guesting over at Coffee Loving Papercrafters today, in honor of National Coffee Week. Wahoo! I love nothing more than a good, caffeinated party! Be sure and head over there for all the fun festivities this past week and be sure and check out the sponsor industry hop over on Instagram. Today's card features a gorgeous new stamp set from Pajama Crafter Stamps called Pumpkin Spice and I absolutely love it!


 (FTC Disclosure: as an affiliate for various companies in the craft industry, I will receive a small commission for purchases made through my convenient affiliate links, at no additional cost to you.)


This release comes with the main image, 5 different sentiments and several additional leafy images. Let me say, when coloring coloring stamped images, I highly recommend you use a quality, smooth cardstock, such as Neenah Solar White Smooth or Ultra Smooth. At minimum, at least 80 -100 lb weight. Paper matters, trust me. I've seen so many novice cardmakers over the years post about not getting good results and ultimately, it boils down to quality paper and quality artist markers.


For my coloring, I used OLO Markers in these colors:

OR2.3 - Salmon
OR1.6 - Orangutan
OR7.4 - Milk Tea
YO2.7 - Sepia
O2.7 - Cinnamon
OR4.2 -  Pink Granite
YO2.5 - Yellow Ochre
YO2.3 - Butterscotch
YG8.5 - Moss


I stamped my image several times so I could do some hand trimming of my designs for paper piecing.  I trimmed all around the cup, using it as a template to trace onto the plaid which was then hand trimmed again. 

Next, I colored the large pumpkin, leaf and flower that juts up to the side of my cup, and hand trimmed them to adhere to my finished card panel at the end.


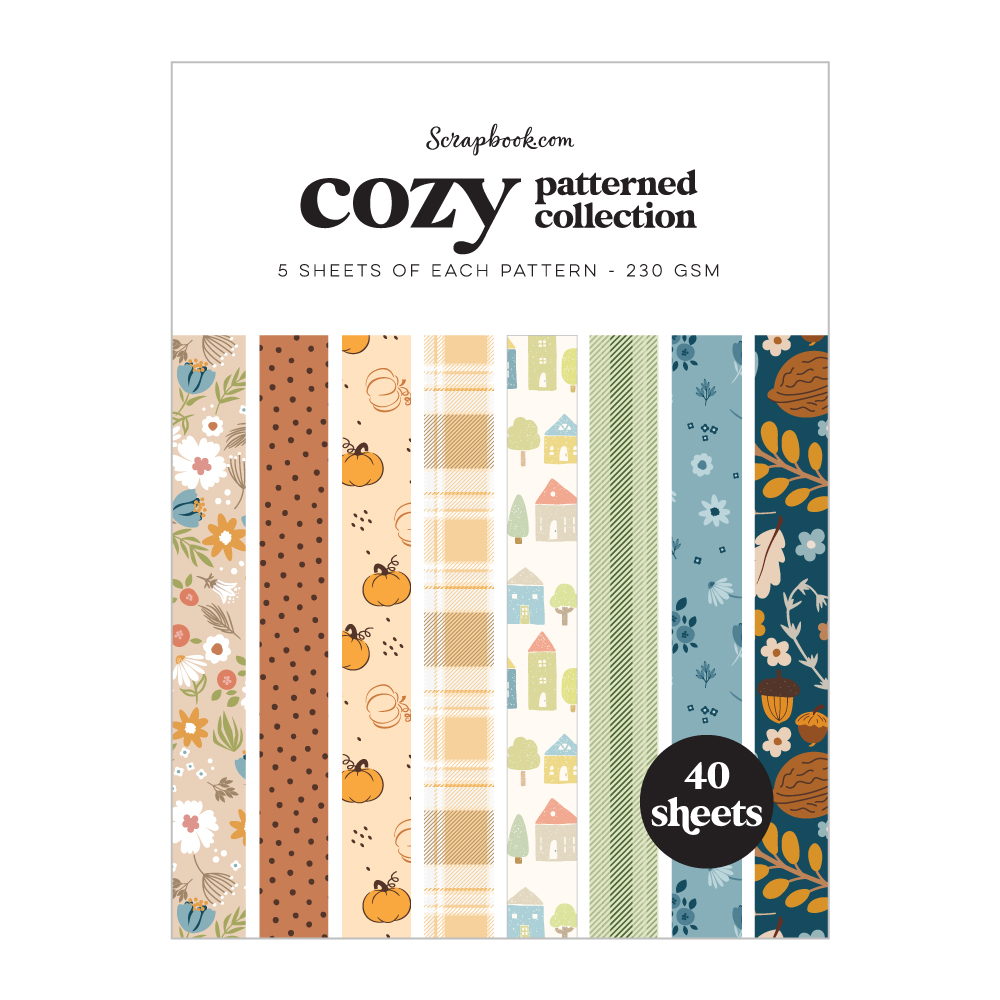
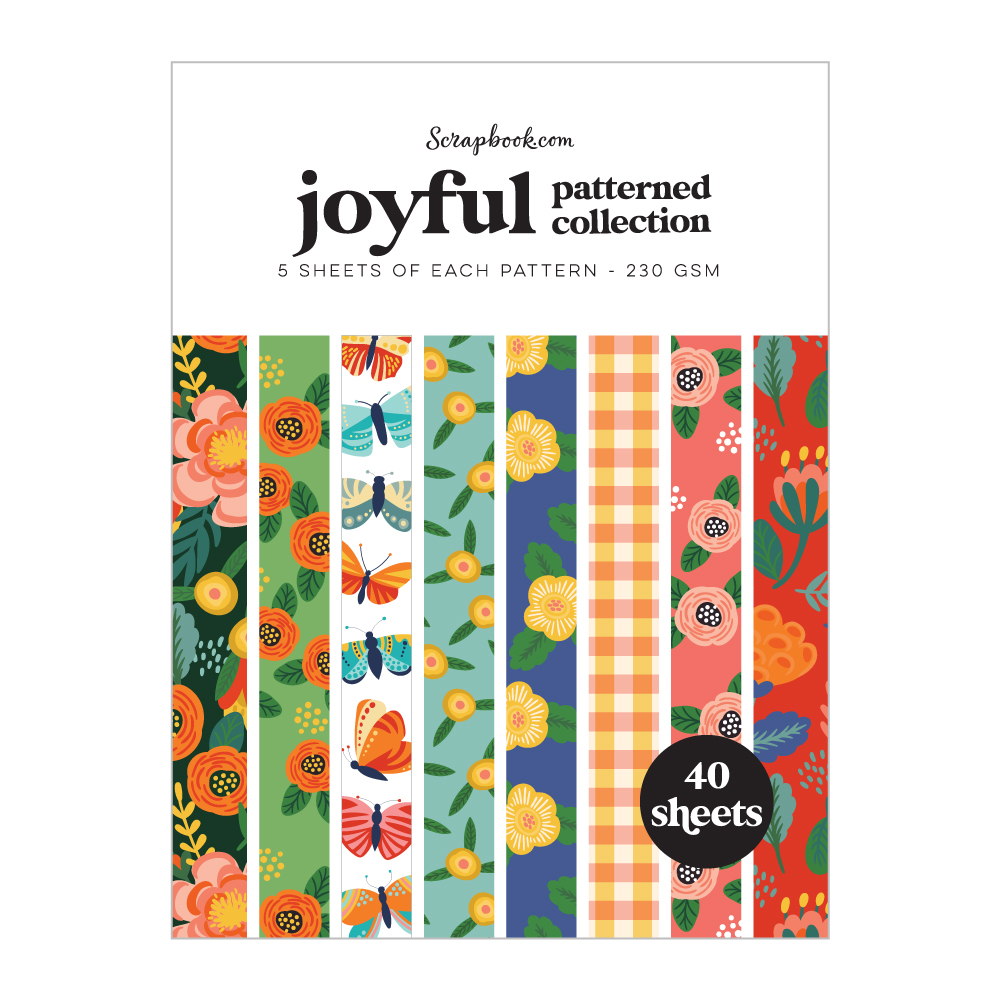
Now, it's time to assemble. I adhered my plaid paper cup to the image, colored all the remaining images, then adhered my extra pumpkin, leaf and flower. I love plaid so much. It's my absolute favorite paper and I use it a lot for Fall and Winter projects. All my papers are from Scrapbookcom paper pads. The plaid paper is from the Cozy patterned paper pad and the orange and brown paper is from the Joyful patterned paper pad. Both paper pads are double sided and have patterned and solid papers included.

To frame my card, I used the Nested Postage Stamp Polaroid Frame dies, also from Scrapbookcom. I used the largest one in the set, which works perfectly for A2 sized cards. I've had these dies in my stash for awhile, but never used them. I was so pleased with the results and how it complements my colorful image! I die cut twice with my Platinum 6 die cut machine - once with my colored image and once with the brown paper, then swapped out the center pieces. Easy peasy!


As you can see, I also trimmed a section of the plaid paper as a backing to my sentiment, then added some embellishment to my card using burlap string and a half pearl from a shaker mix, which were both adhered with a hot glue gun.

This is a vertical card that measures in at 4 x 5.50 inches which is just under A2 size. I did trim the side of my white card just a bit before assembling, to have all my trimmed papers and die cut frame appear equal in dimension. I typically eyeball everything as I'm working and measure later, 'cause that's how I roll, haha.

Thanks so much for popping in. If you'd like more product information or wish to add some of these yummy goodies to your stash, just tap any of the affiliate links below, provided at no additional cost to you. I hope you have a fantastic, creative weekend!

Terri

**********************************

Neenah Solar White Cardstock 8.5x11 inch - 25 pk
Shop at:
Scrapbookcom
Refillable Permanent Adhesive Runner - 49 feet
Shop at:
Scrapbookcom
Neenah Solar White Cardstock 80 lb, 50 pk
Shop at:
Scrapbookcom
Artis Craft Glue - Only at Scrapbookcom
Shop at:
Scrapbookcom
Exclusive Cozy Patterned Paper pad - 6x8 inch
Shop at:
Scrapbookcom
Joyful Patterned Paper - 6x8 inch - 40 sheets
Shop at:
Scrapbookcom
Tonic Studios Tim Holtz Comfort Trimmer 8.5 Inch
Shop at:
Scrapbookcom
Tim Holtz Non-Stick Serrated Scissors - 7 inch
Shop at:
Scrapbookcom
3 mm Adhesive Strips - 160 strips
Shop at:
Scrapbookcom
Exclusive Lilac Shimmer Platinum 6 Die Cut/Emboss Machine
Shop at:
Spellbinders
OLO Marker YO2.3 - Butterscotch
Shop at:
OLO Marker
OLO Marker YG8.5 - Moss
Shop at:
OLO Marker
OLO Marker OR7.4 - Milk Tea
Shop at:
OLO Marker
Gina K Designs Score Board
Shop at:
Scrapbookcom
OLO Marker - OR4.2 - Pink Granite
Shop at:
OLO Marker
OLO Marker OR1.6 - Orangutan
Shop at:
OLO Marker
OLO Marker OR2.3 - Salmon
Shop at:
OLO Marker
Gina K. Designs A2 Envelopes 10 pk
Shop at:
Scrapbookcom
Nested Polaroid Postage Stamp Die Set
Shop at:
Scrapbookcom
Buttons Galore Shaker Mix -
Shop at:
Scrapbookcom
Sizzix Hot Glue Gun
Sizzix Hot Glue Gun
Shop at:
Scrapbookcom
OLO Marker YO2.7 - Sepia
Shop at:
OLO Marker
OLO Marker YO2.5 - Yellow Ochre
Shop at:
OLO Marker
OLO Marker O2.7 - Cinnamon
Shop at:
OLO Marker
Pumpkin Spice Stamp Set
Shop at:
Pajama Crafter Stamps


#wavingmywand #coffeelovingpapercrafters #coffeelovingcardmakers #coffeelovers #pumpkinspice #pajamacrafterstamps #pumpkinspicelatte #cardmaking #diycards #pumpkins #autumnleaves #fallleaves #scrapbookcom #olomarkers #nationalcoffeeweek #coffeecup #plaid #cozy #fallcards #cards #stamping
Saturday, August 30, 2025

Orange Spice Card - Sideways Series #1

Hello crafty friends, let's welcome Brutus Monroe in the house! I'm always looking for new coffee themed products for my cardmaking, particularly with Fall just around the corner - my favorite season of the year! I was thrilled when I spotted the new Brutus Monroe Orange Spice stamp set release! It's also available in the Pumpkin Spice Inspiration Box which is chock full of all kinds of crafty goodness. Plus, I'm starting a new cardmaking series, called "Sideways". It's all about the impact that offset focal points can make. It might be a stamped image, a die cut edge, etc. If you're a front and center girlie or guy, maybe this will inspire you to go "sideways" and try something different! If you wish to search for more sideways cards from me in the future, use hashtag #wmwsidewaysseries although I don't currently have a timeline for this series.

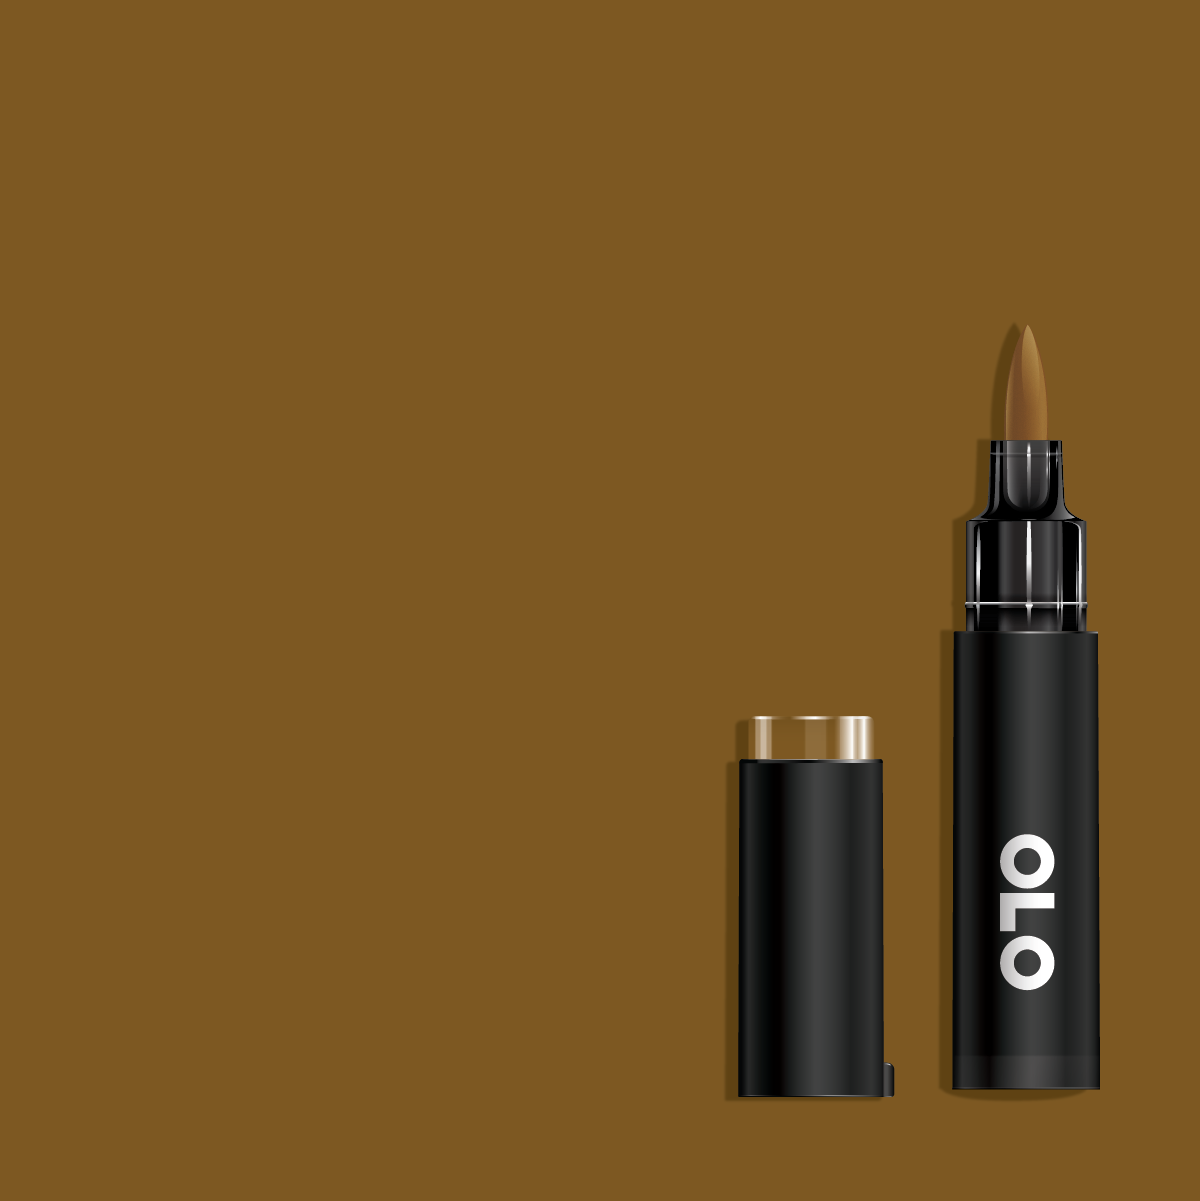
All my coloring was done with my OLO Marker artist markers too, and you'll find all the clickable shopping links at the end of this post. Plus, get details on that paper straw that I fashioned. Get to scrolling!


 (FTC Disclosure: as an affiliate for various companies in the craft industry, I will receive a small commission for purchases made through my convenient affiliate links, at no additional cost to you.)


As I said before, Fall is my favorite season. Cooler weather is my jam and we've been having lots of it here in the southern United States, which is unusual this time of year. I always get in the mood for soups and made my first batch of Lasagna soup for the season. Yes, I know, Fall isn't officially here yet, but indulge me!

Now, I initially stamped my cup image on an A2 size card panel and trimmed it down a bit, because I didn't want to much open white space. My dimensions are 3.75 x 4.75 inches which is considered a small-size greeting card, passport size. This provides a more intimate space when working with minimal images.


One of my marker colors is not pictured in the photo, as it was attached on the flip end of one these markers. It was OR2.5, Orangutan. However, all my marker colors are in my supply list at the end of this post.
I typically purchase the brush tip half markers which allows you to connect two markers together with a connector ring. I've had these markers for quite some time and have yet to purchase ink refills. They hold more ink than any full size marker on the market!


I did have a tiny bit of bleed with the hybrid ink I used to stamp my image. I should have heat set my stamping, and didn't. Or allowed it to properly dry naturally. I'm ok with it though. I also used a white gel pen to further embellish my images, and used the mask technique to stamp some of my words in color. 

Speaking of which, the sentiment stamp included is a one-line image. However, I wanted to stamp my sentiment with stacked wording, so I grabbed my scissors and promptly chopped up my sentiment into 3 sections. No worries, I do this all the time, and you can too!
The words will easily re-align with my stamp positioner, the next time I use this sentiment in it's intended form.


For the straw, I trimmed a section of patterned paper from the Brutus Monroe Flannel paper pack. I love all the plaids in this gorgeous set of paper. Athough there's a new Pumpkin Spice paper pack that just came out, I'm all about that Flannel paper today. I laid my trimmed paper across the top of the pumpkin and used a pen to draw a curve, following the curved line of the pumpkin. Then, I took my scissors and trimmed off the the paper strip just above the drawn pen line, and adhered my straw, even with the pumpkin curve. So easy! I splattered on some black paint and called it a day.

Thanks so much for popping in today. If you decide to do some shopping or wish to browse for more product information, simply click any of the affiliate links below. These are provided at no additional cost to you. Thanks so much and have a spice filled, caffeinated day!

Terri

***********************

Scrapbook.com Hybrid Ink - Black
Shop at:
Scrapbookcom
Catherine Pooler Ink Pad - Macchiato
Shop at:
Scrapbookcom
Refillable Permanent Adhesive Runner - 49 feet
Shop at:
Scrapbookcom
Neenah Solar White Cardstock 80 lb, 50 pk
Shop at:
Scrapbookcom
Ranger Artist Brushes - 7 pc
Shop at:
Scrapbookcom
Exlusive Pink Misti Stamp Positioner
Shop at:
Scrapbookcom
Sakura Gelly Roll Pens - White - 3 pk
Shop at:
Scrapbookcom
Tonic Studios Tim Holtz Comfort Trimmer 8.5 Inch
Shop at:
Scrapbookcom
Tim Holtz Non-Stick Serrated Scissors - 7 inch
Shop at:
Scrapbookcom
Pink Stamp Cleaning Shammy
Shop at:
Scrapbookcom
Sky Blue Stamp Cleaning Shammy
Shop at:
Scrapbookcom
OLO Marker YO2.3 - Butterscotch
Shop at:
OLO Marker
OLO Marker YG8.5 - Moss
Shop at:
OLO Marker
OLO Marker 0R3.7 - Mocha
Shop at:
OLO Marker
Gina K Designs Score Board
Shop at:
Scrapbookcom
OLO Marker - OR3.4 Latte
Shop at:
OLO Marker
Orange Spice Stamp Set
Shop at:
Scrapbookcom | Brutus Monroe
Flannel Paper Pack 6x6 in - 24 sheets
Shop at:
Brutus Monroe
OLO Marker OR1.6 - Orangutan
Shop at:
OLO Marker
OLO Marker OR2.5 - Goldfish
Shop at:
OLO Marker
OLO Marker OR2.3 - Salmon
Shop at:
OLO Marker
OLO Marker R1.5 - Lingonberry
Shop at:
OLO Marker
OLO Marker BV1.4 - Wild Violet
Shop at:
OLO Marker
Dina Wakley Heavy Acrylic Black Paint
Shop at:
Scrapbookcom
OLO Marker O2.5 - Caramel
Shop at:
OLO Marker


#wavingmywand #brutusmonroe #pumpkinspice #flannel #plaid #scrapbookcom #olomarker #olomarkers #fallseason #autumn #pumpkins #cardmaking #fallcards #cards #stamping #wmwsidewaysseries #coffeecards #coffeelovers #coffeelovingcardmakers #coffeelovingpapercrafters #brewcrew