Showing posts with label crafts. Show all posts

Wednesday, October 15, 2025

Treat Cones for Catherine Pooler

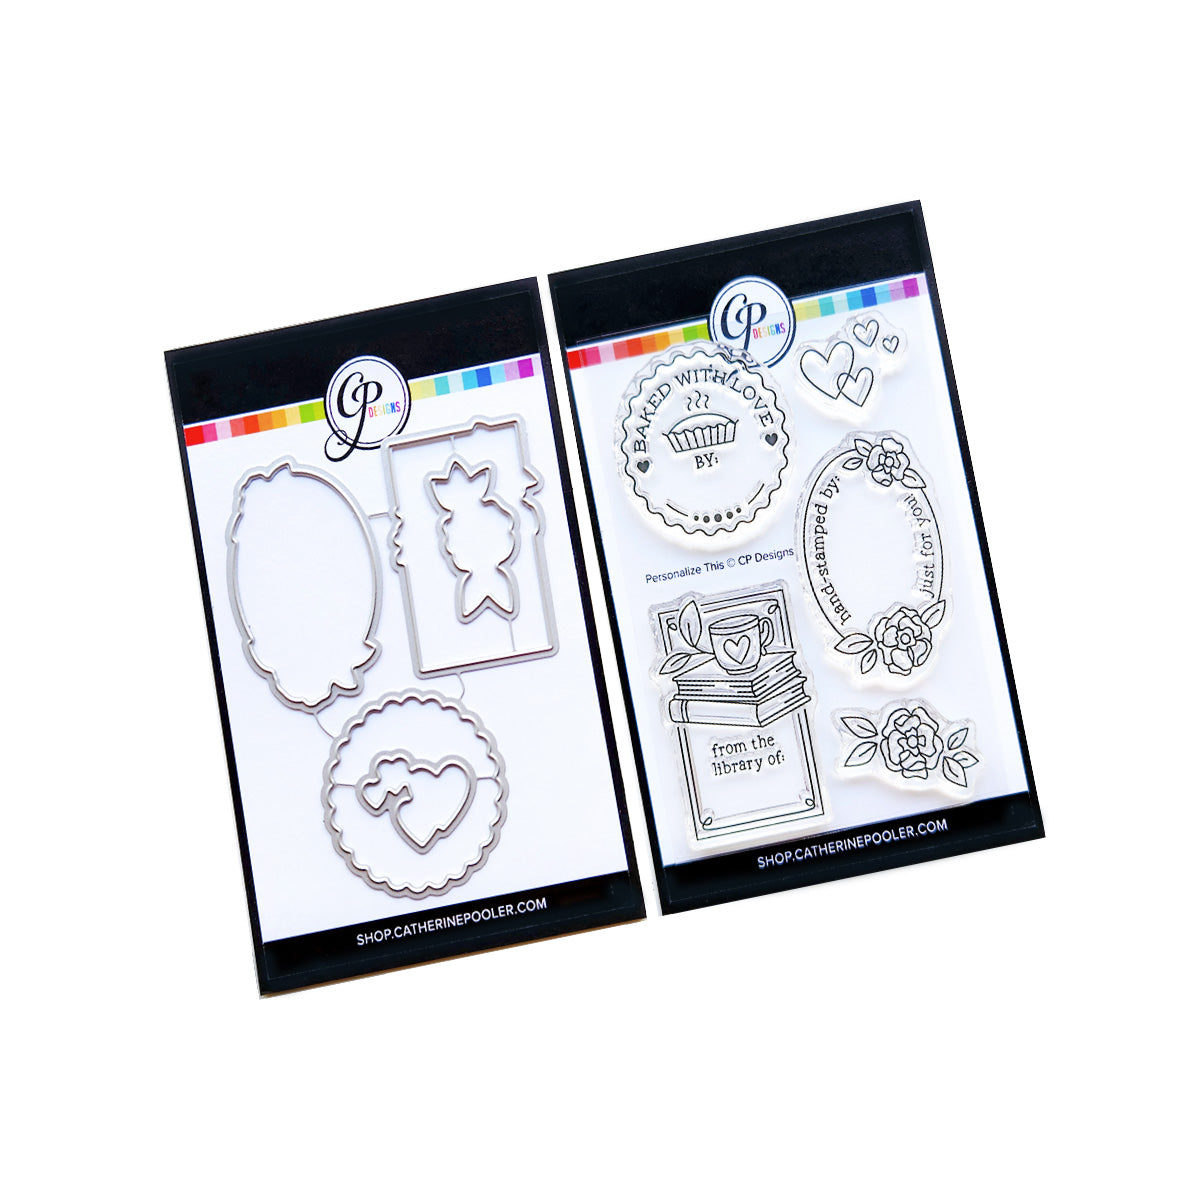
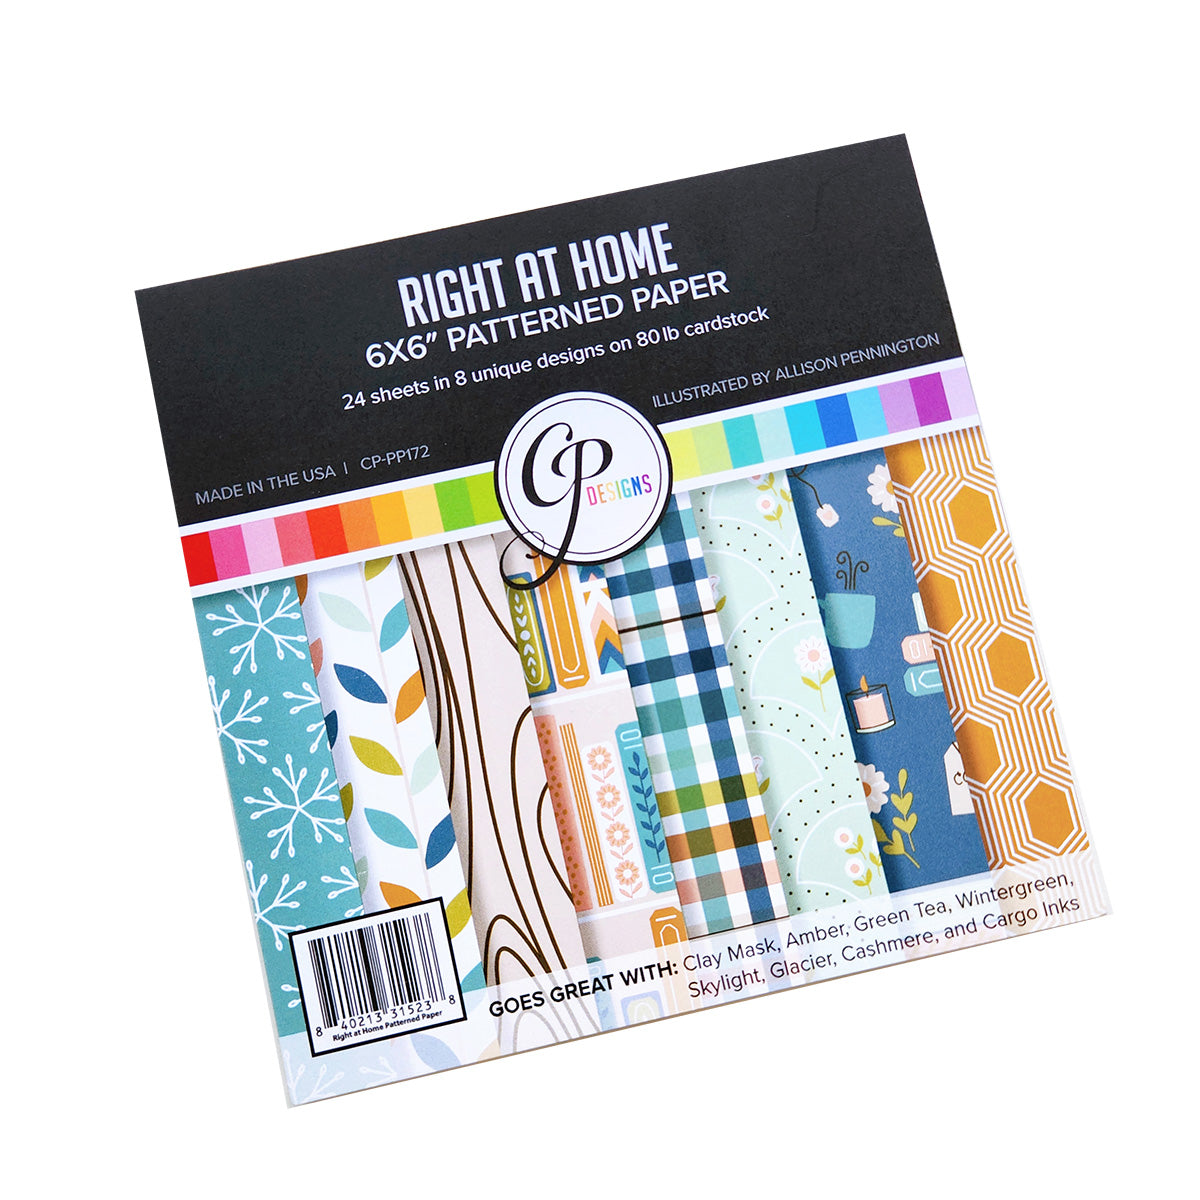
How do you curl up in colder weather? Catherine Pooler Designs has really got my DIY juices flowing with their new release out today, Curl Up With Winter. I love baking and over the next couple months, I'll be making many, many batches of Chex Snack Mix. Not the microwavable version, but the best version....in the oven! I've created some paper treat cones which are such adorable little containers for my treats. I'm also featuring the Personalize This stamp set (free w/$50 purchase), dies and the Right At Home patterned paper pad. Scroll down for instructions on how to make these fun cones! My clickable supply list can be found at the end of this post.


 (FTC Disclosure: as an affiliate for various companies in the craft industry, I will receive a small commission for purchases made through my convenient affiliate links, at no additional cost to you.)


If you missed my last post featuring treat bag toppers created with these same products, tap this link:


I had a completely different plan for this project, initially. I was going to alter some treat cups but never could find any locally. That's when I came up with a plan to make some paper cones.


This is a great project for double-sided paper, but you can also adhere two single sided sheets together, which is what I did. The CPD Right At Home patterned paper is a really sturdy cardstock so that is even better. Thin paper could easily crumple so make sure you use a heavyweight paper or cardstock.


I'm sure there are tutorials out there for making paper cones, but per my usual style, I winged it. my measurements above are based on a 6x6 inch sheet of patterned cardstock.

I started by scoring two triangles at the lower half of my cardstock, starting at 4 1/4" inches from both sides. These will be my overlapping flaps.

From the top of each score line, I went up a half inch, then trimmed both sides of the top portion of my cardstock at an angle, which measured approximately 3 7/8" from the top of my paper.

It should end up looking somewhat like an envelope.


Before securing your scored flaps, fold each one and run your score tool across for a good, crisp fold. Then fold one flap over the over and staple near the top center. The staple will be covered with the label.


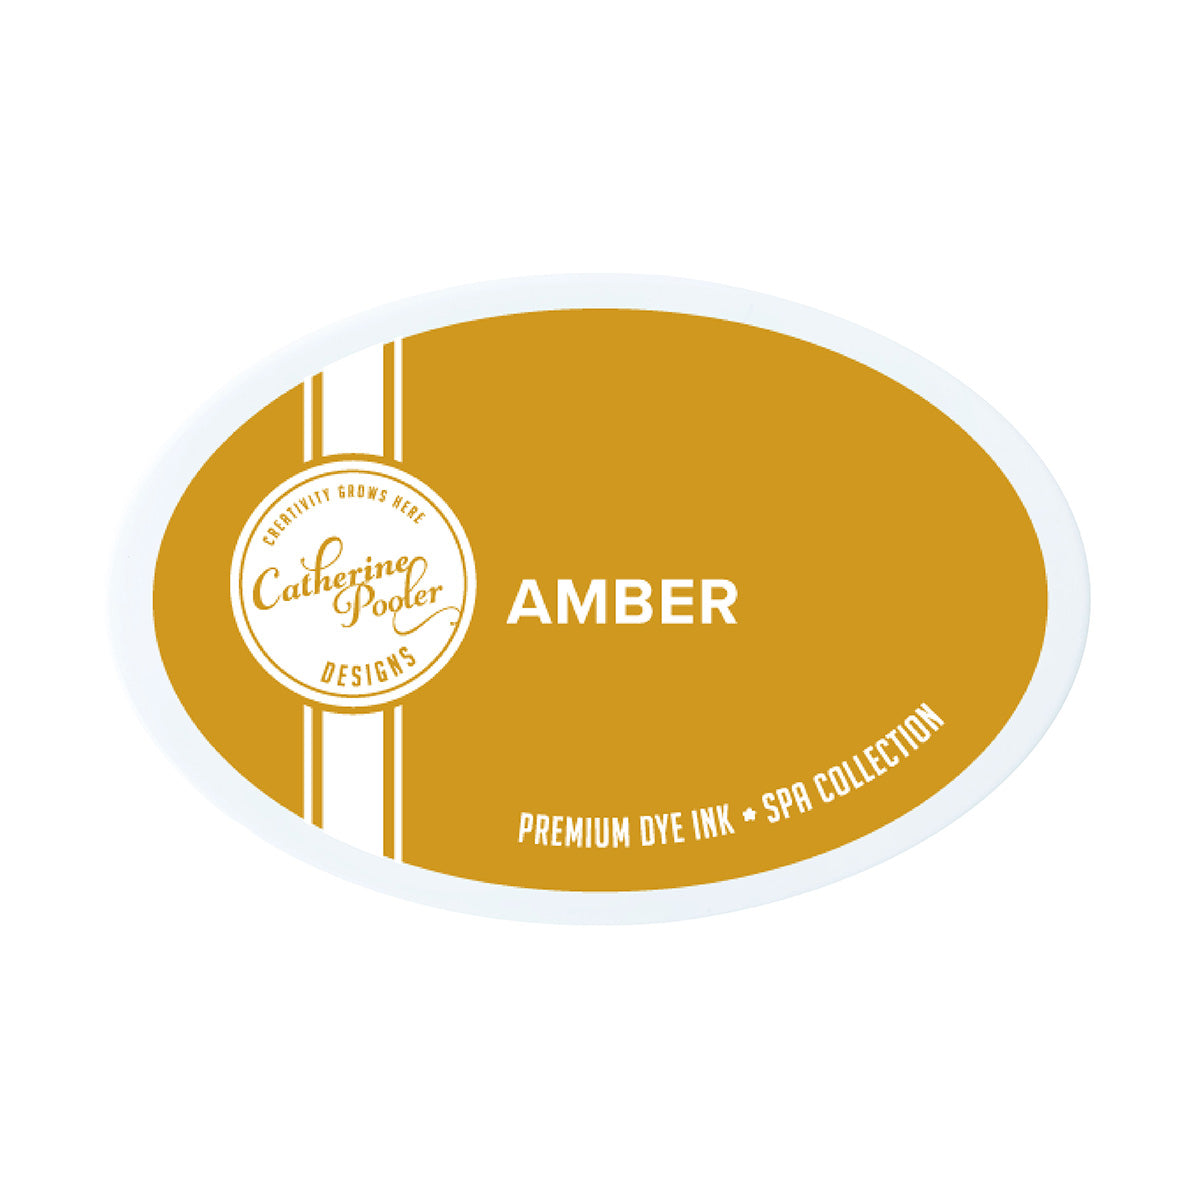
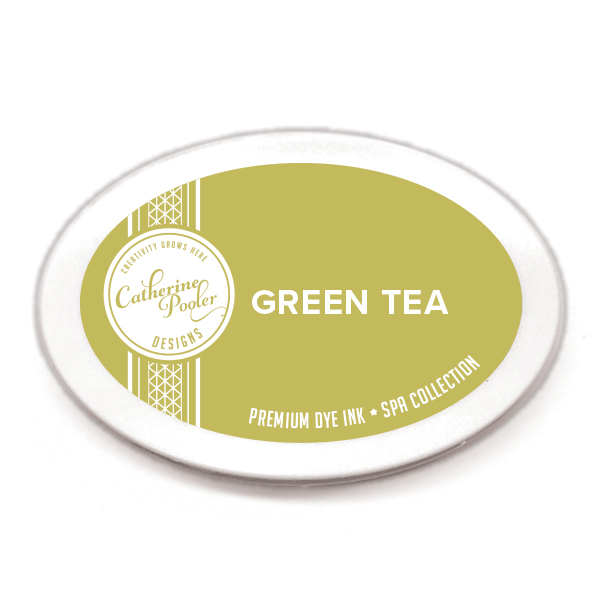
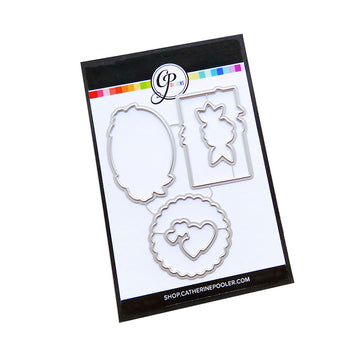
Next, I stamped my labels with CPD Cargo ink, then did some watercoloring with CPD ink in Amber and Green Tea, using a waterbrush. I also applied some ink splatters with the Amber ink onto my labels. Next, I used the coordinating label die with my Platinum 6, to cut my labels.


Here's that big 'ole batch of homemade baked Chex snack mix. You'll also see some Crispix cereal in there too. I will buy Crispix when I can since my rationale is there's corn and rice on each side and why buy 2 boxes of corn and rice cereal when you can buy one! Does anyone else do this?

I also always throw in extra of everything, including double the amount of Worcestershire sauce, extra butter, spices, etc. This is how my mom always made it, so of course, heaven forbid I veer from family tradition! It's all boys in my house, so this stuff goes fast!


After my cones were assembled, I decided to add some small trimmed 5x5 inch sections of trimmed parchment paper, so there's no transfer of grease from the snack mix to my perfectly pretty cones.

I also had some burlap ribbon in my stash and trimmed and adhered some strips to the inside front of my cones, just to pretty it up even more. I think it adds a bit of a rustic feel which I really like.


Once you make your first paper cone, you will be surprised how quick they are to make. You could easily make multiples for upcoming Fall Festivals, school events, parties and more. Just get an assembly line format going, you could assemble at least 2 per minute. Or curl up for movie night with the family and surprise everyone with a cone filled with treats...popcorn, candy, baked goods....just have fun with it! I even picked up some cellophane wrap at the Dollar Tree so I can have it on hand for wrapping my cones as gifts.

Don't forget, if you place a $50 order with Catherine Pooler, you will receive the Personalize This stamp set free when you add to cart and use coupon code MADEBY at checkout! The stamp and die set is also available for purchase as a bundle or separately.

I appreciate you so much stopping in and I hope this inspires you to get crafty with diy paper cones! If you make some, tag me on social media @wavingmywand, I would love to see them!

If you'd like to do some shopping or browse for more product information, I've provided convenient affiliate links below at no additional cost to you. Have a great week, everyone!

Terri

*****************************************
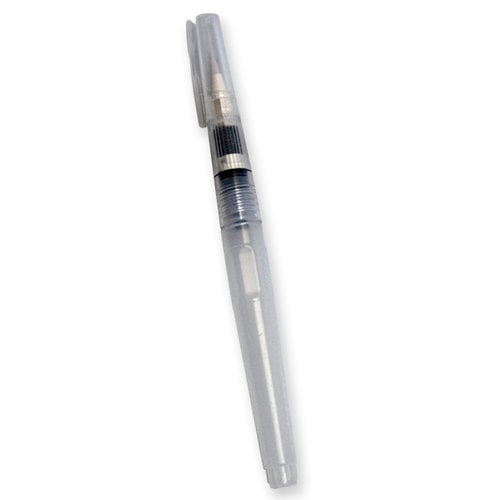
Ranger Tim Holtz Detail NIB Water Brush
Shop at:
Scrapbookcom
Refillable Permanent Adhesive Runner - 49 feet
Shop at:
Scrapbookcom
Tonic Studios Tim Holtz Comfort Trimmer 8.5 Inch
Shop at:
Scrapbookcom
3 mm Adhesive Strips - 160 strips
Shop at:
Scrapbookcom
Pink Stamp Cleaning Shammy
Shop at:
Scrapbookcom
Gina K Designs Score Board
Shop at:
Scrapbookcom
Sizzix Hot Glue Gun
Sizzix Hot Glue Gun
Shop at:
Scrapbookcom
CPD Personalize This Stamp & Die Set Bundle
Shop at:
Catherine Pooler
CPD Right At Home Patterned Paper Pack
Shop at:
Catherine Pooler
CPD Cargo Ink Pad
CPD Cargo Ink Pad
Shop at:
Catherine Pooler
Mini Misti Stamp Positioner
Shop at:
Catherine Pooler
CPD Amber Ink Pad
CPD Amber Ink Pad
Shop at:
Catherine Pooler
Platinum 6 Die Cut System
Shop at:
Scrapbookcom
CPD Green Tea Ink Pad
Shop at:
Scrapbookcom | Catherine Pooler
Personalize This Stamp Set
Shop at:
Catherine Pooler
Personalize This Die Set
Shop at:
Catherine Pooler


#wavingmywand #catherinepoolerdesigns #catherinepoolerinks #curlupwithwinter #stamping #handmade #diycrafts #papercones #treatcones #snackmix #personalizedgifts #


Monday, October 6, 2025

Treat Bag Toppers for Catherine Pooler

Hello lovelies. How do you curl up in the cold weather months? Is it with a good book or a nice hot cup of coffee and a treat? Or maybe it's movie night by the fire. That is the question we're asking here at Catherine Pooler, who is coming out with a fabulous new release on October 15th called Curl Up With Winter. I'm creating with the Personalize This 3x4 stamp set that will be free with any order over $50.  I'm also using the Right at Home Patterned Paper Pack for today's project.

Please note, any clickable product links that I share for this release will not be active until Oct. 15th. Scroll down to see how I curl up because for me, it's all about baking and eating!


 (FTC Disclosure: as an affiliate for various companies in the craft industry, I will receive a small commission for purchases made through my convenient affiliate links, at no additional cost to you.)


Let me also mention, the Personalize This stamp set also has coordinating dies. You can also purchase those items as a bundle or purchase separately.


Banana bread is always a hit at our house, but I typically only make it during the Fall and Winter season. It smells up the house so good and is just one of those comforting treats that you just can't resist.

Fun fact, I'm a huge coffee and loose leaf tea lover. I had ordered some Banana Bread Coffee Pu Ehr Tea from one of my favorite tea companies and it arrived the very same day I sat down to create today's project. It was meant to be! I promptly brewed up a cup to enjoy with a slice of banana bread.

Both were delish!


I planned on making some bag toppers with the Right At Home patterned paper and had picked up some glassine bags at a local craft/hobby shop. They measure 7 x 4.50 inches.

I began by trimming some of the patterned papers to these dimensions:

4 1/2 x 2 inches, trimming the ends at an angle


I also made some embellishments to go with my labels, using burlap string from my stash and sequins from the CPD Kings Canyon sequin mix.

In addition, I wrapped burlap string several times width-wise around my trimmed paper, using tape on the backside to secure it in place.


To stamp all my images, I used the Cargo ink, then watercolored my images. To watercolor, I pressed my ink onto a craft mat, spritzed with a touch of water, then painted with my water brush. Here's the breakdown of the colors I used to watercolor:

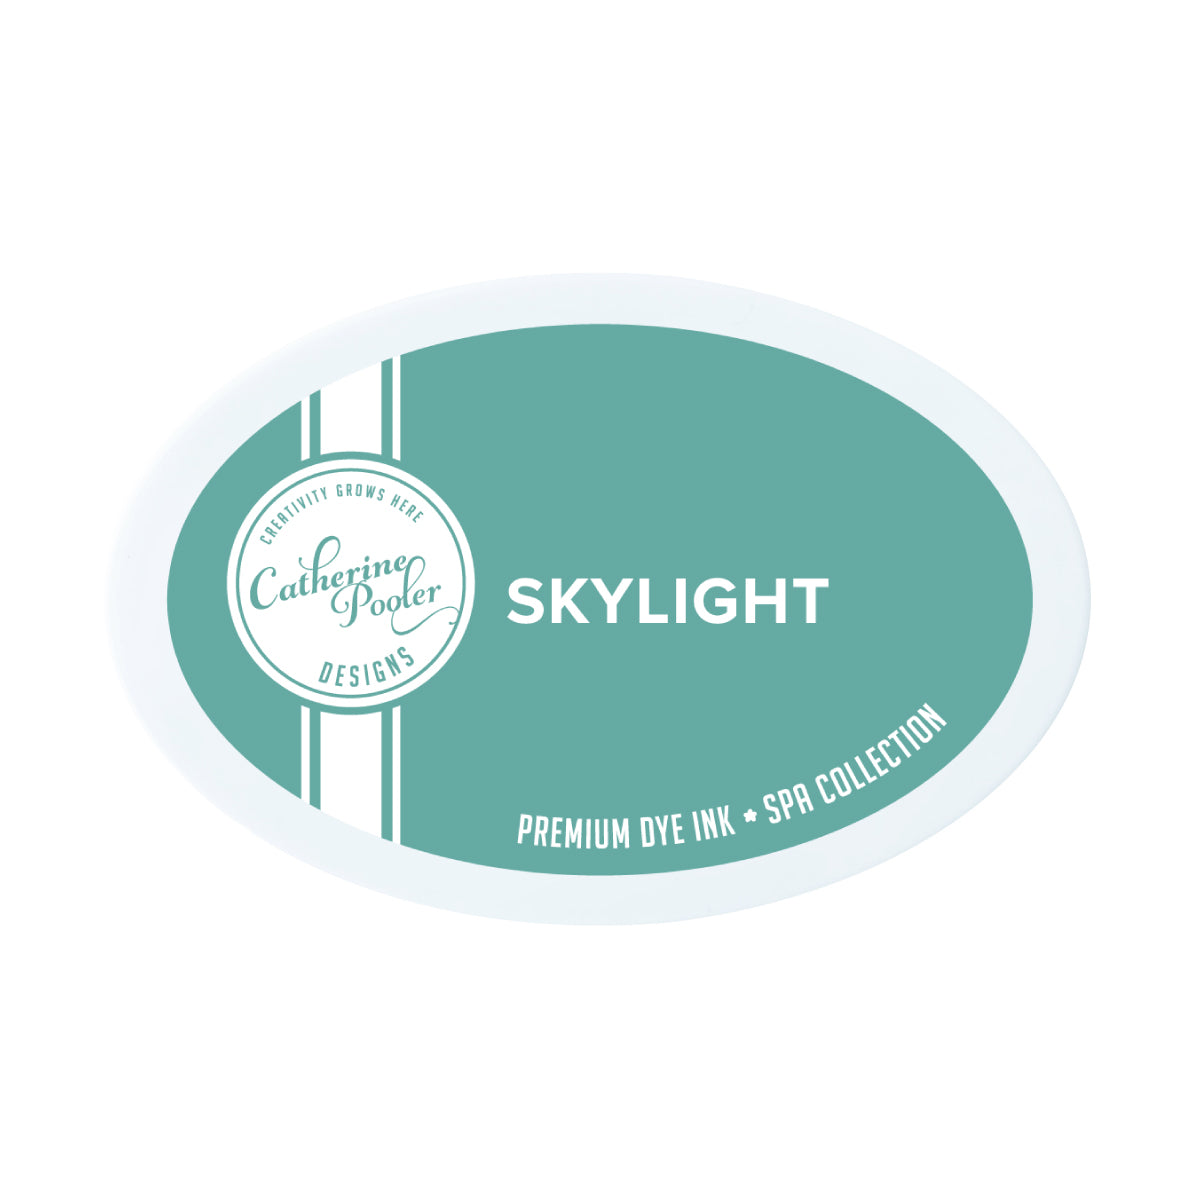
Skylight, Amber (Pie Plate)
Cargo, Skylight (Hearts)
Clay Mask, Wintergreen, Eucalyptus (Flower)


Before assembling all my embellishments onto my trimmed cardstock, I needed to secure the bag. 
I folded the bag over by about 1 inch, then placed my trimmed paper on top, stapling right in the center where my label will go. That's it, just one staple. If you prefer, you can use an adhesive runner, however, I wanted to make it somewhat easy to open, as I plan on giving these to my neighbor.

Then I assembled all my elements, adhering my hearts and flower flat and my label popped up with adhesive foam.


This was so quick and easy to make these bag toppers. If you can't find glassine bags, most Walmart's carry the clear bags in the Wilton baking section, which is a great alternative.

Thanks so much for stopping in. Happy baking, and enjoy curling up this season!

Terri

****************************************

Refillable Permanent Adhesive Runner - 49 feet
Shop at:
Scrapbookcom
Catherine Pooler Ink - Eucalyptus
Shop at:
Catherine Pooler
Tonic Studios Tim Holtz Comfort Trimmer 8.5 Inch
Shop at:
Scrapbookcom
3 mm Adhesive Strips - 160 strips
Shop at:
Scrapbookcom
Exclusive Lilac Shimmer Platinum 6 Die Cut/Emboss Machine
Shop at:
Spellbinders
CPD Kings Canyon Sequin Mix
Shop at:
Catherine Pooler
Sizzix Hot Glue Gun
Sizzix Hot Glue Gun
Shop at:
Scrapbookcom
CPD Personalize This Stamp & Die Set Bundle
Shop at:
Catherine Pooler
CPD Right At Home Patterned Paper Pack
Shop at:
Catherine Pooler
CPD Cargo Ink Pad
CPD Cargo Ink Pad
Shop at:
Catherine Pooler
Mini Misti Stamp Positioner
Shop at:
Catherine Pooler
CPD Wintergreen Ink Pad
Shop at:
Catherine Pooler
CPD Clay Mask Ink Pad
Shop at:
Catherine Pooler
CPD Skylight Ink Pad
Shop at:
Catherine Pooler
CPD Amber Ink Pad
CPD Amber Ink Pad
Shop at:
Catherine Pooler


#wavingmywand #catherinepooler #catherinepoolerdesigns #curlupwithwinter #baking #bananabread #diycrafts #bagtoppers #stamping #watercoloring #catherinepoolerink #bakedwithlove #personalizethis #treatbags #treatbags


Monday, September 19, 2022

Christmas Tree Stenciled Card

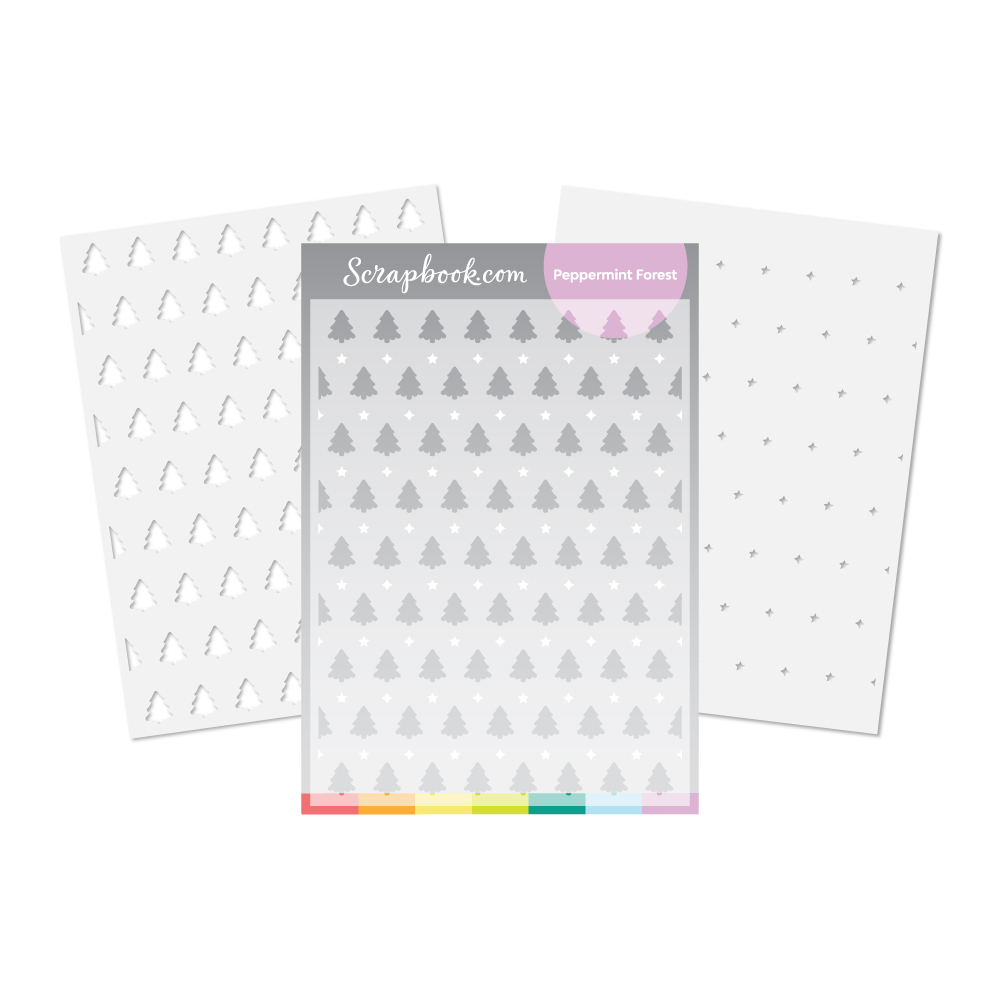
Hello fellow cardmakers. I have another card that I created for Scrapbook.com, this one featuring the Peppermint Forest stencil using my Rudolph Red Pops of Color. I've also created "candy stripes" with trimmed pieces of paper. Scroll down for creative details and product links!


(FTC Disclosure: as an affiliate for various companies in the craft industry, I will receive a small commission for purchases made through my convenient affiliate links, at no additional cost to you.)


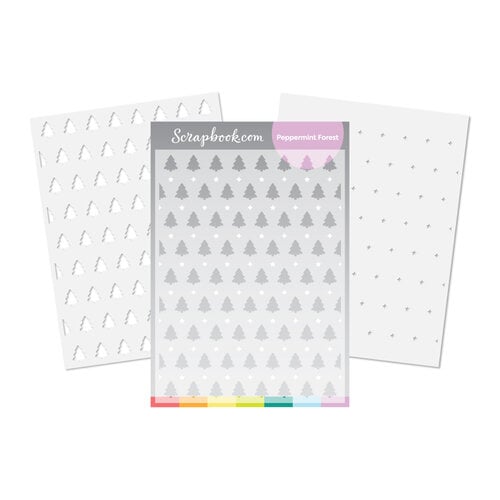
The Peppermint Forest stencil set consists of a 2 pack of 6x8 inch stencils, one with trees and one with tiny stars.


I applied mint tape on an A2 card panel, to mask off diagonal stripes where I planned to stencil my trees. When I remove the tape after stenciling, that's where I'll place my strips of paper diagonally.


This can get a little messy, so be sure and wash your stencil right away when you're finished.


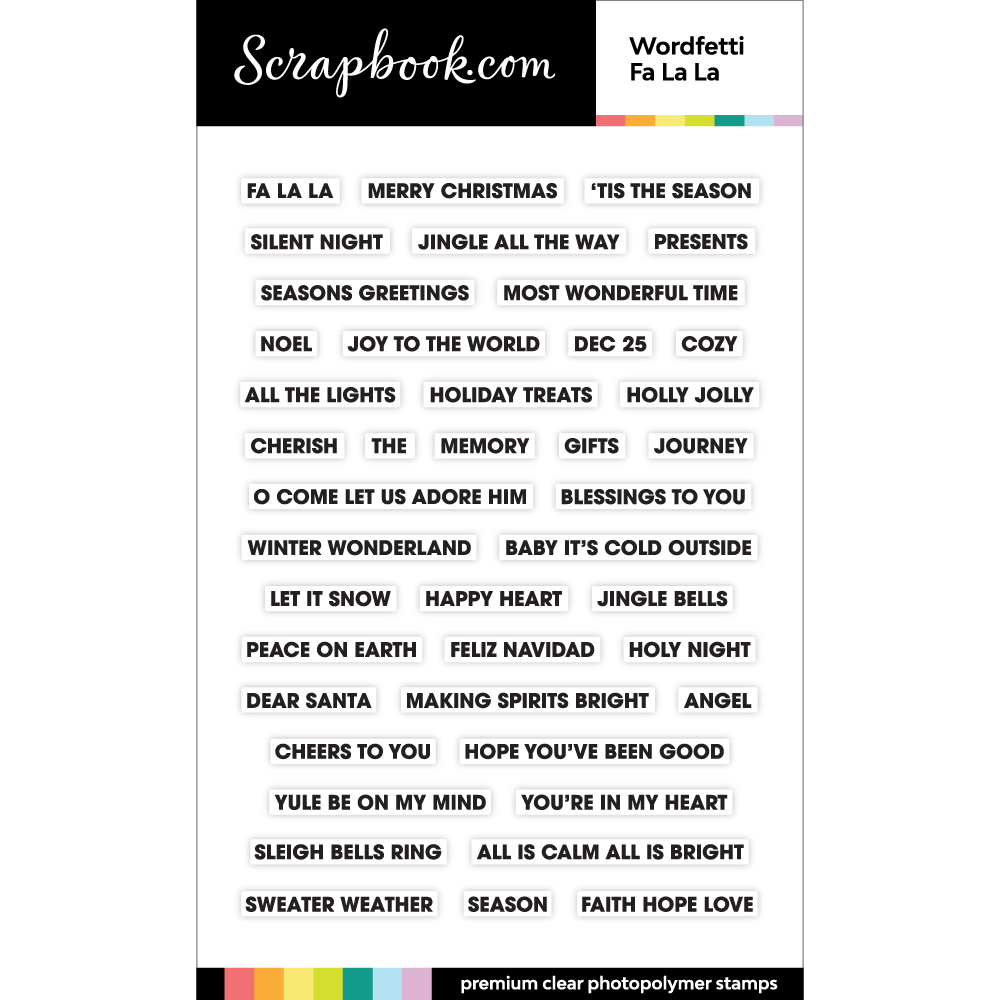
I left a wide gap near the lower section of the card to stamp several sentiments from the Fa La La stamp set. I used my Misti stamp positioner and lined them up all at one time, stamping multiple times to get the desired depth of inking that I wanted.


I love the dimension that you get from stenciling with Pops of Color. There's so much brilliant color which can really be hard to achieve sometimes with ink.

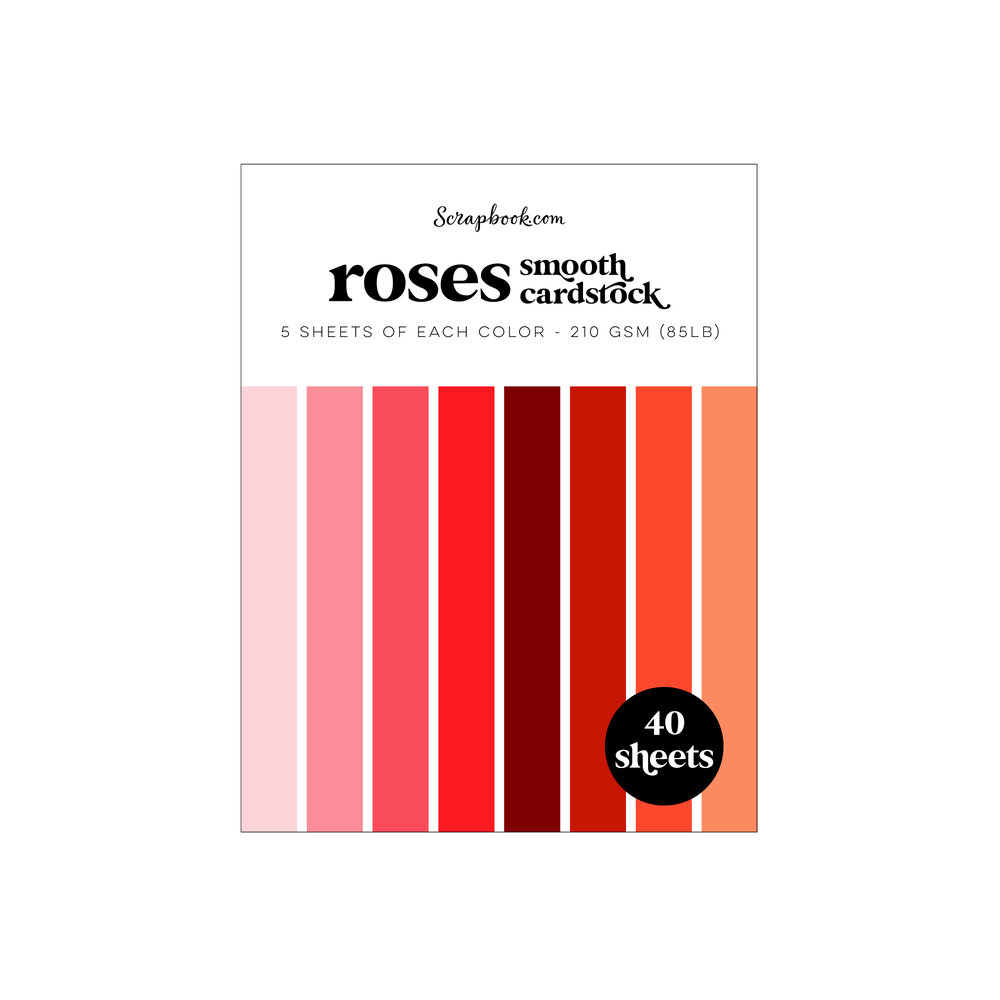
Once I finished my panel, I trimmed it down a bit to fit onto a piece of paper from the Roses paper pad, which was sized to top an A2 white card.


I had enough space between my rows of sentiments to stencil some tiny stars with the accompanying stencil. I use my Cardinal Red hybrid Ink from Scrapbookcom with a blender brush, then dotted each star in the middle with a tiny drop of more Rudolph Red Pops of Color.

Thanks so much for stopping by. There's no time like the present to start building your stash of holiday cards for mailing to friends and family. If you'd like to do some shopping, I've provided convenient affiliate links below. There is no additional cost for you to use these links! 
Thanks so much!

Terri


SHOP:
***********************************


Scrapbook Adhesives by 3L EZ Grand Runner
Shop at:
Scrapbookcom
Neenah Solar White Cardstock 8.5x11 inch
Shop at:
Scrapbookcom
Scrapbook Adhesives by 3L EZ Runner Grand Refill
Shop at:
Scrapbookcom
Scrapbook.com Hybrid Ink - Black
Shop at:
Scrapbookcom
Catherine Pooler Blending Brushes - 4 pk.
Shop at:
Scrapbookcom
Tim Holtz Distress Palette Knife, 2 pc.
Shop at:
Scrapbookcom
Wendy Vecchi Makeart Non-stick Craft Sheet
Shop at:
Scrapbookcom | Ranger Ink
Mint Tape
Mint Tape
Shop at:
Scrapbookcom
Neenah A2 Card Front Panel 25 pk
Shop at:
Scrapbookcom
Pops of Color - Rudolph Red
Shop at:
Scrapbookcom
Slimline Cardstock - Roses
Shop at:
Scrapbookcom
Double Sided Adhesive Foam Tape - 32 feet
Shop at:
Scrapbookcom
Peppermint Forest Stencil - 2 pc.
Shop at:
Scrapbookcom
Wordfetti Stamp Set - Fa La La
Shop at:
Scrapbookcom
Roses A2 Paper Pad
Roses A2 Paper Pad
Shop at:
Scrapbookcom
Neenah A2 Scored Cards - 25 pk
Shop at:
Scrapbookcom


#wavingmywand #scrapbookcom #stencils #stenciling #peppermintforest #popsofcolor #rudolphred #christmas #cards #wordfetti #falala #merrychristmas #itsthemostwonderfultimeoftheyear #roses #stars #seasonsgreetings #tistheseason #holiday #seasonal #christmastrees #DIY #papercrafts #crafting #cardmaking