Showing posts with label treat. Show all posts

Wednesday, October 15, 2025

Treat Cones for Catherine Pooler

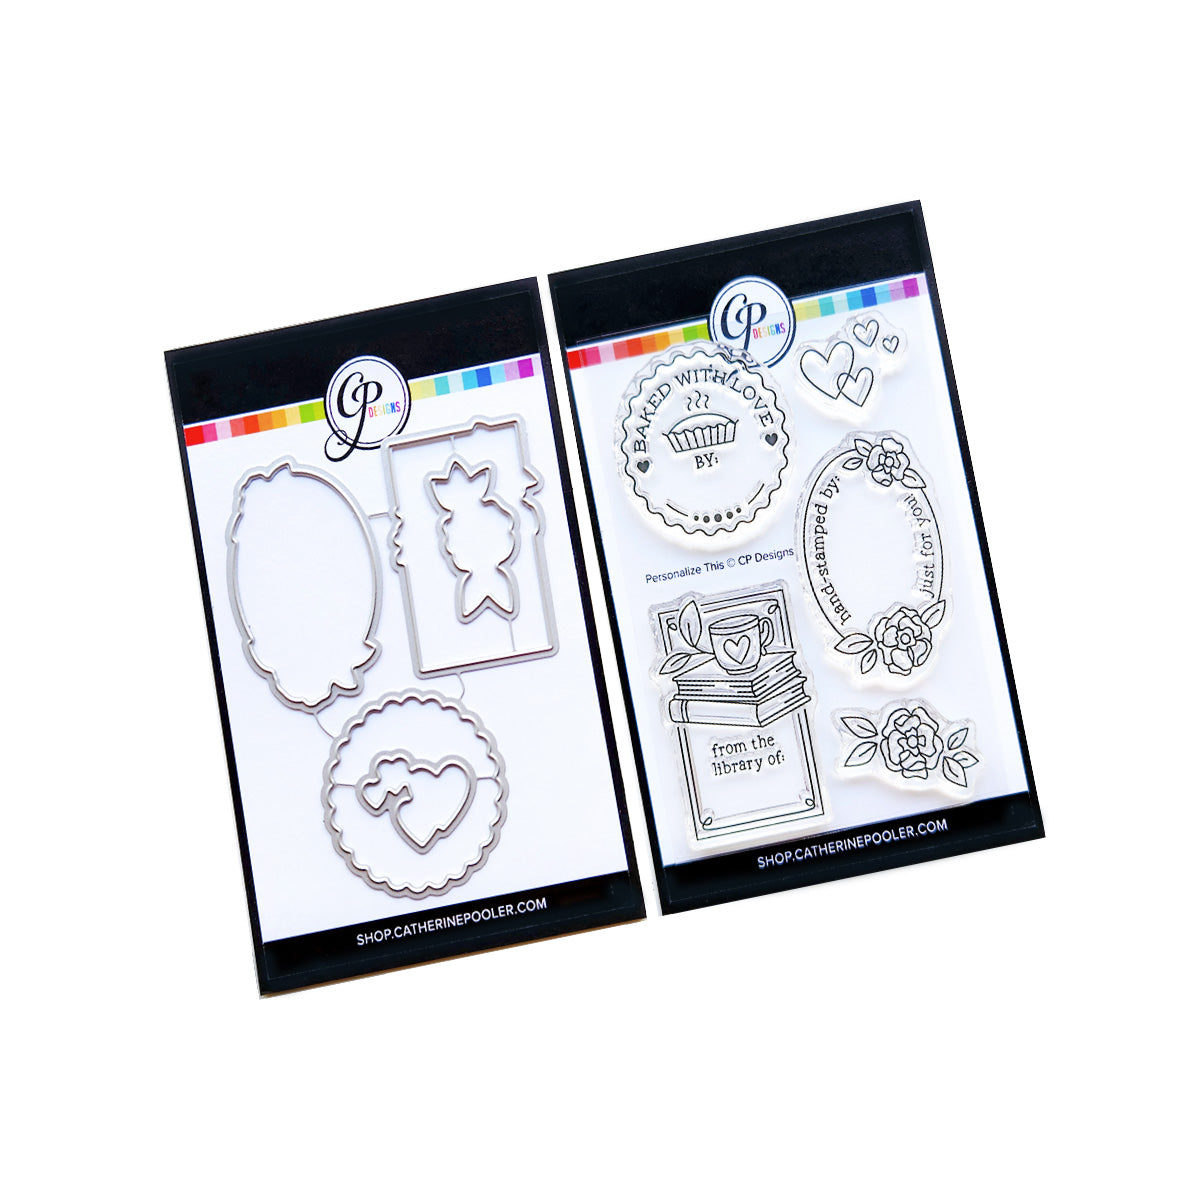
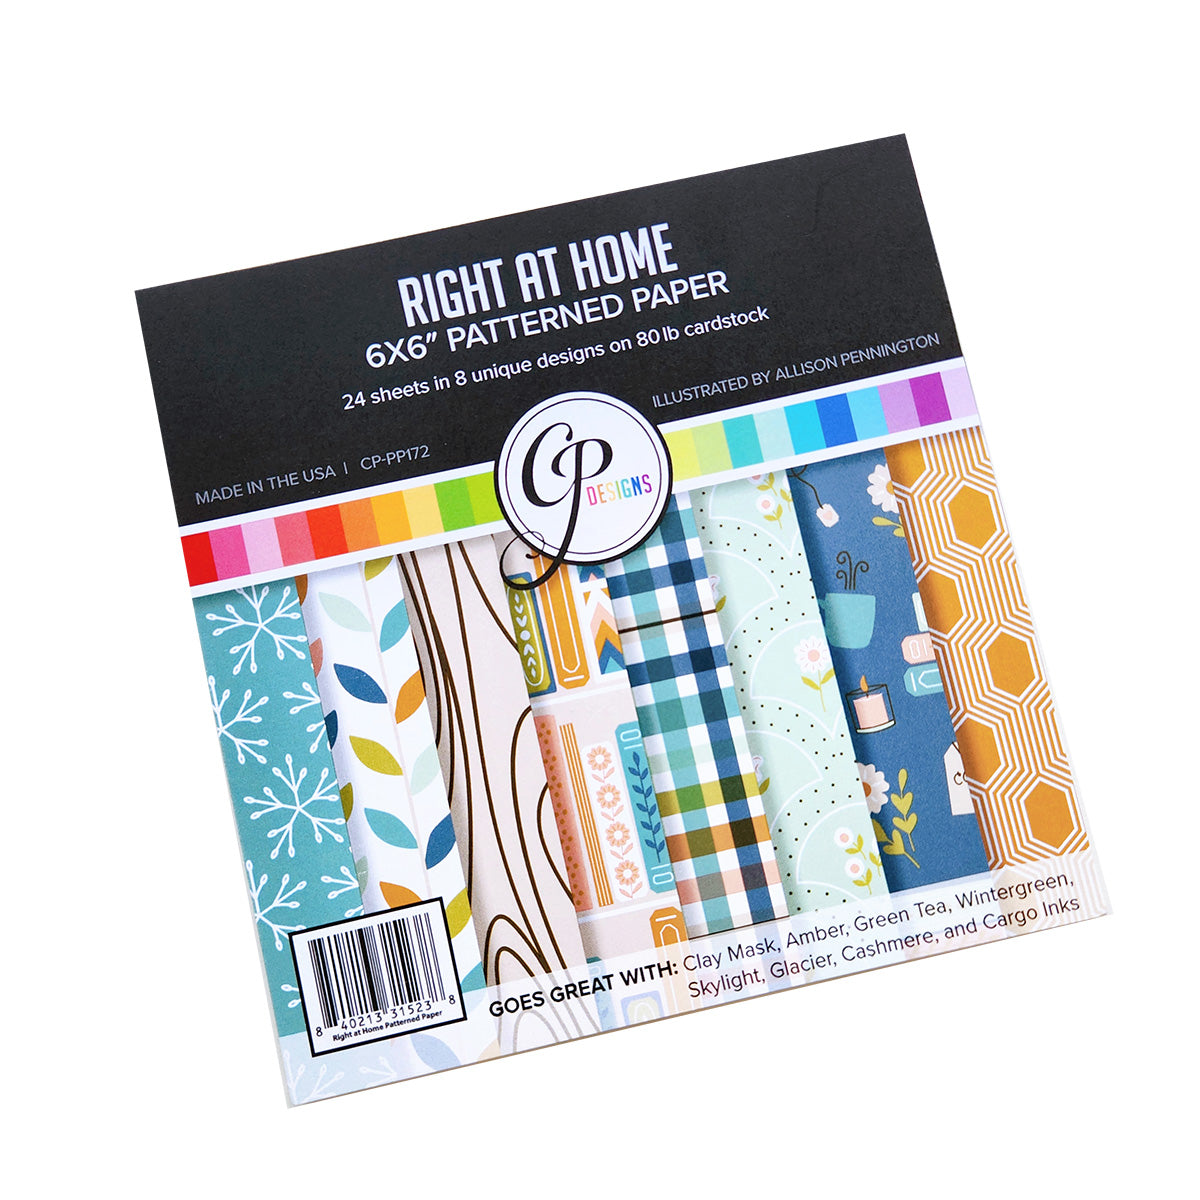
How do you curl up in colder weather? Catherine Pooler Designs has really got my DIY juices flowing with their new release out today, Curl Up With Winter. I love baking and over the next couple months, I'll be making many, many batches of Chex Snack Mix. Not the microwavable version, but the best version....in the oven! I've created some paper treat cones which are such adorable little containers for my treats. I'm also featuring the Personalize This stamp set (free w/$50 purchase), dies and the Right At Home patterned paper pad. Scroll down for instructions on how to make these fun cones! My clickable supply list can be found at the end of this post.


 (FTC Disclosure: as an affiliate for various companies in the craft industry, I will receive a small commission for purchases made through my convenient affiliate links, at no additional cost to you.)


If you missed my last post featuring treat bag toppers created with these same products, tap this link:


I had a completely different plan for this project, initially. I was going to alter some treat cups but never could find any locally. That's when I came up with a plan to make some paper cones.


This is a great project for double-sided paper, but you can also adhere two single sided sheets together, which is what I did. The CPD Right At Home patterned paper is a really sturdy cardstock so that is even better. Thin paper could easily crumple so make sure you use a heavyweight paper or cardstock.


I'm sure there are tutorials out there for making paper cones, but per my usual style, I winged it. my measurements above are based on a 6x6 inch sheet of patterned cardstock.

I started by scoring two triangles at the lower half of my cardstock, starting at 4 1/4" inches from both sides. These will be my overlapping flaps.

From the top of each score line, I went up a half inch, then trimmed both sides of the top portion of my cardstock at an angle, which measured approximately 3 7/8" from the top of my paper.

It should end up looking somewhat like an envelope.


Before securing your scored flaps, fold each one and run your score tool across for a good, crisp fold. Then fold one flap over the over and staple near the top center. The staple will be covered with the label.


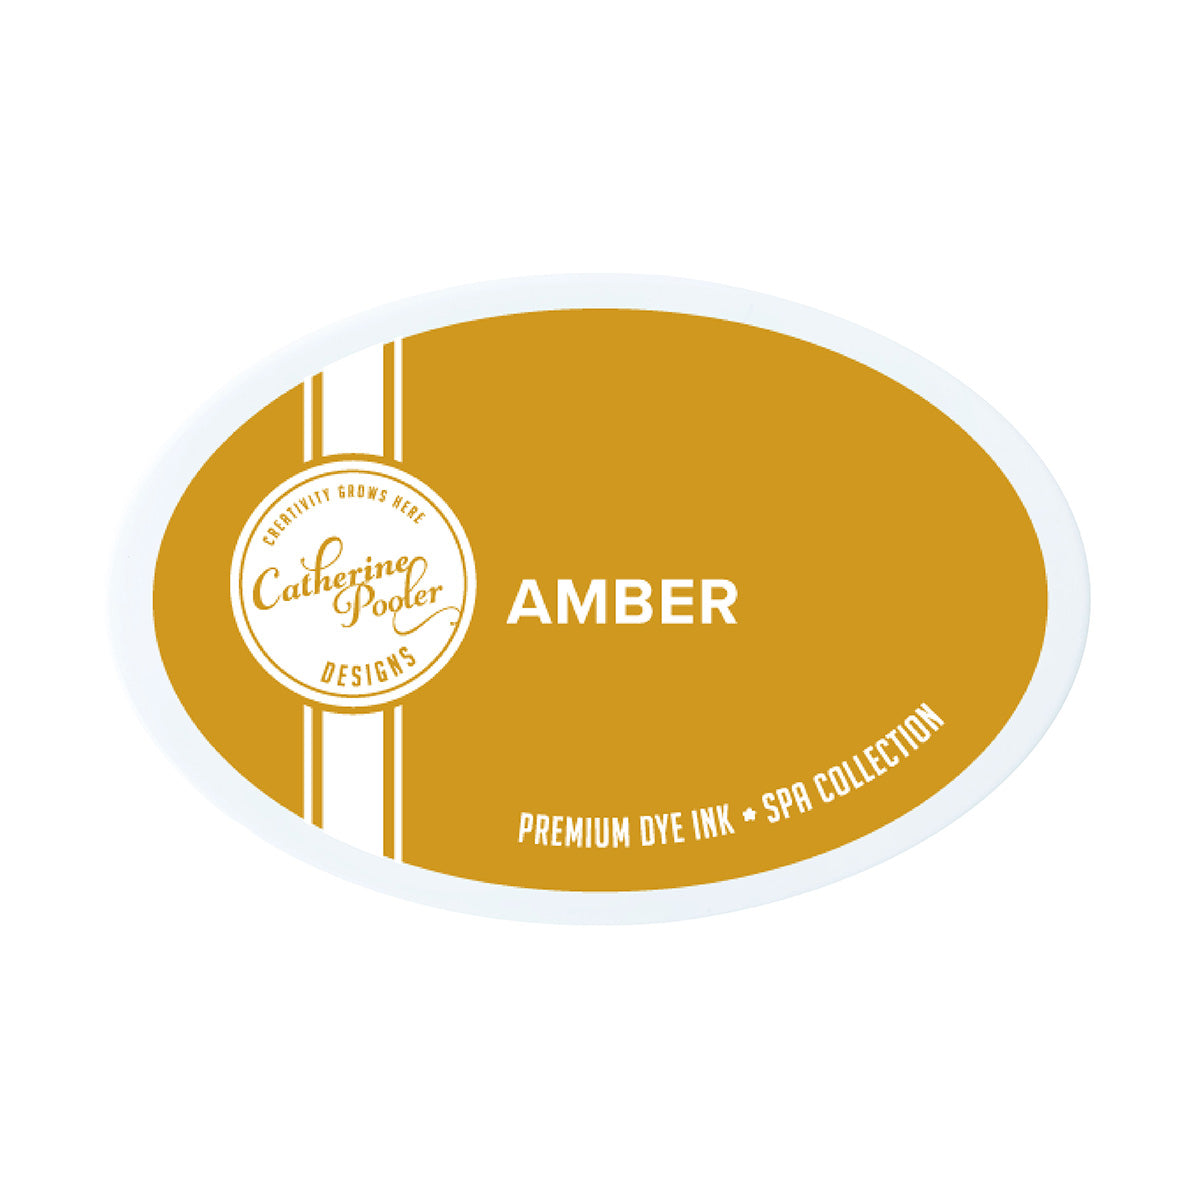
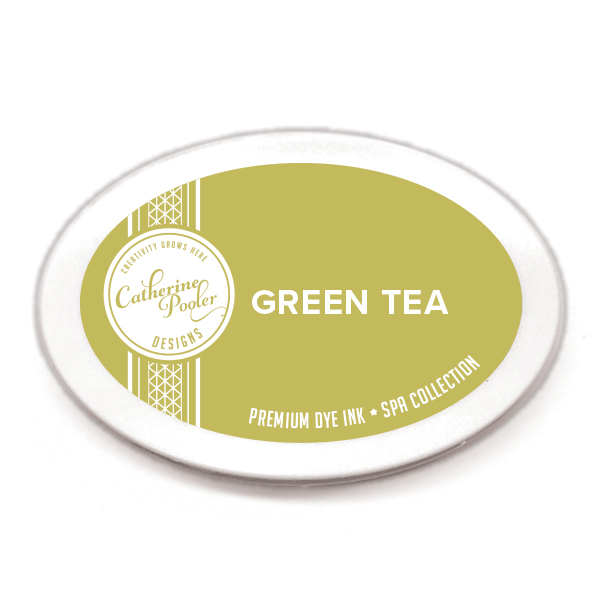
Next, I stamped my labels with CPD Cargo ink, then did some watercoloring with CPD ink in Amber and Green Tea, using a waterbrush. I also applied some ink splatters with the Amber ink onto my labels. Next, I used the coordinating label die with my Platinum 6, to cut my labels.


Here's that big 'ole batch of homemade baked Chex snack mix. You'll also see some Crispix cereal in there too. I will buy Crispix when I can since my rationale is there's corn and rice on each side and why buy 2 boxes of corn and rice cereal when you can buy one! Does anyone else do this?

I also always throw in extra of everything, including double the amount of Worcestershire sauce, extra butter, spices, etc. This is how my mom always made it, so of course, heaven forbid I veer from family tradition! It's all boys in my house, so this stuff goes fast!


After my cones were assembled, I decided to add some small trimmed 5x5 inch sections of trimmed parchment paper, so there's no transfer of grease from the snack mix to my perfectly pretty cones.

I also had some burlap ribbon in my stash and trimmed and adhered some strips to the inside front of my cones, just to pretty it up even more. I think it adds a bit of a rustic feel which I really like.


Once you make your first paper cone, you will be surprised how quick they are to make. You could easily make multiples for upcoming Fall Festivals, school events, parties and more. Just get an assembly line format going, you could assemble at least 2 per minute. Or curl up for movie night with the family and surprise everyone with a cone filled with treats...popcorn, candy, baked goods....just have fun with it! I even picked up some cellophane wrap at the Dollar Tree so I can have it on hand for wrapping my cones as gifts.

Don't forget, if you place a $50 order with Catherine Pooler, you will receive the Personalize This stamp set free when you add to cart and use coupon code MADEBY at checkout! The stamp and die set is also available for purchase as a bundle or separately.

I appreciate you so much stopping in and I hope this inspires you to get crafty with diy paper cones! If you make some, tag me on social media @wavingmywand, I would love to see them!

If you'd like to do some shopping or browse for more product information, I've provided convenient affiliate links below at no additional cost to you. Have a great week, everyone!

Terri

*****************************************
Ranger Tim Holtz Detail NIB Water Brush
Shop at:
Scrapbookcom
Refillable Permanent Adhesive Runner - 49 feet
Shop at:
Scrapbookcom
Tonic Studios Tim Holtz Comfort Trimmer 8.5 Inch
Shop at:
Scrapbookcom
3 mm Adhesive Strips - 160 strips
Shop at:
Scrapbookcom
Pink Stamp Cleaning Shammy
Shop at:
Scrapbookcom
Gina K Designs Score Board
Shop at:
Scrapbookcom
Sizzix Hot Glue Gun
Sizzix Hot Glue Gun
Shop at:
Scrapbookcom
CPD Personalize This Stamp & Die Set Bundle
Shop at:
Catherine Pooler
CPD Right At Home Patterned Paper Pack
Shop at:
Catherine Pooler
CPD Cargo Ink Pad
CPD Cargo Ink Pad
Shop at:
Catherine Pooler
Mini Misti Stamp Positioner
Shop at:
Catherine Pooler
CPD Amber Ink Pad
CPD Amber Ink Pad
Shop at:
Catherine Pooler
Platinum 6 Die Cut System
Shop at:
Scrapbookcom
CPD Green Tea Ink Pad
Shop at:
Scrapbookcom | Catherine Pooler
Personalize This Stamp Set
Shop at:
Catherine Pooler
Personalize This Die Set
Shop at:
Catherine Pooler


#wavingmywand #catherinepoolerdesigns #catherinepoolerinks #curlupwithwinter #stamping #handmade #diycrafts #papercones #treatcones #snackmix #personalizedgifts #


Thursday, November 8, 2018

Christmas Favor Boxes for Scrapbook Adhesives by 3L

 Have you begun your Christmas crafting?  I'm getting a jump start today, with this trio of Christmas Favor Boxes for Scrapbook Adhesives by 3L.  Be sure and visit their blog to see all the boxes in detail.  I'm creating with the Authentique Nostalgia paper collection and using a file that I purchased from Cricut, for use in my design space.  It was only $1.49 and I can use it over and over!  Scroll down for more details on the file.


(FTC Disclosure: as an affiliate for various companies in the craft industry, I will receive a small commission for purchases made through my convenient affiliate links.  This does not affect your purchase price.)


This is the Open Favor Box from the Martha Stewart Beginner's Collection and is Cricut design space file #M54C4C42. I expanded the file out to approximately 11.5 inches in width to create my scored and folded boxes.  They were super easy and quick to assemble.  This file is only available for purchase if you have access to Cricut's design space.  You can upload the file, then purchase it prior to cutting.


  Once assembled, my favor boxes measured 3.5"W by 4.5" L.   You can simply copy and paste the link below into your design space and click "Make It", to begin cutting with your Cricut Explore.


Let me mention that I love the thickness of the Authentique Nostalgia paper.  Its perfect for cutting and I had no problems with paper tearing or the blade not cutting all the way through.  It worked perfectly on the regular cardstock setting.


I have shopping links for most of the products that I used, below.  Thanks so much for stopping in and click this link, to see the rest of my products and creative tips over on the the Scrapbook Adhesives by 3L blog.  See you next time.... Terri


SUPPLIES:

I’m listing the products I used throughout this post. Click on the link to go directly to the product. Where available I use compensated affiliate links which means if you make a purchase I receive a small commission at no extra cost to you. Thank you so much for your support!


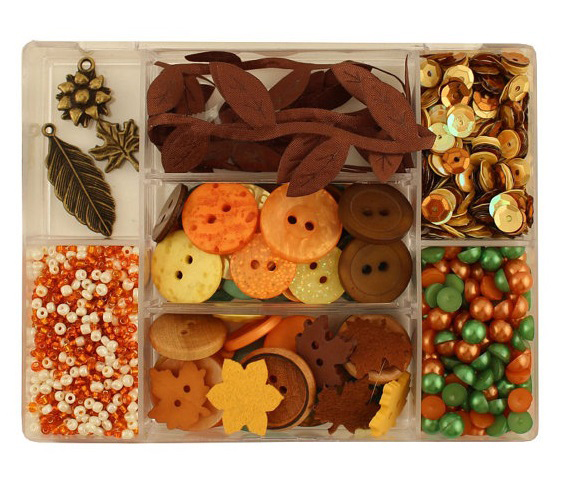
28 Lilac Lane Autumn Afternoon Embellishment Kit
Shop at:
Scrapbook.com | Simon Says Stamp
Umbrella Crafts Jumbo Decorative Nesting Tag Dies
Shop at:
Scrapbook.com
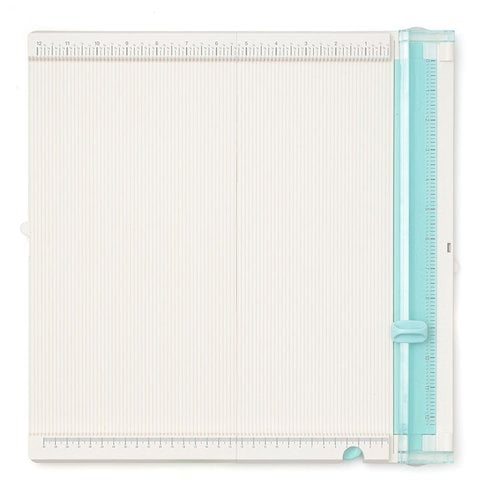
WRMK Trim and Score board
Shop at:
Scrapbook.com
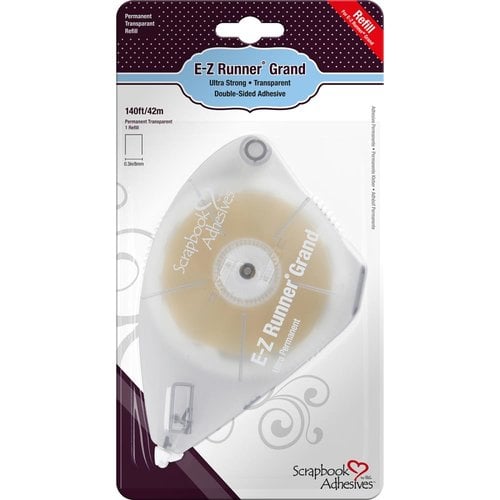
Scrapbook Adhesives by 3L EZ Grand Ultra Refill - Clear
Shop at:
Scrapbook.com | Simon Says Stamp
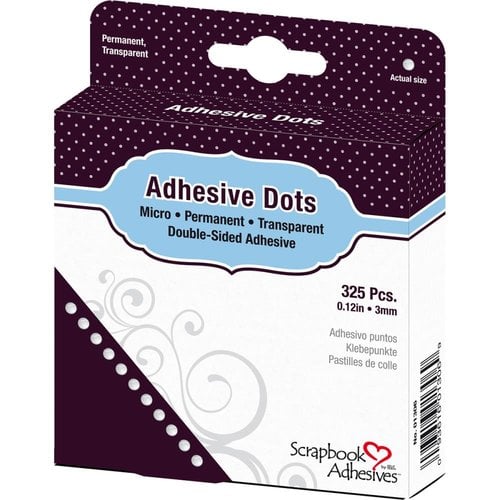
Scrapbook Adhesives by 3L Micro Dots
Shop at:
Scrapbook.com
Scrapbook Adhesives by 3L 3D Black Foam Circles
Shop at:
Scrapbook.com
Scrapbook Adhesives by 3L E-Z Grand Runner
Shop at:
Simon Says Stamp
Scrapbook Adhesives by 3L Crafty Foam Tape
Shop at:
Simon Says Stamp
Authentique Nostalgia Paper Collection
Shop at:
Simon Says Stamp
Buttons Galore Aquamarine Sparkletz
Shop at:
Simon Says Stamp
May Arts Ribbon Ivory Burlap String
Shop at:
Simon Says Stamp


#scrapbookadhesivesby3L  #EZRunnergrand #foamcircles #wavingmywand  #scrapbook #cardstock #diecuts #adhesives #stickers #DIY #papercrafts #partyfavors #scrapbooking #terriburson  #scrapbookcom #handmade #photocorners #kraft #treatbox #favorbox #partydecor #mayartsribbon #buttonsgalore #sparkletz #autumnafternoon #buttons #authentique #nostalgia #vintage #christmas #christmasdecor #holidayfavors #dogs #cats #pets #deer #tags #wermemorykeepers #simonsaysstamp #cricut #cricutexplore #marthastewart

Wednesday, December 16, 2015

Snowman Challenge at DoubleClick Skittles

 Welcome to Week 2 of the newest challenge at DoubleClick Skittles!

Challenge #37 - Use a Snowman

Dec. 9 - Dec. 22

For this project, I'm using the new Holiday Traditions bubble embellishments. You can purchase both of the new releases, Holiday Traditions and Frosty Kisses, right here:


I like to upcycle, particularly since I seem to hold on to EVERYTHING!  So, I grabbed this medium size kraft bag that I had received in a craft order awhile back and embossed with my Cuttlebug and Tim Holtz Merry Christmas embossing folder.  I inked the raised sentiment with my Hero Arts Green ombre ink, then used a sponge dabber for white chalk ink snowballs.


This cute snowman is a sticker from K&Company and I adhered it to white cardstock and fussy cut it, so I could pop it out with foam squares and it would hold it's shape better.  I placed my Rudolph Red Skittles bubble embellishment on old Frosty's scarf.
 

I added an olive green faux burlap ribbon border using my May Arts Ribbon, then added a strip of DCWV cardstock which coordinated nicely with my Holiday Traditions Skittles.  Did you know that all the new newest Skittles have sparkle?  Yup.  They're kind of awesome, that way.  I usually use clear glue to adhere my Skittles but you can always use adhesive dots as well.  Sometimes, I add a touch of Stickles glitter glue with my drop of clear glue, for that extra wow factor. 


 The new Holiday colors for the 2015 year!!

Frosty Kisses 2015


Holiday Traditions 2015


You can shop below for these and other Skittles colors.   A 3 pk is typically under $4.00 (75 skittles) and this includes FREE USA SHIPPING, plus, Paypal is accepted.


Join the Snowman challenge and be entered for a fun prize that includes free Skittles, but be sure and read the rules, as backlinking is not allowed.  Skittles are not required to play so come on... link up and come and play with us!


Thanks for stopping by!

Terri


Additional Supplies:
Quick Quotes Powder Puff white chalk ink
Tombow Mono Aqua Glue
Xyron adhesive runner
Stickles Glitter glue


#doubleclickskittles #dewdrops #cleardroplets #colordroplets 
#diy #homedecor #craft #cardmaking #scrapbook #papercrafters
#cre8time #madeintheusa #supportsmallbusiness #frostykisses #holidaytraditions #mayartsribbon #ribbonresource #xyron #tombow #dcwv #christmas #plaid #gold #rudolph #grinch #frosty

Friday, January 23, 2015

Sizzix Love Cup Shaker Treat Box

 Here's a sweet little love treat box, perfect for Valentine's Day.  This was made using the Sizzix Mug and Spoon die, created by Eileen Hull.   There are so many ways you can use this die; I love the possibilities.  I augmented the cut die by trimming off the mug handle and adding a carrying handle at the top.  My husband said this would be good to fill with Godiva truffles. 
I like the way he thinks!  In fact, here you go honey....fill 'er up!


Get this set now at Sizzix and start creating your own adorable treat boxes!


Visit and "like me on Facebook: http://www.facebook.com/wavingmywand


Additional Supplies:  Maggie Holmes sequins for Crate Paper, Unity Stamp Company sentiment from "Whooty Owl", craft glitter sticky heart, pink glitter mesh fiber, Tombow Xtreme adhesive runner, ADORNit blender paper, Doodlebug Designs Sugar Coating Lily White glitter, vellum,


Disclosure: This post may contain affiliate links so, if you purchase a product using the link I may receive a commission. I only participate in the Sizzix affiliate programs linked above because they are products that I use and love. Your purchase price is not affected in any way, by using my links.  Thank you for your support and helping me keep my content free!


#CHASHOW #Cre8time #sizzix #adornit #tombow #shaker #unitystamps #valentine #love #eileenhull


Friday, August 29, 2014

Halloween treats and tags w/Unity Stamps & Spellbinders Celebra'tions

Besides crafting, one of my favorite things to do is buy clearanced treat boxes and bags at Target, in particular, at 90% off, haha.  It's usually the seasonal ones that I go for.  I'd rather buy super cheap, pre-made boxes and devote more time to creating treats to go in and outside the box.


So, I snagged a set of these Halloween boxes last year for, oh, 39 cents!  And, this shiny white bag was from a Christmas sale last year.   I picked up several of those as well.  I thought it would be fun to stamp a fun Halloween image on the bag, but, I wasn't sure if ink would adhere to this material, so I decided to heat emboss, being very careful not to overheat and burn this thin material or cause excessive puckering.


I grabbed this cute witches hat from the Unity Stamp Halloween Chatter set and used Versamark clear ink, then sprinkled black embossing powder, tapping the excess through the material onto a scrap piece of blank sticker paper.  After putting the excess powder back in the jar, I put the paper back in the bag to keep the heat away from the other side of the bag.  I then added a thin strip of orange glitter adhesive tape to the hat.


The tags were made with the brand new Spellbinders SWEET TREATS matching stamp and die tag set.  Let me tell you, these stamps and tag dies are HUGE!  Spellbinders was kind enough to send me this set in the mail, after my guest blogger stint at the CHA Paper Arts show in Atlanta last month (thanks, Dave!)  Who can say that they received personal instruction from Richard Garay himself, the designer of this kit?  I can, that's who!  #grin 
 
I used everything you see below, embellishing with May Arts Ribbon twine and Freckled Fawn neon dots.  Those cute bats were also heat embossed, fussy cut and held in place with Glue Dots.  This stamp set is one of my fave from the Unity Stamp Co, Kooky Spooky and Batty set.  Have I told you how much I love Unity Stamps?  Well I do and if you could see my stash in my craft room, you would know! 
 
 
Come and join in!


Additional Supplies:  Spellbinders Celebrations Odacious Orange ink, Basic grey black candy buttons, Memento luxe black ink, Zing black opaque embossing powder, American crafts glitter adhesive tape, heating tool 
 
#CHASHOW #RICHARDGARAY #CRE8TIME