Showing posts with label witch. Show all posts

Saturday, September 16, 2017

Ghouls Just Want To Have Fun

With Halloween right around the corner, I thought I would play with some new bewitching stamps that have recently been added to the So Suzy Stamps store.  I'm pairing the new Halloween stamps, "Witch with Crystal Ball" and "Ghouls Just Wanna", with the bowl/globe that Olesya designed for our holiday release.  I thought it would make the perfect cauldron for my creepy witch.  


Here's a brief tutorial on how I put this together and a list of ingredients that you will need:

-watercolor paper
-green glitter
-white embossing powder
-black embossing powder
-green misting ink
-black dye ink
-paper towel
-heat tool
-coloring markers 
-Versamark watermark clear ink
-small paint brush
-black cardstock
-designer paper
-embellishments
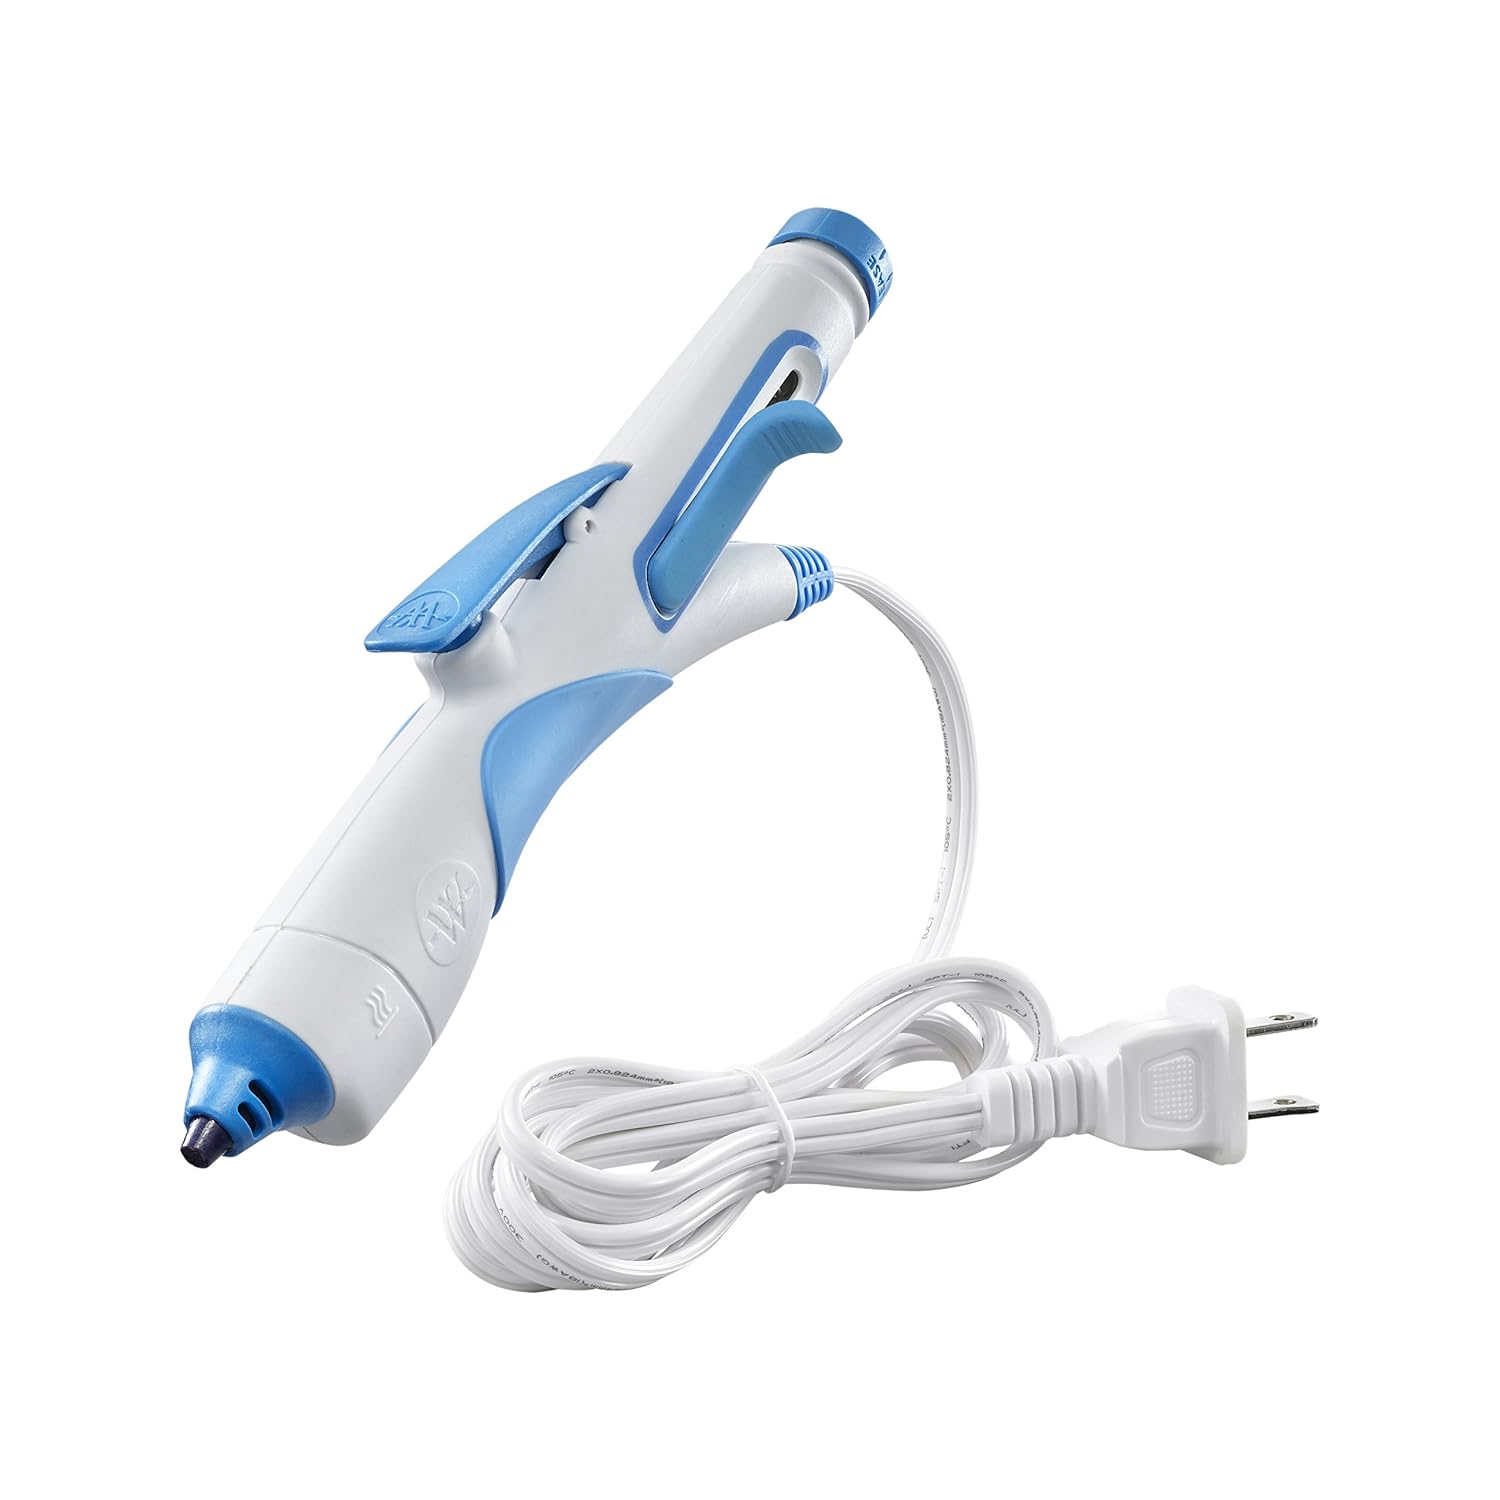
-hot glue gun
-adhesive tape, runner


(I recently tried a technique where I heat my embossing powder until it just begins to bubble, then sprinkles on glitter, press it in lightly with my finger and tap off excess, then finish heating.  I'm using that same technique again for my sentiment.)


1.  Heat emboss the globe with black embossing powder and versamark, onto watercolor paper.
2.  Use the technique described above, to heat emboss the sentiment.


3.  Press a paper towel onto a black dye ink pad and swipe the ink in a circle around the outside of sentiment and inside edge of bowl.  Repeat until desired color achieved.

4. Spray small amount of green ink onto craft mat and paint circles with a damp paintbrush.  Dry.


*Optional - I wanted my witch to have a collar draping over the edge of my bowl and also to fill in the gaps where she was fussy cut.  Trim a small piece of cardstock in the shape of a bowtie.  Adhere bottom edge to backside of bowl and fold upper edges down in front of bowl.

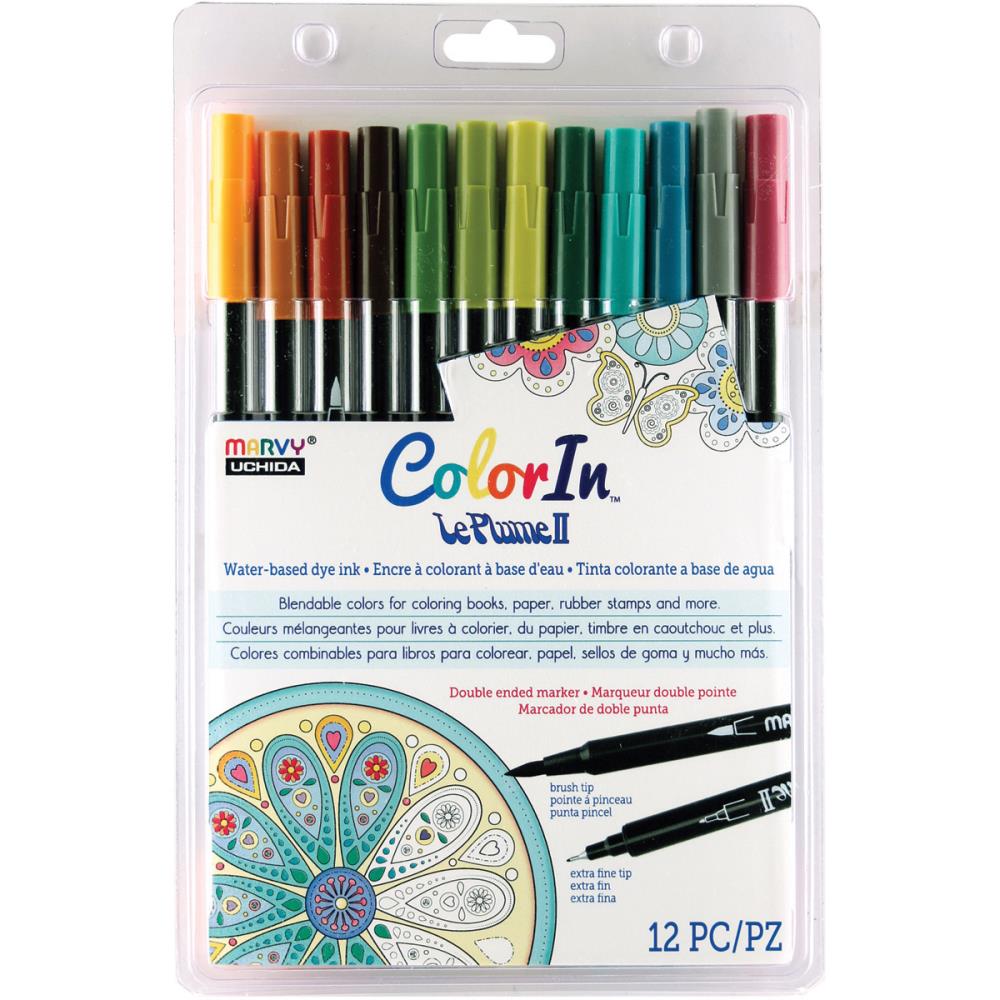
5.  Fussy cut your stamped witch and color her with markers of your choosing.  I have watercolored with Marvy Le Plume II brush markers.


6.  Run a bit of adhesive along the bottom of your witch (front) and adhere to the back of the "collar".

7.  Use strong adhesive tape to pop out your cauldron so that the sides are tightly adhered with the center pushed inwards to form a bubble-like shape.


8.  Add various embellishments and ribbons.  My designer papers are from the Graphic 45 Rare oddities collection and French Country collection..  This card is approximately 5"x 6".  The embellishments are from May Arts Ribbon and DoubleClick Skittles embellishment line.


If you're a fan of the Wizard of Oz, then you should know that I colored this witch in homage to the Wicked Witch of the West!  Or was it East?  No matter.  She was green and wicked!  I hope you love this fun Halloween card.  Be sure and check out all the Fall and Halloween stamps!  There's a huge selection and I know you will have fun looking around.  Thanks for popping in today!


SUPPLIES

I’m listing the products I used below. Click on the link to go directly to the product. Where available I use compensated affiliate links which means if you make a purchase I receive a small commission at no extra cost to you. Thank you so much for your support!


Strathmore 300 series Watercolor Paper 9 x12 pad
Shop at:
SBC
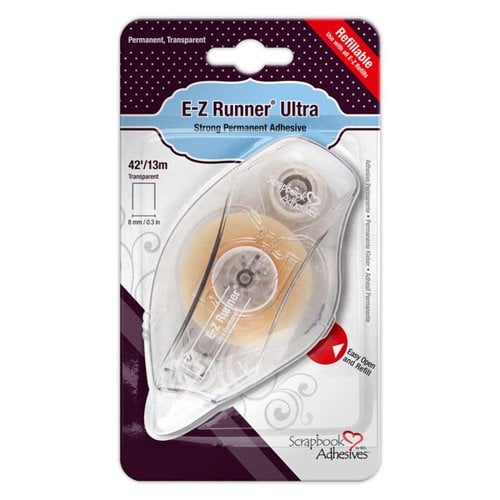
Scrapbook Adhesives by 3L Permanent Runner
Shop at:
SBC
Spellbinders Pierced Square Dies
Shop at:
SBC
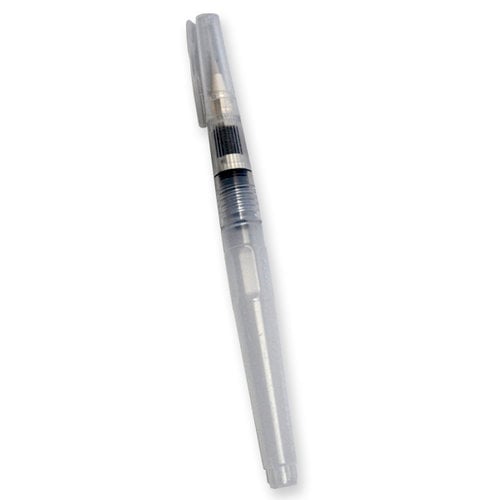
Ranger Tim Holtz Detail NIB Water Brush
Shop at:
SBC
Marvy Le Plume II Natural 12 pk Dual Markers
Shop at:
SBC
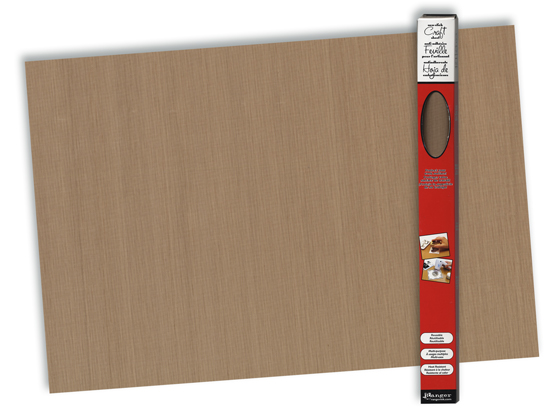
Ranger Inkssentials Craft Mat 15x18
Shop at:
SBC
Memento Dye Ink Tuxedo Black
Shop at:
SBC
Ranger US HEAT IT CRAFT TOOL
Shop at:
SBC
Misti Original
Misti Original
Shop at:
So Suzy
Westcott Premium Hot Glue Pen
Shop at:
Amazon
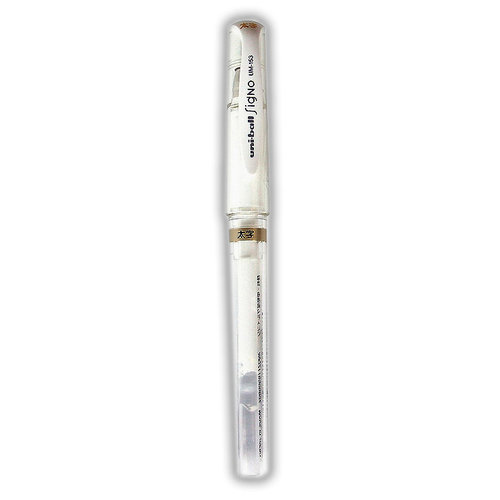
Signo White Uni-ball gel pen
Shop at:
SBC
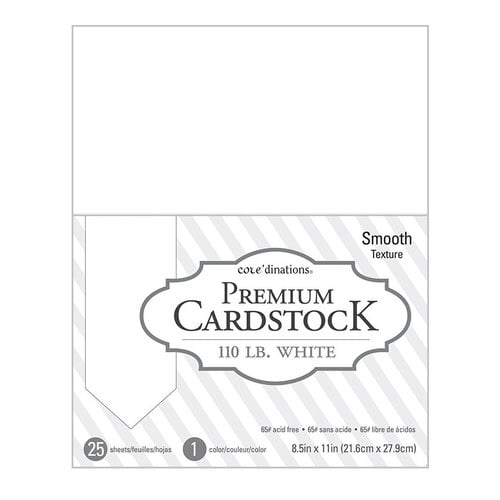
Coredinations 25 sheet pk 110 lb white cardstock
Shop at:
SBC
So  Suzy Stamps Bowl/Globe w/cork stamps
So Suzy Stamps Bowl/Globe w/cork stamps
Shop at:
So Suzy
Ranger Ink White Super Fine Embossing Powder
Shop at:
SBC
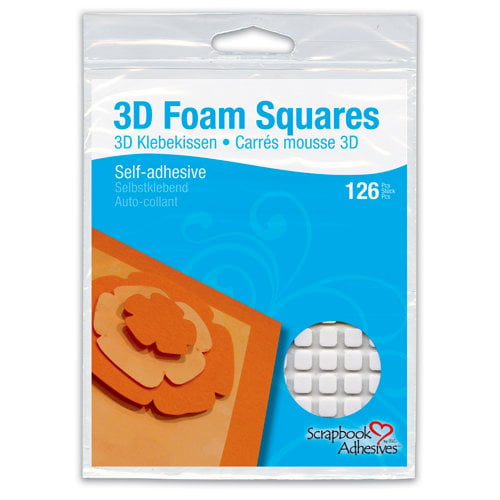
Scrapbook Adhesives by 3L Foam Squares
Shop at:
SBC
Versamark Clear Watermark Ink mini pad
Shop at:
SBC
So Suzy Stamps Ghouls Just Wanna Stamp
Shop at:
So Suzy
So Suzy Stamps Witch w/Crystal Ball Stamp
Shop at:
So Suzy
Ranger Ink Super Fine Black embossing powder
Shop at:
SBC
Graphic 45 French Country Collectors Edition
Shop at:
SBC


#sosuzystamps #ghouls #witch #globe #cauldron #halloween #graphic45 #rareoddities #frenchcountry #westcottbrand #rangerink #marvyuchida #Misti #scrapbookadhesivesby3l #wavingmywand #terriburson #cards #DIY #papercrafts #strathmoreart

Wednesday, October 14, 2015

New Halloween Challenge at DoubleClick Skittles

Welcome to the newest edition of the DoubleClick Skittles Challenge!

Challenge #33 - Halloween

Oct. 14 - Oct. 20


There are so many fun and amazing Halloween paper products on the market right now.  I am such a paper addict and as you can imagine, I have several of those collections in my crafty domain at this very moment.  It was a total no-brainer deciding which paper collection I would use to feature the new Skittles release aptly titled Witches Brew; the Graphic 45 Rare Oddities collection.  It's the perfect companion for the newest Skittles colors, Frog, Witch and Pumpkin.  For goodness sake,  there's even tiny little potion bottles that say Witches Brew and Frog!

Another first for me today.... I made my first French Fry box.  I broke in my Cricut Cartridge Tags, Bags, Boxes and More 2 and used my Explore to cut these G45 papers.  


I fussy cut those little potion bottles and even "burned" my white tulle from The Ribbon Resource by melting it a bit with my heat embossing tool, so it would resemble cobwebs.  It looks pretty cool in person.  The Witches Brew Skittles are scattered about on my box and perfectly match the colors of my paper... or is it the other way around?  The paper matches the Skittles?  Haha.  Regardless, I'm sure there's room in this box for some spooky treats.  My teenager will love getting his favorite Halloween candy in this super cool box.


Did you know that the new Skittles release, Witches Brew is almost sold out?  Everyone is going nuts for these bubbly little gems and if you hurry, you might snag one of the few remaining sets.   Carri has 3 different price options for this set, starting at a price point of $3.75 for the 3 pk set.  That includes free USA shipping and PAYPAL accepted.  But, you better hurry.

You can shop here:


 Join the Halloween challenge and be entered for a fun prize, but be sure and read the rules, as backlinking is not allowed.  Skittles are not required to play so come on... link up and come and play with us!


Thanks for stopping by!

Terri


Linking to these other challenges:

Additional Supplies:
May Arts Ribbon / The Ribbon Resource purple velvet polka dot ribbon
Scor-pal 1/4" tape
Tombow adhesives

#skittles #doubleclickconnect #cricut #cricutexplore #cricuteverywhere #tombow #graphic45 #g45 #rareoddities #halloween #pumpkin #pumpkins #witch #frog #witchesbrew #potion #frenchfrybox #tulle #polkadot #polkadots #diy #mayartsribbon #ribbonresource #ssswchallenge

Friday, October 2, 2015

New Release! Witches Brew at DoubleClick Skittles

(This is 1 of 3 projects posted today)

DoubleClick Skittles is announcing a brand new release today called, "Witches Brew".  We're all just a little excited with these fun new colors called, Pumpkin, Witch and Frog Legs (they made a comeback!).  

To celebrate the new release, I've made a Spooky Fun Luminary that features the new Witches Brew Skittles, as well as the Black Skittles.  


The owl image is from Miss Kate Cuttables and I've added black skittles for the eyes.  Look at the skittles across the bottom.  Aren't they gorgeous?!  I placed a strip of  May Arts glittered ribbon around the bottom then glued them with clear glue.


To create my luminary, I heat embossed a tree stamp from Unity Stamps, then used the watercolor smooshing technique with my vellum paper.   I swiped my Tombow Dual brush pens on an acrylic block (one color at a time) and spritzed with water, then placed my vellum randomly over the wet color.  Allow to sit a minute or so, then blot excess color with a paper towel.  Repeat until you have all the desired colors on your paper.


The vellum has a tendency to ripple when wet, so when it dried, I rolled it around a bottle and let sit awhile to reshape itself, then adhered the back edge with a strip of Scor-Tape.


New releases have a tendency to sell out quick, particularly the seasonal ones, so don't wait, and then come crying to me later thinking I can hook you up!  Haha!  Carri has 3 different price options for this set, starting at an amazeballs price of $3.75 for the 3 pk set.  That includes free USA shipping and PAYPAL accepted.  You really can't beat that.

You can shop here:


Here's my luminary all lit up with a candle inside.  Isn't it spooky fun and pretty?  I really do love it.  The Witches Brew Skittles are the PERFECT color for this.  You'll find these colors will coordinate with many of your Halloween and Fall projects.  


Also linking to these challenges:


Additional Supplies:
May Arts Ribbon Silver glitter dot sheer ribbon
Unity Stamp Co Sept 2013 Kit of the Month
Ranger Stickles Glitter glue (Firefly, Magenta, Gold)
American Crafts Zing Black opaque embossing powder
Versamark
Heat embossing tool
Bazzill vellum
Tombow Dual Brush pens
acrylic block
water spritzer
Tombow Mono Aqua Glue and adhesive runner
Scor-Tape 1/4"
Kunin Orange Felt (owl's nose)
Miss Kate Cuttables svg Witch Owl
Cricut Explore die cutting machine

#doubleclickskittles #skittles #halloween #vellum #tombow #mayartsribbon #ribbonresource #witch #owl #pumpkin #froglegs #luminary #watercolor #broom #fall #autumn #spooky #cricut #cricutexplore #cricuteverywhere #misskatecuttables #svg #bazzill #americancrafts #thedailymarker30day3

Monday, August 31, 2015

Decorative Halloween Party Jars

(FTC disclosure: This post may contain affiliate links so, if you purchase a product using the link I may receive a small commission. I only participate in affiliate programs that feature products that I use and love. Your purchase price is not affected in any way, by using my links.)

Fall is just around the corner (yay!) and today I've got a super easy and fun design team project to share over at 

The Ribbon Resource, the online retail store for May Arts Ribbon.


Hop on over to The Ribbon Resource Blog and check out the rest of my project and leave a little love if you want.  Then feel free to go shopping for these yummy ribbons!


May Arts Ribbon used:
424-18-28 1/8” Orange Striped Ribbon (three 4” pieces)


(FTC disclosure: This post may contain affiliate links so, if you purchase a product using the link I may receive a small commission. I only participate in affiliate programs that feature products that I use and love. Your purchase price is not affected in any way, by using my links.)

Sunday, October 26, 2014

2014 Halloween Popcorn Box Blog Hop

Welcome to the 2014 Halloween Popcorn Box Blog Hop Party, hosted by Laura Kelly Designs.   Around 30 participants were invited to take an ordinary cardboard popcorn box, provided by Laura Kelly, and make it their own. 

Up for grabs is a fabulous prize which includes: a $50 Fandango Movie gift card, a pack of popcorn boxes from World Market and $45 worth of I Love to Create craft supplies to decorate with.  Comment and show some love to all the bloggers below, then enter the Rafflecopter giveaway.

But first, let me tell you how I made this Bubbling Brew box and my tribute to the Wizard of Oz!


If you know me, or delve further into my blog archives, then you know I'm a HUGE Wizard of Oz fan.  I knew exactly what I wanted to do;  a spin on the Wicked Witch.  Check out my tutorial below which includes the foaming brew and making your own colored glitter mesh filler:


Ingredients for this Bubbling Brew box:  1 popcorn box, Laura Kelly Design buttons (Buttons Galore), 4-5 feet of white mesh ribbon (May Arts), Black/white twine (May Arts Ribbon), DCWV Amber Autumn Stack 12x12 paper, October Afternoon Sprinklers Witches Brew paint misting spray, Wow Iridescent Key Lime glitter powder, Adhesive runner (Tombow Xtreme), Heat tool for crafting (The Paper Studio), Unity Stamp Co Halloween Chatter kit (witch hat/sentiment), Versamark clear watermark ink, Black embossing powder (Ranger), Adhesive glitter tape (American Crafts, medium Glue Dots, Scotch foam dots

Optional to embellish cauldron:
Tulip Beads in a Bottle fabric paint in gold
Marvy snow marker

1.  Create a template of one side of the box and make a duplicate sheet.  Adhere to the box with tape runner.


2.  Add a few spots of adhesive on the ouside of the papered box.  Wrap the mesh ribbon all around the box, about 4 times in a random criss-cross pattern, making sure it sticks to the adhesive in places.   Cut and tuck strip on backside of box.


3.  The fun part?  Melting!  How can we have a wicked witch without some melting going on?  Take your heat tool and use a side to side motion over different sections until the mesh starts to melt (burn).  Be careful!  You don't want to overheat and set your crafty domain on fire. 

4.  Adhere swirly twine circles.  These were formed on the medium glue dots. Lollipop Guild!  Another ode to the Wizard of Oz!

5.  Adhere embossed witch hat and stamped sentiment with foam dots.

6.  The cauldron: this was super fun to make.  This image was fussy cut from the same DCWV stack.  Embellishing is optional but here's what I did:

Run a snow marker where you want "foam".  Before the heat process, I added a touch of October Afternoon Sprinklers Witch Hazel droplets over the snow marker ink.  Take the heat tool and dry in a side to side motion.  Once it starts drying, it will then begin to foam.  I heated it a bit longer to get a nice burned look.  Add the Tulip Beads in a Bottle fabric paint in gold.  This stuff dries amazingly quick!  I love the texture and dimension of my bubbling witches brew.  Don't you?

7.  Make homemade green glitter mesh filler: Take a plastic zippy bag and add several spritzes of the same October Afternoon paint and mist some water as well.  Add about 2-3 feet of the white mesh ribbon in the bag and work all of it together by squishing outside of sealed bag.  Add a little more paint and water as need to get desired color.  Lay the damp ribbon on craft mat, sprinkle with glitter, and let dry overnight.  


Check out the other Halloween boxes from the amazing artists and designers, comment at each stop and enter the Rafflecopter giveaway below.  Good luck!

a Rafflecopter giveaway

#wizardofoz #halloweenpopcornbox14 #Cre8time #wickedwitch #unitystamps #mayartsribbon #dcwv #gluedots

Friday, August 29, 2014

Halloween treats and tags w/Unity Stamps & Spellbinders Celebra'tions

Besides crafting, one of my favorite things to do is buy clearanced treat boxes and bags at Target, in particular, at 90% off, haha.  It's usually the seasonal ones that I go for.  I'd rather buy super cheap, pre-made boxes and devote more time to creating treats to go in and outside the box.


So, I snagged a set of these Halloween boxes last year for, oh, 39 cents!  And, this shiny white bag was from a Christmas sale last year.   I picked up several of those as well.  I thought it would be fun to stamp a fun Halloween image on the bag, but, I wasn't sure if ink would adhere to this material, so I decided to heat emboss, being very careful not to overheat and burn this thin material or cause excessive puckering.


I grabbed this cute witches hat from the Unity Stamp Halloween Chatter set and used Versamark clear ink, then sprinkled black embossing powder, tapping the excess through the material onto a scrap piece of blank sticker paper.  After putting the excess powder back in the jar, I put the paper back in the bag to keep the heat away from the other side of the bag.  I then added a thin strip of orange glitter adhesive tape to the hat.


The tags were made with the brand new Spellbinders SWEET TREATS matching stamp and die tag set.  Let me tell you, these stamps and tag dies are HUGE!  Spellbinders was kind enough to send me this set in the mail, after my guest blogger stint at the CHA Paper Arts show in Atlanta last month (thanks, Dave!)  Who can say that they received personal instruction from Richard Garay himself, the designer of this kit?  I can, that's who!  #grin 
 
I used everything you see below, embellishing with May Arts Ribbon twine and Freckled Fawn neon dots.  Those cute bats were also heat embossed, fussy cut and held in place with Glue Dots.  This stamp set is one of my fave from the Unity Stamp Co, Kooky Spooky and Batty set.  Have I told you how much I love Unity Stamps?  Well I do and if you could see my stash in my craft room, you would know! 
 
 
Come and join in!


Additional Supplies:  Spellbinders Celebrations Odacious Orange ink, Basic grey black candy buttons, Memento luxe black ink, Zing black opaque embossing powder, American crafts glitter adhesive tape, heating tool 
 
#CHASHOW #RICHARDGARAY #CRE8TIME