Showing posts with label ghost. Show all posts

Wednesday, September 21, 2022

Boo Stitched Halloween Card

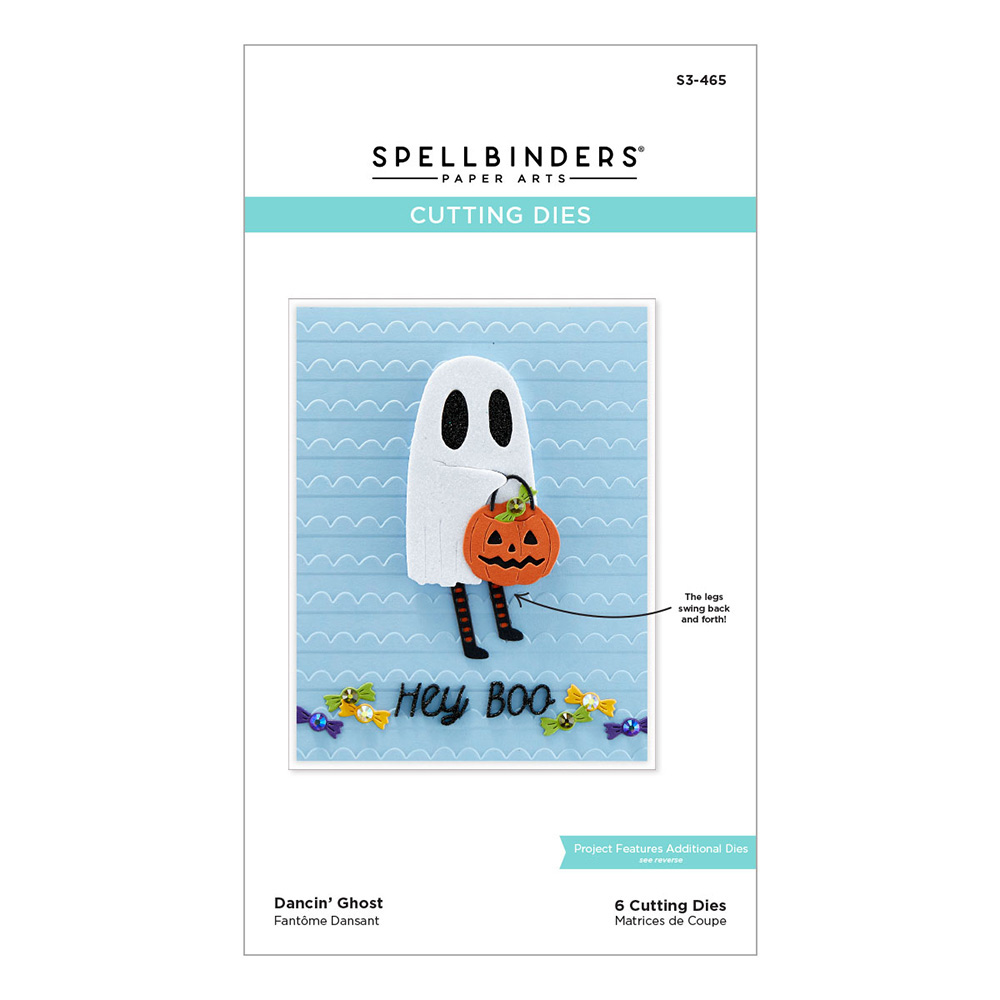
Hey friends, I'm back today with a card that features products from Spellbinders. I simply had to have this fun ghost die set called Dancin' Ghost from the Boo Party Collection. I love making seasonal cards and this one definitely puts me in the mood for Halloween cardmaking. Stick around for some tips and details on the huge Fall Warehouse Sale! You'll also find product links at the end of this post.


(FTC Disclosure: as an affiliate for various companies in the craft industry, I will receive a small commission for purchases made through my convenient affiliate links, at no additional cost to you.)


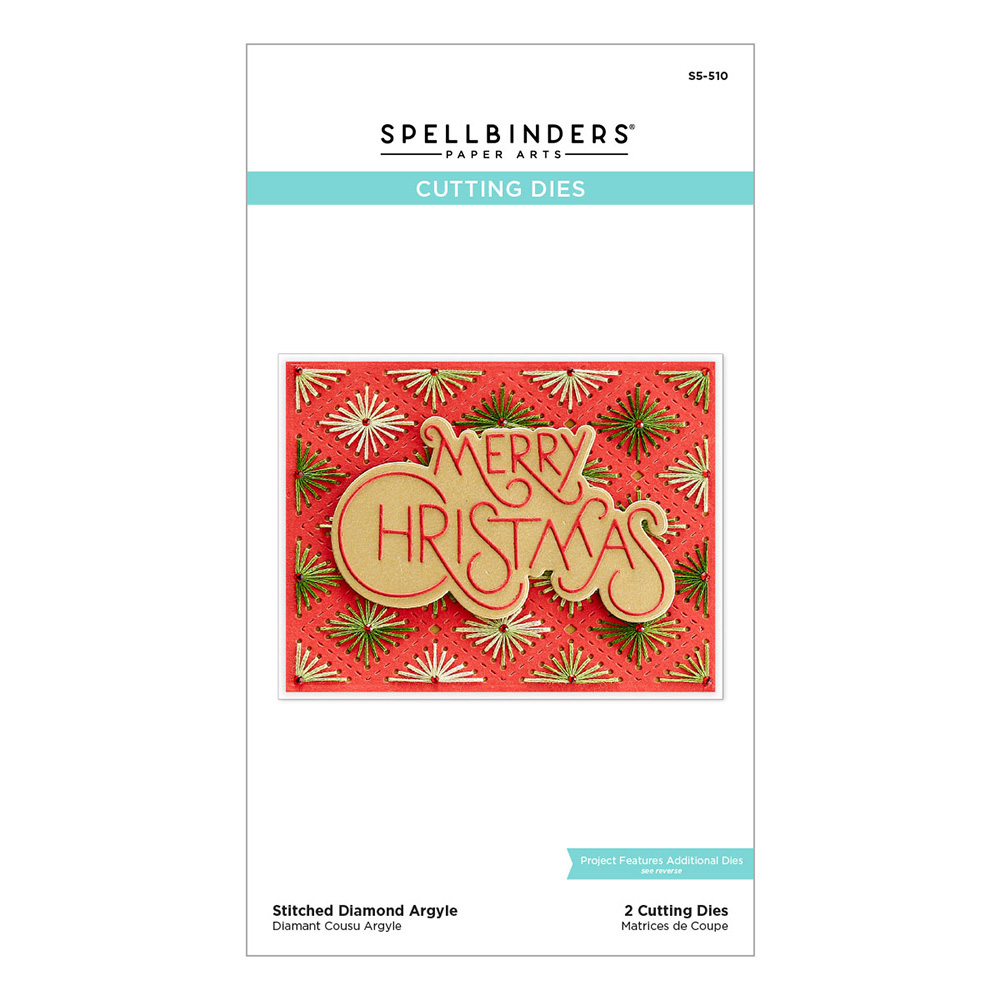
I used the stitched diamond argyle cover plate for my panel, cut with my Platinum 6 die cutting machine. I chose several DMC floss colors that spoke "Halloween" to me; 553, 550, 971 and 907.

Back in May of this year, I ordered the Stamp of the Month club selection which was the Stitched Color Wheel stamp set pictured below. I used one of the stamps to make those paper floss thingies below. What's it called, haha?  Are you a club member? Find out about their clubs here.

Not only will you get 10% off all your Spellbinders purchases, you can order past club kits, if they're not sold out.


I share a lot of "work in progress" photos on Instagram and in Stories (pictured below). Are you following me on Insta? If not, I would love to see you there!

I'm also the founder of The Seasonal Cardmaker Facebook Group, if you'd like to join. Pop in and share your seasonal cards with us!


So, back to my sweet lil' ghost. I ran white cardstock through my Platinum 6 die cut machine, popping out the eyes, and again with black cardstock, keeping the eyes intact. I backed my white ghost with the black ghost, offsetting it to one side for more of a shadow effect. Adhesive foam on the back, keeps everything intact, including the eyes, and adds dimension.

I really wanted to pull color from my threads onto my ghost because sometimes, that's how I roll, haha. I used 4 different Copic Markers, all linked at the end of this post, plus a blender brush to smooth out the color near the top. 

For my sentiment, I layered 2 strips of black cardstock with a trimmed section of adhesive sheet peeled and adhered between the two strips, so when I ran it through my Platinum 6, it's more sturdy to work with. Just a little glue on the back works to adhere it to my layered strip panel near the bottom. I usually dredge intricate dies gently through a small amount of glue on my craft mat, then blot the excess around my die cut with a paper towel.


I mounted my A2 size black cardstock on an A2 white card, then mounted my stitched panel with die cuts attached. Such a fun project! I love how the stitching kind of looks like cobwebs, don't you think?

Thanks so much for stopping by! Don't miss out on the Fall Warehouse Sale that runs now through Sept.30th. It's a huge event so check it out! 

See you next time............. Terri


***********************************
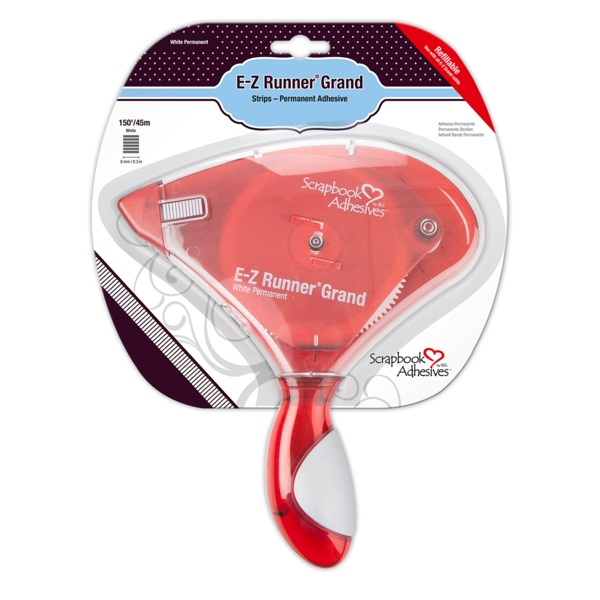

Scrapbook Adhesives by 3L EZ Grand Runner
Shop at:
Scrapbookcom
Scrapbook Adhesives by 3L Foam Circles Mix, White
Shop at:
Scrapbookcom
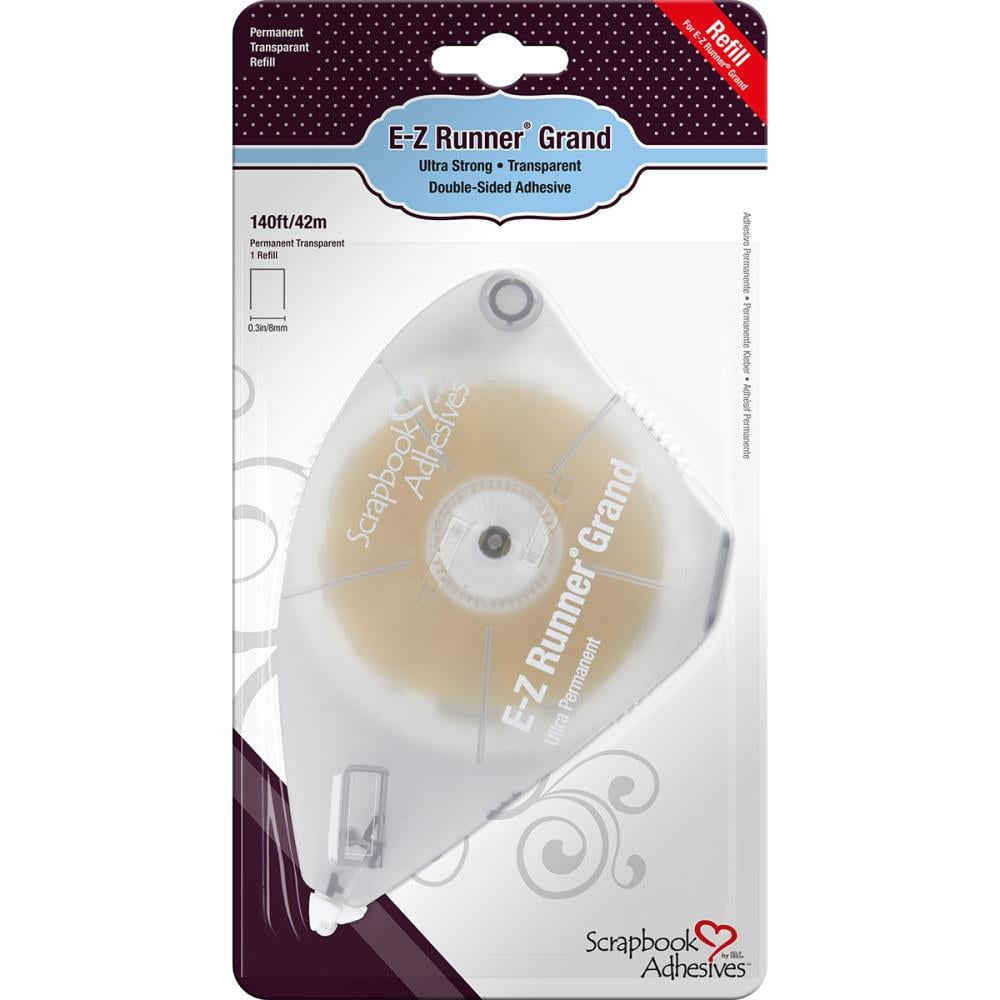
Scrapbook Adhesives by 3L EZ Runner Grand Refill
Shop at:
Scrapbookcom
Copic Sketch Marker - YR15 Pumpkin Yellow Light Orange Bright
Shop at:
ScrapbookPal
Copic Sketch Marker - YR68 Orange Bright Bold
Shop at:
ScrapbookPal
Copic Sketch Marker - YG17
Shop at:
ScrapbookPal
Copic Sketch Marker V15
Shop at:
ScrapbookPal
Shop all Copic Markers at ScrapbookPal!
Shop at:
ScrapbookPal
Spellbinders Platinum 6 Die Cut/Emboss Machine
Shop at:
Scrapbookcom | Spellbinders
Neenah A2 Card Front Panel 25 pk
Shop at:
Scrapbookcom
Stitched Argyle Diamond Etched Background Die
Shop at:
Scrapbookcom | Spellbinders
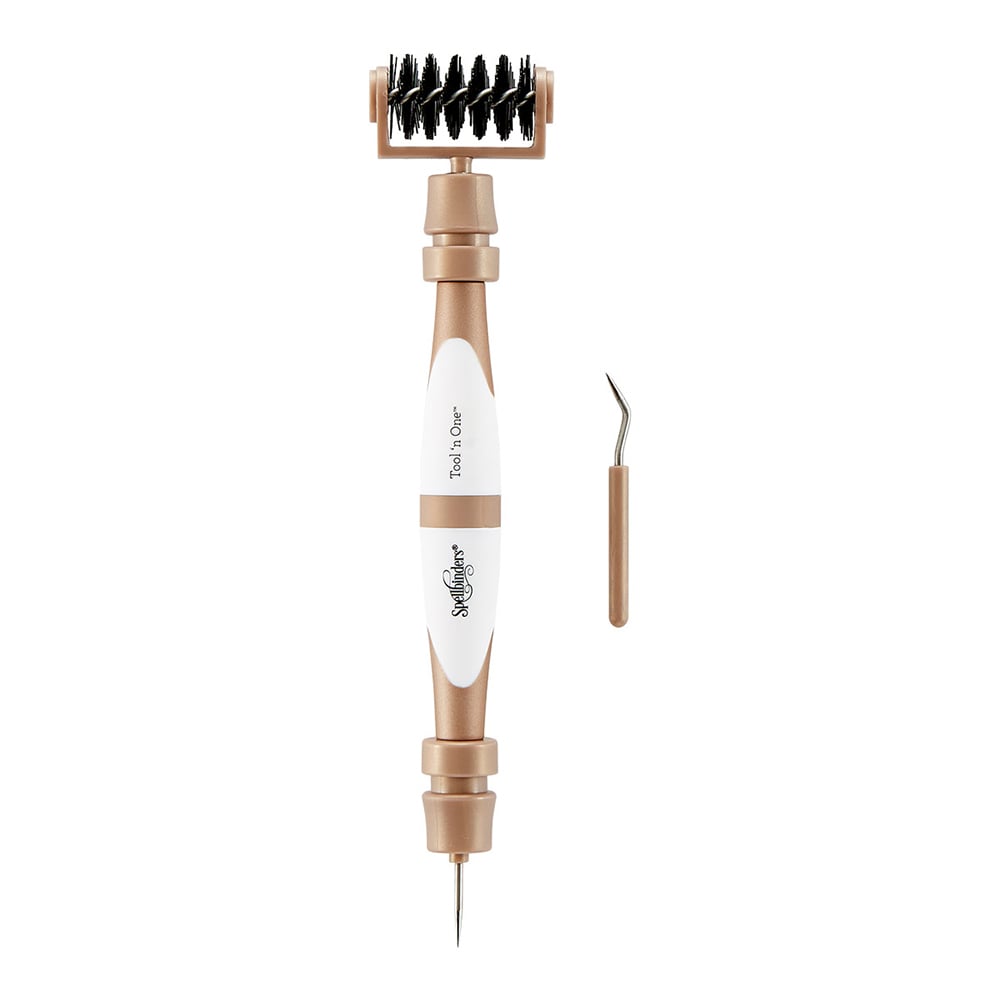
Spellbinders Tool N One - Rose Gold
Shop at:
Scrapbookcom | Spellbinders
Neenah A2 Scored Cards - 25 pk
Shop at:
Scrapbookcom
Boo Dance Party Collection - Dancin' Ghost
Shop at:
Scrapbookcom | Spellbinders
Spellbinders Onyx Cardstock - 10 pk
Shop at:
Scrapbookcom | Spellbinders


#wavingmywand #spellbinders #boodanceparty #dancinghost #halloween #cards #cardmaking #copicmarkers #neverstopmaking #teamspellbinders #cardmakersofinstagram #cardmakersoftiktok #stitching #stitched #dmcfloss #dmcembroideryfloss #DIY #copicmarkers #scrapbookcom

Saturday, September 16, 2017

Ghouls Just Want To Have Fun

With Halloween right around the corner, I thought I would play with some new bewitching stamps that have recently been added to the So Suzy Stamps store.  I'm pairing the new Halloween stamps, "Witch with Crystal Ball" and "Ghouls Just Wanna", with the bowl/globe that Olesya designed for our holiday release.  I thought it would make the perfect cauldron for my creepy witch.  


Here's a brief tutorial on how I put this together and a list of ingredients that you will need:

-watercolor paper
-green glitter
-white embossing powder
-black embossing powder
-green misting ink
-black dye ink
-paper towel
-heat tool
-coloring markers 
-Versamark watermark clear ink
-small paint brush
-black cardstock
-designer paper
-embellishments
-hot glue gun
-adhesive tape, runner


(I recently tried a technique where I heat my embossing powder until it just begins to bubble, then sprinkles on glitter, press it in lightly with my finger and tap off excess, then finish heating.  I'm using that same technique again for my sentiment.)


1.  Heat emboss the globe with black embossing powder and versamark, onto watercolor paper.
2.  Use the technique described above, to heat emboss the sentiment.


3.  Press a paper towel onto a black dye ink pad and swipe the ink in a circle around the outside of sentiment and inside edge of bowl.  Repeat until desired color achieved.

4. Spray small amount of green ink onto craft mat and paint circles with a damp paintbrush.  Dry.


*Optional - I wanted my witch to have a collar draping over the edge of my bowl and also to fill in the gaps where she was fussy cut.  Trim a small piece of cardstock in the shape of a bowtie.  Adhere bottom edge to backside of bowl and fold upper edges down in front of bowl.

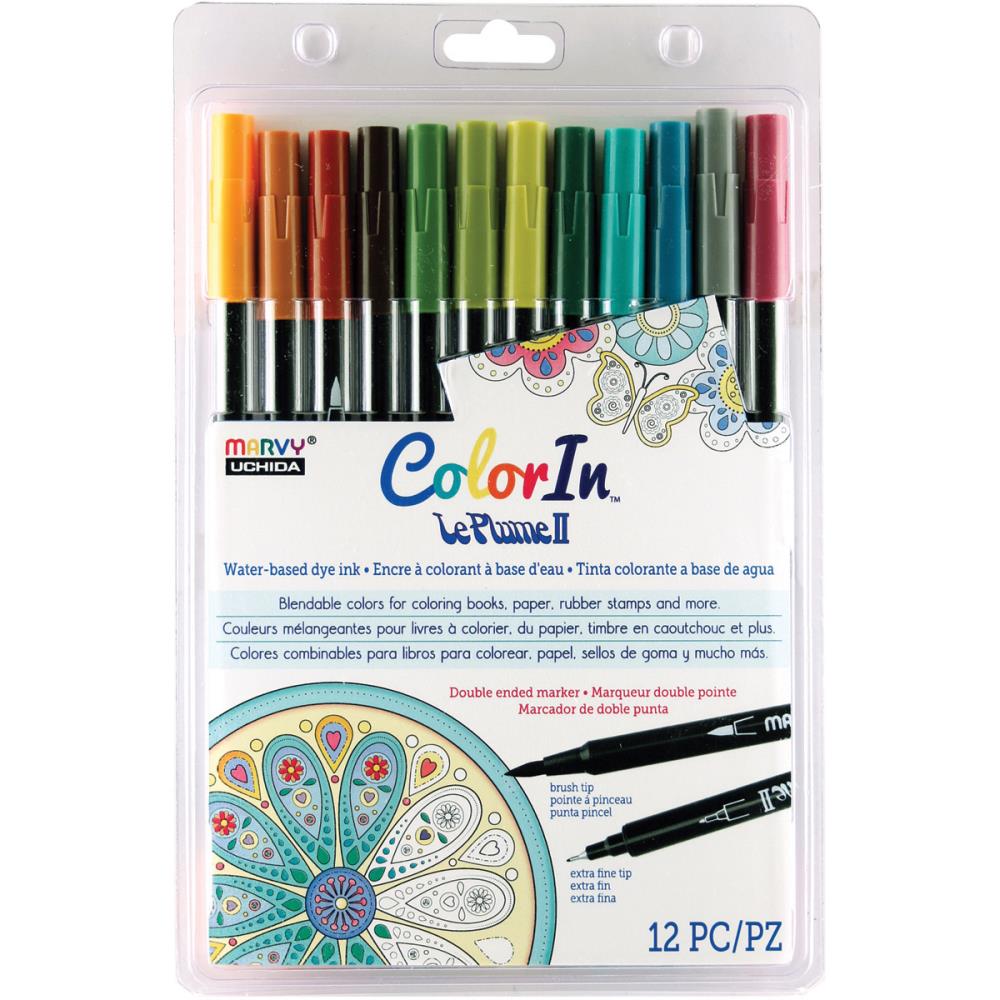
5.  Fussy cut your stamped witch and color her with markers of your choosing.  I have watercolored with Marvy Le Plume II brush markers.


6.  Run a bit of adhesive along the bottom of your witch (front) and adhere to the back of the "collar".

7.  Use strong adhesive tape to pop out your cauldron so that the sides are tightly adhered with the center pushed inwards to form a bubble-like shape.


8.  Add various embellishments and ribbons.  My designer papers are from the Graphic 45 Rare oddities collection and French Country collection..  This card is approximately 5"x 6".  The embellishments are from May Arts Ribbon and DoubleClick Skittles embellishment line.


If you're a fan of the Wizard of Oz, then you should know that I colored this witch in homage to the Wicked Witch of the West!  Or was it East?  No matter.  She was green and wicked!  I hope you love this fun Halloween card.  Be sure and check out all the Fall and Halloween stamps!  There's a huge selection and I know you will have fun looking around.  Thanks for popping in today!


SUPPLIES

I’m listing the products I used below. Click on the link to go directly to the product. Where available I use compensated affiliate links which means if you make a purchase I receive a small commission at no extra cost to you. Thank you so much for your support!


Strathmore 300 series Watercolor Paper 9 x12 pad
Shop at:
SBC
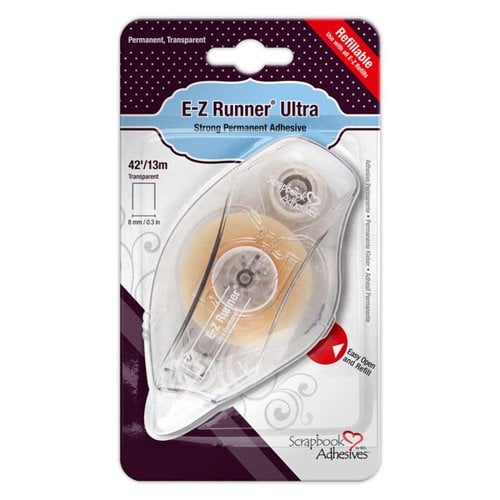
Scrapbook Adhesives by 3L Permanent Runner
Shop at:
SBC
Spellbinders Pierced Square Dies
Shop at:
SBC
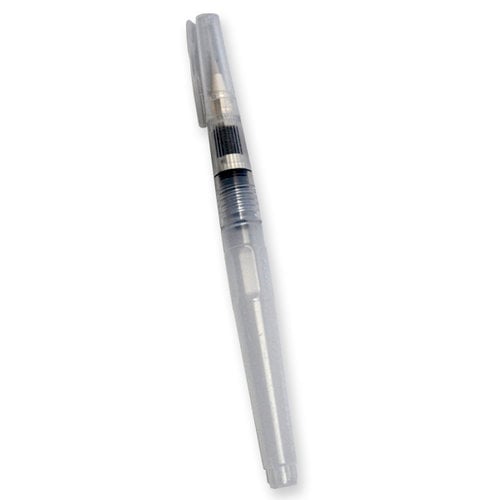
Ranger Tim Holtz Detail NIB Water Brush
Shop at:
SBC
Marvy Le Plume II Natural 12 pk Dual Markers
Shop at:
SBC
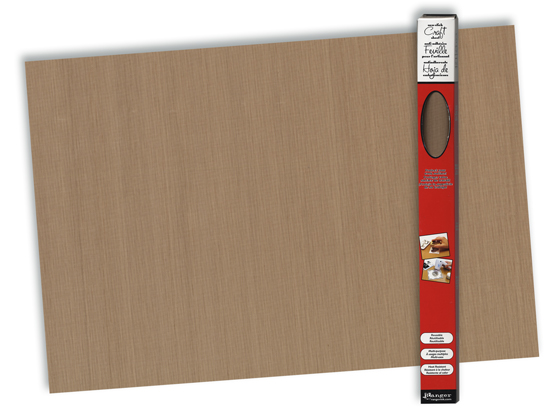
Ranger Inkssentials Craft Mat 15x18
Shop at:
SBC
Memento Dye Ink Tuxedo Black
Shop at:
SBC
Ranger US HEAT IT CRAFT TOOL
Shop at:
SBC
Misti Original
Misti Original
Shop at:
So Suzy
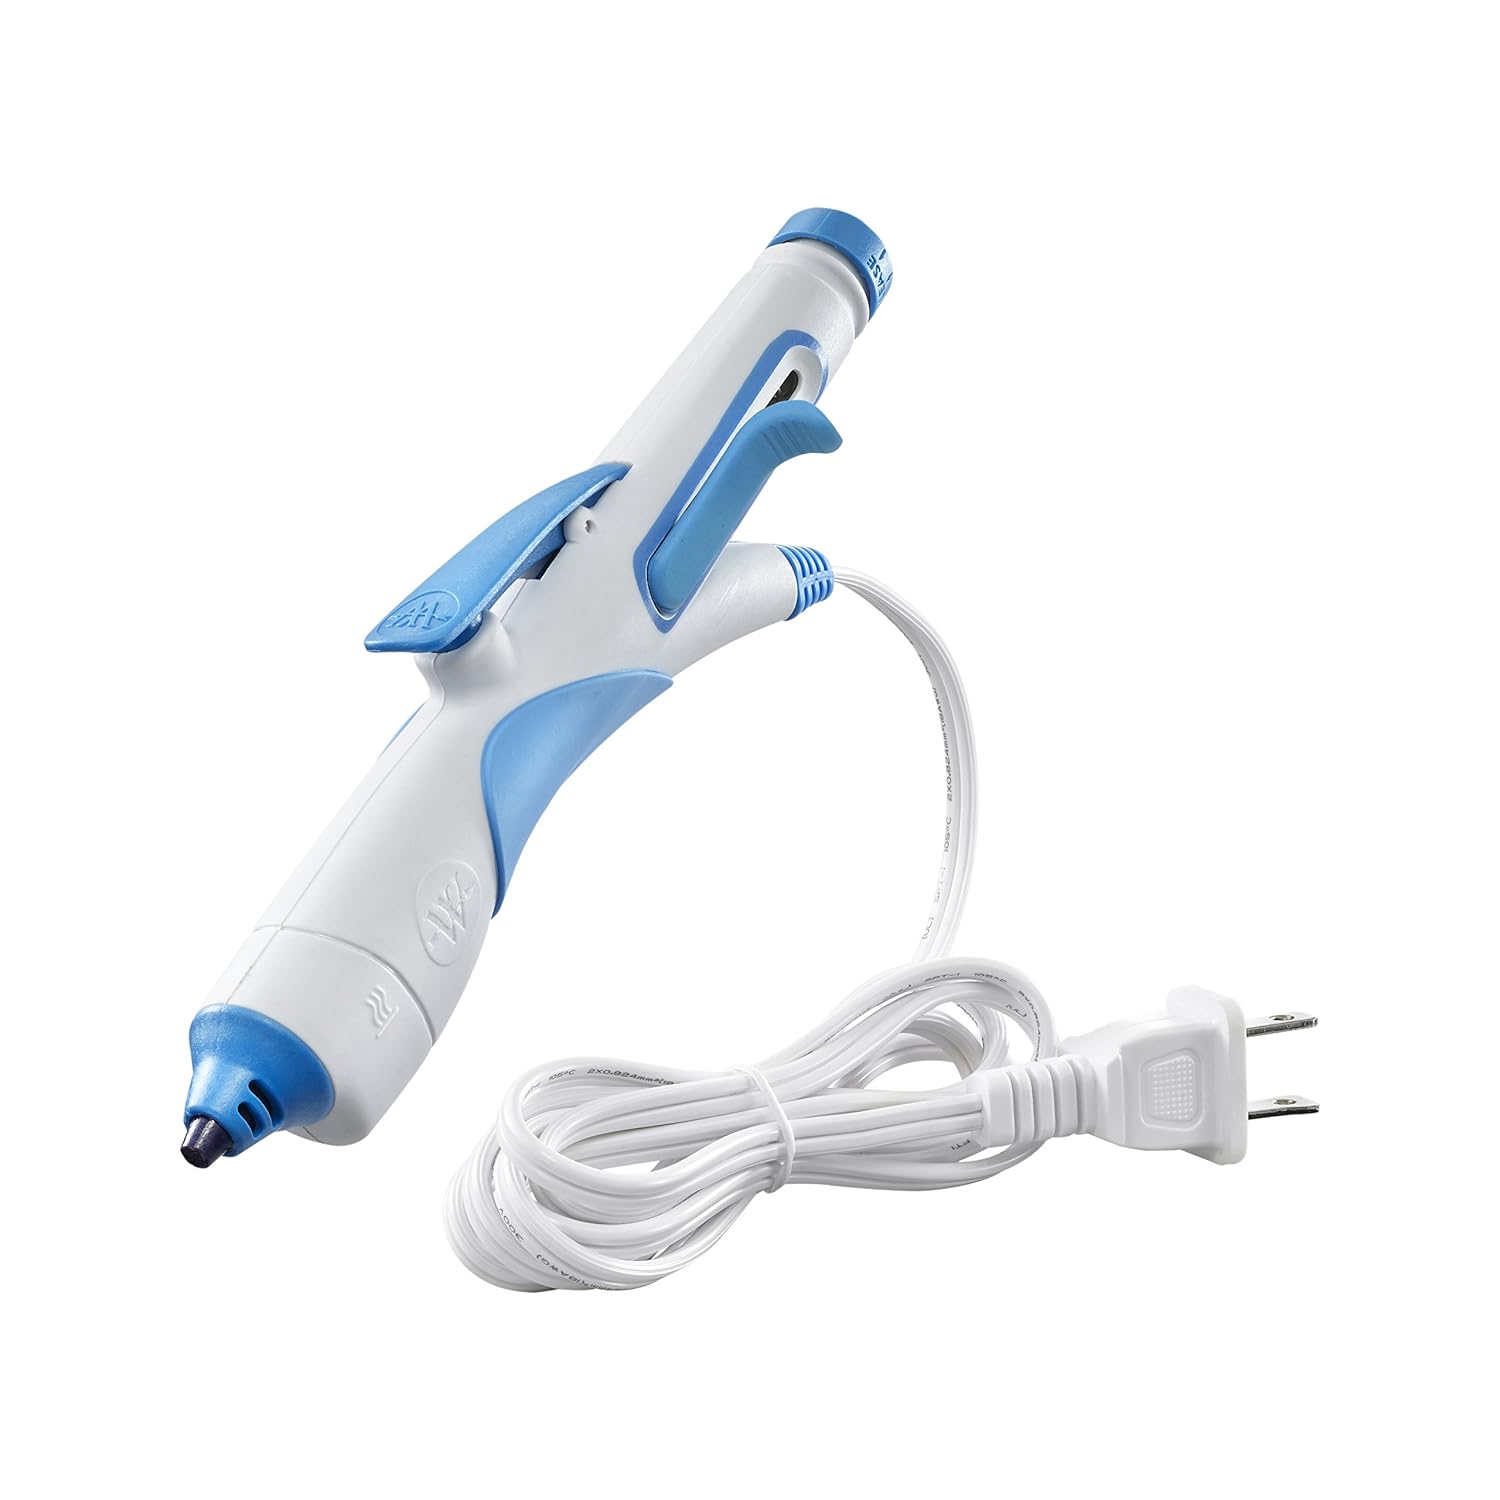
Westcott Premium Hot Glue Pen
Shop at:
Amazon
Signo White Uni-ball gel pen
Shop at:
SBC
Coredinations 25 sheet pk 110 lb white cardstock
Shop at:
SBC
So  Suzy Stamps Bowl/Globe w/cork stamps
So Suzy Stamps Bowl/Globe w/cork stamps
Shop at:
So Suzy
Ranger Ink White Super Fine Embossing Powder
Shop at:
SBC
Scrapbook Adhesives by 3L Foam Squares
Shop at:
SBC
Versamark Clear Watermark Ink mini pad
Shop at:
SBC
So Suzy Stamps Ghouls Just Wanna Stamp
Shop at:
So Suzy
So Suzy Stamps Witch w/Crystal Ball Stamp
Shop at:
So Suzy
Ranger Ink Super Fine Black embossing powder
Shop at:
SBC
Graphic 45 French Country Collectors Edition
Shop at:
SBC


#sosuzystamps #ghouls #witch #globe #cauldron #halloween #graphic45 #rareoddities #frenchcountry #westcottbrand #rangerink #marvyuchida #Misti #scrapbookadhesivesby3l #wavingmywand #terriburson #cards #DIY #papercrafts #strathmoreart

Monday, October 5, 2015

3rd Annual Popcorn Blog Hop Party 2015 with Laura Kelly Designs

It's time for Laura Kelly Design's 3rd Annual Popcorn Blog Hop Party!  The objective is to take a plain old popcorn box and turn it into something festive and fun.  This year, there are 50+ craft bloggers who've been asked to create for this annual event. 


  We received product samples from some pretty awesome companies to create with and were allowed to add additional embellishments.There are several super nice prizes up for grabs.  Be sure to check out all the crafty inspiration, and enter the Rafflecopter giveaway link at the bottom of this post to be entered in the random prize drawing. 

My project is titled, "Ghouls Rule".  As luck would have it, Adornit is one of the sponsors and as many of you know, I LOVE Adornit!  I actually had a couple sheets of the blender paper sample that was sent, so I covered my entire box in the black polka dot paper.


The next sponsored product I worked with was the Kunin Felt.  I hand trimmed these cute little ghosts and adhered them with Alene's tacky glue.


 I was also sent some Scotch Washi tape in black and orange.  Notice those little signs that my spooks are holding?  I peeled off a 3" strip of orange and a 3" strip of black, then used my craft knife to divide my strips into thirds, lengthwise.  I overlapped one black strip and one orange strip.  Starting at the bottom of my trimmed wooden skewer, I wrapped the overlapped washi around my skewer.  It gave it kind of a swizzled look that I just love!  I repeated the wrap process with my remaining strips and skewers, then made little signs using the Adornit letter stickers that were sent.


When I finished, I unwrapped my Lollipic sucker, also a sponsor, and enjoyed my little treat!  Orange flavored and delicious!  The edible label is pretty cool too.

My popcorn recipe is very simple.  Pop your corn.  Add mini marshmallows, candy corn and/or peanuts.  Toss and enjoy!

Thanks so much to all the sponsors of this event!

Check out all the fun, crafty inspiration right here:


Enter the Rafflecopter Giveaway here:


Additional supplies used:
May Arts Ribbon adhesive flag ribbon, wired mini pom ribbon and light burlap ribbon
DoubleClick Skittles "Witches Brew" bubble embellishments
Xyron 2.5" sticker maker
Lil Inker Designs flag banner die
Cuttlebug die cutting machine
Rangers Stickles Diamond glitter glue
#popcornboxparty2015 #cre8time

Monday, August 31, 2015

Decorative Halloween Party Jars

(FTC disclosure: This post may contain affiliate links so, if you purchase a product using the link I may receive a small commission. I only participate in affiliate programs that feature products that I use and love. Your purchase price is not affected in any way, by using my links.)

Fall is just around the corner (yay!) and today I've got a super easy and fun design team project to share over at 

The Ribbon Resource, the online retail store for May Arts Ribbon.


Hop on over to The Ribbon Resource Blog and check out the rest of my project and leave a little love if you want.  Then feel free to go shopping for these yummy ribbons!


May Arts Ribbon used:
424-18-28 1/8” Orange Striped Ribbon (three 4” pieces)


(FTC disclosure: This post may contain affiliate links so, if you purchase a product using the link I may receive a small commission. I only participate in affiliate programs that feature products that I use and love. Your purchase price is not affected in any way, by using my links.)

Monday, October 21, 2013

Boo! Happy Halloween from my kid

I tried to get some card making done yesterday but my 11 year old was not having it.   Instead,  I was instructed to hand him the glitter glue... hand him the ink.... hand him the stamps.... You catch my drift?

He also instructed me that I better put it on my blog too.   Ha!   Well,  I wouldn't want to get in trouble so I better do as I'm told!    So,  according to my young 'un,  Halloween is here.   Enjoy some time with your kids this week.......