Showing posts with label team spellbinders. Show all posts

Wednesday, September 21, 2022

Boo Stitched Halloween Card

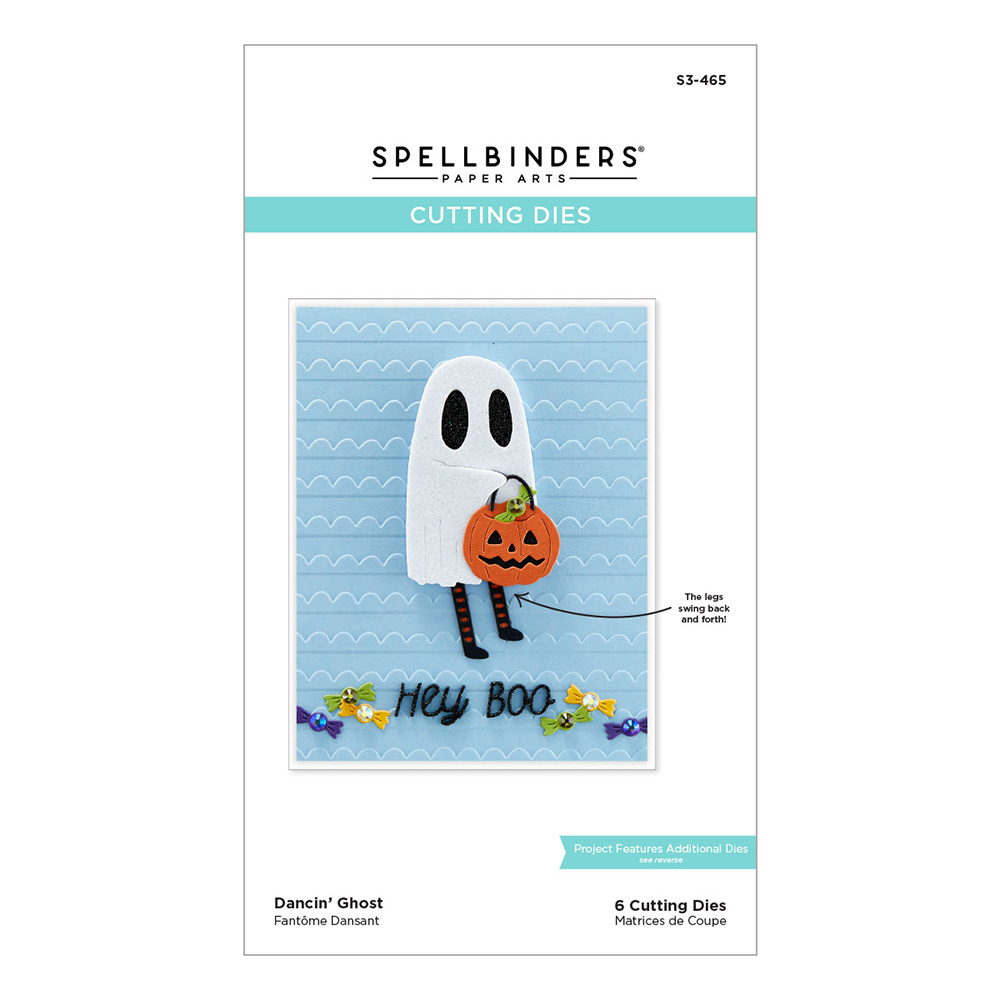
Hey friends, I'm back today with a card that features products from Spellbinders. I simply had to have this fun ghost die set called Dancin' Ghost from the Boo Party Collection. I love making seasonal cards and this one definitely puts me in the mood for Halloween cardmaking. Stick around for some tips and details on the huge Fall Warehouse Sale! You'll also find product links at the end of this post.


(FTC Disclosure: as an affiliate for various companies in the craft industry, I will receive a small commission for purchases made through my convenient affiliate links, at no additional cost to you.)


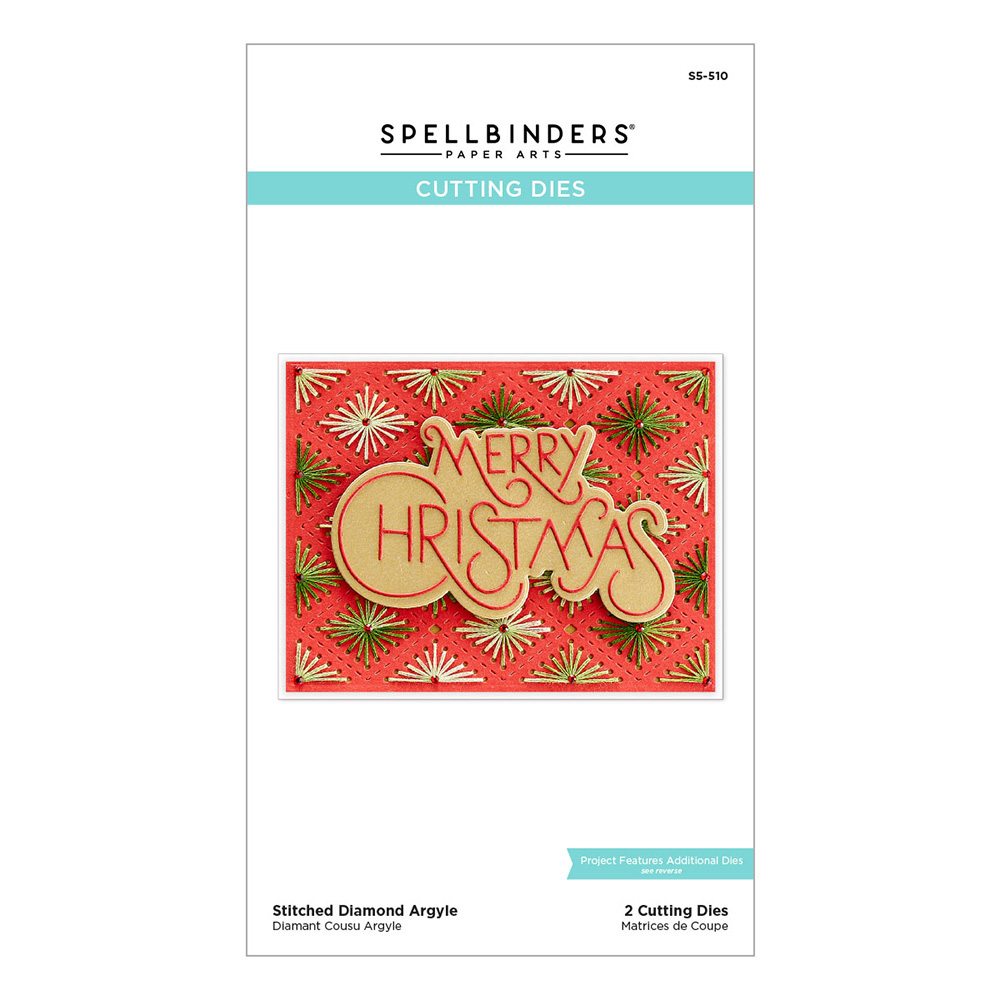
I used the stitched diamond argyle cover plate for my panel, cut with my Platinum 6 die cutting machine. I chose several DMC floss colors that spoke "Halloween" to me; 553, 550, 971 and 907.

Back in May of this year, I ordered the Stamp of the Month club selection which was the Stitched Color Wheel stamp set pictured below. I used one of the stamps to make those paper floss thingies below. What's it called, haha?  Are you a club member? Find out about their clubs here.

Not only will you get 10% off all your Spellbinders purchases, you can order past club kits, if they're not sold out.


I share a lot of "work in progress" photos on Instagram and in Stories (pictured below). Are you following me on Insta? If not, I would love to see you there!

I'm also the founder of The Seasonal Cardmaker Facebook Group, if you'd like to join. Pop in and share your seasonal cards with us!


So, back to my sweet lil' ghost. I ran white cardstock through my Platinum 6 die cut machine, popping out the eyes, and again with black cardstock, keeping the eyes intact. I backed my white ghost with the black ghost, offsetting it to one side for more of a shadow effect. Adhesive foam on the back, keeps everything intact, including the eyes, and adds dimension.

I really wanted to pull color from my threads onto my ghost because sometimes, that's how I roll, haha. I used 4 different Copic Markers, all linked at the end of this post, plus a blender brush to smooth out the color near the top. 

For my sentiment, I layered 2 strips of black cardstock with a trimmed section of adhesive sheet peeled and adhered between the two strips, so when I ran it through my Platinum 6, it's more sturdy to work with. Just a little glue on the back works to adhere it to my layered strip panel near the bottom. I usually dredge intricate dies gently through a small amount of glue on my craft mat, then blot the excess around my die cut with a paper towel.


I mounted my A2 size black cardstock on an A2 white card, then mounted my stitched panel with die cuts attached. Such a fun project! I love how the stitching kind of looks like cobwebs, don't you think?

Thanks so much for stopping by! Don't miss out on the Fall Warehouse Sale that runs now through Sept.30th. It's a huge event so check it out! 

See you next time............. Terri


***********************************

Scrapbook Adhesives by 3L EZ Grand Runner
Shop at:
Scrapbookcom
Scrapbook Adhesives by 3L Foam Circles Mix, White
Shop at:
Scrapbookcom
Scrapbook Adhesives by 3L EZ Runner Grand Refill
Shop at:
Scrapbookcom
Copic Sketch Marker - YR15 Pumpkin Yellow Light Orange Bright
Shop at:
ScrapbookPal
Copic Sketch Marker - YR68 Orange Bright Bold
Shop at:
ScrapbookPal
Copic Sketch Marker - YG17
Shop at:
ScrapbookPal
Copic Sketch Marker V15
Shop at:
ScrapbookPal
Shop all Copic Markers at ScrapbookPal!
Shop at:
ScrapbookPal
Spellbinders Platinum 6 Die Cut/Emboss Machine
Shop at:
Scrapbookcom | Spellbinders
Neenah A2 Card Front Panel 25 pk
Shop at:
Scrapbookcom
Stitched Argyle Diamond Etched Background Die
Shop at:
Scrapbookcom | Spellbinders
Spellbinders Tool N One - Rose Gold
Shop at:
Scrapbookcom | Spellbinders
Neenah A2 Scored Cards - 25 pk
Shop at:
Scrapbookcom
Boo Dance Party Collection - Dancin' Ghost
Shop at:
Scrapbookcom | Spellbinders
Spellbinders Onyx Cardstock - 10 pk
Shop at:
Scrapbookcom | Spellbinders


#wavingmywand #spellbinders #boodanceparty #dancinghost #halloween #cards #cardmaking #copicmarkers #neverstopmaking #teamspellbinders #cardmakersofinstagram #cardmakersoftiktok #stitching #stitched #dmcfloss #dmcembroideryfloss #DIY #copicmarkers #scrapbookcom

Friday, July 15, 2022

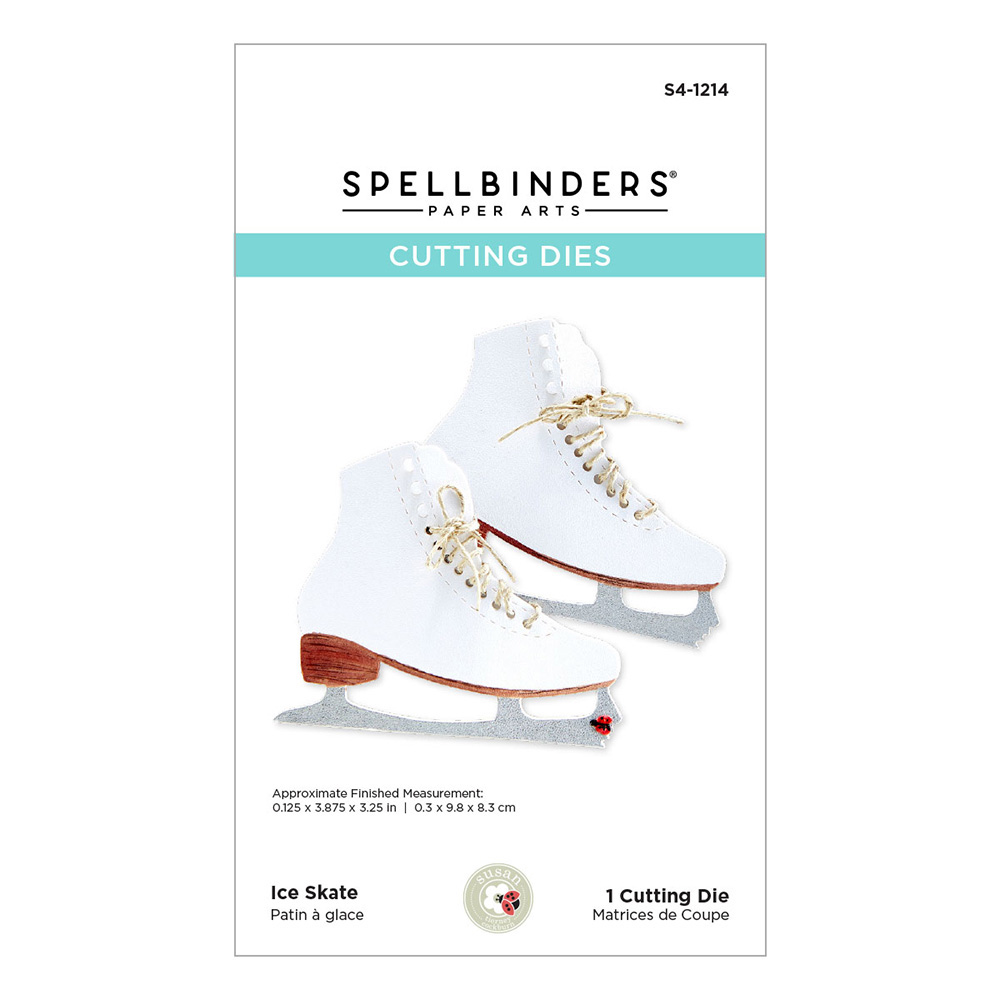
Ice Skate Cards for Spellbinders New Release

Hey crafty friends, I'm back with another pair of Christmas cards to help Spellbinders celebrate Christmas in July and their new release. Today's cards feature more stitching with the Stitched Diamond Argyle etched background die and the Ice Skate etched die. 

Scroll down and I'll tell you about the leg that I fashioned as well! Haha!

(FTC Disclosure: as an affiliate for various companies in the craft industry, I will receive a small commission for purchases made through my convenient affiliate links, at no additional cost to you.)


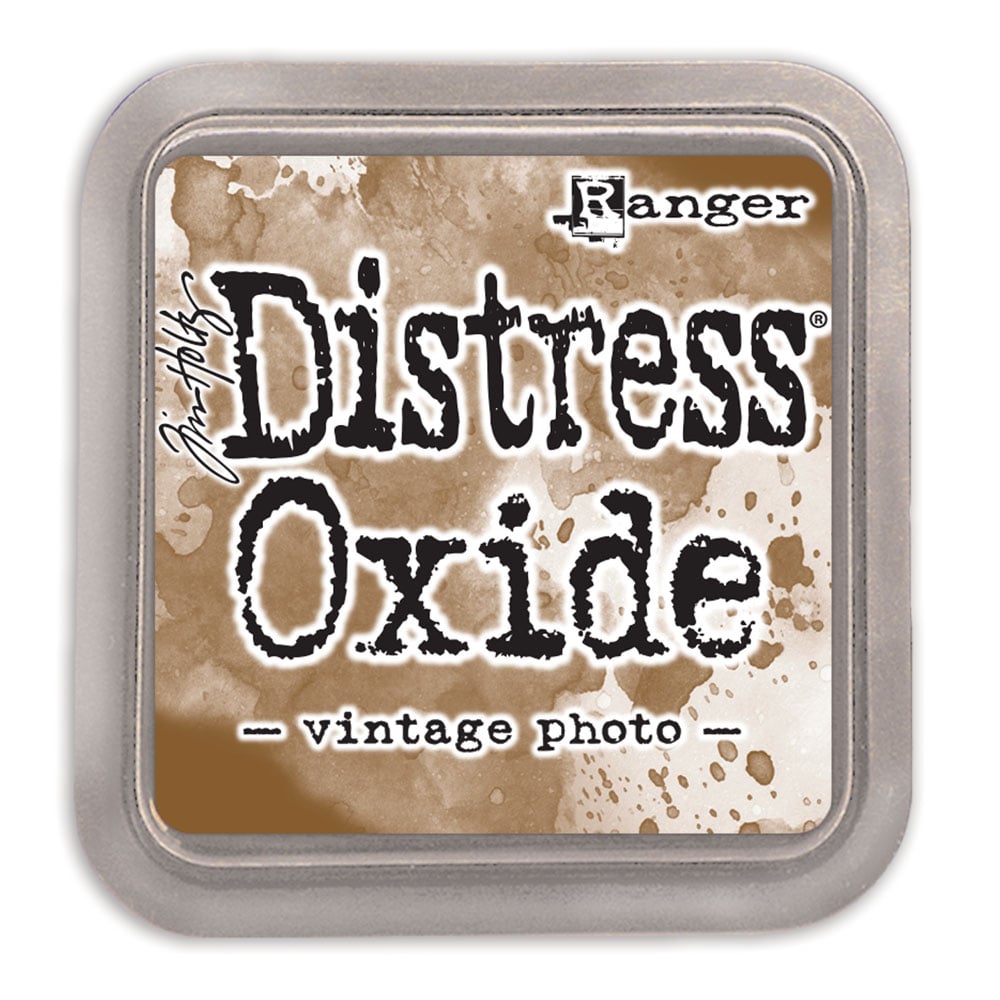
I had several ideas in mind for my ice skate. One, was to create a vintage looking skate. I achieved that by ink blending some Ranger Vintage Photo distress oxide with a blender brush on the heel, toe and inside the shoe flap, just above the bow.  What's that flap called? No idea. I used masking tape to cover the surrounding areas before ink blending.


To create my leg, it was very simple. I placed my skate die cut at the bottom edge of a 4x4 inch piece of white cardstock so that the top of my shoe could be a guide for the width that I needed to draw the leg. I drew upwards, maybe 3 inches, widening my lines near the top using a pencil. Then, I ink blended outside the lines so there wouldn't be dark edges and trimmed inside the pencil markings.

I trimmed off the edge at the top of the leg to be flush with the top of my card. Next, I applied a trimmed piece of red ribbed satin ribbon that I had in my stash, wrapping it around the bottom of the leg and stapling it to secure.  That's it! Just adhere it to the card and lay the skate on top!

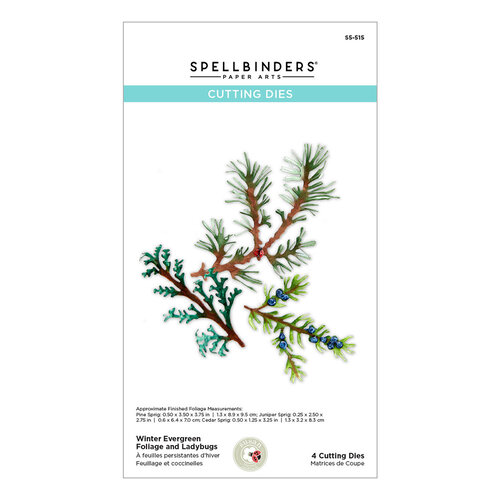
To color the rest of the ice skate, I used Copic markers.  The leaves were from the new Winter Evergreen Foliage die set and were smooshed in a blend of water and Vintage Photo Distress Oxide ink on my craft mat.


To finish my skate I stitched by hand, no needle needed as the holes were large enough to just  push through, with red DMC embroidery floss. I kept red for my theme throughout including the red cardstock behind my diamond argyle background and Pops of Color in Rudolph Red to embellish my branches.
 

The sentiments are from Tim Holtz Idea-ology Small Talk stickers, backed with red cardstock and popped up on adhesive foam.


For my next card below, I created another vintage style ice skate, ink blending in the same areas and coloring my skate with Copic markers in darker brown colors. I used white embroidery floss for the laces.

My diamond argyle background, was stitched with green DMC embroidery floss and layered on top of a matching green cardstock.


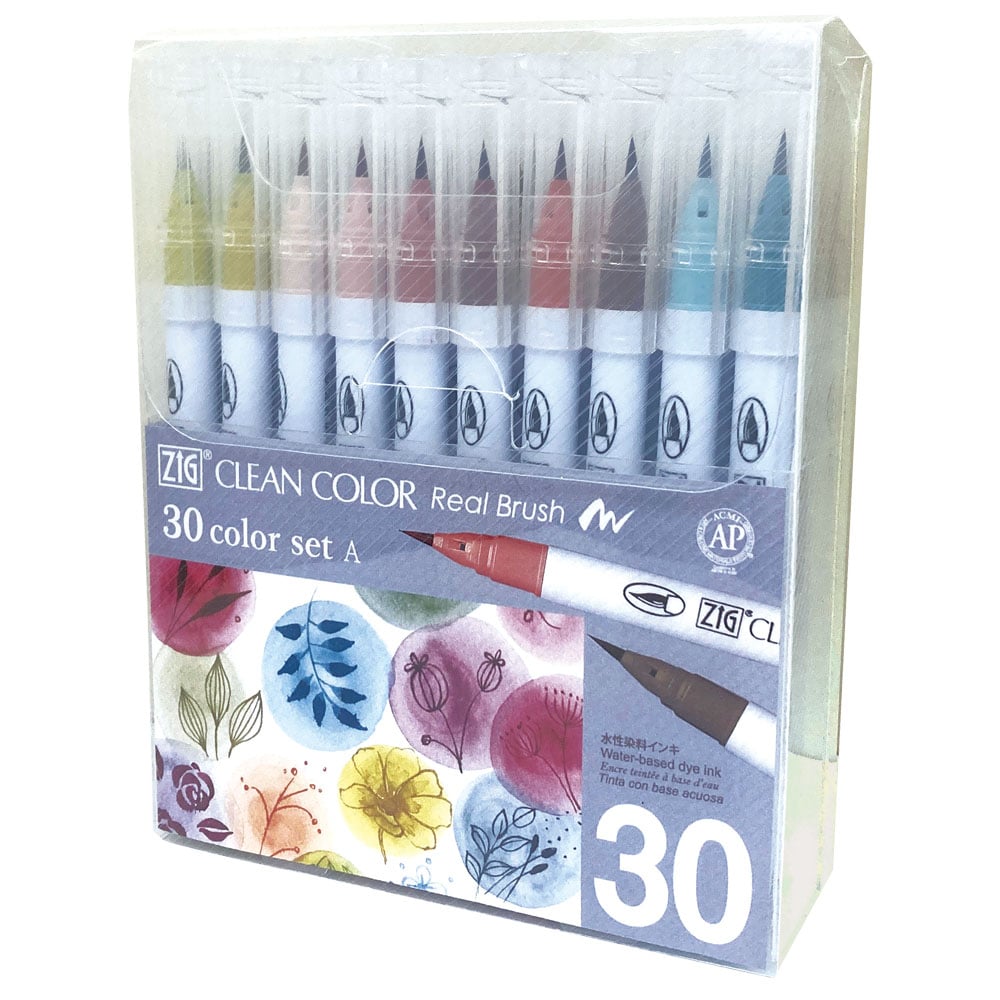
I watercolored my branches, this time using my Kuretake Zig Real Clean Color Brushes. I simply swiped the color on my craft mat, spritzed a little water, then colored with my water brush. After drying, I splattered with white acrylic paint using a damp toothbrush dipped in paint and "spraying" the paint by running my thumb across the toothbrush..

I often share visual tips and the creative process on my social media. Be sure you're following me to view those! I'm on TikTok now too! Not really sure what I'm doing but hey, I'm there.


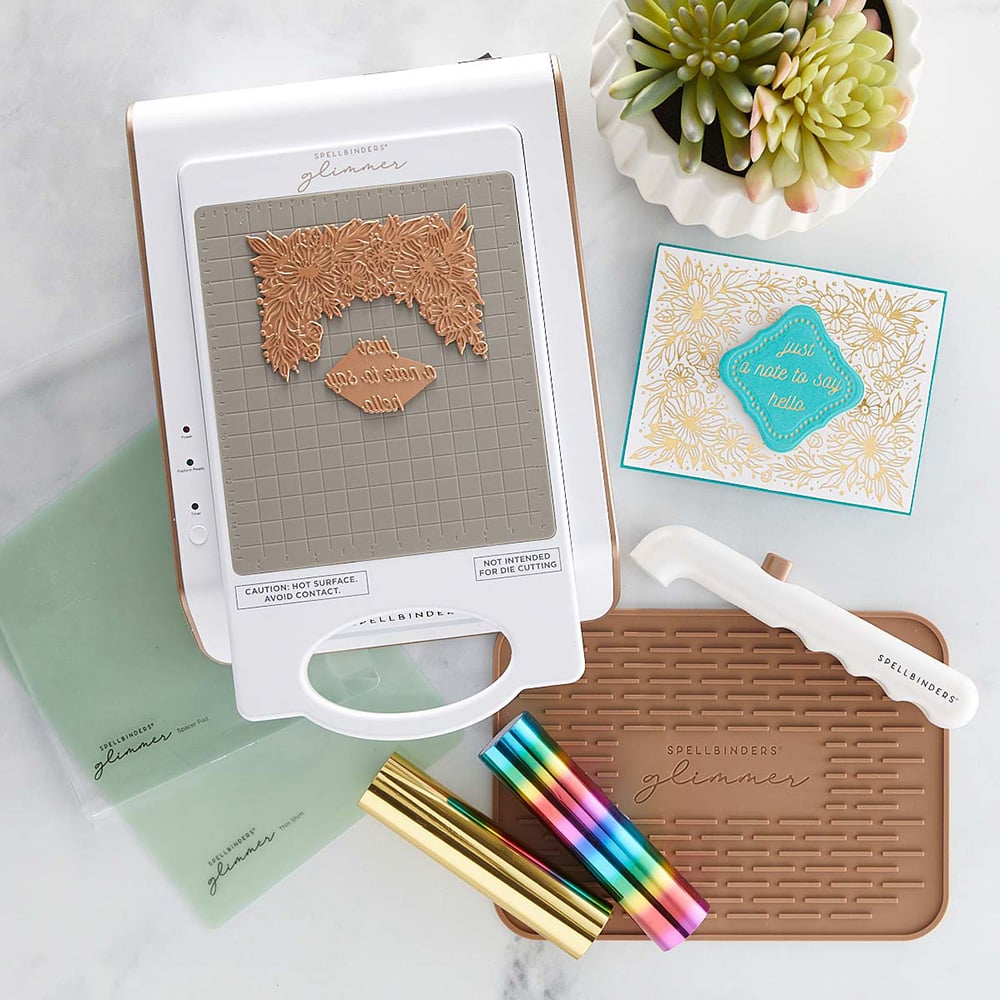
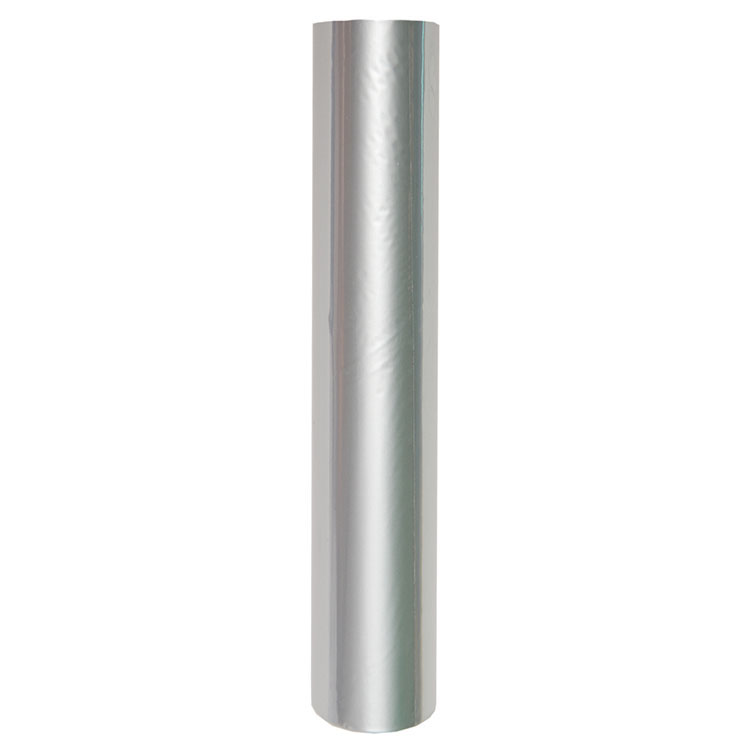
Did I mention I foiled my skate blade? I had some scrap foiled cardstock left from some foiling I had done with my Glimmer machine using silver foil, and simply ran that small section through my manual die cut machine with my blade centered on top. I trimmed the section I needed and adhered to my skate blade. The great thing about this die is, the etched marks showed up really nicely, so I knew exactly where to trim.


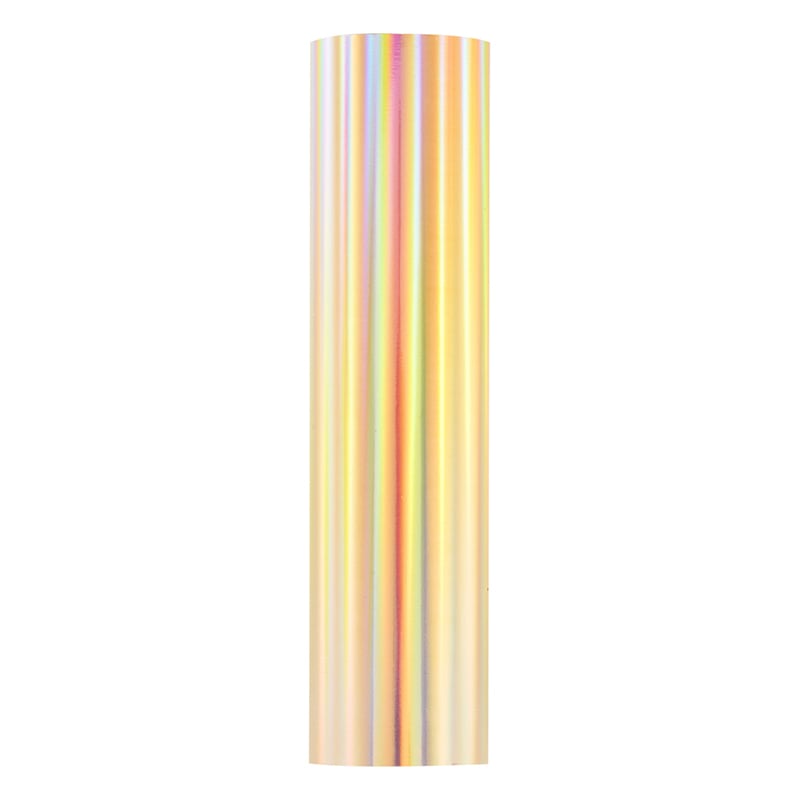
Lastly, my sentiment was created using a sentiment from the Holiday Florals glimmer hot foil plate. I foiled with my Glimmer machine using the Aura hot foil on white cardstock, then trimmed and created some distressing on the edges with scissors and formed a flag accent on the edge. Then I placed on yellow cardstock and trimmed around it. After adhering my foiled words onto the yellow cardstock, I popped them up on foam tape.

It should be noted that I mounted my ice skates from both cards on double stacked adhesive foam tape, so it stood out a bit more from the other elements.

*********************

I hope I've inspired you to get creative! If you'd like to do some shopping for any of these products, I've provided convenient affiliate links below. There is no additional cost for you to use these. Thanks so much for stopping by!


Terri
Scrapbook Adhesives by 3L EZ Grand Runner
Shop at:
Scrapbookcom
Scrapbook Adhesives by 3L EZ Runner Grand Refill
Shop at:
Scrapbookcom
Scrapbook.com Double Sided Adhesive Foam Square Set
Shop at:
Scrapbookcom
Wendy Vecchi Makeart Non-stick Craft Sheet
Shop at:
Scrapbookcom | Ranger Ink
Spellbinders Platinum 6 Die Cut/Emboss Machine
Shop at:
Scrapbookcom | Spellbinders
Kuretake Zig Clean Color Brushes - Set A 30 colors
Shop at:
Scrapbookcom
Neenah A2 Vertical Card/Envelope Set 25 pk
Shop at:
Scrapbookcom
Neenah A2 Card Front Panel 25 pk
Shop at:
Scrapbookcom
Spellbinders Hot Foil System
Shop at:
Scrapbookcom | Spellbinders
Hot Foil Roll - Aura
Shop at:
Scrapbookcom | Spellbinders
Hot Foil Roll - Silver
Shop at:
Scrapbookcom | Spellbinders
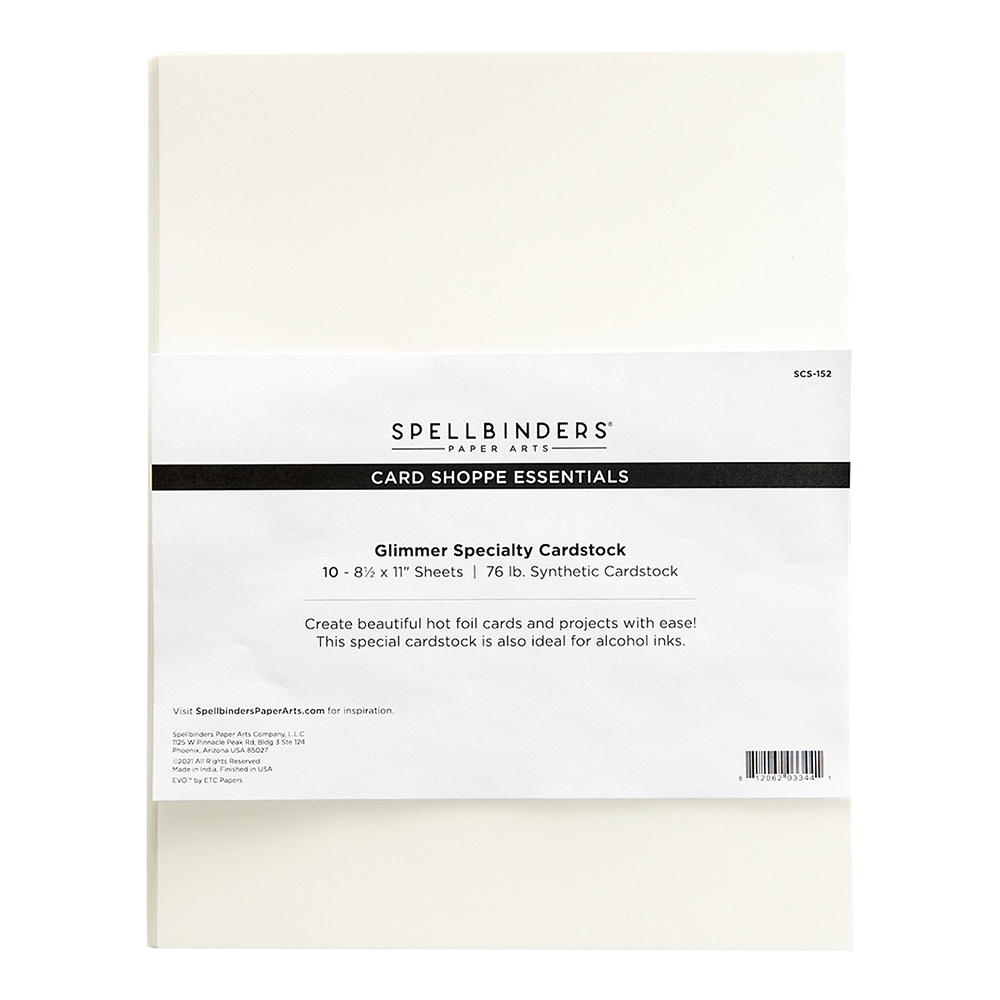
Glimmer Specialty Cardstock
Shop at:
Scrapbookcom | Spellbinders
Winter Evergreen Foliage and Ladybugs Dies
Shop at:
Scrapbookcom | Spellbinders
Ice Skate Etched Dies
Shop at:
Scrapbookcom | Spellbinders
Stitched Argyle Diamond Etched Background Die
Shop at:
Scrapbookcom | Spellbinders
Holiday Florals Glimmer Hot Foil Plate Set
Shop at:
Scrapbookcom | Spellbinders
Ranger Vintage Photo Distress Oxide Ink Pad
Shop at:
Scrapbookcom | Ranger Ink
Tim Holtz Idea-ology Small Talk Stickers
Shop at:
Scrapbookcom
Pops of Color - Rudolph Red
Shop at:
Scrapbookcom


#wavingmywand #spellbinders #christmasinjuly #wintergarden #stitcheddiamondargyle #coverplate #backgrounddie #stitching #sewing #needleandthread #DIY #christmascards #cardmaking #papercrafts #scrapbookcom #glimmermachine #neverstopmaking #teamspellbinders #glimmerhotfoilsystem #cards #scrapbookadhesivesby3L #stitchmaschristmas #scrapbookcom #scrapbookadhesivesby3L #rudolphred #popsofcolor #timholtz #rangerink #distressoxide #vintagephoto #kuretakezig #zigrealcleacolor #skating #iceskates #iceskate #vintageiceskates #winterevergreen #branches #watercolor #holidayflorals #hotfoiling