Showing posts with label stickles. Show all posts

Wednesday, September 13, 2017

Christmas Angel tag for Unity Stamps + Prize

This is one of two projects that I'm sharing today.  (If you're looking for my project with Graciellie Design, go here.)  It's day 3 of my feature with the Unity Stamp Company as their Growing in Unity Girl.  Today, I've made a glittery vintage Christmas tag, featuring the Susan Weckesser stamp set, "World of Christmas".


My stamp was inked with Ranger Ink Distress Oxide in Vintage Photo, on a trimmed piece of Heartfelt Creations designer paper from the Every Day Heroes collection.  The paper design and colors went well with the vintage look that I was going for.  

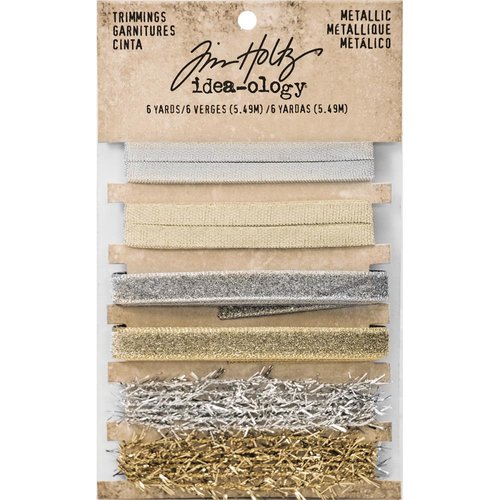
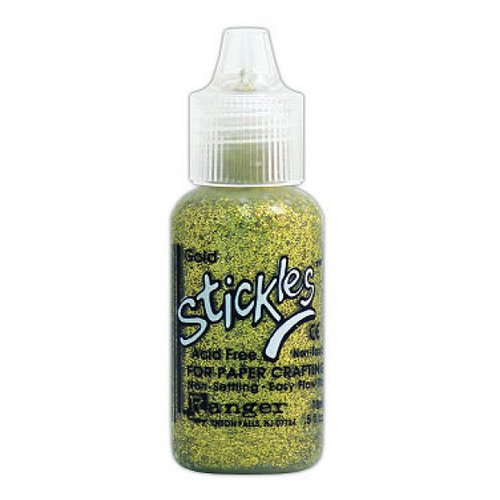
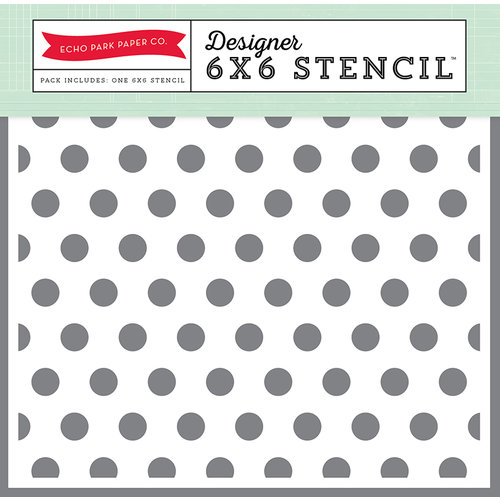
I've fashioned some wings for this sweet angel, out of a medium sized white ribbon rosette, trimmed in half, then cut some half moon shaped strips from May Arts Ribbon sheer glitter ribbon and stapled them over the partial stamped wing image.  Her little halo is a tiny strip of tinsel string adhered with Scrapbook Adhesives by 3L extreme tape.  I've also embossed some gold stickles glitter glue and Platinum Pearl liquid pearls with a dot stencil.   I quickly dried them with my heat emboss tool to speed things along.

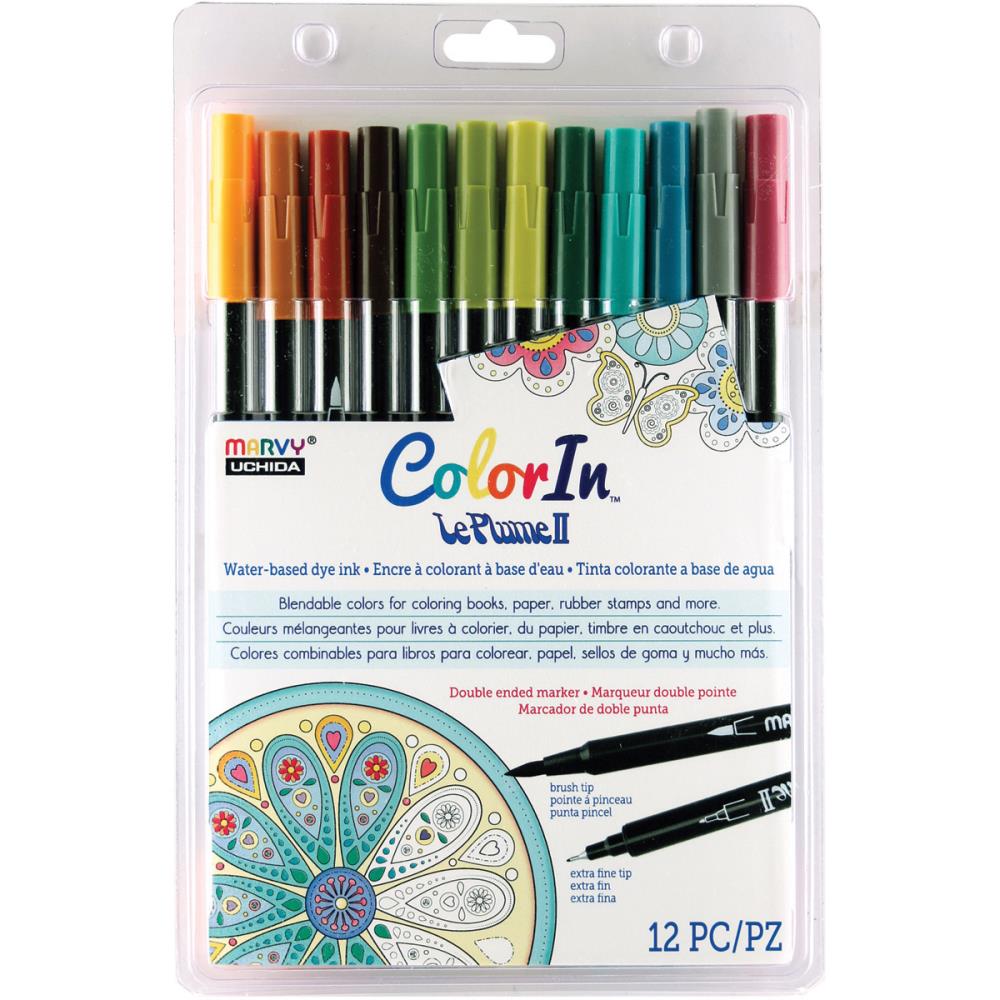
Behind my tag, I have an extra layer with gold satin ribbon peeking out, along with gold mesh ribbon.  The topper on my tag was achieved by using some Sizzix dies.  Did I mention I tinted her eyes, just a touch?  I used the fine tip of a teal Marvy Le Plume II brush marker.


I intended to add a sentiment but, guess what?  I forgot!  I was so happy with this little angel, I couldn't wait to take her picture.  I think she looks just fine without a sentiment though.

Be sure and leave a comment on my blog post each day this week, to be entered to win one of two grab bags of 25 stamps from Unity.  Thanks so much for stopping by!


SUPPLIES

I’m listing the products I used below. Click on the link to go directly to the product. Where available I use compensated affiliate links which means if you make a purchase I receive a small commission at no extra cost to you. Thank you so much for your support!


Scrapbook Adhesives by 3L Permanent Runner
Shop at:
SBC
Misti Original
Misti Original
Shop at:
SBC
Marvy Le Plume II Natural 12 pk Dual Markers
Shop at:
SBC
Ranger Inkssentials Craft Mat 15x18
Shop at:
SBC
Ranger US HEAT IT CRAFT TOOL
Shop at:
SBC
Scrapbook Adhesives by 3L Foam Squares
Shop at:
SBC
Tim Holtz Ideology Christmas Metallic Trimmings
Shop at:
SBC
Ranger Ink Stickles Glitter Glue
Shop at:
SBC
Ranger Ink Liquid Pearls
Shop at:
SBC
Echo Park Paper Dot Stencil
Shop at:
SBC
Sizzix Thinlits Mini Album Die Set
Shop at:
SBC


#unitystampco #unitystamps #worldofchristmas #christmas #tag #susankweckesser #christmascrafts #mixedmedia #holiday #seasonal #rangerink #distress #oxides #vintagephoto #stickles #glitter #perfectpearls #stencil #scrapbookadhesivesby3L #mayartsribbon #glitterribbon #ribbon #angel #angelwings #halo #wavingmywand #terriburson #DIY #papercrafts #stamping #scrapbooking #documentlife #vintage #timholtz

Monday, February 20, 2017

Surprise Birthday Party for Suzy!

Today, we celebrate the birthday of that sassy red head, the Queen of Snark.... Miss Suzy from So Suzy Stamps!  There's a ton of fun on this blog hop, plus prizes.  I mean, who has a party and doesn't bring a gift, right?  


My card features the "Ordinary Days" sentiment, "Dot Splatter" for my fairy dust, wings from the the "Fairy with Flower" "Spire Sage", and several of Suzy's Ink bites.

I'm using lots of distress ink with my Ranger blender tool (on Strathmore 300 series water color paper), for my dark sky and used my water brush with So Suzy Angel Wings ink bites to give it a more cloudy appearance.


The yellow glow in the center is courtesy of more blending, but this time I'm using So Suzy Ink Bites in Sunflower Sue from the Autumn Equinox ink bites collection.  The bottom portion of my watercolor paper was blended with Ranger Cracked Pistachio.  I scrunched up a paper towel and dipped it into Suzy's Hunter Green ink bites, also from the Autumn Equinox collection, and dabbed it all along the bottom, before stamping with my Spire Sage foliage stamp.  My black inks are Memento.


For my wings and fairy dust, I stamped just the wings from the Fairy with Flowerheat embossed with Nuvo embossing powder on vellum and fussy cut, then glittered them up with Rangers Stickles Glitter Glue in Mercury Glass.  My wings are popped out with a very thin strip of adhesive along the bottom edge of the wings and I folded that edge inward so the wings would be raised.    I stamped the "Dot Splatter" stamp with So Suzy Angel Wings white pigment ink bites, them dabbed on more of the Stickles glitter glue, for my fairy dust.


Affiliate product links are listed below for your shopping convenience.  Be sure and visit each designer's blog and leave a comment to qualify for the prizes below.  Winner(s) will be announced on February 22, 2017.

       $20 So Suzy Gift Certificate from justinehovey.com
       Bunkie Bag from Simply Charming Everyday
       Original MISTI from My Sweet Petunia


Blog Hop Order:

         Martha Lucia Gomez
    Iliana Myska
                                                  Terri Burson  (you are here)
                            Lydia Fiedler


Purchase Ordinary Days, here.
Ordinary Days


Purchase Dot Splatter, here.
Dot Splatter


Purchase Fairy with Flower, here.
Fairy with Flower


Purchase Angel Wings Ink Bites, here.
Angel Wings - Ink Bite


Purchase Spire Sage, here.
Spire Sage


Purchase Autumn Equinox Ink Bites, here.

Autumn Equinox Ink Bite Set


Purchase Nuvo embossing powder, here.
Nuvo Jet Black


Thanks so much for shopping my affiliate links and purchasing quality products that I know you will love!  Terri


#sosuzystamps #sosuzyinkbites #fairy #fairies #spiresage #foliage #stamps #craft #DIY #cardmaking #scrapbook #distressink #rangerink #stickles #autumn #equinox #birthday #celebration #party #wavingmywand #terriburson #splatter #fairydust #watercolor #angelwings #strathmoreart #bristolstrathmore #nuvo #emboss

Tuesday, January 10, 2017

Design Team Blog Hop with So Suzy Stamps

Welcome to the first So Suzy Stamps Blog Hop of 2017!  If you arrived from Oleysa's blog, you're in the right place.  


Today, I'm featuring the "All You Do" sentiment, paired with the "Spire Sage" foliage stamp.  I'm doing a lot of Thank You cards this month, as January is National Thank You Month.  Plus, I need to send gratitude for all the holiday gift giving.  Take a minute and scroll through the brief tutorial below. 


Begin by inking the Spire Sage stamp with white pigment ink, onto black cardstock.   I'm using my Misti, along with a strip of washi tape to provide an even edge.   Use a water brush to distribute some of the ink, or a small wet paintbrush.  Use this same technique for the sentiment.


You can also tint with another color if you like.  I used Mellow Mint from the So Suzy Ink Bites Coastal Breeze collection.  Just dab onto your craft mat (I like to use leftover sticker paper from my Xyron sticker maker) and grab the color with your water brush or wet paintbrush and touch up with the color.  Stamp sentiment using the same technique above and when finished, trim cardstock "border" to 2" x 4".  Pop up with foam mounting tape.


Next, I used my Tim Holtz Crackle stencil.  I did a little sponging with ink then gave it up for some Stickles glitter glue.  Squirt one color all over (Diamond) and spread with a popsicle stick, then fill in the gaps with another color (Lagoon) and do the same.  Dry with a heat embossing tool to speed things along.


I thought it would be fun to add a little "snow" so I grabbed my snow marker and touched up any additional empty spaces that I could find.  Use a very thin coat, allow to dry for a few minutes, then use your heat emboss tool to "puff" up the snow.  Take care not to overheat, or it will leave burn marks.  I found my snow marker on clearance at Hobby Lobby in the Christmas Craft section.


See the puffy snow?  I also added some tiny Lagoon stickles on my foliage.  A thin strip of embossed vellum, DoubleClick Skittles, sequins and adhesive glitter ribbon complete my project.  (photo blurred below to view sparkles!)  This card also follows our January theme and technique inspiration: Baby It's Cold Outside/Use Vellum.


I was going for a wintry, mountain look.  It is so pretty in person with all the sparkle and glitter. 


Next up, is Giada.  Head on over to her blog.  


If you get lost along the way, head back to Suzy's blog.  Be sure and leave a comment on all the design team blog posts to be entered for a $25.00 gift certificate to So Suzy Stamps.  Begins 1/10 and ends 1/14/17 at 11:59pm MST.  Winner announced on 1/17/17 at sosuzystampsblog.com.  Good luck!

Please be aware that due to the Creativation conference, shipping delays are as pictured below.  Thank you for your patience.  Please be aware that shipping is usually lickety split!


#sosuzystamps #winter #sage #spiresage #thankyou #nationalthankyoumonth #wavingmywand #ranger #stickles #stamps #card #cardmaking #DIY #craft #scrapbook #vellum #timholtz #crackle #stencil #terriburson #snow #babyitscoldoutside #coastalbreeze #sosuzyinkbites #mellowmint #americancrafts #glitter #glitterribbon #bloghop #designteam

Thursday, December 8, 2016

It's a Wonderful Life with TPD Stamps!

I'm back with another project for Two Paper Divas and this one features "Ho Ho Ho".  Good news is?  They're having a huge 50% off storewide sale?  Bad news?  This stamp is sold out!  But you can still get the framed version, "Ho Ho Ho 2".  It's such a fun image and you can go vintage with it or color it up; make fun Christmas tags, cards or accent your scrapbook pages.  He's a jolly old fellow!  He's paired up with the Retro Christmas paper collection from Authentique.  So festive!


Purchase Ho Ho Ho 2, here.


Visit the Two Paper Divas Blog for daily project inspiration and on Wednesdays for the Design Team Roundup.  


Shop Two Paper Divas for a wide selection of clear stamps, digital stamps and accessories.


#twopaperdivas #tpdstamps #card #wavingmywand #handmade #stamps #cardmaking #DIY #cre8time #terriburson #holiday #greetings  #seasonal #christmascard #christmas #merrychristmas #authentique #retrochristmas #santa #saintnick #santaclaus #hohoho #itsawonderfullife #ranger #stickles #glitter

Thursday, October 6, 2016

New Release at TPD Stamps Day 2 - Fall Decorative Clips plus a SALE!

It's day two of the brand new release from Two Paper Divas and today's project is about finding ways to stretch the stamps that you have.  Decorative clips are super hot right now; for planners and, as an embellishment on other projects.  Or, even for sprucing up your office supplies.  They'd make excellent gifts for your favorite planner girl or guy.  I think these clips are simply dreamy!  Of course, TPD is having a storewide 25% off sale which makes it that much sweeter!  This project features that little rose bud center, from the new stamp set "Stems and More".  Get out your glue gun because it's going to be your best friend today.


The magic in making these is to layer, layer, layer.  Yup, it's that easy.  Grab some scraps, some fabric or scrap ribbon, burlap, even cotton balls would be a fun substitution for the white fluff trim that I'm using today.  Start with a flat layer, such as burlap or fabric, then, just mix it up, hot gluing one layer at a time to the end of your paper clip.  

Use a wooden popsicle stick or even one of your craft tools, like a metal pick, to press down and keep your hands from getting burned.  For my stamped centers, I stamped onto some colored cardstock  using my Susan K Weckesser color pop mini inks, added some Stickles glitter glue and used my heat embossing tool to speed up the drying time.


Aren't they gorgeous?  And super quick and easy to make.  I've got to stock up on clips now.  I could make a jillion of these.


Purchase Stems and More, here.

Visit the Two Paper Divas Blog for daily project inspiration and on Wednesdays for the Design Team Roundup.  Check out the newest release right here:


Shop Two Paper Divas for a wide selection of clear stamps, digital stamps and accessories.

Additional supplies:  Ranger Stickles glitter glue, Websters Pages ombre cardstock These are the Days collection, scrap ribbon, Susan K Weckesser mini color pop ink black "Mystery"


#twopaperdivas #tpdstamps #newrelease #october #card #websterspages #wavingmywand #terriburson #diy #glitter #susankweckesser #colorbox #minicolorpop #scrapbook #cre8time #ranger #stickles #planner #plannerlover #plannergirl #plannerguy #decorativeclips #plannerclips 


Monday, August 8, 2016

Banana Split Watercolor for TPD Stamps


  The new release is in full swing at Two Paper Divas Stamps and today, I'm featuring "Banana Split".  This yummy concoction is perfect for birthdays, just because or a romantic gesture for your significant other.  I've paired a sentiment from the "Sail Away" stamp set, but TPD has a number of stamp sets that pair nicely with Banana Split, such as "Here's the Scoop", the new release "Junk Food Alley" or "You Make Life Sweet".


I took some liberties with my water colored image, adding hot fudge without the sprinkles, as pictured in the graphic at the end of my post.  Here's a close-up.


I also added Stickles Glitter Glue in Frosted Lace for my whipped cream, and outlined the edge of my fudge with a Kaisercraft glitter pen, for a little added definition.   This looks good enough to eat!  And, zero calories!


I used my Tim Holtz waterbrush to do most of the coloring with my Tombow dual brush markers, although, I didn't have the right shade of red for my cherries, so I used a Carmine Red Zig clean color brush.  I added some white from a gel pen, then blotted with water from my Tim Holtz waterbrush, to get the highlight on the cherries.


To finish, I added polka dots with my waterbrush and ink from my Tombow (swiped on an acrylic block) that match the colors of my Banana Split boat.  Perfection!  This is a nice sized stamp at just over 3" and is great for coloring.  The dimension was perfect for my large, 6"x6" card.


Purchase Banana Split, here.

Visit the Two Paper Divas Blog for daily project inspiration and on Wednesdays for the Design Team Roundup.  Check out the newest release right here:


Shop Two Paper Divas for a wide selection of clear stamps, digital stamps and accessories.

Additional supplies: Ranger black archival ink, Neenah cardstock


#twopaperdivas #tpdstamps #bananasplit #floatmyboat #sailaway #icecream #watercolor #tombow #zig #ranger #stickles #kaisercraft #glitter #diy #cre8time #wavingmywand #terriburson #summer #birthday #celebration #valentinesday #justbecause #card #craft #scrapbook #Neenah #hotfudge #whippedcream #banana #timholtz #waterbrush #newrelease #stamp


Monday, July 25, 2016

Coloring Multiple Cards With TPD Stamps

Do you ever create cards in multiples?  I'm doing this increasingly more and more, particularly as I find it quicker and easier to stamp several cards and quickly color them, whether it be to have extras on hand for various occasions, for custom orders or gift giving.  I knocked out this 5 card set in less than 30 minutes, including stamping the inside and stamping the back with my personal logo.  Truth be told, it was probably closer to 20 minutes because  when I get in the zone, things come together quickly!

This project features a sentiment from the new release "Stuck on You" from Two Paper Divas Stamps, and "Tulip Bucket", from their May release.  I love that the sentiment will go with so many of my TPD images.  Each set of tulips has a different color, using my Tombow dual brush markers.  The flowers were watercolored, however the bucket was directly colored with the additional use of my Tombow blender brush. 


I know I've probably mentioned it a bazillion times but you never know who's seeing this for the first time.... to quickly and easily watercolor with Tombows or any water based marker, swipe your marker across an acrylic block or craft mat and spritz with a tiny bit of water.  Use a small paintbrush to transfer your color onto your image or use a water brush.  I use the Tim Holtz detailed NIB water brush to transfer my color.  It's quick and easy and you can vary your color intensity by not spritzing your swiped marker color, but just picking up the direct color with your waterbrush.

To finish off my flowers, I added Stickles glitter glue for some pretty sparkle and a white gel pen for added dimension.


Purchase Tulip Bucket here.


Purchase Stuck on You here.

Visit the Two Paper Divas Blog for daily project inspiration and on Wednesdays for the Design Team Roundup.  Check out the new July release right here:


Shop Two Paper Divas for a wide selection of clear stamps, digital stamps and accessories.

Also linking to these challenges:


#twopaperdivas #tpdstamps #stuckonyou #thinkingofyou #tombow #tombowusa #ranger #stickles #glitter #timholtz #watercolor #wavingmywand #terriburson