Showing posts with label buttons galore. Show all posts

Wednesday, May 6, 2020

Remembering Mom

It's been awhile since I've blogged and I thought it was time that I shared why. Mom has been in bad health for awhile and two months ago, she had a stroke. I made the decision to step down from a couple design teams, to spend time helping my dad take care of her.  Of course, the whole pandemic thing took place and life got even crazier. A couple weeks ago, Mom came home with hospice, from a rehab nursing home and passed away peacefully last week.

This will be my first mother's day without her and it's going to be hard for all of us. I'm so thankful to have another very special "second mama" in my life. It's my mom's best friend, June. When we first moved to Alabama, over 40 years ago, and being a military family, as kids, we met what would become our best family friends in the world.  Just down the street, my siblings and I met Cindy, Mike and Jennifer. We hit it off immediately and they were also a military family. Both of our families retired in the same town and lived close by and before long, my parents met their parents and well....the rest is history. 


(FTC Disclosure: as an affiliate for various companies in the craft industry, I will receive a small commission for purchases made through my convenient affiliate links.  This does not affect your purchase price.)


All these years later, both of our families are still best friends. Wedding, babies, holidays.... they're our family. It was especially hard on June to say goodbye to my mom as she lost her husband just a few short years ago, as well. Since I can't send my mom a card this week, this Mothers' Day card will go to my second mama who I love just as much.

For my cardmaking friends, let me share some details. This tulip stamp set is one of my favorites, from Crackerbox & Suzy Stamps. That company holds a special place in my heart.  A few years ago I guest designed for them. I went on to join their design team and eventually designed my first stamps with that company. It means so much that they took a chance on me and allowed me to fulfill a dream.  So, I hope you'll hop over and look around and maybe send a little business their way.

They're having a 20% off sale right now and their flower stamps are included in that sale so that's an added bonus!

Shop, here.


I also used my Misti and a masking technique to get that "field" of flowers, water coloring with my Altenew pan watercolors with a water brush, on watercolor paper. Some paint splatters and Sparkletz gemstones from Buttons Galore, round out the card.


Thanks so much for stopping by today, and Happy Mother's Day. Cherish your loved ones!


Saturday, December 14, 2019

Decorative DIY Holiday Wreath Clips

Merry Christmas, crafty friends.  Today's project puts the spotlight on products from Buttons Galore and More, as well as papers and ink available at Scrapbook.com.  I thought these DIY Wreath Clips would be a fun addition for planners, gift bags and gift card decor.  I decided to make some gift card envelopes to showcase them.  Scroll down for close up photos and creative details.


(FTC Disclosure: as an affiliate for various companies in the craft industry, I will receive a small commission for purchases made through my convenient affiliate links.  This does not affect your purchase price.)


  I am a huge fan of Buttons Galore and have so many of their products in my stash. When I had the idea to do these wreath clips, I sought out a few basic supplies which include the wooden clips and Christmas Pine stems, both of which I found after a quick run to Hobby Lobby.  The stems were 50% off in the Christmas Craft section so I only spent $1.50 for the pack of 20!  Go and grab those up!  One stem yielded 3 pine strips which I snipped with a plier and shaped into the wreaths. A touch of hot glue seals the overlapped ends together.  Also, I found the wood clips in the party supply section of HL. They were a 6 pk for I think, $1.99.


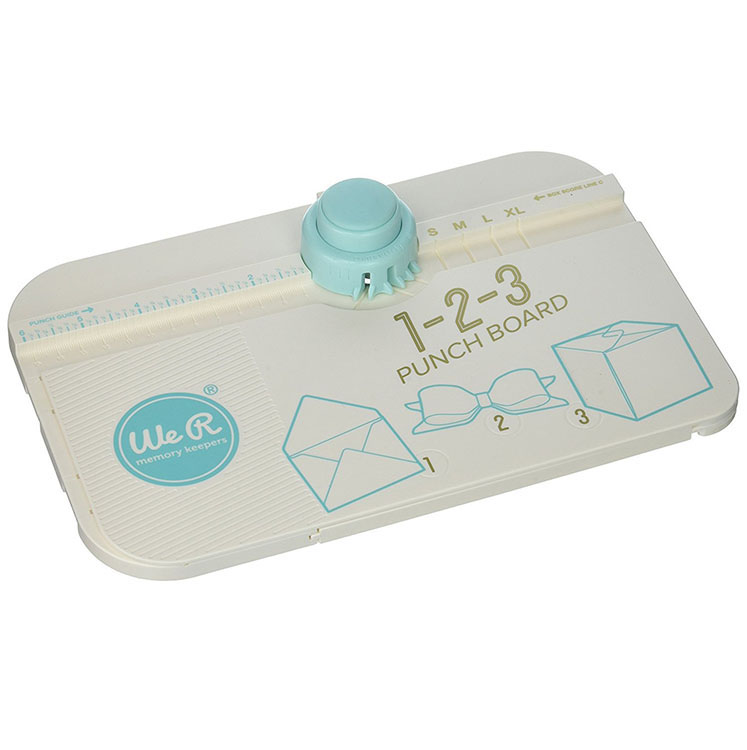
 I created my 3 x 3 1/2 inch envelopes using my We R Memory Keepers 123 punch. This dandy tool has been used over and over and has been one of the best investments I ever made!  The paper is a 6x6 in paper pad exclusive to Scrapbookcom and Photo Play Paper, called "Best of Christmas".  As you can see, I tried to coordinate my wreath colors, with my paper.


Here's a close up of the wreath, using the Buttons Galore Sprinkletz in Very Cherry.  It has cute little peppermint candies ( or maybe they're cherry?), tiny stars and other decorative pieces.  

My best tip for applying these is to grab a toothpick and grab the hot glue with your toothpick.  Apply the glue from your toothpick onto your surface (in this case, the wreath), then quickly add your embellishment.  Press gently with the opposite end of your toothpick or other sharp tool for a few seconds to let it set.

(Sorry for the stray glue pieces I failed to pick off!)


Next up, I went with a silver and gold theme for this one.  This wreath features the Starry Night Embellishment Kit from the 28 Lilac Lane brand by Buttons Galore.

You're going to want to work fast on this one because the base, under those stars, are a circle of seed beeds included in the kit.  Here's how to quickly get this done and get amazing results!

1) Pour your seed beeds into a lid slightly larger than the wreath.  I used the cap of a large embossing powder that I had on hand.  Or a small bowl such as a ramekin will work.

2) Quickly drizzle a circle of hot glue around the center of your wreath.

3) Quickly dip your wreath, glue side down, into your bowl or lid filled with seed beeds, pressing gently, then remove.  

Voila! It may not be totally symmetrical but mine looked pretty good.  You may have a few stray pieces to fall off but that's ok.  I love the colors of the seed beads which are white, gold and a metallic silver... and maybe some clear ones too.  


Next, apply your silver stars from the kit, using the toothpick/glue technique, then do the same, adding tiny, shiny sequins on top of the stars.  I think this one is my favorite!


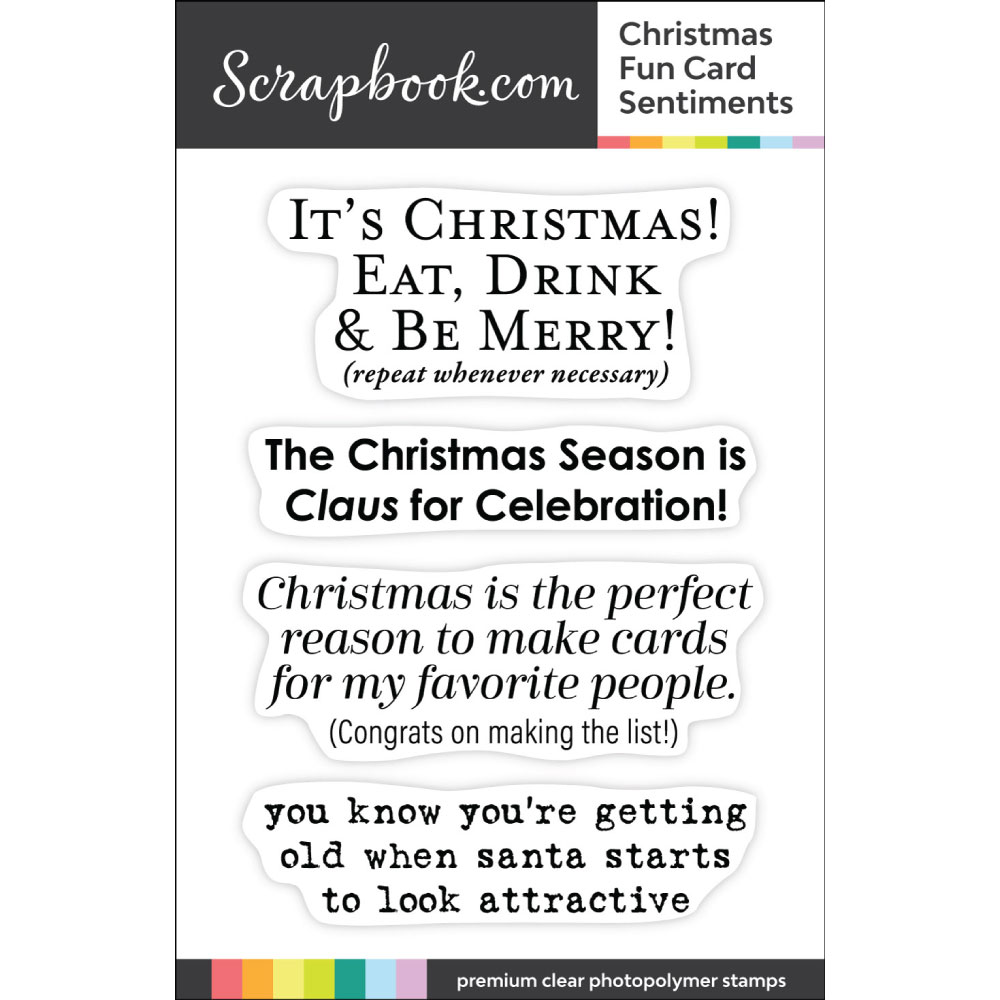
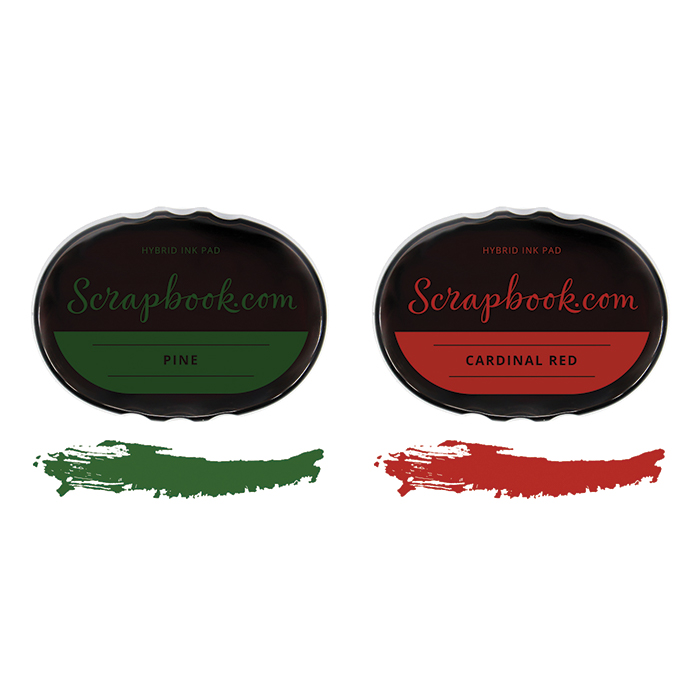
Let me also mention my little stamped quote.  The stamp set is exclusive to Scrapbookcom and is called, Christmas Fun Card Sentiments.  I stamped the sentiments with a masking technique, using hybrid inks.  You'll find all the product links at the end of this post.  Some of the sequin sets are available directly through Buttons Galore and I've linked those throughout this post.


My final wreath clip features the Peppermint Stix Sparkletz and those tiny snowflakes from the 
Fun Flurries Sparkletz.  I also glued on some of the clear tiny seed beeds. All of my wreaths have little tiny bows that I fashioned from ribbon in my stash, as well.


I hope you enjoyed this fun project and will give this a try.  May you all have a wonderful holiday season.  Stay crafty, friends!  Terri


Affiliate product links are listed throughout this post. Click on the link to go directly to the product.  I do receive a small commission at no extra cost to you, if you make a purchase.


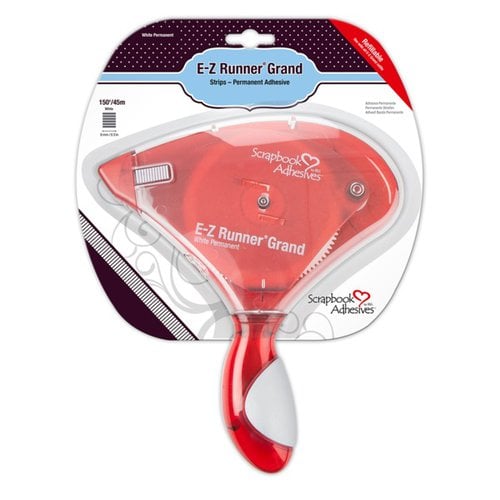
Scrapbook Adhesives by 3L EZ Grand Runner
Shop at:
Scrapbook.com
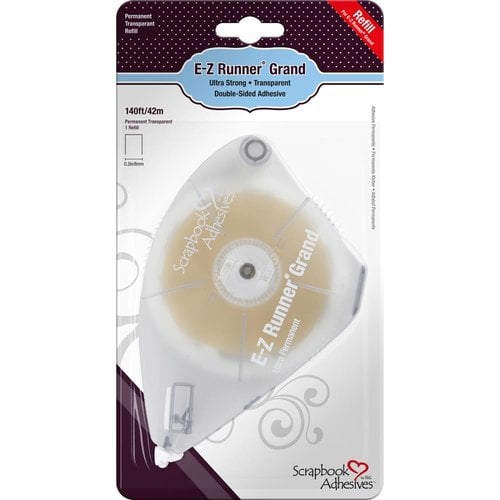
Scrapbook Adhesives by 3L EZ Grand Ultra Refill - Clear
Shop at:
Scrapbook.com
We R Memory Keepers 123 Punch Board
Shop at:
Scrapbook.com
Waffle Flower Crafts Water Media Mat
Shop at:
Scrapbook.com
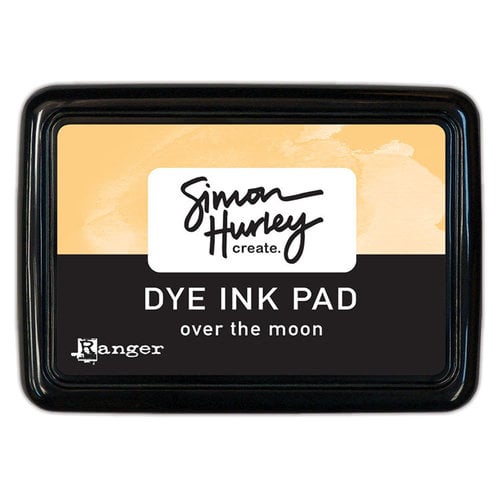
Simon Hurley Ink - Over The Moon
Shop at:
Scrapbook.com
Fiskars 12
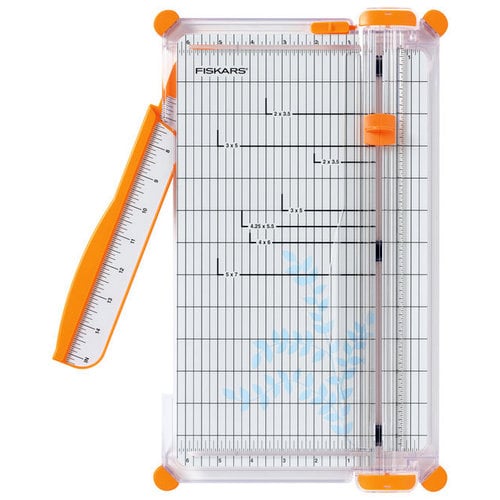
Fiskars 12" Premium Cut Line Portable Trimmer
Shop at:
Scrapbook.com
Scrapbook.com Christmas Fun Sentiment Stamp Set
Shop at:
Scrapbook.com
Scrapbook.com Holiday Hybrid Ink Set
Shop at:
Scrapbook.com
Neenah Flat Card Front
Shop at:
Scrapbook.com
28 Lilac Lane YuleTide Greetings Embellishments
Shop at:
Scrapbook.com
Photo Play Paper Best of Christmas 6x6 in paper pad
Shop at:
Scrapbook.com
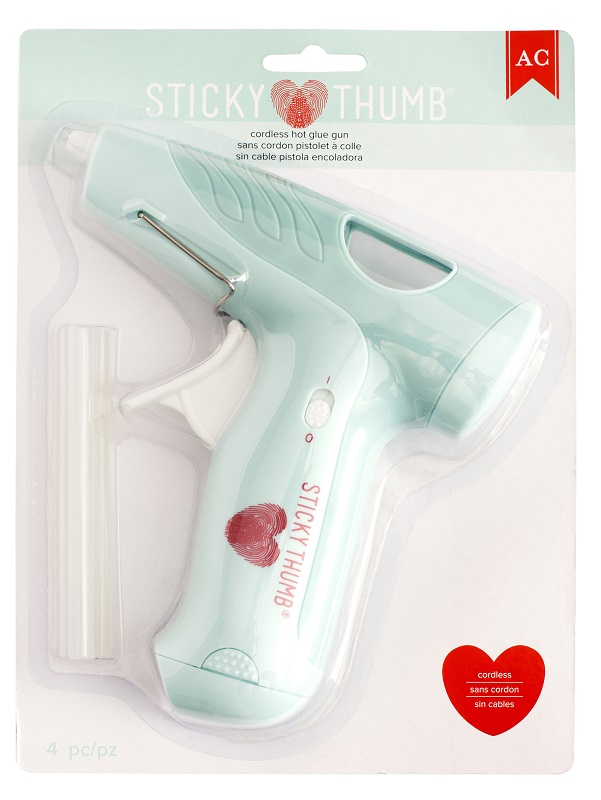
AC Sticky Thumb Cordless Hot Glue Gun
Shop at:
Scrapbook.com


#wavingmywand #scrapbookcom #buttonsgalore #buttonsgaloreandmore #photoplaypaper #sparkletz #sprinkletz #bestofchristmas #funflurries #snowflakes #candycanes #DIY #christmaswreath #plannerclips #partyclips #christmascrafts #scrapbookadhesivesby3L #28lilaclane #neenah #hybridinks #terriburson #hotglue #wermemorykeepers #wrmk #123punchboard #envelopepunchboard #mixedmedia

Wednesday, November 20, 2019

DIY Christmas Canvas Art

If you've never attempted canvas art, I have an easy project for you today.  We're going to put several skills together, including stenciling, painting, stamping and glue application.  Follow along for creative details on this art that features Buttons Galore Fun Flurries Sparkletz as the focal point.


(FTC Disclosure: as an affiliate for various companies in the craft industry, I will receive a small commission for purchases made through my convenient affiliate links.  This does not affect your purchase price.)


If you're intimidated by creating your own painted pieces, start small.  I grabbed a few supplies that can be found at most local big box craft stores or Walmart, including a 4x4 inch stretched canvas and Plaid Fok Art paint.  I'm only working with 3 colors today.  Start small, gain confidence and stretch those wings!


I started by laying down a layer of dark blue, then decided to mix in the lavender color.  If you don't like the colors, mix it up!  If you make a mistake, you can always cover it up with more paint.  

I did sketch out a circle with a pencil before painting, drawing my own ornament.  Again, if you mess up and your circle doesn't look right, you can always erase on canvas, with your pencil eraser.  Once I colored my background, I filled in with the blue paint, mixing in a little white paint as well.


Next, I stenciled some stars using white pigment ink and a domed blender tool from Scrapbook.com.  The stencil is from Ranger Ink and you'll find many of the products that I used at the end of this post.  I also dabbed on a little white paint after stenciling, so it would grab the glitter that I sprinkled on top.  Use the pointed end of a paint brush to dab on little dots of snow onto the background with white paint.


I didn't get a photo of the glue process, but once your ornament paint is dry, grab a bottle of clear glue ( I used Scrapbook Adhesives by 3L) and draw around the circle, filling inwards.  Liberally apply the Fun Flurries Sparkletz on top of the glue.  You can use a sharp craft tool or even a toothpick to rearrange or add more bling to fill in any gaps.  This pack of Sparkletz includes tiny snowflakes in shimmery mirror colors as well as white, clear bubble gems, sequins and sparkly prism gems.  It's gorgeous in person!


I initially drew on an ornament topper but decided to use the real thing and give more 3D dimension to my project.  Use a plier to cut off a plastic topper from a mini ornament, like the ones you see pictured.  I used scissors to trim it just a bit, then pressed it gently to flatten it a bit.  It will split a little, but that's ok.  Hot glue holds this in place, along with a thin piece of silver ribbon as the loop on top.  It turned out perfectly and any imperfections only lend to the mixed media feel.

Because the base of the canvas is surrounded by a thin layer of wood inside, I was able to heat emboss a sentiment with clear embossing ink and white embossing powder, using a masking technique to only stamp part of the sentiment.  You'll need a craft heat tool for this and painters tape or washi tape to mask the part of the stamp that you don't want imaged.  Also, the craft heat tool helps speed the drying process for your paint and glued adornment.

I hope you'll give this a try.  It would make a lovely Christmas gift, or you can hang on your wall or mix in with a decorative tabletop arrangement.  Thanks for popping in today!  Terri


Affiliate product links are listed throughout this post. Click on the link to go directly to the product.  I do receive a small commission at no extra cost to you, if you make a purchase.


Ranger US HEAT IT CRAFT TOOL
Shop at:
Scrapbook.com
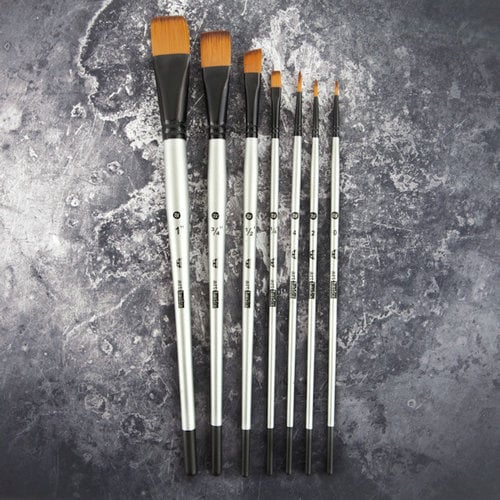
Prima Finnabair 7 pc brush set
Shop at:
Scrapbook.com
Hero Arts White Embossing Powder
Shop at:
Scrapbook.com
Waffle Flower Crafts Water Media Mat
Shop at:
Scrapbook.com
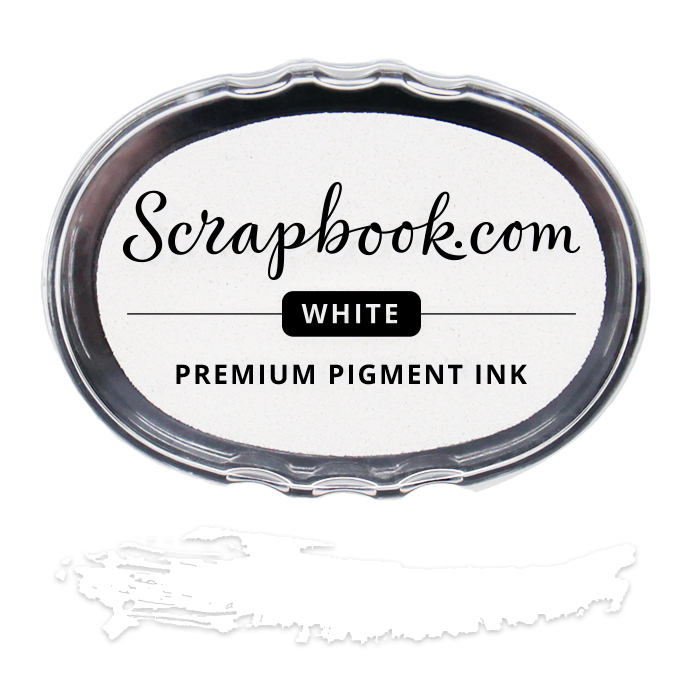
Exclusive Scrapbook.com Pure White Pigment Ink
Shop at:
Scrapbook.com
Exclusive Scrapbook.com Domed Ink Blending Tool Set
Shop at:
Scrapbook.com
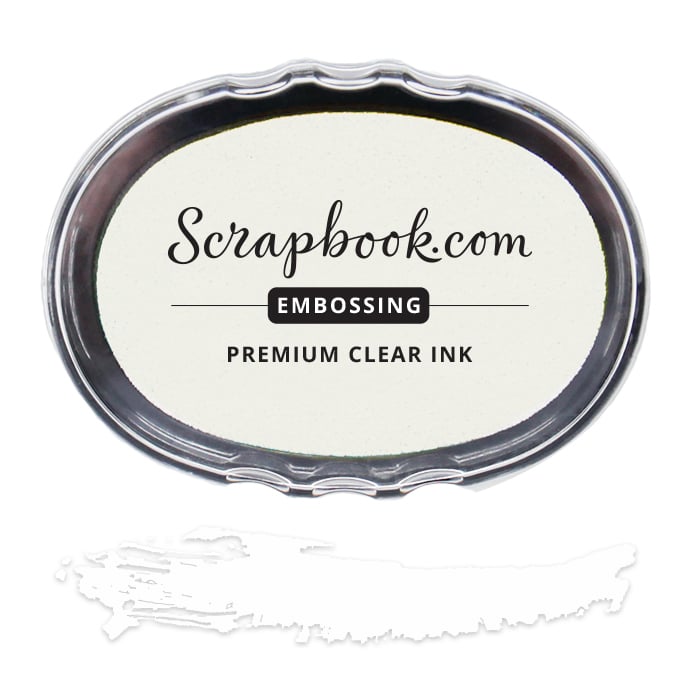
Exclusive Scrapbook.com Premium Clear Embossing Ink
Shop at:
Scrapbook.com
Exlusive Scrapbook.com Premium Clear Embossing Reinker
Shop at:
Scrapbook.com
Buttons Galore - Sparkletz Fun Flurries
Shop at:
Buttons Galore | Simon Says Stamp
Scrapbook.com Big & Bold Christmas Stamp Set
Shop at:
Scrapbook.com
Ranger Ink Simon Hurley Stargazer Stencil
Shop at:
Scrapbook.com
Nuvo Pure Sheen Glitter Let It Snow 4 pk
Shop at:
Scrapbook.com


#wavingmywand #scrapbookcom #buttonsgaloreandmore #buttonsgalore #sparkletz #funflurries #sequins #gemstones #sparkle #bling #artcanvas #paint #plaidcrafts #scrapbookadhesivesby3L #scrapbook.com #bigandboldchristmas #stamps #heatembossing #heroarts #nuvo #nuvoglitter #nuvopuresheen #rangerink #simonhurley #simonhurleycreate #stargazer #christmasart #christmasornament #terriburson #stenciling #stamping #DIY #mixedmedia #glue #create

Wednesday, July 3, 2019

Ice Cream Cone Hand Drawn Card

Hello crafty friends.  Today, I'm sharing this hand drawn and hand colored ice cream cone that I made recently, in honor of The Daily Marker 30 day coloring challenge on Instagram.  If you're a follower of mine, then you know I like to doodle from time to time and have had some of my designs made into stamps at Crackerbox & Suzy Stamps.  I've had this image in my head for awhile, so of course, it was time I translated it onto paper.  And of course, it's my favorite flavor; mint chocolate chip!


 (FTC Disclosure: as an affiliate for various companies in the craft industry, I will receive a small commission for purchases made through my convenient affiliate links.  This does not affect your purchase price.)


Here's a snapshot of my colored, hand drawn image from my Instagram account.  I colored with all the Copic markers you see pictured, and also E37 which was used to make the chocolate chips.  To help line up my red stripes, I used washi tape at an angle and colored inbetween the strips.  I did sketch this in pencil, then lightly erase before coloring.  To add a little pop to my cone, and cone wrapper, I embellished with my white Signo gel pen.


I wanted to keep my color scheme going for my backdrop, so I used my Jane Davenport pan watercolors to create the paint splattered back drop on Neenah cardstock.  My plaid paper is from the Lawn Fawn Perfectly Plaid Chill collection.  I'll have links to all the products that I used, at the end of this post.


Lastly, I used a sentiment from the Unity Stamp Company June 2018 Sentiment Kit.  You can find that here.  It is currently 50% off when you add it to your cart, however I think the sale ends very soon.  I also added lots of sequins, tiny seed pearls and gems from the 28 Lilac Lane product line, sticking them in place with Nuvo Morning Dew Crystal Drops.  All my adhesives are from Scrapbook Adhesives by 3L and I've popped up my top panel with foam circles, as well as my ice cream and sentiment.


If you wish to take advantage of some amazing 4th of July sales, Scrapbook.com is offering 10% off storewide when using coupon code 4JULY2019 at checkout.  You can also snag a Prima freebie with any purchase.  Both offers expire July 4th at midnight MST.  Click here for the freebie, then shop around: http://bit.ly/PrimaFreebie


Also, Simon Says Stamp is having a sale on the 4th.  Use code HPY4TH to receive 15% off your order.  I'm not sure if there are any exclusions or when the offer expires as of this writing. Click the banner below to shop.  


Thanks so much for popping in!


Affiliate product links are listed throughout this post. Click on the link to go directly to the product.  I do receive a small commission at no extra cost to you, if you make a purchase.


Misti Original
Misti Original
Shop at:
Scrapbook.com
Ranger US HEAT IT CRAFT TOOL
Shop at:
Scrapbook.com
Scrapbook Adhesives by 3L EZ Grand Runner
Shop at:
Scrapbook.com
Prima Finnabair 7 pc brush set
Shop at:
Scrapbook.com
WRMK Trim and Score board
Shop at:
Scrapbook.com
Scrapbook Adhesives by 3L EZ Grand Ultra Refill - Clear
Shop at:
Scrapbook.com
Scrapbook Adhesives by 3L Foam Circles
Shop at:
Scrapbook.com
Uniball Signo White Gel Pen 1 mm
Shop at:
Scrapbook.com
Neenah Solar White Cardstock 25 pk - 8.5x11 inch
Shop at:
Scrapbook.com
Buttons Galore Aquamarine Sparkletz
Shop at:
Scrapbook.com | Simon Says Stamp
Copic Sketch Marker BG10 Cool Shadow
Shop at:
Crackerbox & Suzy | Simon Says Stamp
Copic Sketch Marker BG13 Mint Green
Shop at:
Crackerbox & Suzy | Simon Says Stamp
Catherine Pooler Ink Midnight
Shop at:
Scrapbook.com
Waffle Flower Crafts Water Media Mat
Shop at:
Scrapbook.com
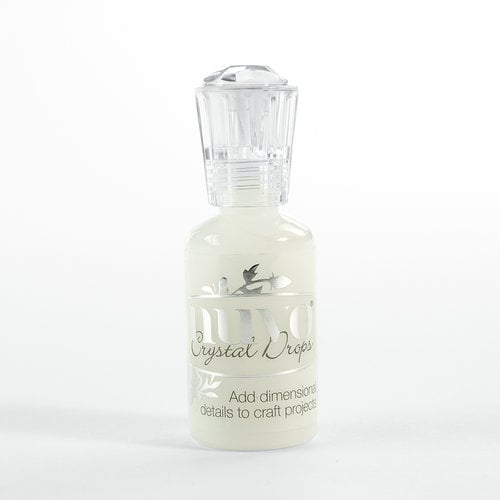
Nuvo Crystal Drops Morning Dew
Shop at:
Scrapbook.com
Copic Sketch Marker Lipstick Red R29
Shop at:
Crackerbox & Suzy | Simon Says Stamp
Copic Sketch Marker E37 Sepia
Shop at:
Crackerbox & Suzy | Simon Says Stamp
Copic Sketch Marker E33 Sand
Shop at:
Crackerbox & Suzy | Simon Says Stamp
Copic Sketch Marker E31 Beige Cream
Shop at:
Crackerbox & Suzy | Simon Says Stamp
Lawn Fawn Perfectly Plaid Chill Collection - Keep Calm
Shop at:
Scrapbook.com
28 Lilac Lane Rainbow Unicorn Premium Shaker Mix
Shop at:
Simon Says Stamp


#wavingmywand #scrapbookcom #icecreamcone #simonsaysstamp #copicmarkers #coloring #handdrawn #handmade #sketch #draw #watercolor #janedavenport #bright #buttonsgalore #25lilaclane #scrapbookadhesivesby3L #sequins #adhesive #foamcircles #Misti #unitystamps #sparkletz #Neenah #4thofjuly #sales #freebie #crafting #papercrafts #cards #summer #cardmaking #scrapbooking #mixedmedia #paintsplatters #paint #nuvo #nuvodrops #morningdew #crystaldrops #DIY #terriburson #summer #mintchocolatechip #tonicstudiosusa #lawnfawn #perfectlyplaid