Today I'm sharing this project that features Jillibean Soup products. Shakers are so fun and more so when you make a tag that is gender friendly and can even be re-gifted (if you don't mind your friend passing on the love!). This is a super easy and quick project, using a staggering technique with washi tape as a spacer. Scroll down for a few creative details.
(FTC Disclosure: as an affiliate for various companies in the craft industry, I will receive a small commission for purchases made through my convenient affiliate links. This does not affect your purchase price.)
I'm using the tags from the Shaker Tag Flower set. Simply stagger thin strips of washi tape, or trim some wider painters tape, and stagger diagonally across your tag. Place the leaf stamp on a small acrylic block and stamp in the empty space, following the diagonal lines.
The plastic flower insert, from the Flower Shaker Card set is easy to adhere as it comes with lining that peels off. Fill your insert with all the pretty things! I glued a few pieces to the base of my tag, then added my shaker, filled with seed beads, wood veneer flowers and sequins.
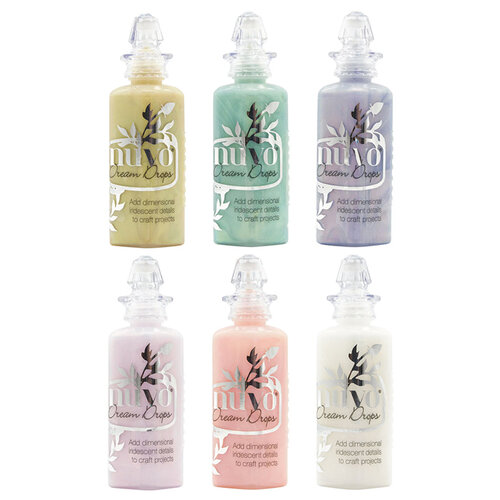
I added tiny Nuvo Crystal glitter drops to my leaves as well. To finish, I used twine and embossed a kraft die cut created with the stamp set, Flower Bloom, which was also used to create the sentiment. My inks are Catherine Pooler in Green Tea and Midnight and all of my adhesives are from Scrapbook Adhesives by 3L.
Thanks so much for popping in today! Click any of the links above to be taken directly to the products. Have a great day! Terri
Hello crafty friends! I haven't had much creative time lately and have been itching to get back in the craft room. Yesterday, my guys took off for an evening fishing trip and I was left all alone.
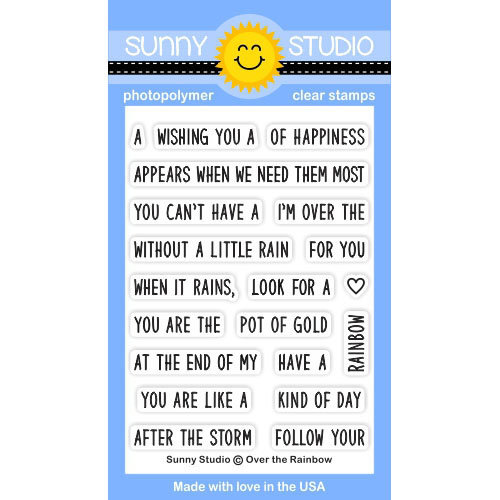
Woo hoo! Crafty time! Rainbow colored cards are super hot right now and I've had this idea, to pair a couple different stamp sets from Sunny Studio Stamps. I'm featuring the "Over The Rainbow"
Scroll down for a few brief creative details and a coupon code good for Scrapbook.com. It's only good through Memorial Day, 5/27/19 midnight MST.
(FTC Disclosure: as an affiliate for various companies in the craft industry, I will receive a small commission for purchases made through my convenient affiliate links. This does not affect your purchase price.)
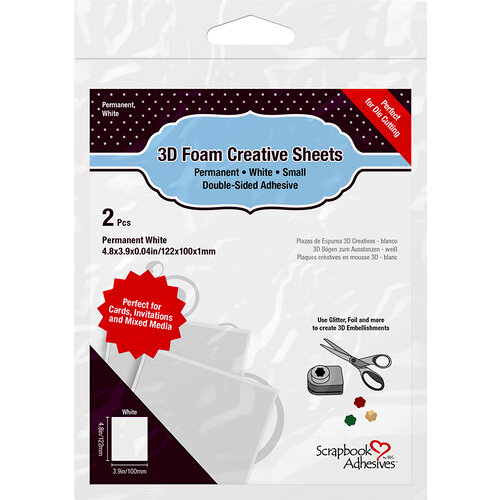
For my die rainbow die cut, I did some ink blending with a variety of Ranger Inks on Neenah solar white cardstock, using my Picket Fence blender brushes (I touched up the pink with Copic Markers). To get that raised effect, I adhered a trimmed section of creative embellishment sheets from Scrapbook Adhesives by 3L, to the back side of my cardstock before running through my manual die cut machine.
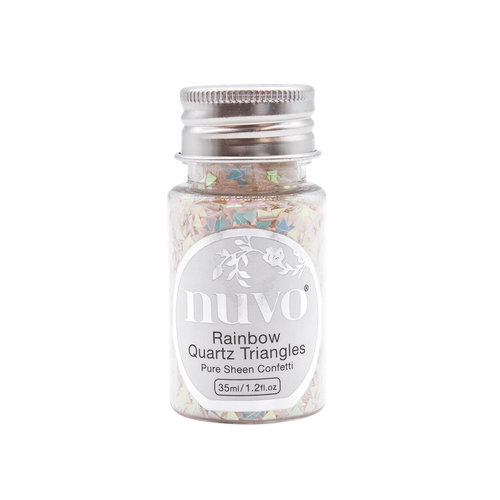
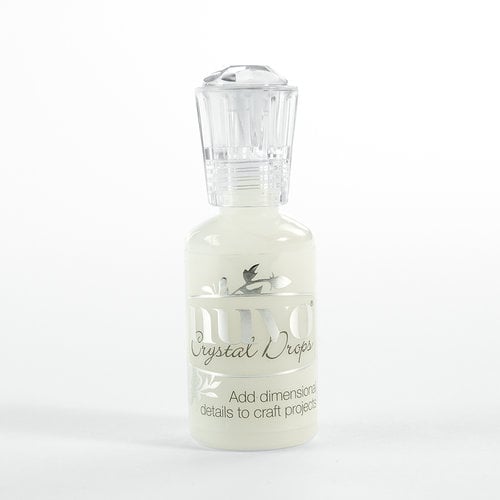
For the beautiful shine, I applied Nuvo Crystal drops in Morning Dew to my die cut. I also dotted the upper section of my card with these drops, then sprinkled on the gorgeous iridescent Nuvo Rainbow Quartz Triangles. The sparkle is amazing, but hard to see in this photo. I'll show the movement of the card in Instagram Highlights and Stories, if you want to check it out: https://instagram.com/wavingmywand
For my floral blooms, I used a variety of inks that I had on hand. These are layering stamps and it's recommended that you use at least 3-4 coordinating inks for stamping. I think they turned out just fine and I didn't use coordinating inks. Sometimes, you just go with the flow!
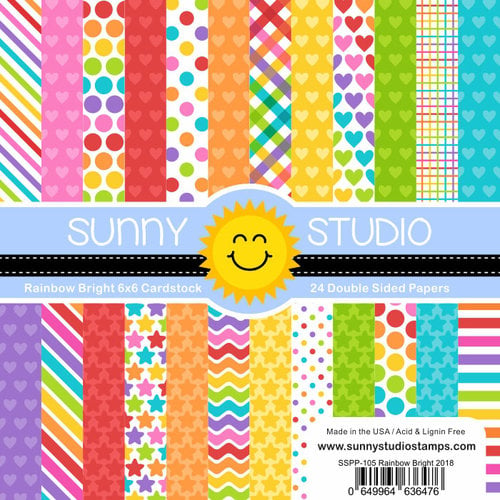
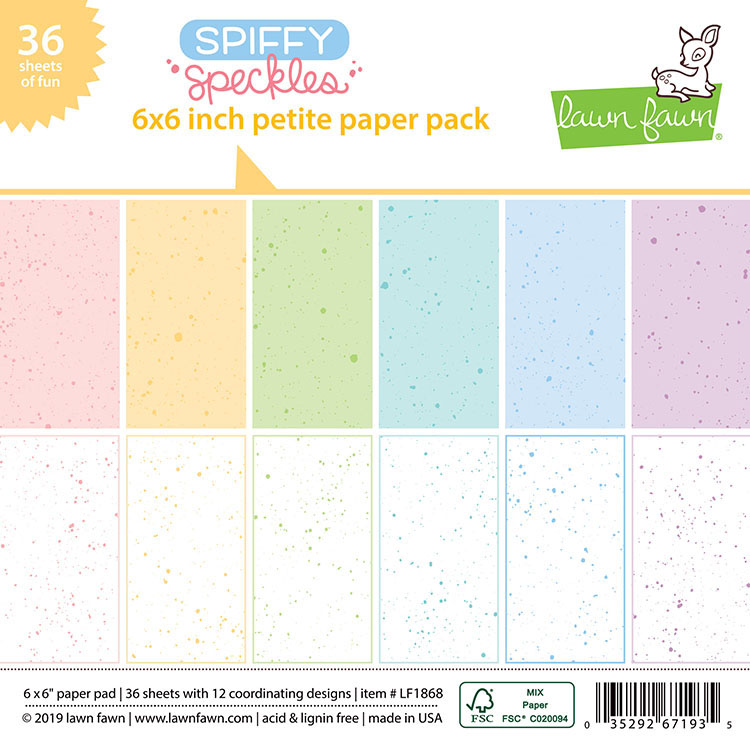
I also used papers from Sunny Studio Stamps called, Rainbow Bright as well as the Lawn Fawn
Click any of the links throughout this post for more details or scroll down for links to many of the products that I used, below. Now, for the coupon code.....
Exclusive products are on sale, plus get an additional 5% off your order using coupon code MEMSAVE19 at checkout. This offers ends 5/27 midnight MST. Some exclusions apply.
Click herefor details. Thanks for popping in today! Have a great weekend! Terri
Affiliate product links are listed throughout this post. Click on the link to go directly to the product. I do receive a small commission at no extra cost to you, if you make a purchase.
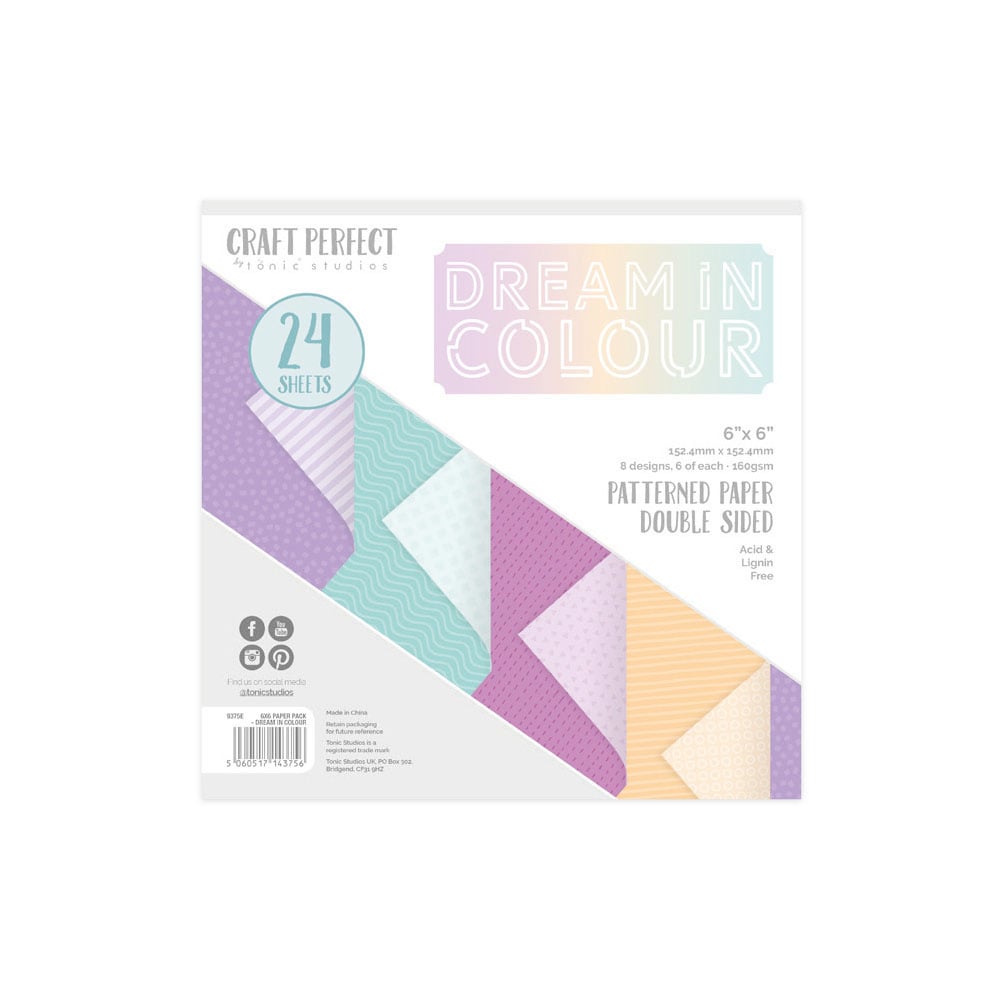
Hello friends, today I'm sharing a spring card that I made using the brand new Tonic Studios Spring Collection 2019, Dream In Colour. These products are available now at Scrapbook.com and you're going to want to add many of these to your shopping cart! I've also got a video, showing you how to make some amazing hidden card panels for split cards. As an added bonus, there's a 1 minute technique video tacked on at the end, featuring that awesome watercolor stencil technique!
(FTC Disclosure: as an affiliate for various companies in the craft industry, I will receive a small commission for purchases made through my convenient affiliate links. This does not affect your purchase price.)
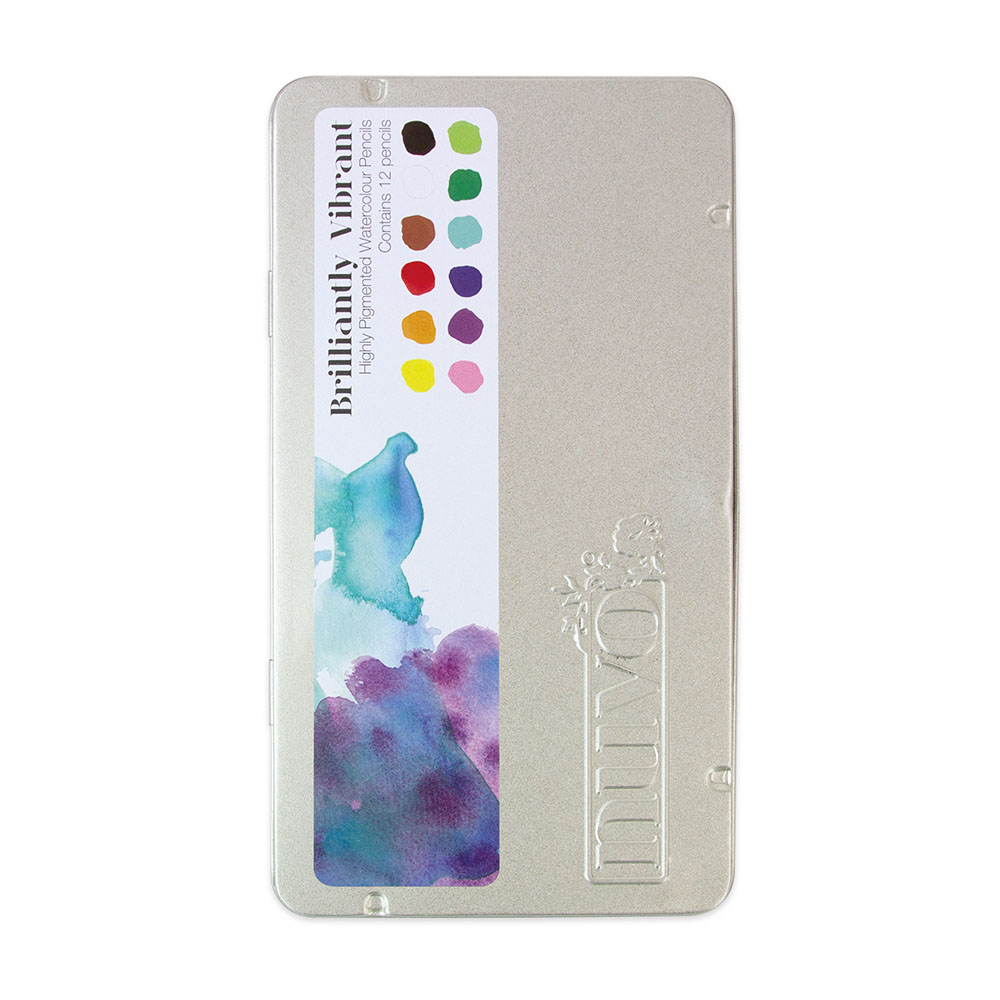
First, let's talk about that beautiful pastel panel. I used some of my Nuvo watercolor pencils to swipe color onto one of the Craft Perfect A2 White Watercolor Cards included in the kit. Just spritz the colors with water, then dip your stencil into the inky mixture and lay onto a dry watercolor card. Use a heat tool to dry and you end up with these beautiful mixed media panels!
I've got a video further down, that will take you through the process.
My next step was to create a shaker for my panel. I used exclusive nesting heart dies from
Scrapbook.com with my manual die cutting machine to cut out that heart shape. Acetate, adhesive and foam strips help keep my shaker items in place.
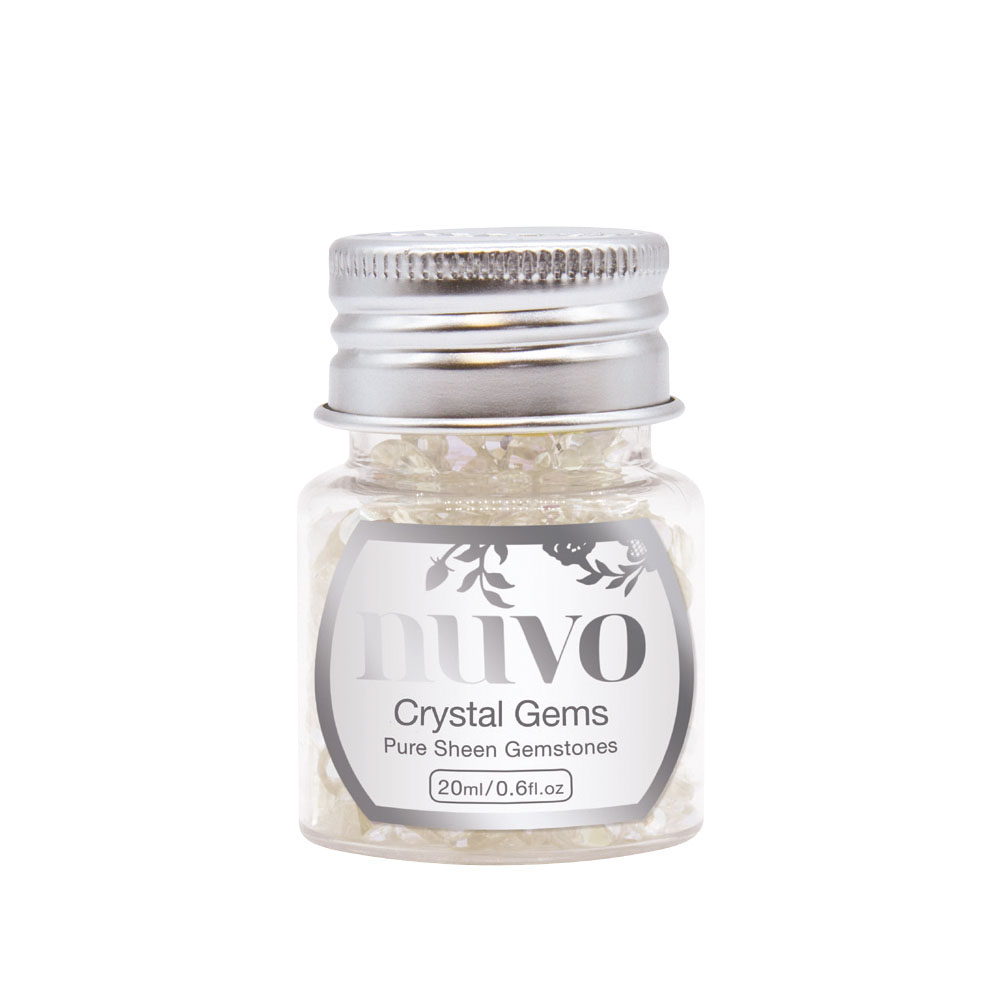
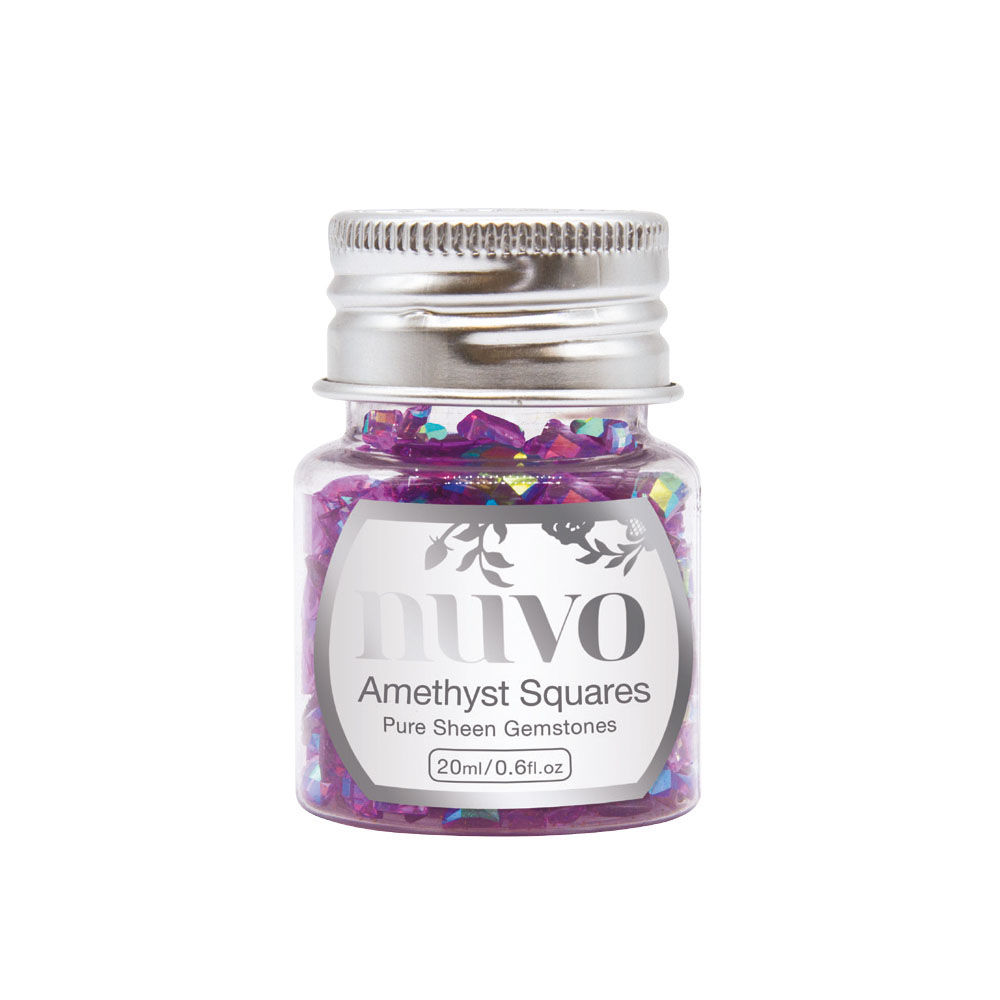
Those gorgeous gemstones in my shaker are just breathtaking! The trio that I used are all from the Dream in Colour collection and include the Nuvo Silver Rain Pure Sheen Sequins, Amethyst Squares Gemstones and Crystal Gemstones. The faceted prisms will have you swooning, they are so brilliant in sparkle and color. I'll have affiliate product links for you, at the end of this post.
Included in this collection are the most amazing specialty cards. I used the Tonic Studios Hello Die with the with Tonic Studios Craft Perfect Lilac Waves Embossed Card. Isn't that specialty card, gorgeous? (below)
I also die cut the Hello word with the Craft Perfect Berry Fizz Glitter Card. You'll see how I used this pairing of cards in the video below.
I also had fun creating some hidden panels for a split card. You'll see how this was done in my video. You'll love all the fun ways to create a hidden panel! Below is photo of a split word die panel with the Craft Perfect Gloss Mirror Card Holo Wave used as the hidden panel. It's such a cool card!
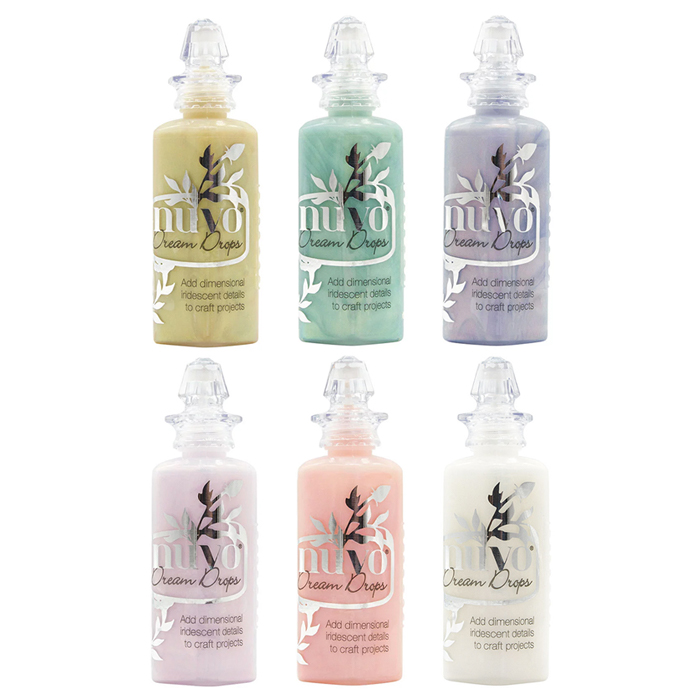
You can see where I used those amazing Dream Drops just below the word.
If any of these products are out of stock, be sure you click to be notified when they're back in stock. You need these fabulous colors in your life!
When you view this video, I hope you'll click that red button on the lower right side of the screen and subscribe to my YouTube channel. If you'll also click the little wheel icon, you can change the viewing to high definition. Lastly, if you would "like" this video, I would appreciate it so much!
Shopping links are in the video description where it says "show more" and also further down on this post. Thanks so much for stopping in. I hope you're day is fantastic! Terri
I’m listing the products I used throughout this post. Click on the link to go directly to the product. Where available I use compensated affiliate links which means if you make a purchase I receive a small commission at no extra cost to you. Thank you so much for your support!