Showing posts with label heat emboss. Show all posts

Wednesday, May 23, 2018

Upcycled Heat Embossed Coasters for Scrapbook Adhesives by 3L

It's my turn on the Scrapbook Adhesives by 3L blog today and I've created a pair of upcycled heat embossed coasters!  This has been rattling around in my brain for awhile, so I'm glad I got that out of my system, haha!  It's fairly easy and a ton of fun, so head on over and check out my video tutorial.


(Please note: as an affiliate for various companies in the craft industry, I will receive a small commission for purchases made through my convenient affiliate links.  This does not affect your purchase price.)


You'll find convenient affiliate shopping links below.  Thanks so much for popping in!  Don't forget to head over to the SBAby3L blog when you finish here!


Be sure and follow scrapbook-adhesives.com for more design team inspiration and product information.


Are you following me on social media?


SUPPLIES:

I’m listing the products I used throughout this post. Click on the link to go directly to the product. Where available I use compensated affiliate links which means if you make a purchase I receive a small commission at no extra cost to you. Thank you so much for your support!
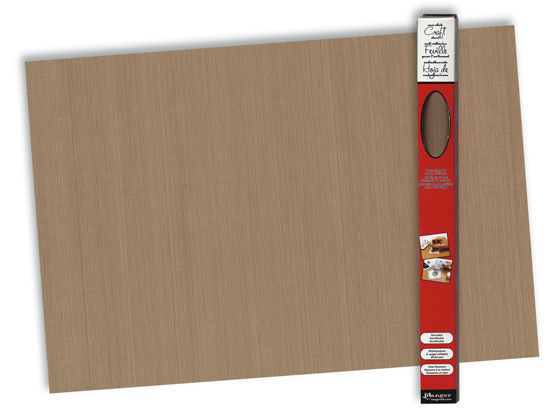


Ranger Inkssentials Craft Mat 15x18
Shop at:
Scrapbook.com
Ranger US HEAT IT CRAFT TOOL
Shop at:
Scrapbook.com
Scrapbook Adhesives by 3L Adhesive Sheets 4x6 inch
Shop at:
Simon Says Stamp
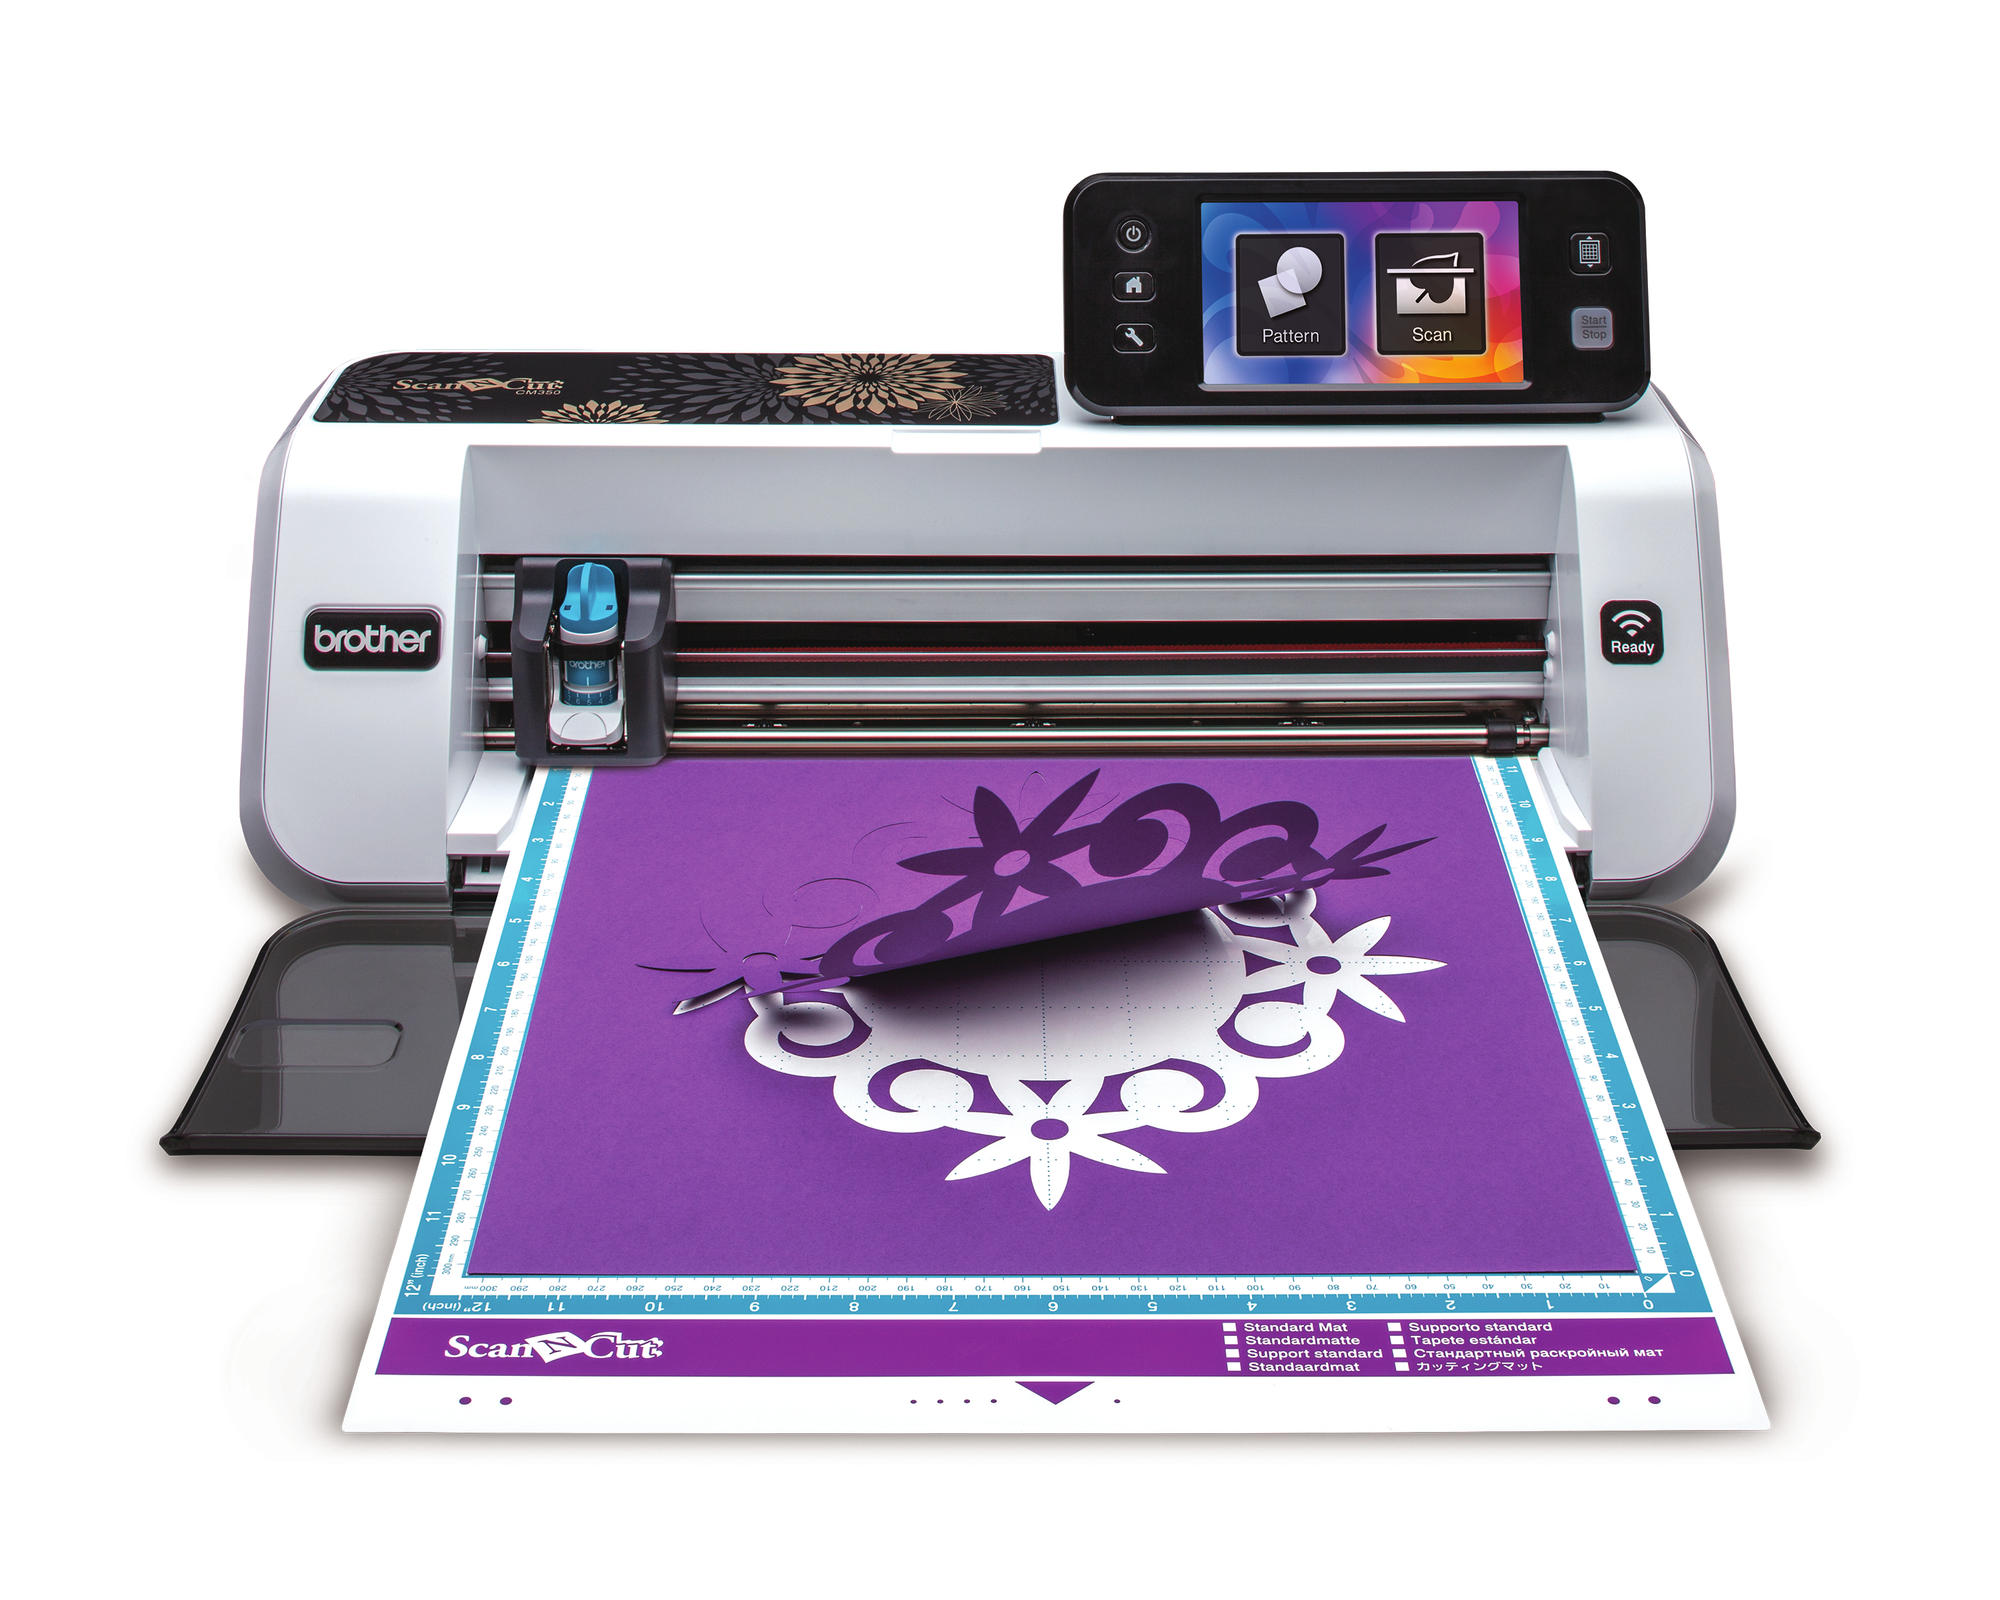
Brother Scan n Cut 2 CM 350
Shop at:
Amazon
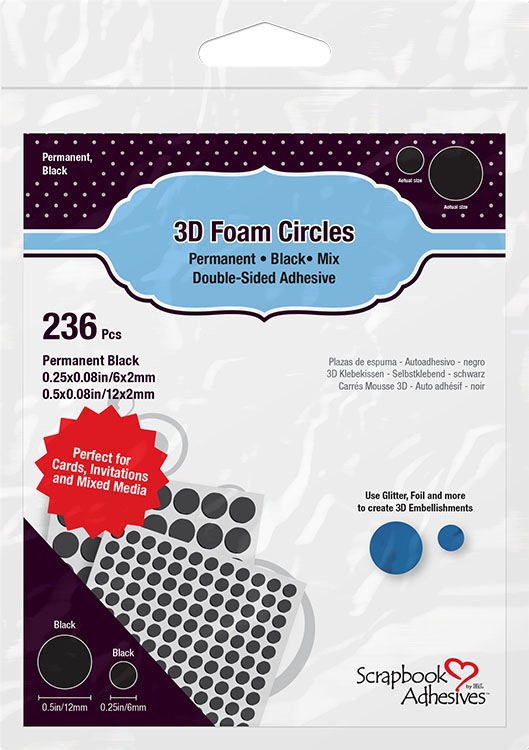
Scrapbook Adhesives by 3L 3D Black Foam Circles
Shop at:
Scrapbook.com
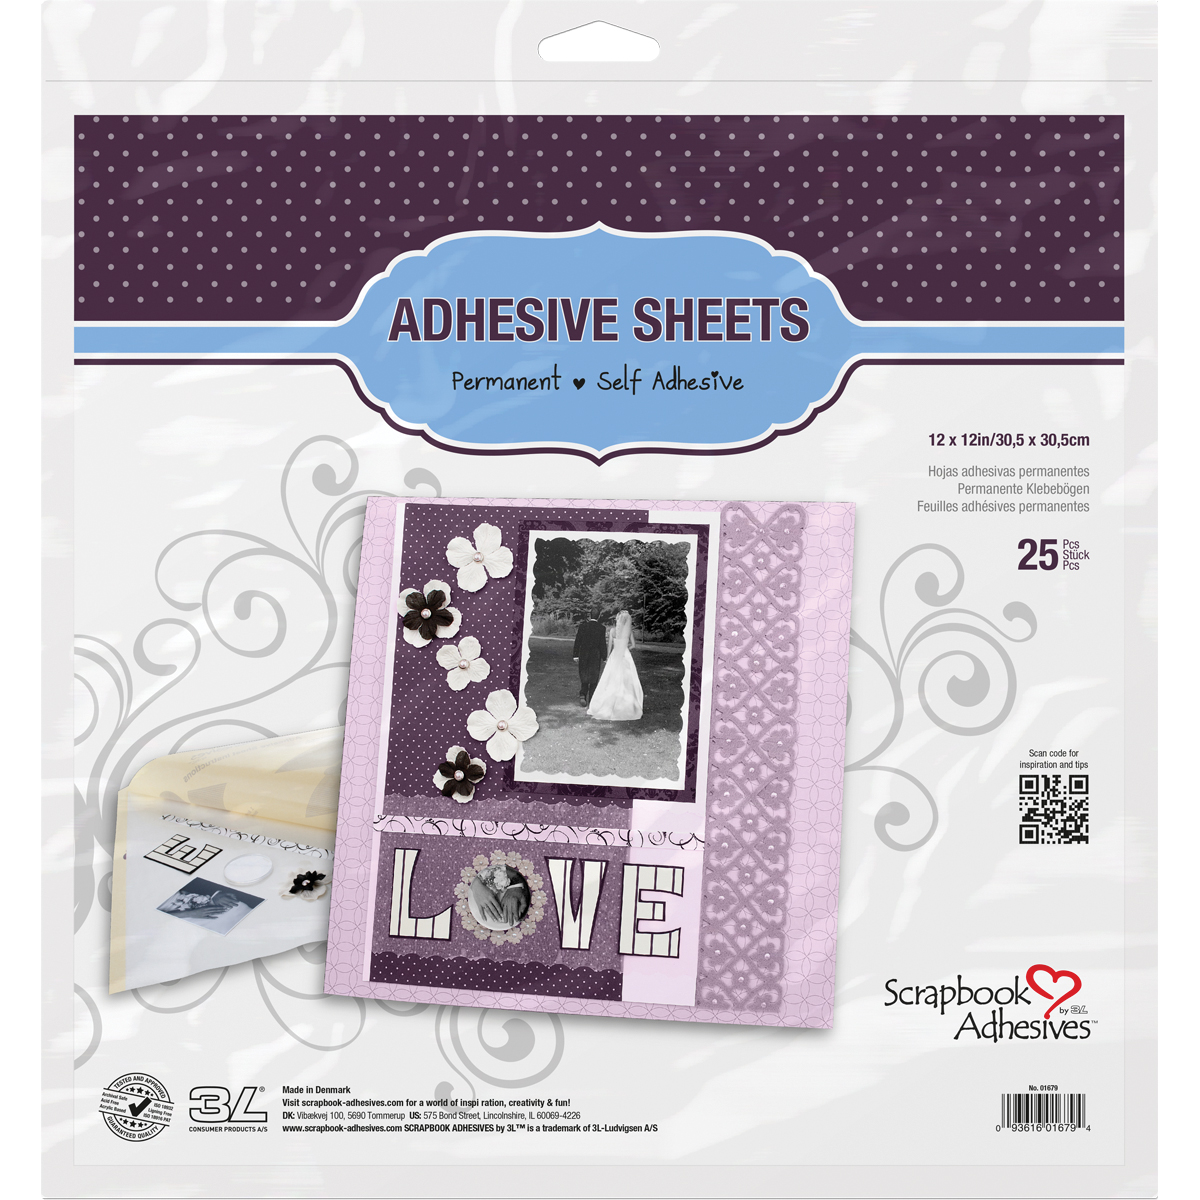
Scrapbook Adhesives by 3L Adhesives Sheets 12x12in
Shop at:
Amazon
Gina K Designs Dark Brown Embossing Powder
Shop at:
Simon Says Stamp


#scrapbookadhesivesby3L #wavingmywnad #coffeecoasters #recycle #upcycle #adhesivesheets #foamcircles #scanncut #brothercraftsusa #rangerink #embossingpowder #adhesive #diy #crafts #homedecor #terriburson #coffeelovers #coffee #coffeecup #coffeemug #tealovers #teacup #tea #coffeeaddicts #ginakdesigns #diecutmachine #repurpose

Tuesday, May 16, 2017

Stenciled Rainbow Card for So Suzy Stamps

I'm featuring this pretty rainbow card today, for So Suzy Stamps and showcasing several techniques; stenciling, watercoloring and heat embossing.  I made this while at a craft retreat on National Scrapbook Day recently, and actually, gave this to my mom for Mother's Day.  It's very easy to re-create with some key ingredients, so scroll down for more.  I'm using the Simple Love You stamp and  the Swirly Hearts stamp for this A2 sized card.


In addition to the stamps mentioned, you will need:

-watercolor paper (Strathmore) and/or mixed media paper
- water mister
-patterned paper
-black cardstock
-solid cardstock (color of choice)
-water based markers (Marvy)
-stencil (DCWV chevron)
-paper towel
-Versamark clear watermark ink
-black embossing powder (Nuvo)
-white cardstock
-large circle die, scalloped dies and die cutter 
-embellishments, doily
-adhesive (Scrapbook Adhesives by 3L)
-white gel pen
-heat embossing tool
-Misti stamping tool
-optional * glitter glue


1. Heat emboss your sentiment by stamping your sentiment first with Versamark clear ink, sprinkling Nuvo black embossing powder over stamped ink, then tapping off excess.    Pour excess back into  bottle.  Melt the powder with your heat emboss tool.  I love heat embossing because it offers such nice, raised dimension on your card.  I'm also using my Misti stamping tool which allows mistake proof stamping and fuller ink coverage.


2.  I grabbed several water based markers  I love many brands, however I'm using the Marvy Le Plume II markers today.  Use what ever colors you like.  Using your Misti, position your heart stamp so that it will impress directly over the "Love" sentiment.  Grab the heart stamp with the lid of your Misti and carefully swipe the different colors across your heart.  I'm using the center heart only, from the Swirly Hearts stamp.  Lightly spritz with water.  I blotted any excess water that was on the outer edge of my heart, then stamped the watered ink over my sentiment.  Dry with heat tool and trim with fine tipped scissors, around the outline of your inked heart, and set aside.


3.   Next, trim a 4"x 4" piece of watercolor paper and grab a stencil of your choosing.  I'm using a DCWV chevron design that I trimmed from a larger 12" x 12" stencil.  Tape down stencil over watercolor paper or press and hold tightly, directly coloring each line with a different color.  When finished, spritz with a water mister, letting colors run a bit, then blot with a paper towel.  Dry with your heat emboss tool.  Using the largest stitched circle die (LaLa Land Crafts) and your die cutting machine (Cuttlebug), cut out a circle from the stenciled image and set aside.


4.  Using the two largest scalloped dies from your favorite nesting dies (Elizabeth Craft Design) that fit an A2 sized card, trim papers and layer as desired.   Adhere your watercolored heart to a larger square piece of black cardstock.  Outline white dots with a white gelly roll pen and trim the outline with scissors.  Adhere stenciled circle and decorative heart to your card.  


5.  I felt like it needed a little bling, so one of my housemates at the craft retreat suggested to decorate one stenciled line with Stickles glitter glue (Diamond).  Great idea!


Thank you so much for stopping by today!  Terri


Purchase Simple Love You, here.


Purchase Swirly Hearts, here.


Purchase Nuvo embossing powder, here.

Nuvo Jet Black


#sosuzystamps #wavingmywand #watercolor #stencil #marvy #marvyuchida #strathmoreart #Misti #stencil #cards #craft #DIY #scrapbook #brushmarkers #terriburson #designteam #nuvo #emboss #dcwv #heart #love #cuttlebug #scrapbookadhesivesby3l #rainbow #stamps

Friday, April 22, 2016

Beach Candle for So Suzy Stamps SAMClub

(FTC disclosure: This post may contain affiliate links so, if you purchase a product using the link I may receive a small commission. I only participate in affiliate programs that feature products that I use and love. Your purchase price is not affected in any way, by using my links)
TGIF!  So happy that Friday is here.  We've got family coming to visit and are planning on a movie this weekend so we'll be busy, but good busy, you know what I mean?  And since it's Friday, I've got another fun project for the So Suzy Stamps Stamp of the Month Club.  Have you ever done this technique before?  Stick with me for a couple minutes and I'll show you how.  It's super easy!  All you need is:

3x3 pillar candle or larger
wax paper
coloring pens/markers (I'm using Kuretake Zig Clean Colors)
white tissue paper
heat embossing gun (found in scrapbook section of hobby stores)
tape
Stamps from So Suzy Stamps!


The first thing you want to do is tape the ends of a section of white tissue paper to your craft mat.  Stamp your image onto the tissue paper.  I chose to ink my stamp directly by swiping the desired colors of my markers onto the stamp. 


Next, color in your image.  If the tissue gets too wet with ink, it can tear so be careful.  I've also used a fine tipped black 0.5 mm pen and white gel pen to embellish my images.


Next, tear off a strip of wax paper, large enough to completely cover your image.  It's best to have this wrap around to the back of your candle, and you'll see why.


Heat with your heat gun while holding the wax paper tightly.   Be careful not to burn your fingers as the heat gun gets extremely hot and your image will completely melt into the candle quickly, less than a minute.  You'll be able to tell it's melting the tissue as it will start to "sweat".  When completely melted, slowly peel off wax paper.  You don't have to wait on it to cool.  Use your heat tool to melt any bumpy spots along top and bottom edge of your candle, if necessary.


Lastly, here's my little mermaid tail that I hand drew and added to my scene.  When I was finished with melting my scene onto the candle, I added a touch of Stickles Firefly glitter glue to my mermaid.  Also, the sentiment can be found in Suzy's online store.  It's called "Cherish the Moment".  I love how this turned out!


Have fun giving this technique a try.  It's so easy, you'll want to give these as gifts! 


 I hope you enjoyed my project and handy tips.  Check out Suzy's website and maybe do some shopping while you're at it.   Then take a look at the SAM club.  Exclusive membership gets you special stamps each month, plus membership into a private Facebook group, fun giveaways and more! 

The next quarter starts this month so there's still time for you to sign up.  You can choose a 3 month membership or longer if you'd like.  Membership packages are available to USA, Canada and drum roll..... International!  I've already had a sneak peek at future releases and they are soooo fun!  You won't be disappointed!  If you love coastal, beachy, nautical fun..... sign up!  Membership can sell out quick so don't wait.


#sosuzystamps #sosuzysamclub #sam #samclub #stampamonth #cardmaking #scrapbooking #diy #cre8time #poolside #beach #beachy #ocean #waves #tropical #paint #watercolor #sea #homedecor #candle #heatemboss #technique #kuretake #kuretakezig #Ranger #stickles #glitter


Monday, October 7, 2013

Birthday cards, heat embossed, washi tape

I'm working on a set of cards for a customer and wanted to share what I've done today.   Each one is different but has some of the same elements.   You can see some washi tape,  ribbon and all have been heat embossed with gold embossing powder.   I love the colors.