Showing posts with label recycle. Show all posts

Wednesday, May 23, 2018

Upcycled Heat Embossed Coasters for Scrapbook Adhesives by 3L

It's my turn on the Scrapbook Adhesives by 3L blog today and I've created a pair of upcycled heat embossed coasters!  This has been rattling around in my brain for awhile, so I'm glad I got that out of my system, haha!  It's fairly easy and a ton of fun, so head on over and check out my video tutorial.


(Please note: as an affiliate for various companies in the craft industry, I will receive a small commission for purchases made through my convenient affiliate links.  This does not affect your purchase price.)


You'll find convenient affiliate shopping links below.  Thanks so much for popping in!  Don't forget to head over to the SBAby3L blog when you finish here!


Be sure and follow scrapbook-adhesives.com for more design team inspiration and product information.


Are you following me on social media?


SUPPLIES:

I’m listing the products I used throughout this post. Click on the link to go directly to the product. Where available I use compensated affiliate links which means if you make a purchase I receive a small commission at no extra cost to you. Thank you so much for your support!
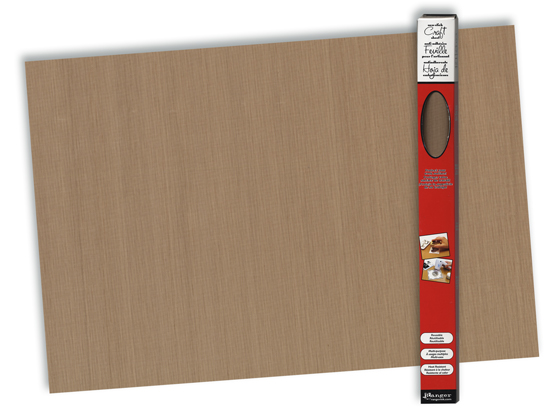


Ranger Inkssentials Craft Mat 15x18
Shop at:
Scrapbook.com
Ranger US HEAT IT CRAFT TOOL
Shop at:
Scrapbook.com
Scrapbook Adhesives by 3L Adhesive Sheets 4x6 inch
Shop at:
Simon Says Stamp
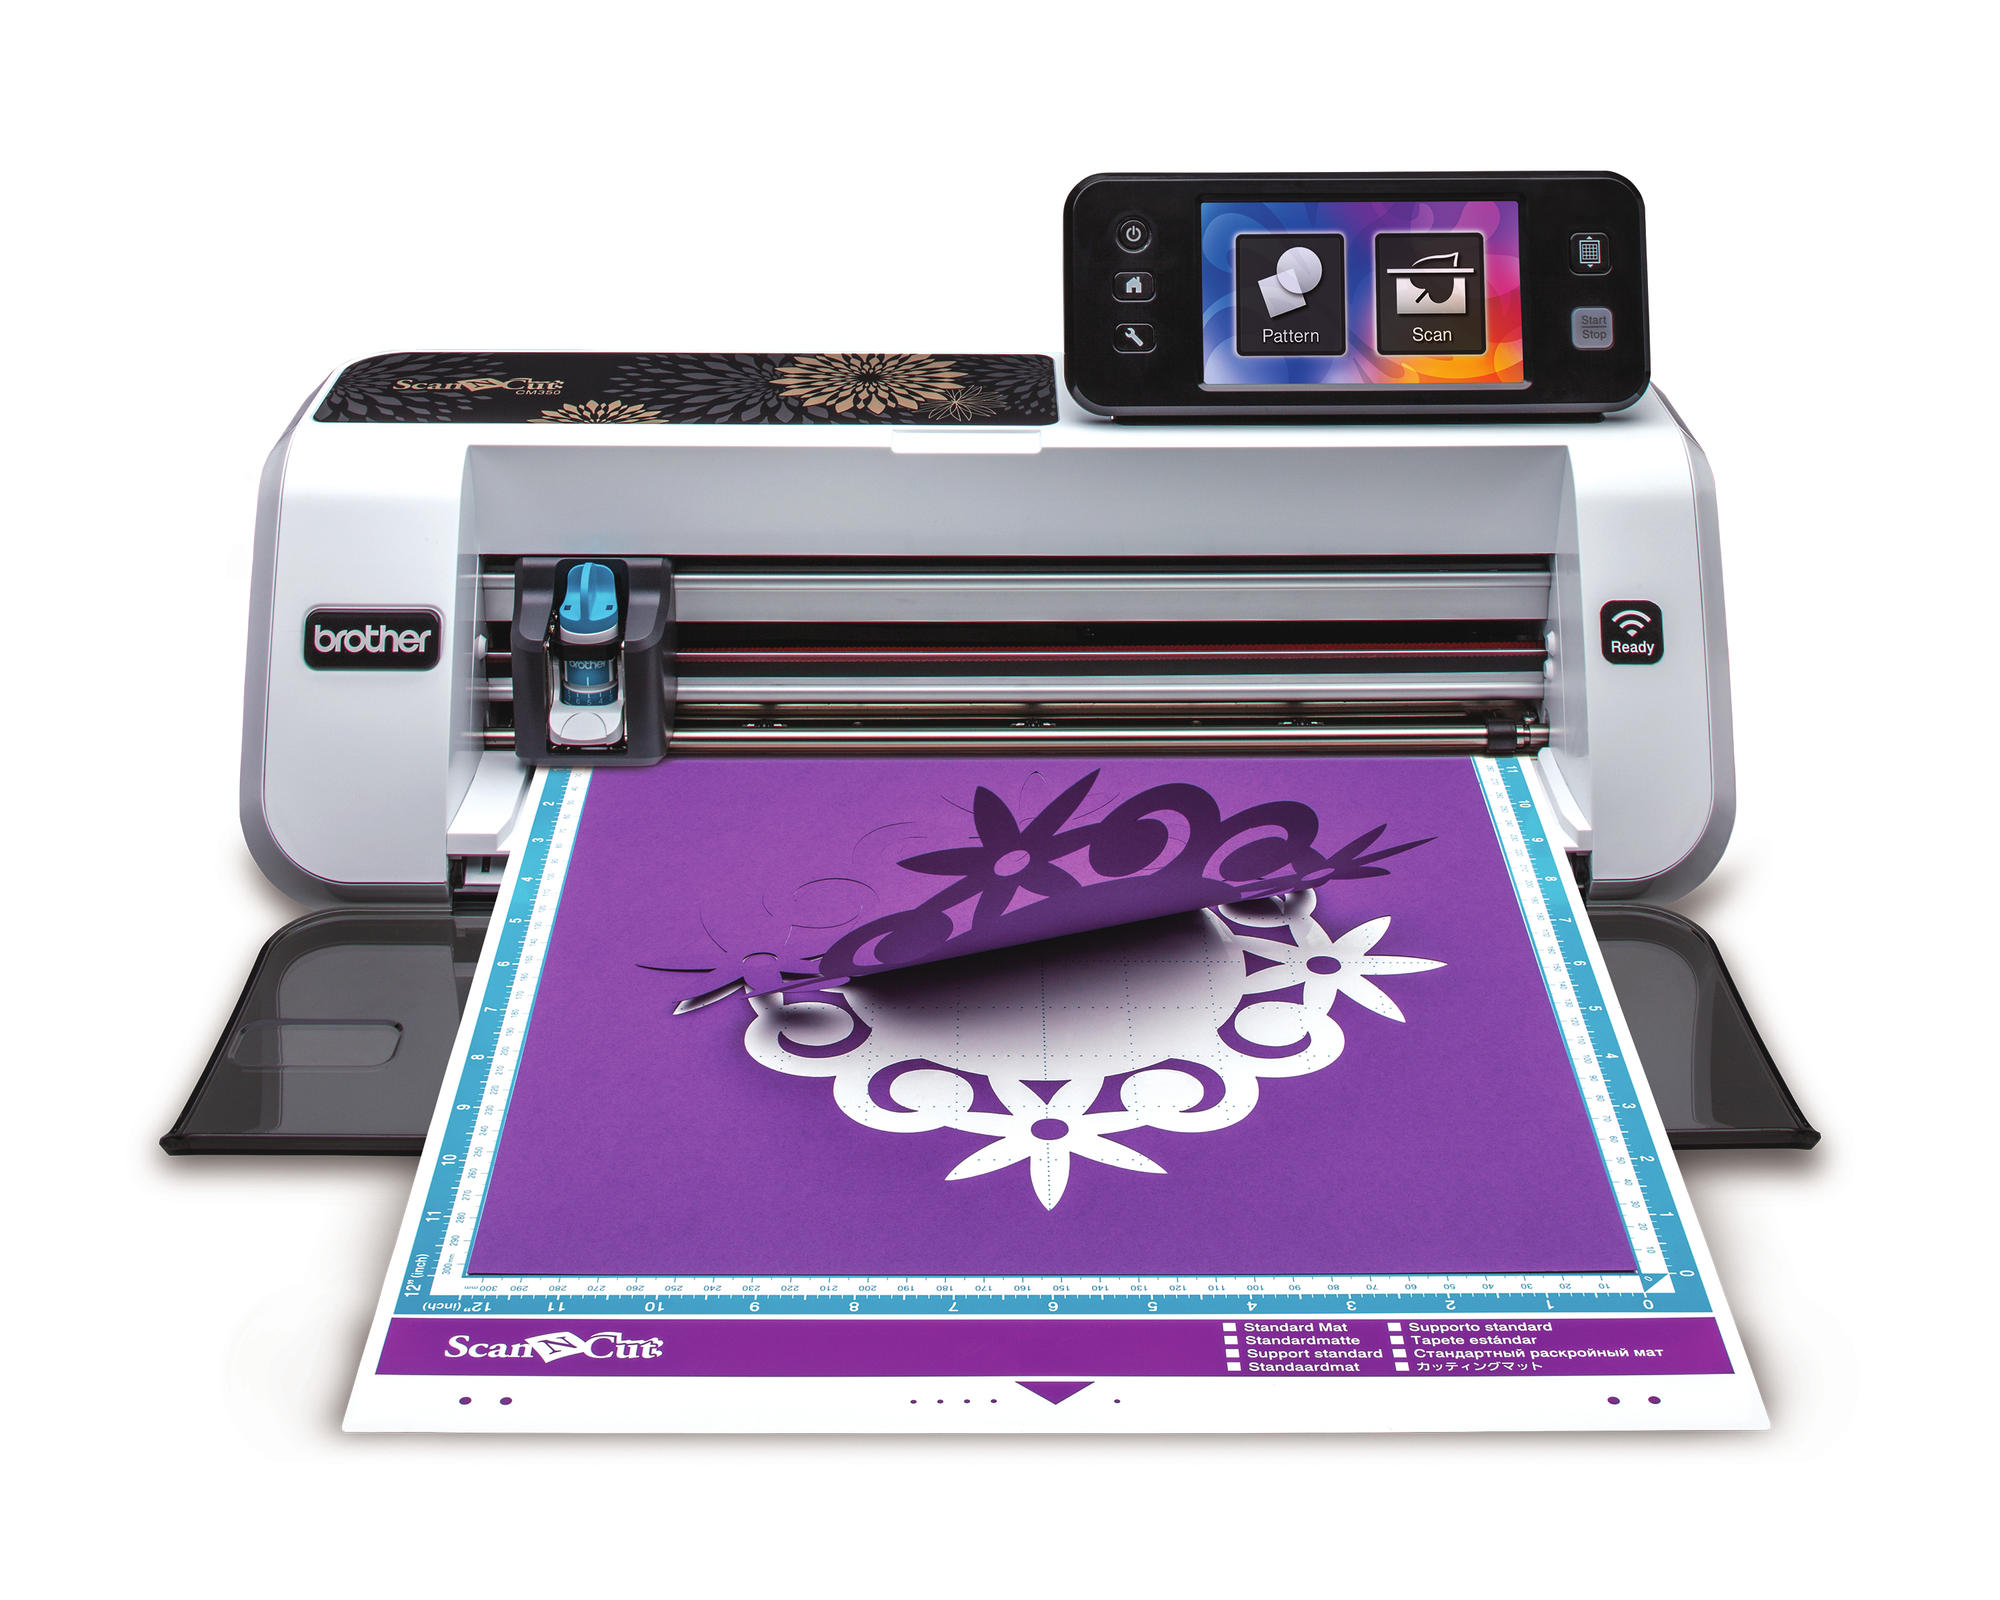
Brother Scan n Cut 2 CM 350
Shop at:
Amazon
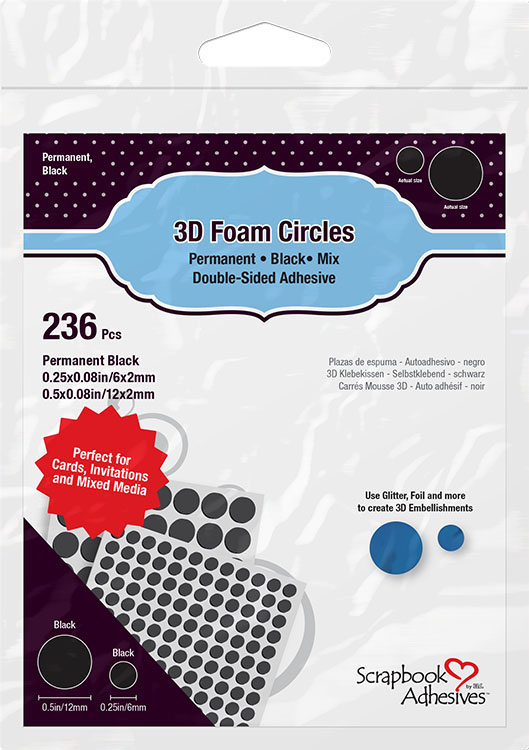
Scrapbook Adhesives by 3L 3D Black Foam Circles
Shop at:
Scrapbook.com
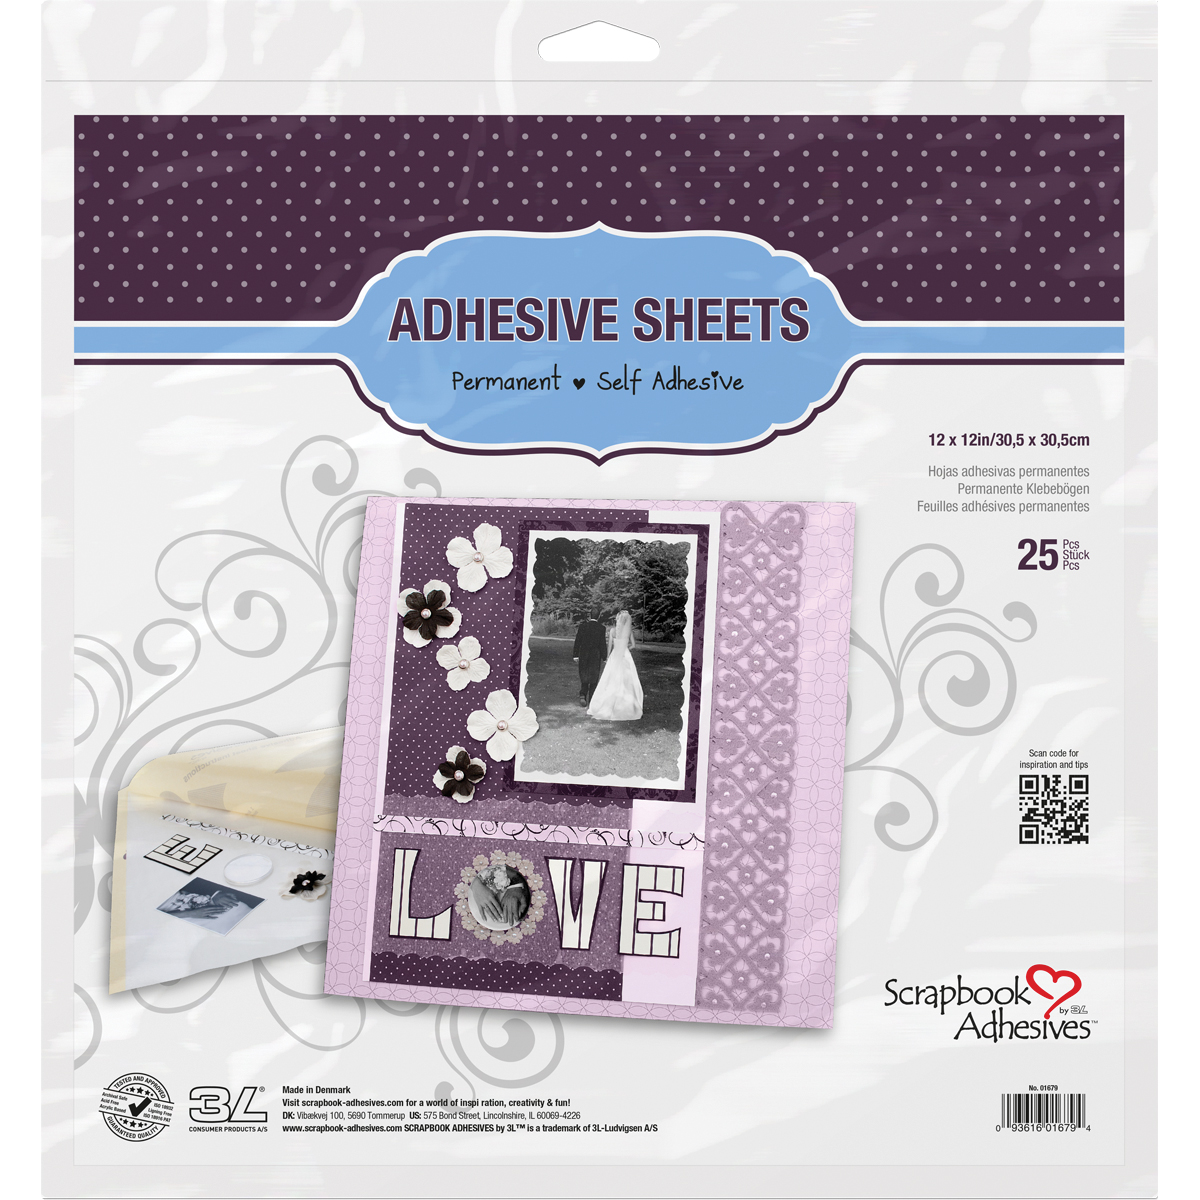
Scrapbook Adhesives by 3L Adhesives Sheets 12x12in
Shop at:
Amazon
Gina K Designs Dark Brown Embossing Powder
Shop at:
Simon Says Stamp


#scrapbookadhesivesby3L #wavingmywnad #coffeecoasters #recycle #upcycle #adhesivesheets #foamcircles #scanncut #brothercraftsusa #rangerink #embossingpowder #adhesive #diy #crafts #homedecor #terriburson #coffeelovers #coffee #coffeecup #coffeemug #tealovers #teacup #tea #coffeeaddicts #ginakdesigns #diecutmachine #repurpose

Wednesday, April 13, 2016

Upcycled Wall Art with May Arts Ribbon

(FTC disclosure: This post may contain affiliate links so, if you purchase a product using the link I may receive a small commission. I only participate in affiliate programs that feature products that I use and love. Your purchase price is not affected in any way, by using my links)
I've got a project up on the May Arts Ribbon Blog today, upcycling this picture frame.   Grab some ribbon and let's make some fun Wall Art!  Head on over to see all the photos and step by step instructions.  Scroll down for the affiliate links, if you'd like to purchase this silky satin ribbon from their online retail store, The Ribbon Resource. 

Use Promo Code FREESHIP at checkout, to get Free Shipping on any order! 
Hurry, before it expires!


Available at The Ribbon Resource:


Double Faced Satin Ribbon – Parrot Green


#mayartsribbon #ribbonresource #ribbon #satin #grosgrain #freeship #freeshipping #wallart #art #homedecor #DIY #upcycle #nautical


Thursday, September 17, 2015

Upcycled Halloween Frame for May Arts Ribbon

(FTC disclosure: This post may contain affiliate links so, if you purchase a product using the link I may receive a small commission. I only participate in affiliate programs that feature products that I use and love. Your purchase price is not affected in any way, by using my links.)

Fall us upon us and I've got a fun, festive Upcycled Halloween Frame, featured over on the May Arts Ribbon blog today.  Hop on over and take a look at how my design team project was inspired, including some of the technology used, as well as the details on these gorgeous ribbons, right here:  


You can find most of the ribbons that I used, at The Ribbon Resource - May Arts Ribbon Retail Store. I've included some shopping affiliate links below if you'd like to check back in at your convenience. Smaller ribbon bundles are available now in 5 yard packages.  

Plus, if you make a purchase in the month of September, you'll be entered to win a ribbon rack! As Buddy the Elf would say, "It's Ginormous!"

May Arts Ribbon used:
346-46 Fuzzy Pom Pom Wired Ribbon,  Parrot Green (available soon at The RIbbon Resource)

QD47 1.5” Purple Sheer Ribbon Velvet Dots

(FTC disclosure: This post may contain affiliate links so, if you purchase a product using the link I may receive a small commission. I only participate in affiliate programs that feature products that I use and love. Your purchase price is not affected in any way, by using my links.)

#mayartsribbon #ribbonresource #halloween #fall #seasonal #festive #autumn #banner #polkadots #cricut #cricuteverywhere #upcycle #recycle #homedecor #diy #washi #washitape #diecut

Monday, May 25, 2015

DecoArt Upcycled Neon Pop Bar Chair

Today I've got a fun project that pairs DecoArt Americana Multi-Surface Satin Acrylic paints, with a stenciled die-cut made with my Cricut Explore.  I found this vintage, Comfort Line bar stool chair in a thrift shop, and thought it would be a perfect test subject. 

I really wanted to try out the Decoart Neon colors from the multi-surface collection.  They're such fun colors and I couldn't choose just one, so I chose to use all of them - pink, green, orange, blue, and yellow!  Plus, they're great for indoor and outdoor use.  I'm going with a fun, summery Bubble Pop design.  Let's get started.....


First, we need to create the stencil.


I've designed this file in the Cricut Design Space and, if you're a user, you are welcome to use my free file.  It fits on a 12"x12" mat.  Simply copy and paste the link below, into your address bar, once you're logged into Design Space.   The photo to the left shows where I weeded the circles out of the stencil.  I'm using clear contact paper, for my stencil, that you can purchase at the Dollar Tree.

https://us.cricut.com/design/#/canvas/27431137


Now, let's prep the chair.  Because the chair has a shine, I've lightly sanded it, front and back, so the paint will better adhere.  Be careful not to sand too hard, or you'll have sharp, pointy edges.


Next, I'm doing a test coat so I can gauge how much paint I might need.  I'm going with the DecoArt Multi-surface Cotton Ball for my base coat.  


I used 2 full coats of the Cotton Ball paint, now it's on to the stenciling.  The stickiness of the contact paper?  Not so great.... live and learn, right?  So I used some washi tape to hold it in place.  I tried paint brushes and foam brushes, to see which worked best on my chair's surface and the foam brushes seemed to work best, to avoid streaks on this surface.   I ended up applying 3 coats of the neon paint for full coverage.


Check it out!  Aren't the colors just brilliant?  There is no photo editing here, people.  This is the color my camera took, no tweaking required.  Due to the contact paper not sticking as well as I'd like, I had some leaked edges on my circles which required some touching up with the Cotton Ball paint.


You may want to use a sealer after you've let this cure for a bit.  The American Spray Sealer is perfect to finish this off and better preserve all your hard work.  It gives your finished project a nice gloss as well.


Here's the Before and After.


 I've had some friends take a peek and they thought this would look so good in a girls bedroom.  My initial thought was to use it outdoors as a fun summer chair at a backyard BBQ.  How about having one of these as a birthday chair for a daycare or classroom?

I also think the stencil would be great for using as a focal point to paint these neon colors in bubble shapes in a child's bedroom on a wall, say, near a bedroom lamp?  A great little pop of color.

I hope you enjoyed my little project.  Please share your thoughts and other ideas in the comment section.  I appreciate it!

I would love it if you would follow me at any of my social media links:


#decoart #americana #satin #acrylic #multisurface #neon #upcycle #recycle #diy #cricut #cricutexplore #cricuteverywhere #comfortline #bar

Disclosure: This post may contain affiliate links so, if you purchase a product using the link I may receive a commission. I only participate in the affiliate programs linked above because they are products that I use and love. Your purchase price is not affected in any way, by using my links.  Thank you for your support and helping me keep my content free!

Tuesday, February 3, 2015

Upcycled Shoe Box Storage

Need to organize your craft space?  How about utilizing something you probably already have on hand; shoe boxes.  We all have them, sitting around, taking up space in our closets, right?  For this fun, crafty upcycle, all you need are a few supplies:

Scissors
Scrapbook Paper
Stapler
Colored Staples
Ruler


 1.  Measure and trim your paper to size.
2. Add 3 well placed staples on the sides and 2 on the end corners. 

That's it!  It doesn't get any easier than that.

Pick a theme and colors, and perk up your crafty space.  I plan to make some more and stick with the pink/blue/yellow theme.  Mix and match patterned boxes with solid colored boxes for some added pop.    Versatile and pretty! 


                                            from: Scrapbook.com


Disclosure: This post may contain affiliate links so, if you purchase a product using the link I may receive a commission. I only participate in the affiliate programs linked above because they are products that I use and love. Your purchase price is not affected in any way, by using my links.  Thank you for your support and helping me keep my content free!
#upcycle #recycle #cre8time

Saturday, October 25, 2014

10 Crafty Ways to Recycle your Coffee Cup

You know that moment when lightning strikes, that "ah ha" moment?  That's what happened while enjoying my morning coffee.  I thought to myself, " I bet there's a lot of ways I could get crafty with this thing."

So, I proceeded to make a list of things that immediately came to my mind.  Here are the resulting projects:


#1 - Decorate it.  Fill it with shredded paper, put a gift card in it, samples of coffee, whatever.  Your coffee loving friend will love it!  I know I would.


#2 - Make a card.  YES!  Is this not the best idea ever?!  Plus, it knocks out #3 on my list .....make confetti.  Oddly enough, this confetti actually looks like coffee beans.  I used a hole punch and Glue Dots to adhere.  You could actually punch out a bunch and use in lots of different ways: a shaker card, decorative confetti on the table, use for googly eyes, etc.


#4 - A Megaphone.   Decorate it in school colors, wrap it in washi tape.  I guarantee my child will want to take this with him to the next pep rally at school.


 Giant #5 - Giant Googly Eyes.  Let the kids have fun with this.  They could make silly faces, stick a piece of magnetic tape on the back, put the fun on the fridge.


#6 - Yes I did.  A coffee cup Christmas tree.  PLEASE USE LED LIGHTS so you don't burn the place down!


#7 - Bowling!  Put the lids on, turn them upside down and let the kids have a bowling alley in the kitchen.


Lastly, 8, 9 and 10.  Not pictured but still, fun ideas.  

#8 - Make a gift tag.  If you have a large circle punch, punch out a section (or draw a circle and trim with scissors) then use a small hole punch to run ribbon or string through.  Use a sharpie marker to write the name on the back.

#9 - Another rainy day kids game.....fill multiple cups halfway with water and have a fun coin toss.  This will keep them busy while you enjoy another cup of coffee.

#10 - Make a coffee cup snowman.  Turn it upside.  Take a Styrofoam round ball and stick to top with a toothpick or glue.  Poke stick branches through the side for arms and decorate.  *Tip - the lid makes a cute hat!


Have fun getting crafty with these recycled ideas.  I can guarantee you'll create some great conversation pieces!

(Please note, the company that promotes this cup does not endorse this article.  To date, I have not received a response from a certain corporation to be granted permission to promote their branded cup)

Update:  McDonald's tweeted.  They like my project.  :)

#gluedots #cre8time #Christmas #recycle #upcycle #DIY

Disclosure:  If you decide to make a purchase through my affiliate links, I may receive a commission for it. This doesn’t cost you anything additional. These commissions help to keep the rest of my content free, so thank you!


Monday, October 20, 2014

DIY 20 Minute Student Desk Refurbish

I've got a quick, easy project for you today.  This student desk is a perfect addition to my craft room, but first, I've got to whip it into shape.  As you can see below, the desk is covered in some kind of painted scribble, and I've decided to put my scrapping, crafty skills to use.  It only took about 20 minutes of my  time and 4 supplies, all of which can be found at your local hobby store:

- Mod Podge
- Foam brush or medium paintbrush
- Metal paint scraper
- 4x6 adhesive mat stack (found in the scrapbook paper section)


I used an adhesive mat stack (DCWV) that has almost a quilted look once all the sections are in place.  I layered from left to right, alternating so the top and bottom rows are vertical and the inner row horizontal, trimming a few smaller sectional pieces to finish the last row.    


Once all sections are adhered, take your brush and brush on 
the Mod Podge, covering completely in a thin layer.  Before completely dry, take your paint scraper and gently scrape out any air bubbles.  If desired, add a second coat of Mod Podge.


#DIY #Cre8time #upcycle #modpodge #dcwv #craft

Disclosure:  If you decide to make a purchase through my affiliate links, Amazon will pay me a commission for it. This doesn’t cost you anything additional. These commissions help to keep the rest of my content free, so thank you!


Wednesday, December 4, 2013

Recycled gift bags made with magazines

My Pinterest - click here

Ok folks,  I need some honest feedback.   I've been looking for a way to package my homemade cards that I sell and came up with gift bags made out of magazines.

I've got strips of heavy cardstock to balance the bag.   My question is this:  its flimsy paper but it IS recycling.   Would you be happy to get a gift bag like this or is it too cheap looking?   Feedback please before I proceed!   This is a very basic mock up.   I appreciate your input.   Thanks so much!