
Another Friday has arrived and this particular Friday is special. After all, it's the second to last Friday before Christmas, and the third day of Hanukkah, for my Jewish friends. It's also time to share another collaboration project for Graciellie Design and Therm O Web!
(Please note: as an affiliate for various companies in the craft industry, I will receive a small commission for purchases made through my convenient affiliate links. This does not affect your purchase price.)

Today's project features the holiday release from Graciellie Design, aptly titled Jingle Bells. In fact, right now, you can scoop up this fabulous digital stamp set for a song....get it? Song? Jingle Bells? Never mind.
Seriously though, 5 sentiments and one super fun image to color at a price that is easy on the wallet. Running out of time to make Christmas cards? Click to purchase, download the file, upload the picture in a Word document and print, color, cut and glue! Super easy. Plus, you can resize your image to fit your card needs, as I did.
P.S.... print on mixed media paper or lightweight watercolor paper too!

You have to experience the shimmer and shine of foiling for yourself. It's my new favorite thing. Therm O Web makes it so easy with the line of products from Gina K Designs. Santa!!!! I know her! Sort of, kind of. We smile and wave at each other in some of our favorite Facebook Groups. Plus, Miss Gina has an amazing Facebook group of her own. You should totally check it out, if you haven't already. Since I'm in such a giving mood today, how about I just share the linky?
You'll find a ton of inspiration on foiling. Of course, Gracie is my favorite expert and as a designer for Therm O Web, you have a front row seat to her many talented creations on her blog. If you're not already a member of her YouTube channel, you should be. She is an expert on tutorials!

Today's project features a foiled background using the Sparkling Silver and Radiant Red Fancy Foils, along with the Holiday Cheer sentiments and Ornamental Holiday Background toner adhesive cardstock from the Foil-Mates product line. Want to know how easy this is?
Let me just lay it out as easy I can...
1. Open the package and pull out a beautiful piece of toner background cardstock (Foil Mates)
2. Heat up your heat laminator.
3. Open the package of Fancy Foils and lay your foil on top of the Foil Mates background (sparkly side up).
4. Place it inside a sandwich. What's a sandwich? A large piece of parchment paper folded in half with a piece of cardstock inside to stabilize your foiling.
5. Place the folded side of your "sandwich" seam side first into your heated up laminator. Wait a few seconds while the magic begins.
6. Open up your sandwich and peel off the plastic foil sheet to reveal shiny, sparkly, yummy stuff! (I like to run mine through twice, just to make sure everything adheres nicely)
7. Grab your camera and snap a photo of yourself in the mirror to capture that giddy smile!

It's hard to truly capture the shiny sparkles so trust me when I say, this is stunning in person. If you are ready to up your game when it comes to sending handmade cards, and impress your friends, family and business associates, stop by Therm O Web and take a look at their amazing product line up. It's not just holiday images; they've got you covered year round.
Birthdays? Check. Florals? Check. Tags, labels, dies and more. If I had to guess, I'm betting Miss Gina is already working on the next release as we speak. I'm looking forward to adding to my love of this collection and I'm so excited that these amazing products are available for you to try as well!
Oh, but wait. There's more. Did I mention that some of the Therm O Web products that I used today are on sale? Yup. Christmas jackpot.

If you'd like to shop my convenient affiliate links, please scroll to the end of this post or click on any of the links scattered throughout this post. You can also shop Gracie's entire line of digital stamps at her Etsy shop.
Before I go, let me mention the lovely ribbons that I used today. They're from the Really Reasonable Ribbon October Kit of the Month. We are spotlighting these lovely ribbons in our projects in November and December. Aren't they gorgeous?

Find out more about the Monthly Club here, or shop their year round selection.
Thanks so much for stopping by. Be sure you're following me on social media!

SUPPLIES
I’m listing the products I used throughout this post. Click on the link to go directly to the product. Where available I use compensated affiliate links which means if you make a purchase I receive a small commission at no extra cost to you. Thank you so much for your support!
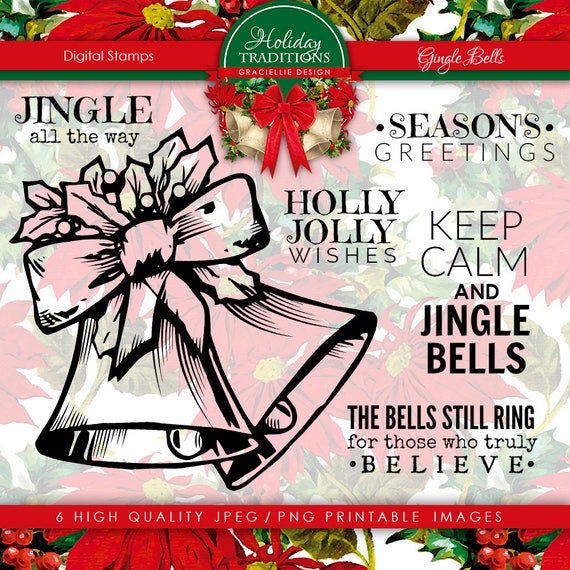 Graciellie Design Jingle Bells Digital Stamp set Shop at: Graciellie Design |
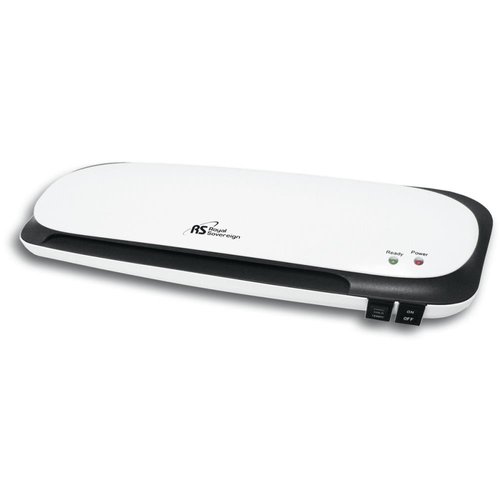 Royal Sovereign 12" Thermal Laminator CL-1223 Shop at: Thermoweb |
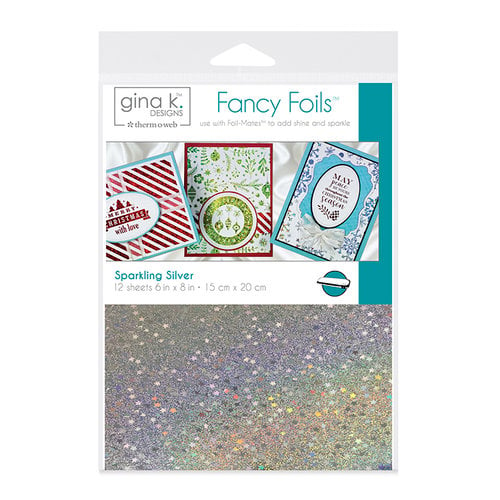 Thermoweb Fancy Foils Sparkling Silver Shop at: Thermoweb |
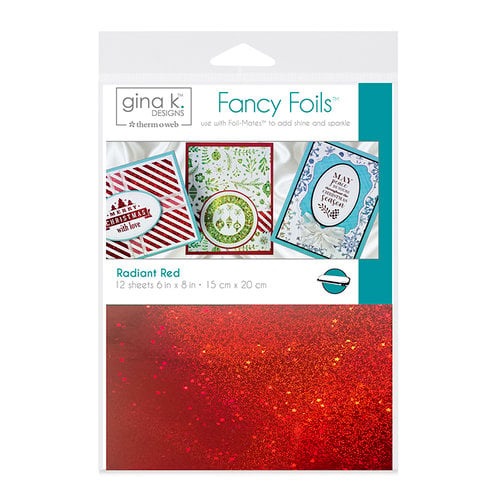 Thermoweb Fancy Foils Radiant Red Shop at: Thermoweb |
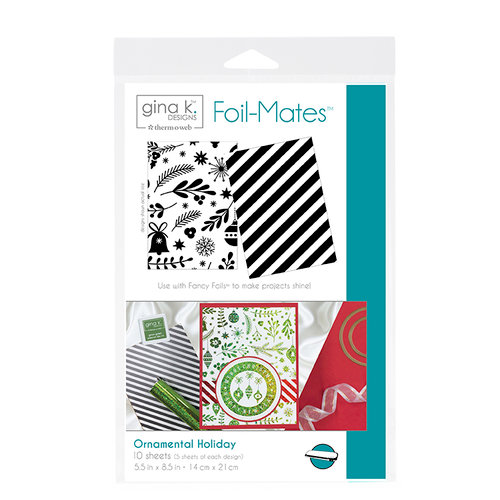 Gina K. Designs Foil-Mates™ Backgrounds • Ornamental Holiday Shop at: Thermoweb |
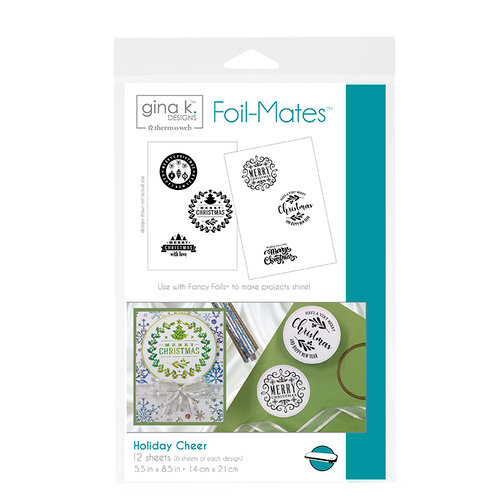 Gina K. Designs Foil-Mates™ Sentiments • Holiday Cheer Shop at: Thermoweb |
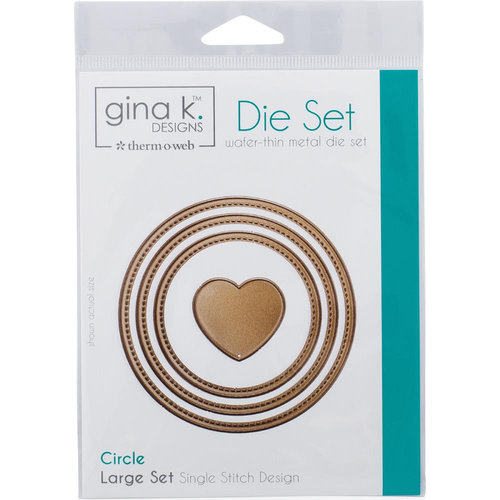 Gina K. Designs (3) Nested Circle Dies • Single Stitch Design • Large Set Shop at: Thermoweb |
Gina K. Designs Premium Cardstock 8.5" x 11" • White Shop at: Thermoweb |
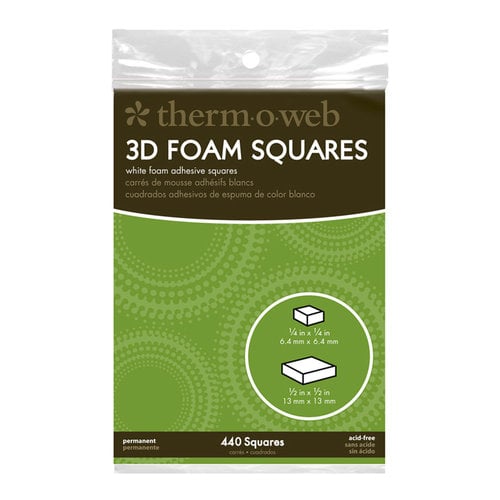 3D White Foam Squares Combo Pack Shop at: Thermoweb |
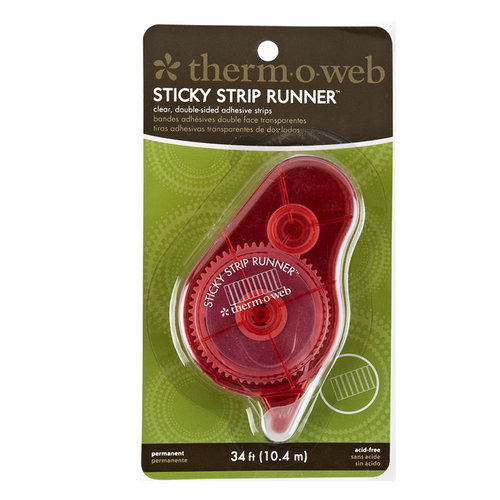 Sticky Strip Runner™ Shop at: Thermoweb |
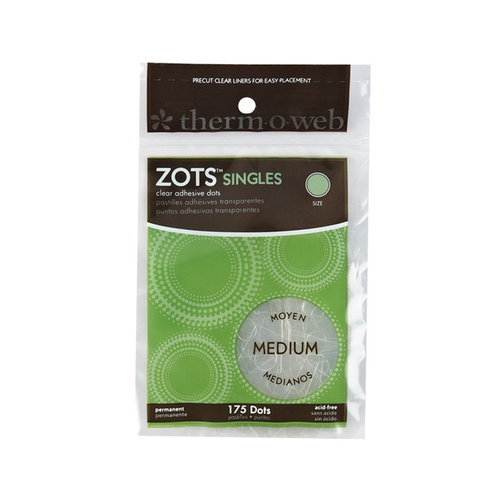 Zots™ Singles • Medium Shop at: Thermoweb |
#gracielliedesign #digitalstamps #jinglebells #holiday #christmas #thermoweb #ginakdesigns #foilmates #fancyfoils #adhesive #christmascards #cards #foil #laminator #royalsovereign #zots #cardstock #stitcheddies #wavingmywand #terriburson #reallyreasonableribbon #ribbonclub #monthlyclub #clubofthemonth #christmasribbon #DIY #papercrafts #cardmaking #scrapbooking


