Showing posts with label leaf. Show all posts

Friday, October 5, 2018

Monochrome Autumn Leaf Card

Hello friends.  Today's project is for Crackerbox & Suzy stamps and features the October Stamp of the Month, the lovely sentiment, Each Leaf.  It's marked 50% off the entire month!  It's such a wonderful quote and so timely with cooler weather and falling leaves on the horizon.  We're still waiting on cooler temps where I live, but I know many of you have already had snow!  Stick around for a few minutes while I share creative tips, plus detail on the Fall & Thanksgiving sale, holiday challenge and more!


(FTC Disclosure: as an affiliate for various companies in the craft industry, I will receive a small commission for purchases made through my convenient affiliate links.  This does not affect your purchase price.)


I'm also using Catherine Pooler Inks for my card today; Icing on the Cake for my sentiment, and Sandcastle for my leaves.  Just two inks to pull off this monochromatic theme.  I have so many crafty friends who have raved about these inks and now I know why!  The coverage is incredible!  For my leaf stamping, I only inked them once.  Once!  Most of the products that I've mentioned can be found in the shop.  Just click the links that are scattered throughout this post.


Let me quickly share some creative tips on the making of this card.  It is A2 sized and to begin, I heat embossed my sentiment on a watercolor card panel that was also A2 sized.  I trimmed it down later to layer on my card.  I also used the Maple Line Leaf in a random offset pattern around my card panel as well, and incorporated generational stamping.  That is when you use the same inked stamp twice; once fully inked and stamped and then stamped elsewhere on the card, giving a faded appearance.


One of the things that I love about shopping online at Crackerbox & Suzy Stamps is that I can often find little goodies that I just have to have.  Like the Tim Holtz stencil that I recently ordered.  It comes as a 3 pk and is the TH mini stencil set #28.  Ok, hold your horses for this next incredible tip.... I used a dauber that had previously been inked with Catherine Pooler ink.  I did NOT re-ink it.  The ink that was left on my dauber was sufficient to stencil my entire card panel!  Holy cow!  I love it!  You'll find most of the products that I've used at the bottom of this post as clickable affiliate links, including the woodgrain paper from the Paper House Delish collection, the daubers, adhesives and more.


Before I go, let me mention that we have a sale going on all month on Fall/Thanksgiving themed stamps.  How awesome is that? (Halloween excluded)


Don't forget that we have a holiday challenge that runs through the end of the year so there's plenty of time to make any holiday themed card you'd like, and link up, here.  You'll find the link up at the end of that blog post.


As I mentioned earlier, the Stamp of the Month is 50% off.  Don't miss out!


SUPPLIES:


I’m listing the products I used throughout this post. Click on the link to go directly to the product. Where available I use compensated affiliate links which means if you make a purchase I receive a small commission at no extra cost to you. Thank you so much for your support!

Strathmore 300 series Watercolor Paper 9 x12 pad
Shop at:
Scrapbookcom
Misti Original
Misti Original
Shop at:
Scrapbookcom
Ranger Inkssentials Craft Mat 15x18
Shop at:
Scrapbookcom
Ranger US HEAT IT CRAFT TOOL
Shop at:
Scrapbookcom
Hero Arts Clear Embossing Powder
Shop at:
Scrapbookcom
Maple Line Leaf
Maple Line Leaf
Shop at:
Crackerbox & Suzy Stamps
Scrapbook Adhesives by 3L EZ Grand Runner
Shop at:
Scrapbookcom
Neenah Solar White Cardstock 8.5x11 inch
Shop at:
Scrapbookcom
Scrapbook Adhesives by 3L EZ Runner Grand Refill
Shop at:
Scrapbookcom
Neenah Solar White 25 pk Card/Envelope Set A2
Shop at:
Scrapbookcom
Paper House Productions Delish Paper Kit
Shop at:
Scrapbookcom | Paper House Productions
Sponge daubers 10 pk
Shop at:
Scrapbookcom
Catherine Pooler Ink - Icing On The Cake
Shop at:
Crackerbox & Suzy Stamps
Catherine Pooler Ink - Sand Castle
Shop at:
Crackerbox & Suzy Stamps
Each Leaf Sentiment
Each Leaf Sentiment
Shop at:
Crackerbox & Suzy Stamps


#crackerboxandsuzystamps #sosuzystamps #wavingmywand #papercrafts #DIY #cards #cardmaking #autumn #stamps #terriburson #catherinepoolerink #rangerink #scrapbookcom #neenah #Misti #handmade #handmadecards #strathmoreart #watercolorpaper #paperhouseproductions #delish #woodgrain #leaf #leaves #quote #emilybronte #thanksgiving #sale #stampofthemonth #timholtz #stencils #stampersanonymous #monochrome #monochromatic #generationalstamping #technique


Thursday, August 23, 2018

Fall CAS Card for Scrapbook Adhesives by 3L

Hello again, my crafty friends.  I've got a lovely Fall CAS card today, that features tiny foil flakes unseen until viewed from an angle.  Like a hidden gem!  I hope you'll stop by the Scrapbook Adhesives Blog for all the pretty details on this super easy technique.


(FTC Disclosure: as an affiliate for various companies in the craft industry, I will receive a small commission for purchases made through my convenient affiliate links.  This does not affect your purchase price.)


You'll find convenient affiliate shopping links below.  Be sure and follow the Scrapbook Adhesives by 3L Blog for more design team inspiration.  


I hope you're already following me on social media, as well!


*Not pictured below:  3L Home and Hobby dual tip glue pen (where available), Crackerbox & Suzy Stamps Fallen Leaf sentiment and Line Leaf 2.


SUPPLIES:

I’m listing the products I used throughout this post. Click on the link to go directly to the product. Where available I use compensated affiliate links which means if you make a purchase I receive a small commission at no extra cost to you. Thank you so much for your support!


Misti Original
Misti Original
Shop at:
Scrapbookcom
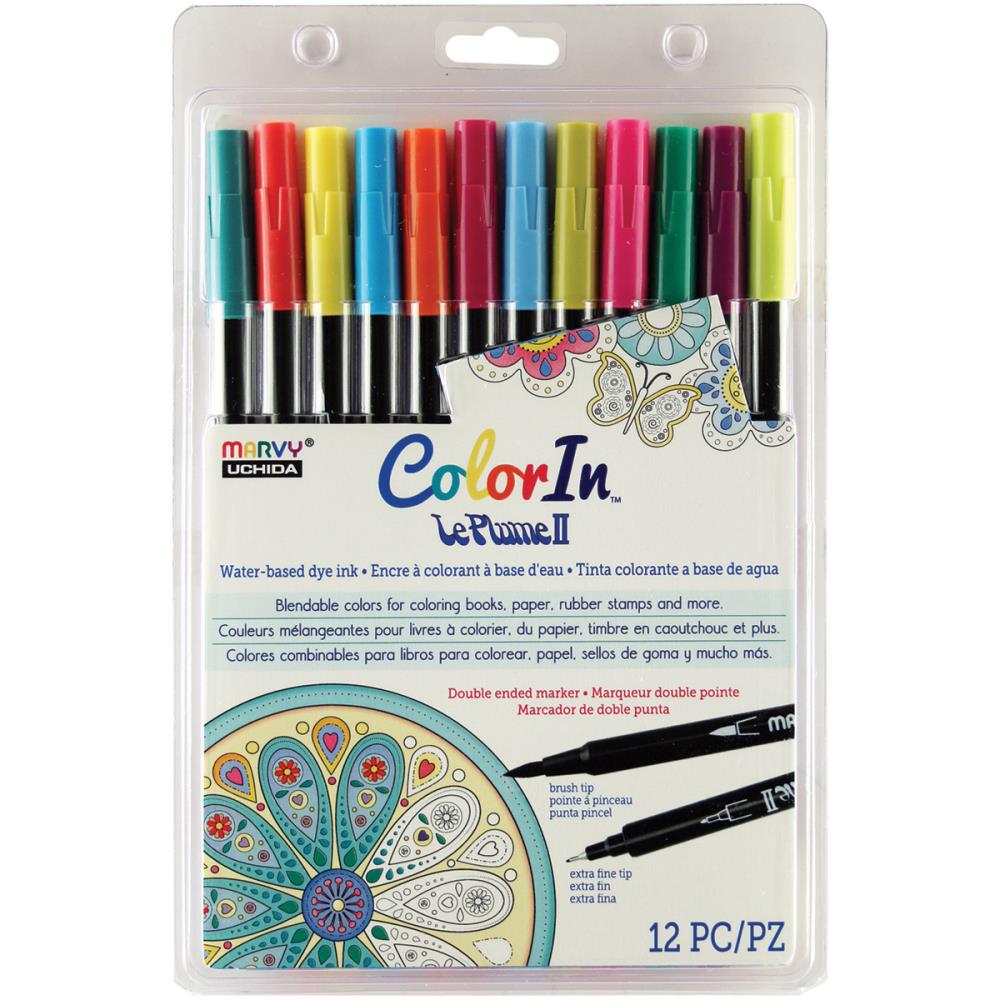
Marvy Le Plume II Dual  Brush Markers
Marvy Le Plume II Dual Brush Markers
Shop at:
Blitsy
Neenah Solar White A2 Scored Cards
Shop at:
Scrapbookcom
Scrapbook Adhesives by 3L EZ Grand Runner
Shop at:
Scrapbookcom
Scrapbook Adhesives by 3L EZ Runner Grand Refill
Shop at:
Scrapbookcom
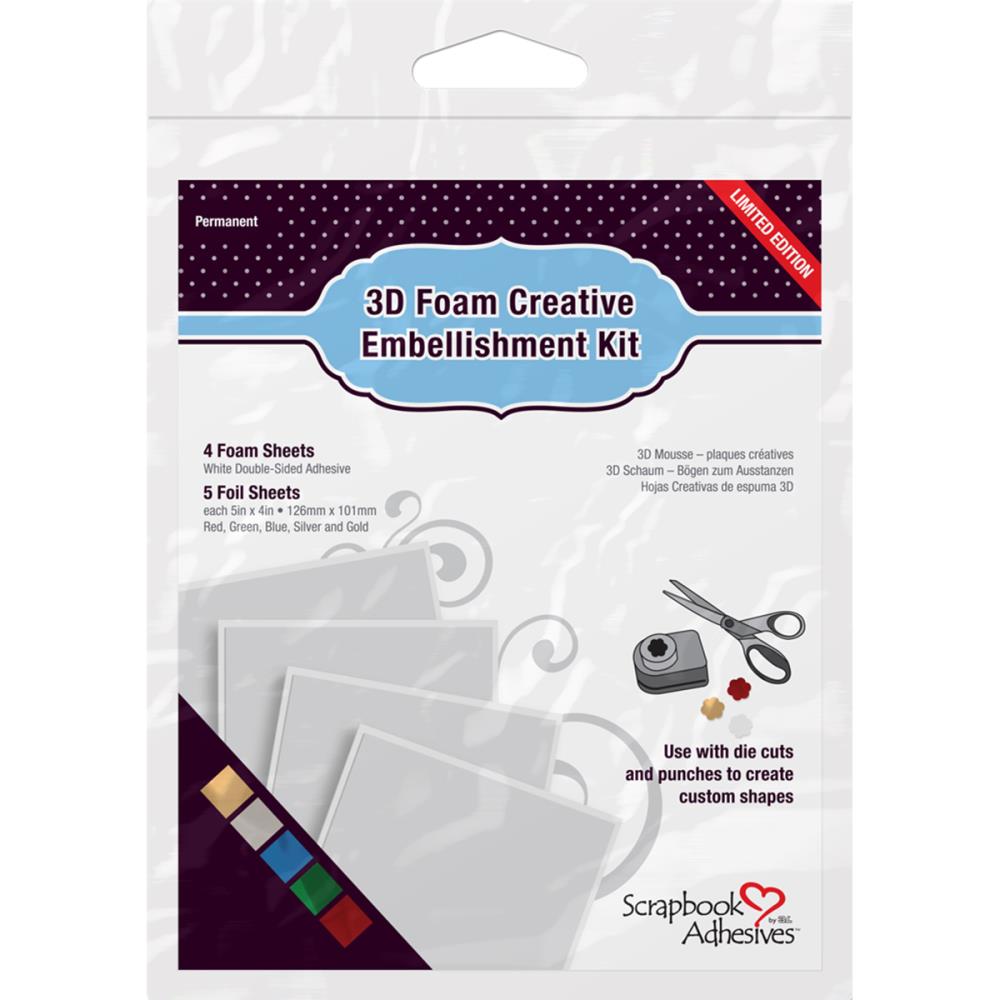
Scrapbook Adhesives by 3L Creative Embellishment Kit
Shop at:
Scrapbookcom
Strathmore Mixed Media Vellum surface paper
Shop at:
Blitsy
Neenah Solar White 25 pk Card/Envelope Set A2
Shop at:
Scrapbookcom


#scrapbookadhesivesby3L #wavingmywand #EZgrandrunner #foil #embellishmentkit #dualtipgluepen #glue #adhesiverunner #strathmoreart #mixedmedia #crackerboxandsuzystamps #Fall #autumn #summer #Misti #marvyuchida #leplume #brushmarkers #neenah #solarwhite #scrapbookcom #blitsycrafts #diy #cards #cardmaking #papercrafts #CAS #CAScards #coloring #catherinepoolerinks #icingonthecake #leaves

Sunday, January 1, 2017

A New Year With So Suzy Stamps

I'm thrilled to be kicking off the first day of 2017 by joining the design team of So Suzy Stamps!  Last year, I served a term on the Stamp of the Month Design Team, if you'll recall.  When Suzy asked me to join her main design team, I, of course, said yes.  

I've got a step by step tutorial today, showing you how to make a glitter embossed winter scene, featuring the sentiment, "No Midnight", and the "Beech Line Leaf".  A fully supply list is at the end of this post.


We are using the theme and technique as shown below, for the month of January.


Image may contain: text


1.  To begin, ink the raised negative section of your embossing folder background with black archival ink.  Insert cardstock and run through your embossing machine.  Dry the embossed image with your embossing heat tool for a minute.


2.  Spread Stickles glitter glue in random areas of your embossed trees and sprinkle with extra fine gold glitter.  


3. Now, use your fingers to add clear glue on the black inked negative space, then sprinkle with black extra fine glitter.  Tap off excess.  Clean up edges with a wet q-tip.  Use a heat emboss tool to dry before proceeding.


4. For the moon, use a circle punch (1 or 1 1/2") and punch on white cardstock.  Take a scrunched paper towel and dip into your yellow dye ink.  I'm using So Suzy Stamps Sunflower Sue from the Autumn Equinox mini Ink Bites.  Dab onto your punched circle and add more or less ink to your liking.


5.  With a craft knife,  Place your inked moon in the upper right corner and trim only the negative background, where I've marked, using your moon as the outline to trim.  Remove your moon, then trim along the inside edge of trees from the top of your trimmed edge to the bottom. (see next photo)


6.  Run an adhesive runner over the backside of your trimmed tree area, then place your moon behind it, with the inked side peering through.  Having fun yet?


7.  Trim a piece of vellum and ink your entire strip with Versamark.  **Do not add sentiment for this step. ** Add black Nuvo embossing powder, tap off excess and heat with embossing heat tool.  


8.  Now, stamp your sentiment with Versamark on top of your black embossed vellum.  Add white embossing powder, tap excess and heat with embossing heat tool.  If I see an area that looks smudged or needs a cluster of powder removed before hand, I will use a fine tip tool, such as my Cricut weeding tool, to easily scrape away the cluster, for a smoother emboss.  Fussy cut around the edges of your sentiment.


9.  Ink the Beech line leaf with black archival ink onto heavyweight white cardstock.  Use a glue pen (I'm using the Zig two-way) and add random glue lines and dots.  Sprinkle sparkly extra fine glitter on top and heat with emboss heat tool for a few seconds.  I used a rainbow sparkle glitter (maker unknown).  Fussy cut around edges of leaf.


Use adhesive or a section of glue line (Thermoweb) to the back of your leaf and adhere to bottom of your card.  I ran my fussy cut sentiment through my Xyron 2.5" sticker maker, but you could use glue lines here as well.  To finish, I layered onto black cardstock and a white A2 sized white card.


Hop on over to the So Suzy Stamps blog to check out all the design team projects today - your source for winter inspiration!


Supply list:

-Darice birch tree embossing folder (or similar)
-Embossing/die cut machine such as Cuttlebug or Sizzix Big Shot
-Black, white embossing powder
-clear glue (Tombow aqua)
-glitter, black, gold (extra fine)
-Stickles glitter glue (stardust)
-yellow dye ink ( So Suzy Sunflower Sue)
-vellum
-Versamark watermark ink
-White, black cardstock (Neenah)
-Black archival ink (CTMH)
-embossing heat gun
-paper towel, q-tip
-glue pen
-adhesive runner (Xyron)
-glue lines (Thermoweb)


#sosuzystamps #wavingmywand #sosuzystampsblog #DIY #card #winter #vellum #babyitscoldoutside #birch #beechlineleaf #leaf  #trees #emboss #embossing #moon #nomidnight #midnight #xyron #thermoweb #tombow #versamark #zig #Ranger #stickles #glitter #darice #neenah #cuttlebug #inkbites #sosuzyinkbites #terriburson #craft #scrapbook

Tuesday, May 12, 2015

Creating With Foil, Stamps and Glue....No Fancy Machine Required!

 If you've spent any amount of time in the crafty world, you've probably heard all about the new foil adhering machines such as Minc.  Heidi Swapp came out with one last year,


and Anna Griffin just released one in her line of products as well.  Many of these inventive tools are designed to make our crafty lives easier, but they can be pricey.

Today, I'm going to share with you how to achieve similar results, but on a budget friendly scale that won't break your bank account. 


First, let me share this video with you from my super awesome crafty friend, Rachel Kleinman.
She shared this technique which inspired me to give it a try, and I know it will inspire you as well.  I'll be adding a couple things that you won't find on the video so be sure and scroll down for all the tips and technique.  Be sure and show Rachel a little love by giving her a thumbs up or comment on her YouTube video, as well.


Now that you've seen Rachel's techniques, let me share my experience.

What you need:

- a stamp (leaf stamp from So Suzy Stamps)
- pasty glue (not clear)
- a bowl with warm water and soap
- soft toothbrush *optional
-bone folder knife

- craft hand wipes *optional (Crafter's Essentials)


To begin, I chose to stamp my image onto cardstock that I had already watercolored, which adds additional coloring under the foil stamped image. 


I tried to use clear glue.  Epic fail.  First, I applied way too much, directly onto the stamp.  You need a pasty glue which gives more texture, so I chose The Rubber Café Scrap Happy Glue which I picked up at the Scrapbook Expo last year.


For me, it worked better to squirt glue onto my craft mat, get it into my blender pad, then apply it directly to my stamp.  Work quickly so the glue doesn't dry before stamping and also, so that the cardstock doesn't come off on your stamp.

**Get that stamp into the warm, soapy water immediately after you've stamped!  I went ahead and stamped 2 of the leaf images, before soaking.  You don't want to ruin your stamp so let it soak immediately, along with your blending pad and tool.  Take the pad off your tool for soaking.

I used some good quality cardstock (American Craft) and didn't have any problems with paper peeling.  It looked like the image didn't properly stamp but it did so don't let appearances fool you.  Go ahead and lay your craft foil down and begin applying with your bone folder tool.


Keep scraping until you're satisfied that you've gotten all of your image transferred.  Lift your foil to peek at it, if you need to.  This process takes just a few minutes.  Use your craft knife to gently remove/scrape any stray pieces of foil from your cardstock.  (Isn't this gorgeous?!)


Now, it's super important to get your stamp clean.   Take your soaked stamps and go wash them some more with warm, soapy water.  Use a soft tooth brush if you need to.  I swear by the Crafter's Essentials Easy Clean hand wipes.  I use these all the time to not only clean my ink stained hands, but my craft mat and stamps as well.  It cleans my stamps like a dream, so I went ahead and used these as an extra pre-caution to make sure my stamps were like new again.  Of course, they work like a charm!  (Bonus tip - tear in half for smaller jobs and extend your supply.)


 You can find out more about the Crafter's Essentials Hand Wipes, here:


or purchase/locate dealer here:


As you can see, you can absolutely create foil images without the aid of an expensive tool.  It does take a little extra time and elbow grease, but we crafters are built on creativity and inventiveness, right?  Get busy and give this a try.  I'd love to hear about your experience. 

Visit me on Facebook at facebook.com/wavingmywand or
instagram.com/wavingmywand or my other social media sites.


Disclosure: This post may contain affiliate links so, if you purchase a product using the link I may receive a commission. I only participate in the affiliate programs linked above because they are products that I use and love. Your purchase price is not affected in any way, by using my links.  Thank you for your support and helping me keep my content free!


#foil #minc #annagriffin #heidiswapp #leeproducts #craftersessentials #easyclean #americancrafts #wermemorykeepers #wrmk #ranger #sosuzystamps