Showing posts with label night sky. Show all posts

Monday, November 17, 2025

Nativity Card for Erin Lee Creative

Hey friends, Erin Lee Creative has just come out with a new holiday release and I am loving it! It's all about the reason for the season, the birth of our Savior! I'm creating with 3 different products from this collection, so scroll down for all the details. Also, shoutout to Erin for sending me the products that I'm creating with today! I'll have my supply list linked at the end of this post as well.


 (FTC Disclosure: as an affiliate for various companies in the craft industry, I will receive a small commission for purchases made through my convenient affiliate links, at no additional cost to you.)


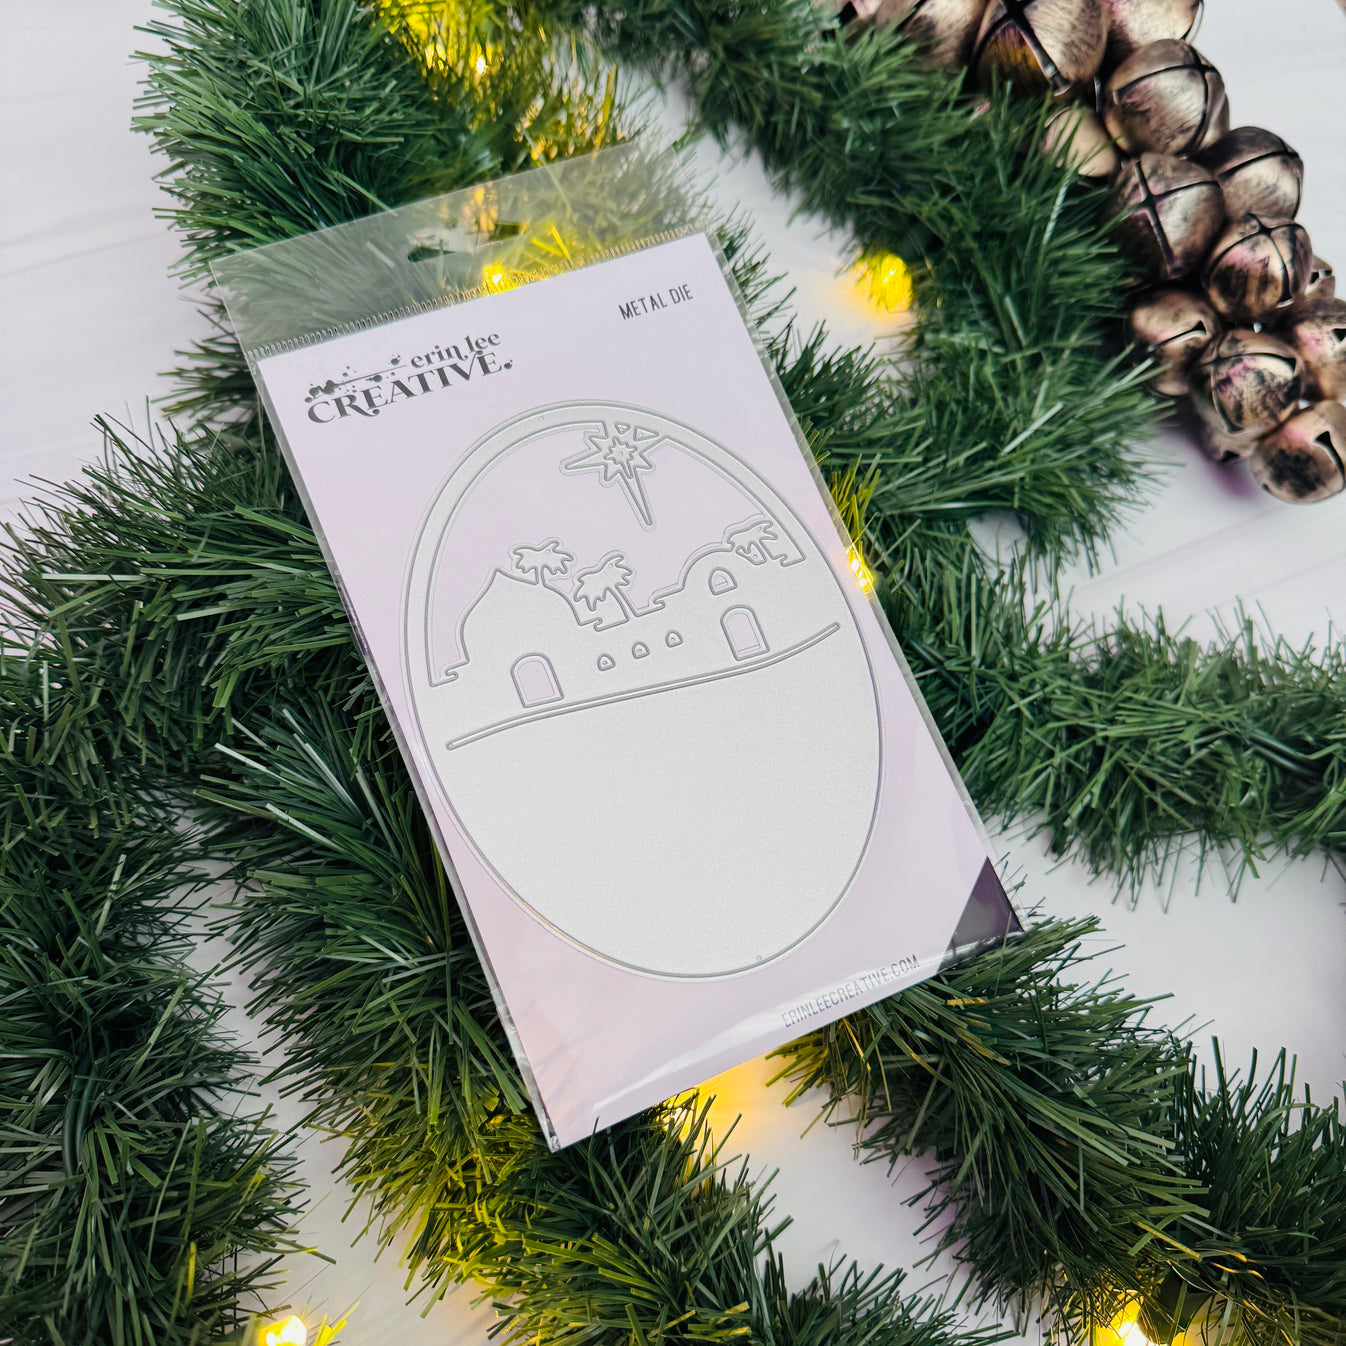
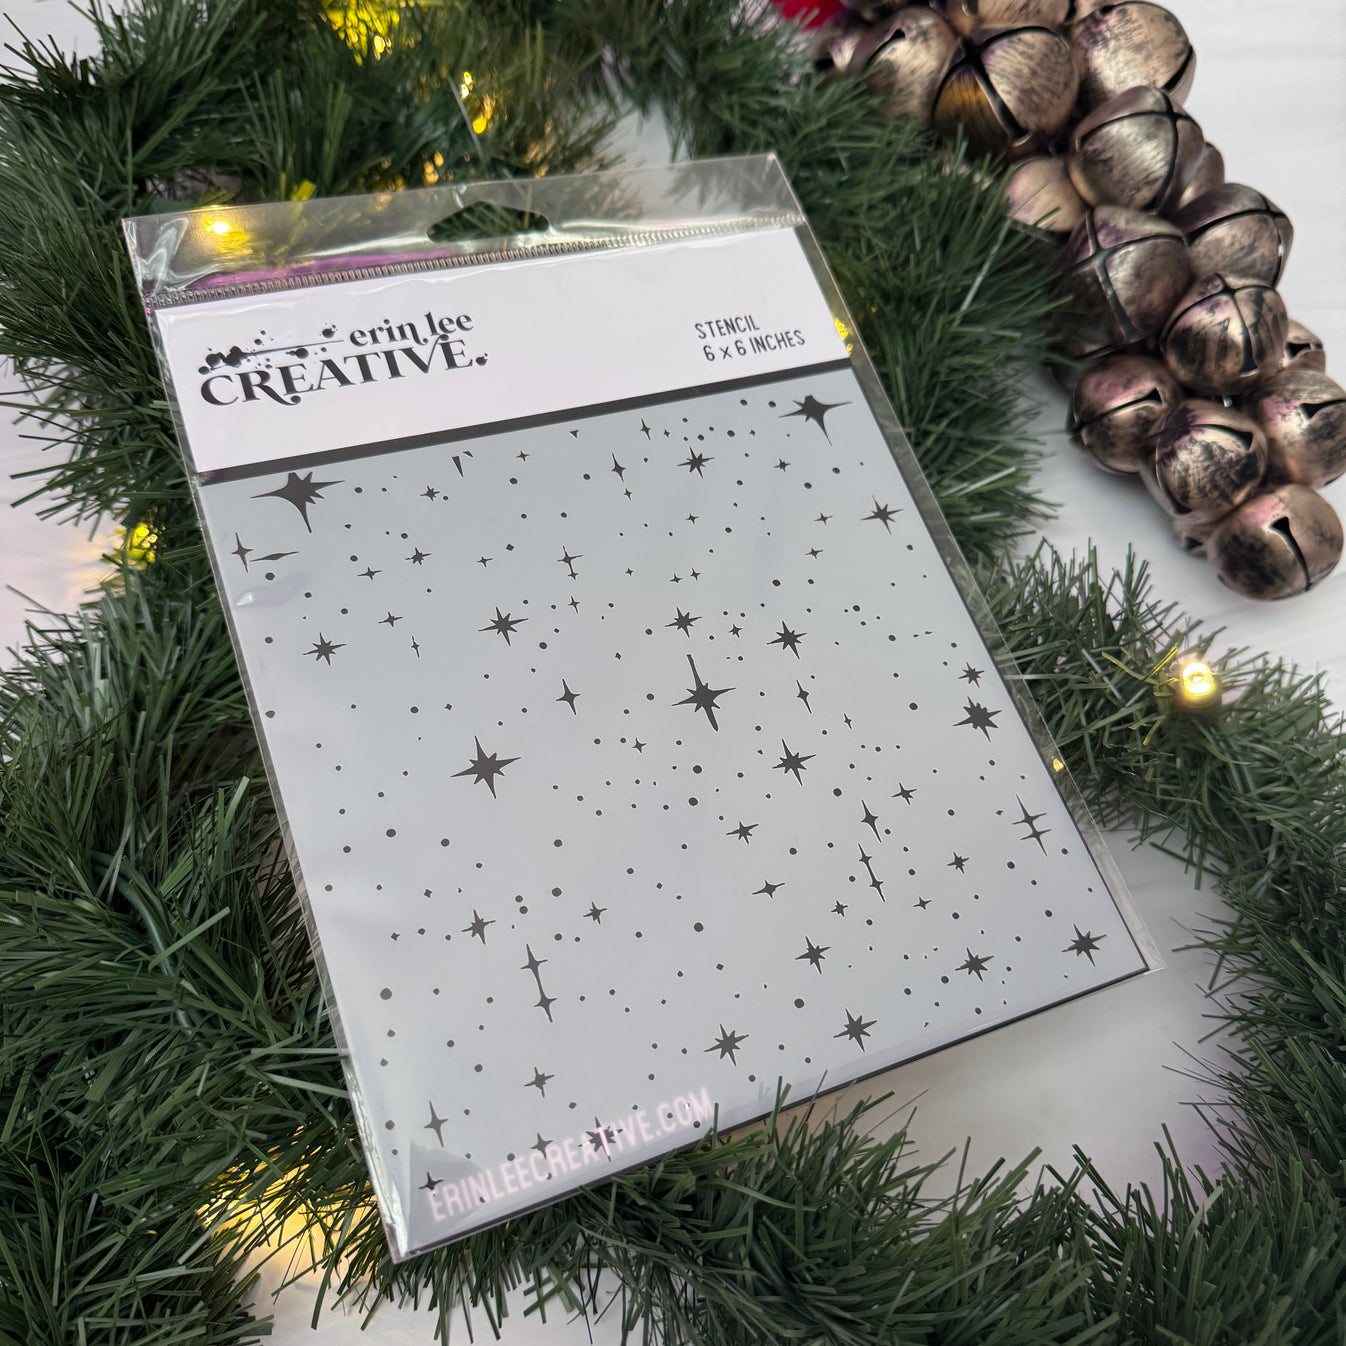
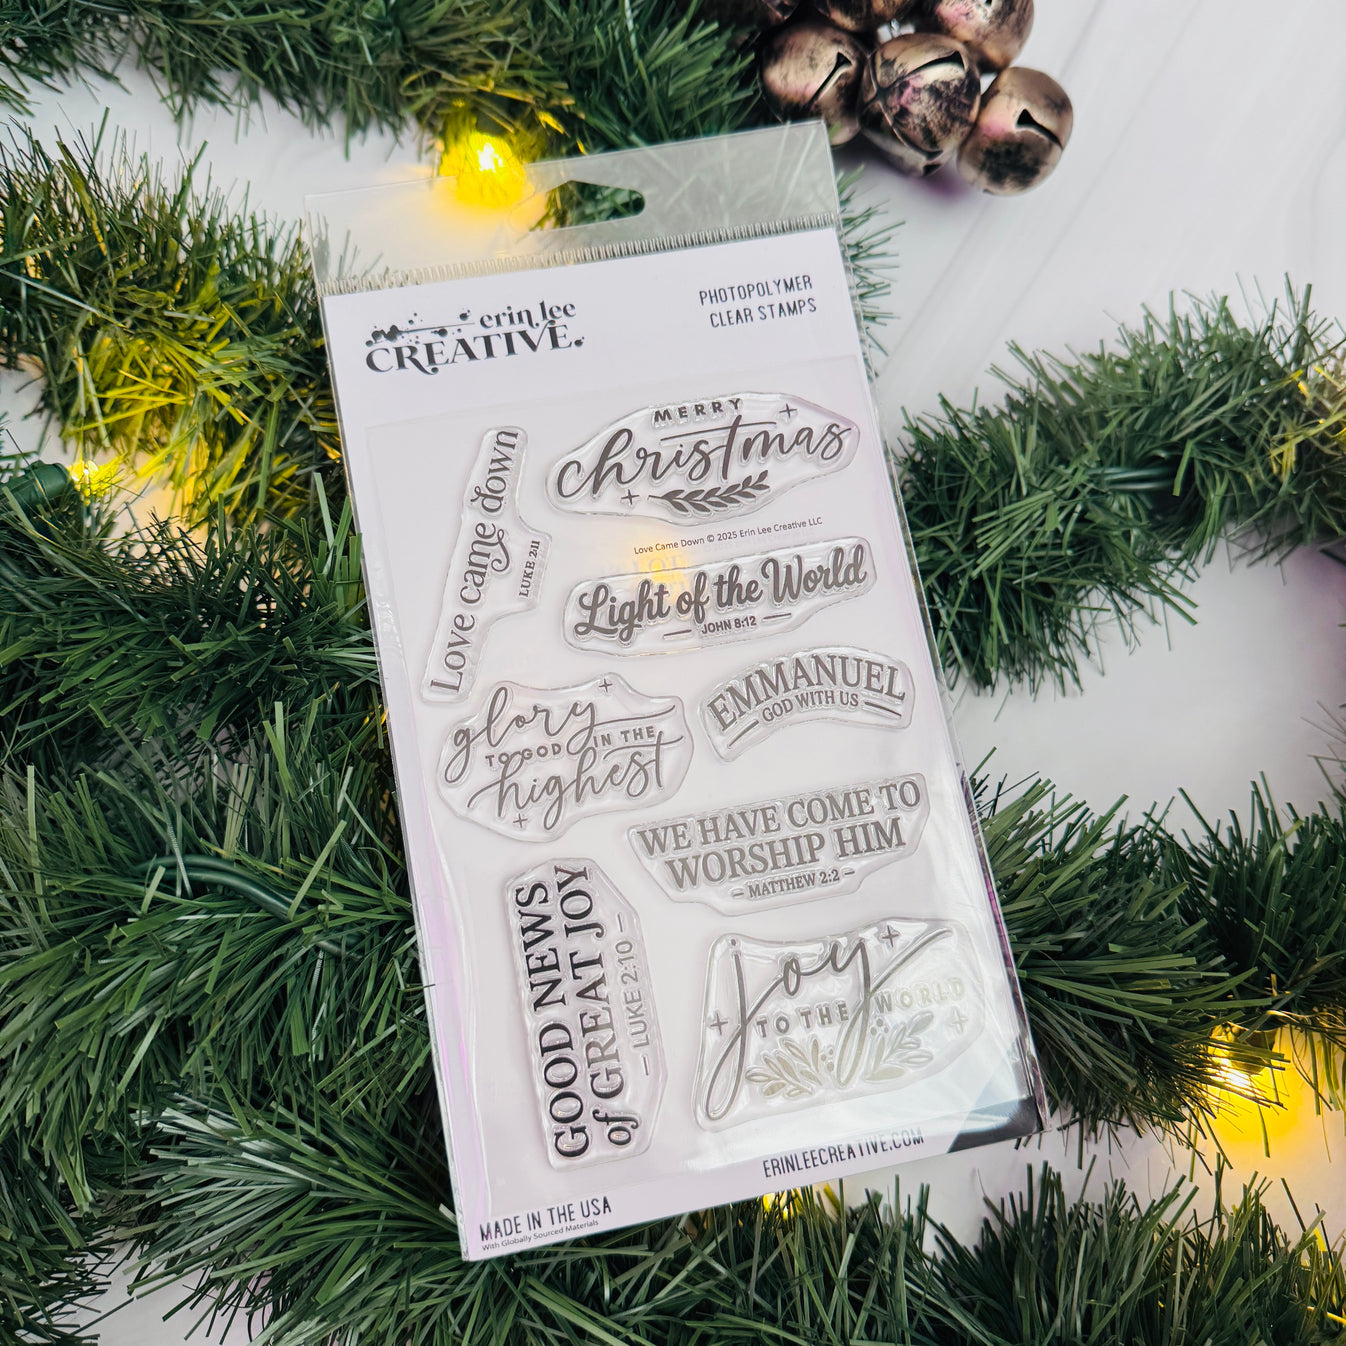
Below is a photo of all the products in the new holiday release. I'll be creating with the Oval Nativity Die, Starry Night Stencil and Love Came Down Stamp Set today.


I'm also featuring several techniques: ink blending, heat embossing, stamping, die cutting and paper piecing.


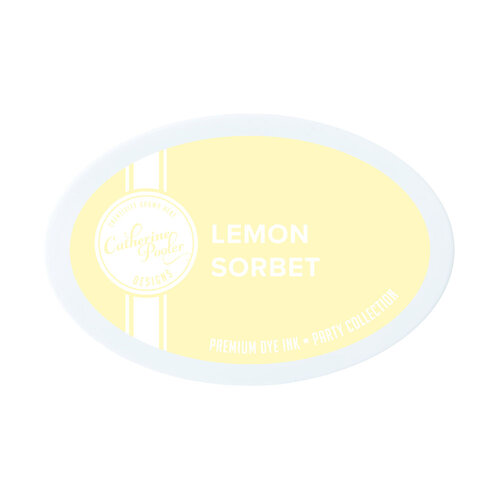
First, I pulled out an A2 size piece of 80 lb white cardstock and did some ink blending with my Catherine Pooler Inks in Orange Twist, Do Si Doh and Lemon Sorbet.

I'm only going to use half of my ink blended cardstock for today's card, trimming horizontally right in the middle. I'll save the other half to make a duplicate card later. The ink blending will be the backing to my die cut scene.


Next, I made 4 die cuts using different cardstocks, with the Oval Nativity die and my Platinum 6 die cut machine. I cut one complete die cut with black cardstock, then 3 partial die cuts with white, tan and gold holographic cardstock.

For the white die cut, I only wanted to hand trim the star at the top and adhere it to the star on my black die cut. For the gold holographic cardstock, I had some scraps and made a partial die cut only to retrieve that tiny gold center for the white star. Not pictured is the tan cardstock. I only wanted the sloped line in the middle to represent a natural color of dirt or sand, an earthy neutral color to break up my black silhouette. This is definitely an optional thing. I liked how it looked, so I kept it.

Before adhering my white star. to the black, I did some ink blending with the Lemon Sorbet ink around the edges, glued my gold star center on top, then glued the entire piece to my black star.


I also used the Starry Night stencil on top of my ink blending. I simply trimmed a large half oval shape from the inked cardstock. To achieve this, I placed my black nativity die cut on top, then simply hand trimmed just under the upper half outline of my die cut. It's not perfectly trimmed but it really doesn't matter, as long as the black die cut covers the edges.

When I finished hand trimming my inked trimming, I kept in in place with tape on the back of the entire inked card panel to do some stenciling. I just thought it would be easier to gauge where I wanted to stencil, using my black die cut as a guideline. I taped off the area where the windows are, then taped my stencil to my craft mat and used my Cloud Whip, a modeling paste from Scrapbookcom. It's currently not available in the shop, but I've linked a similar modeling paste in my supply list. 

The reason I wanted to use the modeling paste is for dimension for my stars. You could also stencil with white paint, you just won't get the same dimension. And yes, that's a used gift card I'm using to stencil with. Hey, use what you have. I didn't want to go digging for my craft scraper and I always keep old gift cards handy.

IMPORTANT TIP: Make sure you prime any tape you use when placing over cardstock, if it's not a low tack tape. Just place your tape across your arm and it will pick up the oils from your skin.

You do not want to risk tearing your beautifully inked cardstock with paper tears from the tape.


Finally, I added some white highlights with a gel pen to the top of my trees and building, as if the moon were shining. No, there's no moon, haha. Just humor me, people.

I also heat embossed my sentiment from the Love Came Down stamp set, stamping with clear emboss ink and my Misti stamp positioner, sprinkling on some Ranger Gold Tinsel embossing powder, tapping off the excess, then heating it with my craft heat tool

I recommend you prime your cardstock with an anti-static pouch or tool before heat embossing. This helps to minimize excess powder that scatters about and can make your embossing look messy.


If you lasted through my entire crafty monologue, you're a better person than I am, haha. I sometimes get a little caught up in explaining things and get a little wordy. Not always, but sometimes. I have to remind myself that some of you might be looking into cardmaking for the first time, so this might be information you've not been exposed to before. As always, if you have any questions, feel free to leave a comment!

Check out all the crafty goodness at Erin Lee Creative. I believe she is still having a $1 embossing folder sale as well! There was a coupon code available for 10% off the new release last week, but I'm not sure if it's still active. Give it a try though and find out, using coupon code NEW at checkout. Have a great day!

Terri


****************************************
Neenah Solar White Cardstock 8.5x11 inch
Shop at:
Scrapbookcom
Neenah Card Front Solar White 5.5 x 4.25 inch 25 pk
Shop at:
Scrapbookcom
Scrapbook.com Premium Clear Embossing Ink Pad
Shop at:
Scrapbookcom
Catherine Pooler Blending Brushes - 4 pk.
Shop at:
Scrapbookcom | Catherine Pooler
Catherine Pooler Ink Pad - Do-Si-Do
Shop at:
Scrapbookcom | Catherine Pooler
Refillable Permanent Adhesive Runner - 49 feet
Shop at:
Scrapbookcom
Artis Glue
Artis Glue
Shop at:
Scrapbookcom
Holographic Metallic Paper Pad - 6x8 in - 40 sheets
Shop at:
Scrapbookcom
Catherine Pooler Ink - Orange Twist
Shop at:
Scrapbookcom
3mm Adhesive Strips 160 ct.
Shop at:
Scrapbookcom
Reverse Tweezers
Reverse Tweezers
Shop at:
Scrapbookcom
Gelly Roll White Pens - 3 pk
Shop at:
Scrapbookcom
White Project Grip Mat
Shop at:
Scrapbookcom
Spellbinders Cardstock - Raven - 8.5x11 inch - 10 sheets
Shop at:
Scrapbookcom
Ranger Ink Embossing Powder - Gold Tinsel
Shop at:
Scrapbookcom
ELC Oval Nativity Scene Die
Shop at:
Erin Lee Creative
ELC Starry Night Stencil - 6x6 inch
Shop at:
Erin Lee Creative
ELC Love Came Down Stamp Set
Shop at:
Erin Lee Creative
Catherine Pooler Ink Pad - Lemon Sorbet
Shop at:
Scrapbookcom
Stamperia Modeling Paste - White
Shop at:
Scrapbookcom
Spellbinders Platinum 6 Die Cut System - Tool N One Bundle
Shop at:
Scrapbookcom


#wavingmywand #erinleecreative #nativity #christmas #scripture #bible #savior #reasonfortheseason #diy #cards #cardmaking #scrapbookcon #catherinepoolerink #stamping #stenciling #stars #nightsky #bethlehem


Monday, June 2, 2025

Painted Mountains Card for Pajama Crafter Stamps

Today's card features the Honor Valor Pride stamp set from Pajama Crafter Stamps. I wanted to create a colorful mountain, inspired by God's wondrous creation, such as the Rainbow Mountain in Peru, and the Zhangye National Geopark in China. Scroll down for brief, creative details. You can also click any of the highlighted products throughout this post for additional product information.


 (FTC Disclosure: as an affiliate for various companies in the craft industry, I will receive a small commission for purchases made through my convenient affiliate links, at no additional cost to you)


I opted to do several techniques for today's card; watercoloring, ink blending, paint splatters and masking. This is a square card with full dimensions measuring in at 5.25 x 5.25 inches. My stamped card panel was trimmed down a bit to fit within the confines of these dimensions.


Since I'm watercoloring, I opted to stamp my image on heavyweight mixed media cardstock. 

I initially stamped my card with black hybrid ink using my stamp positioner, then laid down some masking tape (mint tape) and stamped again with the extra ink on my stamp, fussy cutting only around the top portion of the image. 

I laid the trimmed tape on top of my stamped image to mask that area and ink blend my sky, however I forgot to heat set my ink after stamping and some of the red ink blending got a bit muddy around the trees.

I also decided to trim off the trees from my masking tape before ink blending to better better get my ink into the space between the branches. I highly recommend you don't forget to heat set your stamped ink, or instead, do some heat embossing for the stamped image.


All of the inks I'm using today are Catherine Pooler inks. They're water based, and easy to paint with by simply pressing your ink pad on a craft mat, spritzing with a tiny bit of water, then grabbing the mixture with a waterbrush to paint. You can also use a wet paintbrush.

The colors I used are:

Ink blended sky and mountains - Rockin' Red, Orange Twist, Glacier

Field - Succulent, Macchiato, With an Olive


To embellish my mountains, I also used a white gel pen for some snow capped mountains, then added white paint splatters to my ink blended sky.

Here's a bonus tip: Use the handle end of a small paint brush to dot on larger spots of white painted stars. To create a "comet" in the sky, place the handle end of your paintbrush on the wet, white dot of paint and with a quick stroke, swipe the dotted paint with your handle to create the tail of the comet.

You might want to practice first on some dark colored cardstock to get the hang of it.


I love this patriotic stamp set, and there are 3 fabulous sentiments included. Let me know if you have any questions, in the comment section.

Check out the entire new release at Pajama Crafter Stamps! There's a really great variety of patriotic stamp sets, plus other themed stamp sets. as well.  Something for everyone! Have a great day and thanks for stopping by!

Terri


#wavingmywand #pajamacrafterstamps #patriotic #cards #redwhiteandblue #cardmaking #honorvalorpride #diycards #stamping #watercoloring #paintedmountains #inkblending #paintsplatters #martinlutherkingjr #inspirationalquotes #fourthofjuly #americathebeautiful

Sunday, September 8, 2024

Coloring Digital Images with OLO Markers

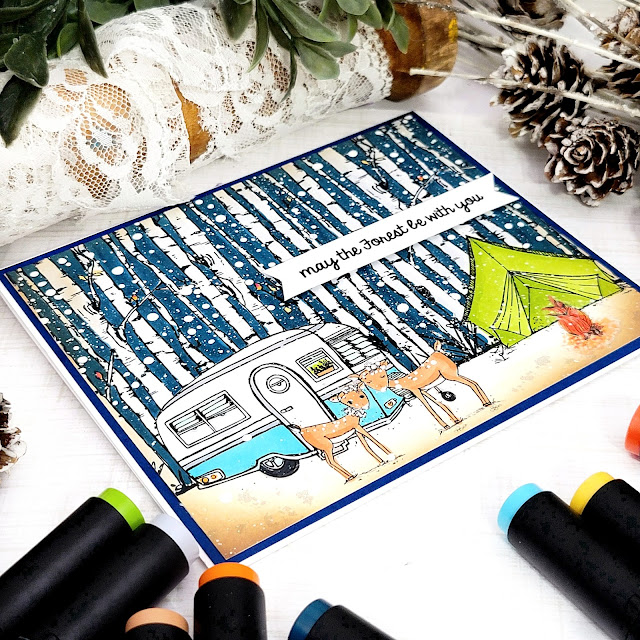
Today I have a card that features coloring with OLO Markers, paired with digital designs from Angie Blom Digital Designs. I've really enjoyed spending more time with my OLO markers, getting more comfortable with these fabulous artist markers. Scroll down for details!


(FTC Disclosure: as an affiliate for various companies in the craft industry, I will receive a small commission for purchases made through my convenient affiliate links, at no additional cost to you.)


I've used a variety of artist markers over the years and am really impressed with OLO. They have a ton of information on their website about these markers, if you want to know more. Be sure and check out their FAQ section.

For example, if you don't use the chisel portion on a marker, you can purchase the half markers. For every 2 half markers you purchase, you will receive a connector ring which connects two half markers together. So, you can have two different markers in your hand at once! Also, one half markers holds more ink than any full marker on the market. They also have patented ink flow technology.


The markers that you see in the photo above are what I used for today's project, in addition to a brown marker (OR 3.4) that didn't make it into the shot.

For blending, I find that layering colors seems to work best when I'm trying to achieve more dimension or for a shading effect.

For example, with the tent below, I used one marker, YG 2.5. I colored the entire tent with that color, then went in with more layers of the same color to deepen in certain areas. You can see the difference on the inside of the tent and along the outer edges where I deepened the color.


To create my scene I used several images from a variety of collections from Angie Blom Digital Designs:

Birch Trees Background
Camping Adventures
Deer Holiday Wishes
Mixed Media Elements 1

For the birch trees, I actually inserted two side by side elements and re-sized them by widening. I always use formatting features to bring some images to the front and some to the back. I also will change color when needed. For example, I inserted some splatter's in the snow from Angie's Mixed Media Elements, changing them to a light gray color when printing. It looks like deer tracks in the snow!

I have a previous blog post that explains how to arrange images for scenes in greater detail. 
Click here to see that post.


Let me also talk about coloring the trees and sky. First, I colored the trees using a grey color, C-G 1. After coloring all the trees, I then went in and colored the sky in between, using a dark blue marker, 
BG 0.8. Because I wanted the sky even darker, I added another layer of the same color to deepen it.

There are no rules, the "sky's the limit", no pun intended, haha.

I finished off my card panel with some paint splatters and a touch of ink blending around the edges with Ranger Ink Distress Oxide ink in Vintage Photo.

If you'd like to give OLO markers a try, just click my affiliate link here. There are no added costs for you to use my link and I appreciate it so much when you do.

Thanks for stopping by!

Terri


#wavingmywand #olomarkers #artistmarkers #angieblomdigitaldesigns #winter #snow #nightsky #cardmaking #coloring #cards #camping #digitalstamps