Friday, December 13, 2024

White Christmas Card

I've been down and out with sickness ever since Thanksgiving, but I finally feel like creating again! I still have a lingering cough that is driving me nuts and I'm still on meds for that, but I've come a long way, let me tell you. Today's card features Angie Blom Digital Designs and OLO Marker coloring. I actually had a different plan for this card, and I'll tell you about it further down. I think you'll find it very interesting and maybe you'll even identify with what went down, haha!


(FTC Disclosure: as an affiliate for various companies in the craft industry, I will receive a small commission for purchases made through my convenient affiliate links, at no additional cost to you.)


But first, let me share some tech stuff. I resized my images in Microsoft Word. If you've never worked with digital images, you'll want to use png files for arranging multiple images. I have another project on my blog that goes into greater detail about creating a scene and moving images around. Check that out here. However, Angie usually offers printables with each collection, so you can also print, color and trim your images to make a card.


I used 2 different Angie Blom collections for this card - Warm & Cozy Holiday Girl (girl, trees, sentiment) and Camping Adventures (thermos). Angie is currently having a year end sale and everything is 50% off! That's a pretty good deal so take advantage of it, particularly since the Warm & Cozy Holiday Girl is a new release. You'll see the discount apply at checkout.

Next, I colored my girl and thermos with my OLO Markers. These are artist markers and I love them so much. I'm also an affiliate for OLO Markers, so if you decide you'd like to make a purchase, I would greatly appreciate it if you shop through the highlighted affiliate links scattered throughout this post.

In case you're wondering, I am not an affiliate for Angie Blom Digital Designs, just a fan of her designs!


I did a little swatching with various colors, to decide which markers I wanted to use. The photo above shows all the markers used on this card and where I used them.

I'll talk more about the coloring in a minute but first let me talk about the plan for this card. The trees in the digital collection I used are solid so they will print in black unless you change the color.

Since I planned to color my trees green, I selected the Picture Tools Format and selected "color" to change my image to a very light gray. I planned to color over the light gray with my green markers. Keep this in mind, that was the plan....green trees, haha. The plan was also to possibly color in some sky for the background.


Once I added all my images and arranged my scene, I decided to color my girls face. Next, I colored her hair, dress, boots, socks, cocoa and thermos. I wanted to color all the smaller images and build from there. However once I finished all those images, I saw this card in an entirely different light.

Suddenly, I wanted her hat, scarf and coat to remain white. I loved how the pops of color enhanced her "winter white coat". I also took another look at the trees and it dawned on me, this would make a really cool winter scene if I left the trees as is. 

With that in mind, I decided to splatter lots of snow around, using white acrylic paint. However, I did use small pieces of masking tape to cover her face and also the sentiment while I proceeded to make a pretty mess.


Once I finished splattering paint, I grabbed some iridescent glitter and sprinkled all over the wet paint, tapping off the excess. Unfortunately, the glitter doesn't show in these photos due to my bright light settings, but I will be posting a reel on my Instagram account, so you can see it there. It's so sparkly!

I also used a light gray marker for shading along the bottom of the card to make a snow effect, and also where you see white on the girl and thermos, along the edges and to emphasize curves in the scarf, hat, pockets, etc. on the girl.


I'm also linking my card to these challenges:

You can choose color, theme or objects, and sketch or photo inspiration. I was inspired by the photo and chose the thermos for my inspiration.


I rarely do minimalist coloring on cards but  I absolutely loved how this turned out. This would be my ideal White Christmas! I hope you like my card, let me know in the comments. Have a great weekend!

Terri


#wavingmywand #angieblomdigitaldesigns #olomarker #olomarkers #olocoloring #whitechristmas #cards #cardmaking #christmascards #diycards #digitalimages #digitaldesigns #digitalstamps #coffeelovingpapercrafters #coffeelovingcardmakers #cocoa #hotcocoa #hotchocolate #

Monday, December 9, 2024

Santa and Mrs. Claus Mug Gift Tags

Did you snag the Holly Jolly Christmas stamp set from Scrapbook.com when it was free during Black Friday week? It's so cute and I thought I would make some Christmas tags with it. I plan on pairing one of those tags with a gift card to my son's favorite local coffee shop. It's currently sold out on the Scrapbookcom website but they'll be getting more soon and you can follow my link and click to be notified when it's back in stock.

Scroll down for brief, creative details. I'll have my shopping supply list at the end of this post, if you'd like to get more product details or wish to shop.


(FTC Disclosure: as an affiliate for various companies in the craft industry, I will receive a small commission for purchases made through my convenient affiliate links, at no additional cost to you.)


These tags are pretty easy to create. I used my Scrapbookcom Tag Nesting Dies with designer paper from the Merry paper pad. Although there are coordinating dies for this set, I chose to quickly fussy cut my stamped images.


I also ran some adhesive tape across the bottom portion of my tag, and covered it with Wow Cotton Candy glitter. 

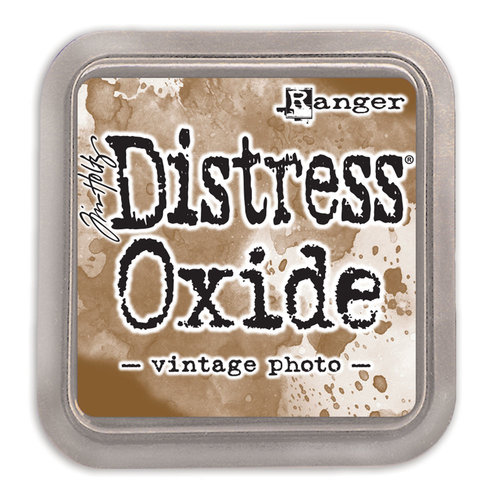
I grabbed one of my blending brushes that was still kind of inky with Catherine Pooler Deck the Halls ink, and edged the top part of my tags. I also took my Ranger Ink Vintage Photo Distress Oxide ink pad and swiped it along the top edges.


To color my images, I used my OLO Markers. I popped up my stamped images with adhesive foam strips, then tied some string and hot glued a button to my tag. Easy Peasy!

Thanks so much for popping in today. Oh, and there's a coupon code you can use this week thru Friday at Scrapbookcom. Use code SANTA at checkout for added savings. You can also get the details here on any freebies available with your purchase. Have a great week!

Terri

**********************************

Ranger Ink Distress Ink Vintage Photo
Shop at:
Scrapbookcom
Refillable Permanent Adhesive Runner - 49 feet
Shop at:
Scrapbookcom
Exclusive Black Platinum 6 Die Cut System
Shop at:
Scrapbookcom
Exclusive Jumbo Nested Tag Dies
Shop at:
Scrapbookcom
Scrapbook.com Hybrid Ink - Black
Shop at:
Scrapbookcom
Artis Craft Glue - Only at Scrapbookcom
Shop at:
Scrapbookcom
Exclusive Tiny Details Blending Brushes - 3 pk
Shop at:
Scrapbookcom
Scrapbookcom Small Blending Brushes - 3 pk
Shop at:
Scrapbookcom
Exclusive Rose Quartz Misti Stamp Positioner
Shop at:
Scrapbookcom
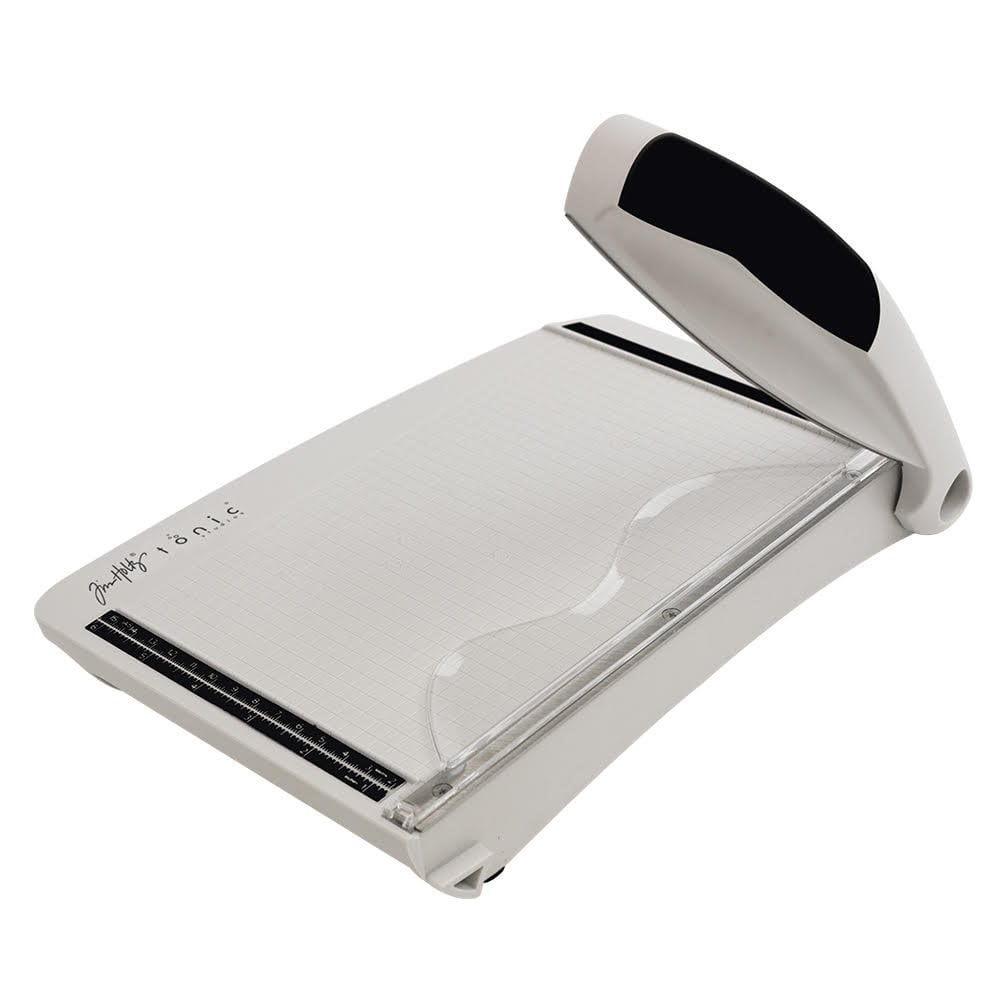
Tonic Studios Tim Holtz Comfort Trimmer 8.5 Inch
Shop at:
Scrapbookcom
Silicone Project Mat - 14x14 inch
Shop at:
Scrapbookcom
3 mm Adhesive Strips - 160 strips
Shop at:
Scrapbookcom
Merry Patterned Paper Pad - 6x8 inch - 40 sheets
Shop at:
Scrapbookcom
Pink Stamp Cleaning Shammy
Shop at:
Scrapbookcom
Sky Blue Stamp Cleaning Shammy
Shop at:
Scrapbookcom
Catherine Pooler Deck The Halls Ink Pad
Shop at:
Scrapbookcom
Holly Jolly Christmas Stamp Set
Shop at:
Scrapbookcom
Wow Sparkles Cotton Candy Glitter
Shop at:
Scrapbookcom
Buttons Galore Strawberry Daiquiri Embellishments
Shop at:
Scrapbookcom
We R Makers Glue Gun Kit - Pink
Shop at:
Scrapbookcom
Holly Jolly Christmas Dies
Shop at:
Scrapbookcom
Holly Jolly Christmas Stamp/Die Set Bundle
Shop at:
Scrapbookcom


 #wavingmywand #scrapbookcom #christmastags #merrychristmas #glitter #wowembossing #olomarkers #christmascheer #santa #mrsclaus #diy 

Thursday, November 28, 2024

Thankful Card featuring Spellbinders

Happy Thanksgiving! I'm sharing one more "Thankful" themed card for Spellbinders and this one features products from the Woodland Tales collection that was released in October. I'm keeping this brief today, thanks to a nasty cold that is trying to sideline me! I mustered all my energy to cook a Thanksgiving meal for my little family but my energy is quickly waning, haha!


(FTC Disclosure: as an affiliate for various companies in the craft industry, I will receive a small commission for purchases made through my convenient affiliate links, at no additional cost to you.)


I have fallen so in love with the vellum overlays in this collection. They're stunningly gorgeous and all you have to do is trim and adhere.

I also wanted to find some items to fit within my "thankful" theme and I'm happy to have found a pretty mason jar and sentiment that came from the Woodland Tales Die Cut Shapes and also the die cut sentiments set. 

I just sent a mason jar full of homemade gravy over to my dad's house today, with other Thanksgiving trimmings! Alas, I'm sick and didn't want to expose him. He's 84 years old but in pretty good health. Yet another thing to be thankful for. I also made an extra egg custard pie that he could have all to himself, it's his favorite. I'm such a good daughter, haha!


Next, I adhered some of those gorgeous satin gold sequins from the collection, along with the Woodland Tales Gold Flecked Gems. I am absolutely smitten with these embellishments! 


Lastly, both of my die cuts are popped up with adhesive foam strips for visual appeal. And don't you just love the gold foiled accents on my die cuts? I love that Spellbinders thinks of the tiniest, special details.


Make sure you check out all the Black Friday deals going on! I believe it was this time last year that I used a coupon code and got a really great deal on my Glimmer Hot Foil System, one of my favorite tools!

Check out the Black Friday deals here.
Check out the Doorbuster Deals here.

Happy holiday shopping ya'll!

Terri

***************************************
Neenah Card Front Solar White 5.5 x 4.25 inch 25 pk
Shop at:
Scrapbookcom
Refillable Permanent Adhesive Runner - 49 feet
Shop at:
Scrapbookcom
A2 White Cards Top Fold - 25 ct.
Shop at:
Spellbinders
A2 White Envelopes  25 ct.
A2 White Envelopes 25 ct.
Shop at:
Spellbinders
Artis Craft Glue - Only at Scrapbookcom
Shop at:
Scrapbookcom
Tonic Studios Tim Holtz Comfort Trimmer 8.5 Inch
Shop at:
Scrapbookcom
3 mm Adhesive Strips - 160 strips
Shop at:
Scrapbookcom
Woodland Tales Foiled Acetate & Vellum Sheets
Shop at:
Scrapbookcom | Spellbinders
Woodland Tales Die Cut Shapes - 86 pc
Shop at:
Scrapbookcom | Spellbinders
Woodland Tales Die Cut Sentiments
Shop at:
Scrapbookcom | Spellbinders
Woodland Tales Gold Flecked Gems
Shop at:
Scrapbookcom | Spellbinders
Woodland Tales Satin Gold Sequins
Shop at:
Scrapbookcom | Spellbinders


#wavingmywand #spellbinders #woodlandtales #thankful #gratitude #thanksgiving #thankyou #givethanks #cards #cardmaking #diycards


#wavingmywand #

Thursday, November 21, 2024

Jesus Loves You Card for Erin Lee Creative

I'm sharing another card today from the latest Christmas release from Erin Lee Creative. This card features the Jesus die and Jesus Loves You Sentiment die. Erin has been offering up daily deals this week, and today there will be a deal on the Jesus die! As of this writing, I don't know what the details are, so be sure and click the link above to find out! Scroll down for creative details. I'll also have a clickable shopping supply list at the end of this post.


(FTC Disclosure: as an affiliate for various companies in the craft industry, I will receive a small commission for purchases made through my convenient affiliate links, at no additional cost to you.)


This die would be so much fun for use in a kids Sunday school class, to make cards, tags, or punch a hole and make it into a dangling Christmas tree ornament! Young kids would definitely need a little assistance for gluing the smaller intricate pieces. 

These products would also be great for making cards for friends and family who might need some encouragement.


Initially, I had a different plan for my sentiment, but decided to switch things up, so I used the negative pieces cut with my Platinum 6 and Erin's Rose Gold Metallic Cardstock. I also created a backing for my negative sentiment, placing small trimmed brown cardstock behind it, then simply using my scissors to go around and trim around the edges. I glued my sentiment to  the brown cardstock, along with the tiny negative pieces for the two letters "e" and "o".


Before I assembled my Jesus die, I did a little ink blending on the pieces you see above, with Ranger Distress Oxide ink in Vintage Photo to give some shading and dimension.


For my background, I grabbed some coordinating papers from some paper pads in my stash and trimmed them diagonally, adhered them to an A2 size white card panel, then trimmed off the edges.

I did size it down a bit, to have white space from my A2 card displayed. My striped panel, Jesus and sentiment are all popped up on adhesive foam strips for visual appeal and added dimension.

The brown cardstock used on the backing for my sentiment and on the Jesus die is Gina K Designs Dark Chocolate. It's not currently in stock at Scrapbookcom, which is where my other products came from, but I did list an alternate in my supply list that is very close in color, if you're shopping for any of those supplies.


Lastly, I added some liquid embellishment because, why not?! It adds a little more interest to the card, I think. What I wish I had, was a palm leaf die! Erin has one in her shop and I need to get my hands on it. I'll link that to my supply list as well, if you'd like one too!

I've said it a million times and I'll say it again. I think Erin is so innovative with her products which is why it's such a pleasure for me to create with them. I love this new release and I know you will too.

Thanks so much for popping in and have a fabulous day!

Terri

*********************************

Neenah Card Front Solar White 5.5 x 4.25 inch 25 pk
Shop at:
Scrapbookcom
Ranger Ink Distress Ink Vintage Photo
Shop at:
Scrapbookcom
Neenah A2 Card Front Panel 25 pk
Shop at:
Scrapbookcom
Refillable Permanent Adhesive Runner - 49 feet
Shop at:
Scrapbookcom
Exclusive Black Platinum 6
Shop at:
Scrapbookcom
Artis Glue
Artis Glue
Shop at:
Scrapbookcom
Pops of Color - Chocolate Kiss
Shop at:
Scrapbookcom
Exclusive Blending Brushes - Small - 3 pc
Shop at:
Scrapbookcom
3mm Adhesive Strips 160 ct.
Shop at:
Scrapbookcom
Rose Gold Metallic Cardstock - 8 pack
Shop at:
Erin Lee Creative
Project Grip Mat - Black - Medium
Shop at:
Scrapbookcom
Reverse Tweezers
Reverse Tweezers
Shop at:
Scrapbookcom
Daybreak Cardstock Paper Pad - 6x8 in - 40 sheets
Shop at:
Scrapbookcom
Christmas Solid Smooth Cardstock Paper Pad - 6x8 in - 40 sheets
Shop at:
Scrapbookcom
Jesus Die
Jesus Die
Shop at:
Erin Lee Creative
Jesus Loves You Sentiment Die
Shop at:
Erin Lee Creative
Vacation A2 Paper Pad - 40 sheets
Shop at:
Scrapbookcom
Hero Arts A2 Side Fold Cards - 10 pk
Shop at:
Scrapbookcom
Gina K Designs Cardstock - Charcoal Brown
Shop at:
Scrapbookcom
Palm Leaf Die
Palm Leaf Die
Shop at:
Erin Lee Creative


#wavingmywand #erinleecreative #jesus #jesuslovesyou #reasonfortheseason #cardmaking #encouragement #cards #friendship #christmas #scrapbookcom #diycards