Showing posts with label peonies. Show all posts

Saturday, September 28, 2024

Elegant Foiled Cards plus Hop Celebration

Hello friends. I'm joining some designer friends today to help my friend Deborah Hellman celebrate her Instagram follower milestone with an Instagram Hop. We are making celebration/congratulation cards for this event. You can visit my Instagram page here, look for the hop graphic. Tap @hellmad in my IG post to start at the beginning of the hop. There's lots of prizes up for grabs so follow the instructions to have a chance at winning some crafty goodies!


(FTC Disclosure: as an affiliate for various companies in the craft industry, I will receive a small commission for purchases made through my convenient affiliate links, at no additional cost to you.)


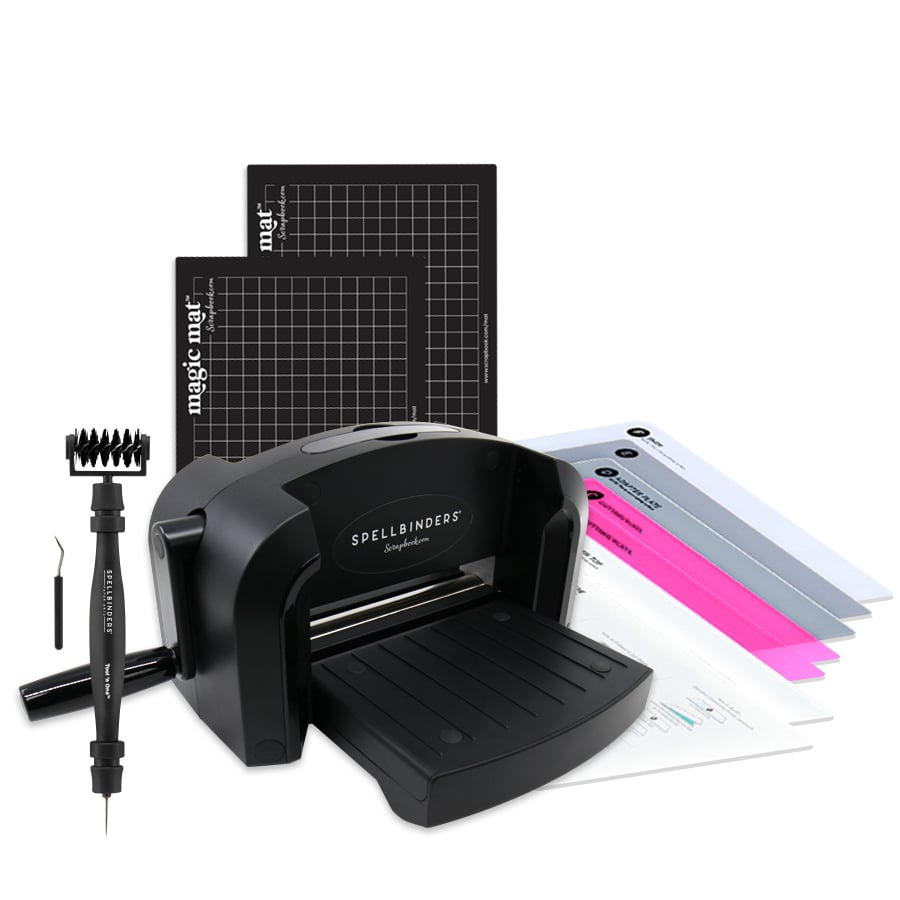
My cards were created with the Pinkfresh Studio Peony Print hot foil plate. I used my Spellbinders Espresso Bean hot foil and my Glimmer hot foil system with my Platinum 6 die cut system.

My card duo actually incorporates 3 different foiled white A2 card panels.

The first foiled panel resulted in an all white card panel with the foiled outline of the print.


The second card panel was foiled using the negative peeling of foil left from my first foiling. You need a solid hot foil plate to achieve this. You simply heat your solid foil plate, place the negative foiling, shiny side down, place your cardstock on top, then your Glimmer plates and heat.

This technique results in a negative foiling, with the foil more prominent than the image.

The third card panel was created again with the use of my solid hot foil plate, a trimmed piece of espresso bean foil and cardstock to create a panel that is completely hot foiled with no image. I used this for the backdrop of my first card above.

I love to piece together foiled and negative foiled panels, so I used my nested rectangle dies to cut a center rectangle from the white foiled card (first photo). I also cut a frame for use on my second card.

For my second, negative foiled card panel, I again die cut a rectangle in the center. However, I adhered the remainder of my "brown" card panel to an A2 vertical card, then popped up my center with adhesive foam strips. I then adhered the white frame from the first card.


Look closely and you'll see that all my negative foiling (as pictured above) perfectly lines up and matches the white foiled frame from the first card. This results in positive and negative foiling all on one card. It's a lot of fun, you should try it!

My sentiments were hot foiled using the Spellbinders Slimline Essential Glimmer Sentiments and also popped up on adhesive foam strips.

If you'd like to browse or shop for any of the products I used today, simply click any of the highlighted text throughout this post. These are affiliate links provided to you at no additional cost, and direct you to shop at Scrapbook.com.

If shopping, use coupon code SMILE at checkout, for an additional 9% off your order, or 11% off orders over $100. This code expires Sunday night!

Have a great day!


Terri


#wavingmywand #foiledcards #negativefoiledcards #pinkfreshstudio #scrapbookcom #spellbinders #glimmerhotfoilsystem #espressobean #congratulations #celebration #cardmaking #handmadecards #elegantcards #diycards

Monday, April 29, 2024

Peony Birthday Wishes for Spellbinders

Hey cardmakers. I'm back with another project for Spellbinders, featuring products from the Glimmering Flowers collection. I whipped this card out lickety split, believe it or not! It helps that I had already foiled several card panels at once recently, so I had some on hand ready to be inked up. I'm creating with the Glimmering Peonies Glimmer Plate and stencil bundle, plus the Glimmer Curved Everyday Sentiment plate/die set. Scroll down for creative details, plus a little chit chat about bulk foiling sentiments! I'll also have a clickable supply list at the end of this post.


(FTC Disclosure: as an affiliate for various companies in the craft industry, I will receive a small commission for purchases made through my convenient affiliate links, at no additional cost to you.)


For my foiling, I chose my Spellbinders Glimmer Polished Brass hot foil for use with my Glimmer Peonies plate and Glimmer Hot Foil System and white cardstock. Next, I used the layering stencil set and inked up my blooms with a variety of Catherine Pooler inks, in blues and browns.

I also embossed a layered grey background panel using the Spellbinders Four Petal Floral 3D embossing folder for some added texture.


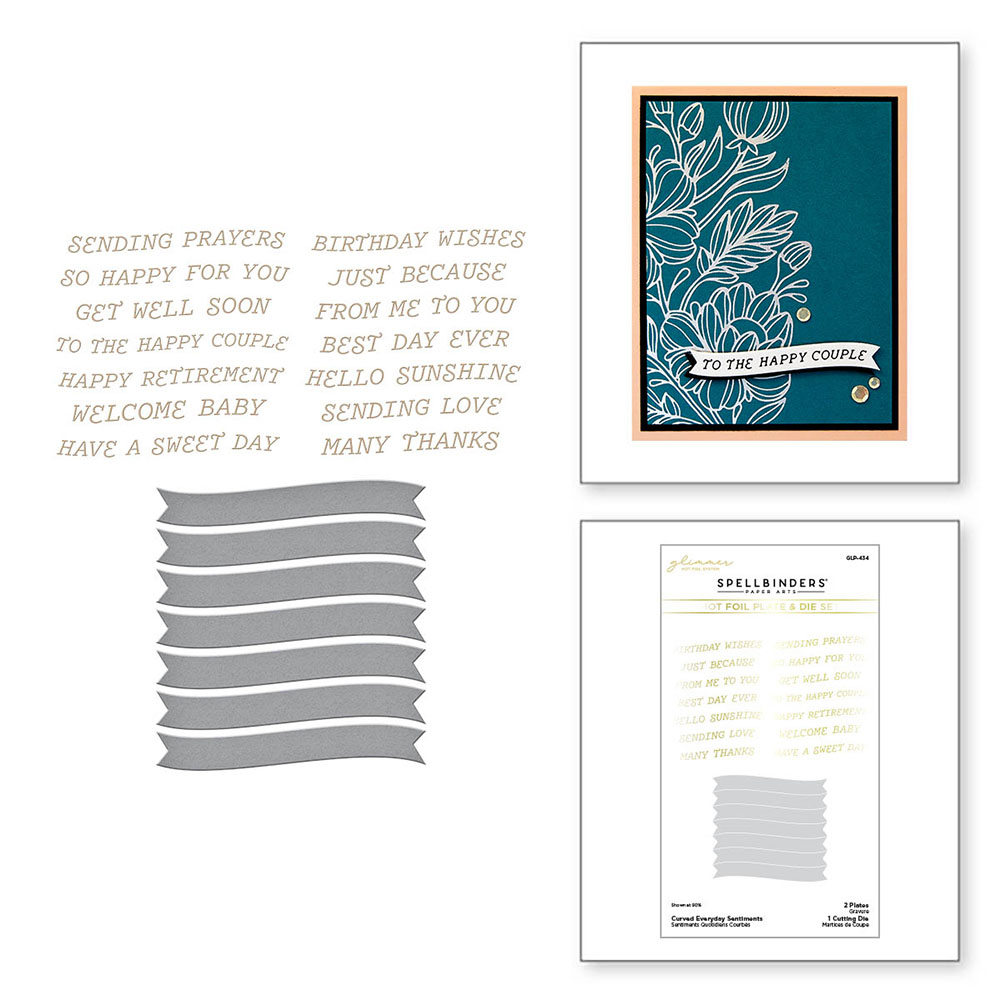
I also had a bunch of foiled sentiments on hand from some bulk foiling I did recently using the Glimmer Curved Sentiments plate and die set. The great thing about this set is, it comes with the curved banner die so you can cut all kinds of solid banners and layer them with your foiled sentiment. As you see above, I have a solid black die cut banner layered under my sentiment.


This set is designed for bulk foiling and it has been a lifesaver in my cardmaking. As you can see in the photo below, there are 2 glimmer foil plates with 7 sentiments attached to each plate. You can foil 14 sentiments at once! The curved banner die is also attached, so all you have to do is lay it over each batch of sentiments to die cut. So, two passes through your Platinum 6 die cut system and you have 14 foiled sentiments all cut and ready to go. 


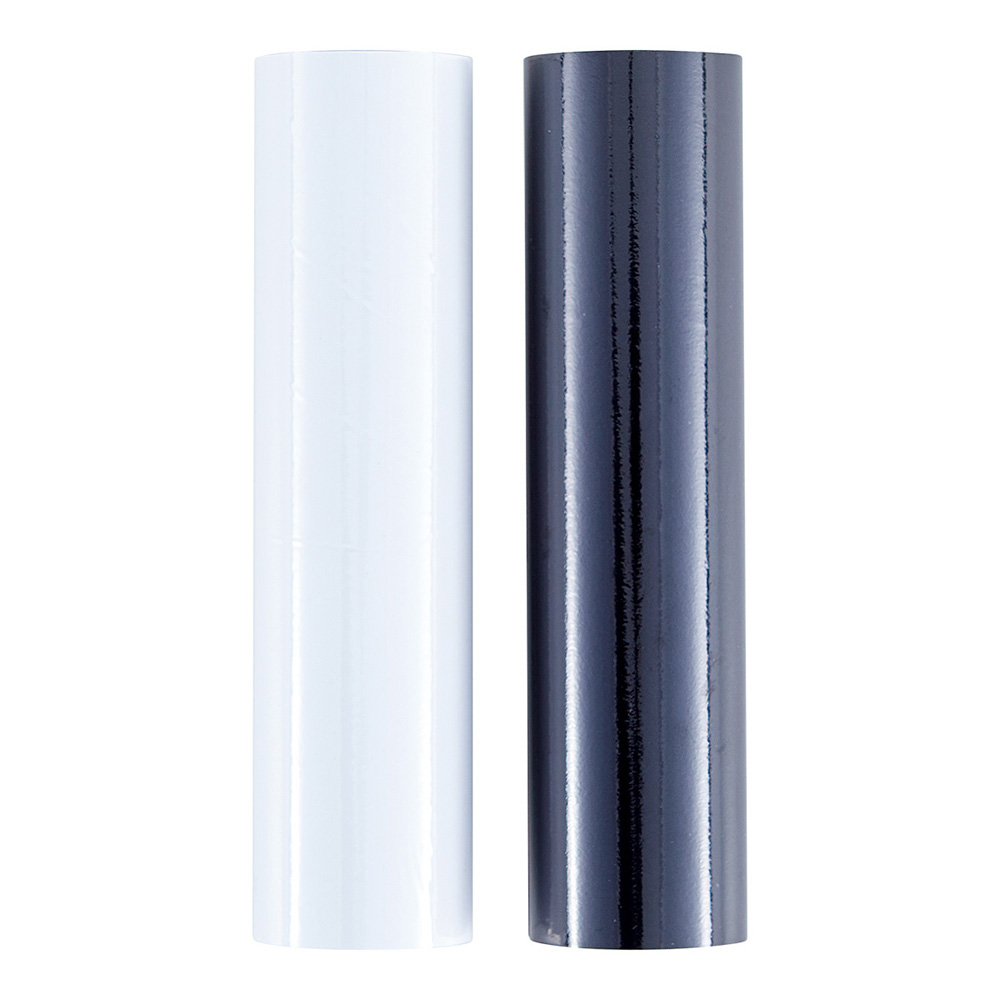
And, here's my storage tray below, with my bulk foiled sentiments! I actually foiled a batch of sentiments on white cardstock with black hot foil, and the other batch on black cardstock with white hot foil.


Let me mention, the overall dimensions are a bit larger than an A2 card. My foiled card panel was almost 5x7 inches and I did trim it down a bit to layer with my embossed background and card. The dimensions are 4.50 x 5.75 inches.

 Finally, I finished off my inked panel with splatters using my Ranger Ink Dylusions Black Marble spray. I didn't spray it though. I unscrewed the nozzle spray from the bottle, then sprinkled droplets all around by tapping the feeder tube attached to the nozzle. I also adhered some embellishments from my stash.


If you missed my last card using these products, you can check it out here. If you decide you'd like to shop, I have convenient affiliate links provided below. I appreciate it so much when you shop through my links! Thanks so much for stopping by!

Terri

************************************

Catherine Pooler Ink - Icing On The Cake
Shop at:
Scrapbookcom
Ranger Heat It Craft Tool
Shop at:
Scrapbookcom
Catherine Pooler Ink - Oh Boy
Shop at:
Scrapbookcom | Catherine Pooler
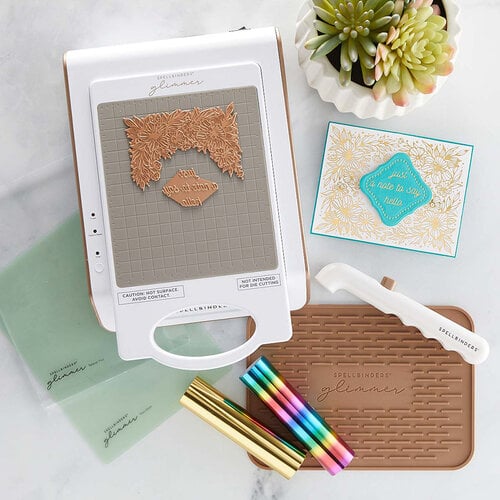
Spellbinders Glimmer Hot Foil System
Shop at:
Scrapbookcom | Spellbinders
Glimmer Specialty Cardstock
Shop at:
Scrapbookcom | Spellbinders
Refillable Permanent Adhesive Runner - 49 feet
Shop at:
Scrapbookcom
Neenah Solar White Cardstock 80 lb, 25 pk
Shop at:
Scrapbookcom
Exclusive Black Platinum 6 Die Cut System
Shop at:
Scrapbookcom
Glimmer Hot Foil - Polished Brass
Shop at:
Scrapbookcom | Spellbinders
Four Petal Collection 3D Floral Embossing Folder
Shop at:
Scrapbookcom | Spellbinders
Blending Brushes - Set of 3
Shop at:
Scrapbookcom | Spellbinders
Bearly Arts 2 oz glue
Shop at:
Scrapbookcom | Spellbinders
Wendy Vecchi Craft Mat
Shop at:
Scrapbookcom
Artis Craft Glue - Only at Scrapbookcom
Shop at:
Scrapbookcom
Exclusive Playful Paper Pad 6x8 inch - 40 sheets
Shop at:
Scrapbookcom

Double Sided Adhesive Foam Roll 1/4"x 32 ft - 2 mm
Shop at:
Scrapbookcom
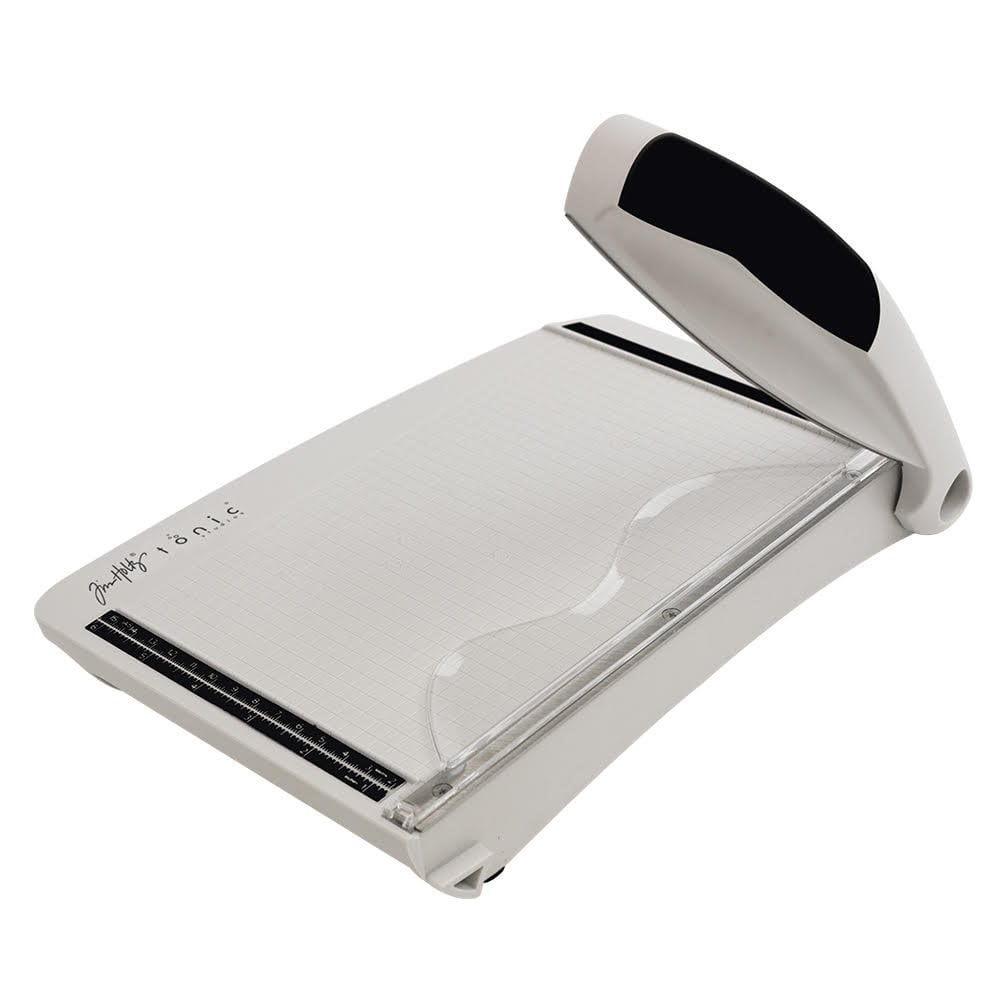
Tonic Studios Tim Holtz Comfort Trimmer 8.5 Inch
Shop at:
Scrapbookcom
Glimmering Peonies Hot Plate & Layering Stencil Set
Shop at:
Scrapbookcom | Spellbinders
Spellbinders Curved Everyday Sentiments Hot Plate & Die Set
Shop at:
Scrapbookcom | Spellbinders
Spellbinders Opaque Black & White Glimmer Hot Foil
Shop at:
Scrapbookcom | Spellbinders
Catherine Pooler Ink Pad - Gingerbread
Shop at:
Scrapbookcom
Project Grip Mat Large - White - 24x18 inch
Shop at:
Scrapbookcom
Ranger Ink Dylusions Spray - Black Marble
Shop at:
Scrapbookcom
Catherine Pooler Ink Pad - Cove
Shop at:
Scrapbookcom


#wavingmywand #spellbinders #neverstopmaking #glimmerhotfoilsystem #cardmaking #peonies #inkblending #hotfoiling #foiling #diycards #scrapbookcom #catherinepoolerink #springcards #birthdaycards #happybirthday #platinum6 #glimmeringflowers #glimmeringpeonies #curvedsentiments #birthdaywishes #teamspellbinders #rangerink #


Monday, September 6, 2021

Faith Encouragement Card

 I recently found out a sweet crafty friend is hospitalized and battling covid pneumonia. Her daughter is organizing cards to be sent and I've colored up this lovely card from Colorado Craft Company to send her way.


(FTC Disclosure: as an affiliate for various companies in the craft industry, I will receive a small commission for purchases made through my convenient affiliate links, at no additional cost to you.)


I paired two different sets, the Peonies Frame from the Big & Bold collection, and sentiments from the Fear Not Rose Whimsy World collection. I first stamped my peonies frame with hybrid leather colored ink using my Misti stamp positioner then colored with Copic markers.


Next, I stamped my sentiment from the C3 Fear Not Rose stamp set. I mounted my panel on some coordinating scrapbook paper from my stash, then adhered to a custom card that I trimmed to get my correct size which was a bit larger than A2 sized. You could easily trim down your panel to fit an A2 sized card. 


I also did a little stamping and coloring inside my card.


I hope this card will bring some encouragement to my friend. If you believe in the power of prayer, please send some her way!  Thank you so much for stopping by. Product links are provided for you below. I'm also sharing this for the Simon Says Stamp Monday Challenge - Stamp It and the Simon Says Stamp Wednesday Challenge - Stamp It.

Terri


Srapbook Adhesives by3L EZ Grand Runner
Shop at:
Simon Says Stamp
Scrapbook Adhesives by 3L Refill Cart. Ultra Strong
Shop at:
Simon Says Stamp
Misti Stamp Positioner/Hero Arts Black Mini
Shop at:
Simon Says Stamp
Ranger Archival Ink - Jet Black
Shop at:
Ranger Ink
Misti Mini Stamp Positioner
Shop at:
Simon Says Stamp
Neenah Solar White Cardstock 110 lb, 25 pk
Shop at:
Simon Says Stamp
Signo Uniball White Gel Pen
Shop at:
Simon Says Stamp
Copic Sketch Marker - E31 Brick Beige Cream
Shop at:
Simon Says Stamp | ScrapbookPal
Copic Sketch Marker - E33 Sand Beige
Shop at:
Simon Says Stamp | ScrapbookPal
Colorado Craft Co Big & Bold Peonies Frame
Shop at:
Scrapbookcom | Simon Says Stamp | ScrapbookPal | Colorado Craft
Colorado Craft Co Whimsy World - Fear Not Rose
Shop at:
Scrapbookcom | Simon Says Stamp | ScrapbookPal | Colorado Craft
Copic Sketch Marker R32 Peach
Shop at:
Simon Says Stamp | ScrapbookPal
Copic Sketch Marker RV10 Pale Pink
Shop at:
Simon Says Stamp | ScrapbookPal
Copic Sketch Marker RV11 Pink
Shop at:
Simon Says Stamp | ScrapbookPal
Scrapbookcom Hybrid Ink - Leather
Shop at:
Scrapbookcom


#wavingmywand #coloradocraftcompany #encouragement #faith #cards #papercrafts #simonsaysstamp #scrapbookpal #scrapbookcom #peonies #whimsyworld #bigandbold #fearnotrose #DIY #scripturecards #scripture #coloring #copicmarkers #scrapbookadhesivesby3L