Showing posts with label scenic. Show all posts

Wednesday, September 6, 2023

3 Quick Fall Cards for Spellbinders

Hey friends, I'm back with 3 more cards featuring the Spellbinders September Quick & Easy Card Club Kit, "Jump Into Fall".  I really love making scenic cards and Spellbinders makes it so easy; there's so many elements to choose from too! My first two cards are scenic, my third card is created with non-traditional fall colors and the last card was one I shared earlier in the week, and am dropping it in, in case you missed it. For some reason I'm feeling super chatty today. I'm also sharing some insight into how I choose and sort my elements when making choices for a scene, plus some key styles that I turn to often. If that interests you, please scroll on down!


(FTC Disclosure: as an affiliate for various companies in the craft industry, I will receive a small commission for purchases made through my convenient affiliate links, at no additional cost to you.)


If I had to guess, I'd say there are at least 200 die cut elements in this kit, maybe more. When choosing which cuts I want to use, I usually spread them all out and then group them by theme. So, all the florals go together, all the critters go to together and so on.

I immediately knew I wanted to create a little outdoor scene when I was sifting and found the trees, house and pick-up truck. I started by hand cutting some of the patterned paper into slopes for hills and a flat strip for my "road. 

Everything else quickly came together, as well. It's hard to read the words on the chipboard sentiment below the house, due to it being gold foiled and the angle of my shot. It says "Love Lives Here".

The kit items that I used for the card above include:
White A2 card, adhesive, die cuts, chipboard stickers, puffy stickers, patterned paper.


Even though Spellbinders did NOT consult me when designing this kit (haha), they once again included tea and coffee elements which I absolutely love.  I can guarantee that 99% of the time, I'm going to make a little kitchen scene with these products. I can't help it! It's so easy and fun and who doesn't love coffee or tea?

I will rarely use a card panel as my base for these type cards. I prefer to just lay the scene directly on the card. It also makes for a larger scene by doing so.

I first chose my "wallpaper" (patterned paper) then worked out my previously chosen die cuts for my scene. The little fruit basket was the perfect accent too!

I also frequently will use a trimmed strip of solid cardstock for my "table top" or counter space. There's some lovely dark green card panels included in this kit which was perfect.

Elements from this kit used:

A2 white card, adhesive, die cuts, patterned paper, chipboard stickers, sequins, card panel

**There is a pack of black sequins in various sizes included in this kit. They are going to work great for Halloween cards too!


For my card above, I started with the fox. He's so adorable and I knew I wanted to use him. I chose a patterned paper from the kit and lots of leaf and floral die cuts. This kit has lots of traditional fall colors but also some non-traditional fall colors as well.

Since there are so many colors behind my fox, I wanted him to stand out a bit more. I adhered him close to the edge of a brown card panel included in the kit, then trimmed along the edge of the card panel, following the lines of the fox, only on the left side. This gives a little shadow effect which I find very appealing.

Oh, and there's more coffee....and a pumpkin. Had to throw that on there too! There's also a lovely pink card panel included in the kit that I used behind my card panel. My sentiment is a chipboard sticker and it looks kind of like a note torn from a paper pad. I backed it with some of the brown card panel to give it more definition.

Kit elements used on the card above:

A2 white card, card panels, adhesive, die cuts, chipboard stickers, puffy stickers, sequins


I shared the above card made from the kit, earlier in the week. If you missed it you'll find creative details here.

Today is when the new subscriber window opens to join the Quick & Easy Card Kit Membership. You have until Sept. 27 to join. There's no obligation, cancel at any time! If you'd like to learn more about all the different clubs, click here.

Thanks so much for popping in and thanks for sticking it out until the end, haha! I'll be sharing a stitched card later this week that features the September Stitching Die of the Month Club selection.  Happy crafting!

Terri


#wavingmywand #spellbinders #neverstopmaking #spellbindersclubkits #cardmaking #platinum6 #cardkit #quickcards #easycards #diycards #embossing #jumpintofall #3dembossing #fallcardmaking #fallleaves #fallcards #autumnleaves #coffeecards #coffeelovingcardmakers #pumpkinpie #fox #tea #tealovers

Thursday, May 17, 2018

Blog Hop With Scrapbook Adhesives by 3L and Paper House Productions

This week, the design team from Scrapbook Adhesives by 3L has been hopping along with the Paper House Productions Team and both companies have prizes up for grabs!


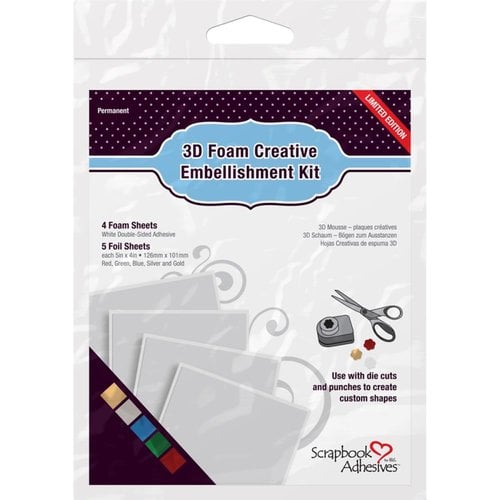
I'm featuring the Paper House Productions Color Washed Collection today.  For my first project, I've created this 4x4 in card duo that pairs a gold foiled underlay die cut border, using the 3D Foam Creative Embellishment Kit.  I've also foiled thin foam squares and added the Paper House Productions cardstock gold foil sentiments and washi tape.

You'll find product links below for many of the products used today.


Next, is this scenic card created with the PHP Color Washed 12x12 in paper.  I've created layers of torn paper for my ocean waves, popping some up with foam circles, hand cut my own clouds and mermaid tale and adding glue from dual tip glue pen around the clouds, sprinkling with gold glitter.  My mermaid tale was enhanced by running through an embossing folder, then running a little bit of adhesive runner over the raised edges and applying more gold foil.

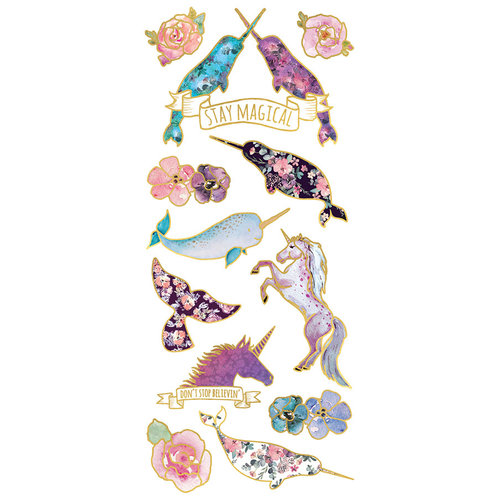
I love the PHP Sticky Pix Faux Enamel stickers featuring the Narwhal.  Isn't he perfect for this card?  The hot air balloon is from the Color Washed Sticky Pix Cardstock sticker collection and I added a bit of creative adhesive foam to the bucket by tracing around it, cutting and sticking to my cardstock sticker.  To make it shine, of course, I added more foil!  


Be sure and visit the blog hop posts each day and follow instructions to qualify for prizes.  Each post will be live at 5:00 am CST on the scheduled day.  A total of 6 prizes are being offered, 3 each from both companies.  Woo-hoo!  

This is open to International as well.  Yay!  

The contest will end 11:59 pm CST on Saturday (5/19).  Winners announced Tuesday (5/22).


Blog Hop line-up:

Day One (5/14 Judy Hayes + Valerie Ward)

Day Two (5/15 Shannon Morgan + Tracy McLennon)

Day Three (5/16 Linsey Rickett + Dana Tatar)

Day Four (5/17 Shellye McDaniel + Terri Burson)  *You are here

Day Five (5/18 Teri Anderson + Yvonne van de Grijp)


I also created a quick tip video for those muted crinkle foiled water bubbles if you'd like to take a look.  Bonus points if you subscribe to my YouTube Channel and like this video!


Ranger Inkssentials Craft Mat 15x18
Shop at:
Scrapbook.com
Ranger US HEAT IT CRAFT TOOL
Shop at:
Scrapbook.com
Coredinations 25 sheet pk 110 lb white cardstock
Shop at:
Scrapbook.com
Hero Arts Clear Embossing Powder
Shop at:
Scrapbook.com
Scrapbook Adhesives by 3L EZ Grand Runner
Shop at:
Scrapbook.com
Scrapbook Adhesives by 3L 3D Creative Embell. Kit
Shop at:
Scrapbook.com
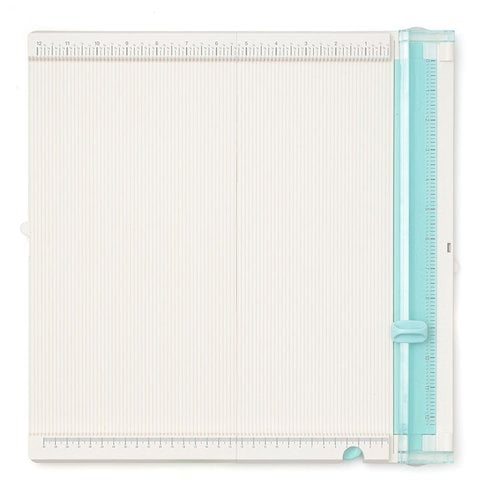
WRMK Trim and Score board
Shop at:
Scrapbook.com
Spellbinders Platinum 6 Die Cutting/Emboss Machine
Shop at:
Scrapbook.com
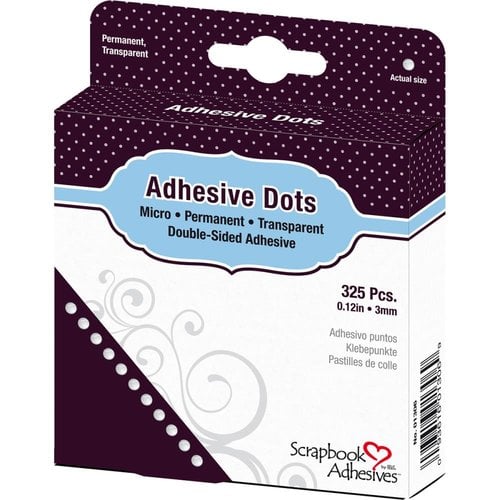
Scrapbook Adhesives by 3L Micro Dots
Shop at:
Scrapbook.com
Scrapbook Adhesives by 3L Foam Circles
Shop at:
Scrapbook.com
Stampendous Jewel Glitter Ultra Fine Gold
Shop at:
Scrapbook.com
Scrapbook Adhesives by 3L Medium Adhesive Dots Ultra Thin
Shop at:
Scrapbook.com
Paper House Productions Color Washed Paper w/Foil
Shop at:
Scrapbook.com
Paper House Productions Color Washed Sticky Pix Cardstock Stickers
Shop at:
Scrapbook.com
Paper House Productions -Faux Enamel Stickers -Narwhal
Shop at:
Scrapbook.com
Paper House Productions Karmabee - Lotus w/foil Washi Tape
Shop at:
Scrapbook.com


#scrapbookadhesivesby3l #paperhouseproductions #colorwashed #fauxenamel #stickers #cardstock #3dfoamcreativeembellishmentkit #foil #adhesive #washitape #washi #adhesivedots #micro #glitter #narwhal #mermaid #clouds #ocean #foamcircles #EZgrandrunner #wavingmywand #terriburson #cards #border #diecuts #emboss #prettypinkposh #scrapbook #cardmaking #DIY #crafts #papercrafts #bloghop #giveaway #prizes

Tuesday, January 3, 2017

Creating A Scenic Card With Adornit

Today, I'm going to show you how easy it is to create a scenic card, featuring many of my favorite products from Adornit.  My inspiration?  That adorable little gnome from the Floral Jars Art Play collection.  Let me share a few quick tips on making this business sized #10 card, roomy enough for a fun, fantastical scene.


First, choose your images.  I chose to incorporate several different Adornit Art Play collections, looking for elements that would coordinate well together.  The mushrooms and flowers from the Today is Best and Adventure collection were perfect.  Mixing and matching is a great way to get creative and, at the same time, stretch your craft supplies.  


Next, pick your coloring medium.  I'm using Adornit watercolor pencils with my water brush.  This set comes with 36 amazing colors, however, I had specific colors in mind so I limited myself to using just a handful of  my watercolor pencils - teal, black, gray, red, two yellows and two greens.
 
Good quality watercolor pencils are essential, to achieve subtle blending, shading and smoothness.  The best tip I can give on shading with watercolor pencils is, start with the darkest color and outline your image.  Next, use a lighter color to fill in, leaving white space in the middle.  This will be your "reflective light", which helps give a three dimensional look to your colored images.

These are not your basic crayons in a box.  A little goes a long way.  You don't need to color your entire image.  Your water brush will spread the colors around and help blend.  If you feel that you have too much color, grab a paper towel and blot.  This works great for achieving "reflective light", as well.


When you've finished coloring your images, grab your scissors and begin fussy cutting.  I like to use my Fiskars fine tipped titanium scissors for this task.  

For the layered hillside, I'm using a multitude of Adornit scrapbook papers, including the Nested Owl  Mint papers, Laura Kelly papers and blender paper.   Some are available at adornit.com and others are available at scrapbook.com.  I love to shop both stores for my Adornit products.  The prices are excellent and shipping is very reasonable.  I do have affiliate links scattered throughout, for your convenience.

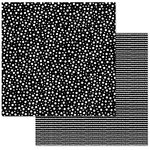
Back to the hillside.... the more layers the better!  Mix and match patterns and colors for that extra wow factor.  The double sided black and white dot papers designed by Laura Kelly for Adornit are one of my favorites.  It was a true lightbulb moment when I thought to color a few of my dots from the scrapbook paper, to match my mushrooms.  Don't you love when that happens?  You can easily use scissors to trim wavy strips, however I used a stitched border die with my Cuttlebug die/emboss machine.  


Because the card dimension is 9.25" by 8" (scored at 4"), most stitched dies are shorter in length.  
For those of you who do like to use these, simply run one pass through your machine, then tape down your die at the end of your first cut, and run through again.  This lengthens your stitched border cut.  If you'd like product info on the die that I used, go here.  I love when my crafty supplies play nicely together!  Don't you?


Lastly, I used a sentiment from the Owl Charcoal stickers, chopping it up and spreading it out a bit for more visual effect.  

Thanks so much for popping in today.  I hope I've given you a little inspiration to try out a scenic Adornit card.  If you decide to give this a try, please share with me on my Facebook page, Waving My Wand, or tag me on Instagram.  Be sure and follow me, too.  Of course, you are always welcome to share in the Adornit Art Play Facebook Group as well.  We'd love to see you there!


from: Scrapbook.com


from: Scrapbook.com


Adornit has so many amazing products for planner girls and guys, scrapbookers, sewing/fabric products, coloring and more!  Thanks so much for stopping by!


Shop Your Fav Brands at Scrapbook.com


#adornit #adornitambassadors #scrapbookcom #afflink #gnome #floraljars #laurakelly #scrapbook #cardmaking #cards #sceniccards #watercolor #pencils #coloring #artplay #paintables #DIY #adventure #owl #wavingmywand #terriburson #stamplorations #stitched #die