Tuesday, April 14, 2026

Peeking Butterflies Card for Scrapbookcom

Hello cardmakers. Today I've got another card created for Scrapbook.com featuring their new A2 size cardstock packs. They sold out a few weeks ago and are now back in stock. It's a hot item so grab some before they sell out again! There's 5 different packs you can purchase separately, or grab the bundle. It comes in Glimmer, Classic, Heavyweight, Swiss Dot and Canvas. Scroll down for details on my Peeking Butterflies Card!


 (FTC Disclosure: as an affiliate for various companies in the craft industry, I will receive a small commission for purchases made through my convenient affiliate links, at no additional cost to you.)


The cardstock packs I'm creating with today are Glimmer and Swiss Dot.


I started by die cutting lots of butterflies from the Cottage die set. Some will serve as the backing for the top layer of butterflies. I lightly tacked them in the center and also scored the top butterflies in the center so the wings would be lifted.


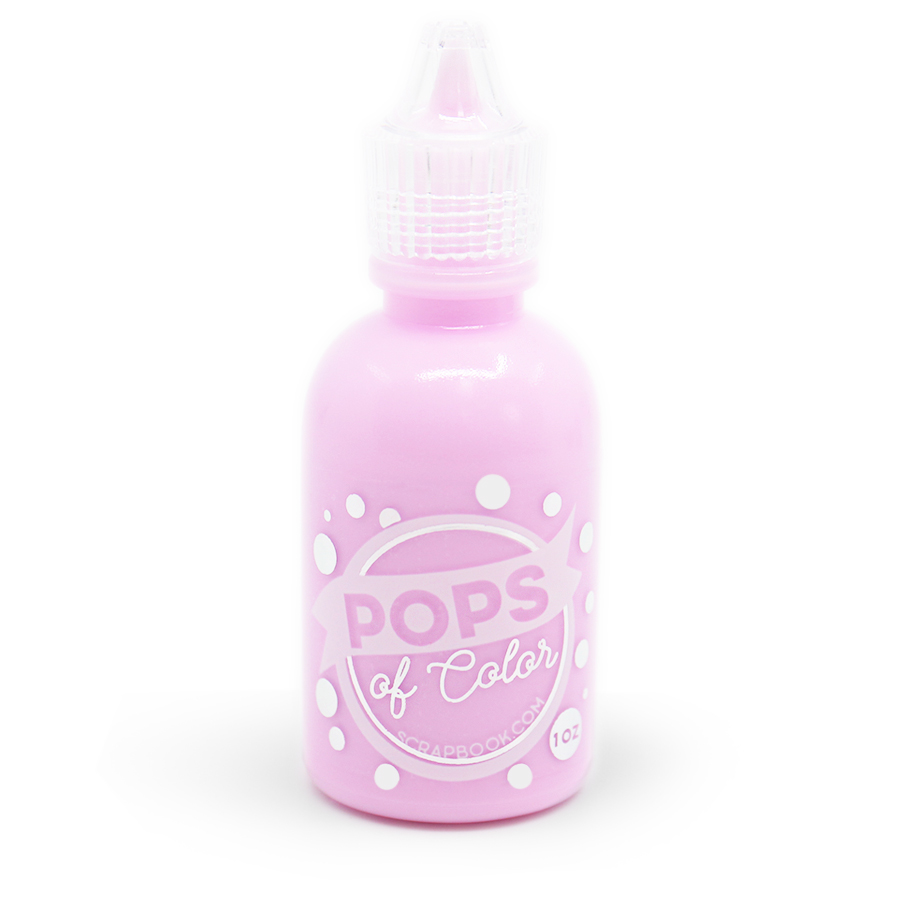
I wanted to add some Pops of Color in Soft Lavender on top of those tiny holes cut out on the butterfly wings. To keep my liquid embellishment from seeping through, I simply placed thin strips of 1/4" mint tape on the back side of the wings, as pictured below.


Now here's a really cool trick.  I applied my Pops of Color at the end, after my card was completely assembled and here's why. To get your liquid embellishment to flatten and look like enamel dots, just slap your card against the top of your desk or whatever surface you are creating on. Don't be too aggressive, haha, just give it a little slap. It will flatten those liquid dots right out. Cool, huh? You can see the before and after below.


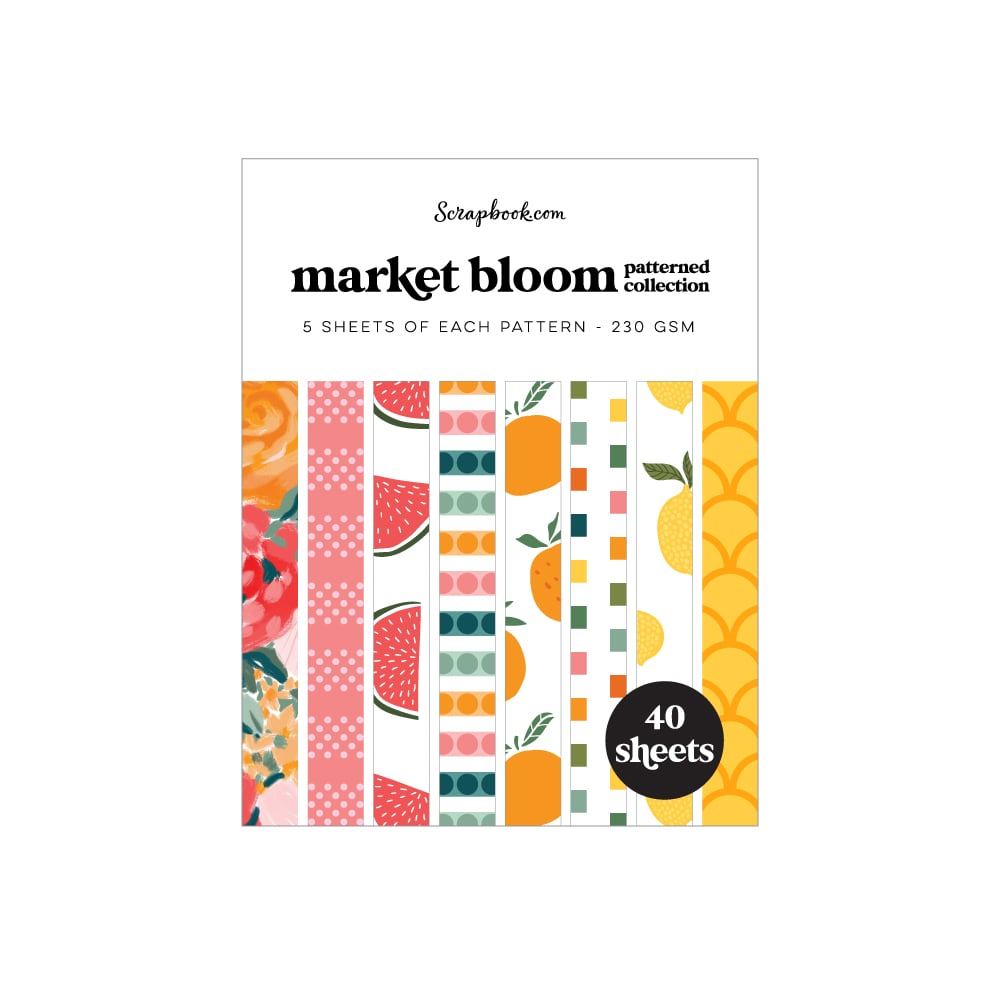
Now, the frame that I die cut using white cardstock is the A2 Stitched Scallop Block Frame. I simply punched out all 6 center pieces and backed my frame with some pretty plaid paper from the Market Bloom paper pad.

Let me also mention, to get my butterflies to look like they pop out, I pulled each butterfly through the window frame, lightly tacked it to the backside of my scalloped die cut frame, then trimmed off the excess part of the wing on the back side. I did this before adhering the plaid paper behind it.


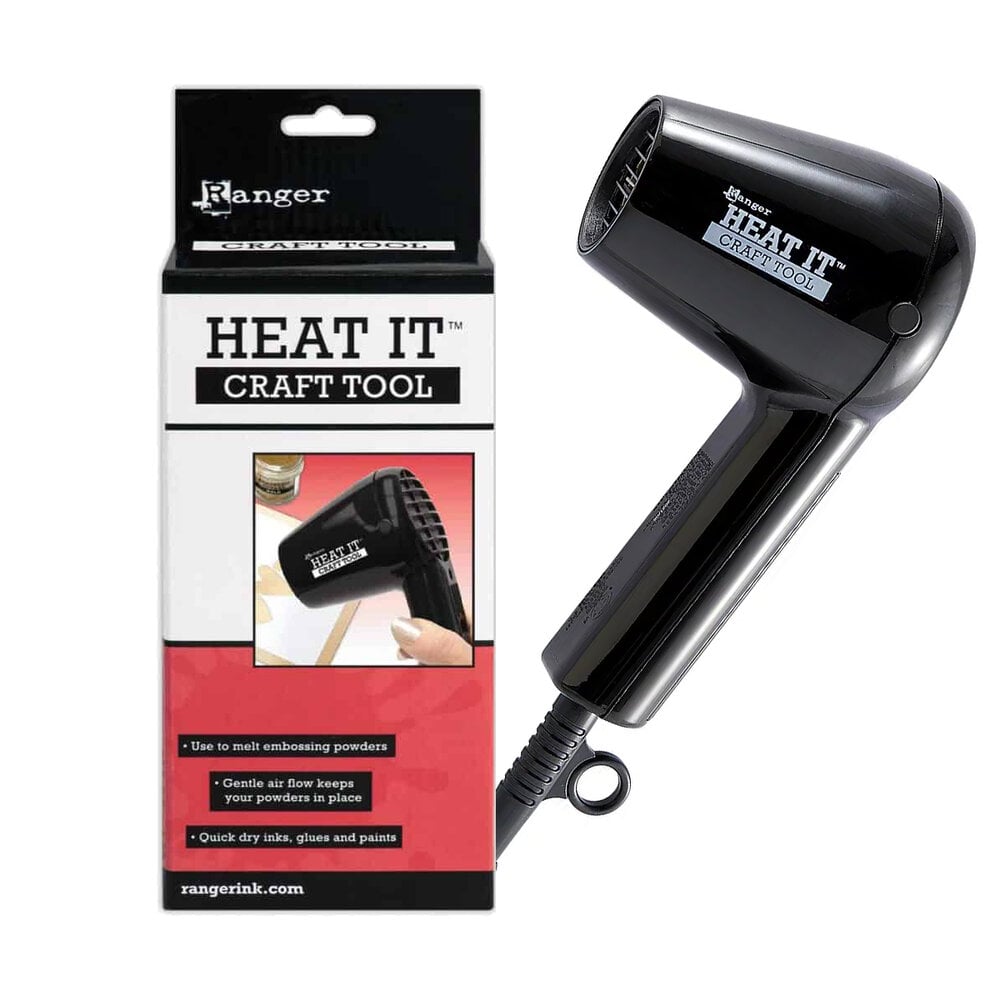
Lastly, I used a really great sentiment from the Woodland Enchanted Forest Stamp/Die set. I wanted a longer sentiment that I could break up and spread out across my card, so I used my stamp positioner and used the masking technique to stamp, and then heat emboss, one line at a time. I did this on the textured Glimmer cardstock. I love how it looks and it's such a lovely quote!

Thanks so much for stopping by. If you'd like more information on any of the products that I used today, or wish to add some of these absolutely fabulous products to your own craft space, simply tap any of the affiliate links I've provided below. 

I hope you have an amazing day. Stay crafty!

Terri

************************

Ranger Ink White Super Fine Embossing Powder
Shop at:
Scrapbookcom
Scrapbook.com Premium Clear Embossing Ink Pad
Shop at:
Scrapbookcom
Refillable Permanent Adhesive Runner - 49 feet
Shop at:
Scrapbookcom
3 mm Adhesive Strips - 160 strips
Shop at:
Scrapbookcom
Pink Stamp Cleaning Shammy
Shop at:
Scrapbookcom
Mini Misti Stamp Positioner
Shop at:
Scrapbookcom
Neenah Solar White Ultra Thick Cardstock - 25 pack
Shop at:
Scrapbookcom
Sage Green Platinum 6 Bundle
Shop at:
Scrapbookcom
A2 Premium Swiss Dot Cardstock
Shop at:
Scrapbookcom
A2 Premium Glimmer Cardstock
Shop at:
Scrapbookcom
Cottage Die Set
Cottage Die Set
Shop at:
Scrapbookcom
Pops of Color Liquid Embellishment - Soft Lavendar
Shop at:
Scrapbookcom
Mint Tape Roll - 1/4
Mint Tape Roll - 1/4"
Shop at:
Scrapbookcom
A2 Stitched Scallop Block Frame
Shop at:
Scrapbookcom
Market Bloom Patterned Paper - A2
Shop at:
Scrapbookcom
Woodland Enchanted Forest Stamp/Die Set
Shop at:
Scrapbookcom
Pink Platinum 6 Die Cut System
Shop at:
Scrapbookcom
Ranger Heat It Craft Tool
Shop at:
Scrapbookcom


#wavingmywand #scrapbookcom #cardstock #glimmer #cards #cardmaking #diycards #swissdot #butterfly #butterflies #popsofcolor #lavendar #love


Wednesday, April 1, 2026

National Greeting Card Day with Pajama Crafter Stamps

Hey friends, I'm just popping in with a short post. Today is National Greeting Card Day and Easter is just days away. I just received this adorable stamp set from Pajama Crafter Stamps and I couldn't wait to ink it up. 'Tis the season! I'm featuring the Egg-stra Special stamp set, colored with OLO Markers. Scroll for a couple quick details.


 (FTC Disclosure: as an affiliate for various companies in the craft industry, I will receive a small commission for purchases made through my convenient affiliate links, at no additional cost to you.)


I used two images and one sentiment from the stamp set. I wanted to create a little scene that has the 3 little chicks walking away from the painted egg, leaving a trail of paint puddles and droplets along the trail. Yes, that's how my brain works, haha. I get a creative idea and just roll with it!

Once I stamped my images, I used a fine liner black pen to draw in a sloped hillside, along with adding some design to my egg and the paint puddles and droplets.


The OLO Markers that I used are pictured above. They're perfect spring colors too!


I used a variety of Catherine Pooler inks, dabbing different colors onto my stamp. It helps to use a stamp positioner, in order to do multiple stampings for the right depth of color. I also used the CP ink to ink blend my sky using the torn paper technique, where you rip some thin computer paper and ink blend directly over the edge, then repeat. I also used masking tape to mask off the area where I wanted to ink blend the partial sky.

The lavender paper that I used for my card panel backing is from the new Scrapbookcom Classic Cardstock collection and is called Amethyst. Isn't it so pretty? I just love that color. I did also do some embellishing on my egg with a white gel pen.

So that's my quick post for the day. Tap any of the highlighted areas for more product information or to shop. I hope you have a wonderful Easter!

Terri


#wavingmywand #pajamacrafterstamps #scrapbookcom #olomarker #catherinepoolerinks #springcards #eastercards #nationalgreetingcardday #cardmaking #eastereggs #eggs #babychicks #diycards #stamping


Tuesday, March 31, 2026

Sea Monster Shaped Card for Scrapbook.com

Hello crafty friends. I'm so happy to be sharing several projects in the coming days for Scrapbook.com, with exciting news. They now are carrying their own line of premium cardstock! The A2 size variety pack bundle is already sold out but you can visit my link and be notified when it's back in stock. There's also 12x12 inch single sheets with weight measurements between 80-100 lb. The Glimmer cardstock is 80# weight.

The cardstock comes in 5 different styles: Classic, Glimmer, Canvas, Swiss Dot and Heavyweight, with 165 total colors! Wow! Scroll down for more details on today's card that features the Glimmer A2 size cardstock from the variety pack bundle.


 (FTC Disclosure: as an affiliate for various companies in the craft industry, I will receive a small commission for purchases made through my convenient affiliate links, at no additional cost to you.)


The glimmer cardstock colors that I'm using for today's card are:

Granite, Sandpaper, Glacier Blue and Bedazzled Blue


I'm also creating with one of the Octopus dies from the Coastal Charms die set, a sentiment from the Hooked On You stamp & die set, and the largest die from the Nested Elegant Circle Mandalas die set which measures 4.2 inches.


To begin, I scored and trimmed a vertical 5x5 inch card using white cardstock, placing the die just over the top edge of the vertical line, then die cut with my Platinum 6 die cut system.


Important tip: Stack all your paper die cuts to make sure they line up correctly before tearing your paper. I had one that was rotated differently and it didn't line up correctly. This is important so they all line up properly on your die cut shaped card. 


I started by tearing my Sandpaper cardstock, then worked my way up using the other two colors. This is solid core cardstock and I love the way it looks.

Next, I made two die cuts with the Octopus die with the Glimmer Granite cardstock, trimming several of the tentacles from one of the die cuts

I didn't fully adhere my cardstock along the top edge, so I could instead apply adhesive to my tentacles and tuck them under the edge of the paper.


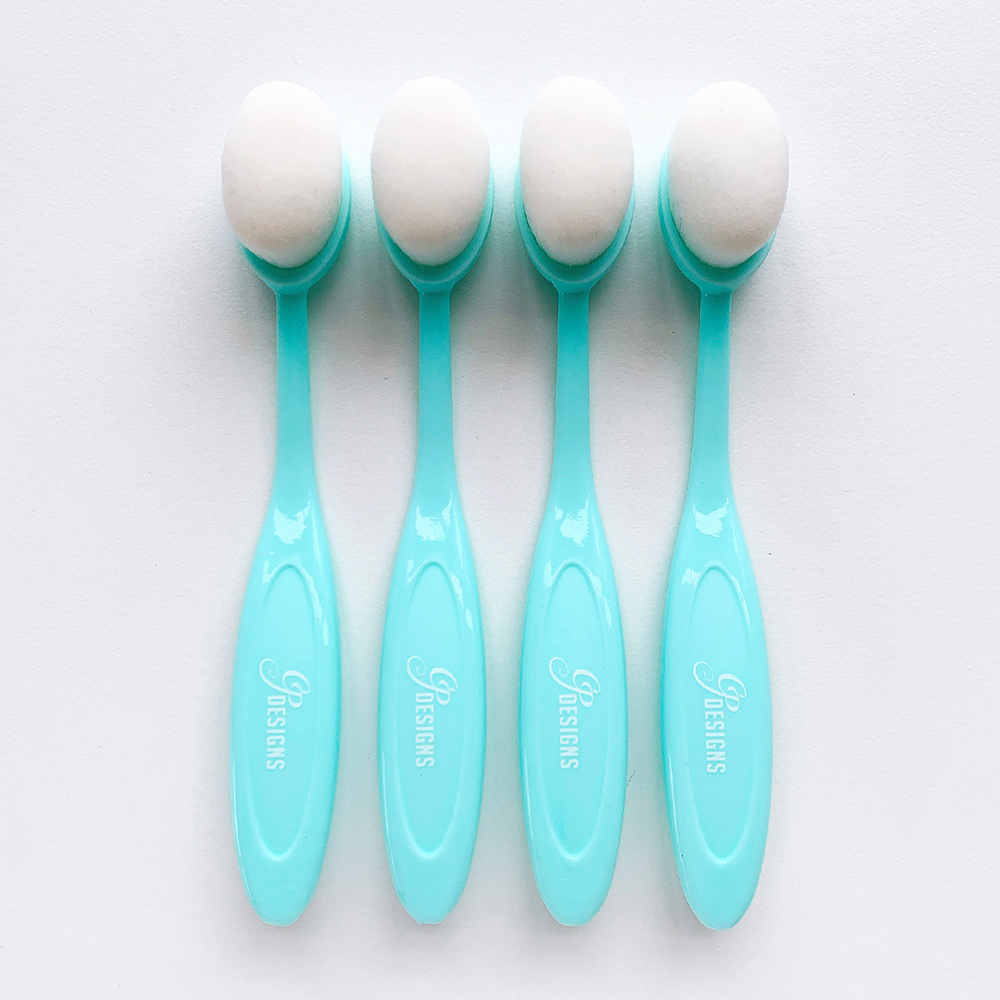
To ink my sentiment, I used my stamp positioner with Catherine Pooler Black Jack ink, then die cut with the coordinating dies. I also splattered some white paint and ink blended along the top of my card with Catherine Pooler On The Lake ink and blender brushes.

I had so much fun making this card and I hope it inspires you! Tap any of the highlighted affiliate products throughout this post to browse for more information or shop my affiliate supply list below. Thanks so much for stopping by!

Terri

**********************************


Catherine Pooler Blending Brushes - 4 pk.
Shop at:
Scrapbookcom
Refillable Permanent Adhesive Runner - 49 feet
Shop at:
Scrapbookcom
Dina Wakley Heavy Acrylic Paint - White
Shop at:
Scrapbookcom
3 mm Adhesive Strips - 160 strips
Shop at:
Scrapbookcom
Pink Stamp Cleaning Shammy
Shop at:
Scrapbookcom
Mini Misti Stamp Positioner
Shop at:
Scrapbookcom
Ultimate A2 Variety Pack Bundle Premium Cardstock
Shop at:
Scrapbookcom
Coastal Charm Decorative Die Set
Shop at:
Scrapbookcom
Hooked On You Stamp/Die Set
Shop at:
Scrapbookcom
Nested Elegant Circle Mandalas Die Set
Shop at:
Scrapbookcom
Catherine Pooler Ink Pad - Black Jack
Shop at:
Scrapbookcom
Catherine Pooler Ink Pad - On The Lake
Shop at:
Scrapbookcom
Neenah Solar White Ultra Thick Cardstock - 25 pack
Shop at:
Scrapbookcom
Sage Green Platinum 6 Bundle
Shop at:
Scrapbookcom


#wavingmywand #scrapbookcom #cardstock #glimmer #seamonster #beach #ocean #cards #cardmaking #diycards


Monday, March 16, 2026

Flirty Blooms Doodling for Catherine Pooler

Hello friends, I'm back with another project for Catherine Pooler Designs. I have absolutely fallen in love with the Flirty Blooms stencil set, which is prominently featured for today's card. I was going for a doodle effect and I love how it turned out. Scroll down for creative details and more product info from the Petals and Purrs collection!


 (FTC Disclosure: as an affiliate for various companies in the craft industry, I will receive a small commission for purchases made through my convenient affiliate links, at no additional cost to you.)


To begin, I stenciled the floral image from the Flirty Blooms stencil set using Tiara and Sweetheart inks.
  I alternated my colors for each bloom, using one color on the upper half of each flower, and the other color on the lower half. What can I say, I was in the mood to be "flirty"! 


To create the doodle effect, I simply used a fine liner black pen to outline each bloom. It's not about perfection here, it's about quirkiness. Leaving small gaps where white is visible on the petals was intentional. My artist friend Lindsay Ostrom once told me, "leave a little white space"and she was right. It also lends to the quirky feel that I was going for.

Initially, I was going to produce a one layer card, however, one thing led to another and before I knew it, I was looking for my adhesive foam circles. March is National Craft Month and I've really been leaning into it. I grabbed my CPD/Wow glitter in cotton candy and sprinkled it on top of my circles, pressing the mix in with my finger and tapping off the excess.


I also added lots of yummy splatters with my Glitz Shimmer and applied some of the new

For my sentiments, I used one of the papers from the Totally Bloomin' paper pack, to die cut with one of the Scripted Sentiments Trio Word dies. Then I heat embossed the other sentiment from the 3 Times The Thanks Sentiments stamp set on CPD Midnight cardstock with white embossing powder, and die cutting it with the new More Sentiment Banner Dies. I love these dies and will be using them A LOT!!

I also layered some light pink and yellow cardstock beneath my card panel, from the Party Mix Cardstock Assortment. Check out all the new cardstocks here. They've just been re-stocked!


Lastly, I created some cute little embellishments adhered on all four sides of my card, using yet another patterned paper from the Totally Bloomin' paper pack. That about wraps it up. I totally got lost in doing all the things on this card and it was such fun, which is what cardmaking should be all about, wouldn't you agree? Thanks so much for stopping by. Click any of my highlighted affiliate links for more information on the products that I used, or to shop. Have a great day!


Terri


#wavingmywand #catherinepoolerdesigns #catherinepoolerink #coloredcardstock #partymix #petalsandpurrs #cardmaking #stamping #crafting #nationalcraftmonth #shimmers #stamping #doodling #daisys #flirtyblooms #stenciling