Showing posts with label national craft month. Show all posts

Monday, March 16, 2026

Flirty Blooms Doodling for Catherine Pooler

Hello friends, I'm back with another project for Catherine Pooler Designs. I have absolutely fallen in love with the Flirty Blooms stencil set, which is prominently featured for today's card. I was going for a doodle effect and I love how it turned out. Scroll down for creative details and more product info from the Petals and Purrs collection!


 (FTC Disclosure: as an affiliate for various companies in the craft industry, I will receive a small commission for purchases made through my convenient affiliate links, at no additional cost to you.)


To begin, I stenciled the floral image from the Flirty Blooms stencil set using Tiara and Sweetheart inks.
  I alternated my colors for each bloom, using one color on the upper half of each flower, and the other color on the lower half. What can I say, I was in the mood to be "flirty"! 


To create the doodle effect, I simply used a fine liner black pen to outline each bloom. It's not about perfection here, it's about quirkiness. Leaving small gaps where white is visible on the petals was intentional. My artist friend Lindsay Ostrom once told me, "leave a little white space"and she was right. It also lends to the quirky feel that I was going for.

Initially, I was going to produce a one layer card, however, one thing led to another and before I knew it, I was looking for my adhesive foam circles. March is National Craft Month and I've really been leaning into it. I grabbed my CPD/Wow glitter in cotton candy and sprinkled it on top of my circles, pressing the mix in with my finger and tapping off the excess.


I also added lots of yummy splatters with my Glitz Shimmer and applied some of the new

For my sentiments, I used one of the papers from the Totally Bloomin' paper pack, to die cut with one of the Scripted Sentiments Trio Word dies. Then I heat embossed the other sentiment from the 3 Times The Thanks Sentiments stamp set on CPD Midnight cardstock with white embossing powder, and die cutting it with the new More Sentiment Banner Dies. I love these dies and will be using them A LOT!!

I also layered some light pink and yellow cardstock beneath my card panel, from the Party Mix Cardstock Assortment. Check out all the new cardstocks here. They've just been re-stocked!


Lastly, I created some cute little embellishments adhered on all four sides of my card, using yet another patterned paper from the Totally Bloomin' paper pack. That about wraps it up. I totally got lost in doing all the things on this card and it was such fun, which is what cardmaking should be all about, wouldn't you agree? Thanks so much for stopping by. Click any of my highlighted affiliate links for more information on the products that I used, or to shop. Have a great day!


Terri


#wavingmywand #catherinepoolerdesigns #catherinepoolerink #coloredcardstock #partymix #petalsandpurrs #cardmaking #stamping #crafting #nationalcraftmonth #shimmers #stamping #doodling #daisys #flirtyblooms #stenciling


Wednesday, February 11, 2026

Petals and Purrs Collection from Catherine Pooler plus Life Update

 Hello lovelies, it's been awhile! I've been a brand ambassador for Catherine Pooler Designs for several years now and at the first of the year, I joined the Social Media Design Team. I adore CPD products and especially their inks! I have sooooo many! As many of you know, I battled breast cancer last summer and had a mastectomy. My mom and sister are survivors as well, although my mom passed away almost 6 years ago due to other health issues.

Since my surgery, my battle is more with the post-cancer meds that I have to take for the next 5 years. The side effects are numerous and include muscle/joint pain, extreme fatigue and severe mood swings, to name a few. In addition, on January 3rd of this year, my dad who is 85 years old had a stroke which affected his speech. He was diagnosed with apraxia and aphasia post-stroke and although he is mobile and can do some things for himself, my siblings and I made the decision to bring him home to care for him, after his hospitalization and rehab.

I'm not going to lie, it's been extremely challenging for all of us, as we take turns caring for him, taking him to his numerous doctor appointments, going on grocery runs, cooking, etc. Communication on his end frustrates him significantly. He's getting, OT, PT and speech therapy but can't talk, although occasionally, a random word or two will come out when he's not trying. He is also trying to learn to write again and currently struggles with that as well, as his letters get mixed up and thoughts jumbled up in his head.

As you can imagine, I've cut back on my creative commitments and blogging, although I have kept up my project commitments to Catherine Pooler. I do other affiliate promotion when I'm able as well, as that is much easier and less time consuming. So here we are. My first blog post in months, and only because I actually have a few free moments where I'm not totally exhausted and drained beyond belief, haha! I'm still working a full time job too!

Today, the Petals and Purrs Collection is live at Catherine Pooler. My first two cards below feature this collection, but I'm also sharing some other favorite projects that I shared on social media over the last couple months with other CPD new releases. Thanks so much for popping in and listening to me ramble!


 (FTC Disclosure: as an affiliate for various companies in the craft industry, I will receive a small commission for purchases made through my convenient affiliate links, at no additional cost to you.)


My intention was to create a one layer card and make some rainbow kittens with Purr-fect Pals stamp set. One thing led to another, and I ended up making fairy wings, haha! I blame Tiktok, after watching way too many videos of pet owners dressing up their pets in costumes and butterfly wings! Have you seen the golden retriever with the light up wings????!!! Absolutely precious!

One thing you should know about me is, if I get an idea, there is no veering from it. I will seek a conclusion and commit to THE END!


I decided to place my cat stamp on an acrylic block and dab one ink color at a time randomly, then spritz with water before stamping.  I would also blot certain areas of my wet ink with a paper towel as needed, to not create too much overlap with other ink colors.
Ink colors:
Tiara, Sweetheart, Mardi Gras, Black Jack

The coordinating outline stamp was done at the end using Black Jack. If there were any splotchy areas missing color, I went in with a wet paintbrush and spritzed ink to touch it up.

I searched through my CPD stamp sets to see if I could find anything that would work for wings and found the perfect thing in the Hops and Peeps stamp set, one of my favorite sets for Spring. Those baby chick "paws" at the bottom of the photo below were perfect. I could have used butterfly wings, but I was on a time crunch and didn't want to fool with too much masking.


To create my wings, I first stamped on my colored cats using Black Jack ink. I did mask a little bit with tape in some sections. Next, I used the "paws" stamps to stamp 6 images on vellum with the Sweetheart ink, then sprinkled with Wow Sparkles in Cotton Candy and heat set it with a craft heat tool. 

Then I took the new Pixie Dust Shimmer, shook the bootle, then placed a few drops on my craft mat, spritzed with a touch of water and grabbed a wet paintbrush to pain the shimmer on my vellum "wings".
I gently heat set the wings, then fussy cut them and placed a small piece of trimmed adhesive strips at the base of the wing to adhere to my cats. This was so fun to do! Did I mention March is National Craft Month?!


Above, is another card I made earlier this week that features these CPD products:


Pixie Dust & Glitz Shimmers
Ink Pads - Sweetheart, Tiara, Black Jack
More Sentiment Banner Dies
Totally Bloomin' Patterned Paper
Flirty Blooms Layered Stencils
Purr-fect Pals Stamp & Die Set
Around The Loop Nested Dies
Party Red & Party Yellow Enamel Dots
Party Mix Cardstock, White Cardstock
Dots and Scallops Dies


The card above is from last months From the Farm Collection and features these products:

Party Mix cardstock
Farm Fresh Stamp/die set
CPD inks - Orange Twist, Cargo
Simple Strips Dies
Lime Rickey Shimmer
White Cardstock
Farm Fresh Patterned Paper

I also died some white twine from my stash for the carrot topper "greens", using the Lime Rickey Shimmer.


The cards above featured positive and negative die cuts using January's release in celebration of colored cardstock arriving to the shop! The papers I used were from the Party Mix Cardstock Collection. I also used the Simple Strips Dies and Scripted Sentiment Trio Word Dies. Do you follow me on Instagram? I talked about creating this project, here.


The project above was also made with the Party Mix Cardstock Collection, as well as the Flip-a-Color Combo Dies for swatching. Read my Instagram post, here.


The projects above and below also feature the From the Farm Collection and new shimmers. You can view additional photos on my Instagram here, as well as the torn paper technique that I used for the ink blended sky above.


Thanks so much for popping in, I'm already tuckered out, haha! I'll bet you are too, if you stuck with me this long! I hope you have a great week. If you'd like to shop for any of the products used on these projects, tap here to visit the CPD website. Thank you and blessings to you all!

Terri


#wavingmywand #catherinepoolerdesigns #catherinepoolerink #fromthefarm #coloredcardstock #partymix #petalsandpurrs #cardmaking #stamping #crafting #nationalcraftmonth #carrots #farmfresh #kittens #rainbowcats #catlovers #fairywings #shimmers #pixiedust #swatching


Monday, March 4, 2024

Distressed Cabinet and Mug Display Slimline Card

Hello lovelies. I'm super excited about today's card. It's always a wondrous thing when you have an idea forming in your mind, you put it to paper, and it comes out just as you'd hoped. This card features new products from Pink and Main and they are absolutely adorable. It's also National Craft Month, which is why I decided to add construction worker to my resume, after finishing this project, haha! 
I hope you'll stick with me for a few creative details further down, as I share the inspiration for my card, and my vision to create distressed "cabinets" for my specialty mugs. 


(FTC Disclosure: as an affiliate for various companies in the craft industry, I will receive a small commission for purchases made through my convenient affiliate links, at no additional cost to you.)


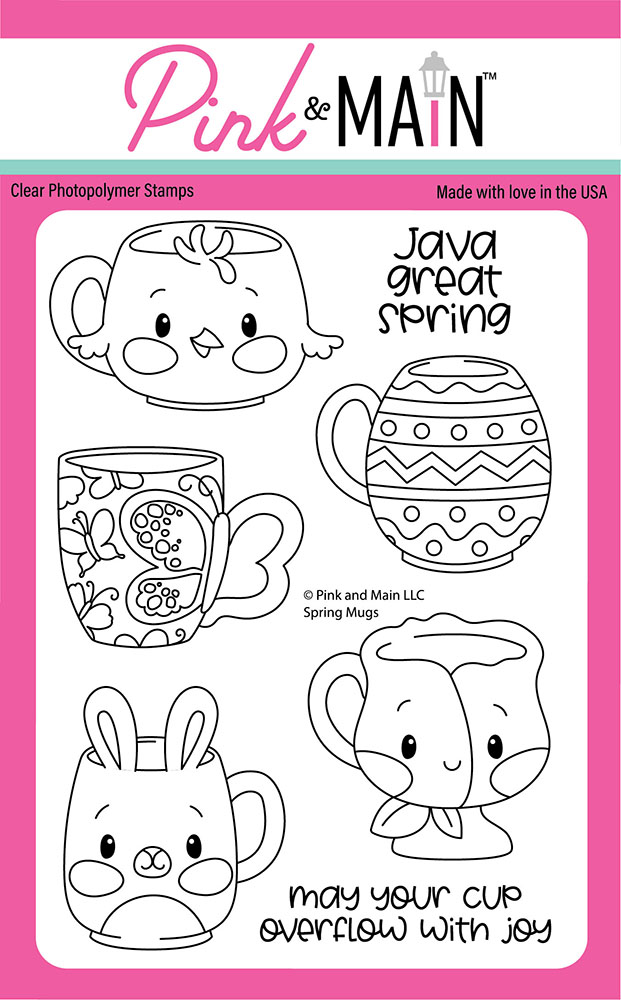
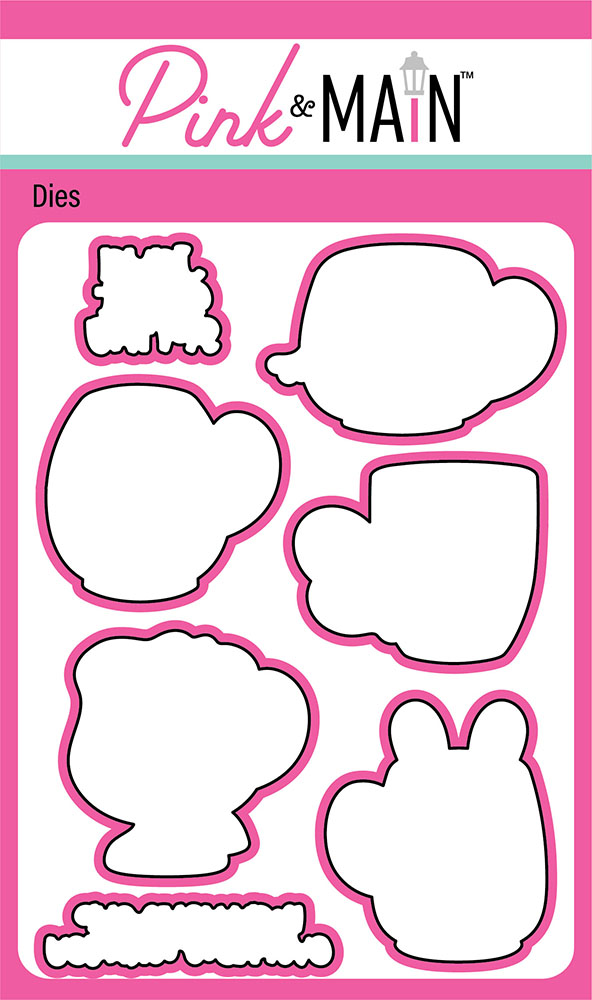
When the latest release came out from Pink and Main, I decided I had to have the Spring Mugs stamp set. Absolutely, without question. You know when you get an idea just from the first look at a product?

I know we all have Grandmother's, Mom's, and other women in our life who have those kitchen cabinets, hutches and what not, that hold specialty dishes, mugs, and more for display. You may have one yourself! That was my immediate idea when I saw these stamps.

I wanted to create a "cabinet" and shelves to sit my mugs on for display. Not only that, I wanted to create a 3-D effect so it actually looks like it is sitting on a shelf! And, I wanted to use patterned paper to be the "shelf paper" for the cabinet.


I literally sketched out an idea for the cabinets and wish I had photographed it. Alas, I flipped it over when I was finished and used the cardstock to stamp my images. I had not intended to make a tutorial, however, in hindsight, it would probably have been a good idea.

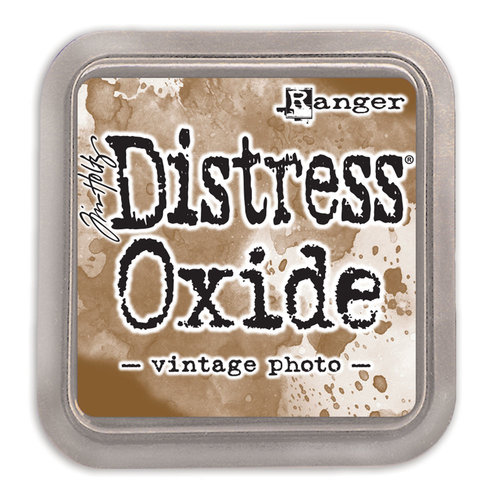
If you wanted to recreate the "cabinet" look, it's rather easy. I trimmed 3 squares of white cardstock, 2.5 x 3 inches. Next, I placed some masking tape 1/2 an inch from the left and right side of the square. I used my blender brushes to ink up the center space with Ranger Distress Oxide Ink in Vintage Photo. I blended it rather dark, peeled off the masking tape, then used the leftover ink for the lighter sides of the cabinet. 

I also decided to distress my cabinets, to give a loved and worn look. This is easily done with the use of a nail file. The photo below was screenshot I took from a short video in my Instagram stories. You can see the Bath & Body Works nail file that I was using, haha. Just don't look to close at my inky fingers!

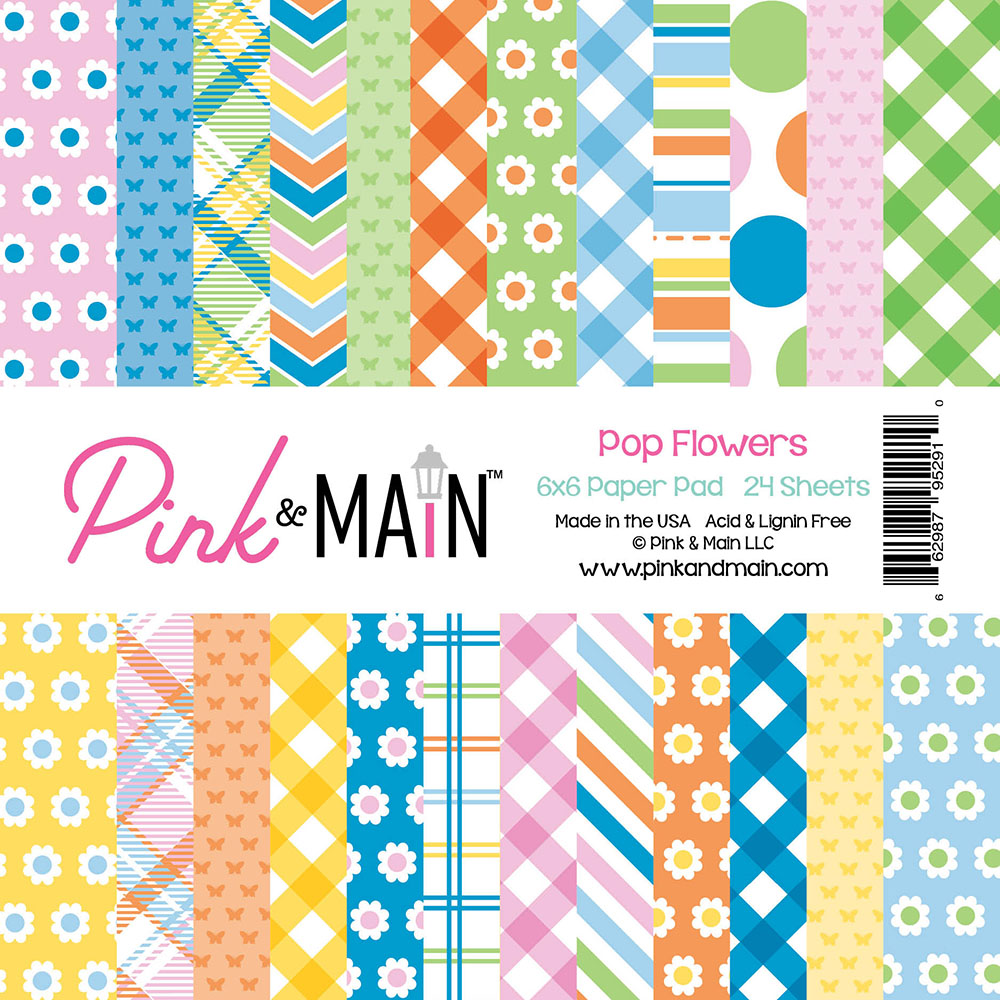
Lastly, I trimmed some patterned paper from the Pink and Main Flower Pop collection. I did some measuring with my ruler and determined 0.5 x 3 inches was a good height and width. Once I trimmed my strips, it was an easy matter of trimming angled edges to "fit" into the cabinet. Just grab a ruler and pencil, and lightly trace where you need your angles trimmed.


With all that being said, those adorable mugs are the star of the show. My cabinets are merely a backdrop for the lovely mug display.

Below is a close-up photo of my card. My Spring Mugs were colored with Copic markers. However, I would be remiss if I didn't mention that I chose my papers first then chose the markers to match the color scheme.

The plaid paper has blue, green, orange and yellow on it. I chose those exact marker colors in various shades of the same color. The only colors not pulled from the plaid are the pink, flesh tone, and a touch of light brown to go with the bunny's pink nose. The Easter Egg mug has all the colors reflected from the patterned paper. I really love how my mugs turned out!


Now, my card is just under the standard dimensions for a slimline card, but larger than a mini-slimline. My dimensions for this folded card are 3.25"W x 8.25"H. You can easily trim down a slimline card to these dimensions, if you keep slimline cards on hand.

I also decided to trim out the inside of my mug handles with my craft knife. It was a struggle! I am not the most gifted when it comes to handling a craft knife, haha.


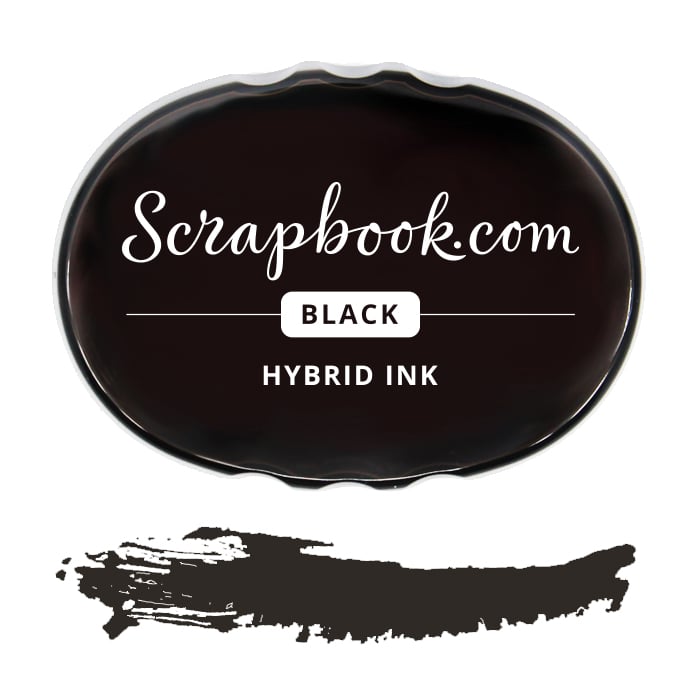
My sentiment is also from the Spring Mugs stamp set and I stamped it with my black hybrid ink on white cardstock, trimmed it and edged it with more distress Vintage Photo ink. 

I'm also sharing this card for the Simon Says Stamp Monday Challenge, Bright and Cheerful. 

I've scattered affiliate links for Pink and Main throughout this post, however I also have links to these products, also available at Scrapbook.com. I wanted to mention this because there's a coupon code for 10% off your entire order this week at Scrapbook.com and you can use it for an added discount on these Pink & Main products! The code is SBCFEST4 and this link includes the entire new Pink and Main release: New Pink and Main at Scrapbook.com 

See you next time! I treasure your comments, if you'd like to leave one. Or, questions!

Terri

************************


Ranger Ink Distress Ink Vintage Photo
Shop at:
Scrapbookcom
Scrapbook.com Hybrid Ink - Black
Shop at:
Scrapbookcom
Wendy Vecchi Makeart Non-stick Craft Sheet
Shop at:
Scrapbookcom | Ranger Ink
Refillable Permanent Adhesive Runner - 49 feet
Shop at:
Scrapbookcom
Neenah Solar White Cardstock 80 lb, 25 pk
Shop at:
Scrapbookcom
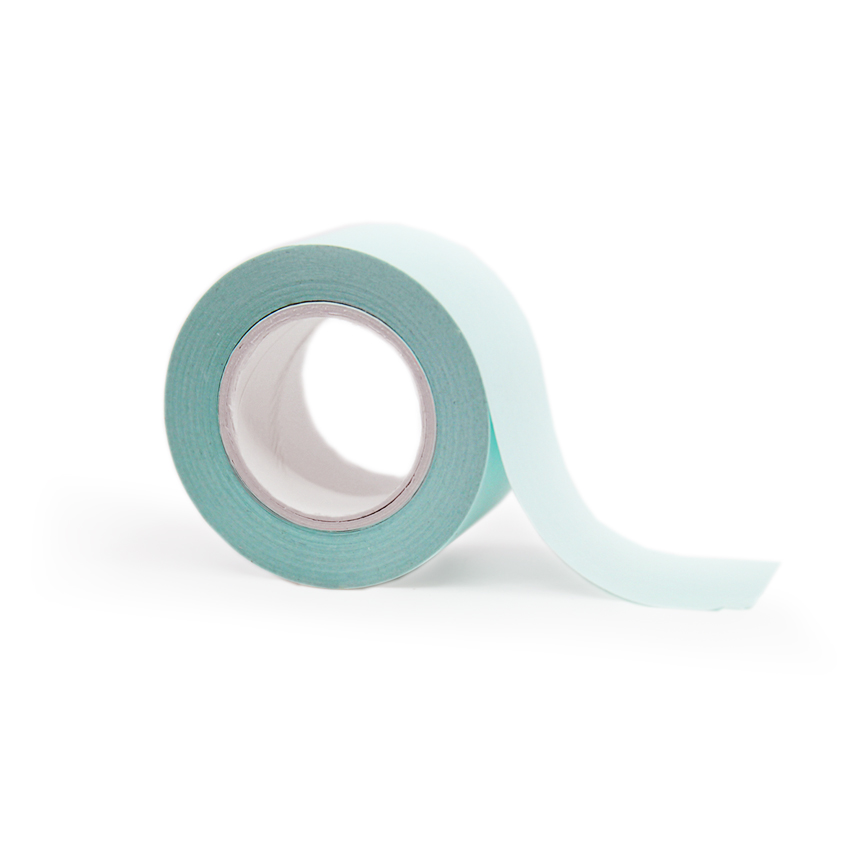
Mint Tape 1 inch roll
Shop at:
Scrapbookcom
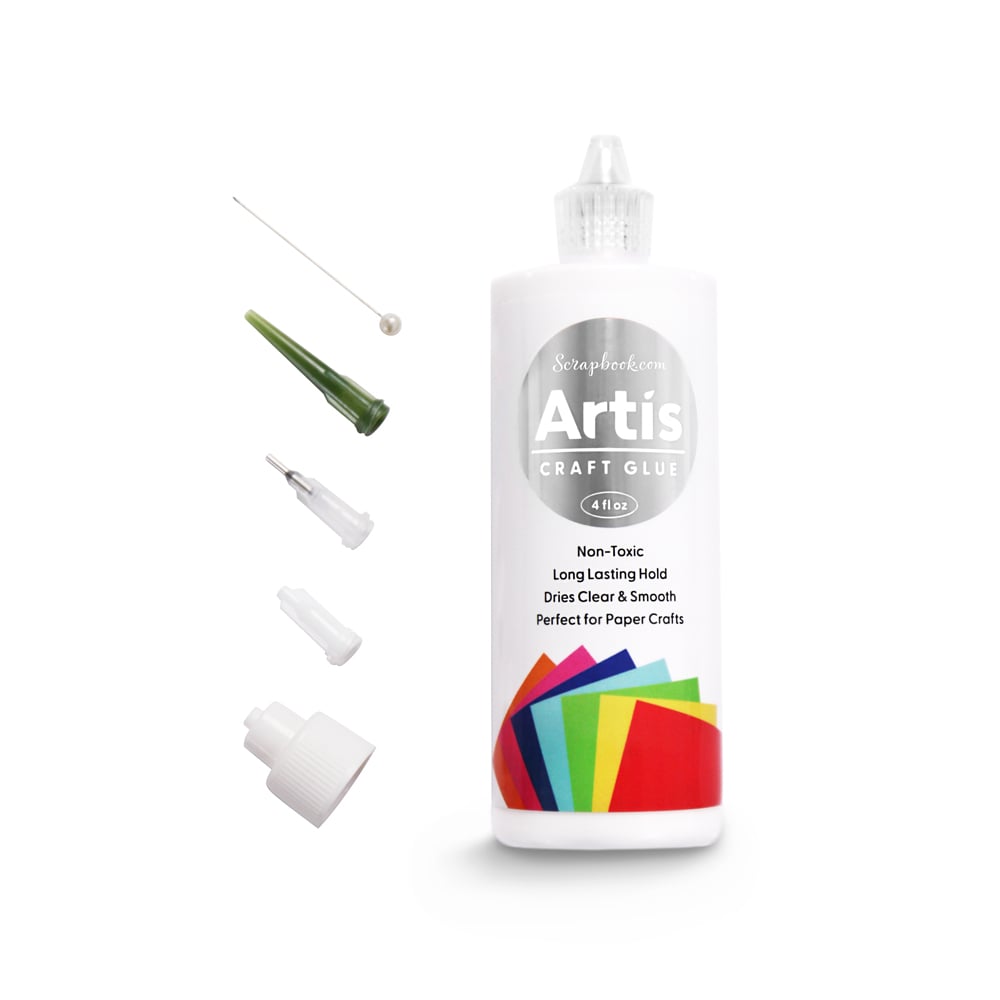
Artis Craft Glue - Only at Scrapbookcom
Shop at:
Scrapbookcom
Neenah Solar White Slimline Cards & Envelopes - 10 pk
Shop at:
Scrapbookcom
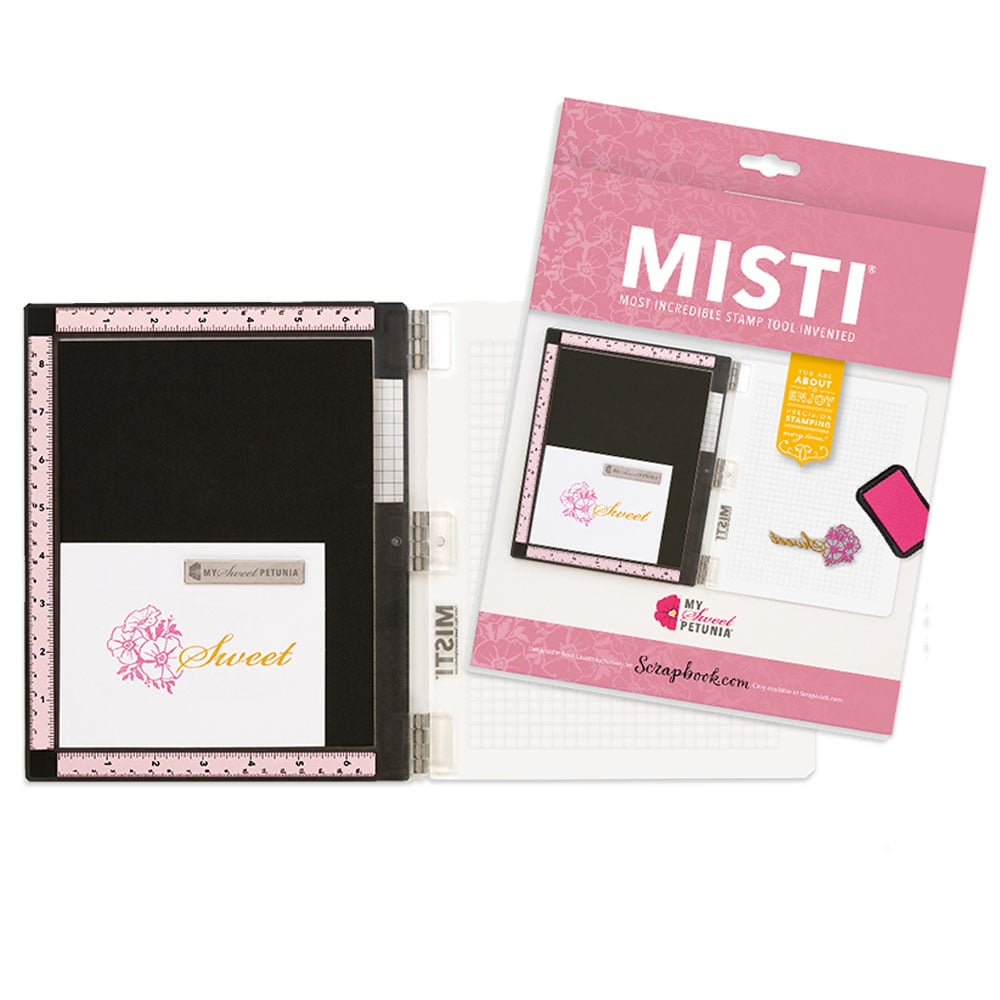
Exlusive Pink Mini Misti Stamp Positioner
Shop at:
Scrapbookcom
Scrapbookcom Small Blending Brushes - 3 pk
Shop at:
Scrapbookcom
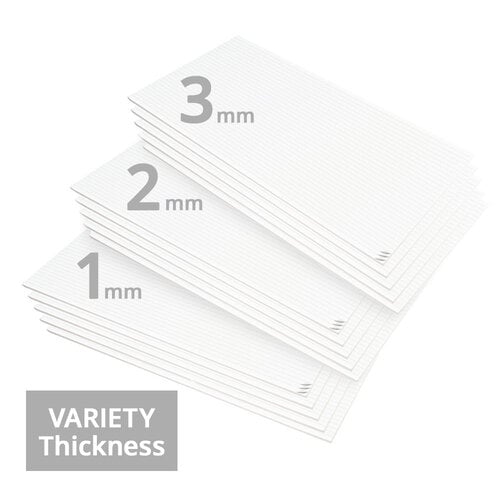
Adhesive Foam Strips Combo Pack - 1mm, 2mm, 3mm
Shop at:
Scrapbookcom
Pink and Main 6x6 Paper Pad - Pop Flowers
Shop at:
Scrapbookcom | Pink and Main
Pink and Main Spring Mugs Stamp Set
Shop at:
Scrapbookcom | Pink and Main
Pink and Main Spring Mugs Die Set
Shop at:
Scrapbookcom | Pink and Main


#wavingmywand #pinkandmain #cardmaking #springmugs #easter #spring #diycards #rangerink #distressink #distressoxideink #inkblending #masking #minttape #stamping #flowerpop #distressedcabinets #slimlinecards #nationalcraftmonth #seasonal #babychick #eastereggs #shapedmugs #seasonal #babybunny #easterbunny #bunnyrabbit


Tuesday, March 14, 2023

Shamrock Good Luck Card

Hello friends. I'm getting in touch with my Irish roots with this shamrock card today. Plus, it's National Craft Month which gives me a good excuse to break out my Brother Crafts Scan n Cut to create the images for this card. I'm also using products from Scrapbook.com Scroll down for brief creative details. You'll find products linked at the end of this post as well.


(FTC Disclosure: as an affiliate for various companies in the craft industry, I will receive a small commission for purchases made through my convenient affiliate links, at no additional cost to you.)


I purchased my Scan N Cut a  few years ago, as a Christmas gift to myself. It's been one of the most loved tools in my arsenal. I typically cut most of my images on a blade setting of 6 for lightweight cardstock. I also generally work offline so this image is one of the standard images included in my machine's storage. No need to get on the internet! I scaled down my image to the smallest size which was about 1.5" or less and added 9 images. I touched the screen to drag the images where I wanted them and then cut.

I also used my negative template to easily line up my shamrocks on my card, popping each one of them up with a small adhesive foam square.


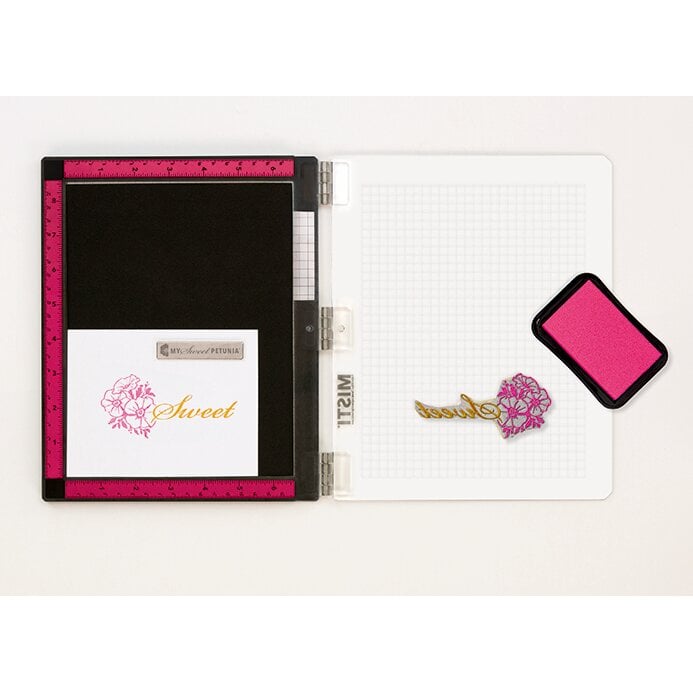
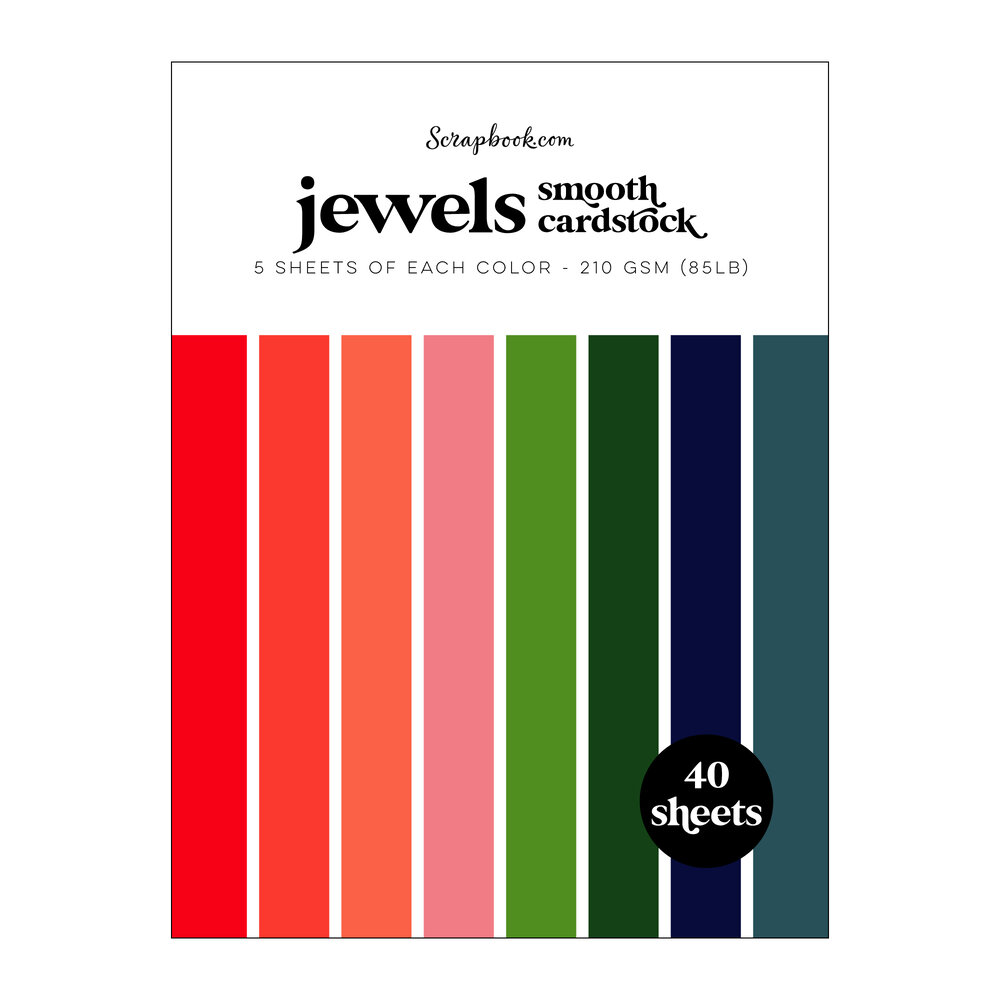
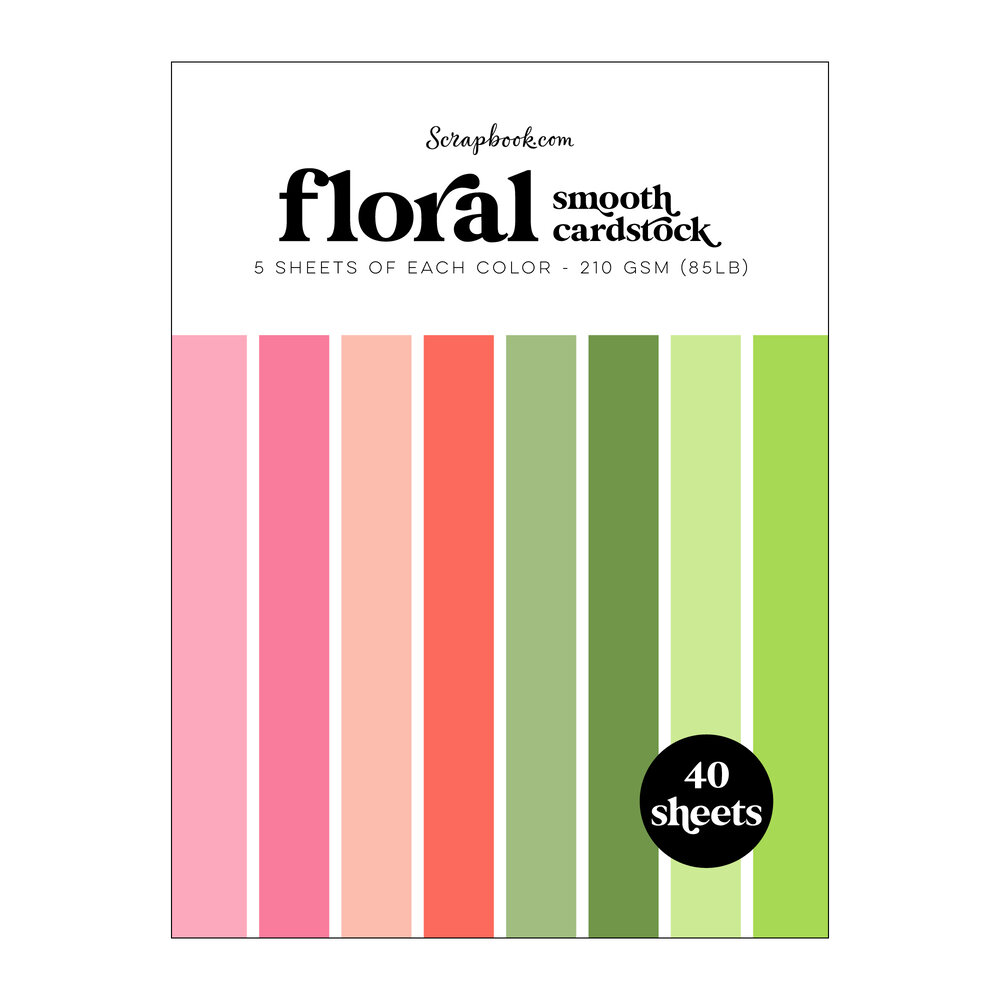
My sentiment was created using a Scrapbookcom exclusive stamp set called Vintage Type Upper. I used my Misti stamp positioner to stamp one letter at a time on white cardstock to spell "Good Luck". It helps to lay down a piece of low tack tape on the cardstock, such as mint tape, to easily line up your letters evenly. My solid papers are from a variety of Scrapbookcom paper pads (Jewel and Floral) and the gingham plaid was from my stash. Here's a link for you to scroll, if you'd like to check out the current gingham 6x6 paper pads offered at Scrapbookcom: Click Here

I thought this card would be great for other occasions, not typical of St. Patrick's Day; graduations and retirements came to mind.

I shared a short reel on my Instagram and TikTOK, featuring this card. I hope you'll follow me on those sites, if you're not already!

Thanks so much for stopping by!  Terri

********************************


Scrapbook.com Hybrid Ink - Black
Shop at:
Scrapbookcom
Neenah A2 Vertical Card/Envelope Set 25 pk
Shop at:
Scrapbookcom
Refillable Permanent Adhesive Runner - 49 feet
Shop at:
Scrapbookcom
New Misti (metal hinges) 8x10 inch
Shop at:
Scrapbookcom
Jewels Smooth Cardstock Paper Pad - 6x8 in - 40 sheets
Shop at:
Scrapbookcom
Vinntage Type Upper Stamp Set
Shop at:
Scrapbookcom
Mint Tape 1 inch roll
Shop at:
Scrapbookcom
Exclusive Floral Paper Pad 6x8 inch - 40 sheets
Shop at:
Scrapbookcom
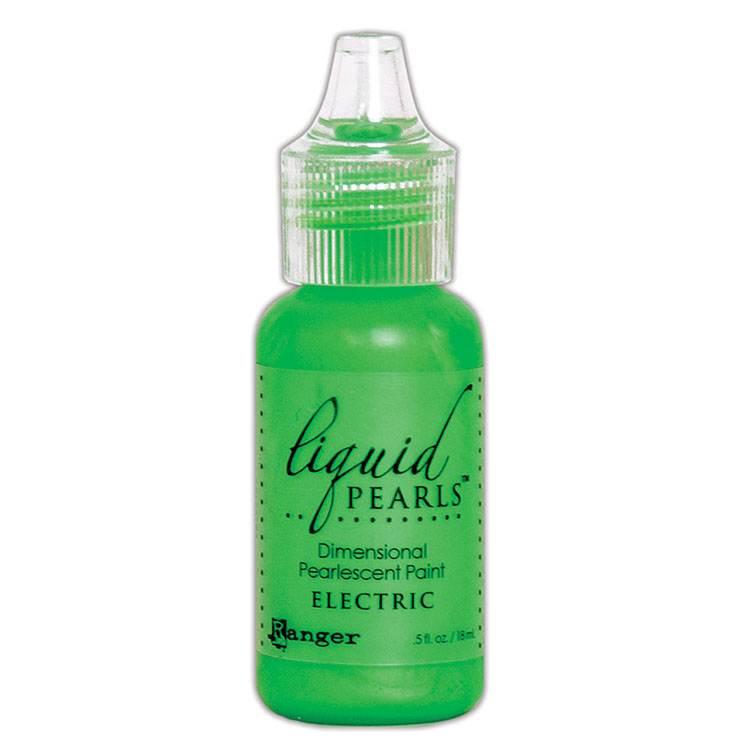
Ranger Liquid Pearls - Electric
Shop at:
Scrapbookcom
Exclusive Double-sided Adhesive Foam Squares -Sm
Shop at:
Scrapbookcom


#wavingmywand #scanncut #brothercraftsusa #nationalcraftmonth #shamrock #cards #cardmaking #stpatricksday #goodluck #luckoftheirish #graduation #retirement #diycards #digitaldesigns #svgfiles #scrapbookcom #


Wednesday, March 6, 2019

Unboxing Tonic Studios Dream in Colour Collection

Hello and welcome to my unboxing of the brand new Spring Collection from Tonic Studios, Dream in Colour.  This amazing collection is available right now at Scrapbook.com and I hope you will watch my unboxing.  It's chock full of gorgeous, glitter and sparkle, not to mention my incredible southern charm and wit.  Ok, maybe not so much but I do have some tips for you!


 (FTC Disclosure: as an affiliate for various companies in the craft industry, I will receive a small commission for purchases made through my convenient affiliate links.  This does not affect your purchase price.)


This unboxing includes the most amazing gems, sequins, embossing powders, glitter drops, glitter accents, jewel drops, textured cardstock, mirror cardstock and so much more.


Chai Latte Embossing Mousse?  Yes, please! (tea lover, here!)


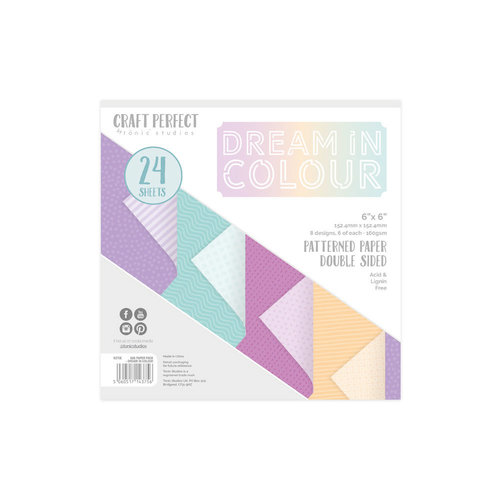
The coordinating Dream In Colour 6x6 in paper pad matches all the embellishments!


Some of these items are selling out fast.  Don't wait, get it before it's out of stock!


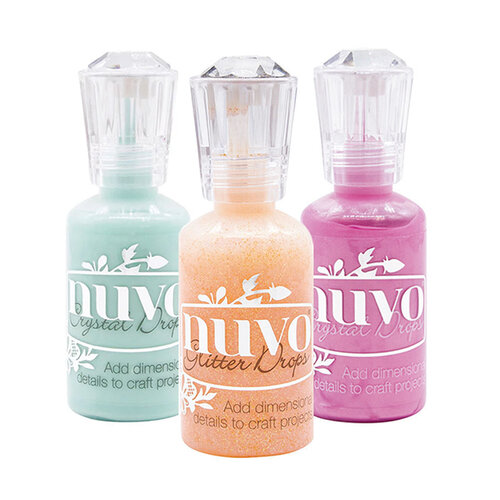
Nuvo - Dream In Colour Collection - Glitter and Crystal Drops - 3 Pack Set

from: Scrapbook.com


Those are just a few items in this amazing collection.  Check out my video and be sure you're subscribed to my YouTube channel.  I'll be having a giveaway this month on my YouTube channel as well so be sure you're following me there.  More products, plus links to my social media are in the video description.  Just click "show more".  You may wish to click the wheel icon on the video and change to high definition viewing as well.  Click that red button and subscribe!  Thanks so much!


I’m listing the products I used throughout this post. Click on the link to go directly to the product. Where available I use compensated affiliate links which means if you make a purchase I receive a small commission at no extra cost to you. Thank you so much for your support!


#wavingmywand  #scrapbookcom  #tonicstudiosusa #nuvodrops #scrapbookcomhaul #dreamdrops #vintagedrops #glitteraccents #crystaldrops #jeweldrops #papercrafting #mixedmedia #youtuber #handmade #create #glowdrops #stamping #cardmaking #scrapbooking #DIY #papercrafts #sequins #jewelrymaking #gemstones #cardstock #embossing #youtube #video#unboxing


Wednesday, March 16, 2016

Adornit Planner Pages + Free Cut File for Cricut Explore

(FTC disclosure: This post may contain affiliate links so, if you purchase a product using the link I may receive a small commission. I only participate in affiliate programs that feature products that I use and love. Your purchase price is not affected in any way, by using my links)
Have I mentioned lately, how much I love my Adornit Coloring Planner?  Well, I do.   Today, I wanted to share with you my monthly spread for April.  Being on multiple design teams, I have to be organized and have my dates ready well in advance.   I've been thinking for awhile now, about coming up with a design for those little squares on my planner pages.  This month, it's National Craft Month, so what better time to do something special?  So, I made a design space cut file for Cricut Explore users, to celebrate this awesome month dedicated to crafting.  I'll have the file listed for you at the end of this post.


I wanted to make my monthly page pretty and colorful this month, so I chose cardstock from the DCWV Prism Play collection which has all the colors of the rainbow.  Once my Cricut cut all the squares, I decided to make a quick job of getting them into my planner, by placing them into my Xyron Creative Station.  It only took a few minutes to crank them out and they are each fully covered, edge to edge.  Love it!  Now I'm ready to place my squares into my planner.


I'm also using my Adornit Planner Stamps, designed by Stephanie Ackerman which includes the Noted and Dated stamp sets.  These stamp sets are so popular that they quickly go out of stock at Scrapbook.com, however you can also order these directly from the Adornit website or go here.   Remember last month when I put all my numbers onto an acrylic block and stamped multiples onto scrap paper?  I grabbed a pink paper that I had stamped on so all I had to do was add adhesive and snip my numbers.  Super quick and easy. 


Those cute flowers?  They're part of the Documented Faith Dated stamp set.  I stamped and colored those with my Tombow dual brush pens, then fussy cut and adhered them.  Another fun little touch.
 

As an added bonus of cutting all those squares with my Cricut Explore, I now have a stencil that I can use for another time.  I've already got some ideas bouncing around on what I'm going to do with it.
 

 I hope this inspires you to get creative with your planner.  If you've been thinking about getting one, don't wait!  The Adornit Coloring planner not only fulfills that need to be an organized planner but also includes designs on artistic paper that you can color.  I'll be sharing my April colored dashboard soon so be sure and check back.


Here's the cut file that I designed, for you to cut those perfectly rounded 1.5" squares.  This is a free file for Cricut Explore users.  Simply copy and paste this once you've logged into your Design Space.  Enjoy!


#adornit #adornitplanner #artplay #coloring #planner #documentedfaith #plannerstamps #stamps #dated #noted #dcwv #dcwvinc #prismplay #cricut #cricutexplore #cricuteverywhere #freecutfile #designspace #calendar #xyron #creativestation #stickers #tombow #tombowusa #dualbrush #ranger #archival #ink #washi #washitape #NationalCraftMonth #Cre8time #WeAreCha